


Day four of the Serenity Sweater Sew Along has arrived and it’s time to sew the sleeves onto our sweaters. Did you know that the Serenity Sweater has a sleeveless version as well? It’s great for those warmer temperatures! I’ll be showing you how to sew the band onto the sleeveless Serenity also. Like always, today’s blog post will feature both photos and videos explaining the steps for today.
Sewing the sleeve

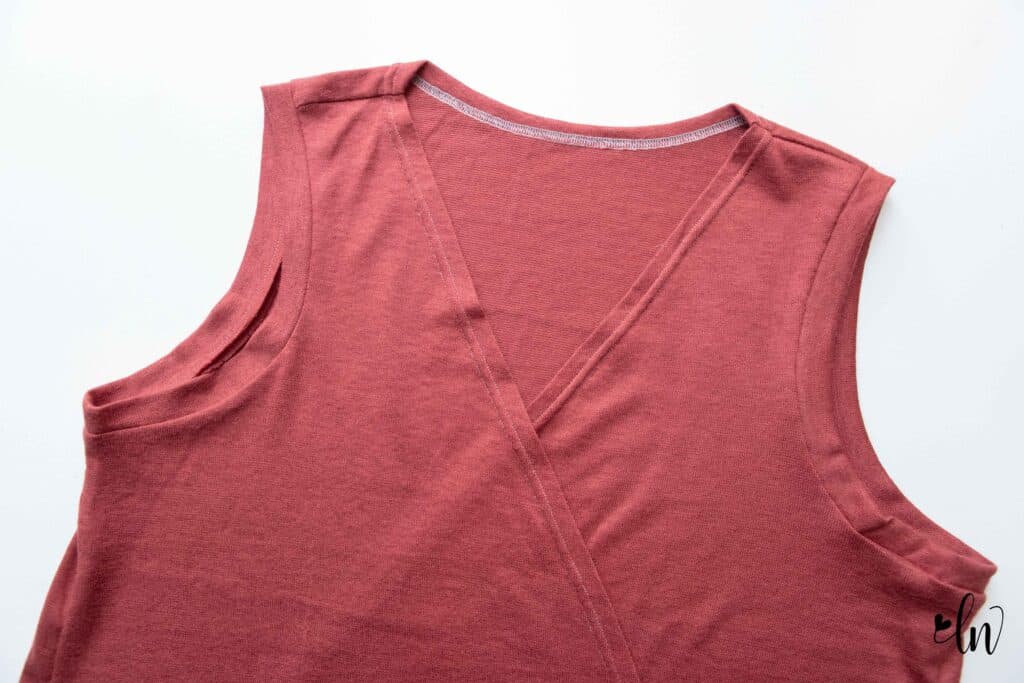
Remember day one when we talked about those triangle markings on the armscye and sleeve cap? If you didn’t transfer those then, you will want to make sure you do so today before you begin.
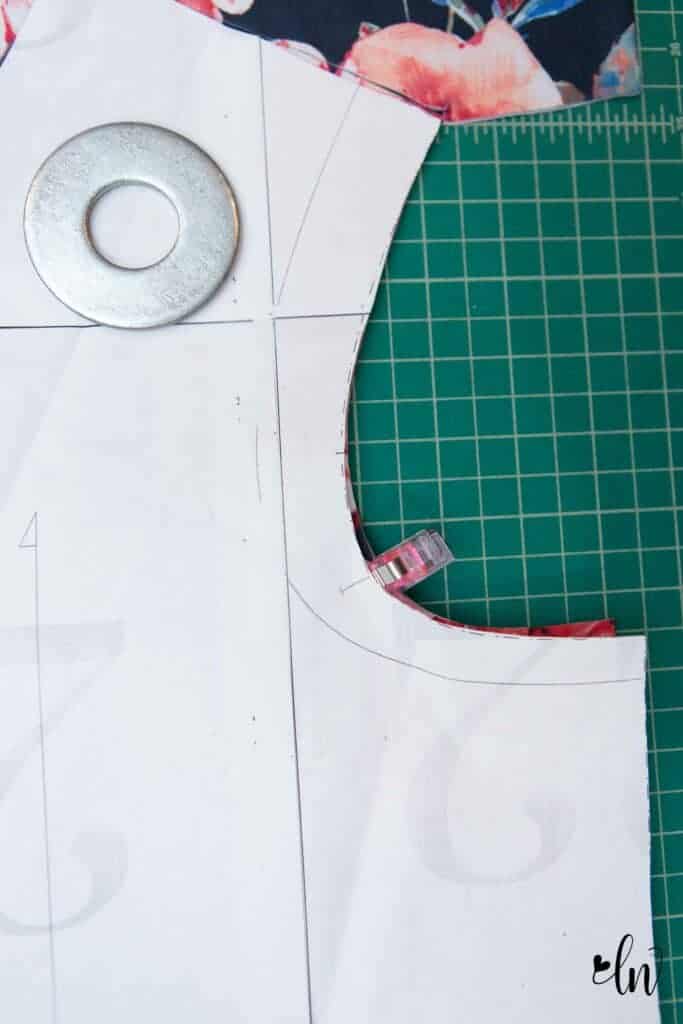
With the sleeve and the body of the Serenity Sweater right sides together, match up your markings. I like to start with the center of the sleeve cap and pin it to the shoulder seam. Then I will do the front and then the back. After everything is pinned into place, sew the sleeve. You will want a stretch stitch or a serger for this part.
This is one step that it’s really difficult to get good photos of due to how you must ease the different curves together. If you need help in how to line the sleeve up with the armscye, be sure to visit the video linked below that explains this step in great detail.
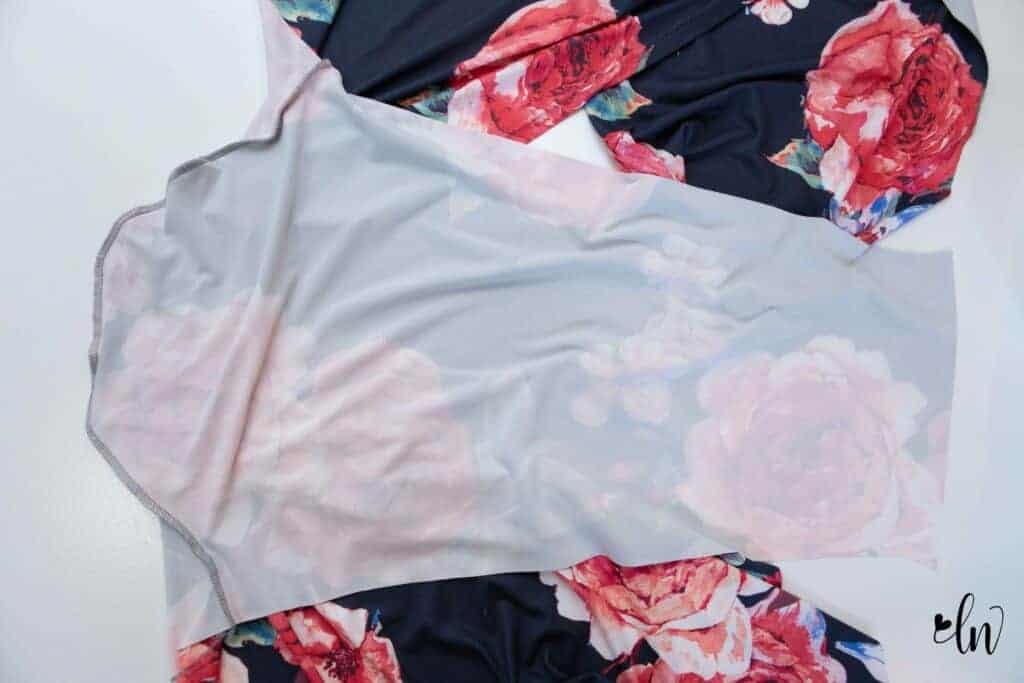
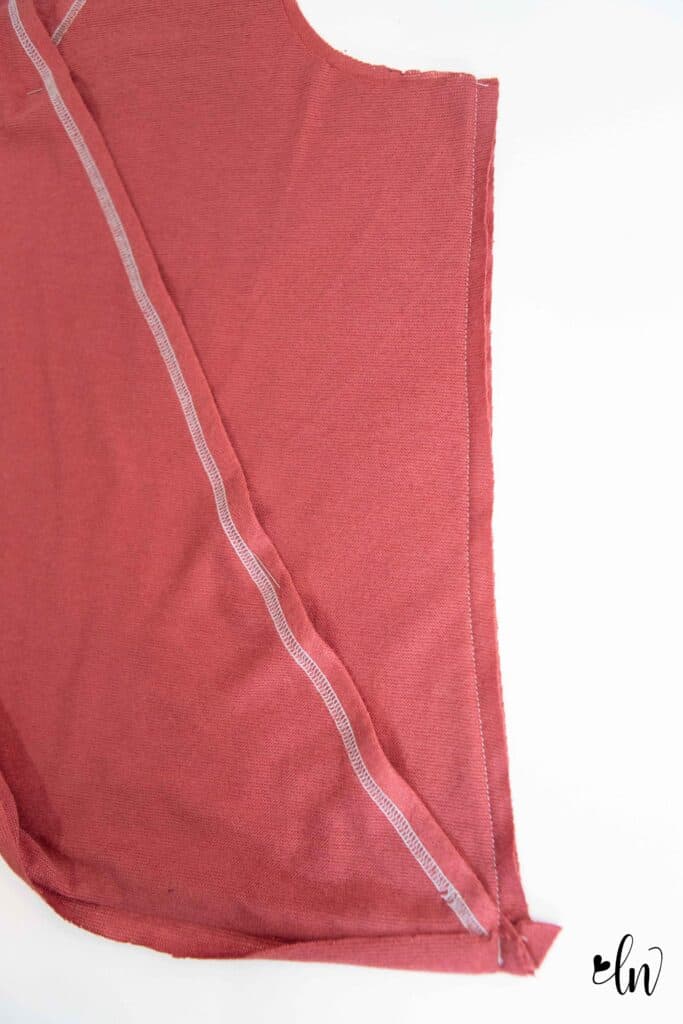
After the sleeves are both sew in, match up the side seams right sides together. Match up from the bottom of the sleeve hem all the way down to the bottom hem of the sweater. I like to start with pinning the sleeve seams together first, then pin each hem and then work the rest together.
At the bottom hem, you will line up the front of the shirt with the crease we pressed on the back on Tuesday. Then wrap the back hem around the front. Pin in place.

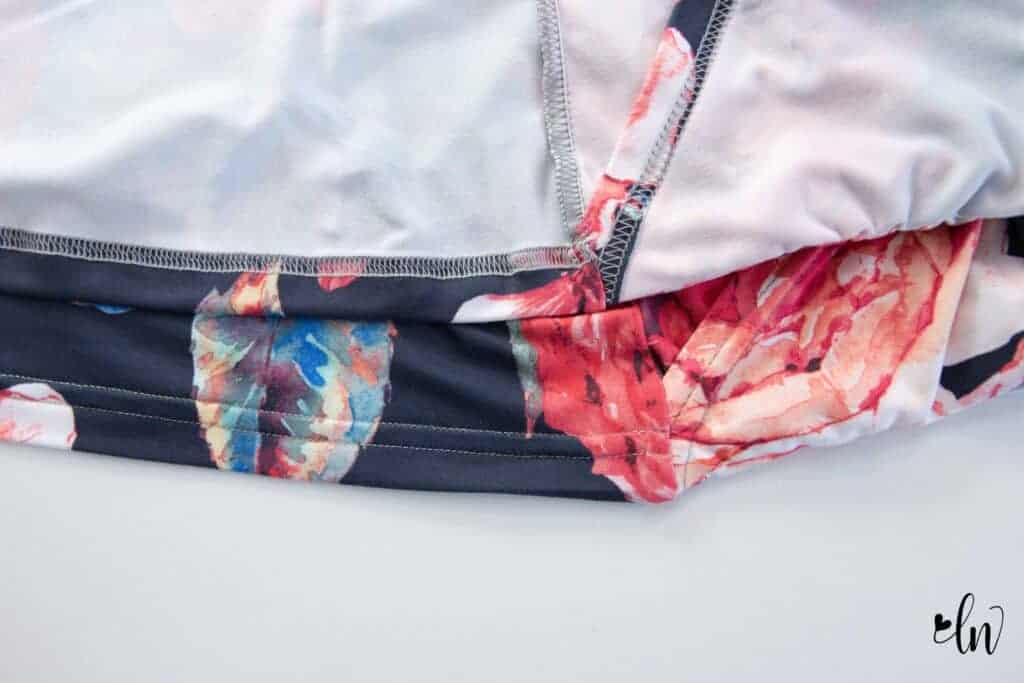
Sew the entire bottom of sleeve and side seam of the sweater in one straight seam. You can use a serger for this, if you prefer. I do suggest that you sew the bottom portion in place first with a sewing machine to prevent the folded part of the back hem from shifting out of position.
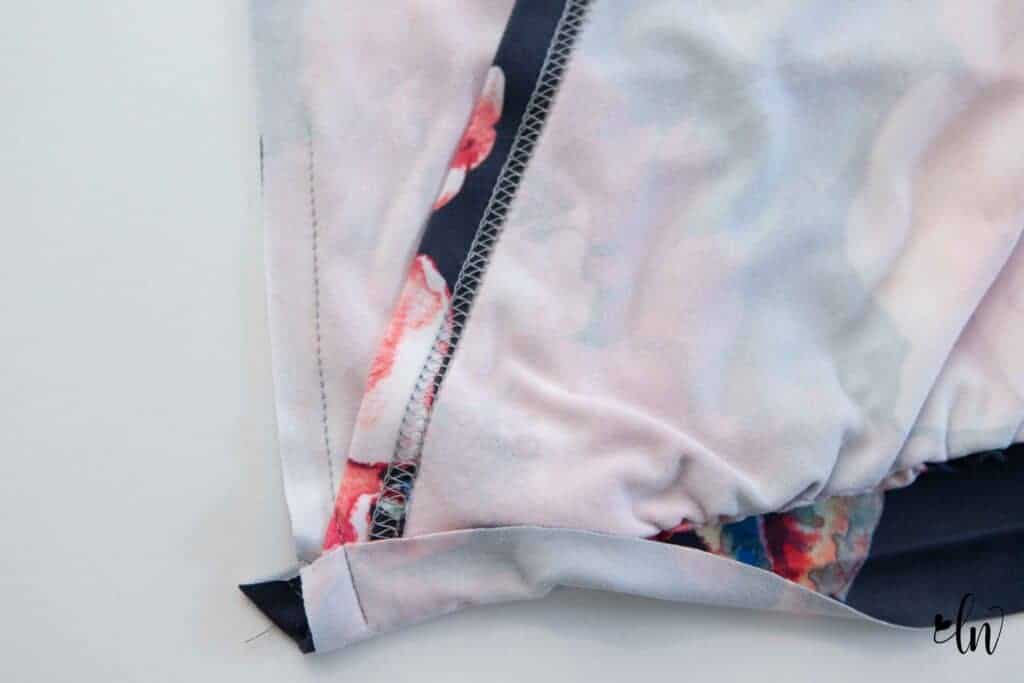
After the side seams are sewn, open up the side seam and fold the back up up into place. We will hem it tomorrow. But the photo below demonstrates how that back hem encases the side seam at the bottom. Sorry I don’t have a photo before hemming. I got so excited to hem this beauty up that I forgot to snap a photo!!
For a video explaining how to sew the sleeve and side seam, watch below!
Sewing a sleeveless Serenity
For the sleeveless version, sew the side seam in place. Remember to wrap the bottom of the back hem around the front hem. You can use a straight stitch for this since this seam doesn’t need to stretch. If you use a serger, I suggest you sew the bottom few inches in place with a straight stitch first to keep the wrapped portion from slipping out of place.
I like to press the band piece before sewing the short ends together. To do this. I fold the band wrong sides together with the long edges lined up. Press. Then unfold it and rearrange it so it is right sides together with the short ends lined up. Sew in place with a straight stitch.
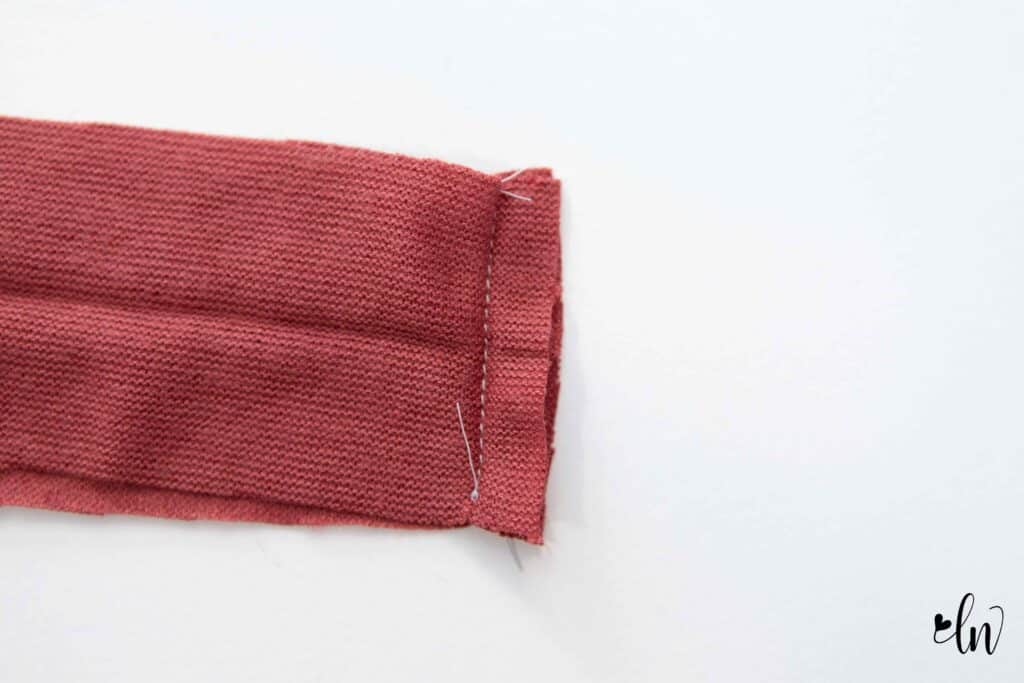
I like a straight stitch instead using my serger so I can press the seam allowance open for a flatter finish. After the ends are sewn, turn the band so it is right sides together with the long edges lined up, forming a loop.
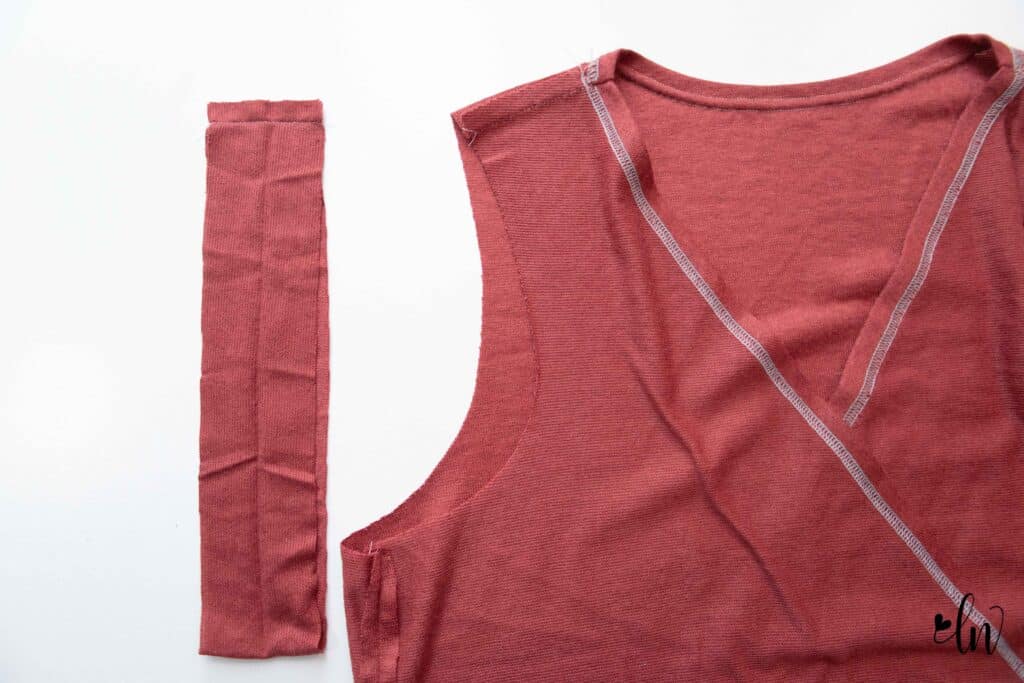
Find the quarter points of the band and the arm hole. Remember, the shoulder seam is not a quarter point! The quarter point is actually behind it. Start with the side seam and then carefully walk the raw edges together to find the proper place. If your fabric is very light with and stretches out of place easily, you may want to stay stitch the arm hole first.
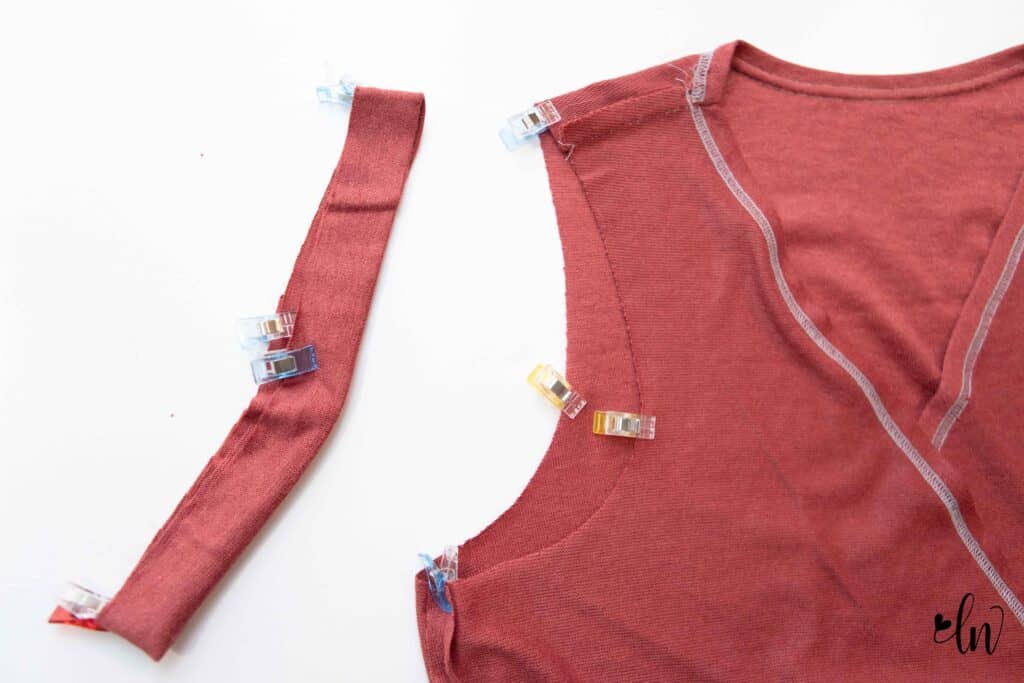
Pin the band to the right side of the body of the Serenity Sweater. I like to line the seam in the band up with the side seam of the body. I also prefer to work with the body inside out and slip the band inside the sweater.

Sew the band in place. You will need to stretch the band gently as you are sewing. Be careful to not stretch the arm hole!! If you like to serge your band in place, it’s a good idea to baste the band in place with a straight stitch first. It’s much easier to remove the band if sewn on then serged if you need to correct a mistake!
Press the seam allowance towards the body of the Serenity Sweater. You can choose if you prefer to topstitch the seam allowance in place or leave as it.
Here is a video showing how I sew the armband in place.
Gorgeous fabrics from Surge Fabric Shop
This blog post features Lola on Midnight Navy from Surge Fabric Shop. Our YouTube tutorial features Misty on Smokey Mauve. These are both double brushed poly fabrcis that have such a soft drape and great stretch making these super comfortable to wear.
Sew with friends and win prizes!
Sewing with friends on a common project is a great way to socialize and “meet” new people! Join our Serenity Sew Along Event happening in our Facebook Support Group. There you will get daily reminders for blog posts and YouTube videos, be able to ask questions in a friendly environment, and enter to win a prize at the end of the week! One lucky person will win a $50 gift certificate from Love Notions Patterns (good on all PDF patterns) and a $50 gift certificate from our sponsor Surge Fabric Shop.
Sew along discount codes
Use code SerenitySAL for 10% off now through November 30th. Sponsored by Surge Fabric Shop — take 10% off your purchase from 11/1-11/13 with code LNSAL10OFF.
Serenity Sew Along Schedule
- Monday: fabrics, adjustments and cutting
- Tuesday: assembling the front of the sweater
- Wednesday: constructing the body of the sweater
- Thursday: sewing the sleeves and attaching armbands on the sleeveless sweater
- Friday: hemming and sewing the banded hem option

