By now you’ve probably heard about the Bundle Up sale that’s currently going on (and ends today!). One of the many offerings in the Bundle is the Bluezette Dress for Ladies. When I began designing this dress I started out with three skirts and one bodice. By the time my testers and I were done we had five skirts and two bodices! One (of the many) things I love about working with my testers is the collaborative nature of developing a pattern. I LOVE to hear what my testers think could be added or taken away from a design. Tester Danielle K. showed me a picture of her favorite summer dress towards the end of the testing process that had this cool, cropped bodice attached. I LOVED it but wanted to wait on adding it to the pattern because I thought 30 views was probably enough. If you haven’t purchased your patterns in the Bundle Up sale, you have until the end of today to do so. You don’t want to miss out on such a great deal! The Bluezette won’t be released until the end of the month and then it won’t be on sale for at least a month after that. This is the definitely the best time to buy!
Since completing the Bluezette I’ve had some time to revisit this cropped bodice idea and I’m happy to say it’s ready and available now as a free add-on to the Bluezette. So, here we go!

First things first- cutting
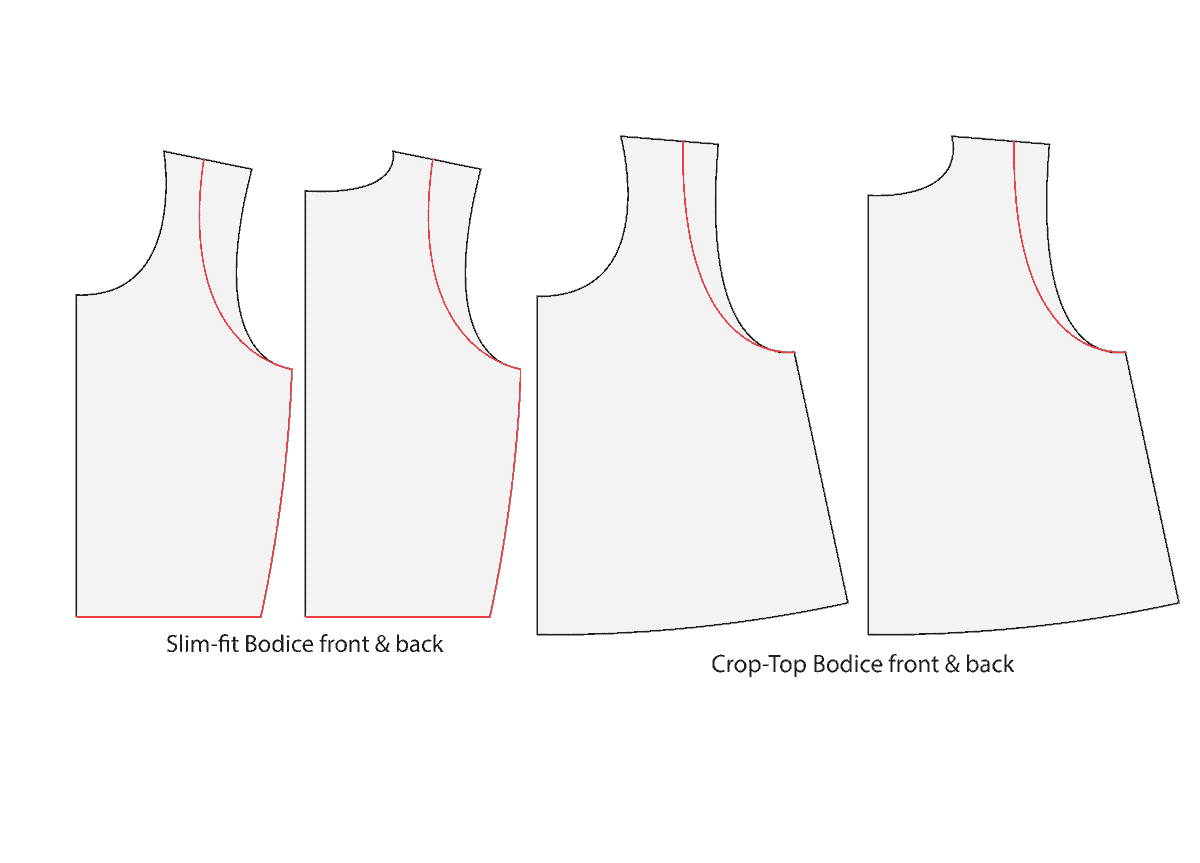
Choose your sleeve style: cap, elbow or tank. Choose your skirt style: tulip, high-low, straight knee length, circle (this is really a half circle, FYI) or maxi. Print and cut out your selections as well as the slim-fit bodice front and back and the underskirt if your skirt fabric is sheer. Print and cut out the Crop-top Bodice add-on found here. Notice that the front and back is nested on top of each other to save printing and paper so be sure to cut the back out first and then the front.
Sewing the bodice
Sewing the crop-top will essentially be the same as either of the other bodices. This is a lined bodice, the slim-fit bodice will be used as the lining with the crop-top as the outer. The only difference will be the crop-top will be sewn to the lining right side facing wrong sides so that the seams will be on the inside of the dress and not sandwiched like in the pattern. This isn’t strictly necessary since most likely the seams under the crop-top won’t be seen unless you’re using a lace or sheer fabric.
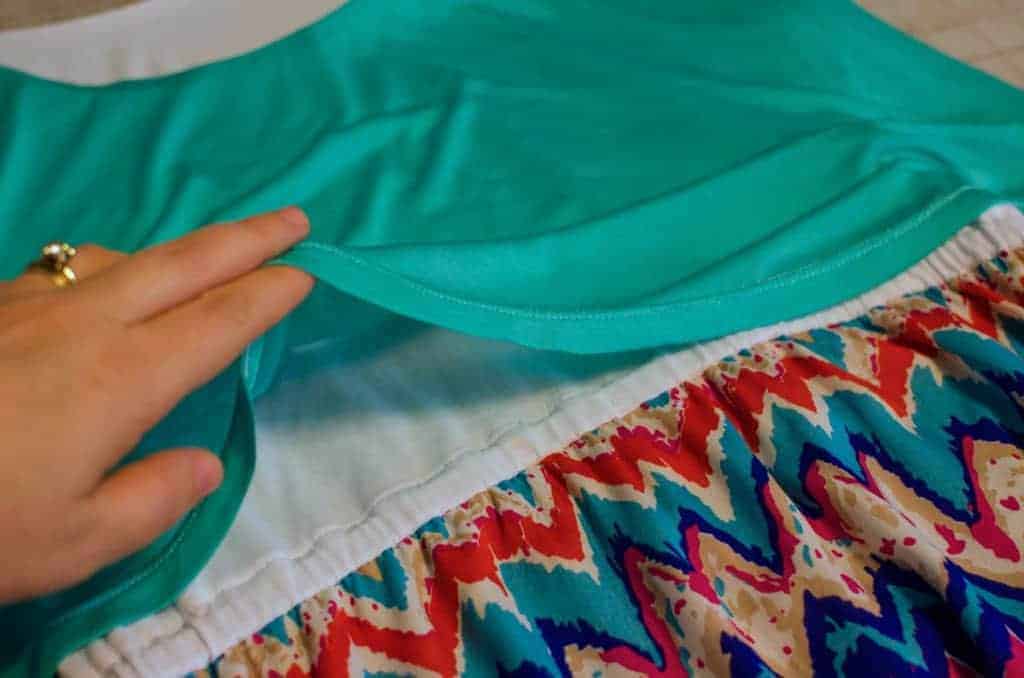
Once the bodices are sewn together and sleeves are attached, hem the crop-top bodice. Press hem up to wrong side 1″. Stitch in place with a twin needle, coverstitch or straight stitch.
Sewing the skirt
Sewing any of the skirt styles are exactly the same as in the pattern.
Sewing the elastic waistband casing & finishing
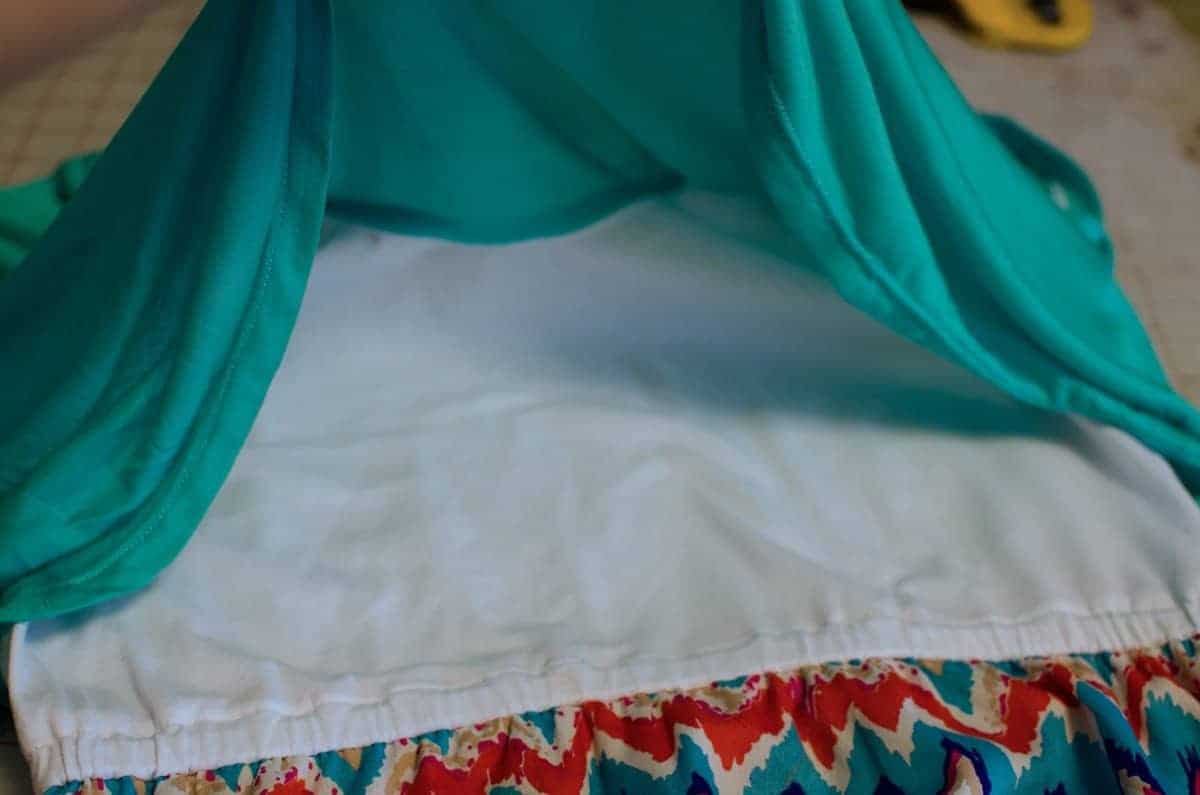
Here’s where we go off-book from the pattern a little. Instead of sewing both layers of the bodice to the waistline of the skirt, you’ll be sewing JUST the bodice lining to the waistline. Move the crop-top bodice out of the way while sewing the casing. Continue on with elastic casing as written in the pattern. Hem your dress and you’re done!
Nursing friendly
Since the crop-top bodice is two layers (outer crop and lining), it would be really easy to turn this into a nursing friendly dress. Add some slits to the lining and you’re good to go! I would suggest using a non-sheer fabric for the crop-top if you intend to turn this into a nursing friendly dress.