It’s the final tutorial day of the Cadence Sew Along. So get ready to add those sleeves and create those gathered waists! If you sewed a tank version, you have a free day! Of course, you can always use that time to sew another Cadence!!
Sewing the sleeves
Sewing a set in sleeve on Cadence can be intimidating to some. But don’t worry! I’m going to walk you through the process. With some patience and a little time, it’s definitely a skill you can add to your sewing talents, even if you are a very beginner seamstress!
Woven sleeves need to be eased into the armscye, unlike knit sleeves. This little bit of extra fabric in the sleeve allows your arm to have the freedom of movement. Because of this, we need to sew a couple rows of basting stitches along the curved portion of the sleeve, the sleeve head. Sew these into the seam allowance and leave long tails and don’t backstitch.
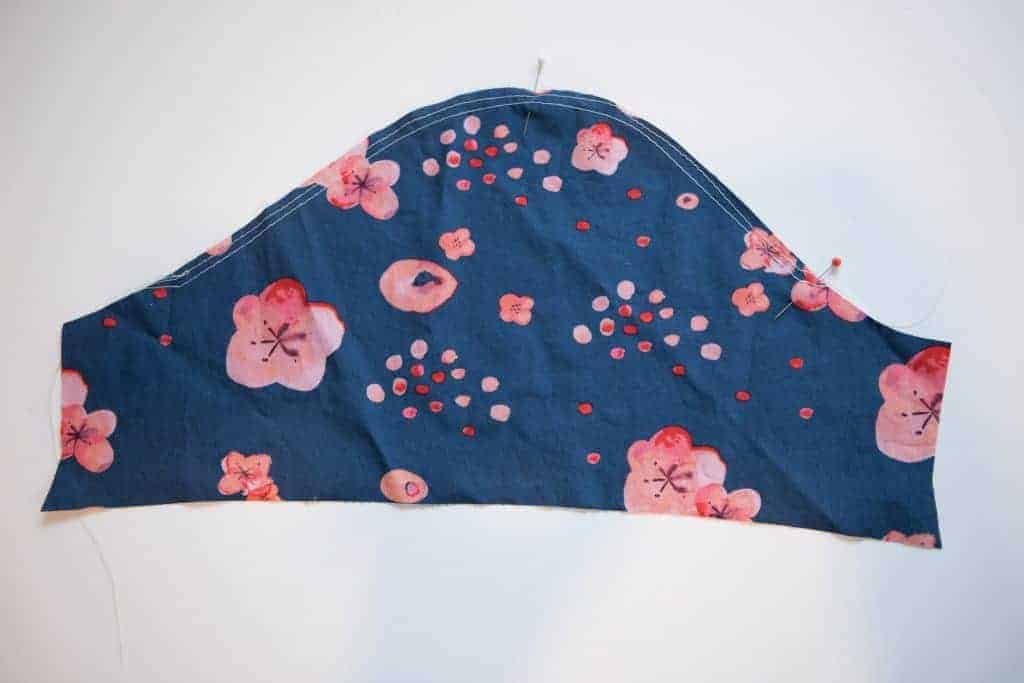
Using the basting stitches, slightly gather the sleeve so that it fits into the armscye. Disperse the gathered fabric evenly across the sleeve. We aren’t gathering to create a ruffled effect, just making the sleeve the same size as the armscye.
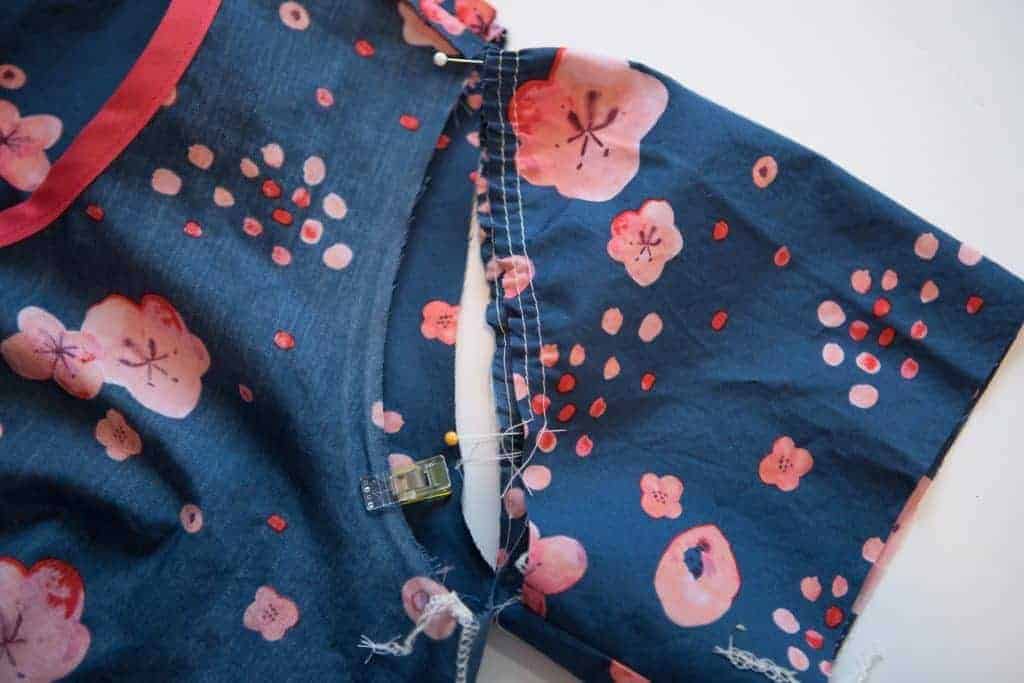
Pin the sleeve to the body of the dress. Be sure to match up the pattern markings! Need help marking your pattern? See this post for several methods!
Time to sew! Sew your sleeve in place. As you do, smooth out any puckers with your fingers as you go along. Take your time and don’t be afraid to work your fabric so that it lays smoothly. It’s a good idea to sew your sleeve in with a regular sewing machine and then go back over the raw edges with a serger after it’s been constructed.

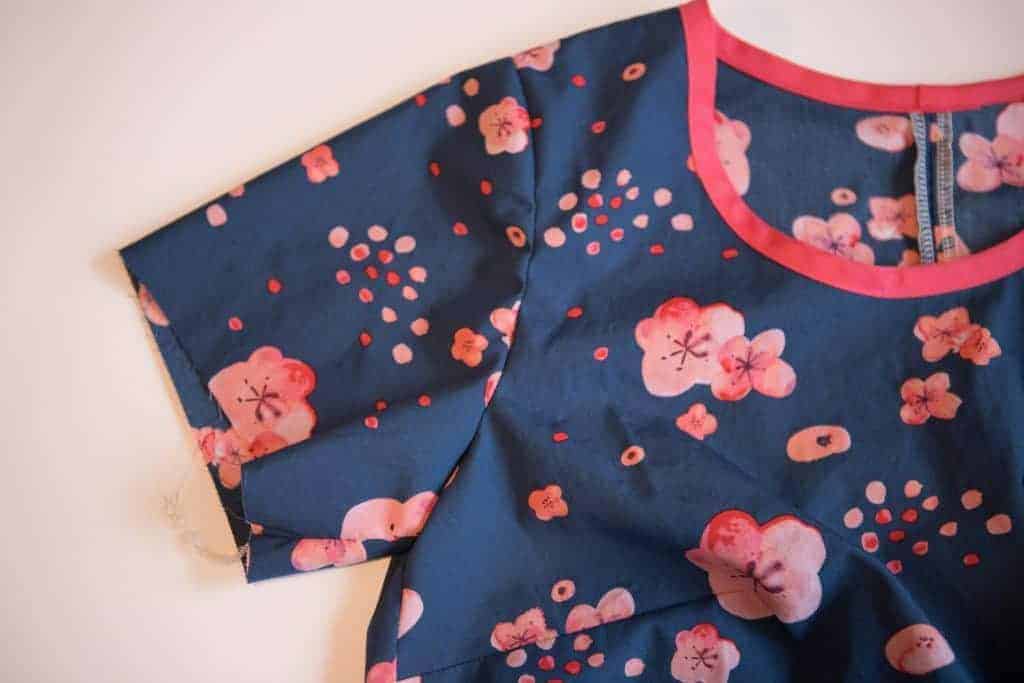
Hem the sleeves as instructed in the pattern.
Gathered waist
If you decide you want to add a gathered waist to your Cadence, it’s simple to do! If you didn’t mark your waistline when you cut out your pattern pieces, you can slip your dress on and determine where you want the gathers to sit. Mark with a couple of safety pins or with tailors chalk, a dressmakers pencil, or a disappearing pen.
You can also use the curves along the side seam to determine where the waist is.
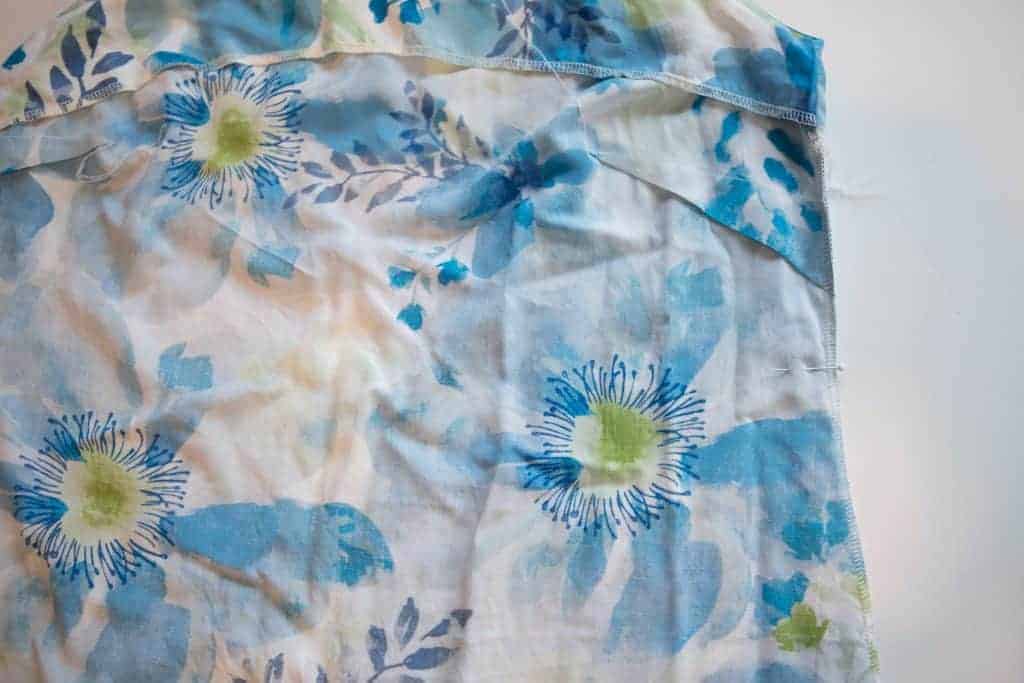
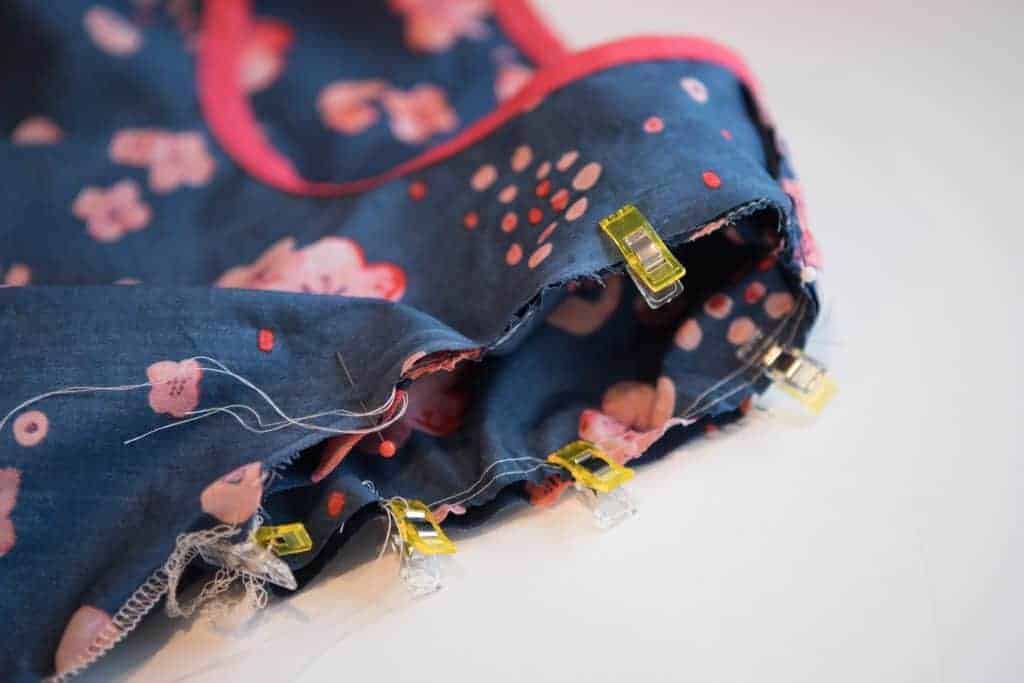
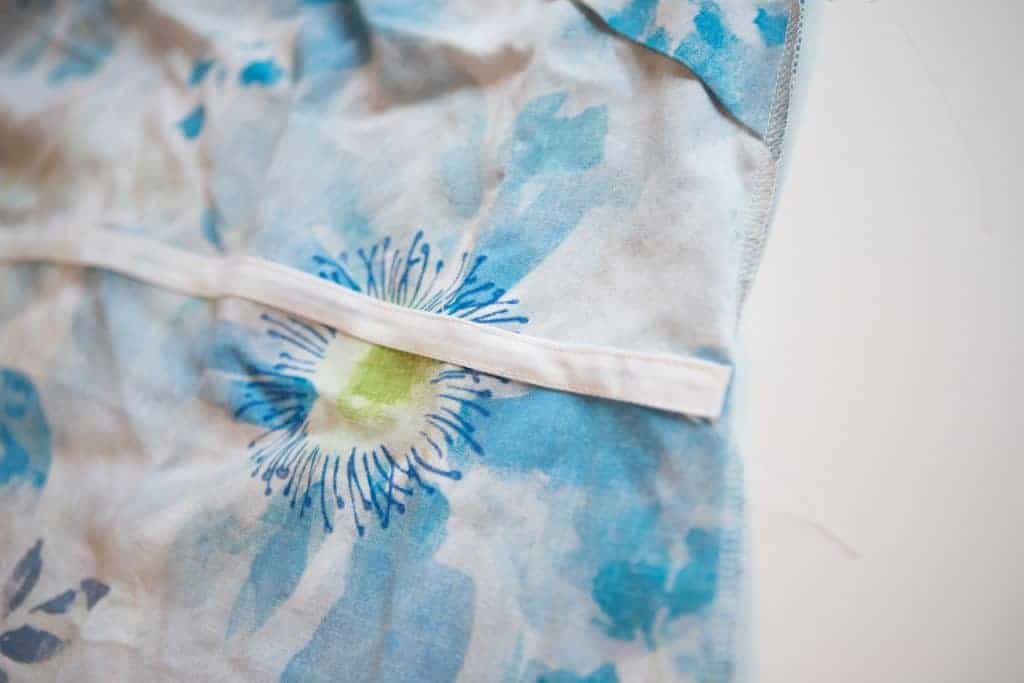
Place your bias tape (or twill tape or ribbon) down on your dress and pin in place all the way around the waist. Take your time to ensure you are only pinning to one layer and keep the casing straight. You can also use Wonder Tape to hold the casing in place.

Sew the casing in place along the top and bottom of the casing.
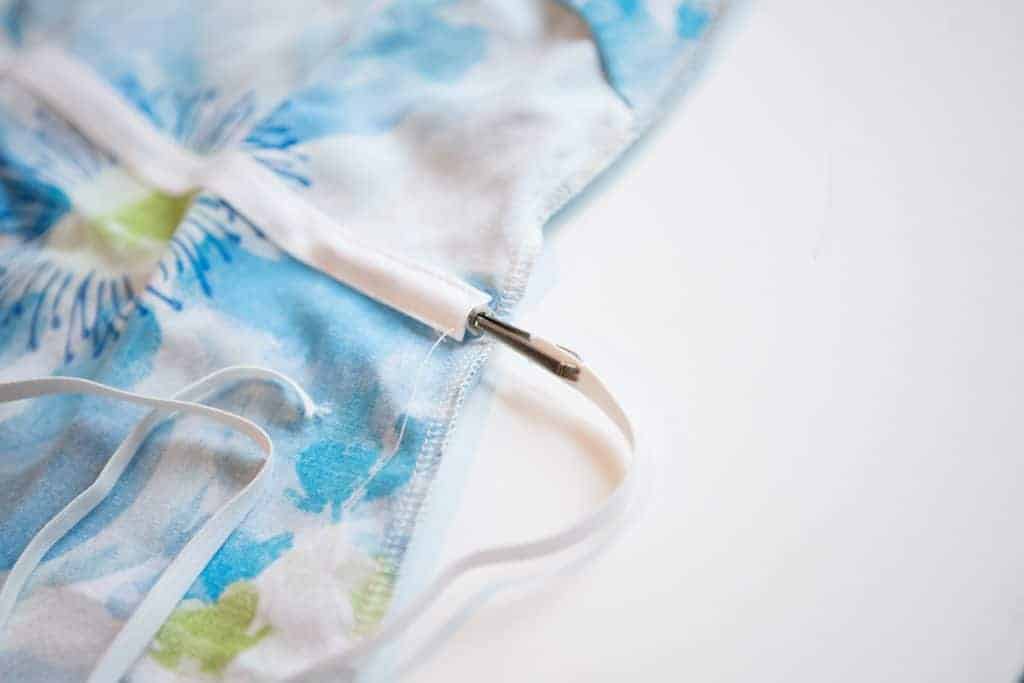
Thread your elastic (or drawstring) through the casing. To determine how long you like the elastic, either measure it around your waist, or slip your Cadence on and adjust the elastic to your liking.
That’s it! You’ve completed your Cadence!
If you are sewing along with us in the Facebook Support Group, you have until Sunday, June 10th at 11:59pm CST to add your finished Cadence to the entry post for your chance to win a $50 gift certificate to Love Notions Patterns!

If you need to catch up with the Cadence Sew Along, click the links below to take you to the corresponding day.