Canyon Cardigan Sew Along: Day Four
The Canyon Cardigan Sew Along has been going great in our Facebook Support Group. Are you a member? If so, you can join me while I sew the steps that day. You can even ask me questions while I’m sewing! Today is sewing the skirt portion of our cardigans. Which view are you creating? I’m using view A for this post. But, I have a modification for you later on in the post for the waterfall version, view C.
Sewing the skirt
The Canyon Cardigan features three skirt options, a basic skirt, a gathered skirt and a waterfall skirt. Be mindful of the instructions for the version you are cutting! View A requires cutting the skirt on the fold, while views B and C require cutting two, mirrored imaged that you will then sew together to create one long skirt piece. No matter what view you are cutting out, make sure you transferred those pattern markings!
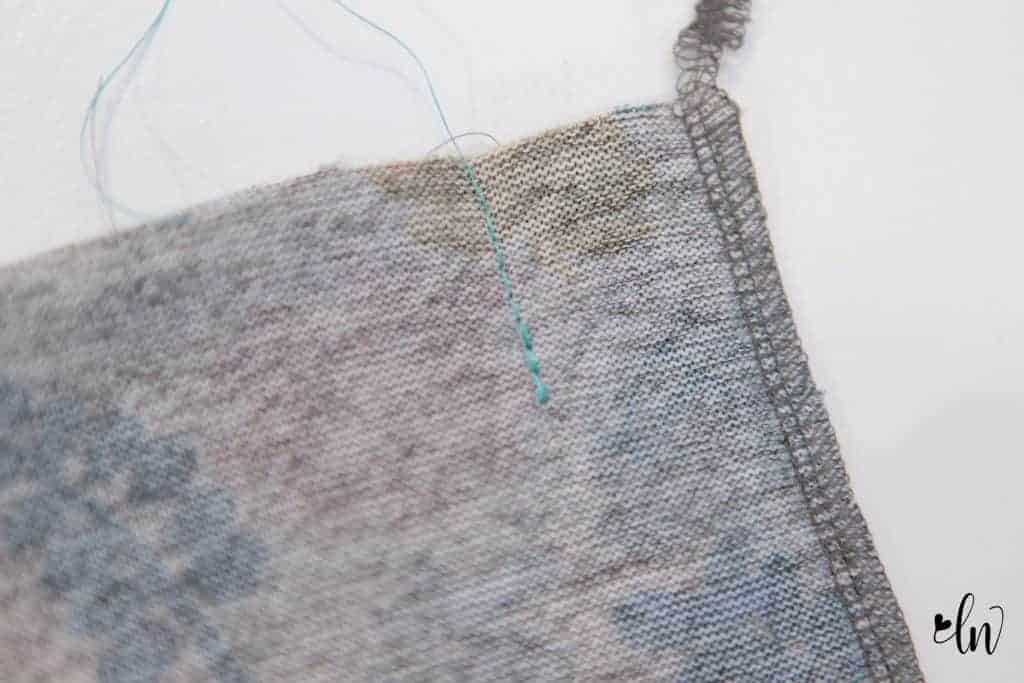
To create the pleat in the skirt, sew a long straight stitch at the pleat mart, about an inch long.
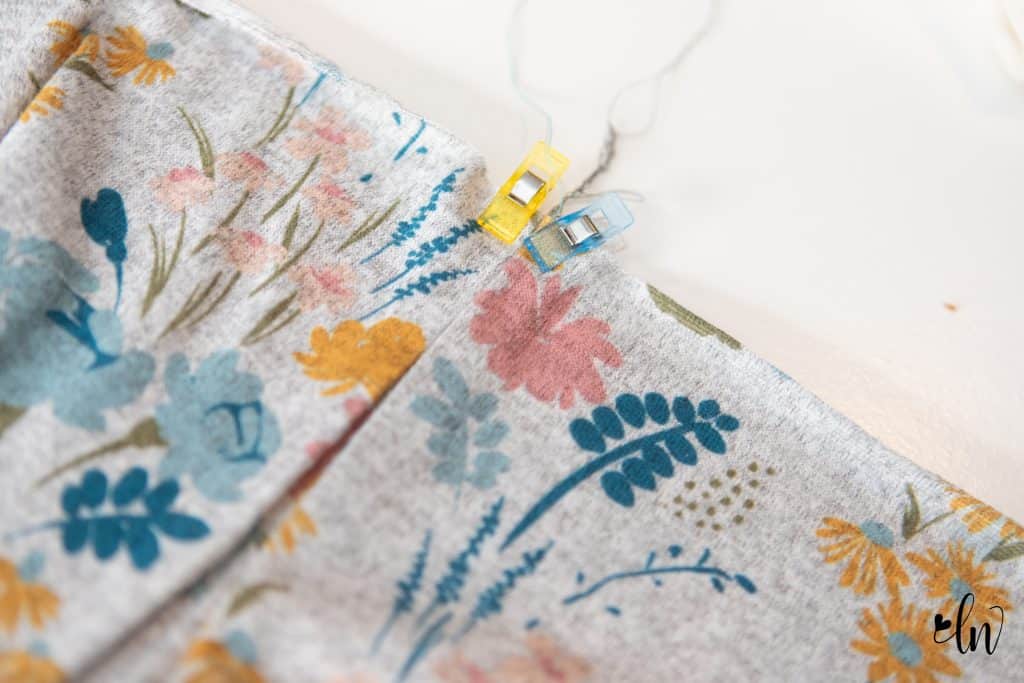
I like to fold my fabric back on both sides of the pleat and press after I have sewn it. I like the creases it creates.
Then, open your fabric and open the pleat so that the seam runs down the middle of it. Press again.

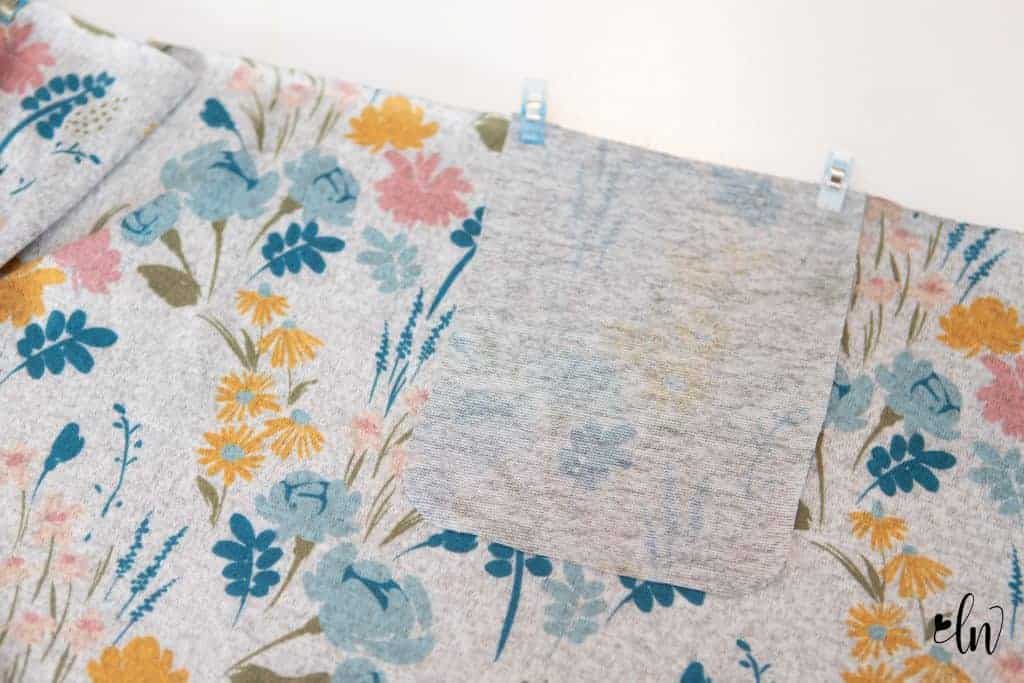
I recommend basting this box pleat in place now. It’s much easier to keep things lined up if there are some stitching there holding the layers in place.
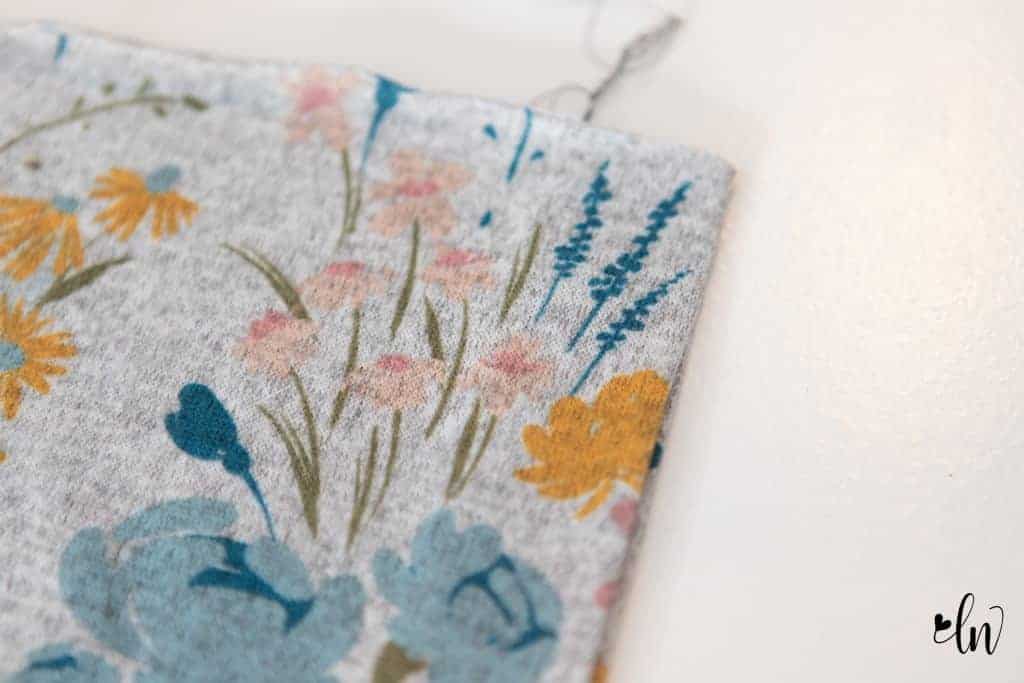
This is what your pleat will look like from the right side. Line up that center crease with the back center seam of the bodice and attach the skirt and bodice as shown in step 16. If you are sewing the waterfall view, you need to match the markings on the skirt to the end of the bodice, the skirt is longer than the bodice.
After your pleat is constructed, add your pockets. Do so in the same way you added the pockets to the bodice.
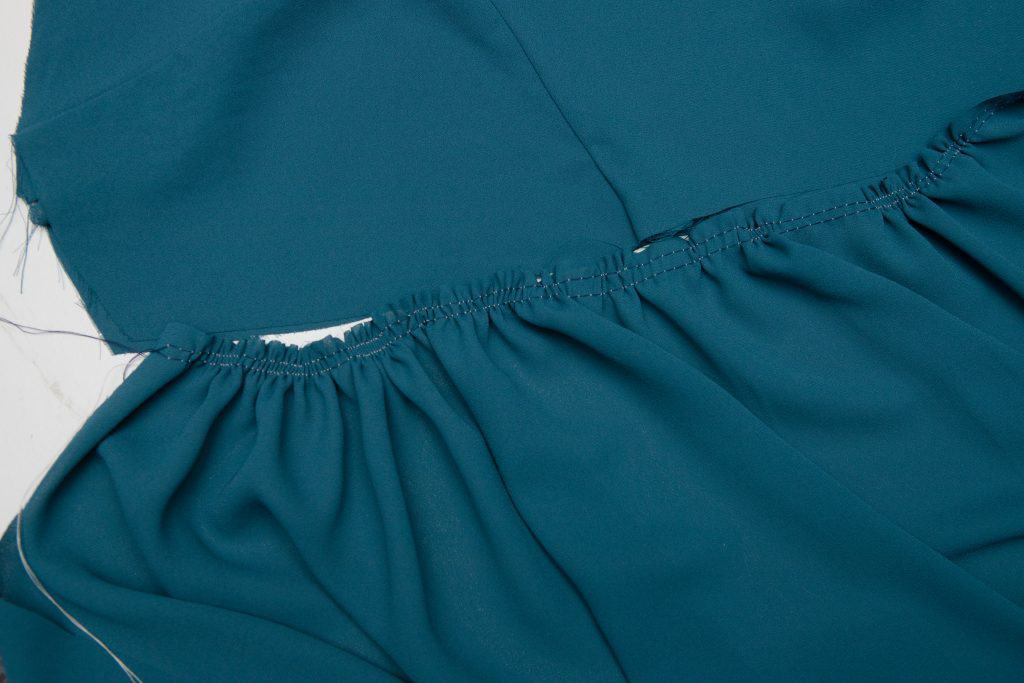
If you are sewing the gathered view B, gather your skirt to match the width of the bodice. Do this by sewing two rows of basting stitches the length of the skirt and gathering the fabric along the stitches. (image below is not the Canyon Cardigan, it’s just an example of sewing a gathered skirt)
Attaching the skirt
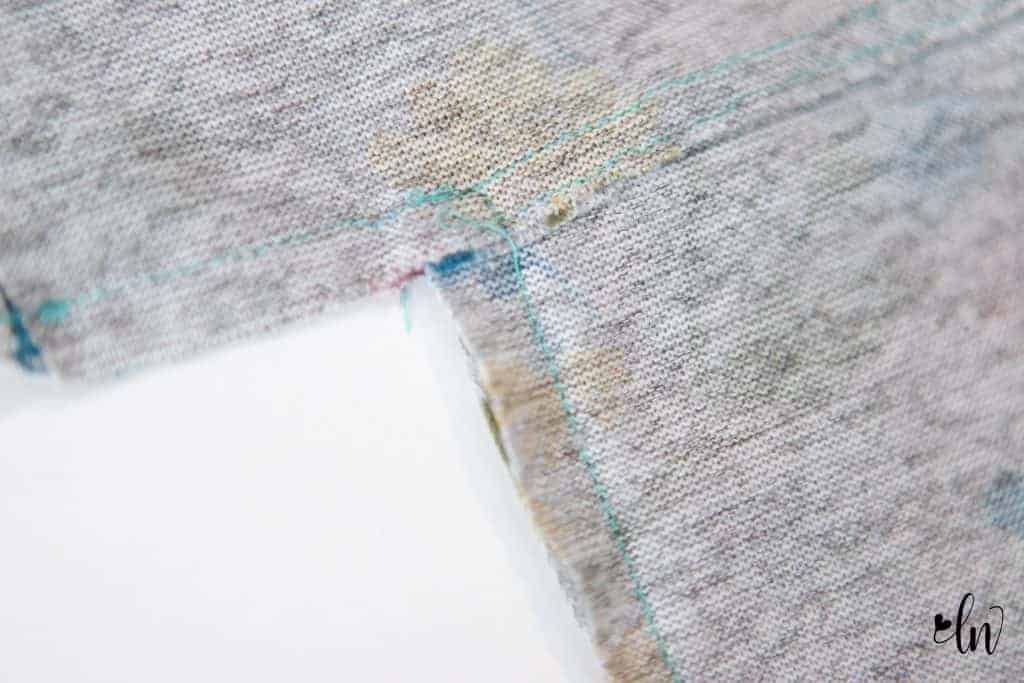
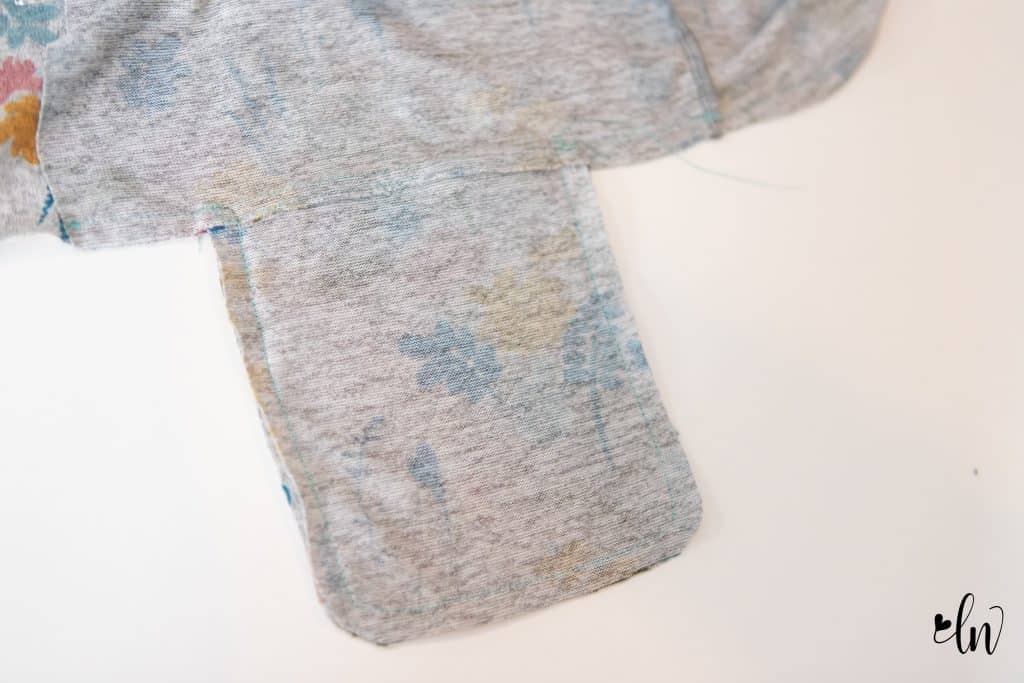
I prefer to attach the skirt with my sewing machine rather than my serger. This allows me to pivot around the corners of the pockets, to create nice sharp angles which will help the pocket hold more securely. If you absolutely don’t want to sew the entire skirt to the bodice with your sewing machine, I recommend at least sewing the pocket corners I am showing in the picture below. After I attached my skirt, I went around the entire seam again with my serger for a clean edge.
Layered skirt hack

I love how this hack turned out and am so excited to share it with you! This is the waterfall, view C of the Canyon Cardigan sewn up with cotton spandex french terry from Raspberry Creek Fabrics. I created a layered skirt by shortening the waterfall skirt 4″ using the lengthen/shorten line to create a second skirt. (Cut the main skirt as directed.) Just blend the front piece where the pattern piece juts out. I also folded back the end of the side that peaks out beyond the bottom hem.
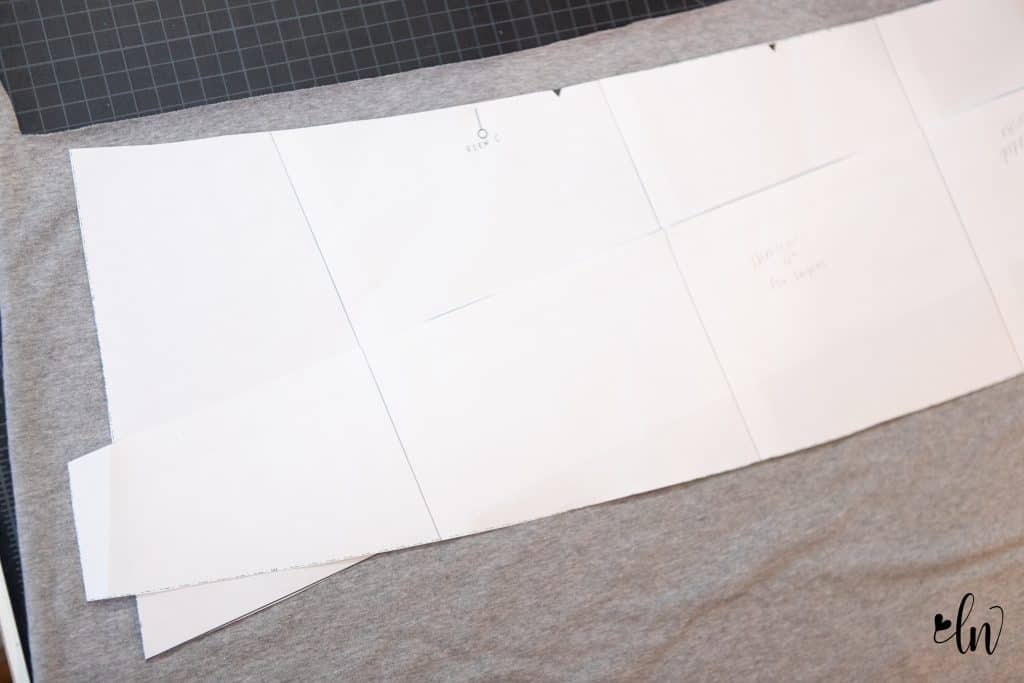
After you have your two skirts cut out, assemble each individually per the directions, sew the seam in the back and create the pleat on each skirt. Now, layer your skirts, I pressed each pleat in opposite directions to reduce the bulk.
Sew the skirts to the bodice of the Canyon Cardigan. Begin and end your seam at the front line of the cardigan, don’t sew the skirts together at the ends.
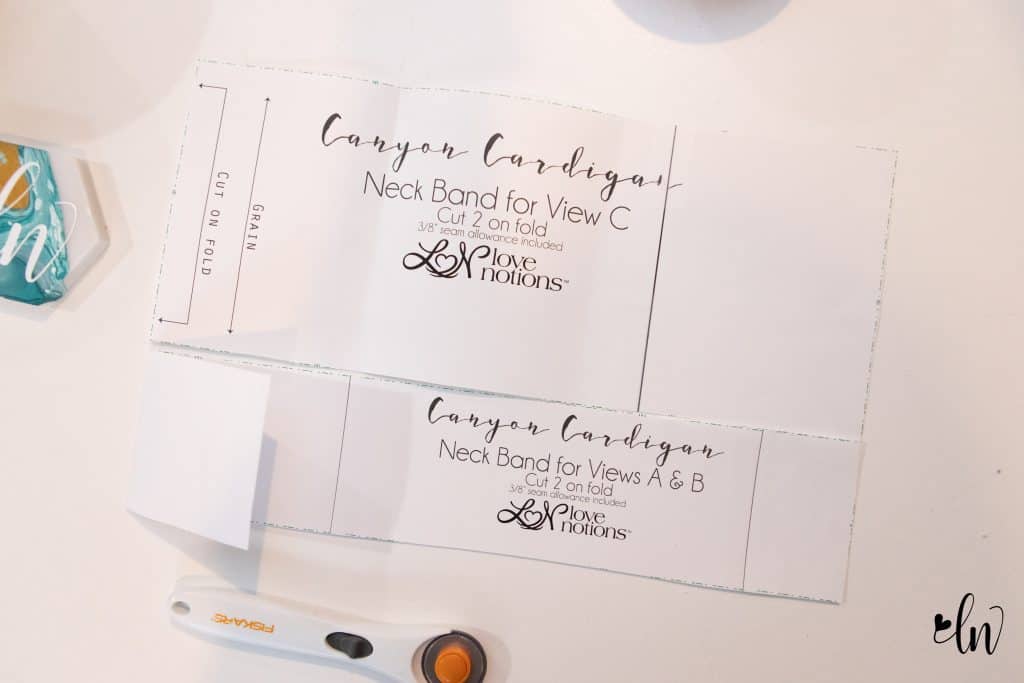
I modified the neckband also. I used the thinner neckband that is designed from views A and B, but shortened it to the length of neckband C. I folded back the end of neckband for views A and B to match the length needed for view C.
When attaching the neckband, I did NOT fold it in half. I attached one side of the neckband to the cardigan, leaving the outer edge a raw edge. You can see the raw edge rolling out here. I love the detail it adds!

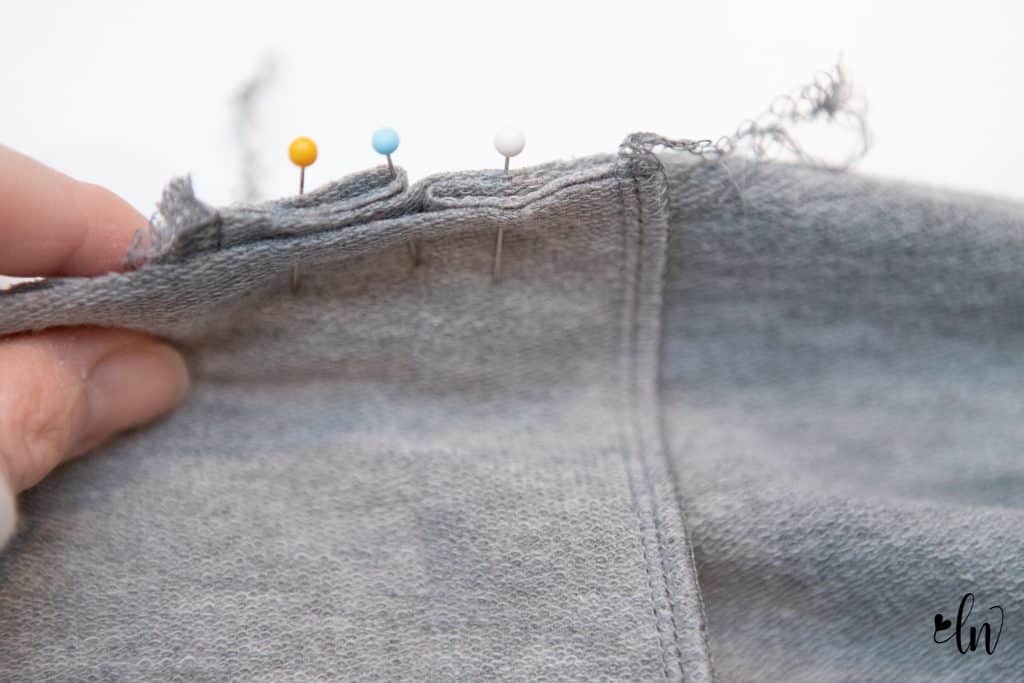
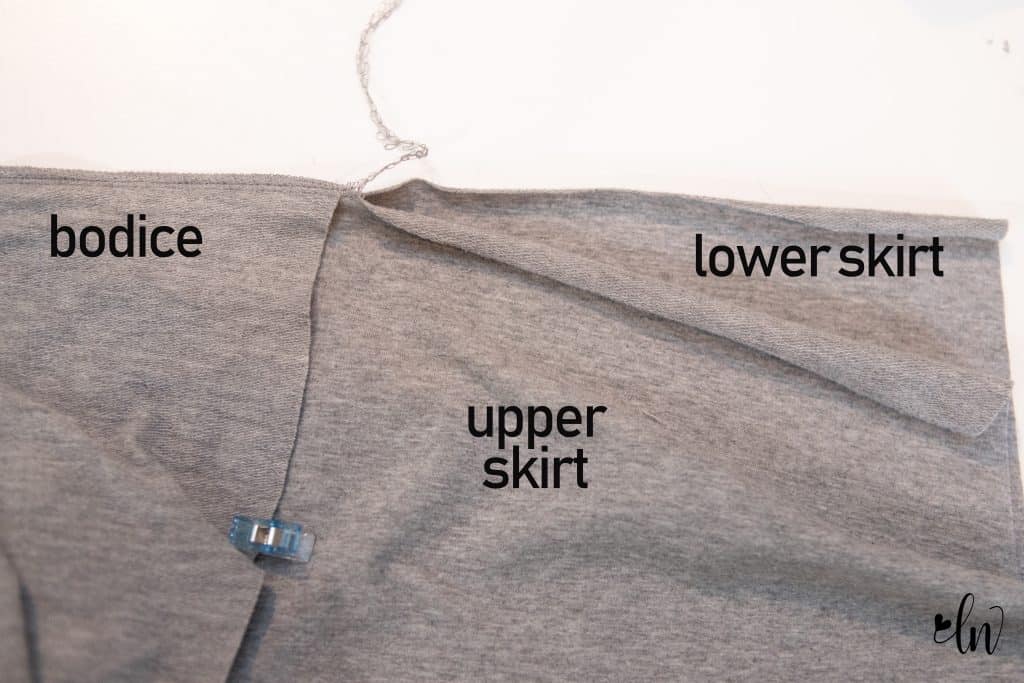
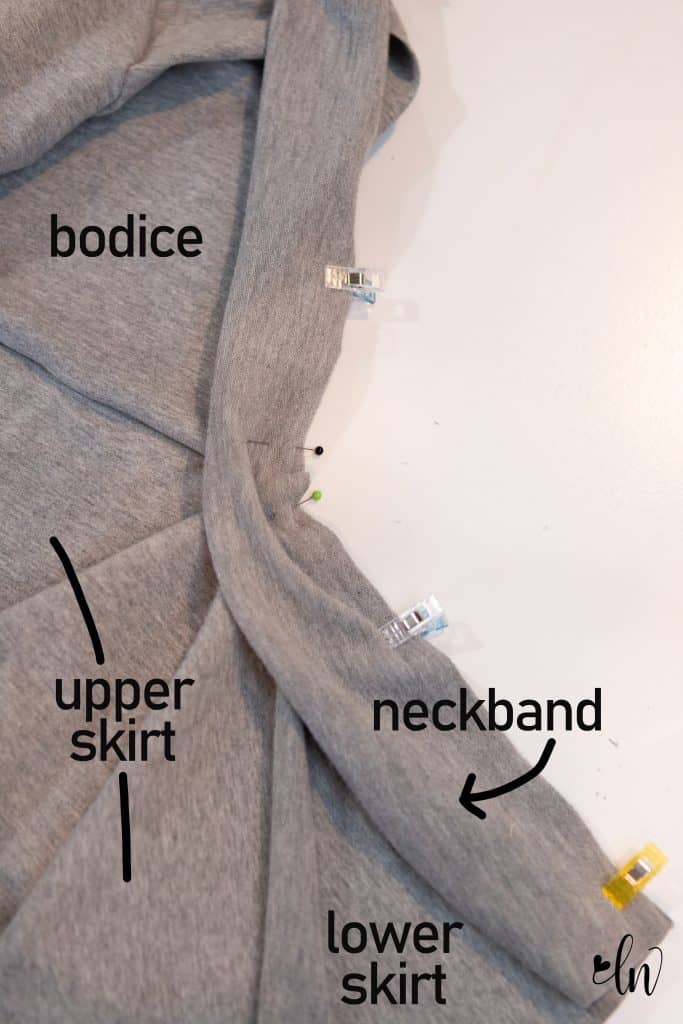
Attach your neckband to the BOTTOM (longer) skirt only. To do this, I angled the top skirt downward where it extends beyond the front of the cardigan, pinning the neckband to the bottom skirt only. You can see the edge of the upper skirt has been pulled away from the top edge of the lower skirt. Clip the neckband to the end of the lower skirt and work your way up the front of the cardigan.
Here is what the front looks like after it’s assembled. I’m holding onto the neckband, that goes to the edge of the bottom skirt, the upper skirt is hanging downward to create a draped effect.
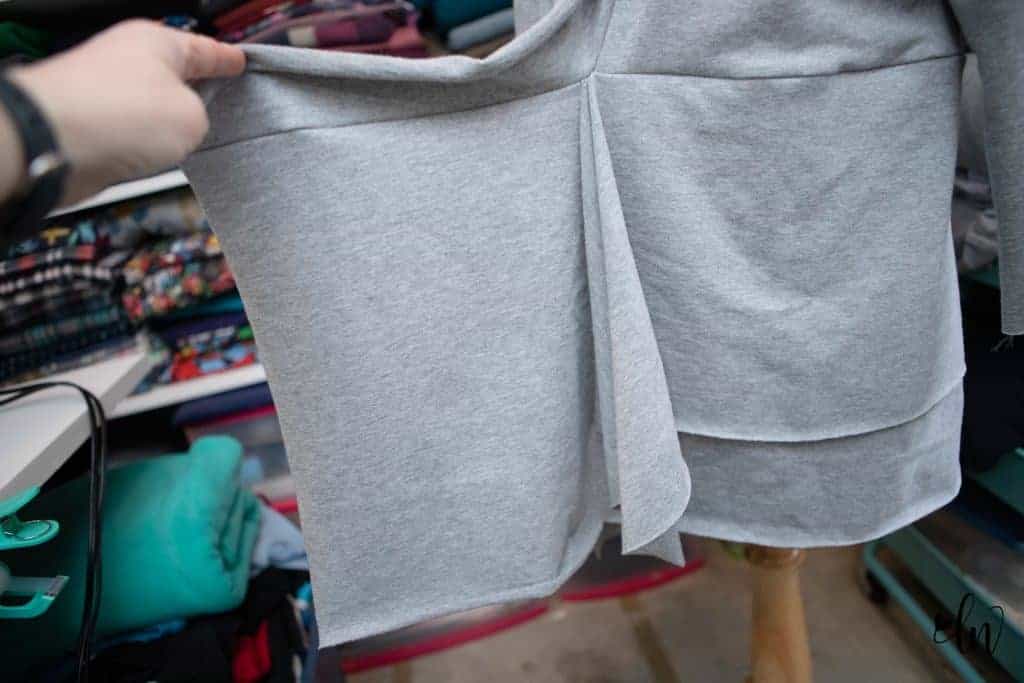
When worn, the front creates a pretty dramatic effect with the different layers. The raw edge of the neckband adds to the look by rolling outward.

That’s it! It sounds a bit complicated, but it really was an easy hack! I’m leaving the raw edges and not hemming the skirt because the french terry I used will curl up nicely after it is washed and just add to the look!
Sew Along Schedule
Day One: Choosing fabric and making fit adjustments
Day Two: Sewing the bodice and pockets, waterfall duster hack
Day Three: Sewing the sleeves and finishing the tank, flared sleeve hack
Day Four: Sewing the skirt, layered skirt hack
Day Five: Sewing the neckband, hemming
Pin this for later!