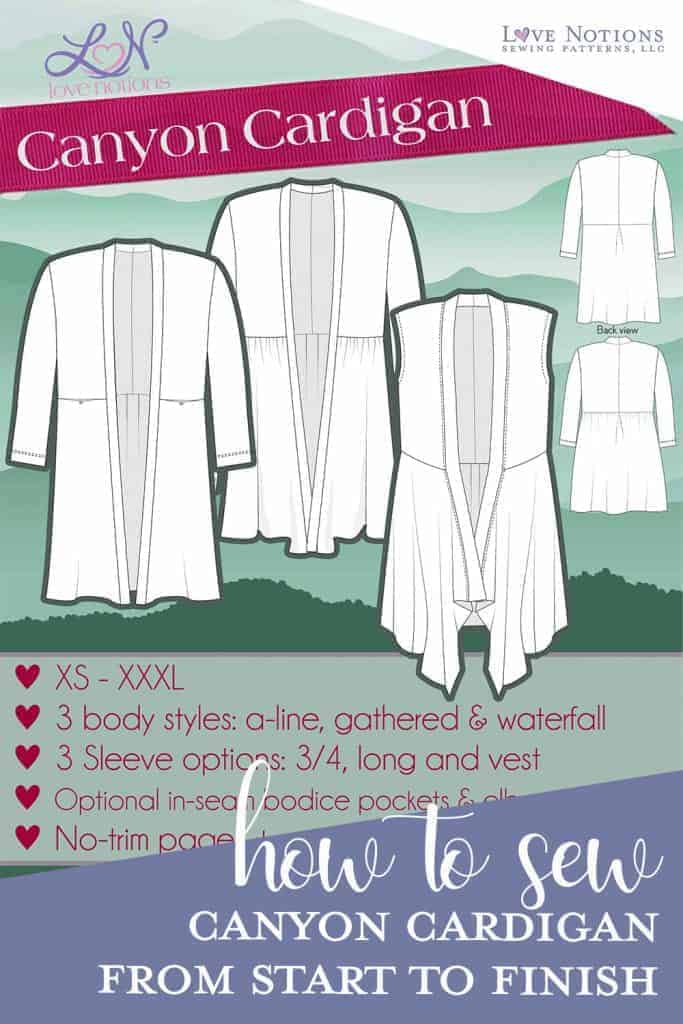
Canyon Cardigan Sew Along: Day One
We’re back for another sew along! This time we will be sewing the Canyon Cardigan. Perfect for any season, the Canyon Cardigan takes a basic cardigan to the next level with style and detail, but is still a pretty quick sew! Join me this week, as I walk you through the steps for sewing up your new favorite cardigan. I’ll be talking about the best fabrics to use, tricks for tackling drapey sweater knits, and a few pattern hacks, too!
Fabric choices
The most influential thing in how your sewing project turns out is your fabric. If you pick the wrong type of fabric, you are risking fitting issues, construction problems and simply not being happy with the results of your efforts. Take the time to find the perfect fabric for your project, and you are ensuring a successful outcome! Let’s take a look at the recommended fabrics for the Canyon Cardigan. You can find this information on page 4 of your pattern.
![]()
“Recommended Fabrics: Knits with some drape of all weights, such as rayon/lycra, ponte, french terry, and sweater knits.”
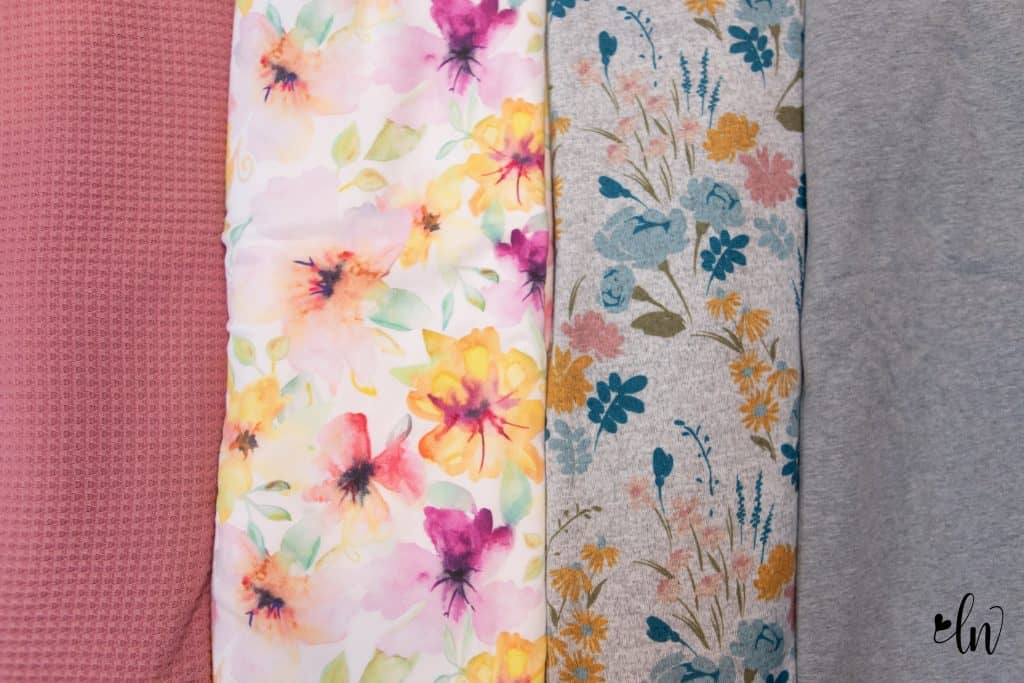
For the Canyon Sew Along, Raspberry Creek Fabrics is our fabulous sponsor! They have a wide selection of fabrics perfect for the Canyon Cardigan! Here are the fabrics you will see featured this week, either here on the blog, or in our Facebook Support Group where I will be doing live videos demonstrations.
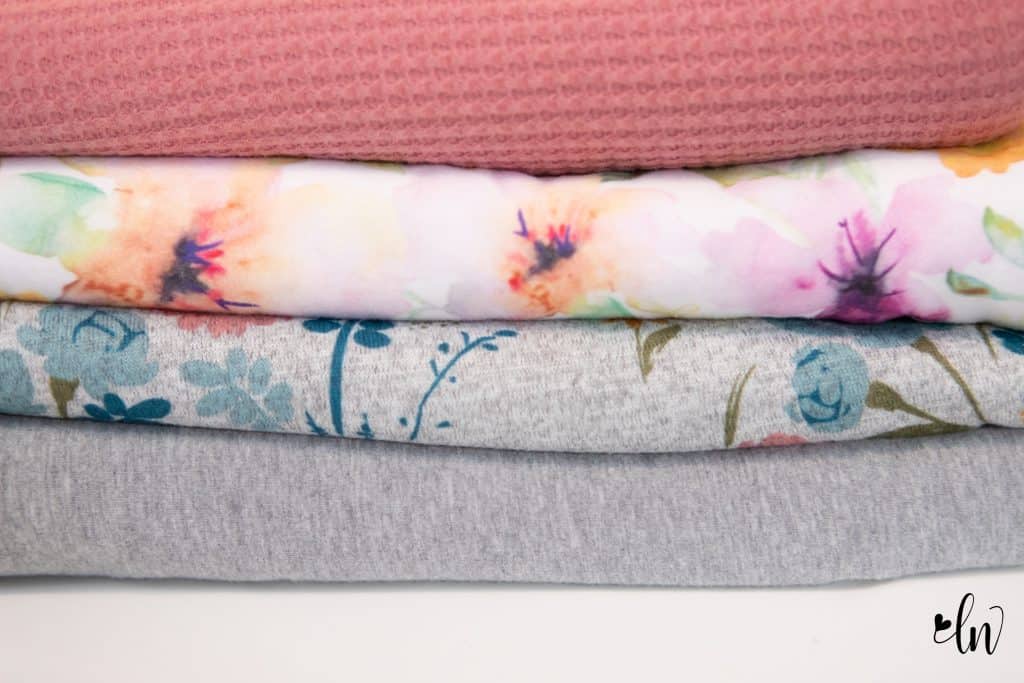
The top is a heavenly waffle knit. It’s lighter weight and perfect for the roller coaster temps midwest springs offer. It looks like this mauve rose is out of stock, but you can find a few other colors available here.
Next in line is one of Raspberry Creek’s CLUB fabrics. This gorgeous watercolor lily floral is on a cotton lycra base. I’ll be using this fabric for the live videos in our Facebook Support Group. I plan to make view A with long sleeves with this. It’s a bit more structured, so I wouldn’t recommend a gathered skirt, it may make the waist seam a bit bulk, adding to an area that most don’t want to add to, but it would be nice for the basic view, or even a waterfall skirt!
Next is the Wildflower Floral Brushed Hacci Sweater Knit. This pattern is another one of Raspberry Creek’s very own CLUB designs. This is the fabric you will see featured here on the blog for the basic construction steps of the cardigan. It has great drape and is soft and not scratchy. You know how some hacci fabrics grab at any little hang nail you have, yeah, this one does NOT do that. It’s fab! And, it doesn’t unravel at the edge while you work with it. It does curl a bit, but nothing that pressing or even hem tape doesn’t tame.
And the bottom fabric is a grey four way french terry with spandex. This color is sadly out of stock, but there are lots of other options available. I love french terry and definitely needed a great basic grey one in my closet. I do think I’m using this for a sleeveless version. I have a hack planned for this one as well that I can’t wait to share later this week!
I love selecting the fabrics for projects!!
So after we have our fabrics, we need to prepare our pattern.
If you are new to our patterns, you may find this post helpful for learning how to assemble our trimless patterns. We recently updated this page to include a video in how to assemble A4 size paper as well! If you are looking for a video on how to assemble a standard US size page (letter size) you can find that on our home page.
If you are part of the new project sewing trend, you will be thrilled to know that the Canyon Cardigan includes a projector friendly file! You can download it from your account and be cutting fabric immediately!
Once you have your pattern assembled, you need to take some measurements and determine what, if any, changes you need to make.
Use your high bust measurement to determine your size.
Blend sizes if needed for your waist and hips. Because this is an open front cardigan, meaning, it’s not meant to close in the front, you don’t need to stress over if you need to do a full bust adjustment or not.
Figure out if you need to adjust the length. The easiest way to do this is to hold the bodice front piece up to your body. Fold back the seam allowance of the shoulder seam and place the shoulder seam in the middle of your shoulder. Take a pencil and poke yourself in the apex of your bust. Don’t look down while you do this! You will mess up your height! Now, look at that pencil mark and compare where it is in relation to the bust line on the pattern piece. Do they match closely? Then don’t worry about adjusting! If you need to make some changes, cut the pattern piece in half along the bust line. To length, spread the pieces apart the amount you need. (Below demonstrates a one inch adjustment for lengtheing.) Slip a piece of paper behind the pieces and tape it together. Then blend the sides together.
Do you find your bust line is higher? Cut along the pattern bust line and over lap the amount you need. (Below demonstrates a one inch adjustment for shortening.) Tape the pieces back together and then blend the front seam. You want to keep the side seams lined up. If you look closely, you will see that you need to trim off a section of the front seam that extends a bit when you overlap. That’s fine, just trim it away.
If you find the bodice fits you are the right bust line and you need to adjust the waist seam, just trim or add length to the bottom of the bodice piece as needed. If you want or need to adjust the length of the skirt piece, it’s the same process as the bodice. Just cut along the lengthen/shorten line and spread apart or overlap as needed.
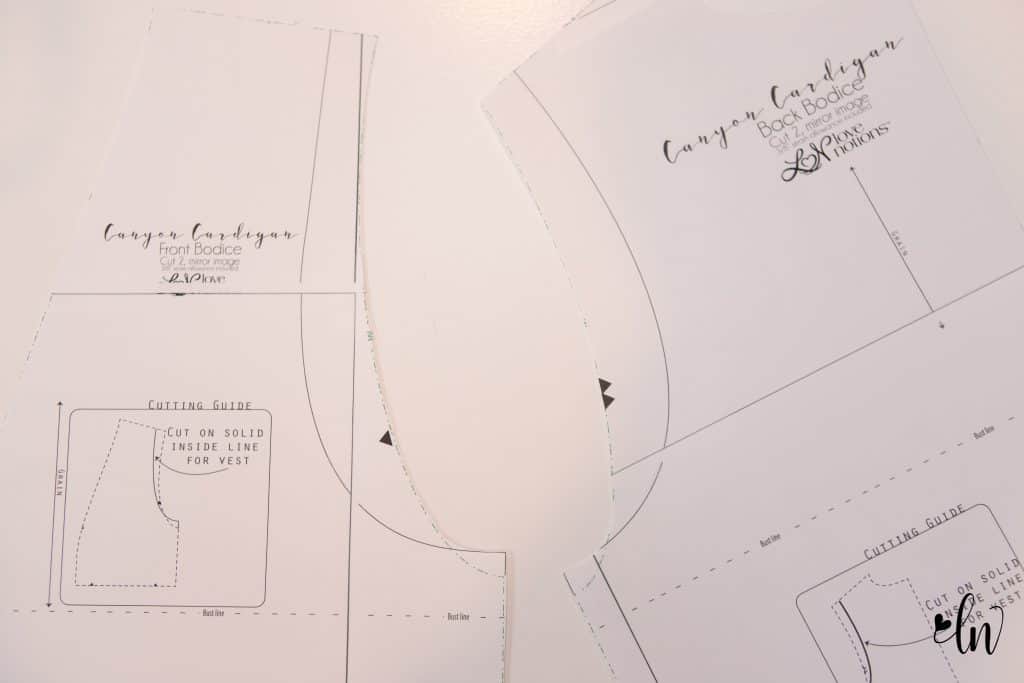
Tricks and tips for cutting out your pattern
I love sharing the little tricks I’ve learned over the years for cutting out patterns! Here is my latest find! This tape dispenser clips to the side of my table and prevents my tape from playing hide and seek with me while I assemble my pattern. I found it at my local Staples, it’s called Scotch Clip and Twist.

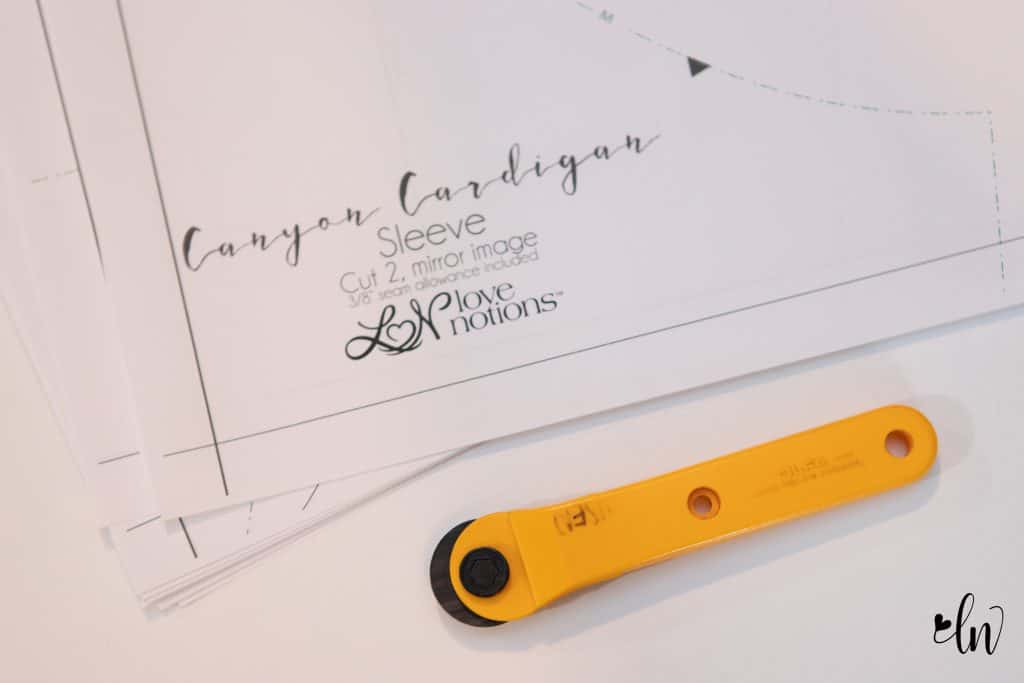
If you have joined in on a sew along before, you know my love for using an old rotary cutter for cutting out my pattern. It really speeds up the process!
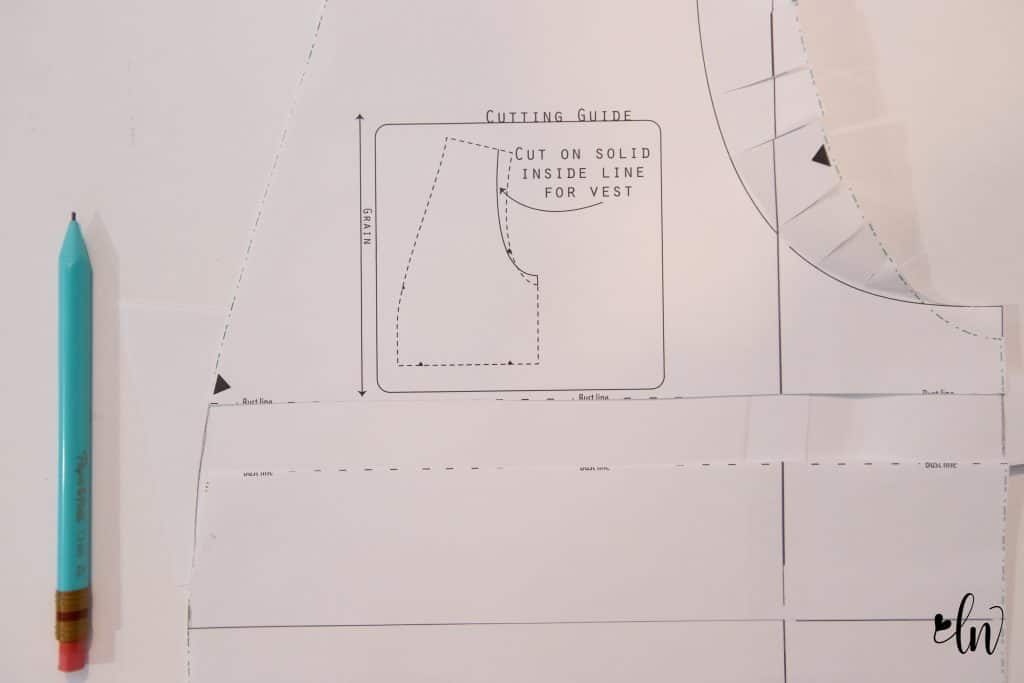
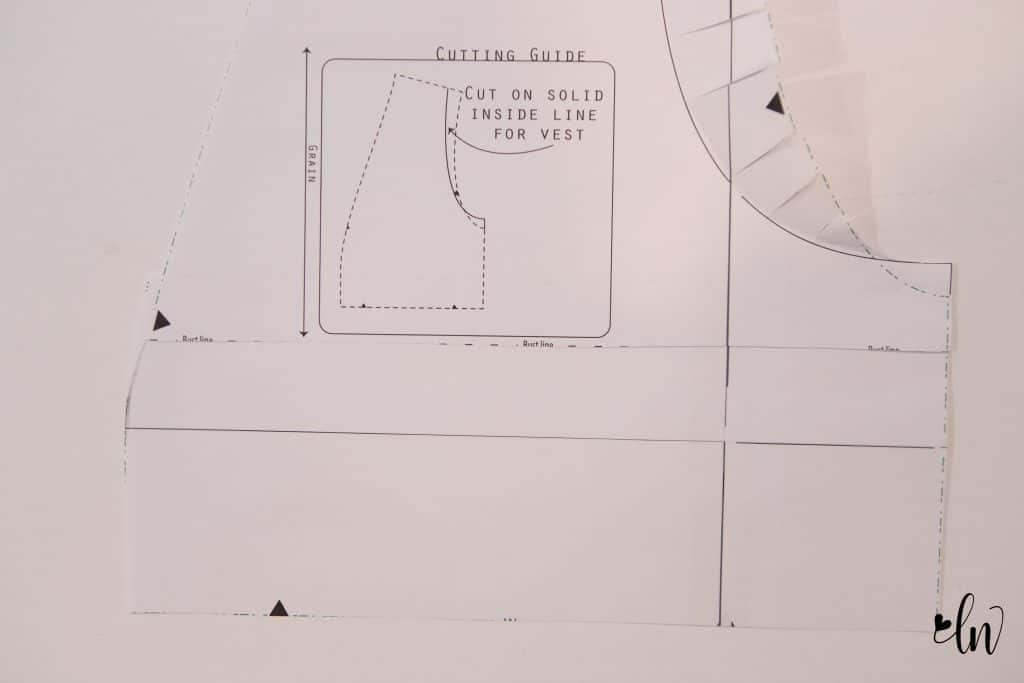
While cutting out the bodice, you may notice that there are two lines for the armscye. I cut my pattern out following the outer edge at all times, so the entire line of both options is available.
I clip into the pattern, perpendicular to the seam, to create pieces that I can fold back if I want to cut out the tank version. I can’t take credit for this tip. I read it somewhere in Facebook land. But it’s one I use all the time and it’s one of my favorite tips to share!
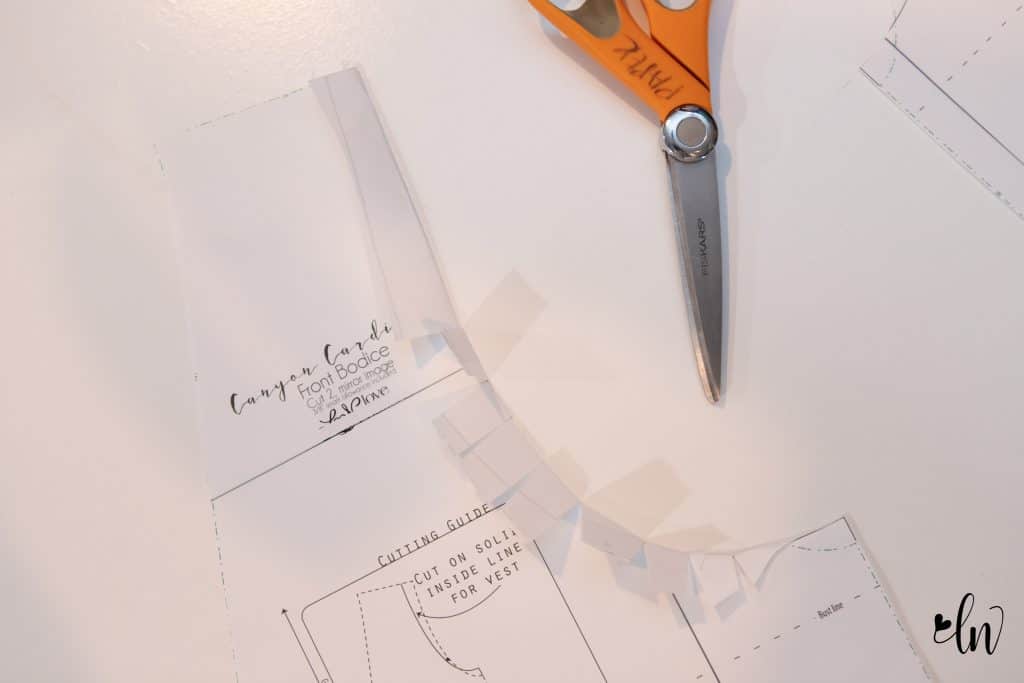
You have both options available to you always, and never have to worry about keeping track of a little pattern piece if you cut it off. It’s brilliant!
While you are cutting your fabric out, don’t forget to transfer your pattern markings!
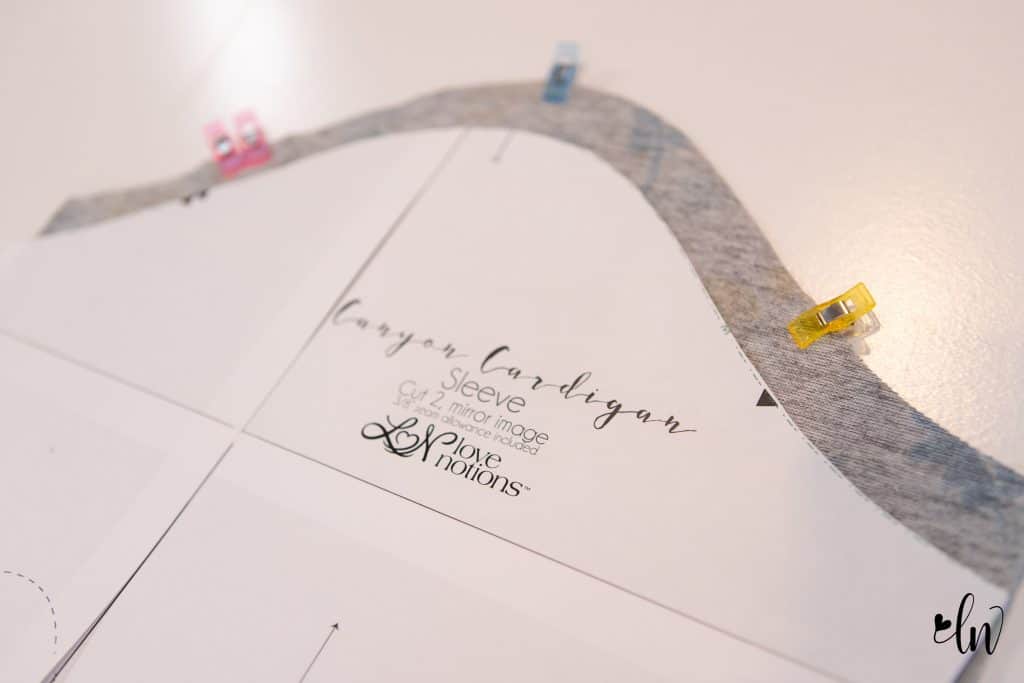
I used clips to mark the notches on my sleeve. If you are searching for ways to mark your pattern pieces, here is a blog post packed full of options! Don’t forget to mark your pocket placements and the triangles on the bodice front line as well. You will need those!! Oh, and the pleat mark on the skirt!
That’s all we have for today! If you haven’t prewashed your fabric, make sure to do that before you cut it out!! Knits can shrink a LOT!
Sew Along Schedule
Day One: Choosing fabric and making fit adjustments
Day Two: Sewing the bodice and pockets, waterfall duster hack
Day Three: Sewing the sleeves, flared sleeve hack
Day Four: Sewing the skirt, layered skirt hack
Day Five: Sewing the neckband, hemming and finishing the tank
Pin this for later!