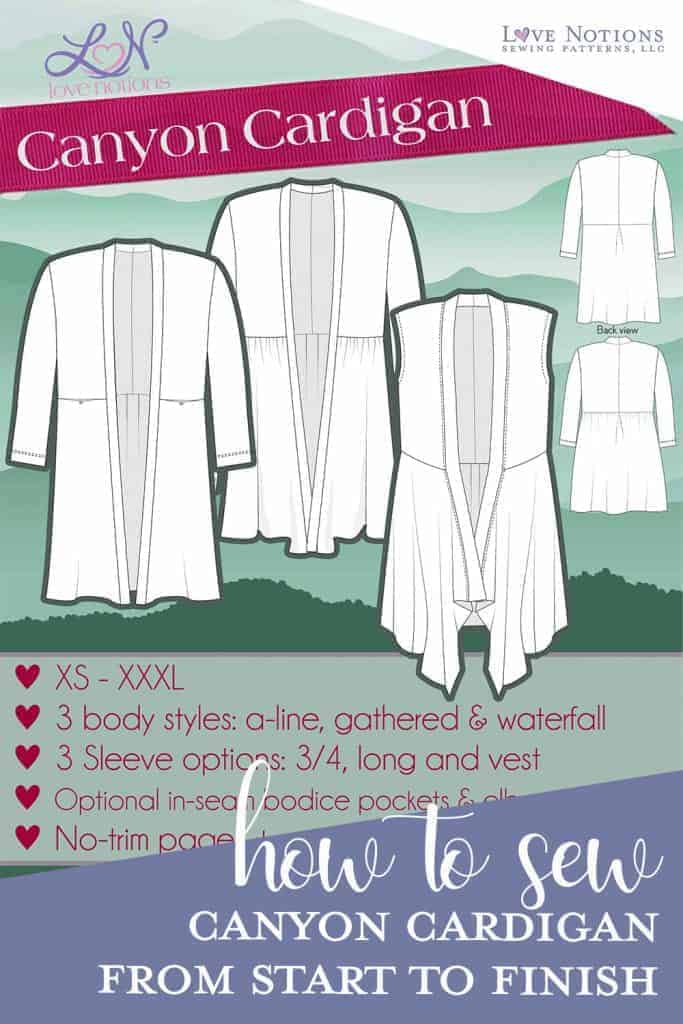
Canyon Cardigan Sew Along: Day Two
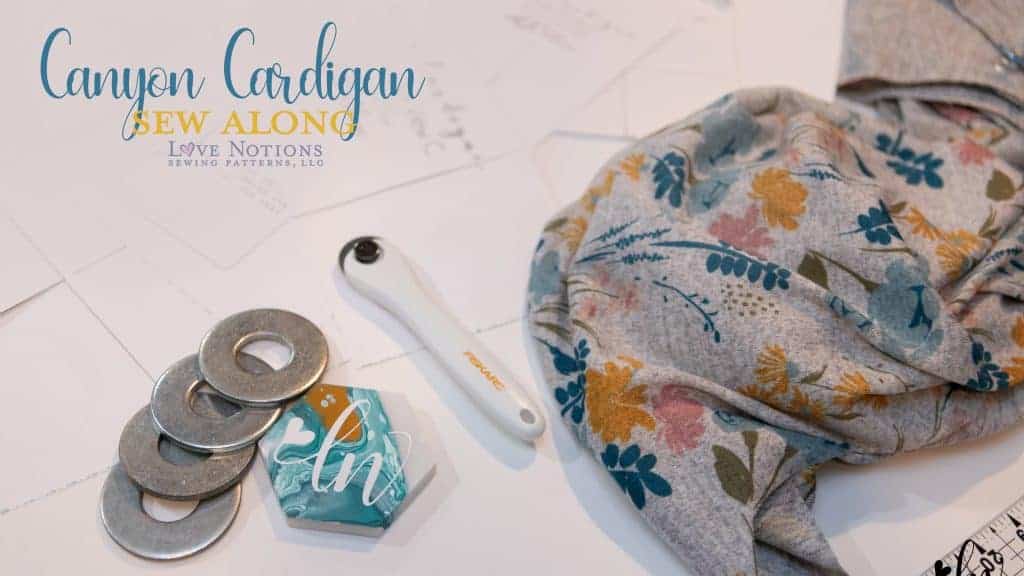
Welcome back to day two of our Canyon Cardigan Sew Along. If you are just joining us, you can get tips on selecting your fabric and help making fitting adjustments in yesterday’s post. Today, we will be constructing the bodice portion of our cardigans as well as the pockets. Let’s sew!
Sewing the bodice
The construction of the Canyon Cardigan is pretty straight forward, making this a great project for beginner sewists. If you want to try sweater knits for the first time, this is a great opportunity!
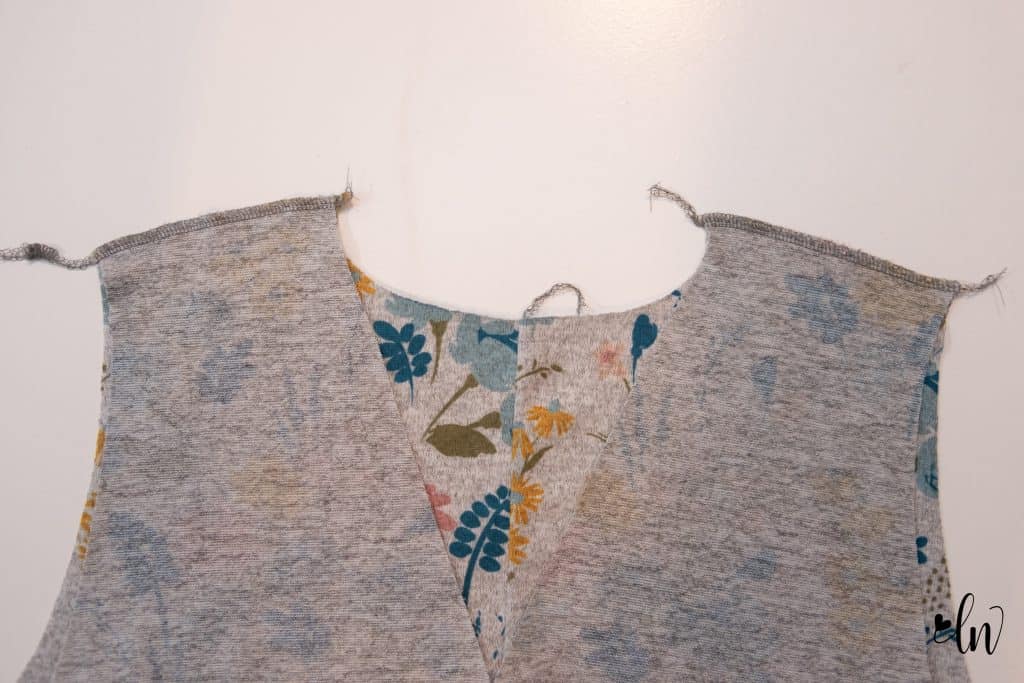
While cutting out your pattern, you will find that the bodice back is not cut on the fold. That back center seam allows for some shaping to take place, making your cardigan flattering with a great fit!
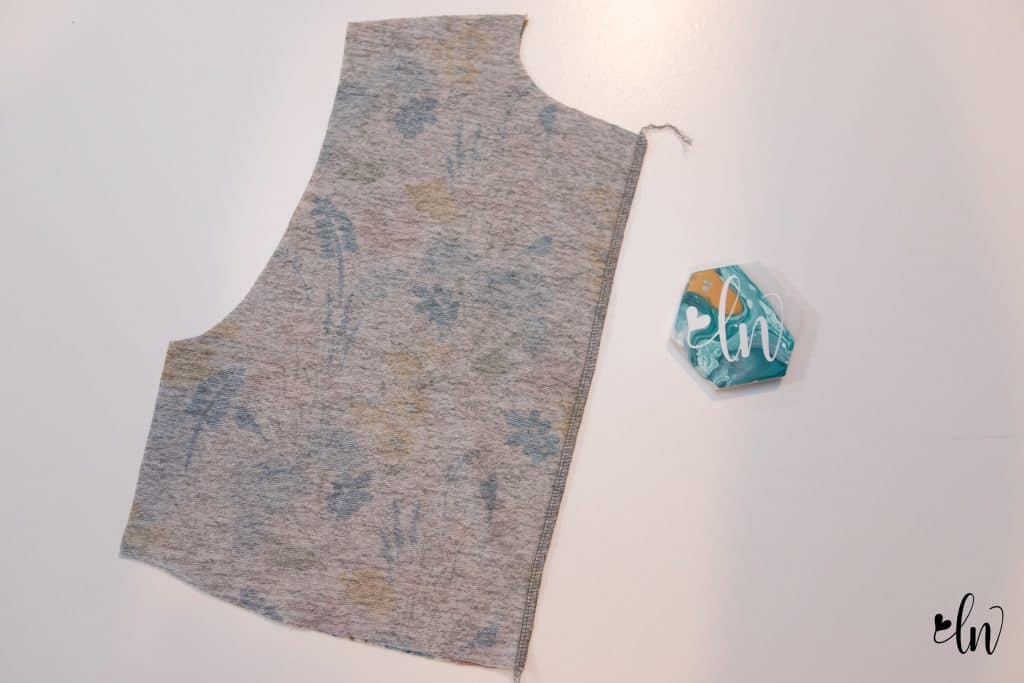
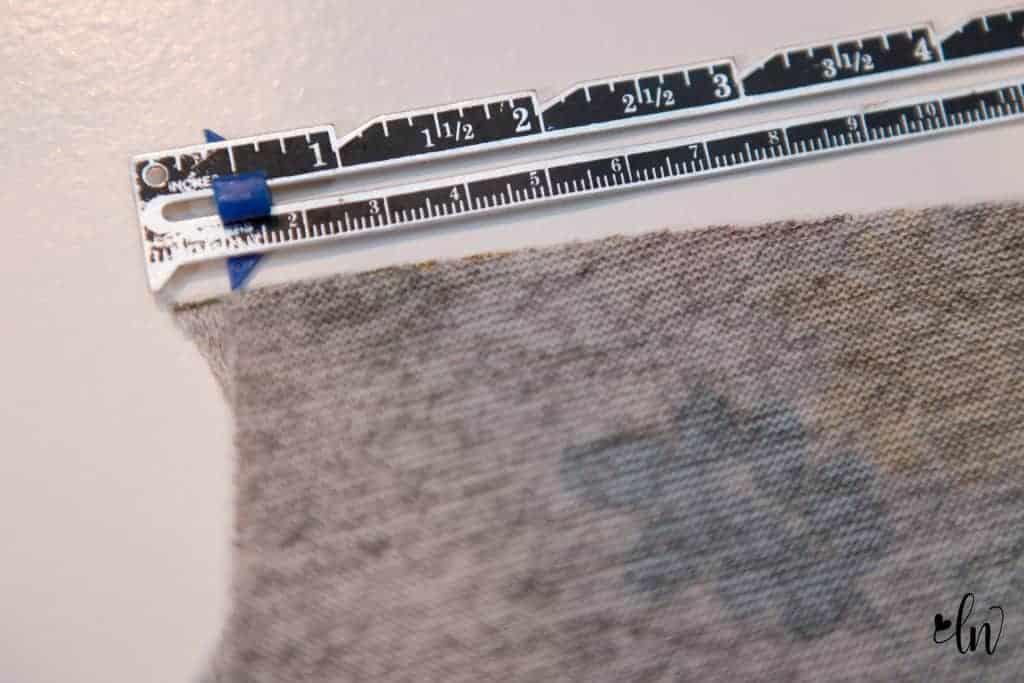
After you have the back sewn, it’s time to assemble the shoulder seams. Notice the back should piece looks longer than the front? Well, look closely, the seam lines match up. Line up the neckline side of the shoulder seam. The back piece will extend past the front a bit, but if you measure 3/8″ down, you notice that they match up. This is because of the different shapes for the front and back armscye.
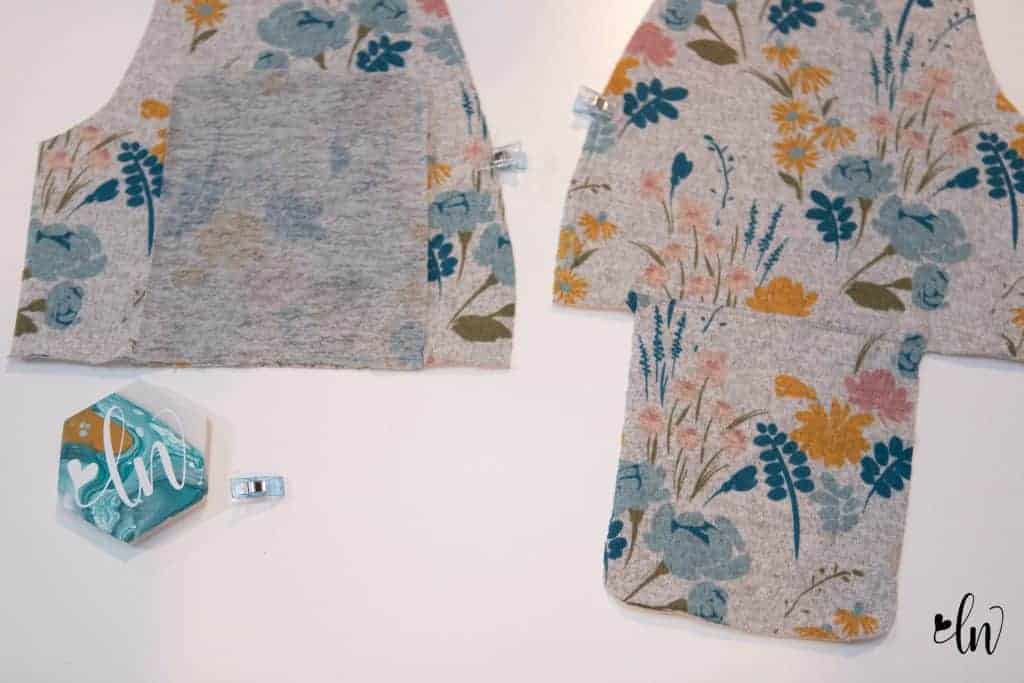
There, we have our bodice constructed! Now we can sew the pockets.
The pockets of the Canyon Cardigan are a fun feature! They are built into the waist seam. With the pocket and bodice front right sides together, line the pocket up between the pocket markings on the waist seam of the bodice piece. (The triangle shapes on the bottom of the bodice front piece.) Sew these together with a straight stitch instead of your serger. The multiple serger threads can create a little bulk here. Press the pocket piece downward and sew a straight line of stitching next to the edge of the pocket. Lengthen your stitch to help minimize stretching your fabric.
So that is it for today! Tomorrow we will sew the sleeves of our Canyon Cardigan!
Creating a duster length cardigan

I love the length of this hacci sweater knit cardigan! You can find the fabric I used over at Raspberry Creek Fabrics.
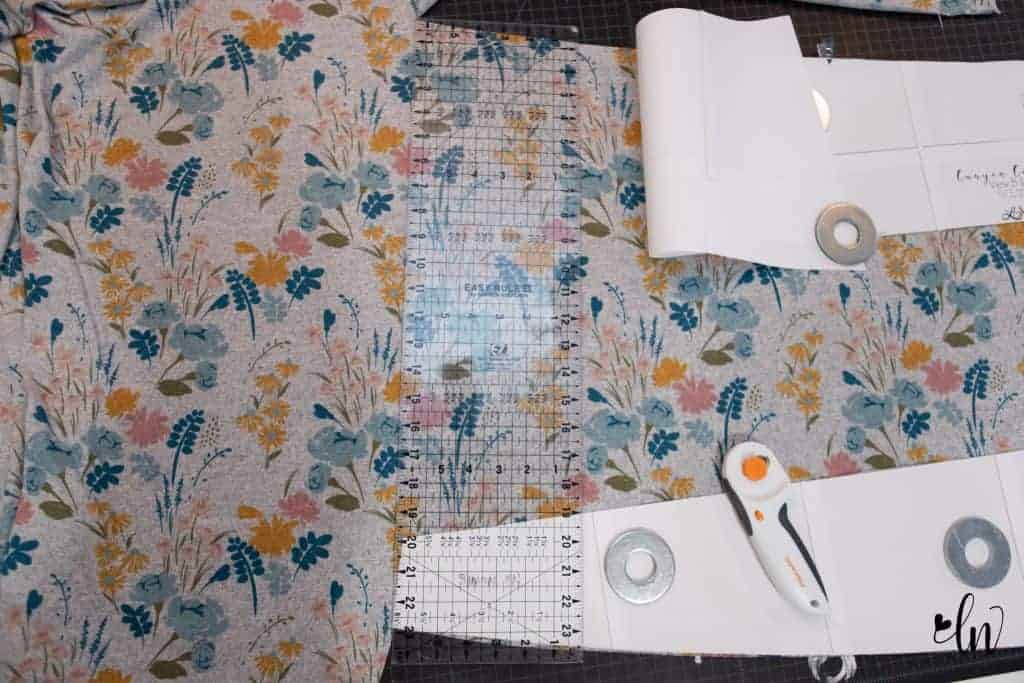
I left the bodice as is and simply lengthened the skirt portion using the lengthen/shorten line. Oh, and I used the waterfall version to create this. Cut the skirt apart on the lengthen/shorten line and spread them apart. I created a 23″ of length skirt portion using this method. (I’m 5’2″) Measurement is done on the back seam. I didn’t create a pattern piece by taping the pattern together after adjusting, just used my quilting ruler as a guide.
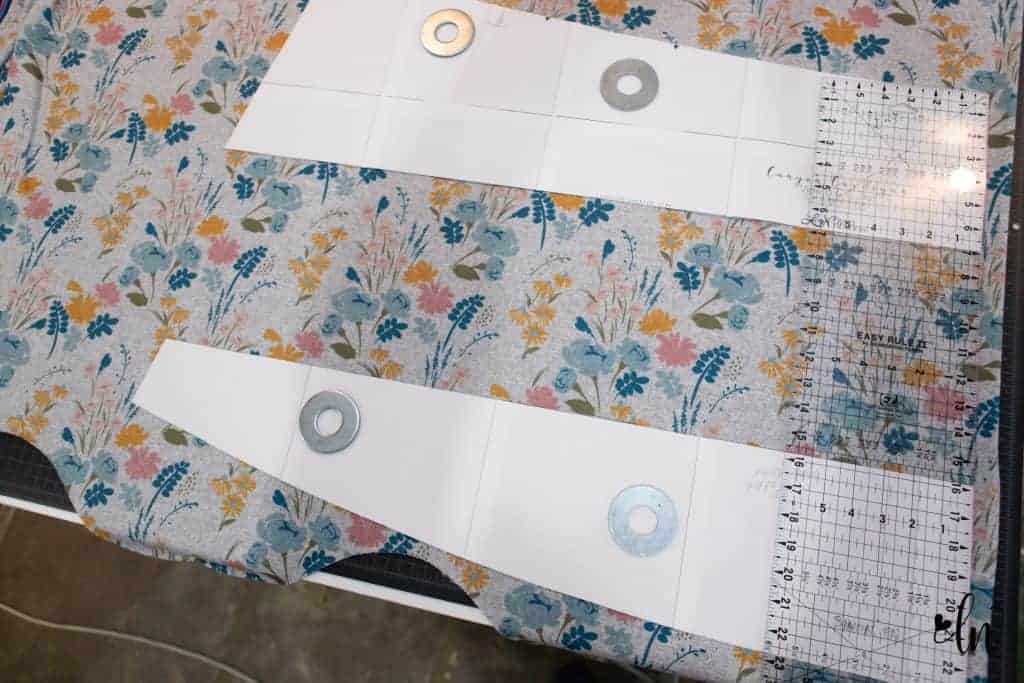
I cut the center (just leave on the fold if doing view A) and then cut the bottom and top portions of the skirt. I was careful to cut exactly to the edge, so I could use it as a guide for creating the front edge of the skirt.
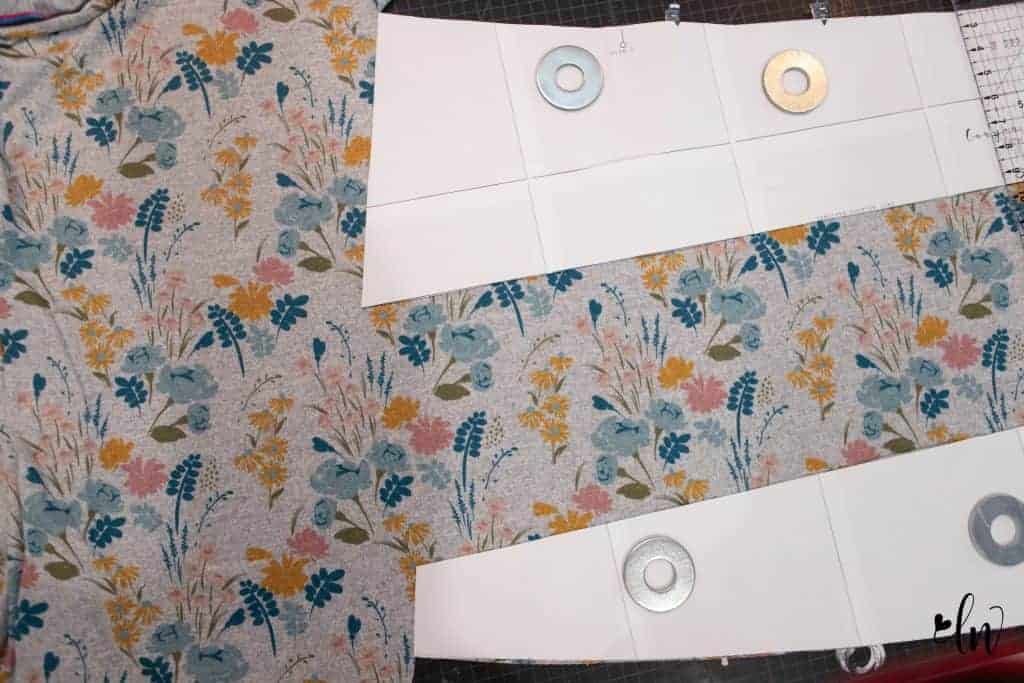
Then, I folded back the pattern pieces and used my ruler to connect the lines of the top and bottom.
That’s it! Remember, if sewing view B or C, you will need two skirt pieces, mirror imaged. Assemble the cardigan per the directions, nothing changes there.
Sew Along Schedule
Day One: Choosing fabric and making fit adjustments
Day Two: Sewing the bodice and pockets, waterfall duster hack
Day Three: Sewing the sleeves, flared sleeve hack
Day Four: Sewing the skirt, layered skirt hack
Day Five: Sewing the neckband, hemming and finishing the tank
Pin this for later!