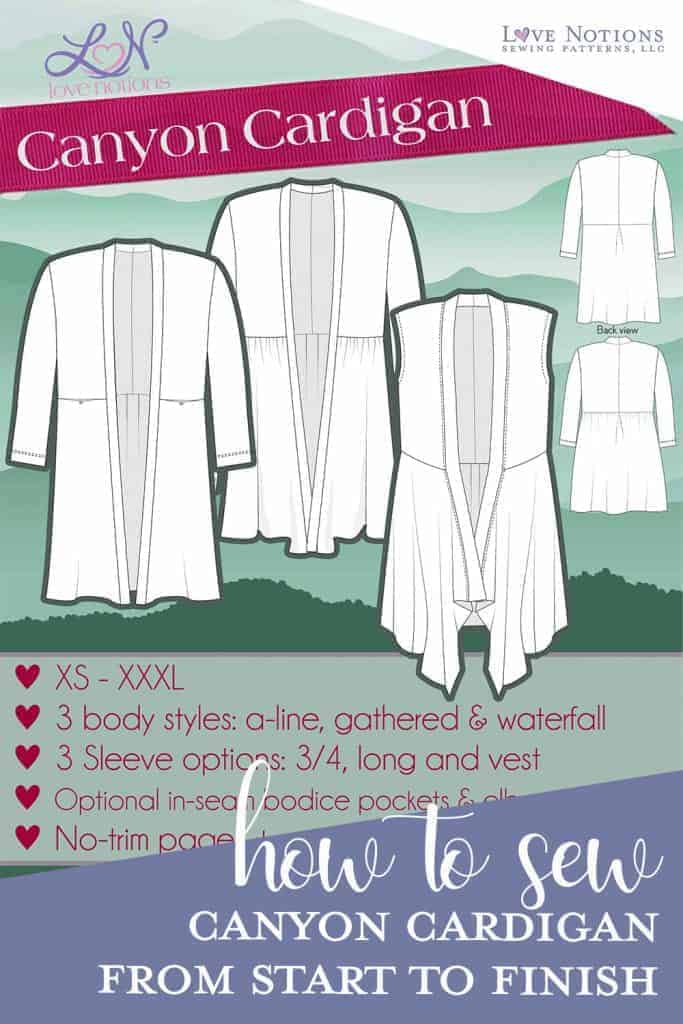
Canyon Cardigan Sew Along: Day Three
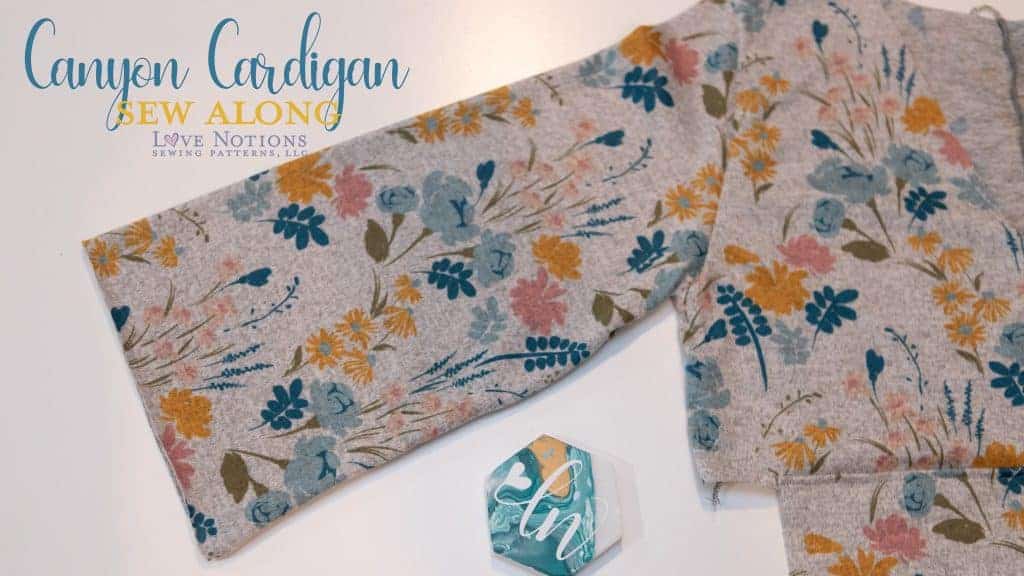
Day three is sleeve day here at the Canyon Cardigan Sew Along. There are three sleeve styles to choose from, a long sleeve, a 3/4 sleeve, or a sleeveless view. These options make the Canyon Cardigan perfect for all year round! Today, we will focus on the sleeves, the sleeveless view will be finished out later in the week, due to the way the construction differs.
Sewing the sleeves
Sleeves can be a tricky thing to sew when you are new to sewing clothing. But, if you take your time, you can do it! Did you make sure to mark the different markings on the sleeve cap and bodice pieces? If you didn’t do that when you cut your fabric, go back and do it now. Just lay the pattern piece on top of the fabric and mark. I used clips for the sleeve cap. For more ideas on how to mark your fabric, you can jump to this post.
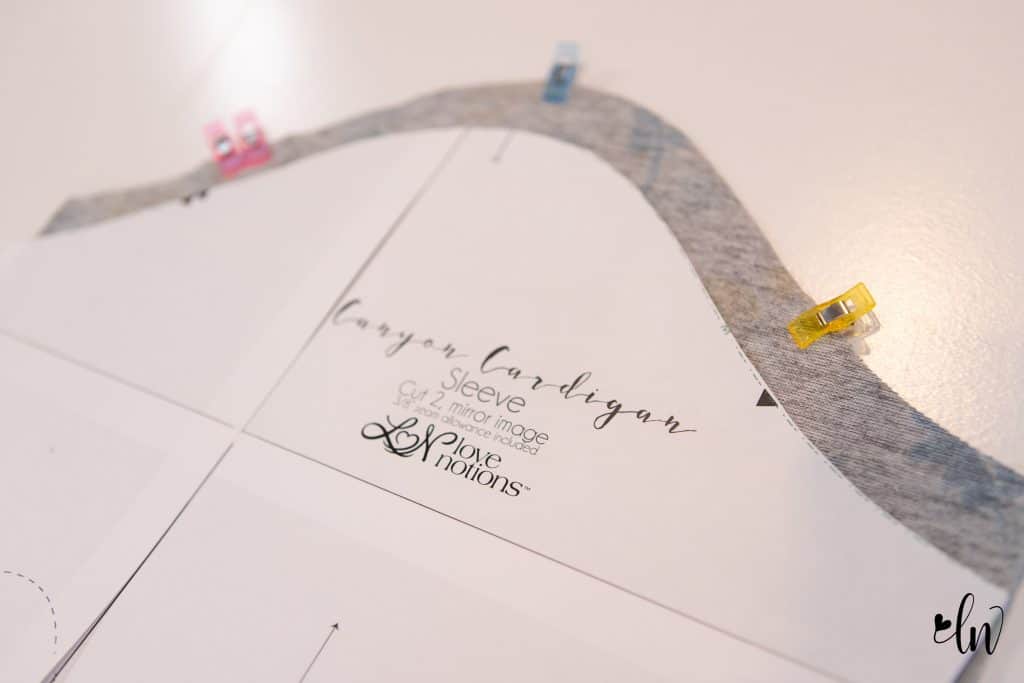
With right sides together, match up the center mark of the sleeve cap with the shoulder seam of the bodice. Then, match up the front (single triangle) and back (double triangle) marks. Are you more visual? Here is a video showing how to sew in a sleeve.
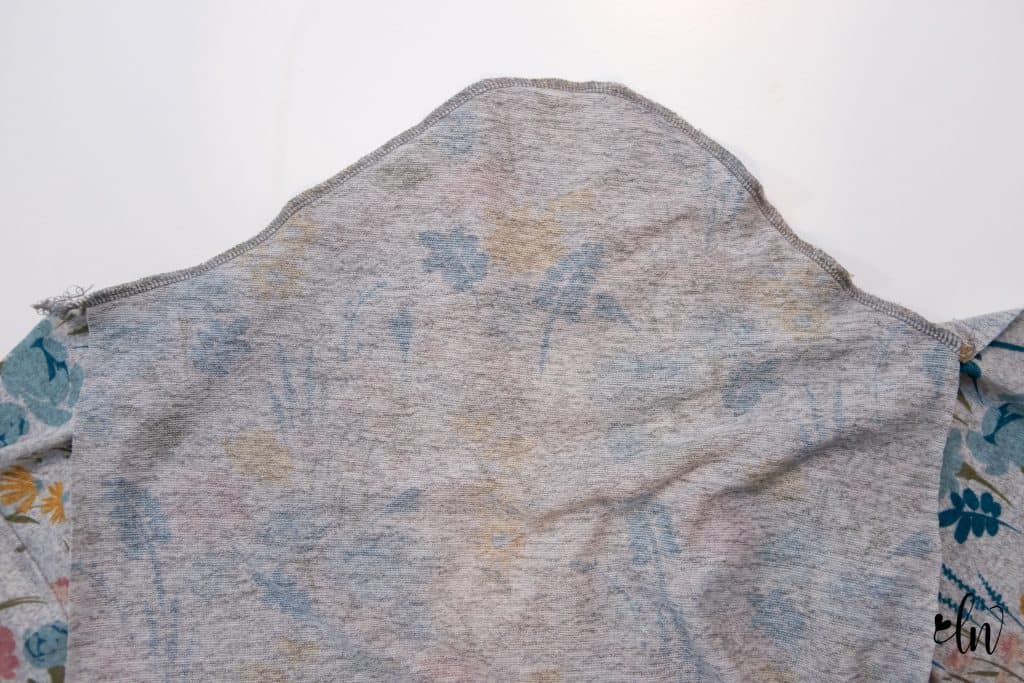
You will probably find that you have to ease the sleeve and bodice together. That is okay!!! Trust the pattern here, it works. 😉
After you have the sleeve cap sewn in, match up the seam of the sleeve and the side seam of the bodice, right sides together and sew in place. You may notice that I’m using a serger for my construction. If you have a standard sewing machine, you can use a straight stitch for this seam. I would suggest a stretch stitch for the sleeve cap though.
Sleeveless Cardigan
If you opted for sewing a sleeveless cardigan, sew both side seams of the bodice. Now, sew the short ends of the band together. Do this for both bands.
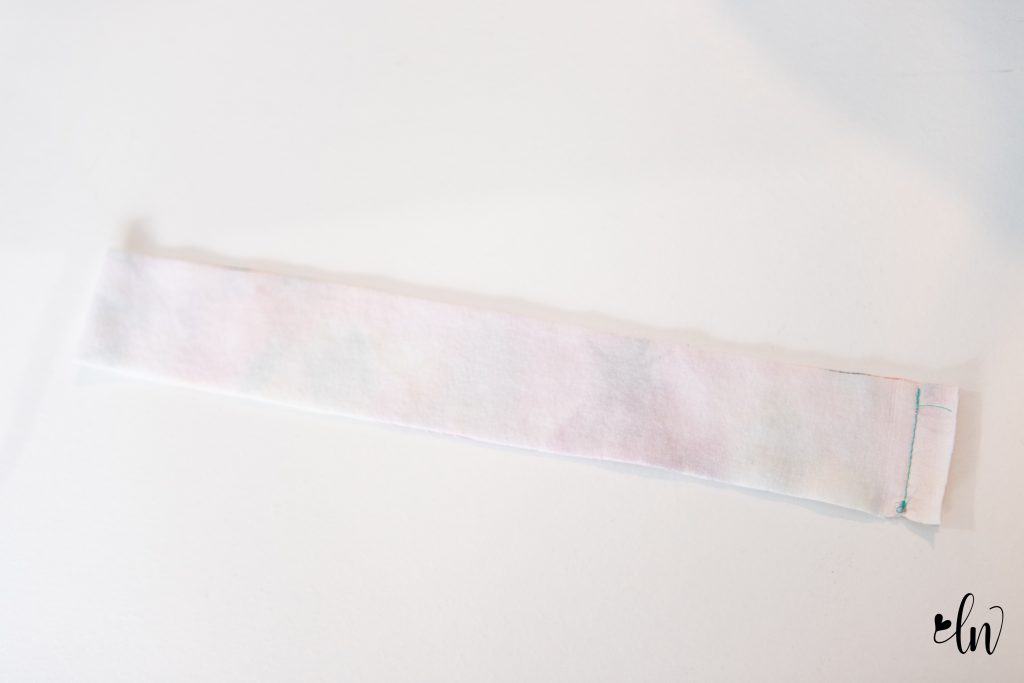
I like to sew this with a sewing machine and press this seam open to reduce the bulk. A serged seam is a bit more bulky here.
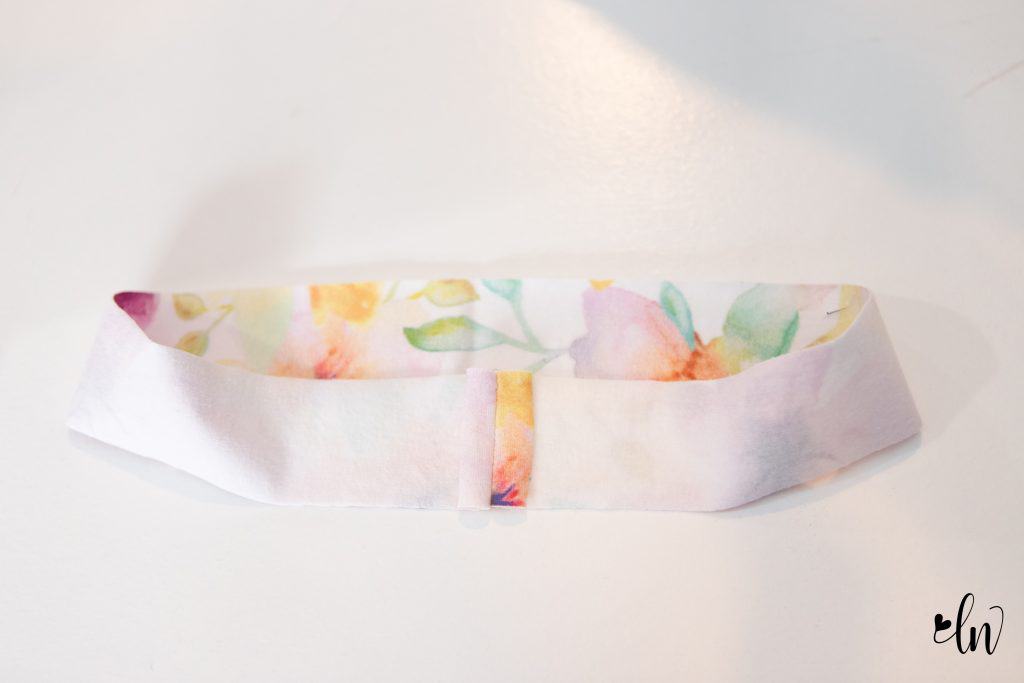
Find the quarter points of the back and the arm hole and match them together. Line the seam of the band up with the side seam and place your band and bodice right sides together. Sew in place gently stretching the band to match the arm hole. You won’t have to stretch much. You can use a longer straight stitch for this step if you prefer.
Fold the band to the inside of the bodice. We are folding it along the seam we just sewed. I just left the raw edge out, but if you prefer, you can fold it under. I don’t like the bulk it creates, but it does make a nice finish when you do that.
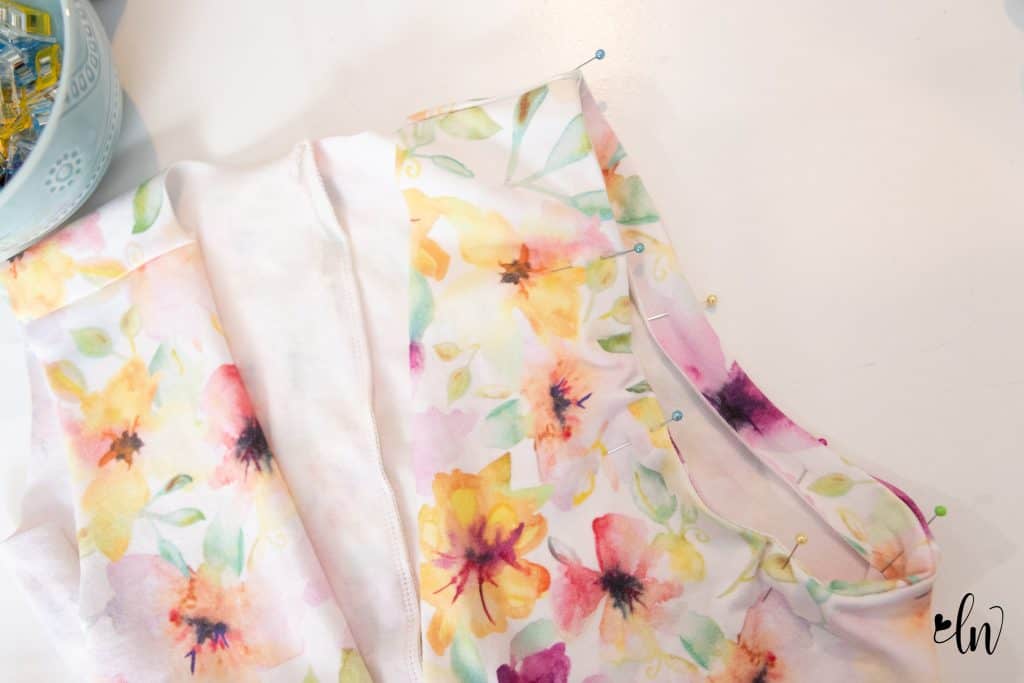
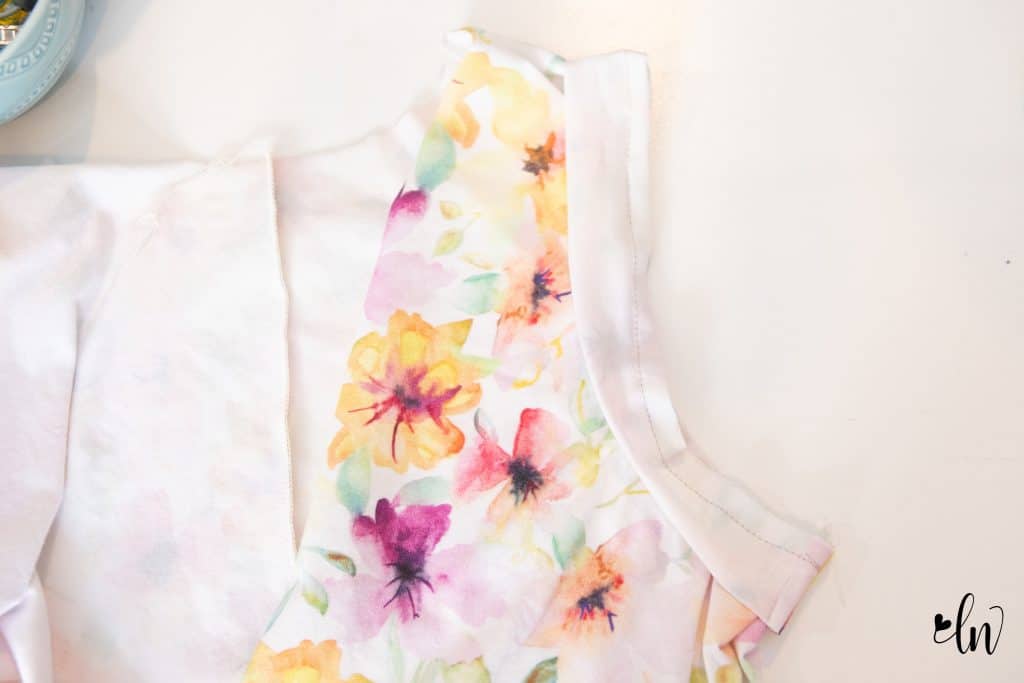
Sew in place. Since this seam doesn’t need to stretch, you can use a straight stitch (lengthen your stitch length. I prefer a 4.) You can also use a twin needle or a coverstitch machine. (I used a coverstitch below.)
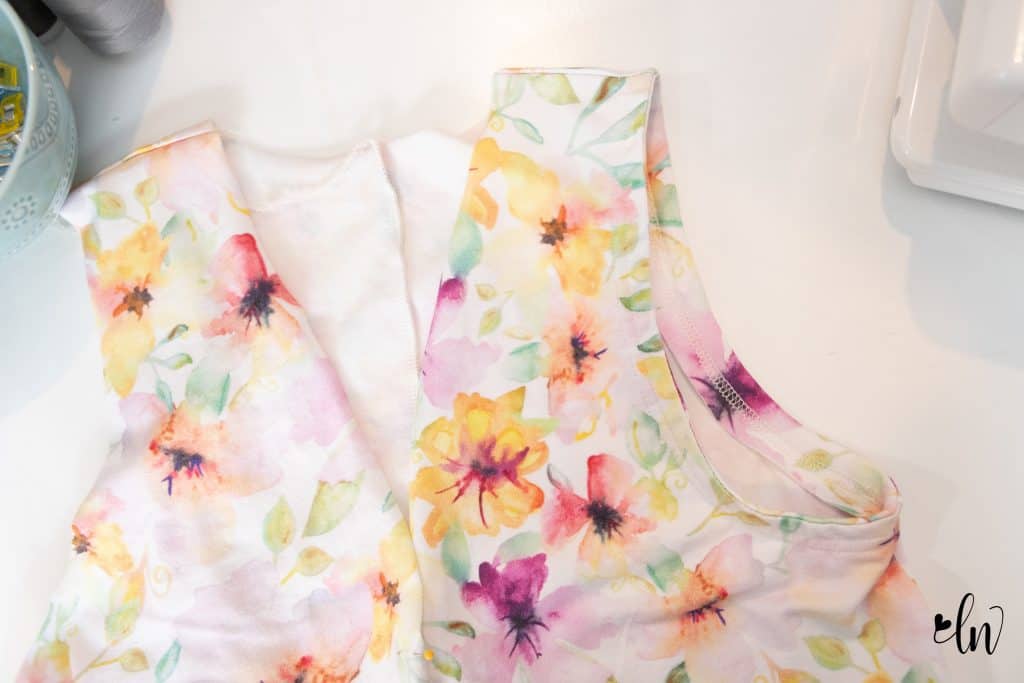
You can trim the excess fabric after you sew the binding into place if you did not fold the raw edge under.
Create a flared sleeve

The Canyon Cardigan is designed to have a fitted sleeve. However, I thought it would be fun to create a flowier look. It was so simple to do and I just love the result! I am going to definitely do this again, but probably add a bit more width to it next time. You can tackle this hack in two ways, I went with the quicker way. Next time, to get more flare, I will cut into the pattern and spread the pieces apart. The same method was use in this post for changing up the LDT. Cut into the sleeve up to the sleeve cap and spread apart.
Using the 3/4 length sleeve, I placed my ruler on the hem added 3.5″ on each side. (Yes, the ruler shows 1.5″, I added more after I tried this out and forgot to take a new picture.)
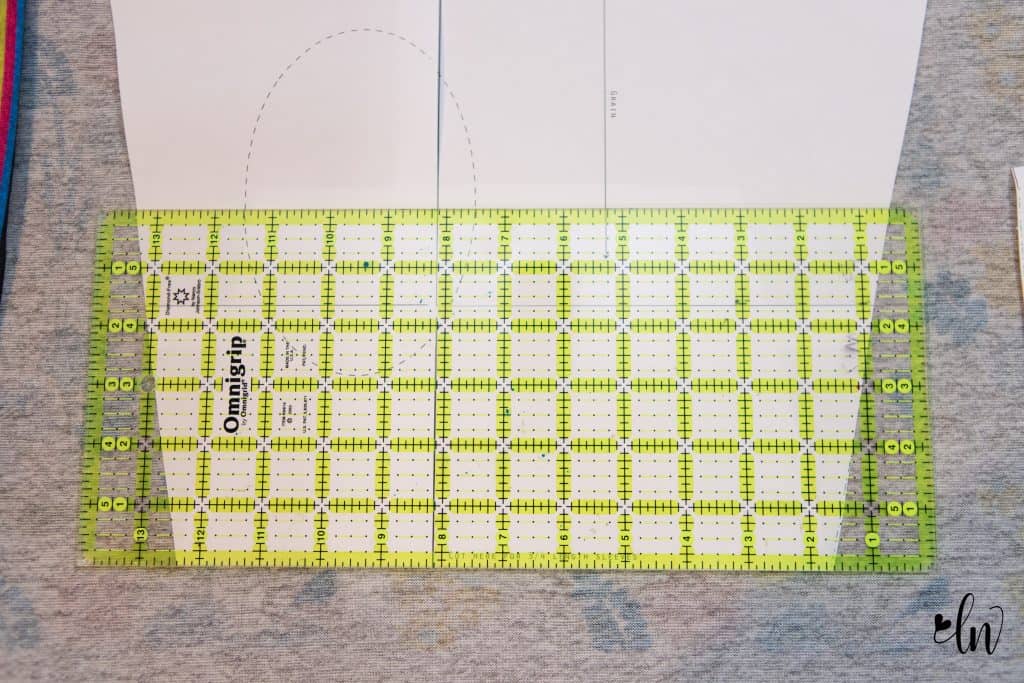
I then connected the edge of the new hem with the end of the sleeve cap with my ruler, creating a new sleeve. Again, I recommend at least 3.5″ added on each side (this was for a size medium) Next time I’ll probably add six to eight inches on each end to make it really dramatic!
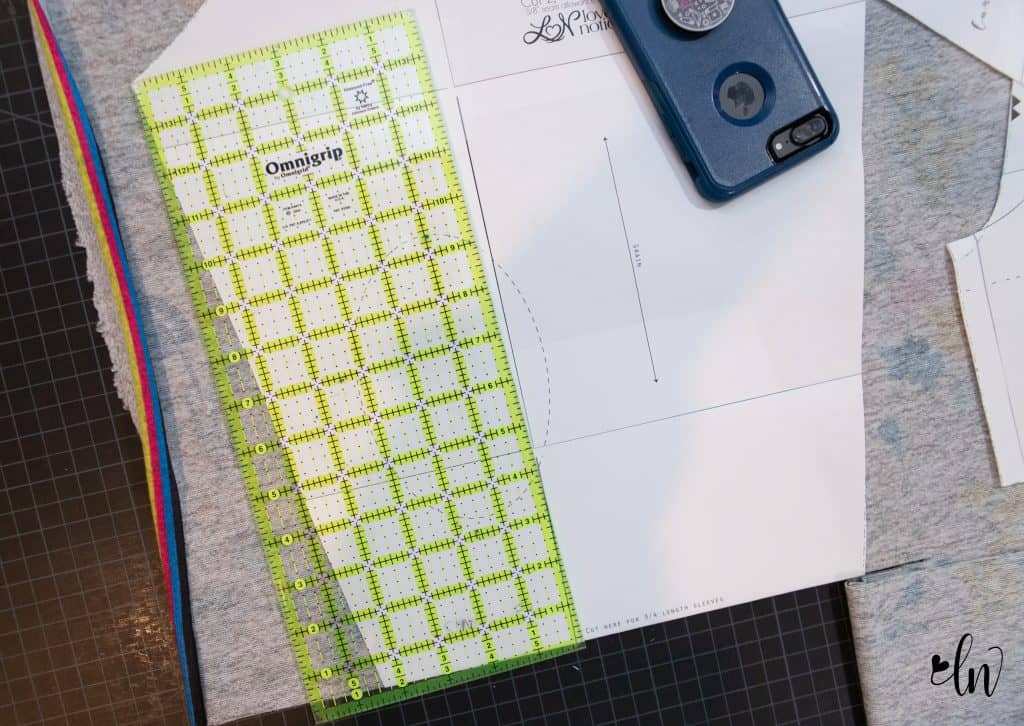
Then construct the sleeve as usual!
You can jump back to yesterday’s post for a picture of the flared sleeve modeled. While you are there, check out how to lengthen the cardigan for another fun look!
Sew Along Schedule
Day One: Choosing fabric and making fit adjustments
Day Two: Sewing the bodice and pockets, waterfall duster hack
Day Three: Sewing the sleeves and finishing the tank, flared sleeve hack
Day Four: Sewing the skirt, layered skirt hack
Day Five: Sewing the neckband, hemming
Pin this for later!