Driftwood Sew Along: Day Two
Today we begin assembly on our Driftwood. If you are sewing the polo or henley version, we will be assembling the placket. If you are nervous about this part, DON’T BE! You got this!
Sewing the button placket
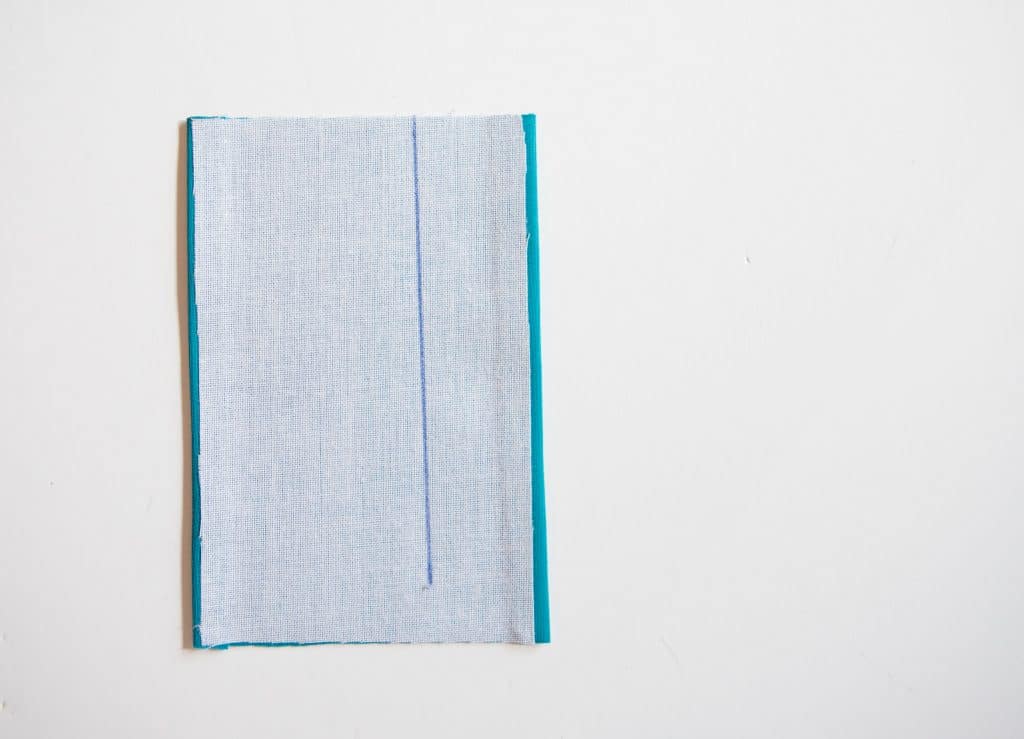
Step one of sewing the button placket is interfacing the placket piece. This part is so so important! Not only does it give your fabric some stability, it helps keep everything looking nice and neat! The interfacing piece gets ironed into place after we fold in the sides. This keeps the sides in place and gives us the nice clean finish we desire on the sides of the placket. As you can see, the interfacing piece is slightly more narrow than the placket piece. This keeps the interfacing hidden after the placket is assembled.
There is a video in the tutorial that walks you through each step of the placket and collar construction. So, I am not going to focus on that here. If you have any questions, feel free to post in the comments or email me at [email protected]. I’m happy to help out! You can also post in the Facebook Group.
How to sew buttonholes and buttons
For some tips on sewing buttonholes and buttons, hope over to this post for some tips.
If you prefer video tutorials, here is a video of how to sew a buttonhole
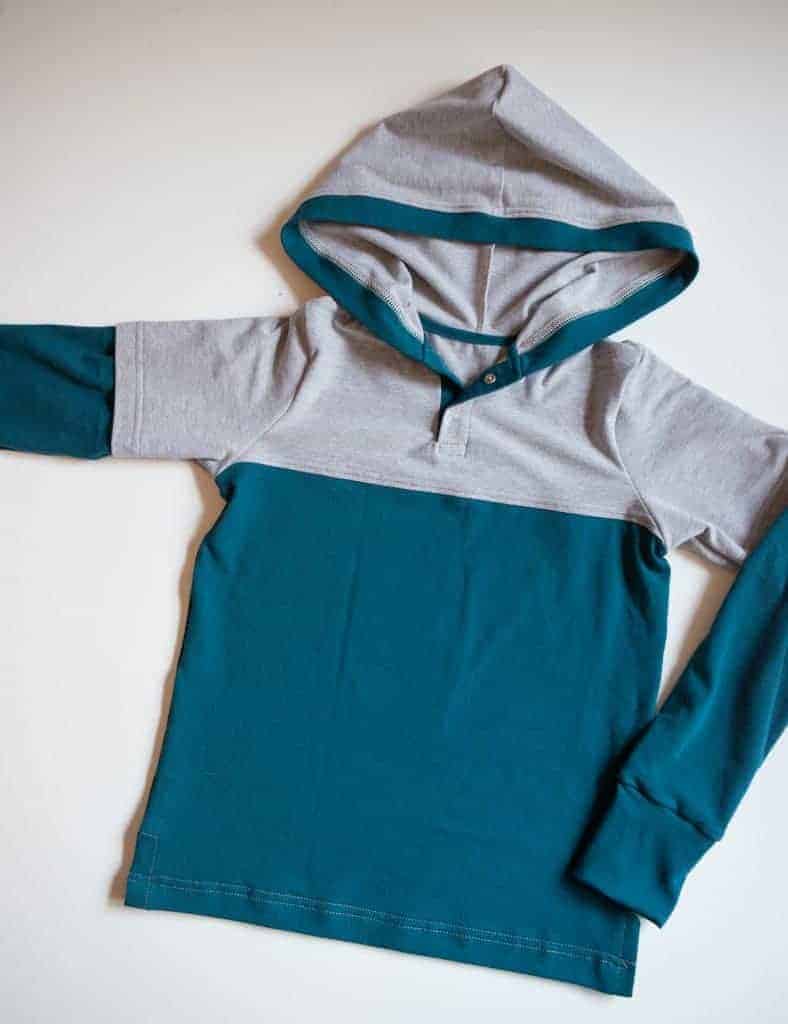
Let’s talk about a hood hack!
This is so easy and it really changes up the look of Driftwood!
Yesterday, I told you how to cut out a hood to match up with Driftwood. If you cut a standard hood, no band, go ahead and hem the front edge. If you want to add a band, this is how to do it.
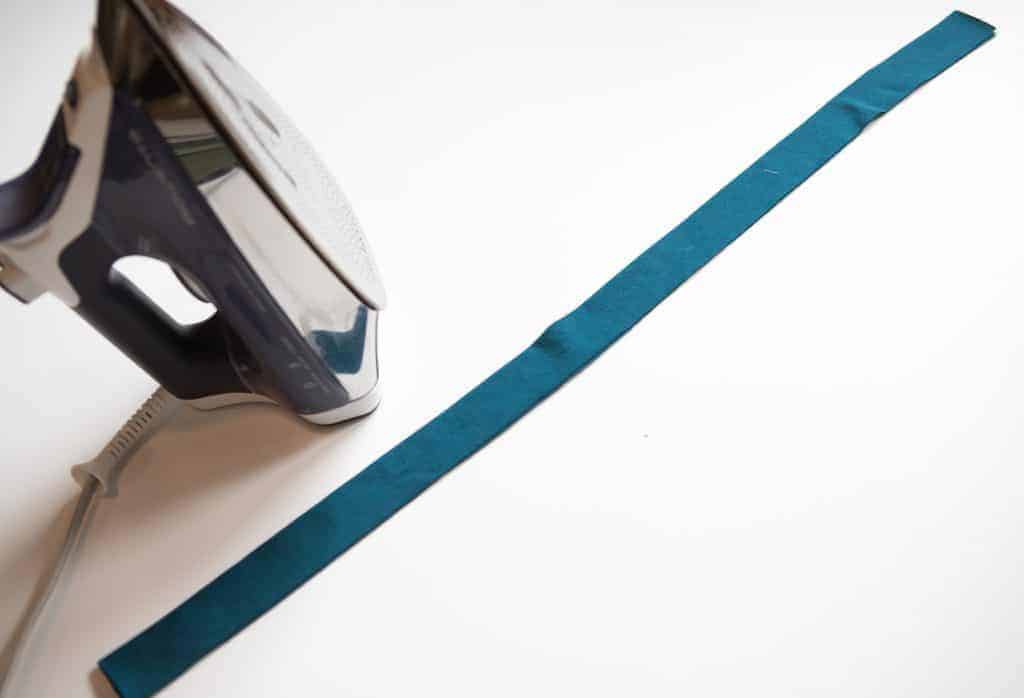
Take the band piece and fold in half width wise, wrong sides together, and press.
After it’s nicely pressed, attach the band to the right side of the hood, with the raw edges matched up. Then sew in place with a straight stitch or serger. Press the seam allowance towards the hood. You can then topstitch the seam allowance in place, if you like.
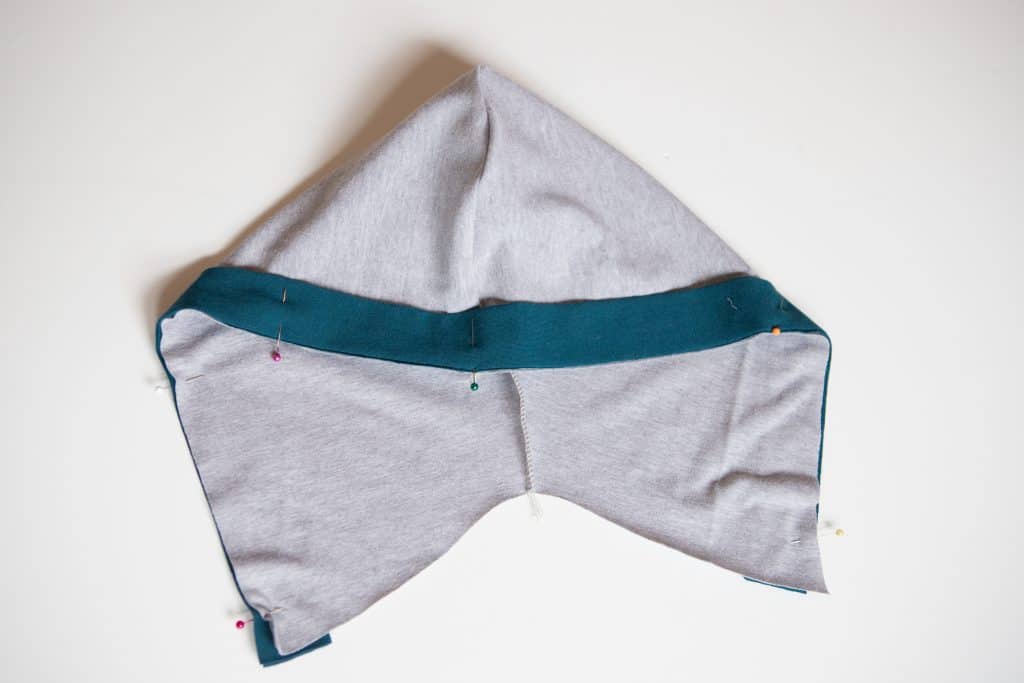
Now, just attach the hood in the exact same manor as you would attach the henley collar, after you have sewn the button placket. Line the center back of the hood with the back center of the shirt’s body and line the front ends of the hood up with the edges of the placket, just like the henley collar is lined up. That’s it!
Super easy to add a hood to your Driftwood!
Join us in the Facebook Group this evening at 8CST for a live video and ask questions and get a sneak peak at tomorrow’s Driftwood hack.
If you missed day one of our sew along, you can find it here.