Driftwood Sew Along: Day Three
Day three of the Driftwood Sew Along is collar construction day. And I have cute Peter Pan collar hack for you as well! And, it gets better, I’ll show you how to create cap sleeves, too!! Yesterday we went over the placket construction and I gave you the option of a hood hack. If you missed though, you can hope over to the post here and catch up. Now, let’s get onto the collar.
Sewing the collar
The video tutorial in the pattern directions includes how to construct the collar. Go check that out if you are having any issues.
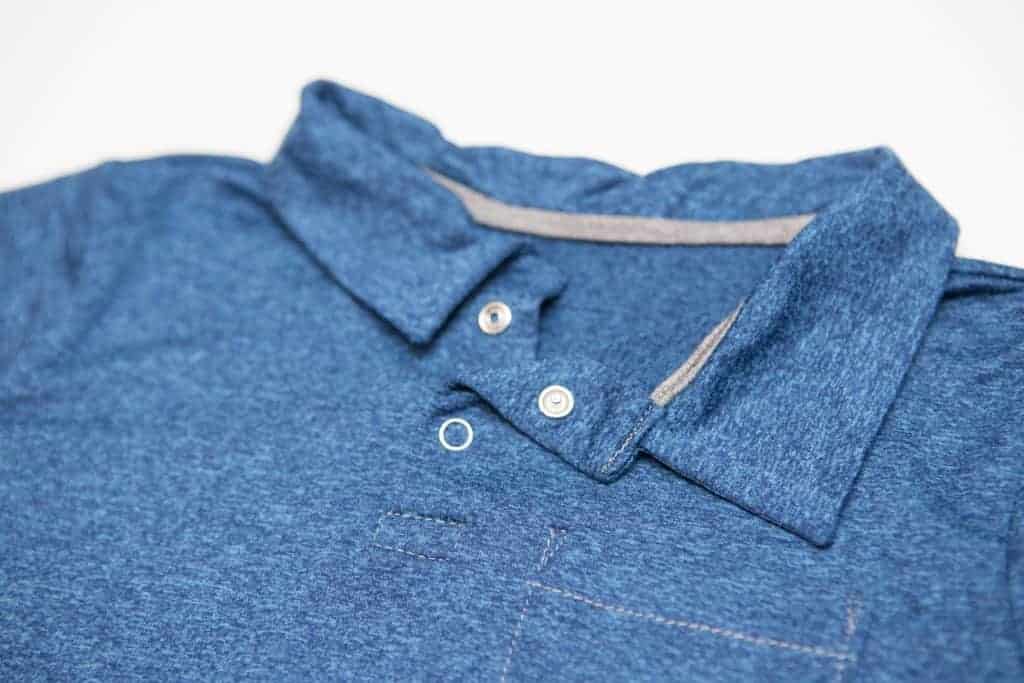
Some quick tips on the collar before we go on to the Peter Pan collar.
- Be sure to clip the seam allowance after you sew the two collar pieces together. This is especially important at the corners. You need to remove bulk to get those nice pointy collar corners!
- About those corners, use a turning tool, chop stick or even a large wooden knitting needle to push those corners out. You will need something more than your finger to get great corners.
- If sewing a henley collar, you still need to trim the seam allowance. get really close around the curve. Then after you turn the collar right side out, smooth the curve out by pushing your finger along the seam from the inside.
- When attaching the binding, it is SUPER important to keep that 3/8″ seam allowance. If you don’t, the binding won’t wrap around the seam allowance.
- After the collar and binding are attached, trim the seam allowance down. This makes covering the seam allowance much easier.
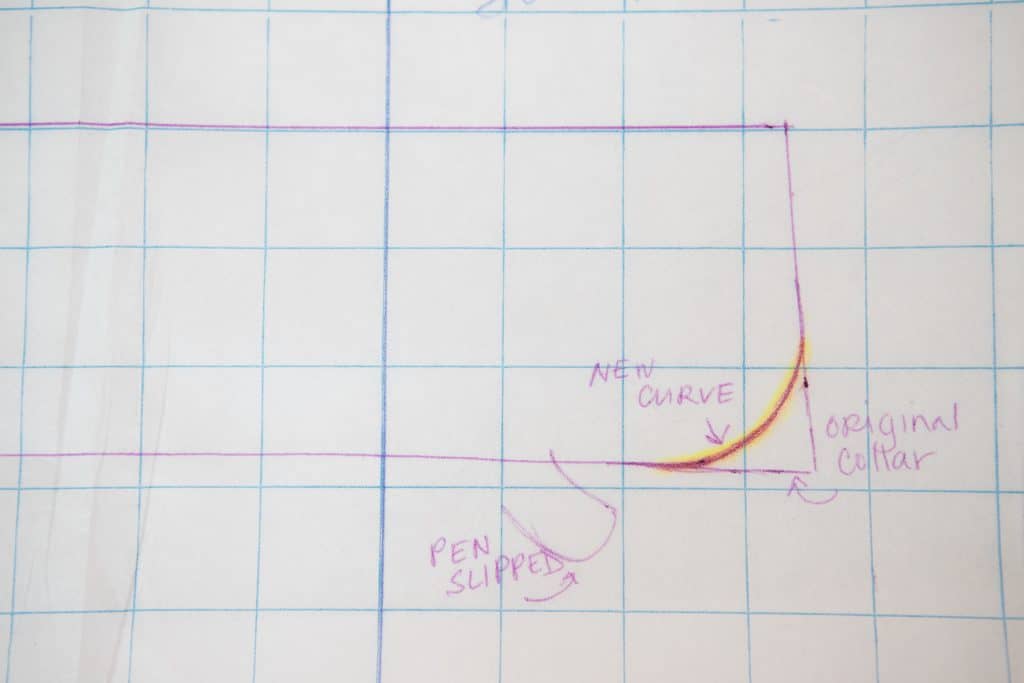
Creating a Peter Pan Collar
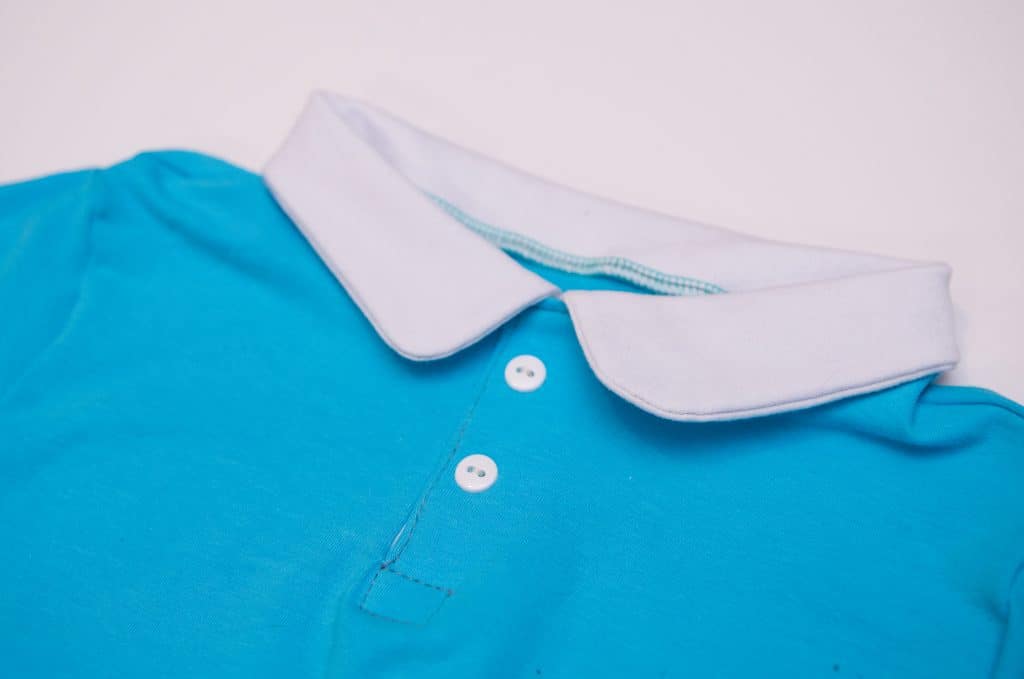
This is such a quick way to change the look of the Driftwood polo! Simply round out like the drawing below. That’s it! Cut two collars and sew like the original collar. You want to make sure to trim the seam allowance still, especially around the curve. Get close there, I trimmed down to about 1/8″.
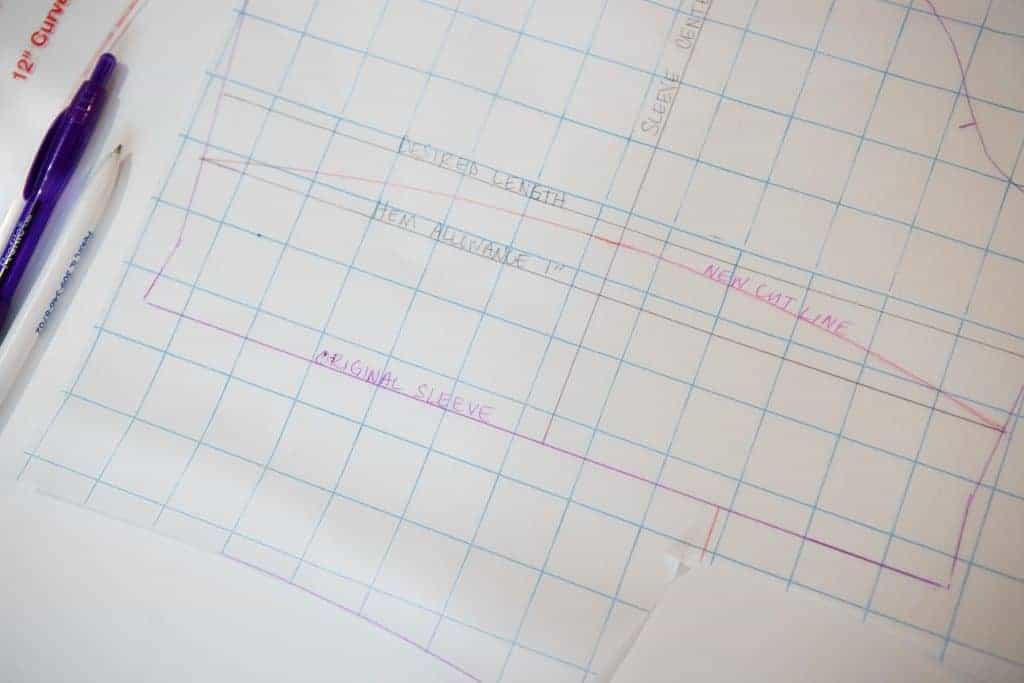
Creating cap sleeves
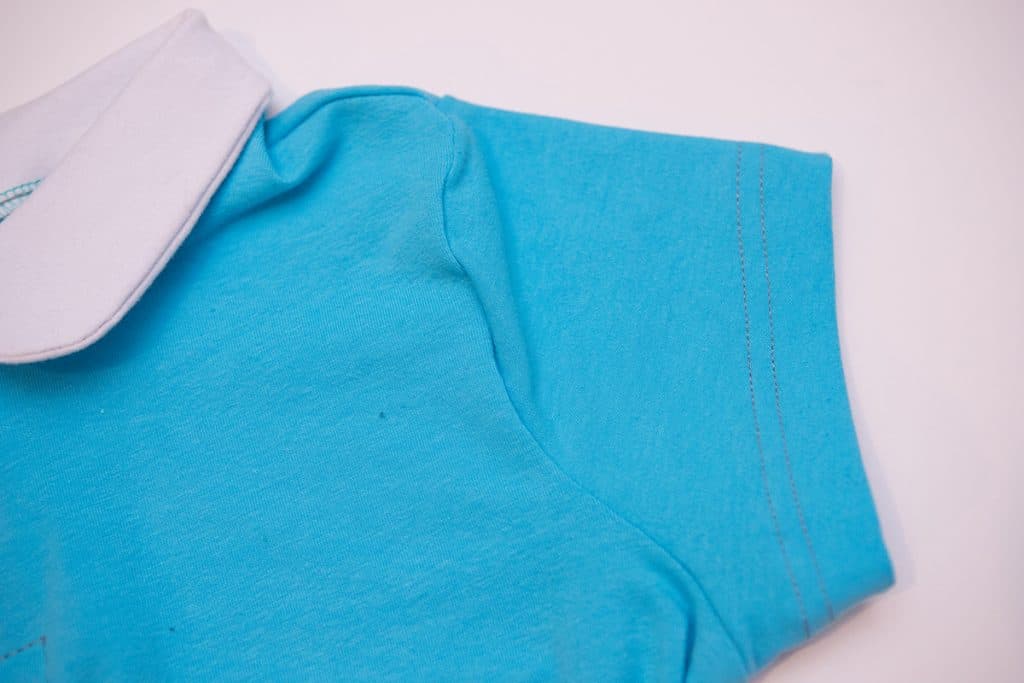
This change is a bit more work, but still very doable! Using the center notch as your guide, draw a line through the sleeve piece to mark the center. Determine where you would like the longest point of the sleeve to be. I went with 2 inches from the sleeve cap. Then, draw in your hem allowance 1 inch below that. Now, create a soft curve using the hem allowance line as your starting point. The red line below is the new bottom hem of the sleeve.
If you find the sleeves a bit wide after it has been attached and the side seam sewn, sew a larger seam allowance starting at the hem and gradually taper to the side seam.
Join us in the Facebook Group this evening at 8CST for a live video and ask questions and get a sneak peak at tomorrow’s Driftwood hack.
If you are just joining us for the sew along, you can find day one here and day two here.
Tomorrow we cover hemming and the side seam vents. Friday I have an alternate finish for the neckline. Then, you have the weekend to catch up if needed. Post your Driftwood creations in the Facebook Group in the assigned post to enter to win a gift certificate from Love Notions and from Zenith and Quasar! You can also enter by posting on Instagram by tagging @lovenotions and using the hashtag #driftwoodsewalong