


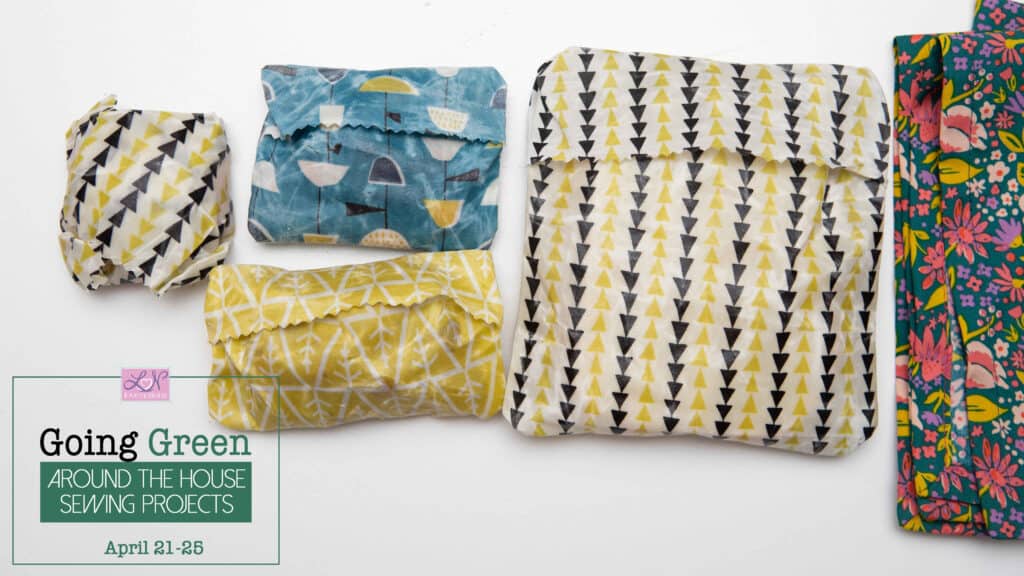
Going Green with Monaluna: How to make reusable snack bags
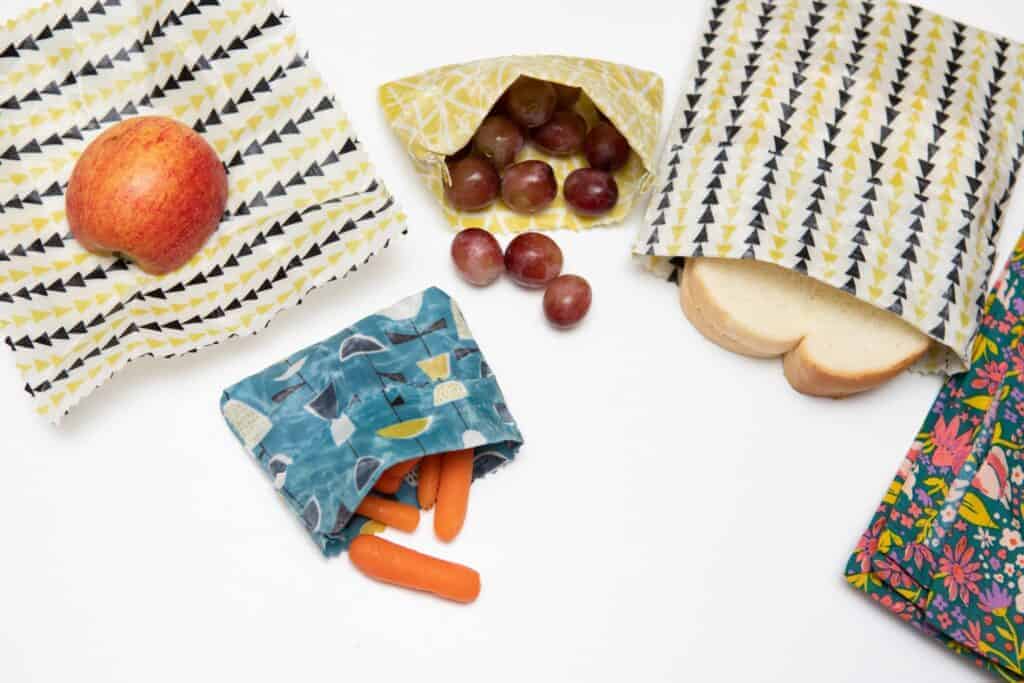
Day two of our week of going green! Who is now addicted to making beeswax food wraps like I am? I love ours and the kids had no trouble adjusting to using them. After with the reusable food wraps yesterday, we took it a step farther and made reusable snack bags and sandwich bags with our beeswaxed fabric. Seriously, cool along with being so easy to use!
Plastic baggies are great for their convenience but terrible for the environment.
We use little plastic containers with lids for the kids lunches, but even those I’m not in love with because of all the things you hear about plastic leaching into our foods. I purchased glass storage containers, but those are heavy, expensive and my youngest can’t take those to school. (Third graders and glass is not always a good combo.) These reusable snack bags are perfect for things like carrots or grapes and crackers. And sandwiches, we can’t forget sandwiches, the lunch box staple!
For this project, you will need scraps of 100% cotton woven fabric.
I used Monaluna’s organic cotton poplin from the Anya collection. You also want to be sure to prewash your fabrics. Get all the yuckies out since these will be touching your food!
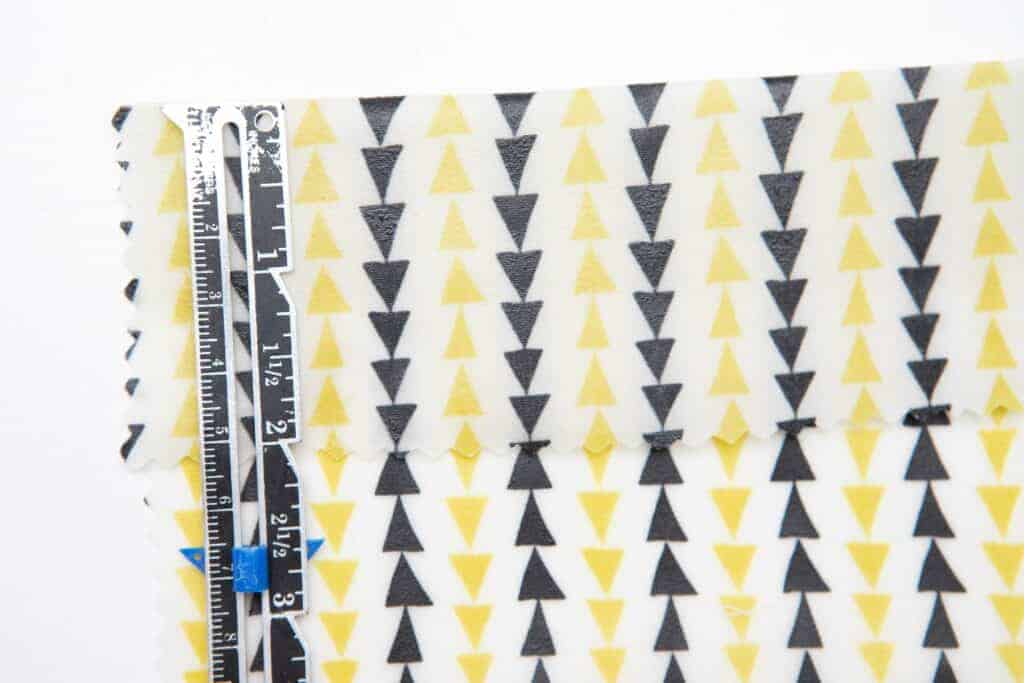
Cut fabric to the following dimensions (you can use a rotary cutter or pinking sheers)
- sandwich bag: 7″x15″
- medium snack bag (classic snack baggie size) 7″x 7″
- small snack bag 7″x 4.5″
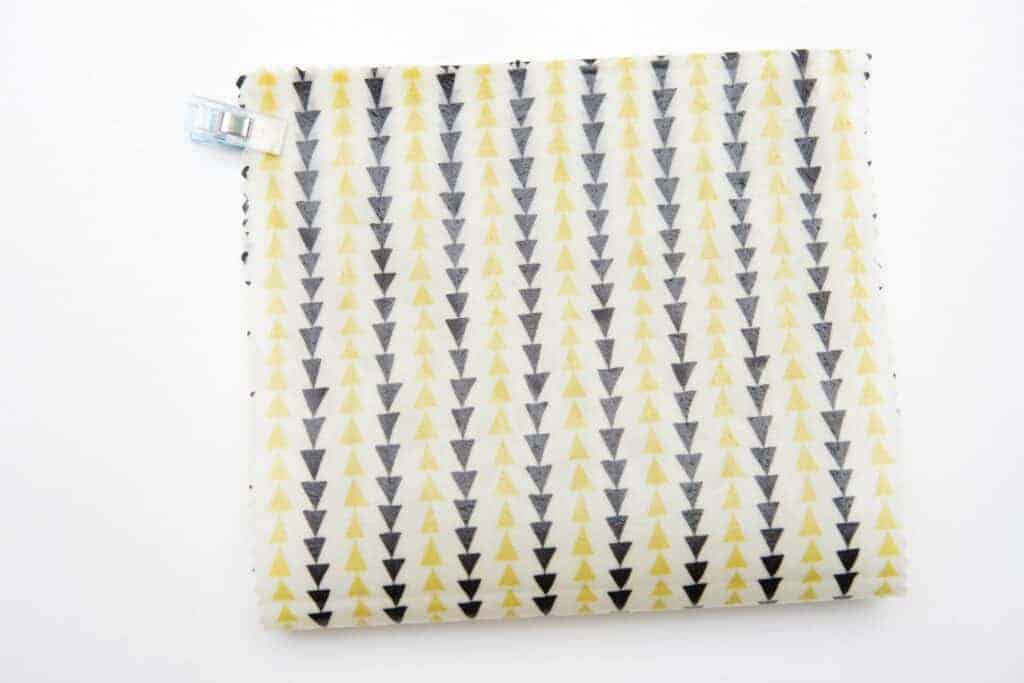
After your fabric is cut out, follow yesterday’s tutorial on how to create beeswax food wraps to seal your fabric.
Once your have your fabrics waxed up, it’s time to assemble. This does come with a bit of a caution. You can get some beeswax gummed up in your feed dogs. I recommend using a terry cloth to rub the beeswax out of the feed dogs if you get a build up. I also had some beeswax residue on the bottom of my presser foot and on the metal plate on my throat bed. Again, wiping clean with a dry terry cloth cleaned it up for me. Edited to add: I received a great suggestion in the comments to use a barrier between the bag and the machine. I recommend tissue paper if you would like to protect your feed dogs and presser foot from possibly picking up some beeswax. Just tear the tissue paper away after you are finished sewing.
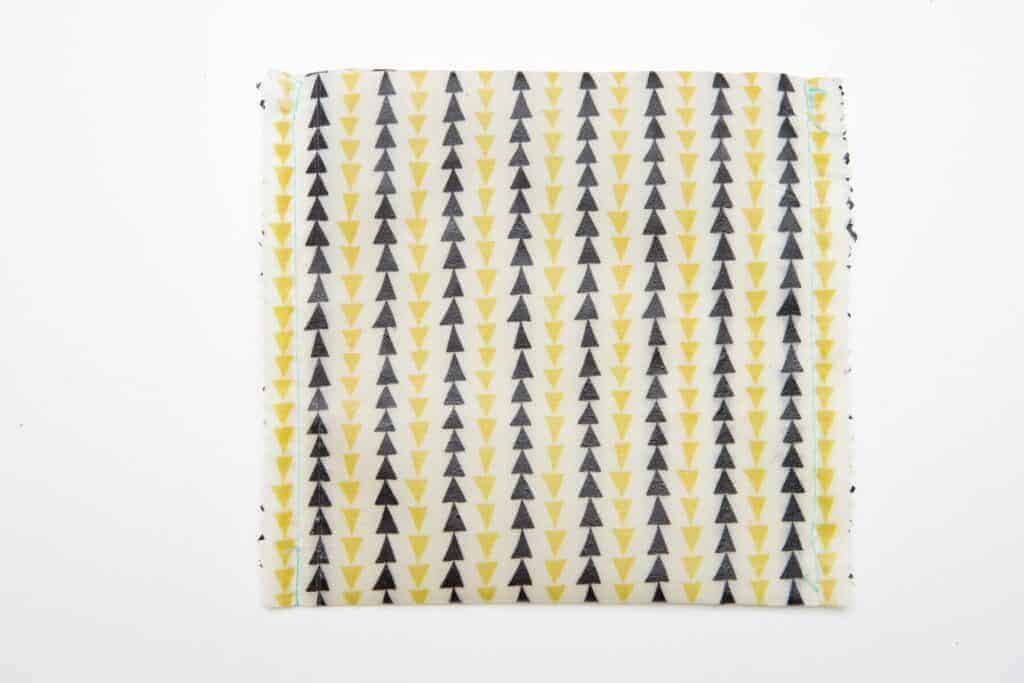
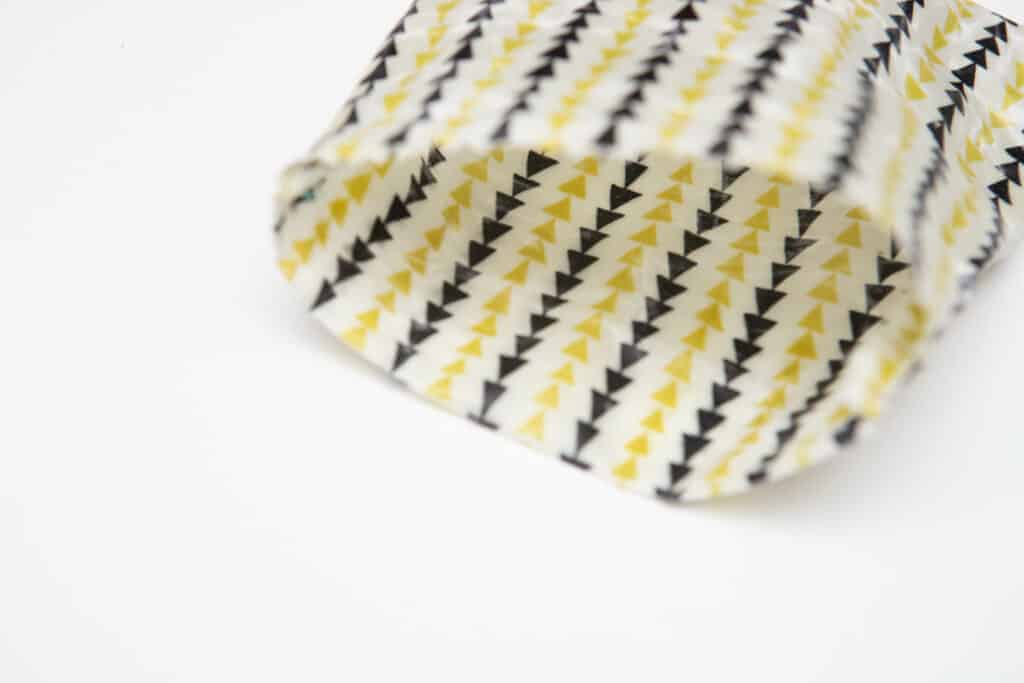
Fold the top short end over to the right side: 2″ if sewing a sandwich bag, 1″ if sewing a snack bag.
Now, fold the bottom up to meet the folded edge. Again, fold over so you have right sides together. The top folded down previously is sandwiched between the front and back.
Next, sew a straight stitch down both sides using a 3/8″ seam allowance. Backstitch well at the beginning and end.
Turn right side out. The end.
Really, it’s probably one of the quickest sews ever. Fold the top down and you have a sandwich bag!
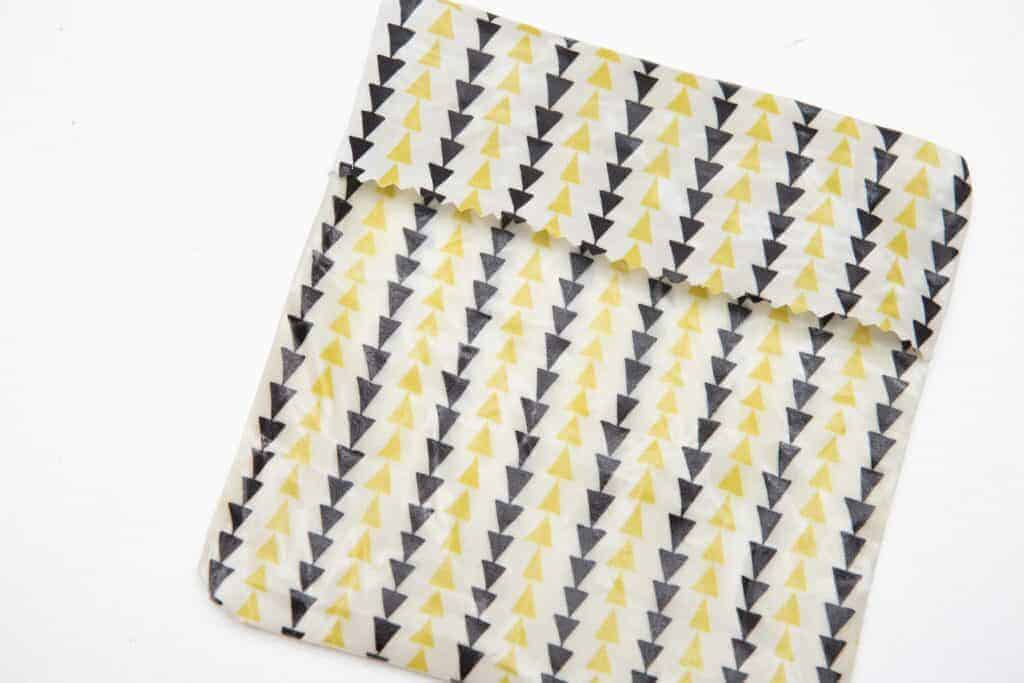
They are such a fast sew, it’s easy to sew up a pile of different sizes!
You clean and care for these just like the reusable food wraps from yesterday’s post. Rinse under cool water and wipe clean with a soapy cloth. Leave inside out while they dry. If you would like to seal them, press the folded over part together with your hand for a few moments. The warmth from you hand will heat the wax enough to help it stick to itself.
If you look closely at the image above, you can see a sneak peak at tomorrow’s tutorial!
Going Green Around the House with Monaluna
Day One: Reusable Beeswax Food Wraps

