


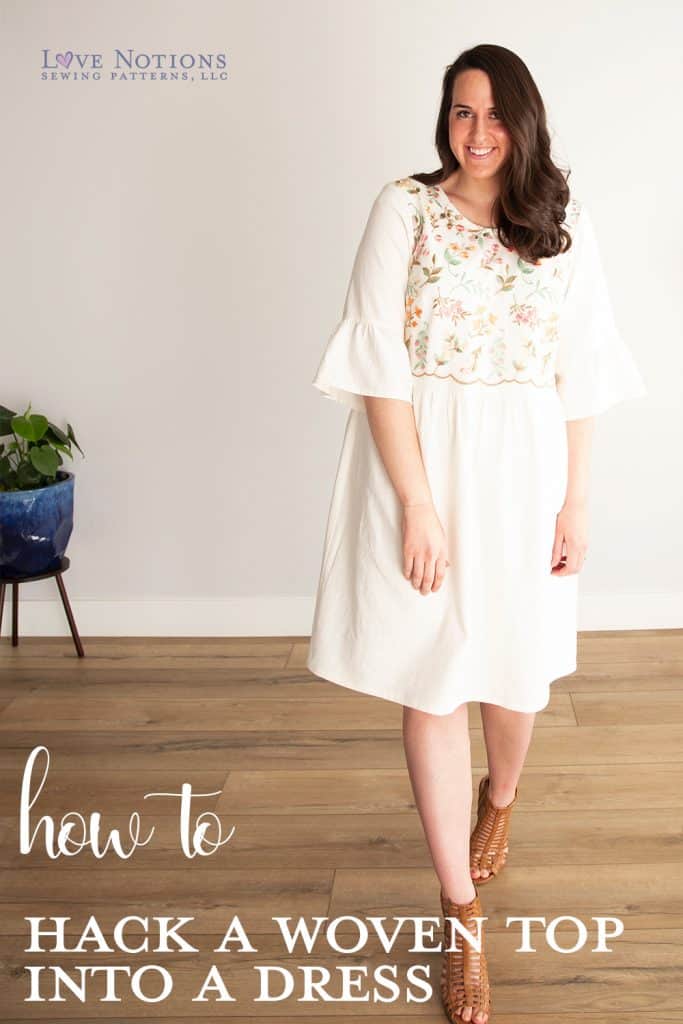
Are you ready for a *stunning* Harmony Dress Hack? This is a dress hack that will have all your friends saying “Where can I buy that?!” Then you get to say a sewist’s favorite words: “You can’t buy this. I made it.” Read this quick tutorial and see how you can use the Harmony Blouse to make your pinspirations a reality. Grab the blouse today and add it to your arsenal for creating the wardrobe of your dreams.
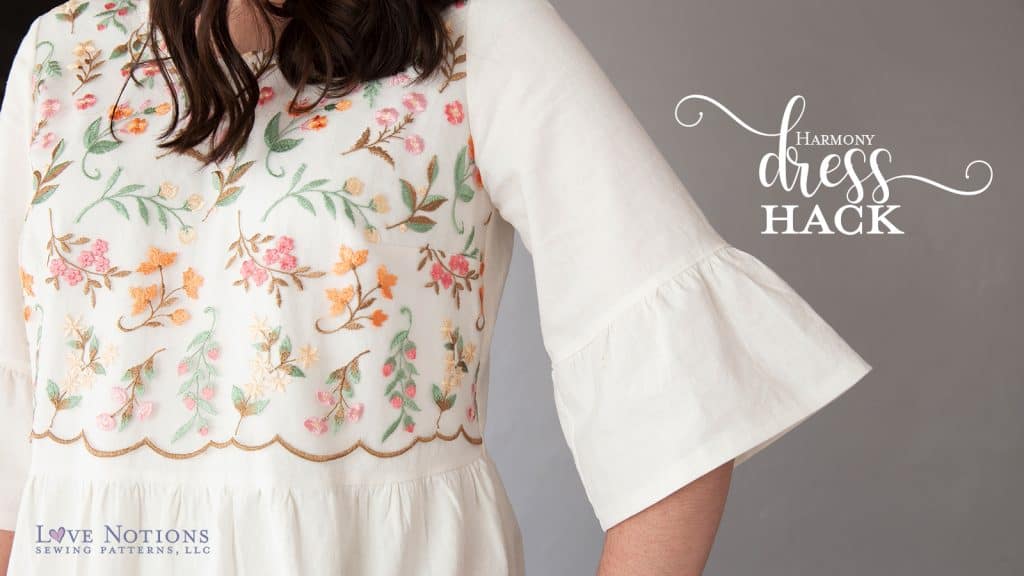
Harmony Dress Hack
Hello sewing friends!! I am Rachel from Little Fish and I’m so excited to talk to you today about my Harmony Blouse Dress Hack. I used today’s $5 Friday Featured pattern, the Harmony Blouse to create this look.
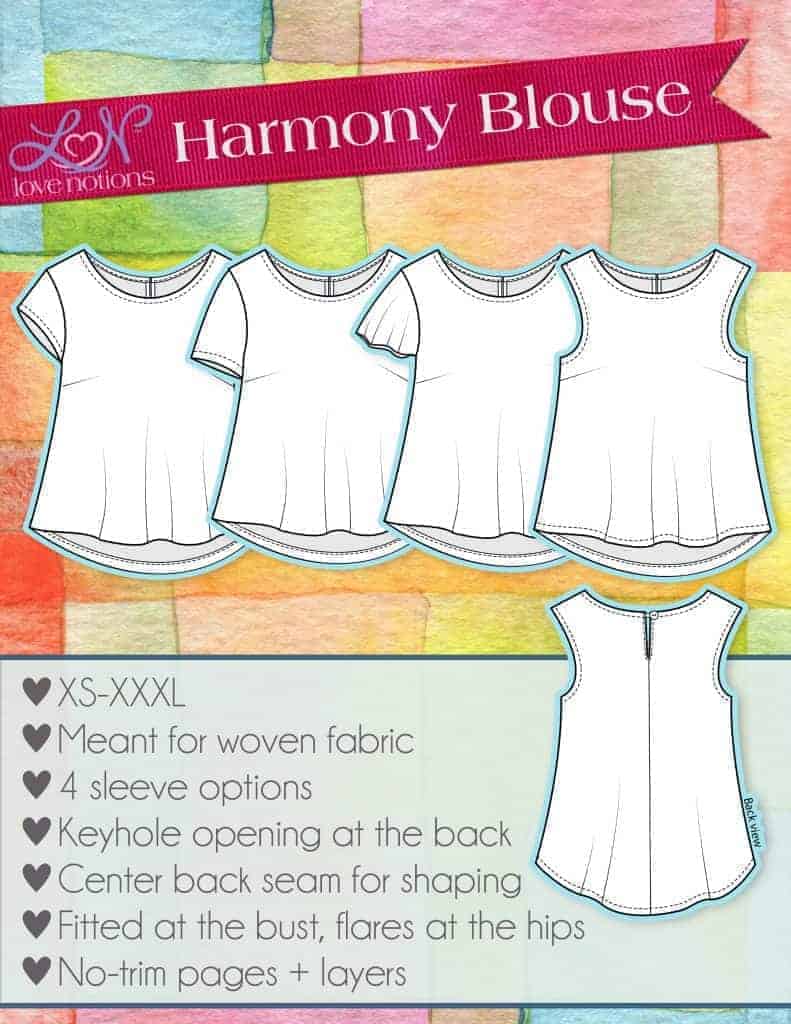
HARMONY BLOUSE — THE PERFECT PATTERN-HACKING BASE
The Harmony Blouse has been a long time favorite because of its basic and functional features. Many woven blouse patterns don’t have bust darts, but this pattern has you covered! The simple keyhole closure on the back is easy to sew and gives another center seam for shaping options on the back of the shirt. This pattern has 4 sleeve options and a fun high low hem.
The Harmony Blouse truly is my favorite basic woven shirt pattern and can be used to achieve so many looks.
It is a great basic sloper you can easily tweak. I found a ready to wear dress that I loved and I knew the Harmony would be the perfect pattern to work from. So I’ll take you through my process and show you how I made this fun dress from the Harmony Blouse pattern.


HARMONY DRESS HACK DIRECTIONS
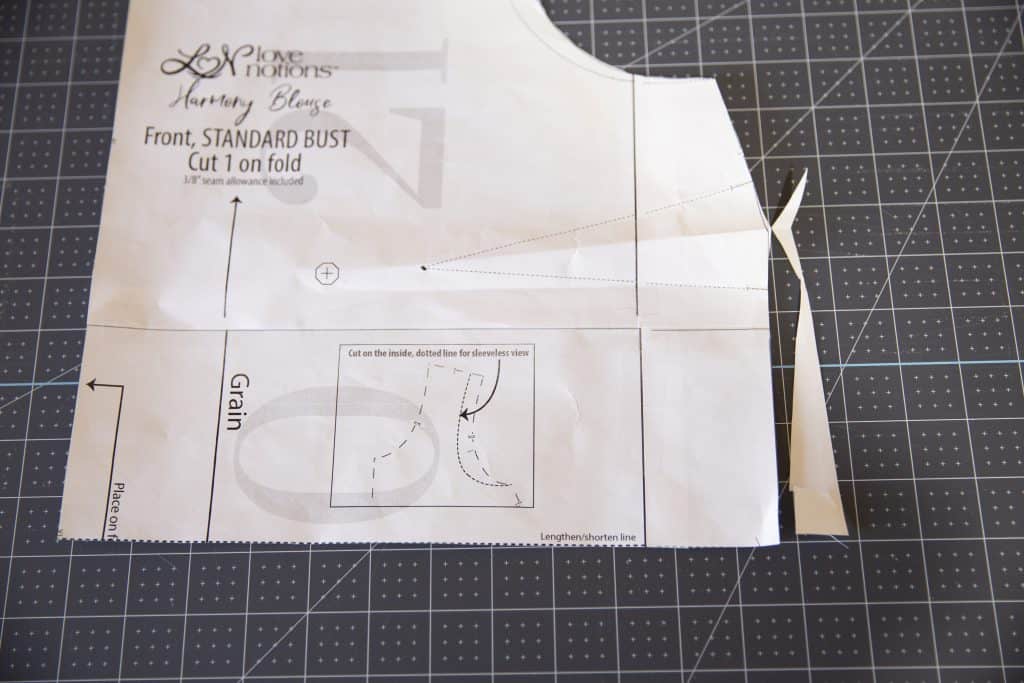
Alter the Pattern Pieces for the Dress Hack
First we will make a few changes to the paper pattern. Then we’ll be ready to move forward and cut our fabric.
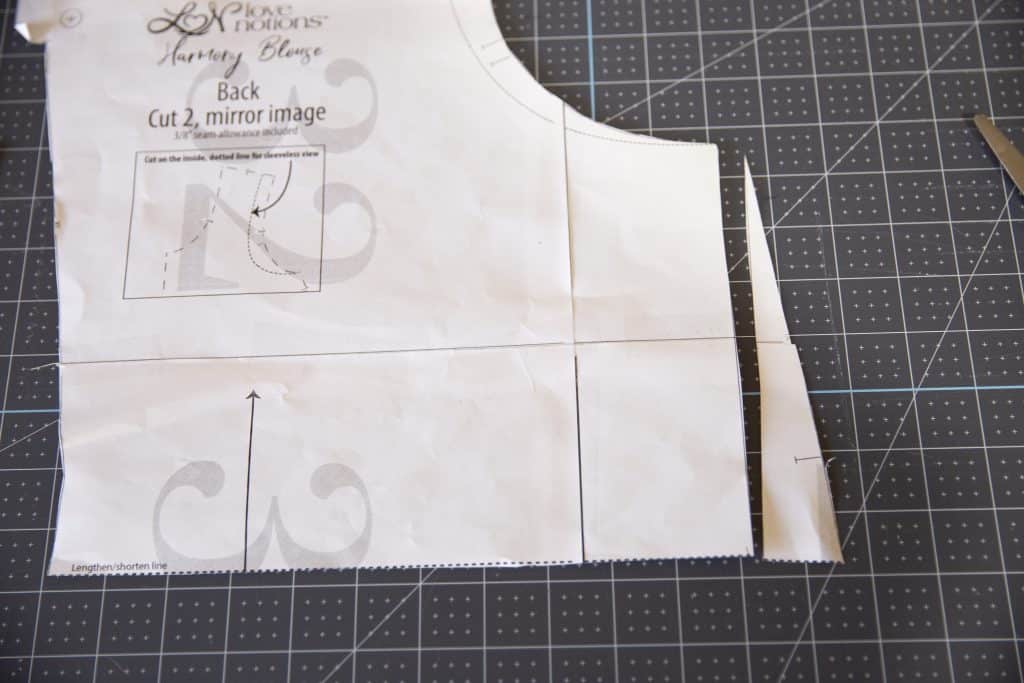
- Cut out the bodice front and back pieces, but cut length at the lengthen and shorten lines.
- Straighten the bodice side a bit for this dress, let me show you what I did. I came in about 1 inch at the bodice bottom and gradually blended up the side seam of my front and back bodice pieces.
3. Place pattern pieces on your fabric. Lengthen front bodice by 2 ½ inches as you cut. Lengthen back bodice 3 inches as you cut. These measurements will vary person to person based on where you want the bodice to end on your body. I wanted mine just below my natural waist.
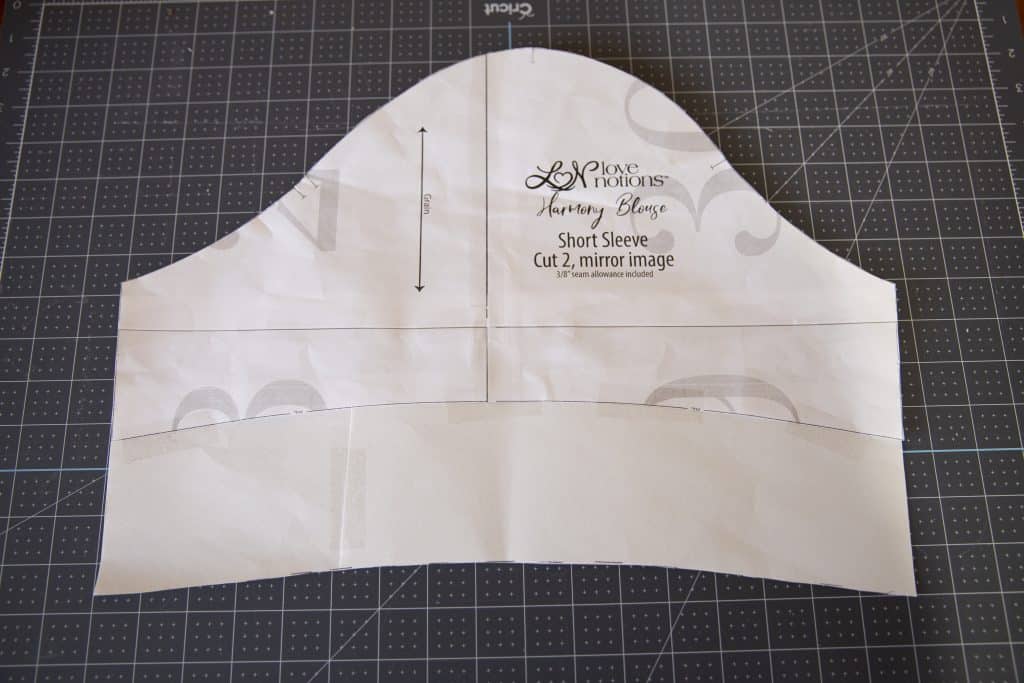
4. Next, add 3 ¼ inches to the pattern’s short sleeve. This amount will vary from person to person, but I wanted the sleeve to end a few inches above my elbow.
Cut Sleeve Ruffle and Skirt
- Cut 2 sleeve ruffle rectangles 6 ½ by 23 inches
- Cut 2 skirt pieces 34 by 26 inches. I used 26 inches for my length, but I am very tall! Simply measure from your natural waist to where you want the dress to hit and use that length measurement. You can always cut a few inches off the bottom to shorten the dress, but you can’t ever add more!!
- Mark center front on your bodice and center on both your skirt pieces. This will be helpful in the assembly of the garment.

Assemble the Embroidery Bodice Overlay on the Bodice
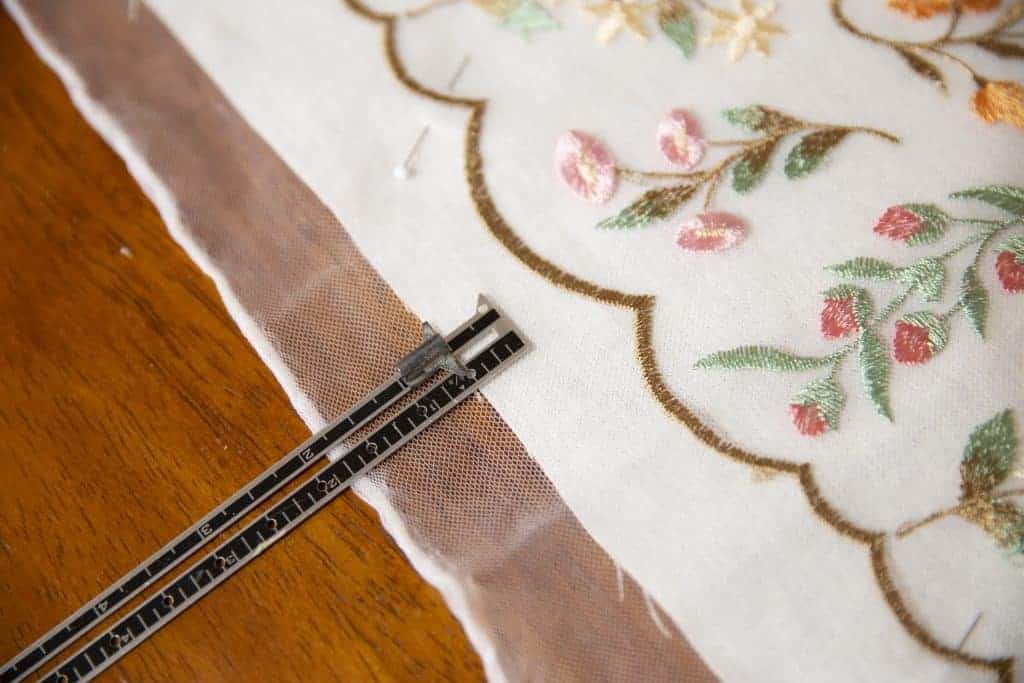
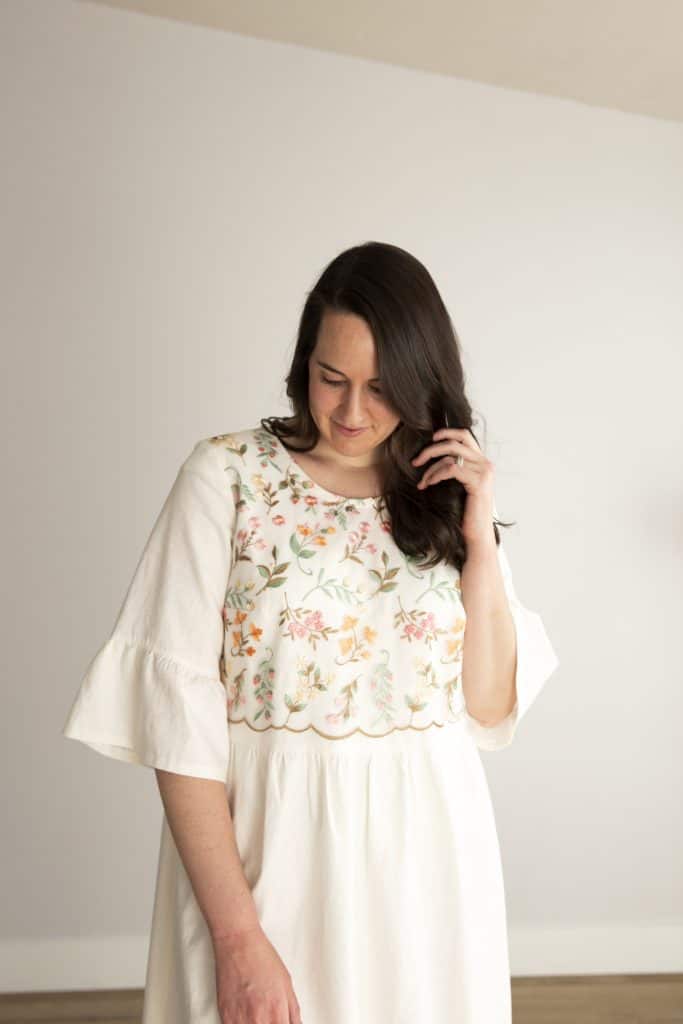
I used a beautiful embroidered tulle overlay from JoAnn for my version, but the possibilities are endless here. Use whatever beautiful fibers inspire you! I really wanted the scallops included on the bodice but be free moving on the bottom, so I placed it very carefully and made sure to have it end more than ½ inch above the bodice bottom to make sure it wouldn’t get sewn into my gathered dress skirt.
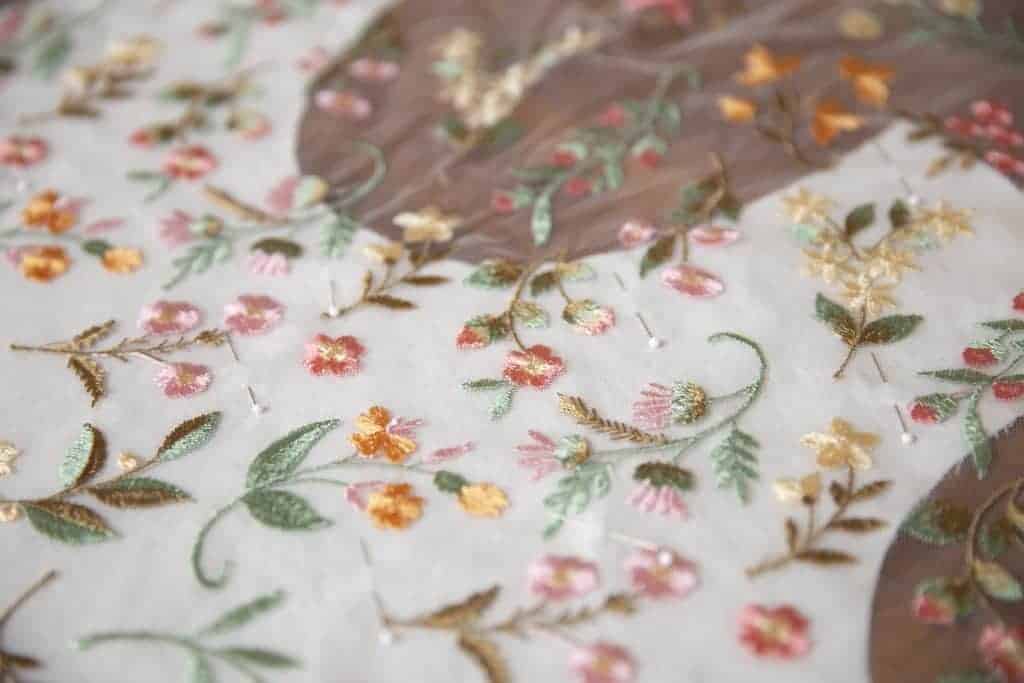
Next I pinned the bodice and the overlay fabric together. Use LOTS of pins here! You don’t want any shifting as you take these pieces to your sewing machine.
Sew the darts as explained in the tutorial.
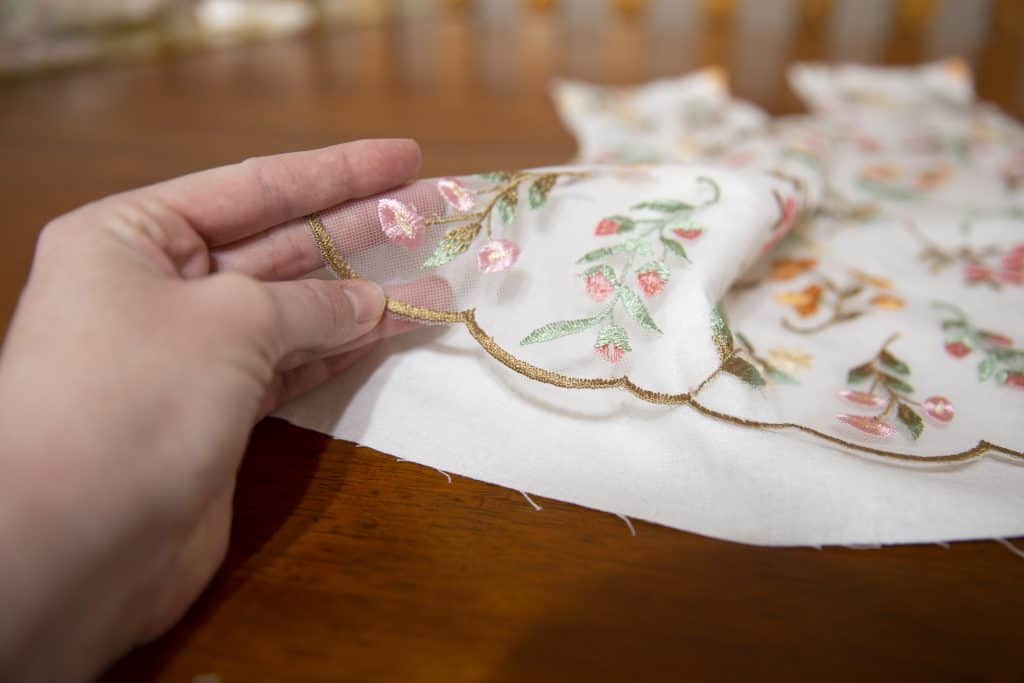
Tack your overlay fabric to your main bodice fabric in a few places, and around the sides but avoiding the scalloped edge. I chose to machine tack every cream colored flower. You’ll notice the scallops are still free moving here, that’s just what I wanted.
Assemble the bodice as directed in the pattern tutorial.
Sew the Sleeves
Next we will move onto the sleeves.
- After attaching the short sleeve (step #8 in the pattern tutorial), you will attach the ruffle to the sleeve.
- Sew your sleeve ruffle rectangle right sides together on the short sides.
- Now you will sew two lines of gathering stitches along the top, from the side seam all the way around until you reach the side seam again. I sewed mine at ¼ inch and ⅝ inch. I always sew my gathering stitches wide like this to allow the seam allowance of the garment to fall right between them. I find my gathers are more polished looking when I do it this way.
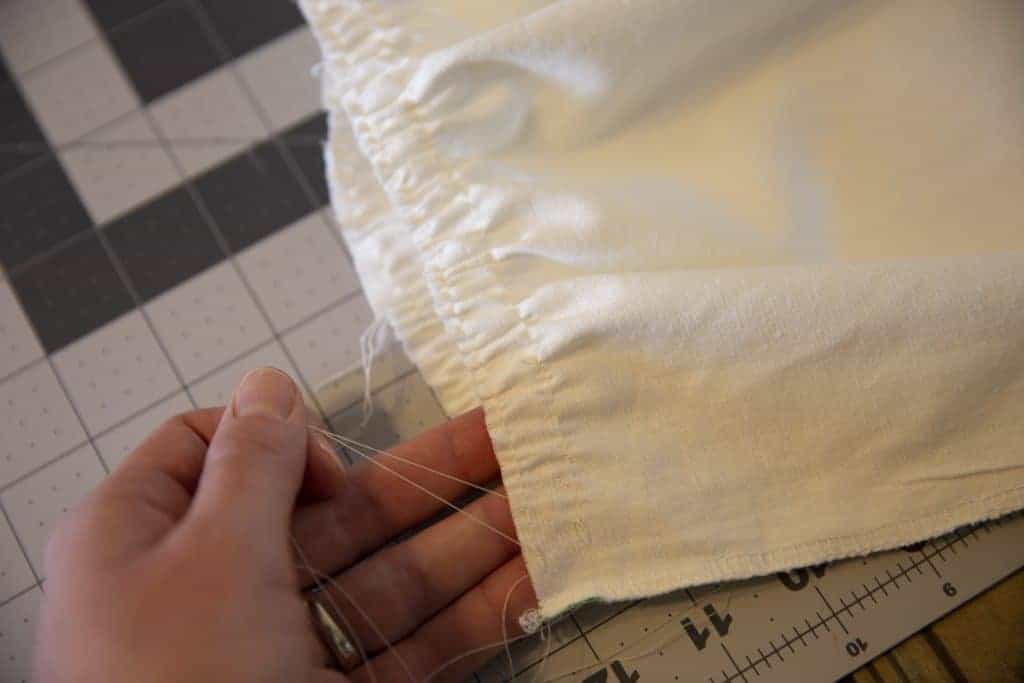
- Pull the gathering stitches gently from each side to create a ruffle until your ruffle piece matches the sleeve circumference. Be careful to disperse ruffles evenly.
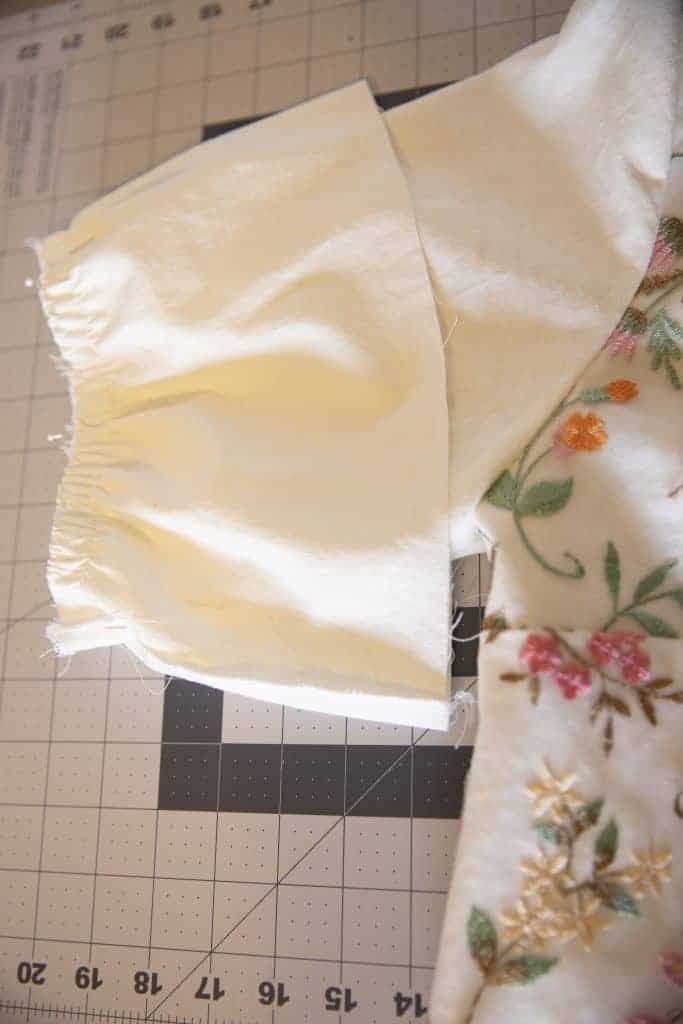
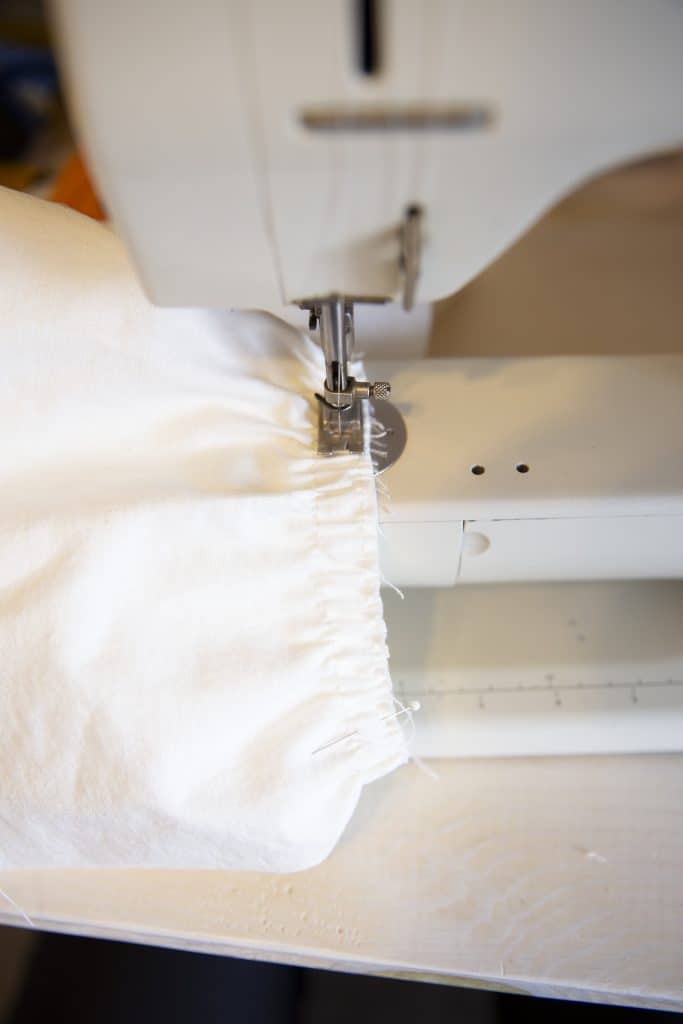
- With right sides together, sew sleeve ruffle to sleeve. Remove the visible basting stitch. Iron up toward the sleeve. Topstich seam allowance if desired.
- Hem sleeve ruffle.
Sew the Skirt
The steps to assemble the skirt piece to the bodice are very similar to the sleeve steps.
- First, start by sewing your skirt pieces together on the sides. Iron toward the back.
- Next, repeat the gathering stitch steps as previously explained. One set on the skirt front, one set on the skirt back.
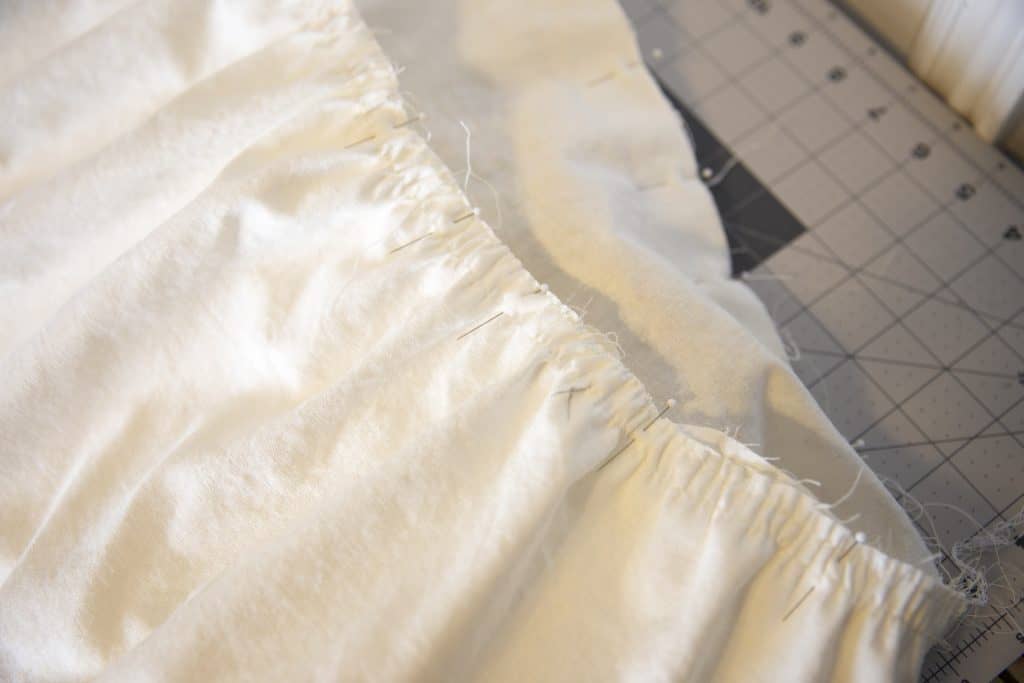
- Pull the gathering stitches gently from each side to create a ruffle until your skirt piece matches the bodice circumference. Be careful to disperse ruffles evenly, and match center front/back markings and side seams.
- With right sides together, sew skirt to bodice. Remove the visible basting stitch. Iron up toward the bodice.
- After you make sure the length is just where you want it, hem the bottom of your dress. You’re done!!

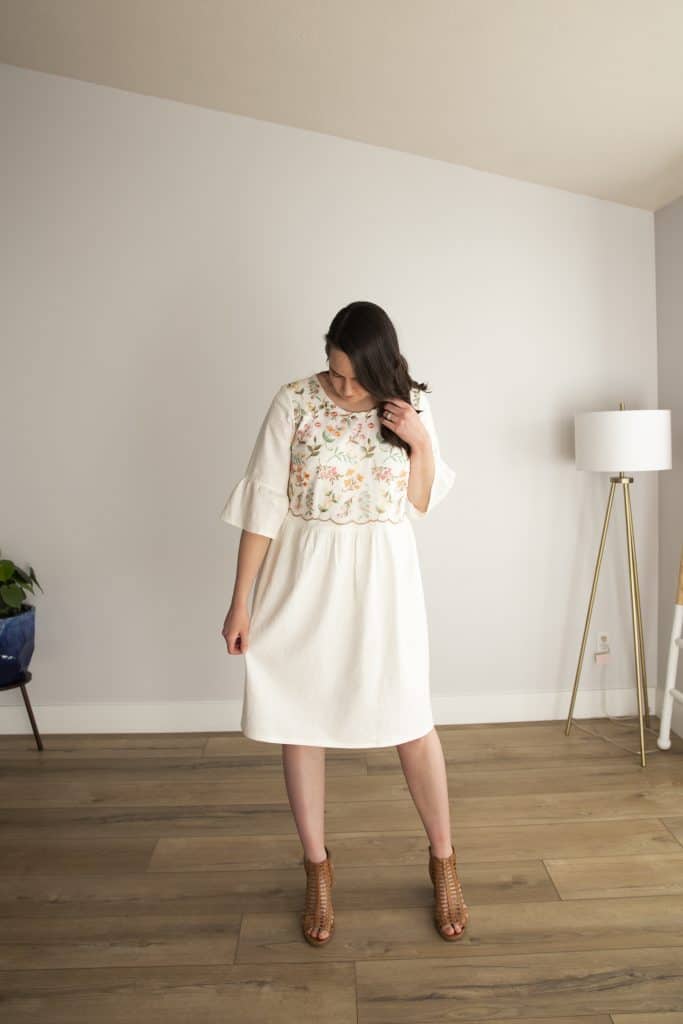
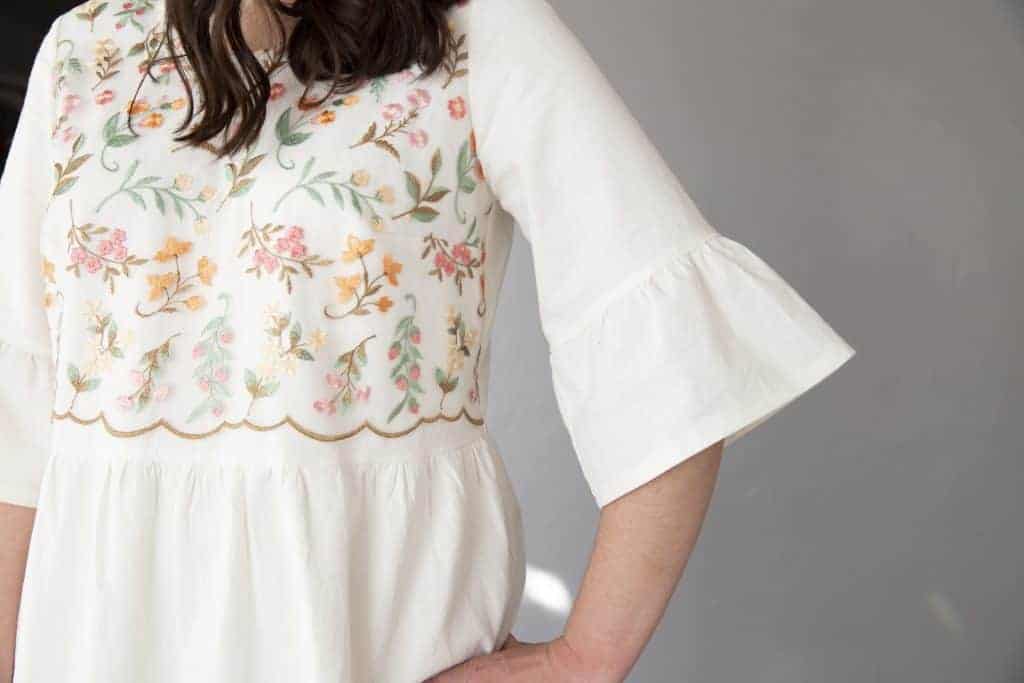
Enjoy your Harmony Dress!
I hope you are able to follow this tutorial easily and enjoy making this hack! I can see this as a perfect Easter dress, dress for a wedding, or really any dressy look needed for a spring or summer event. So, grab your copy of the Harmony today. If you have any questions about the process I would love to hear from you on Instagram at @hello.littlefish!
Happy sewing, friends.

More Spring Shopping
[carousel_slide id=’361728′]
[et_bloom_inline optin_id=optin_3]

