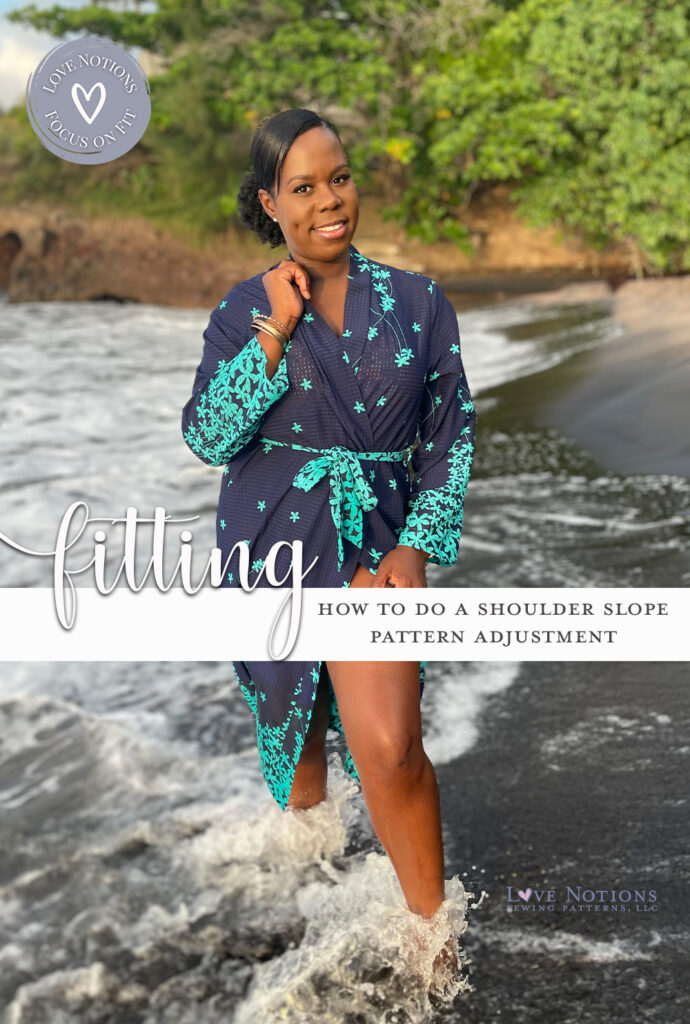
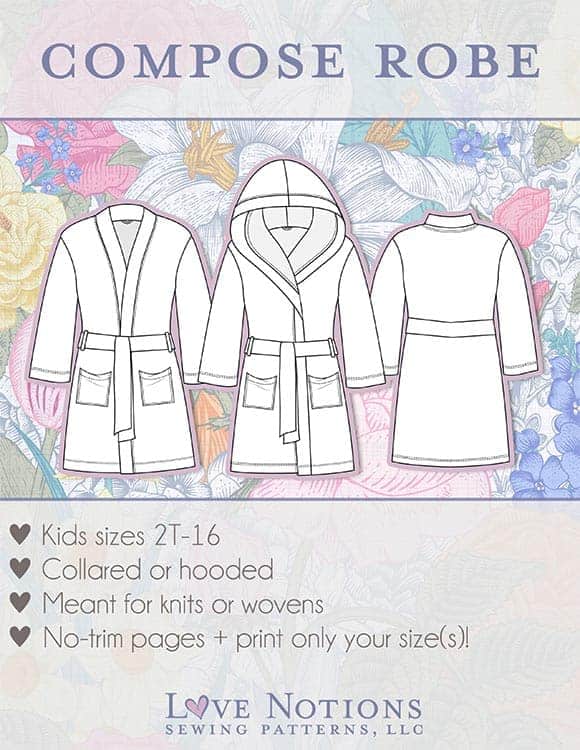
Pssst, you there. Yes you! Come ‘ere. You thought you were the only one with less-than-perfect posture? I can bet my last spool of thread that you’re not alone! We spend so much time hunched over our sewing machines, cutting tables and computers, it’s no wonder our shoulders slope. So, in this installation of the Focus on Fit Series, we’re gonna spend a lil’ time dissecting the sloping shoulder adjustment. I’ll be using Compose to demo in this blog – so take a look at it and see if it’s something you can use in your wardrobe.
Hey, hey, my fellow sewcialists, I’m Kris – you may know me as @unsewcial over on the ‘Gram. I’m pretty excited to be sprinkling a little knowledge wrapped up in a LOT of island vybes here on the Love Notions Blog.
Sewing for a great fit
Let’s get one thing straight, I ain’t no expert, not by a longshot, but I have invested many MANY hours over the last 3 ½ years of teaching myself to sew, tryna get a decent fit. You see, I basically live under a rock as there are NO fabric stores on my island. Sunshine? yep; fabric? nope! That means I shop online and pay ridiculous import duties for fabric. With such pressure on my pocket, it’s important that I at least try to make clothes that fit ME. One of the first things I learnt in fitting, is to start at the top i.e. at the shoulders.
One of the first things I learnt in fitting, is to start at the top i.e. at the shoulders.
Fitting the shoulder slope
Now, your shoulders are the body’s hanger and nailing the fit there is optimal. Dare I say, if you can get your garment to hang correctly from your shoulders, half your fitting woes are over. Part of fitting the shoulders is figuring out your shoulder slope, and comparing it to the flat pattern. Even with the best intentions, pattern drafters cannot please every single body, and you may find that the pattern’s slope is too shallow. Hopefully by the end of this post you would have learnt how to figure out your own shoulder slope, and how to adjust a flat pattern to suit.
So, what is shoulder slope anyway?
It’s really just the angle at which your shoulders exit your neck point, down to the shoulder tip. The point at which your neckline and shoulder line intersect will form an angle. The closer that angle is to 90 degrees, the more square your shoulders; the larger the angle, the greater your shoulder slope. Are memories of High School trigonometry flooding back to you? I promise, it’s not that complicated so keep reading!
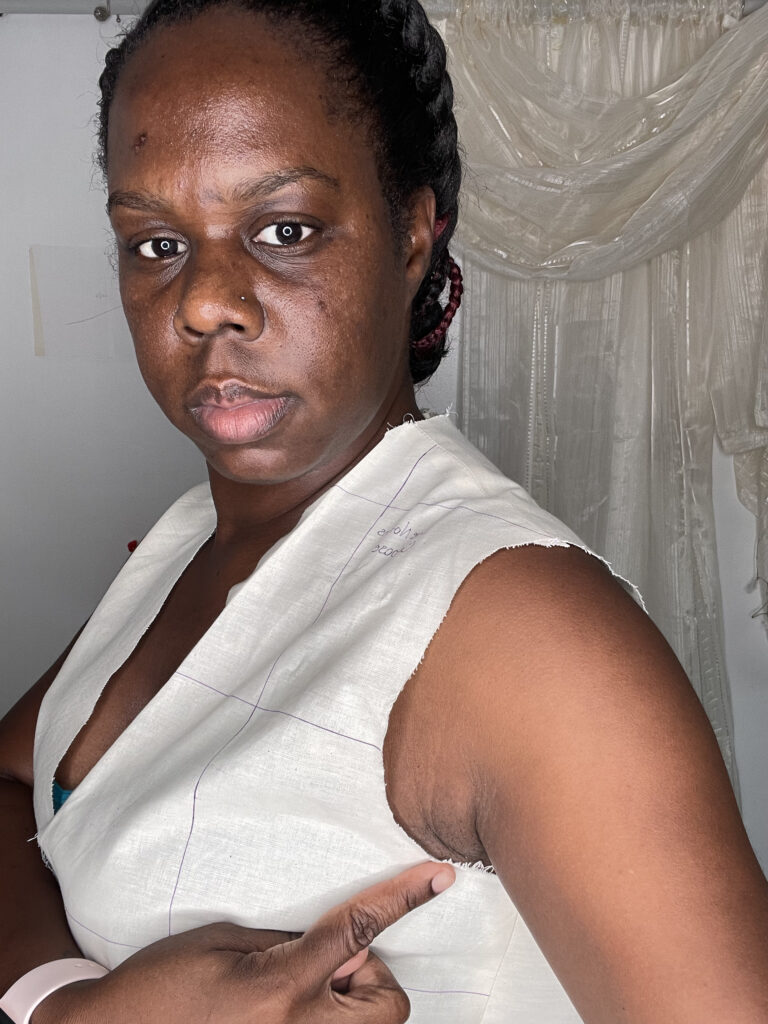
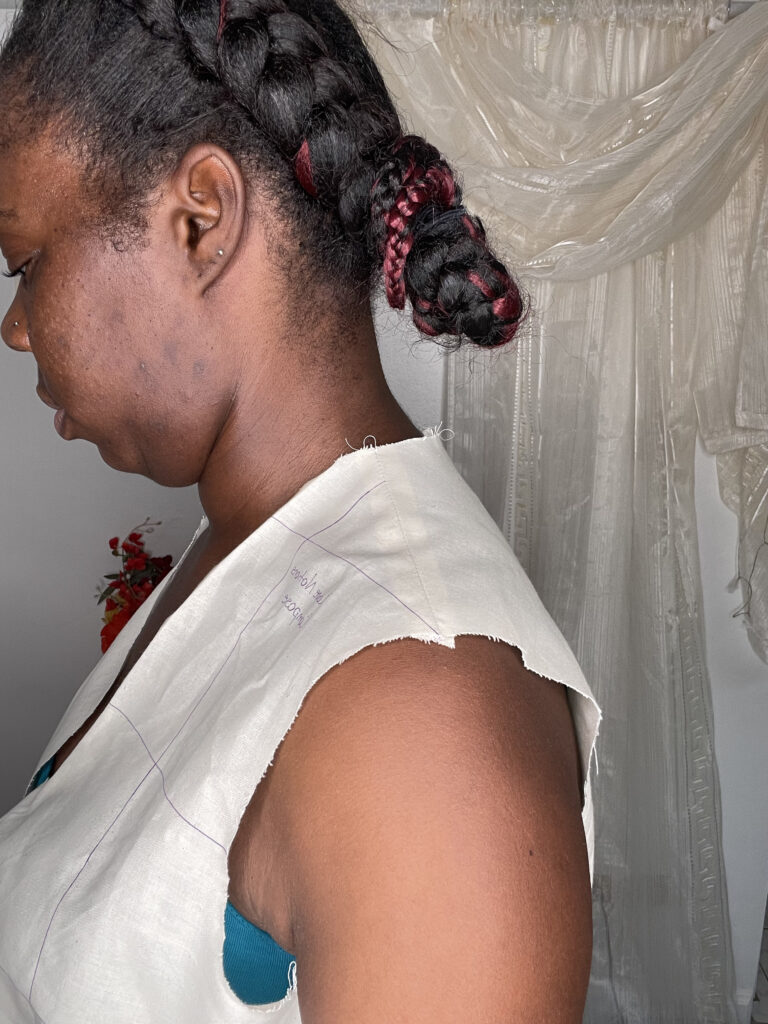
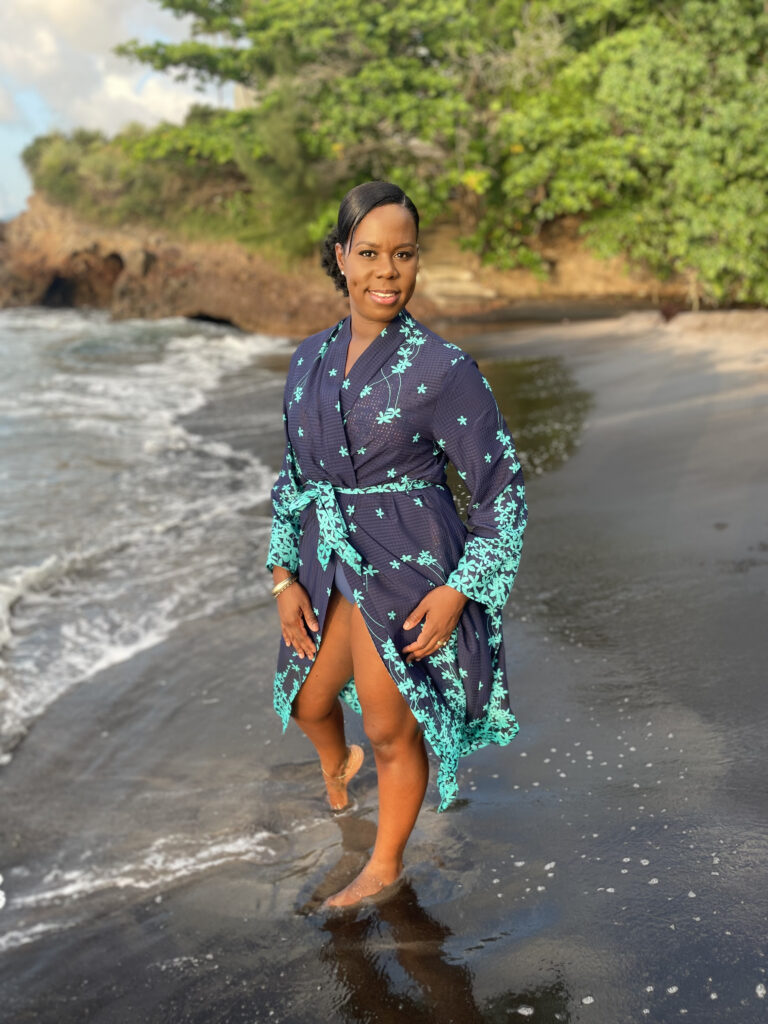
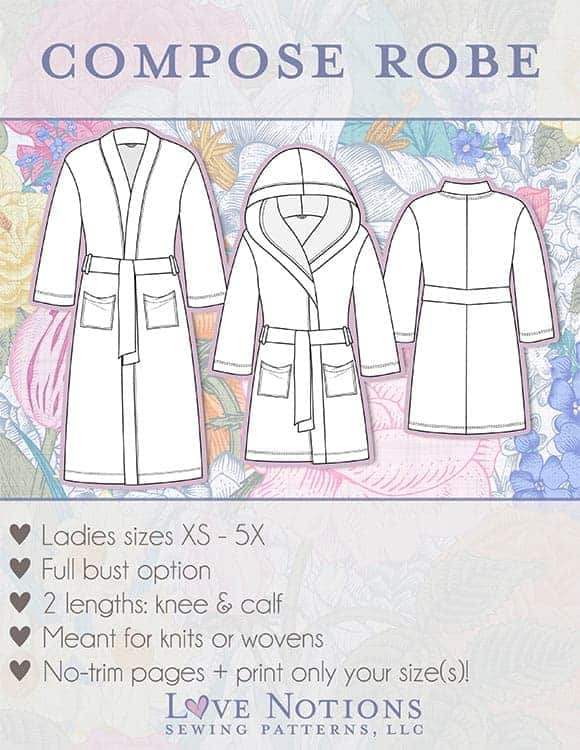
Have you ever sewn up a bodice and noticed that it gapes at your shoulder tip, but feels high up under the armpit? If your answer is yes, then you may be a good candidate for the sloping shoulder adjustment. By way of demonstration, let’s take a look at my toile of today’s Feature Friday Pattern: the Compose Robe.
Toile Tips
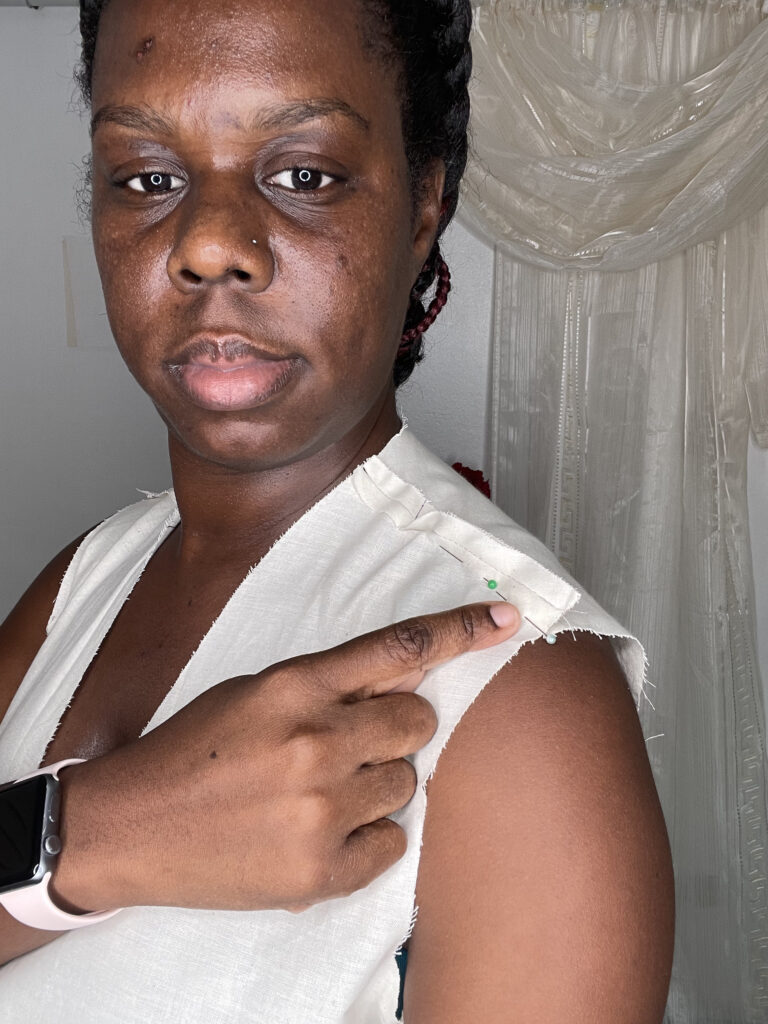
I know a lot of people make wearable toiles, but it just isn’t practical for me to make up a garment that I already know won’t fit me right. Sooooo a shell using muslin fabric is my go-to fitting tool! Plus the need for this adjustment is more readily evident in sturdy fabric. Based on the finished garment measurements I chose a size Large in the standard bust option for my robe. For reference, my body measurements are 40.5”;34”;42”.
(Keep in mind that Compose Robe is a pattern that works with either woven or knit fabrics. I am making my final garment in woven so I’m using woven fabric for my toile. If you plan to make your final garment in knit, make sure your toile is in knit fabric too!)
Can you see how the fabric pulls away at my shoulder tip instead of sitting flush with my shoulder line?
So how do we fix it? There are two ways:
Fix 1: Pinch out the excess
Put your toile on inside out so the seams are visible. Pinch out along the shoulder line until the seam is flush with your shoulders. Mark the difference between the seamline and your new pinned line to calculate how much of an adjustment you need.
Fix 2: Make a shoulder template
Making a shoulder template is my preferred fix because you’ll always have it to refer to, and once you have a couple under your belt, you will be able to correct the pattern’s shoulder slope WITHOUT having to sew a toile.
- Get yourself a piece of paper large enough to span your shoulders. You can tape two or three A4 pieces of paper together, like I did.
- Draw a grainline in the centre of your paper, parallel to your paper’s edge.
- Tape that paper to a wall level with your head and shoulders.
- You’ll need a second pair of hands for what’s next. Stand with your head against the wall and centred over the grainline marking.
- Have your assistant trace out two vertical lines for your neck.
- Using a pencil held parallel to the floor have your assistant trace out your shoulders making sure to go just past the curve of your shoulder tip. Repeat on both sides as you may find that your shoulders slope differently on each side.
- Mark each side Left and Right.
- Remove the paper from the wall and trace over the pencil lines with a thin marker. Fold the paper in half along the grainline to compare each of your shoulders.
- Draw in two parallel lines, one on either side of your original grainline as reference points.
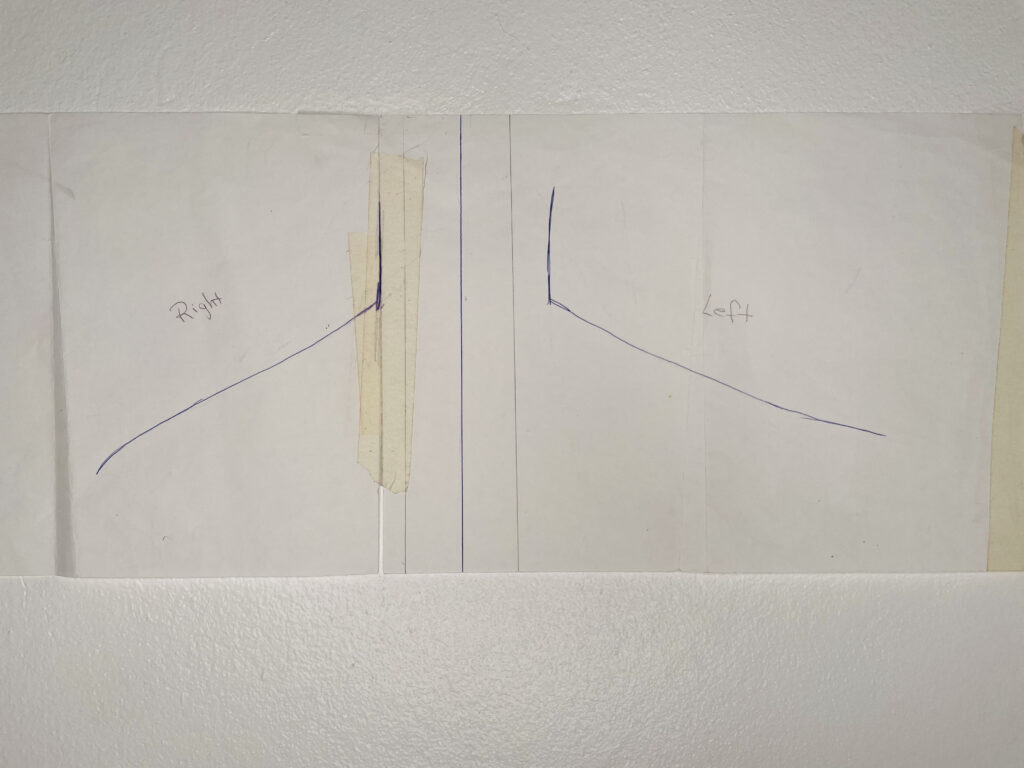
Now that you have your shoulder template, how do you use it?
To check the shoulder slope, simply line up the pattern’s Centre Front with one of the vertical grainlines on your shoulder template. Compare the slope of your shoulders to that of the pattern and adjust upwards or downwards as necessary. I’ve done enough sloping shoulder adjustments to know that I usually need a ½” sloping shoulder adjustment.
Flat Pattern Adjustment
We know that we need a shoulder adjustment, we know how much of an adjustment is required, so how do we ACTUALLY transfer that knowledge to our flat pattern?
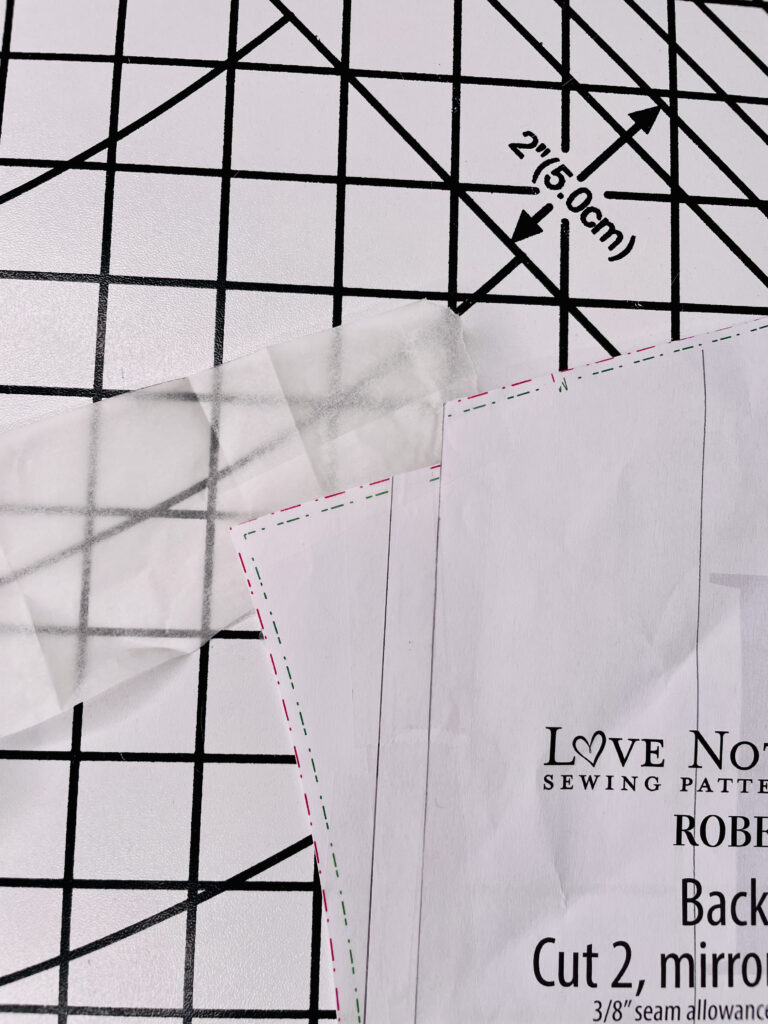
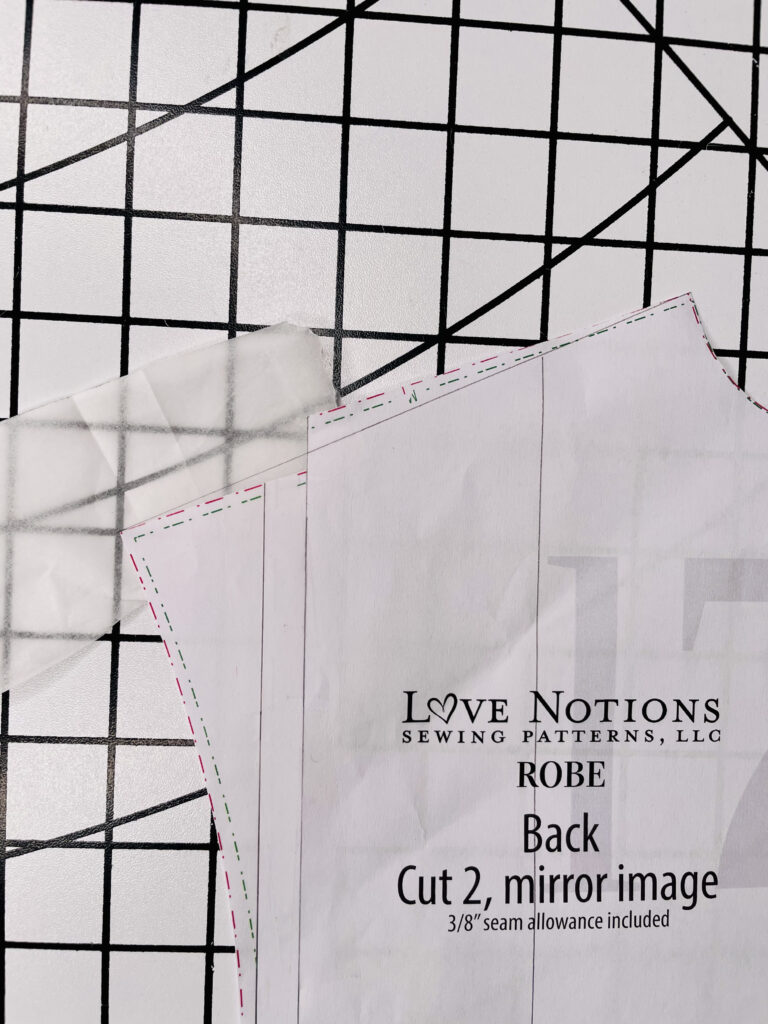
Get out your Compose Robe bodice pieces. You will need to perform the same adjustment on both front and back. If your shoulders are asymmetrical, trace off both the left and right front; and the left and right back bodice pieces so you can adjust each side separately.
Start by drawing an ‘L’ around the armscye just about 1/3 of the way in from the shoulder tip and square across to the side seam in line with the pattern’s seam allowance (in this case 3/8”).
Draw a second horizontal line parallel to the first, distanced to reflect the amount of shoulder slope you need (in my case the lines are ½” apart for a ½” sloping shoulder adjustment).
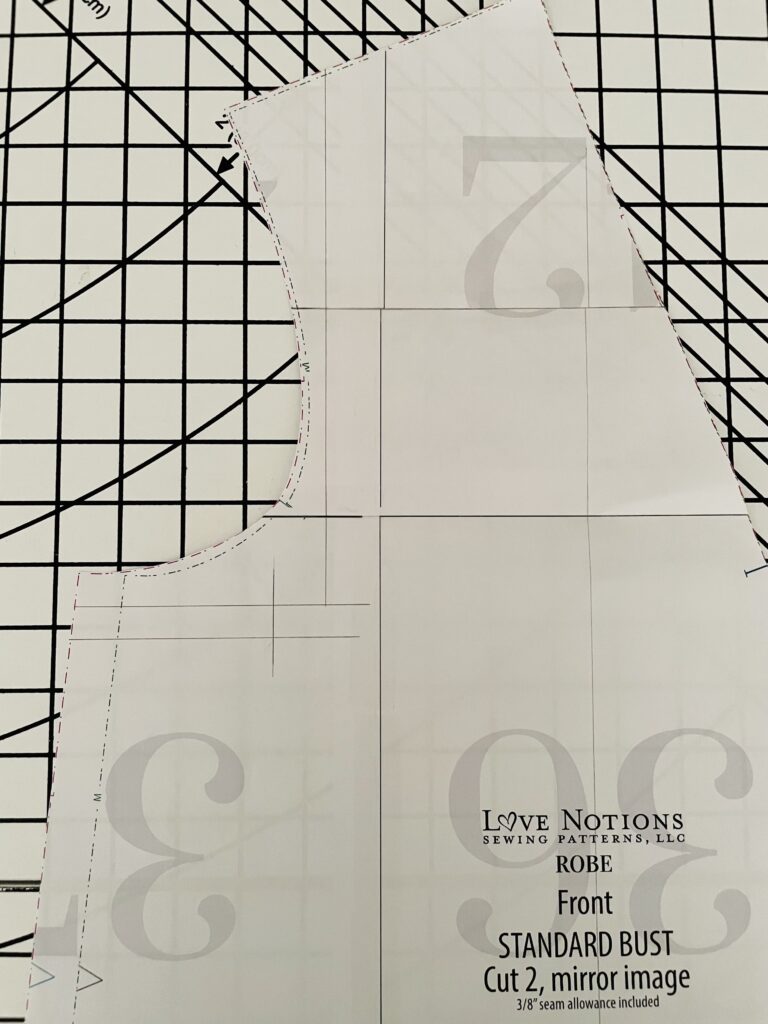
Cut out the L and slide it down so that the horizontal line of the L covers your second horizontal line. Tape it into place.
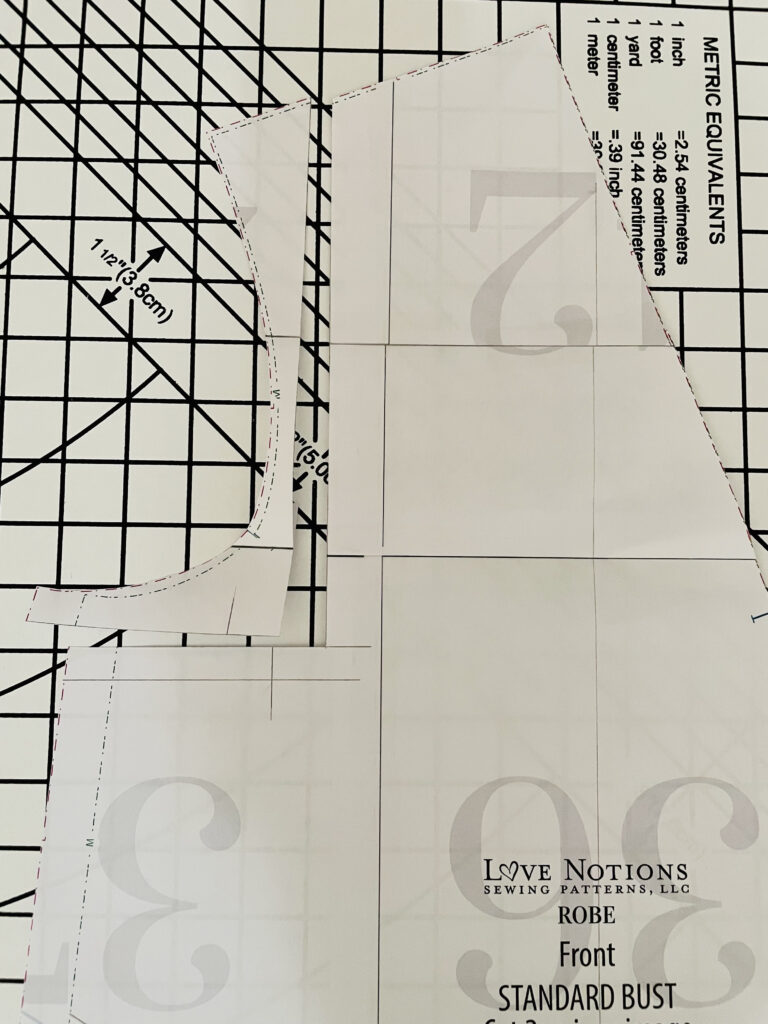
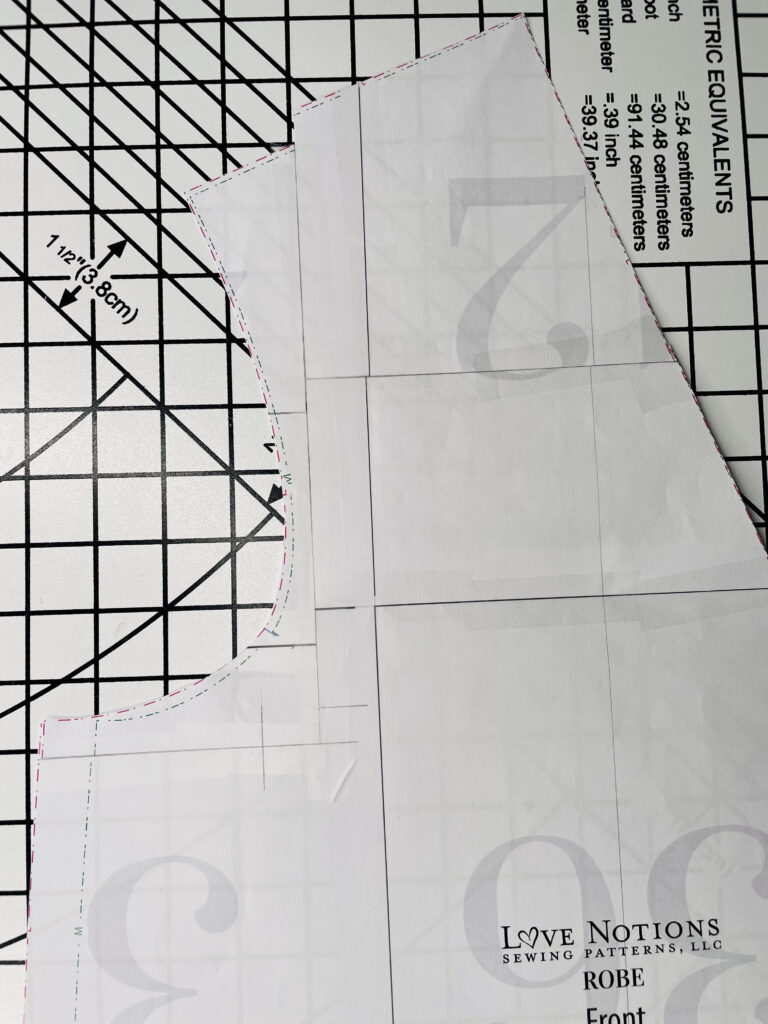
Tape an extra piece of paper at your shoulder and true your shoulder line starting at the neckline, down to your new shoulder tip line.
You have now adjusted the shoulder slope and simultaneously lowered the armhole by the same amount. As a result, the circumference of your armscye remains the same and your sleeve will still fit perfectly without any adjustment.
Et voila, you have successfully completed the sloping shoulder adjustment. Told you it was easy! If, instead of sloping, your shoulders are square, relative to the pattern, then perform the opposite adjustment, sliding the L upwards instead.
Practice Makes Perfect!
I know that was a lot to digest and hopefully you were able to follow along. Once you do this adjustment once or twice, you’ll just whiz through it. If your pattern has facing pieces be sure to adjust those as well.
For those of you who are visual learners, you can check out episode 1 of my Fit Friday’s series over on my Instagram account. There, I demonstrate the sloping shoulder adjustment on a ¼ scale block. Watch it here.
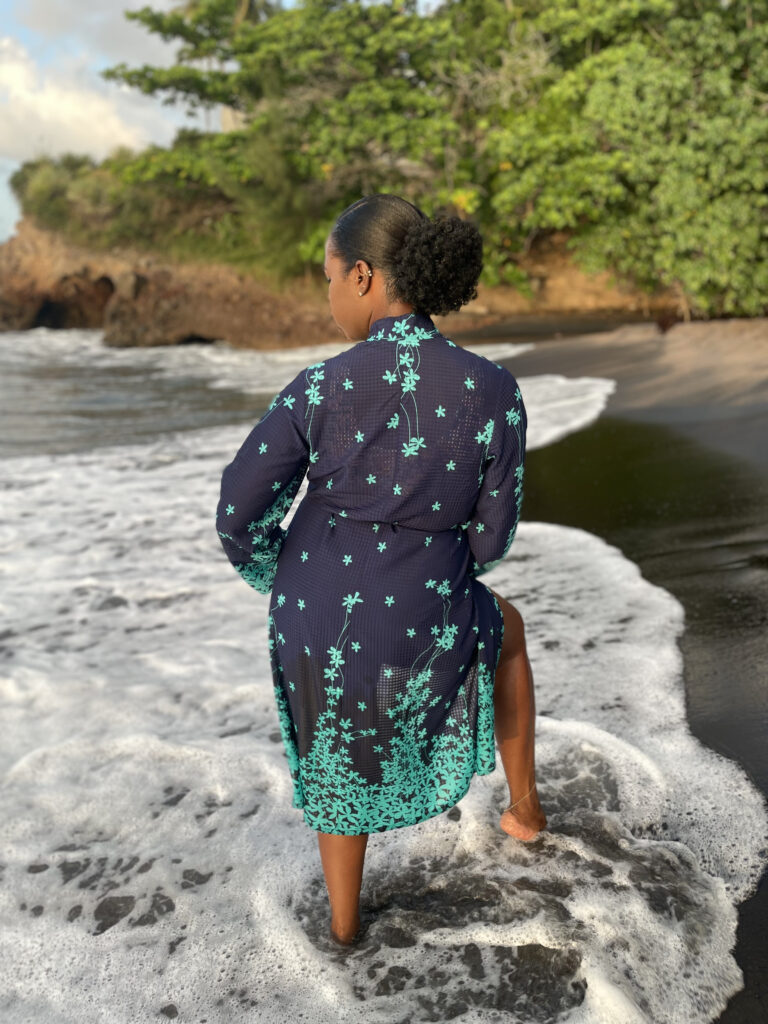
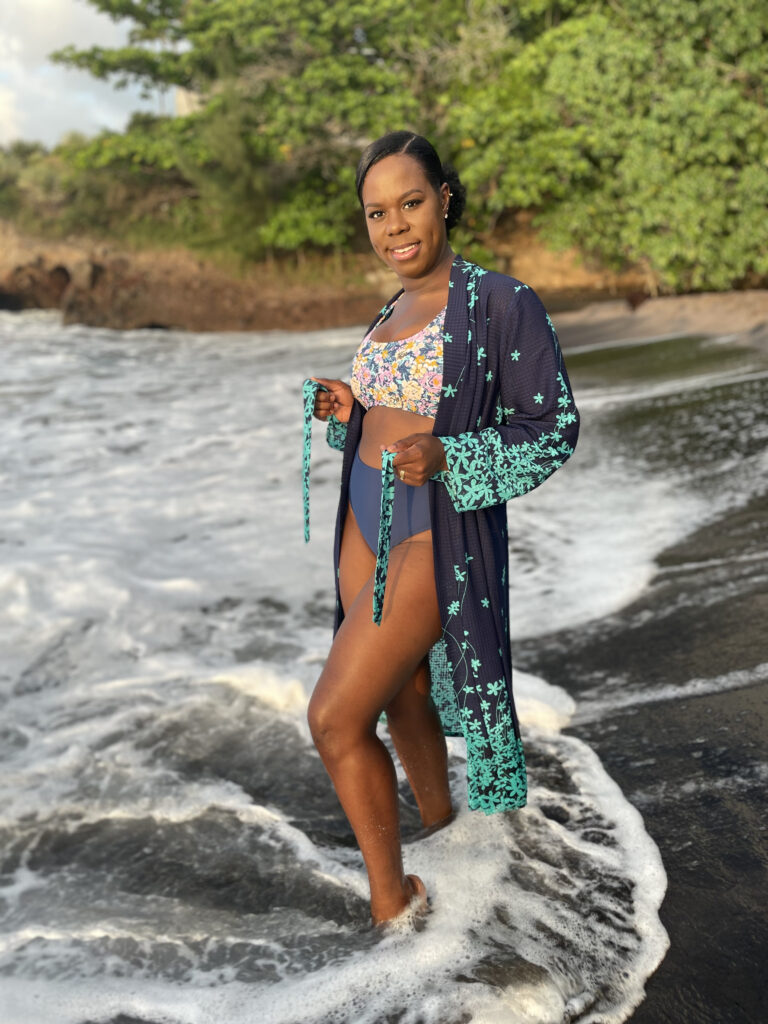
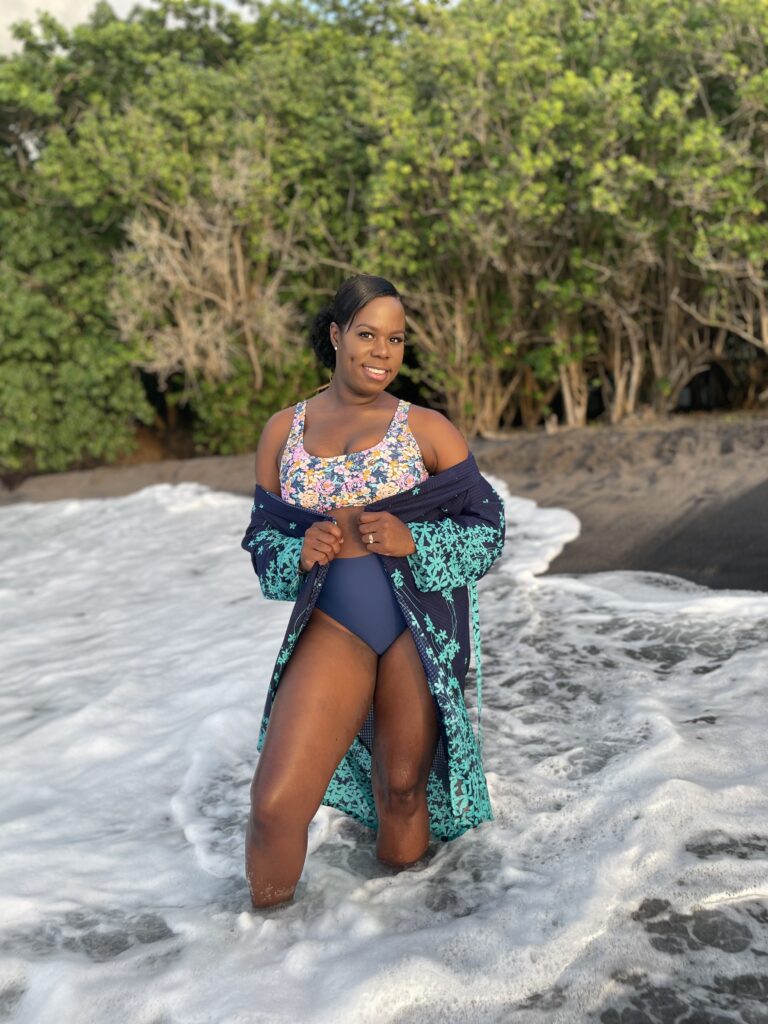
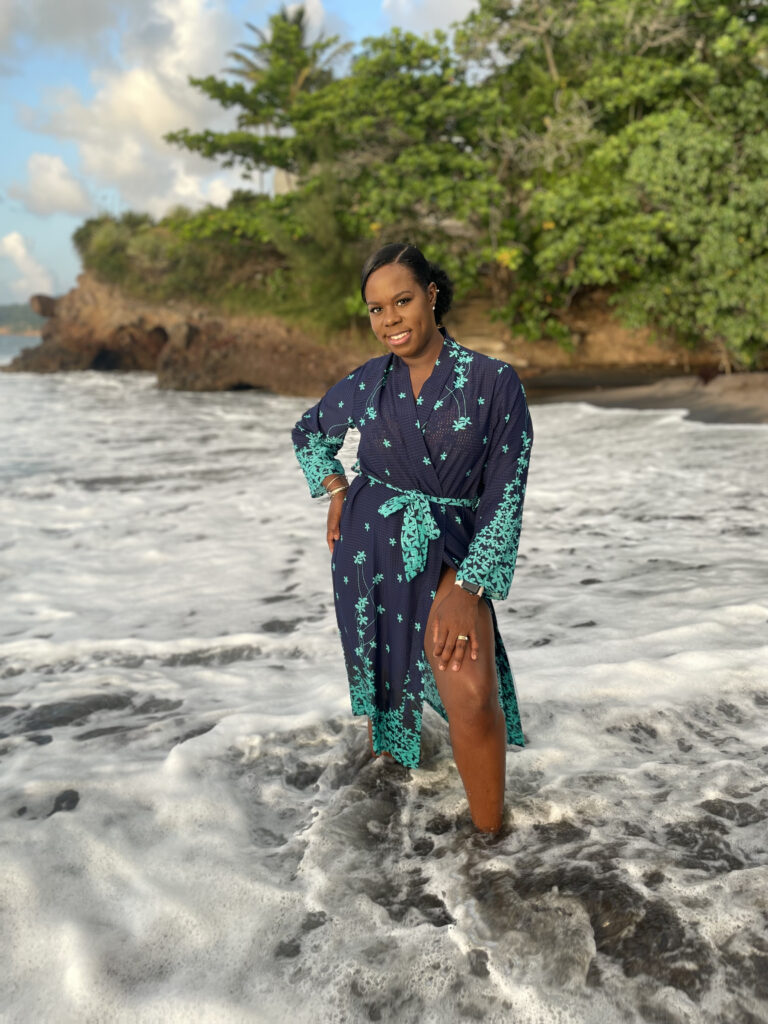
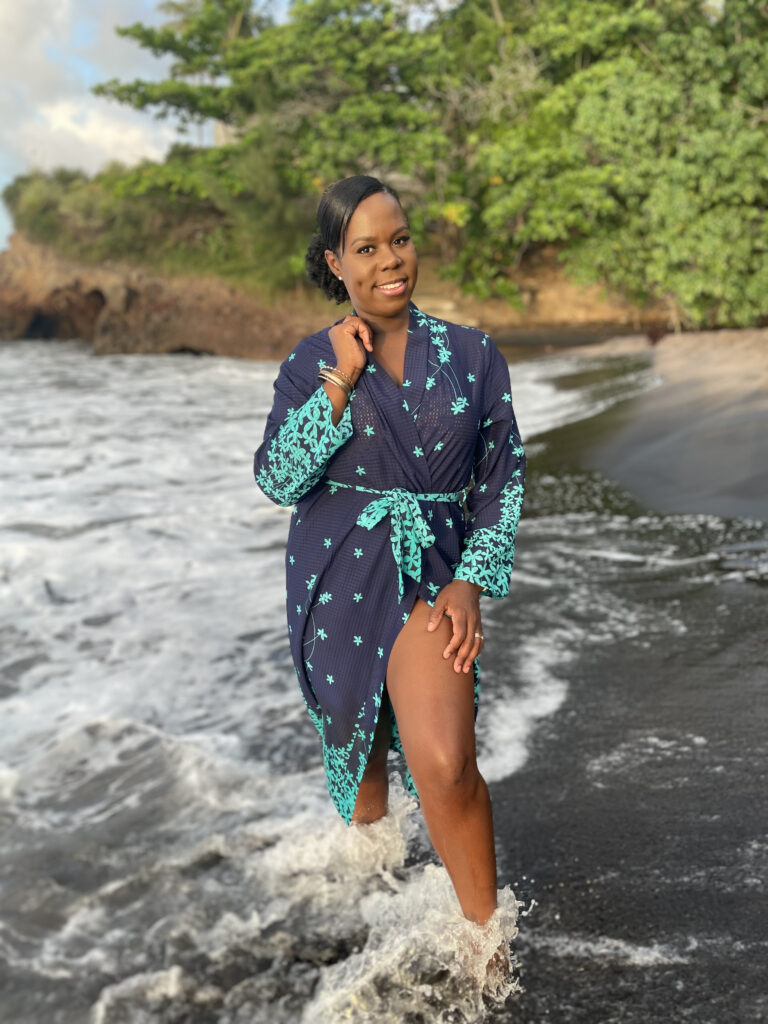
Thanks for letting me hang out with you today. I’ve been bursting at the seams for weeks, waiting to share my Compose Robe with you. It is definitely one of my most favourite makes to date. The versatility of this pattern makes it a definite must have! It can be made up in knit or woven fabrics and is pretty easy to fit. I think Tessa and Tami contemplated plush, warm, cozy fabrics for this robe buuuuttttt being an island girl, I just HAD to remix the flavas just a lil’ bit. Since it’s all sun, sea and sand here, I turned my Compose Robe into a beach cover up using this light, floaty fabric!
If you fancy adding this one to your wardrobe, either as a plush winter robe, or a light summer cover up, be sure to use my affiliate link to get it at $5 today only! Thanks in advance!
If you liked chilling with me, and you wanna catch some more island spice, be sure to come follow my sewing journey over on Instagram (@unsewcial) and on my blog www.unsewcial.com. If you have any questions don’t be afraid to reach out. I don’t bite, I swear ☺
Xoxo
Kris
Save this article to your sewing Pinterest board: