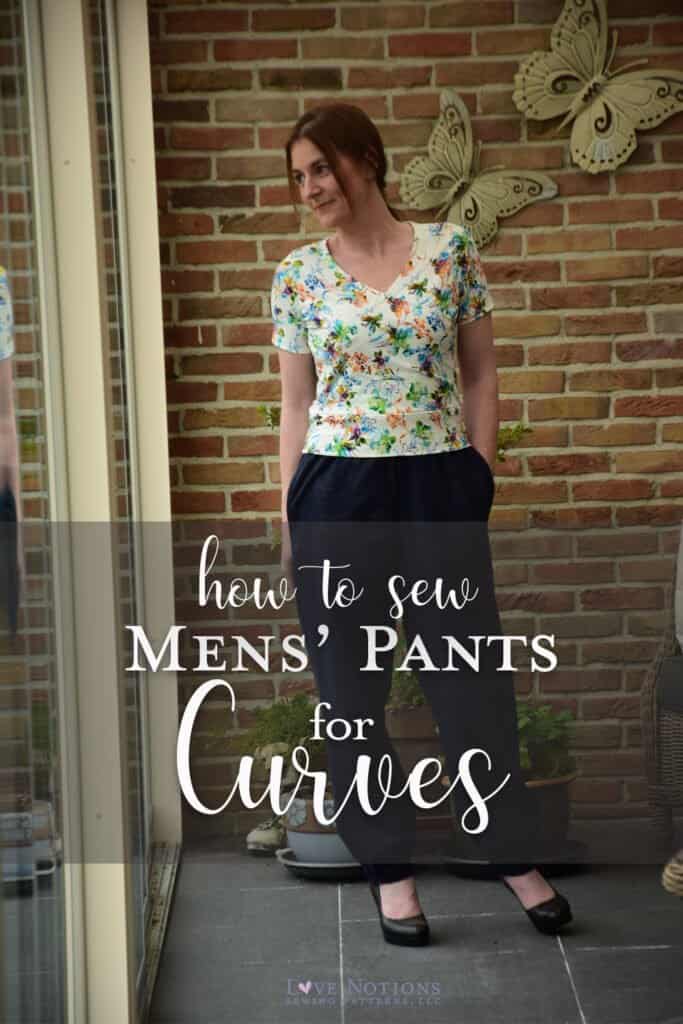
Hi everyone! I’m Annick from flaxfield_sewing and I’m here on the blog to celebrate the versatility of the Love Notions patterns.
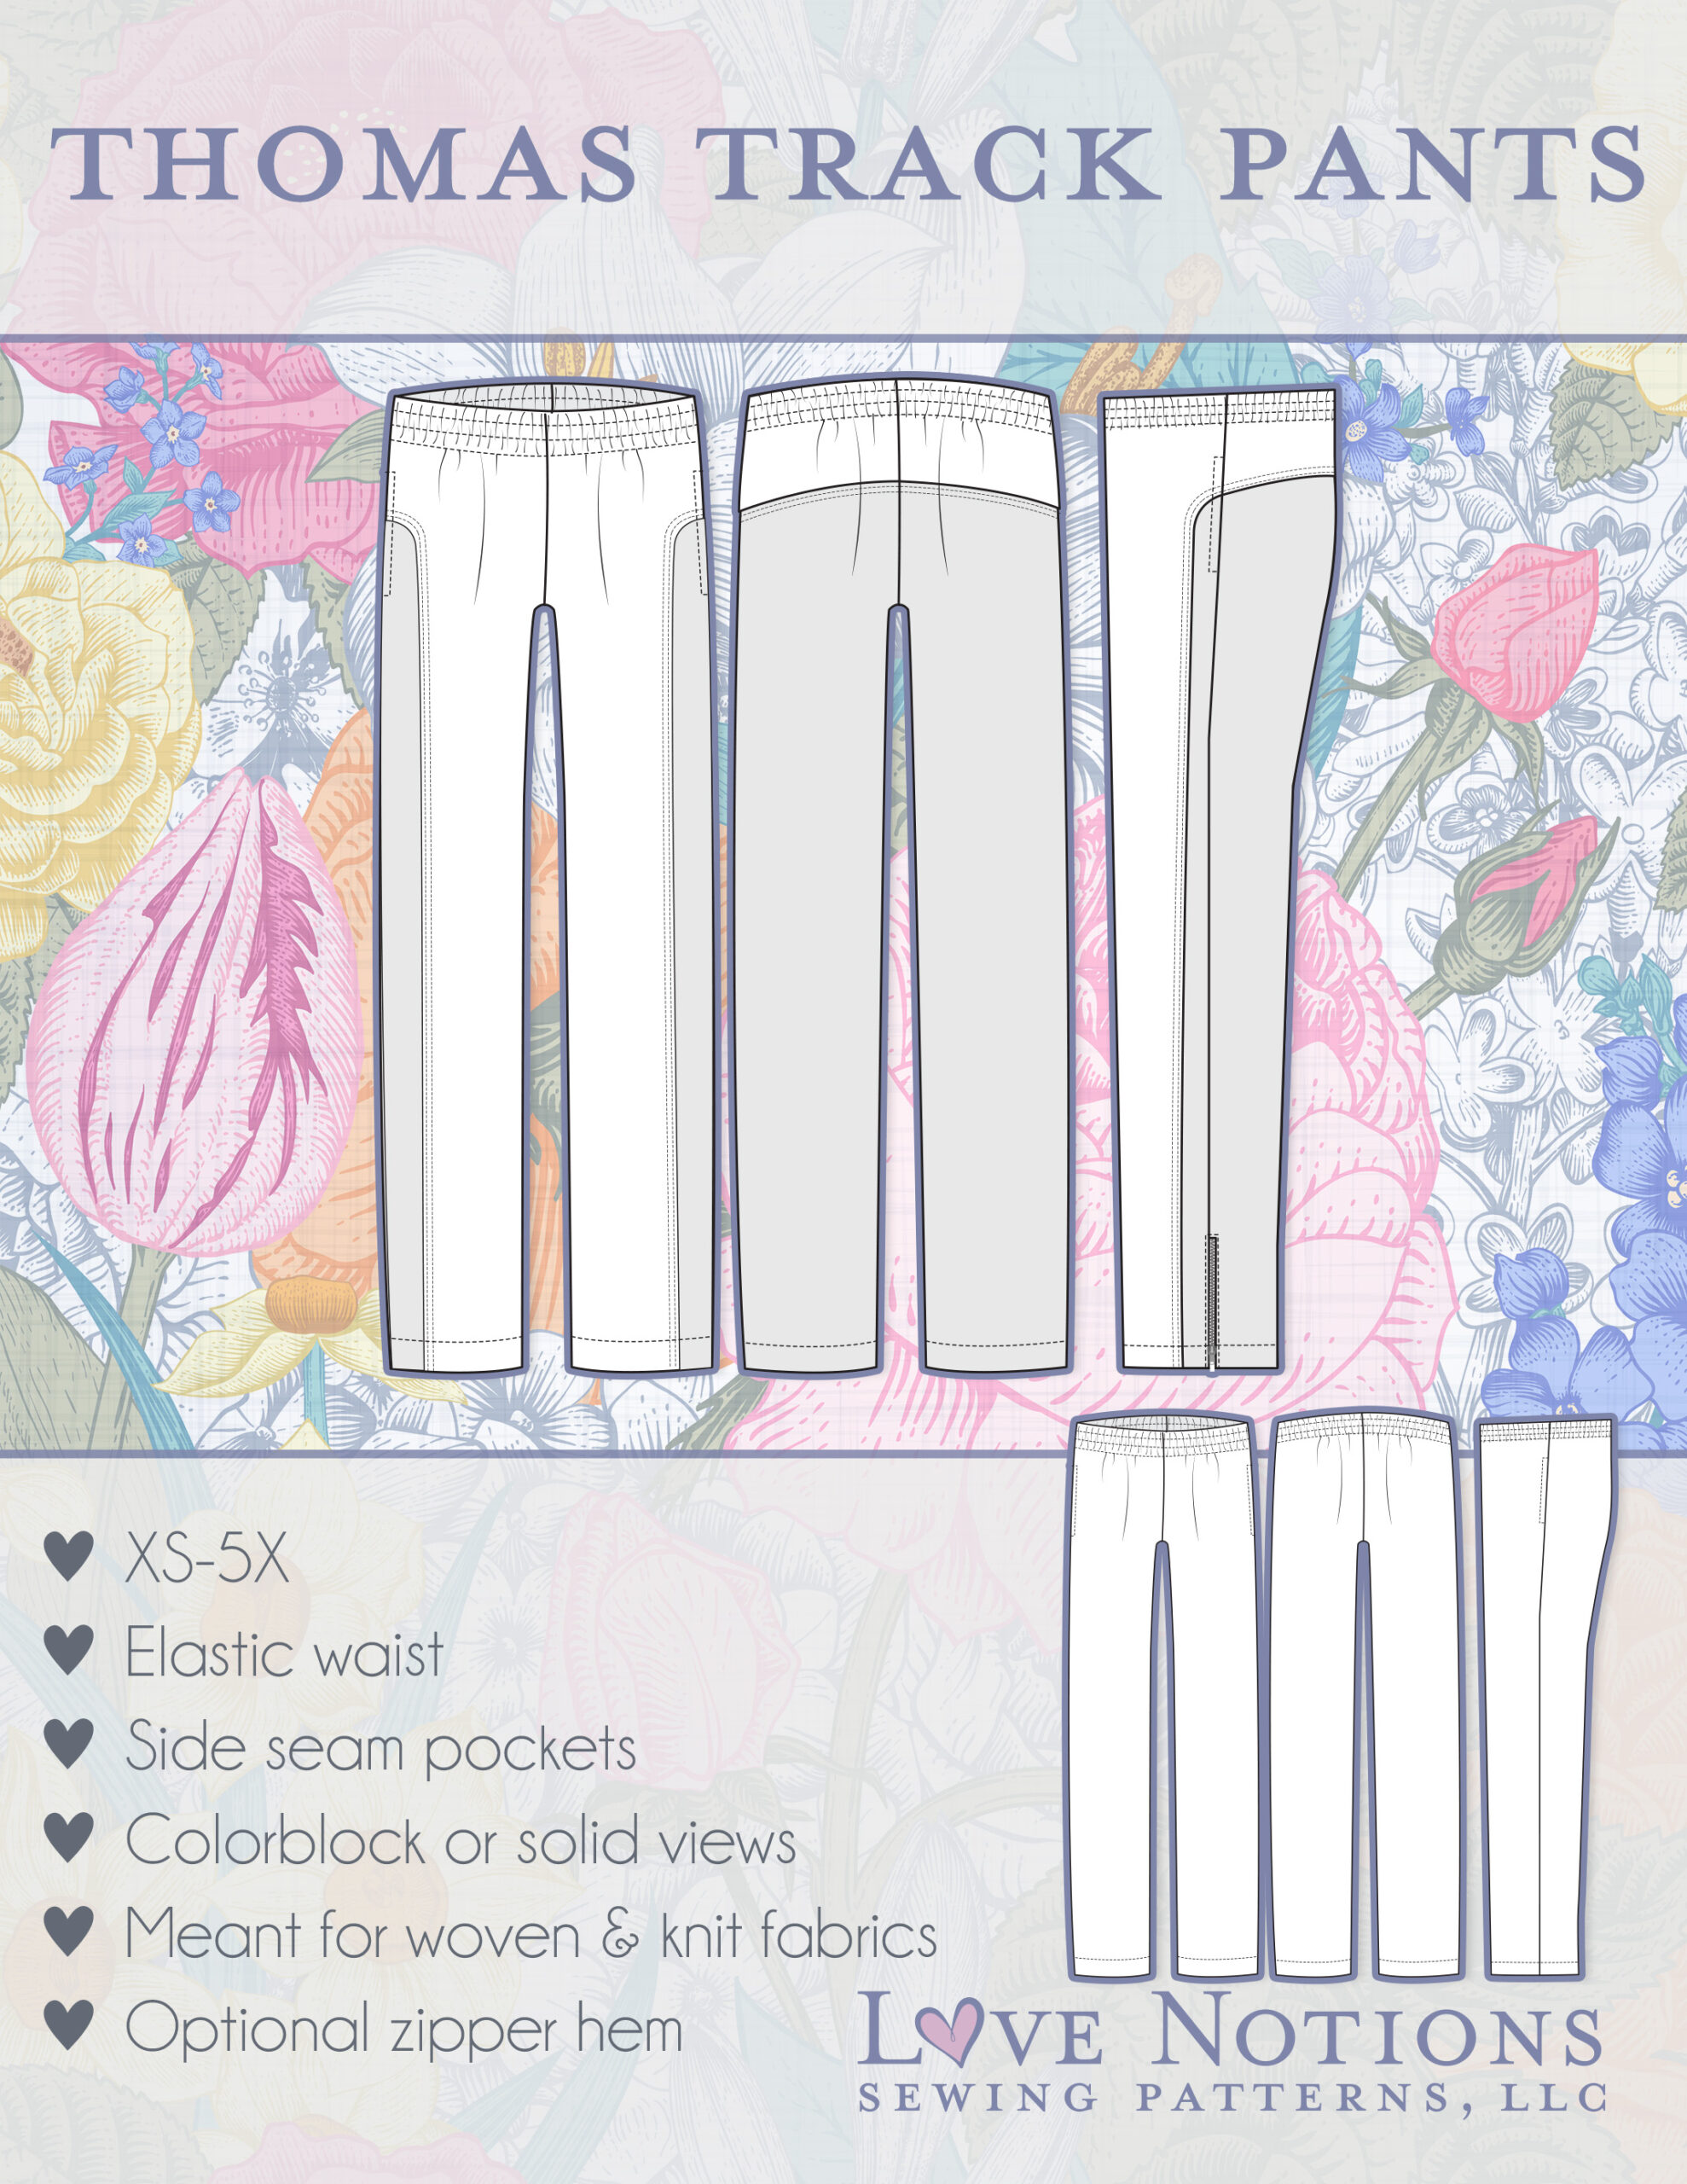
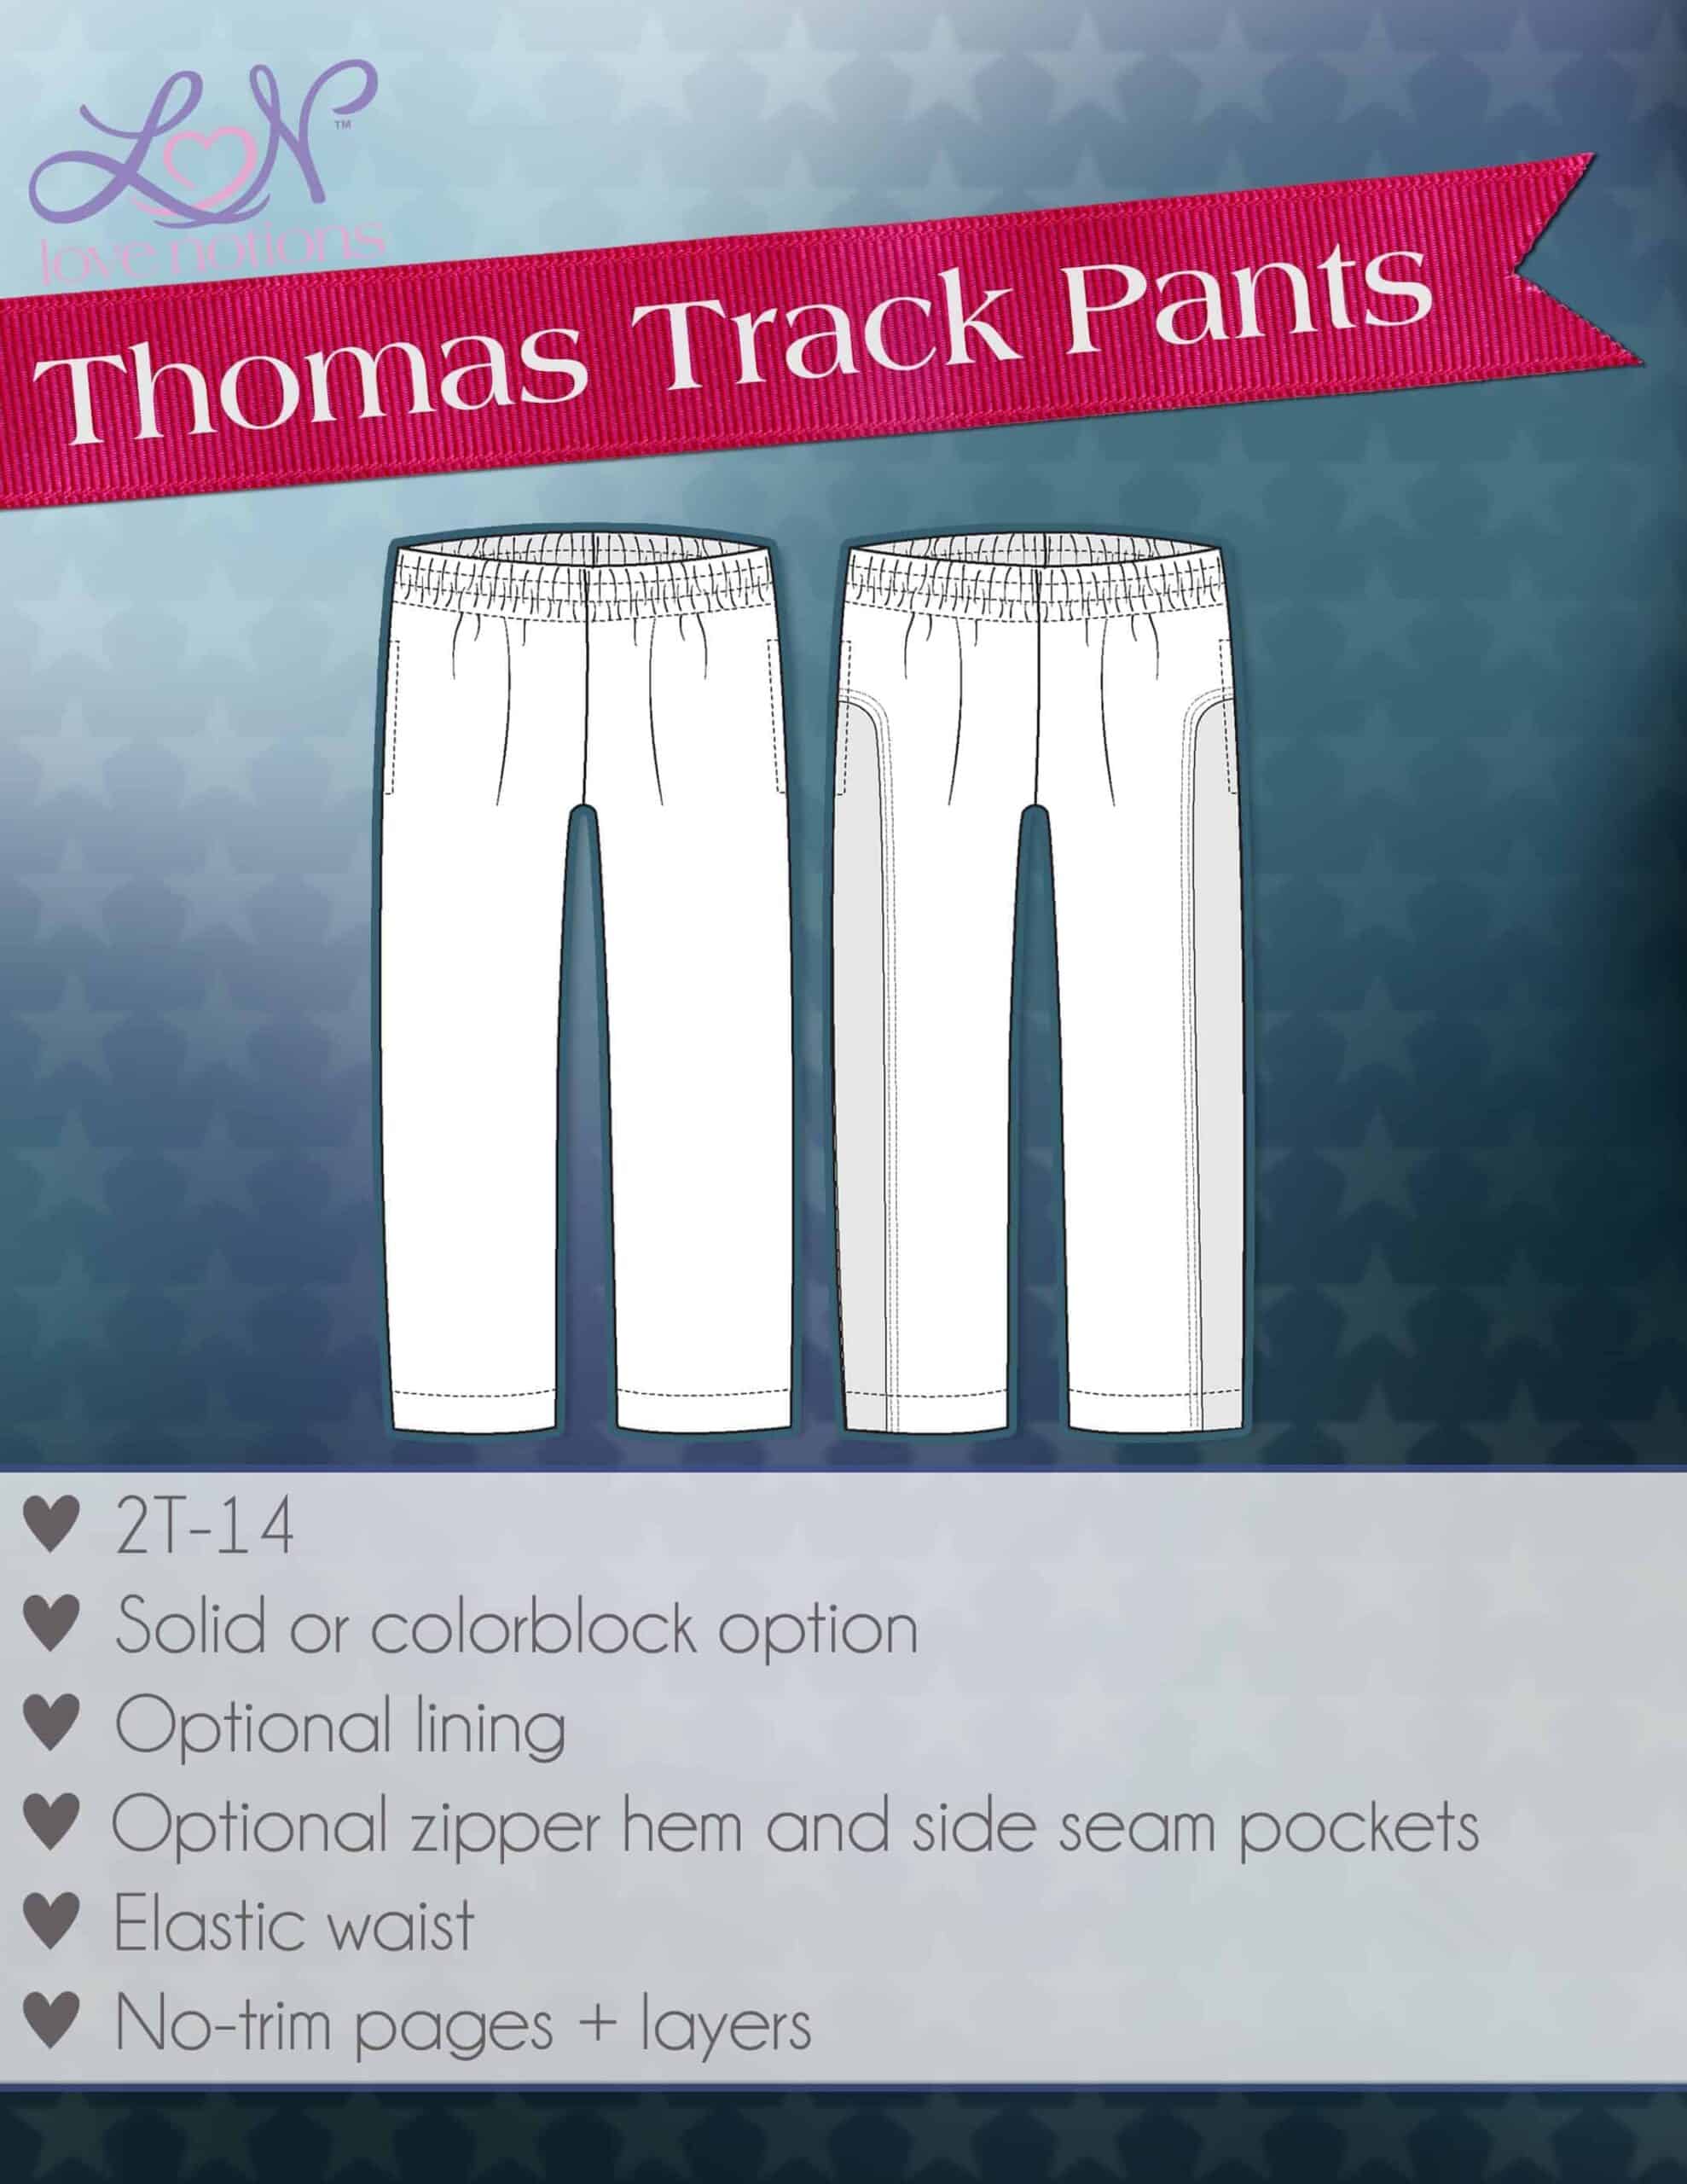
Did you see the newly released Thomas Track Pants for men? What a beautiful pattern! I was immediately excited to sew it for my 16 year old son. And did you also see that there is a children’s version available? Great, right?
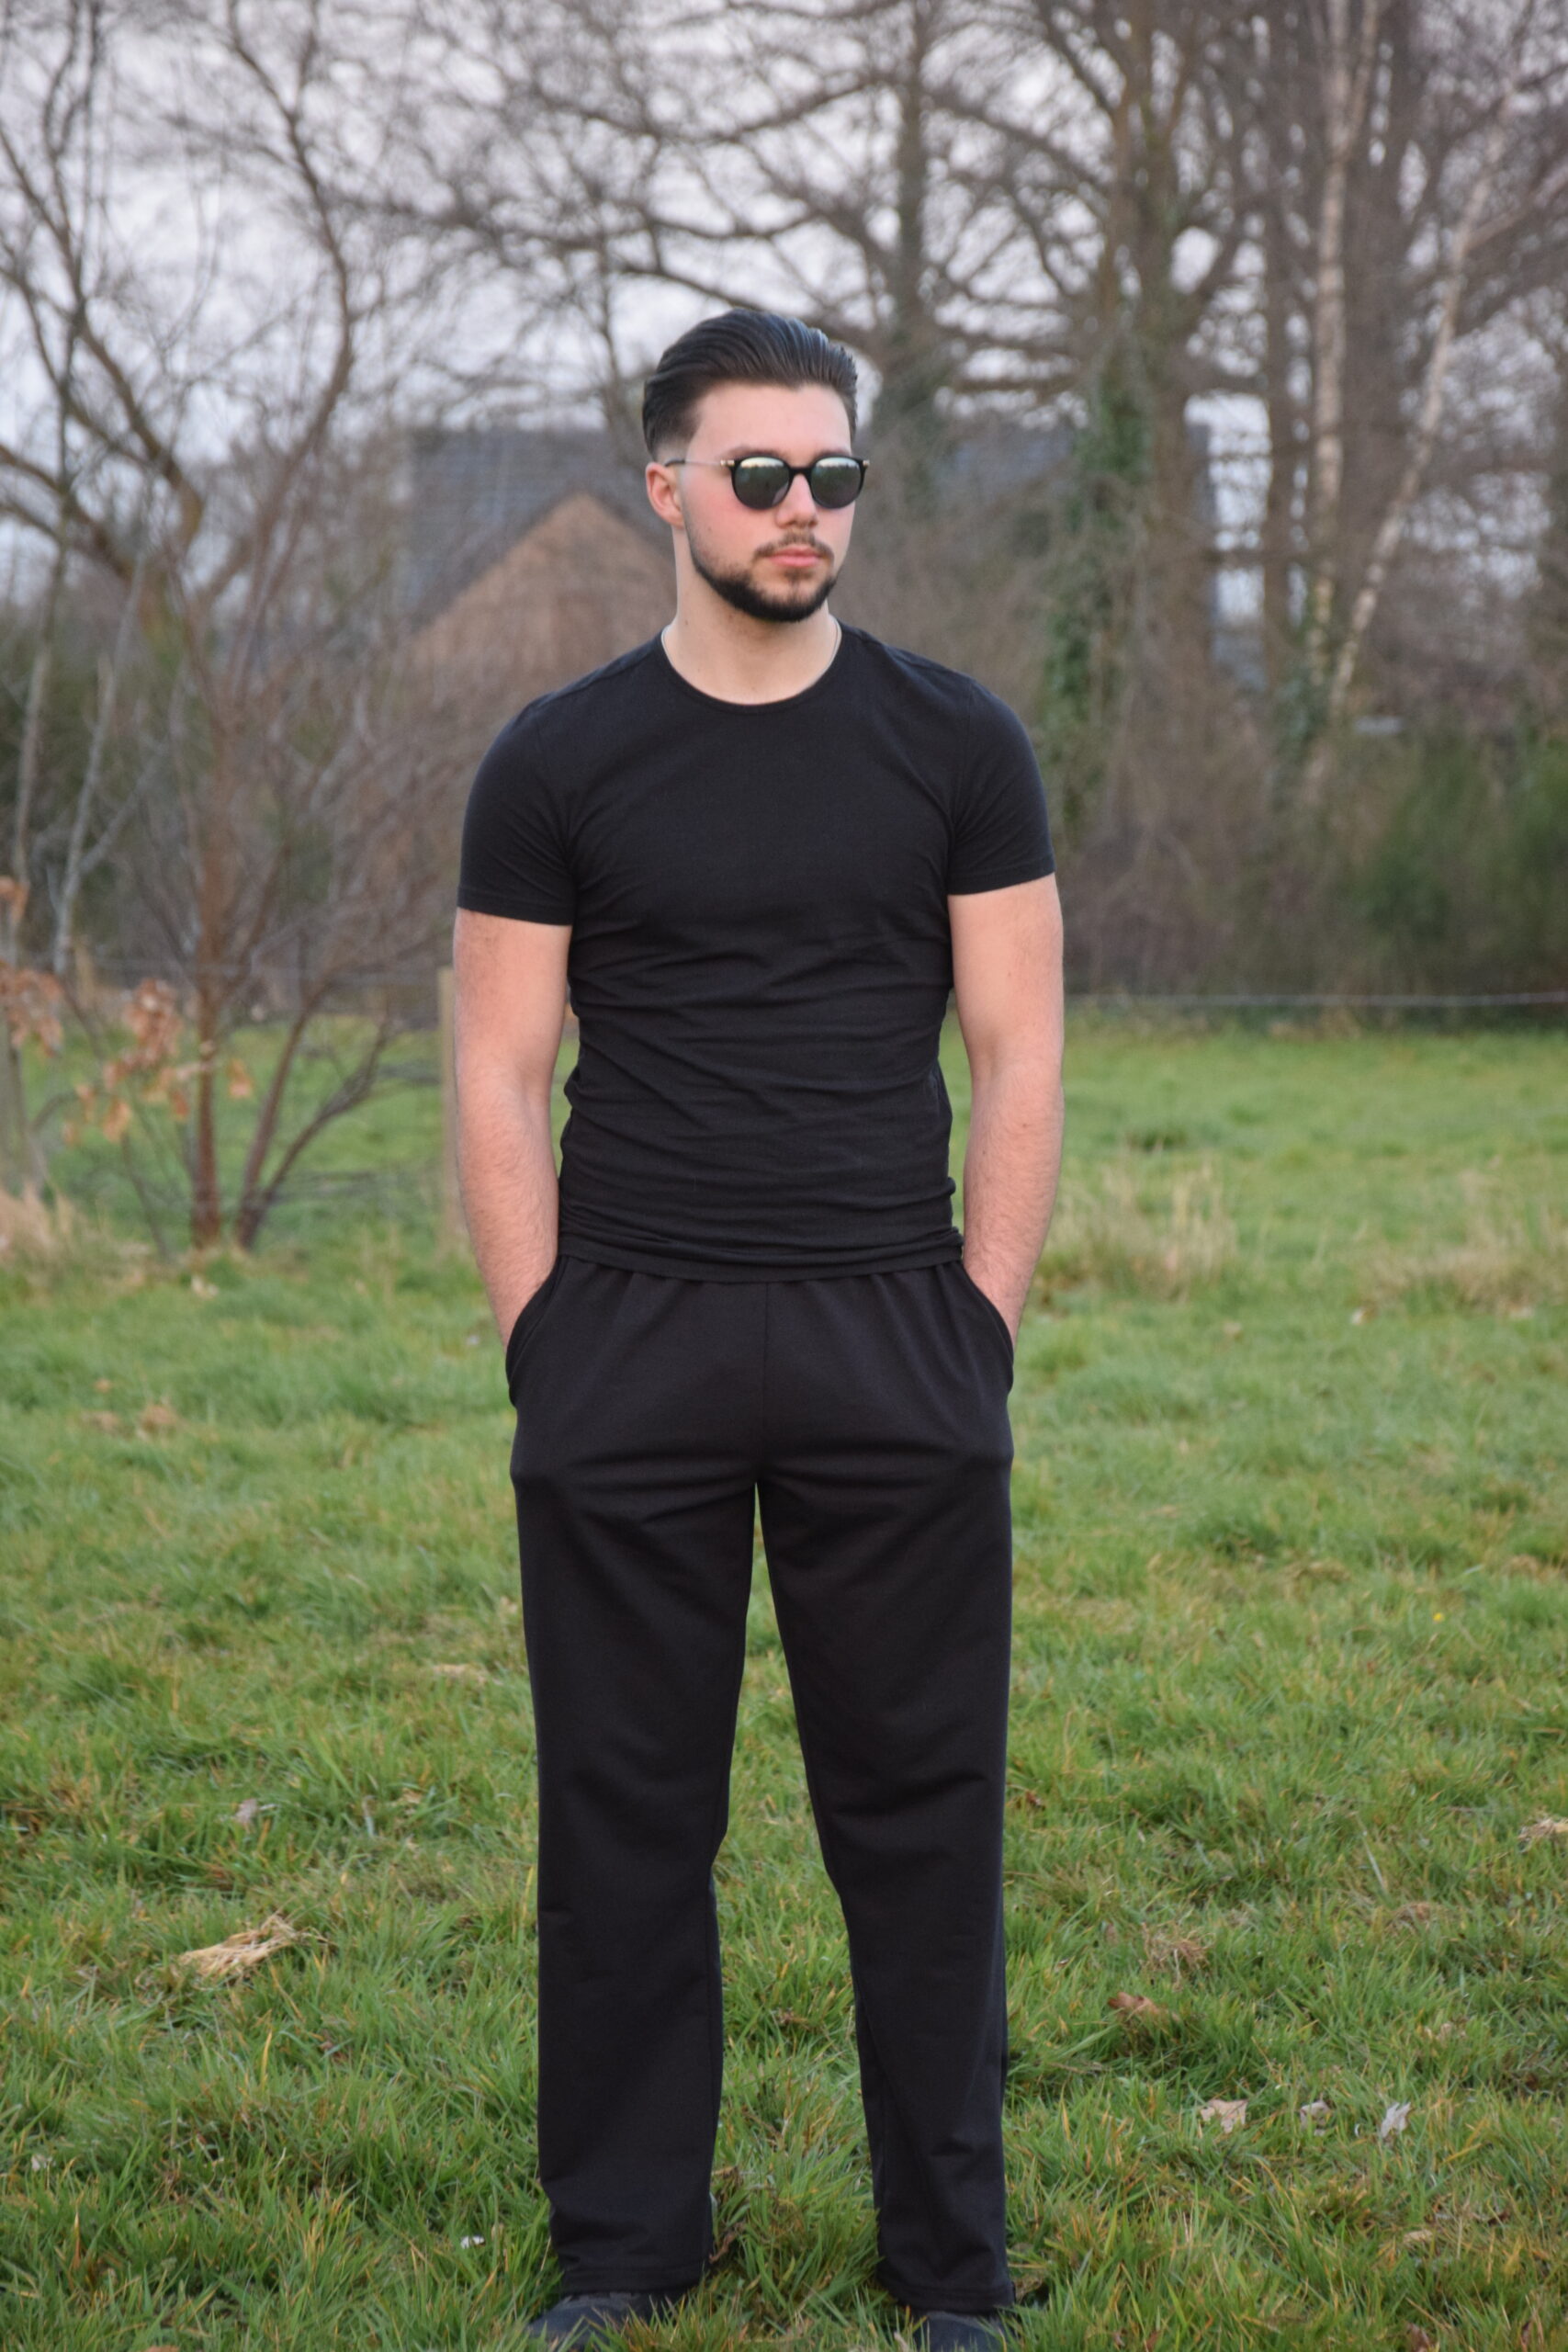
Now I really didn’t want to be left behind. I also wanted a Thomas Track pants! But one adapted to my curves.
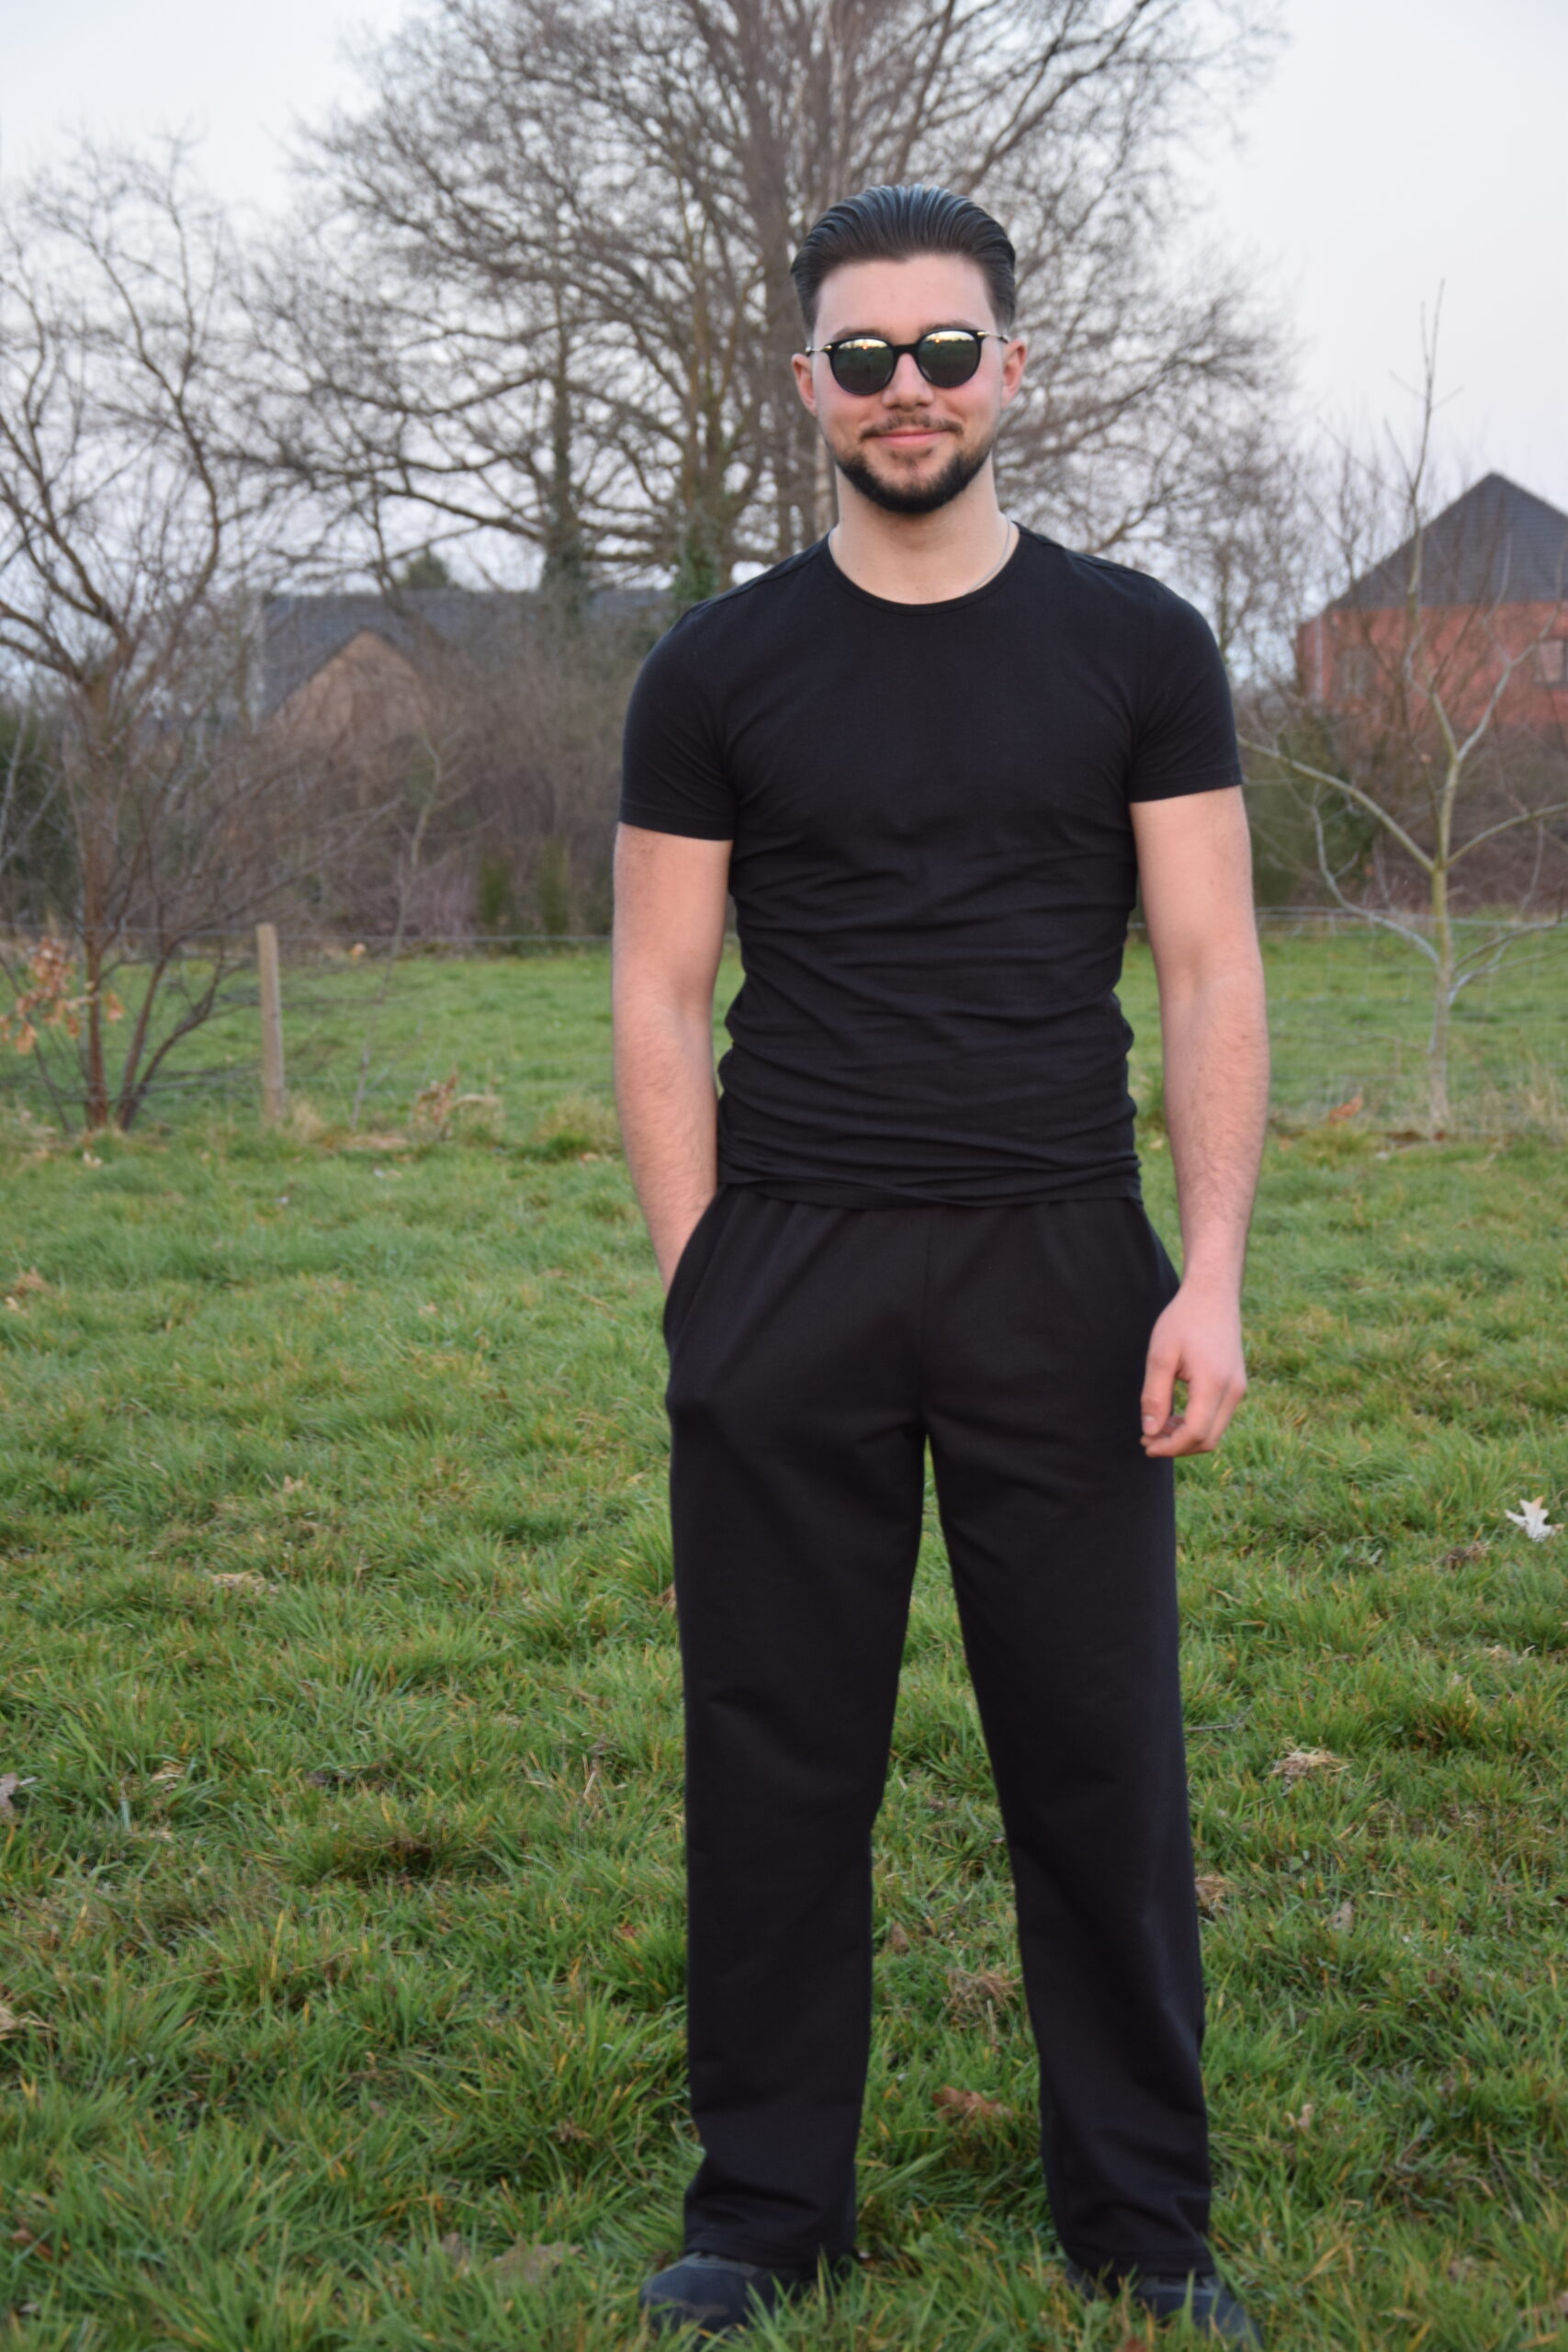
I adjusted some simple things to the pattern et voilà … my own cool Thomas Track Pants.
In general a ladies pattern contains slightly more curves than a menswear pattern, furthermore, a menswear pattern is usually also larger than a women’s wear pattern. I took a closer look at these things before I started sewing my new pants. And after studying the size chart I decided to make 2 adjustments. Are you following along?
Adjusting the waist
The pattern recommends to start with your hip circumference to choose your base size.
For example, my hip circumference of 93 cm (37″) placed me in size S. Of course I had to adjust the waist. My waist is 72 cm (28″), and therefore 6 cm (2.5″) narrower than the 78 cm (30″) of the S in men’s sizes.
The Pants consist of 4 pattern pieces at the waist (2 front and 2 back). So when I divide the 6 cm (2.5″), that I want to remove at the waist, evenly between the 4 pattern pieces, I have to subtract 1,5 cm (2/3 of an inch) from each piece (6 cm/4 = 1,5 cm or 2.5″ 4 = 2/3 inch).
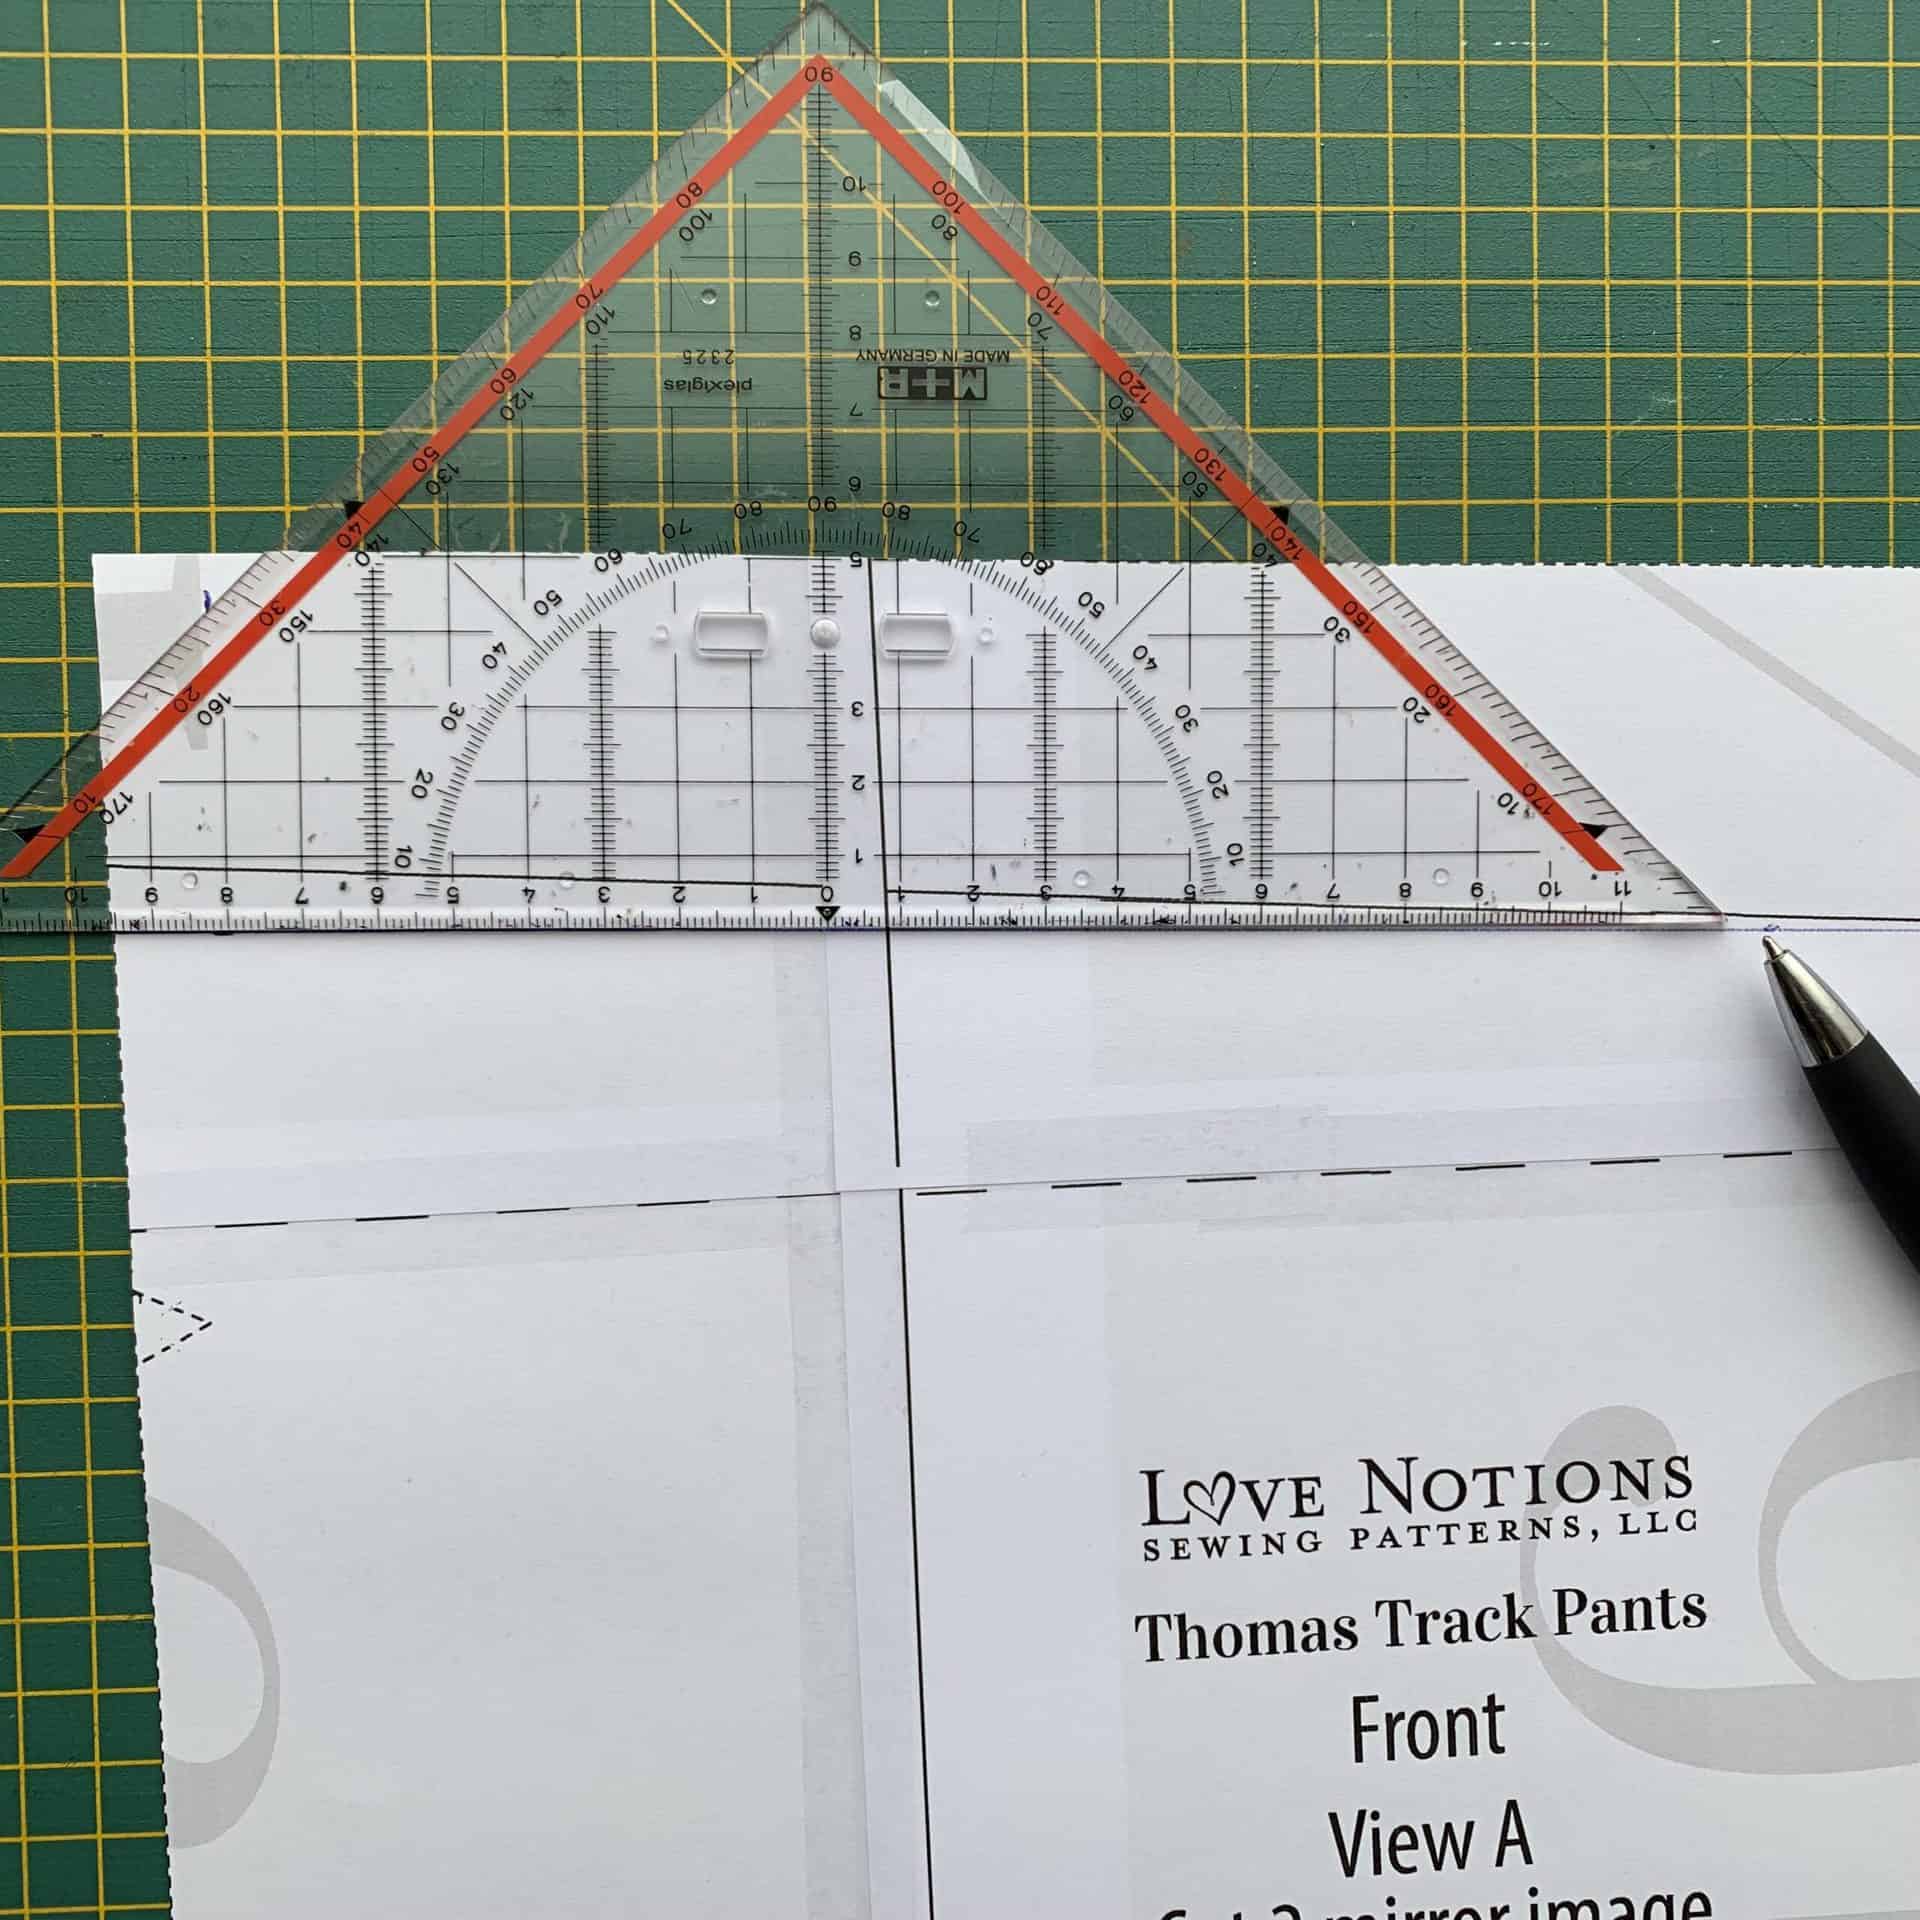
Before we can dig into that subtraction, we have to consider the elastic of the waistband. The pants have a 5 cm (2″) wide elastic at the waist. This is sewn to the top of the pants and then folded over. So we first have to subtract the width of the elastic from the top of the pants before we can narrow the waist. Draw a line at 5 cm (2″) , parallel to the top line.
So, adapt this pattern to YOUR curves by doing this:
- Find your beginning size using your hip measurement
- Save room for the 2″ (5 cm) elastic
- Adjust the waist by dividing the amount to be reduced between the four waist pattern pieces
- Redraw your curvier side seams
Lemme show you in detail:

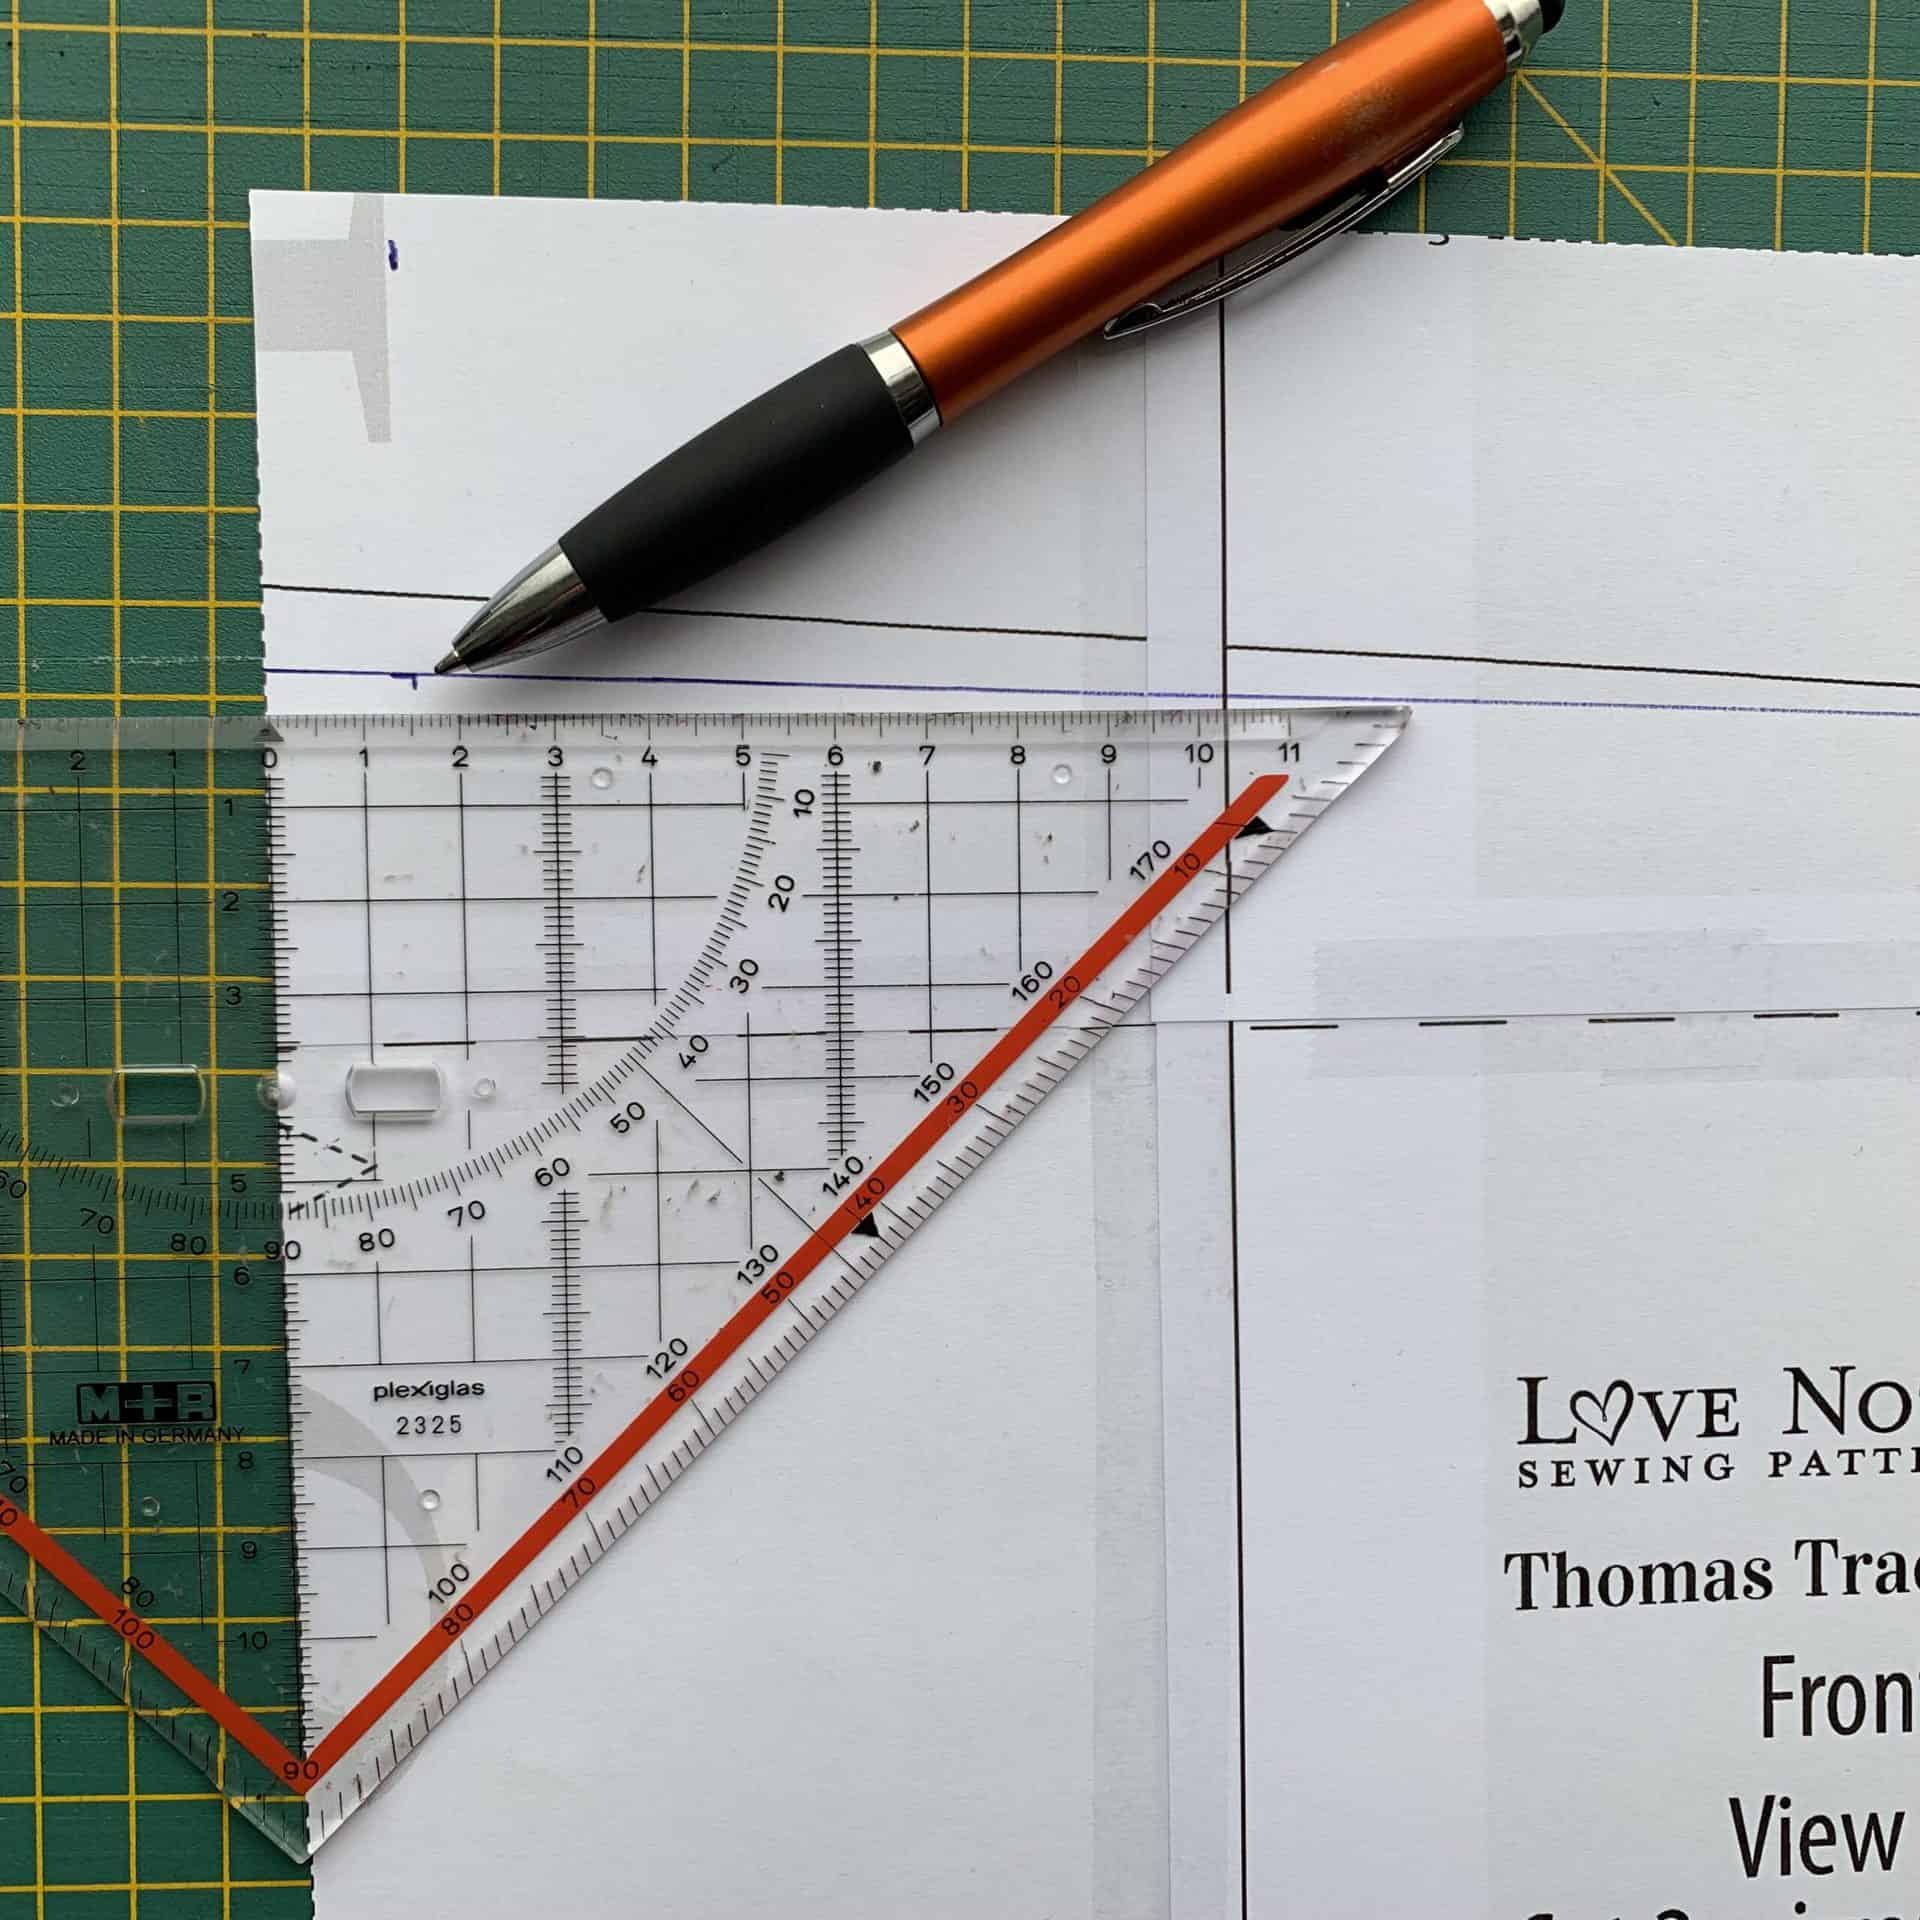
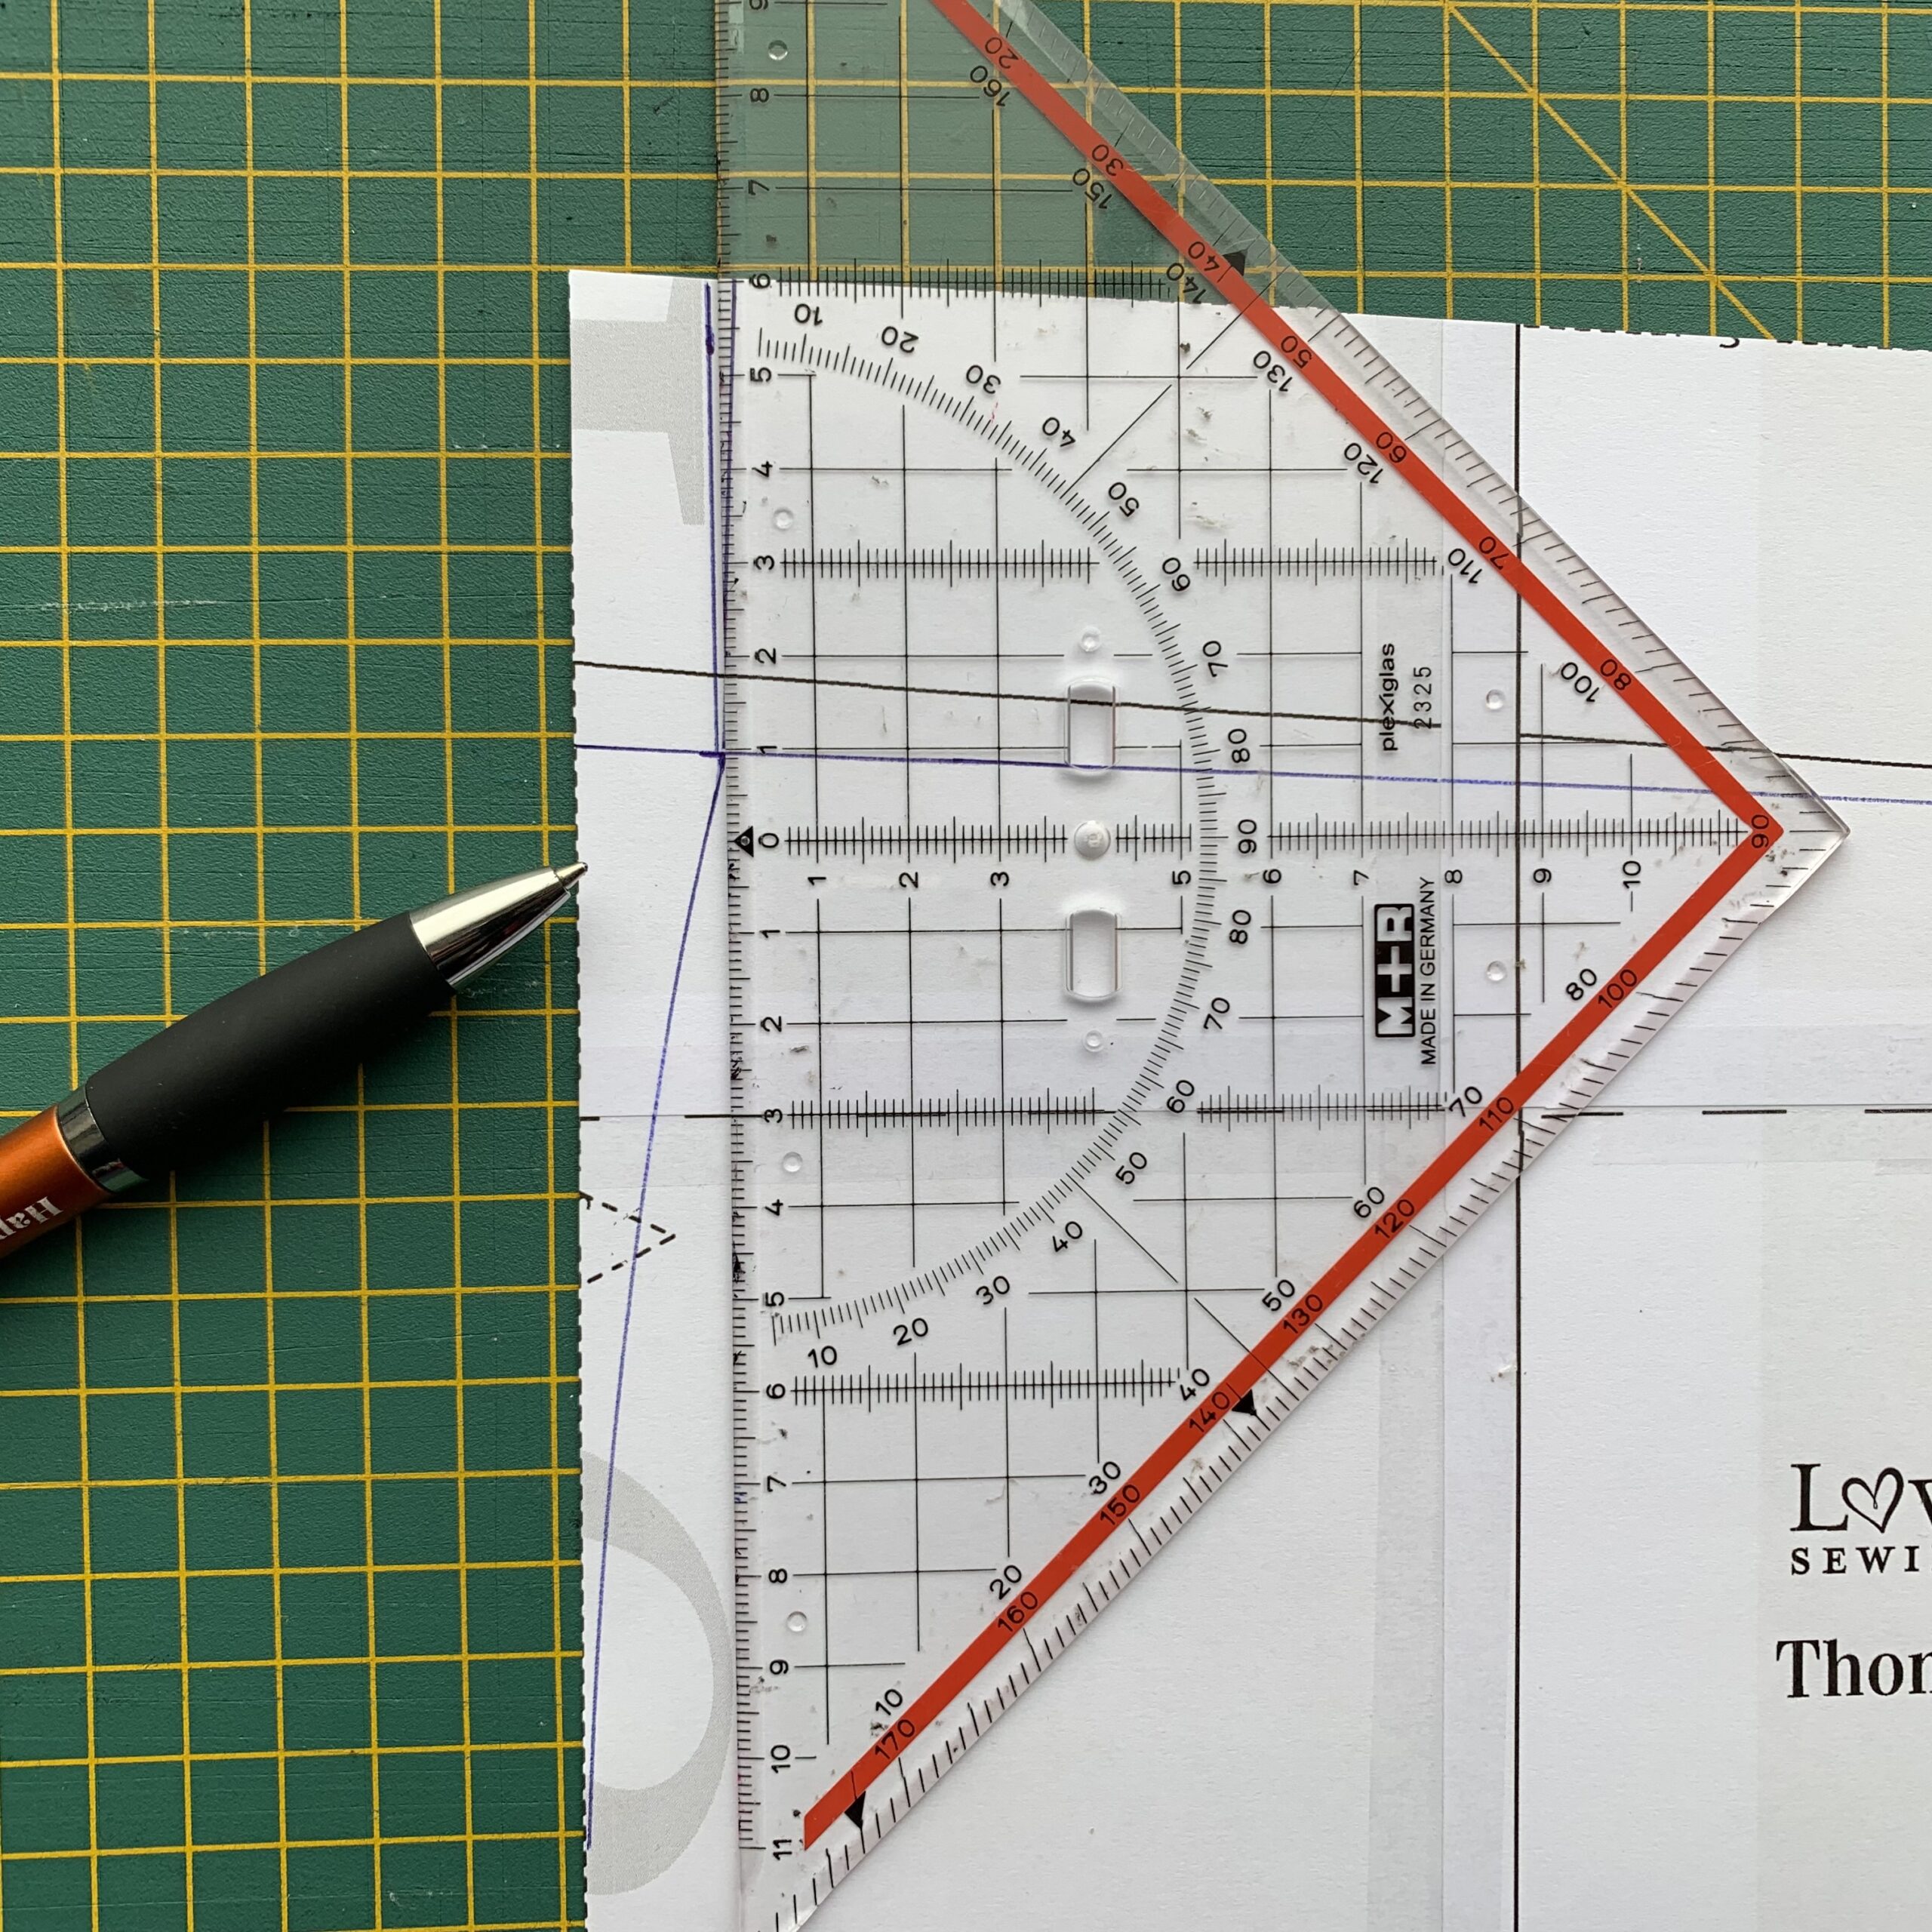
Now, let me demonstrate removing the excess at the waist. Indicate the number you obtained above (for me this is 1.5 cm) on the line you just drew. Do this along the side seam of both the front and the back.
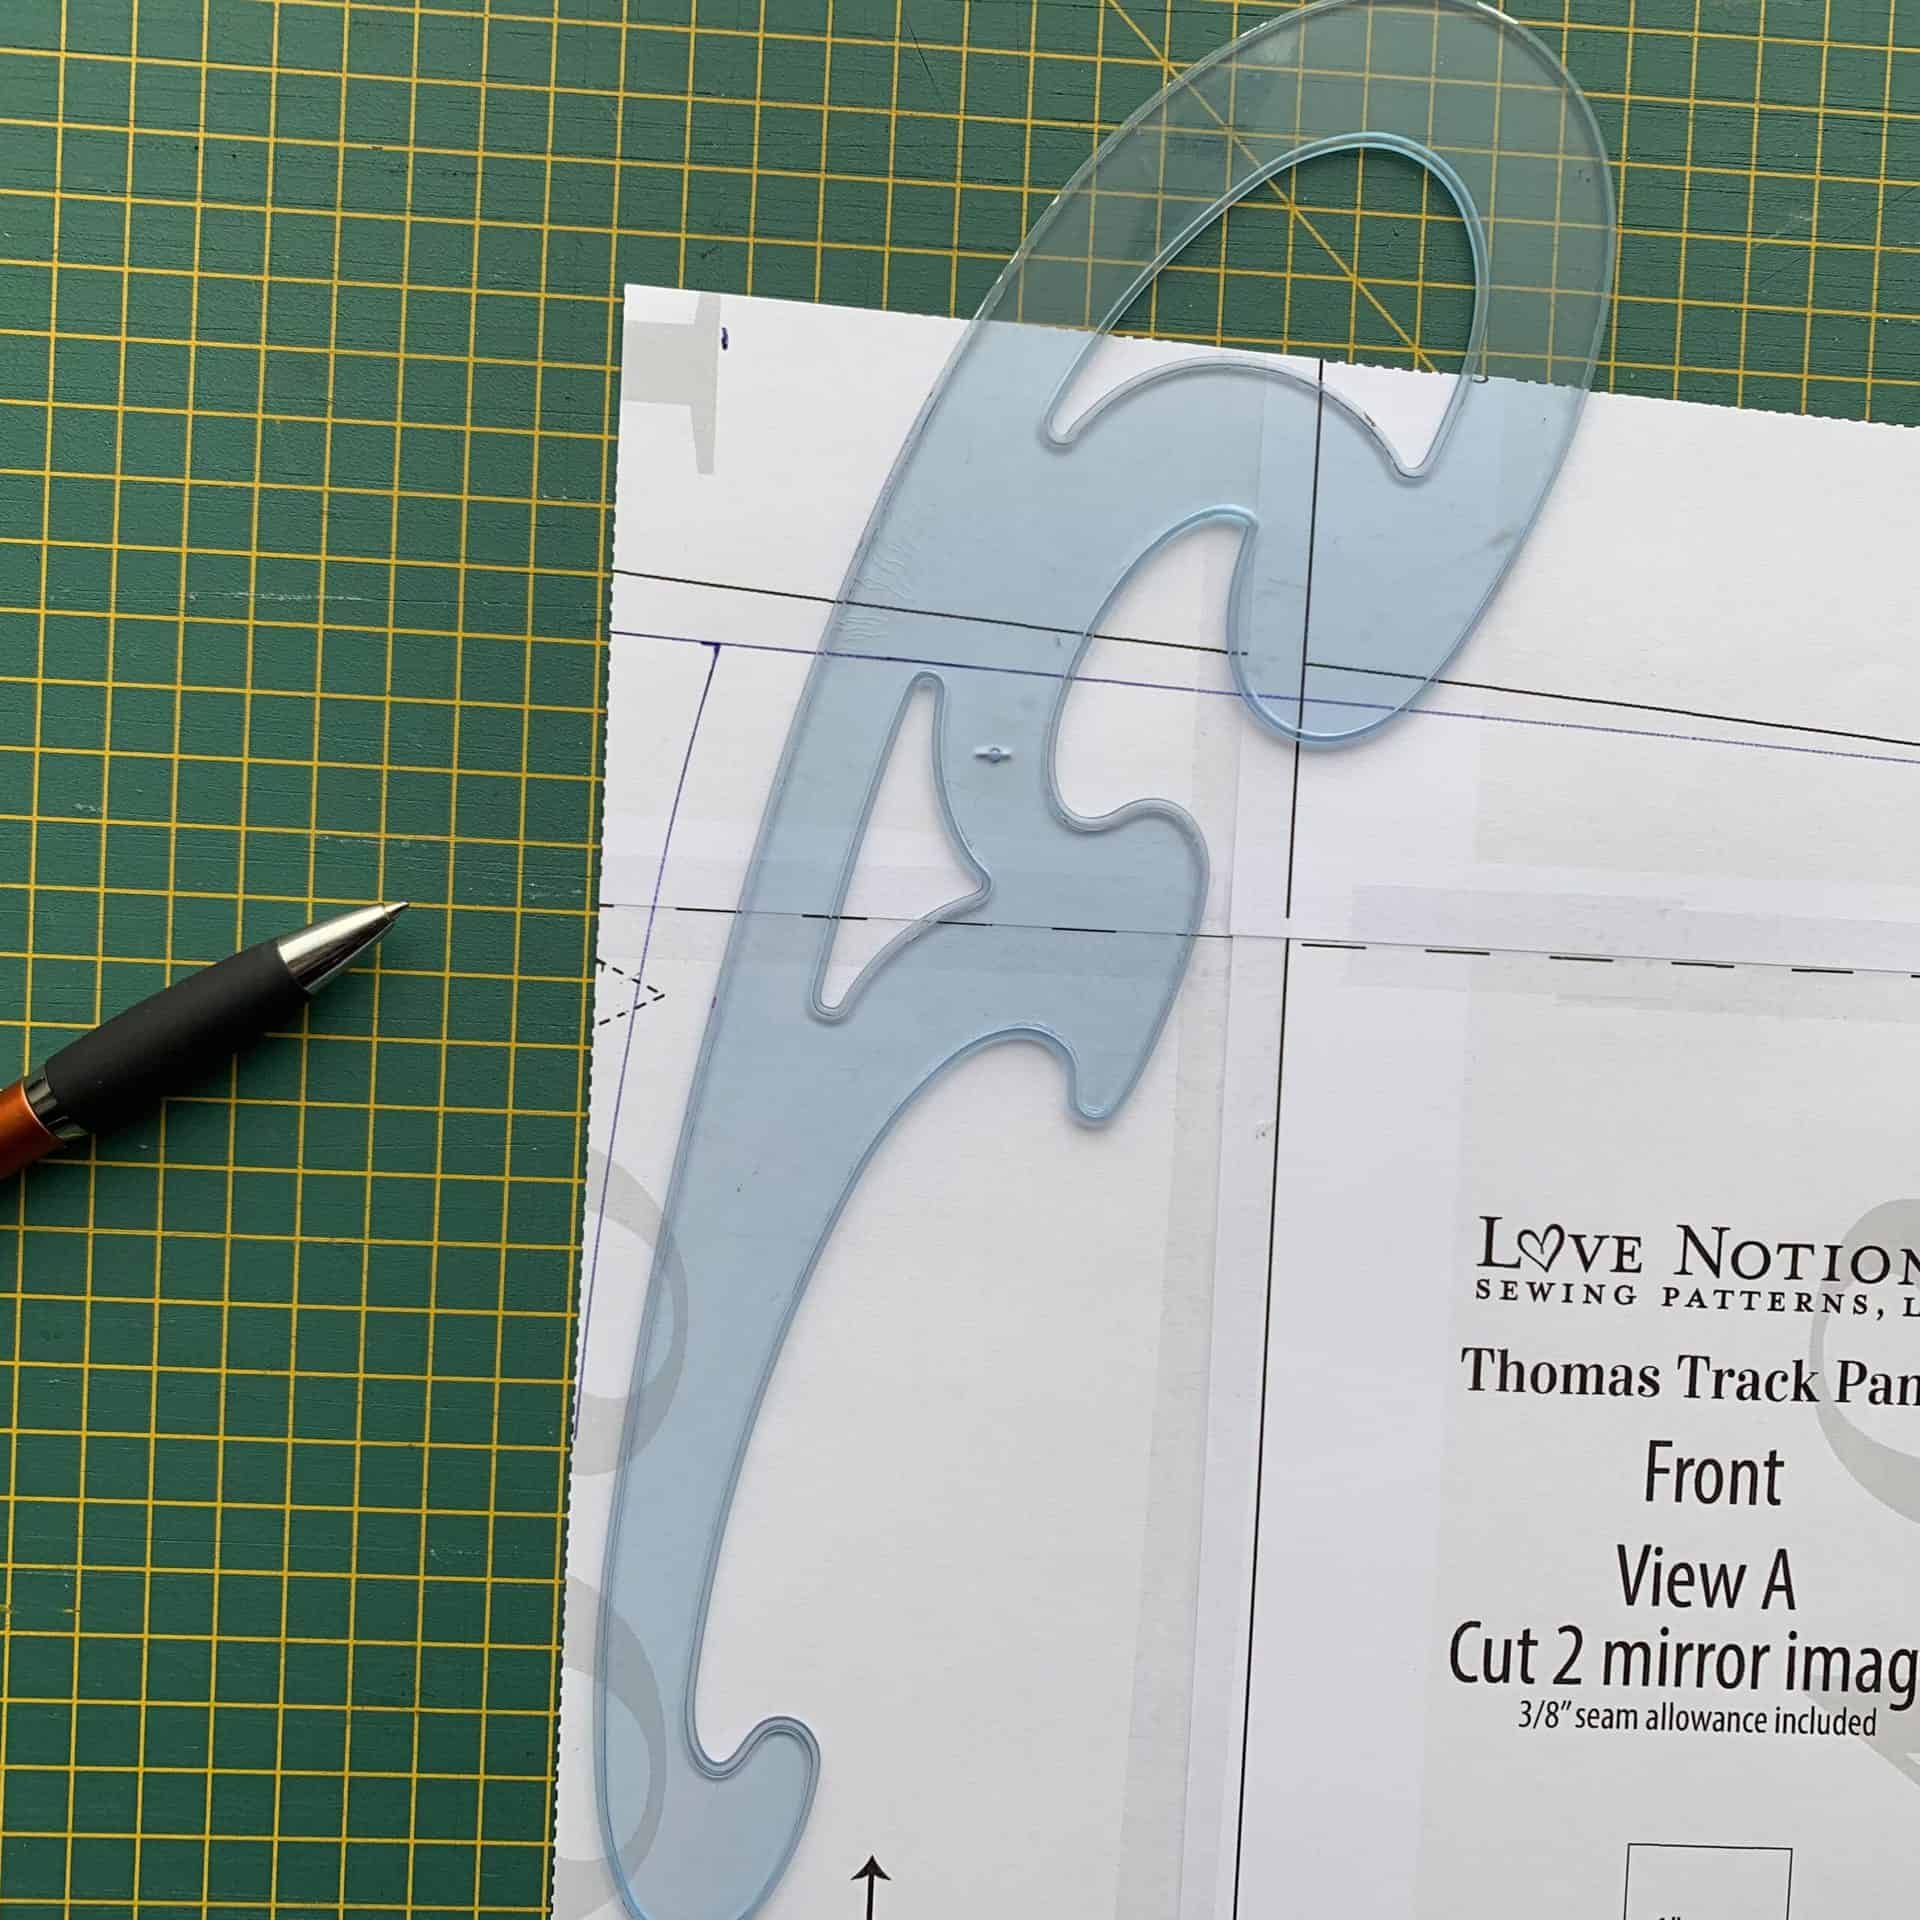
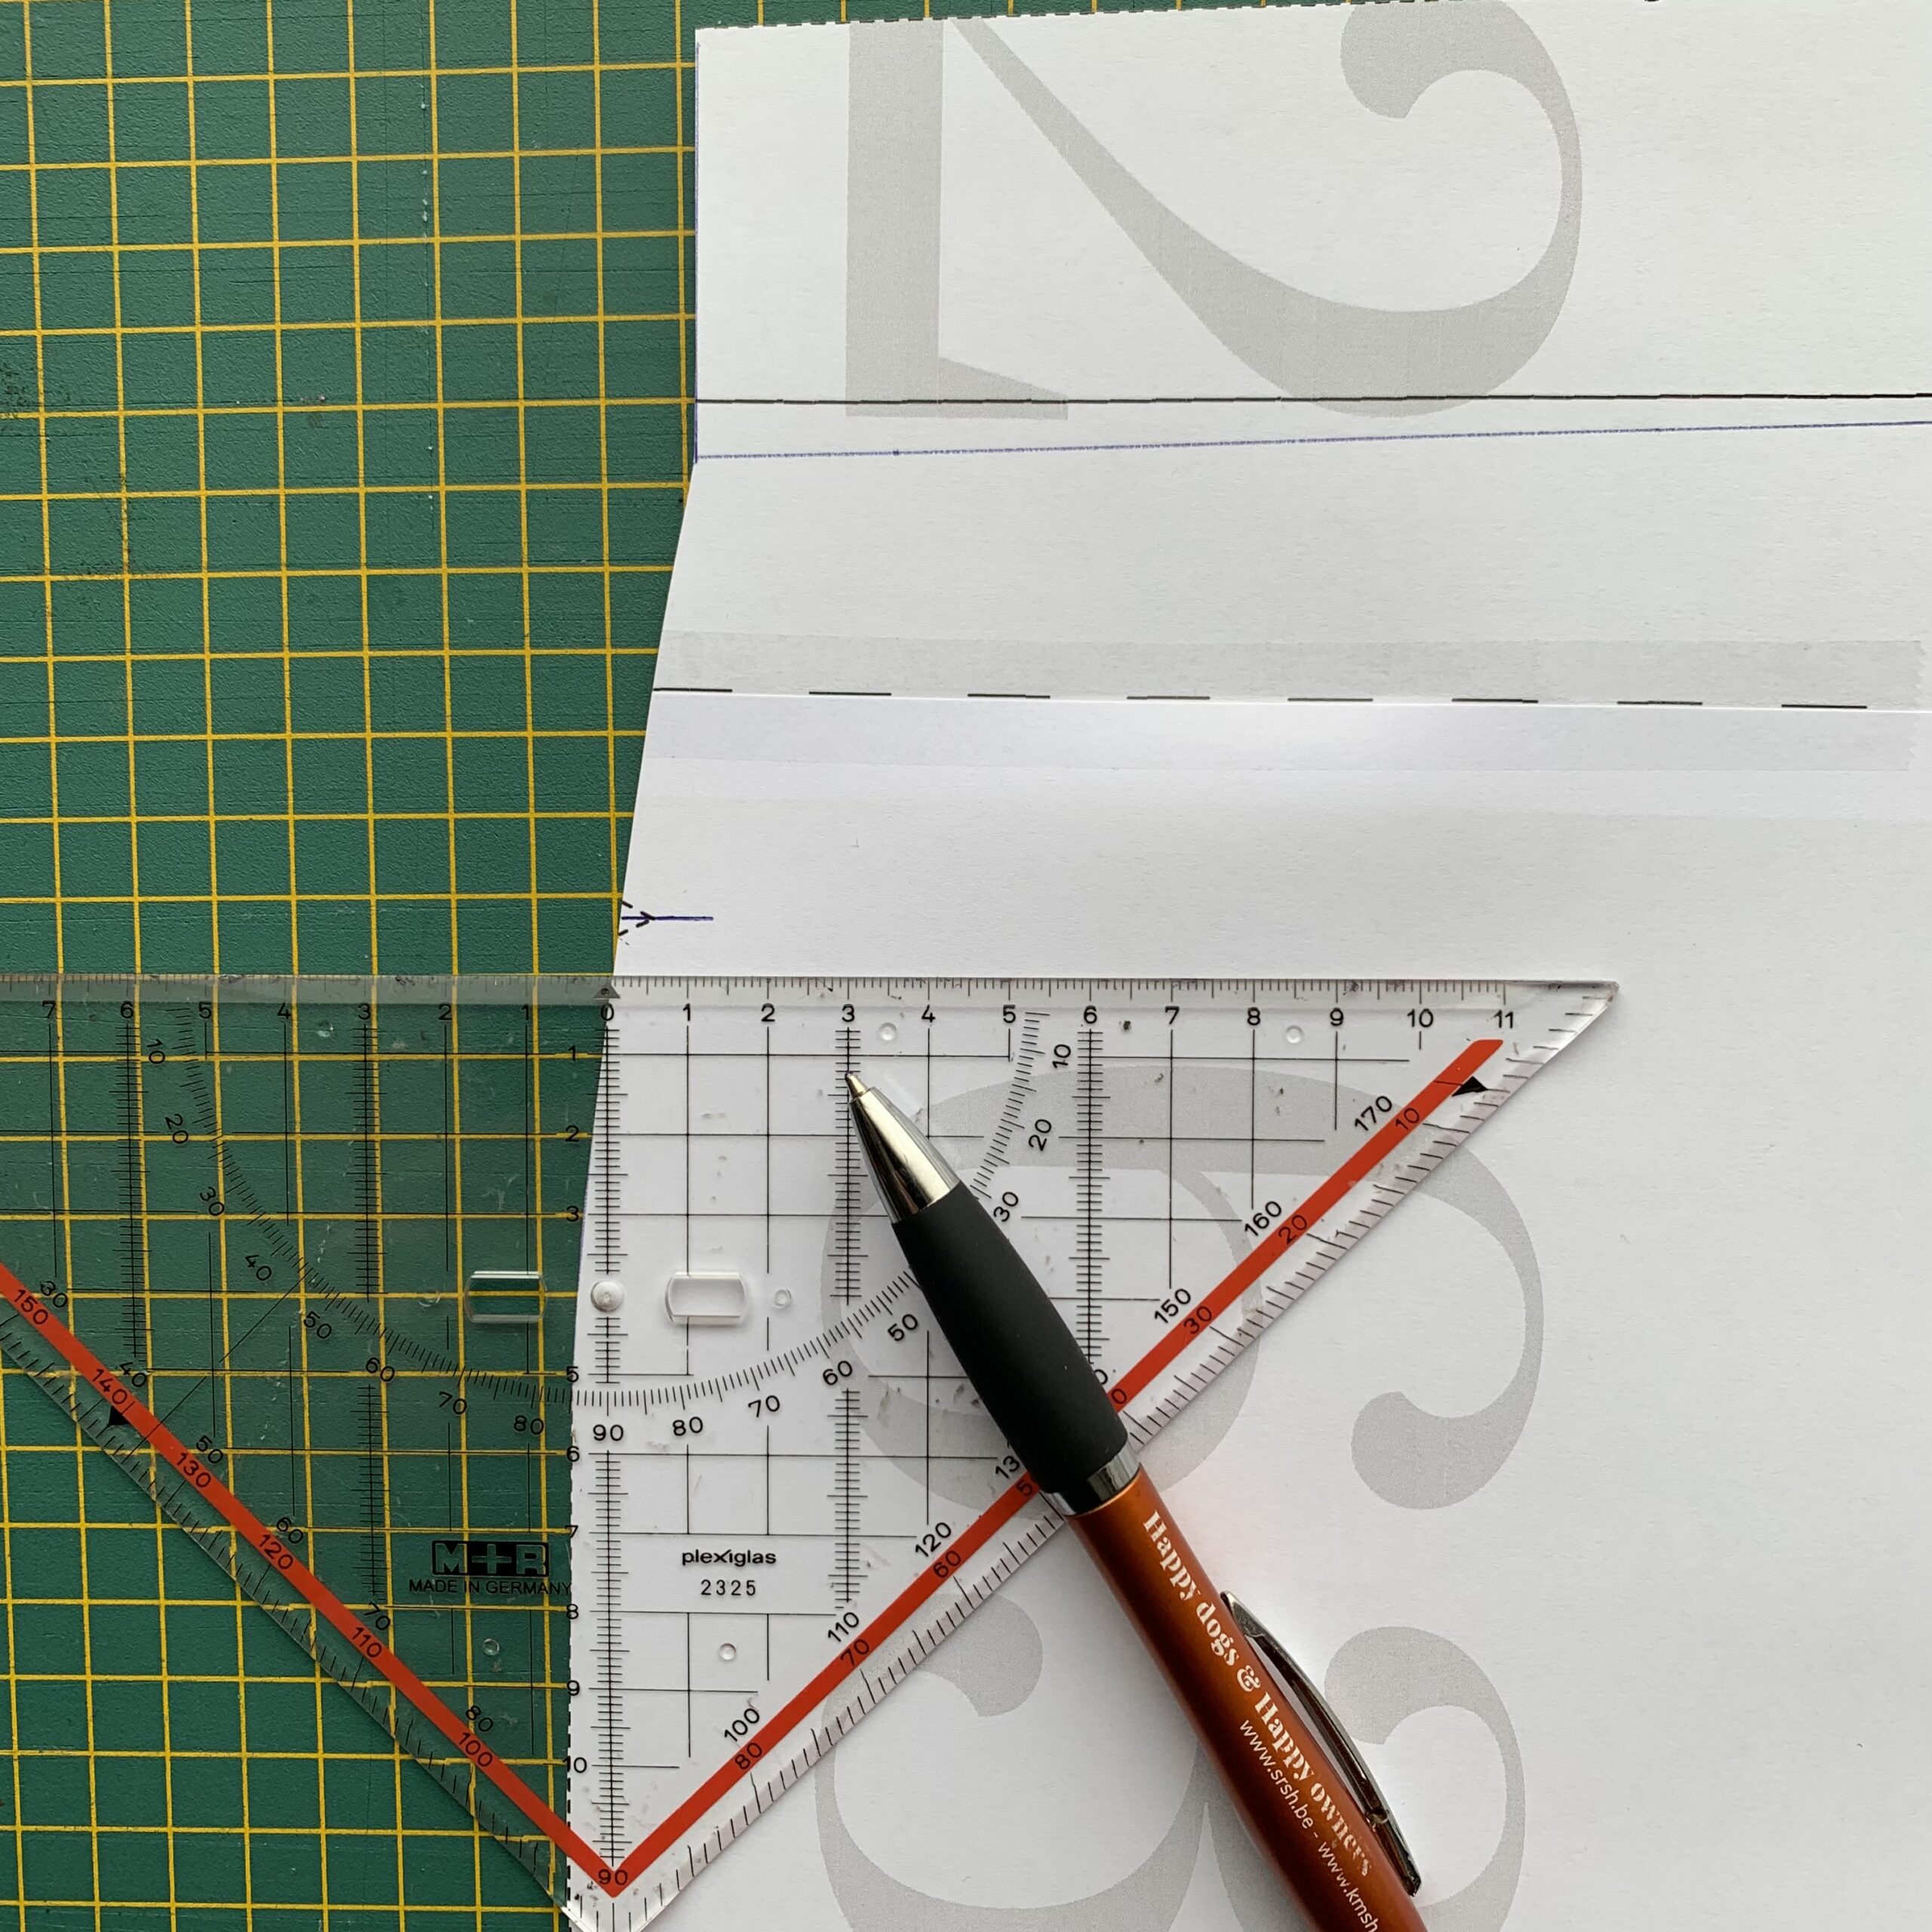
Now connect this point with a smooth, curved line (I like using this curved ruler) to the original pattern line at hip height (slightly beyond the mark for the pocket).
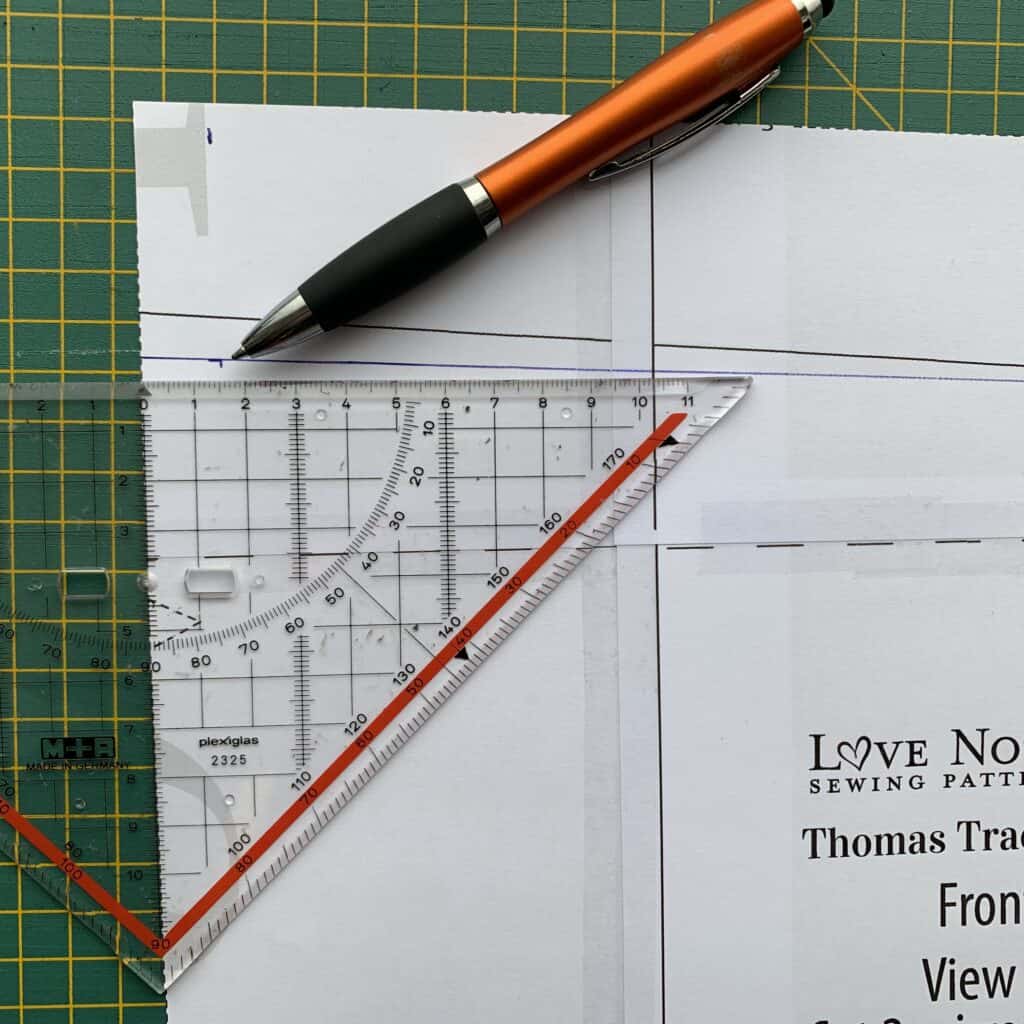
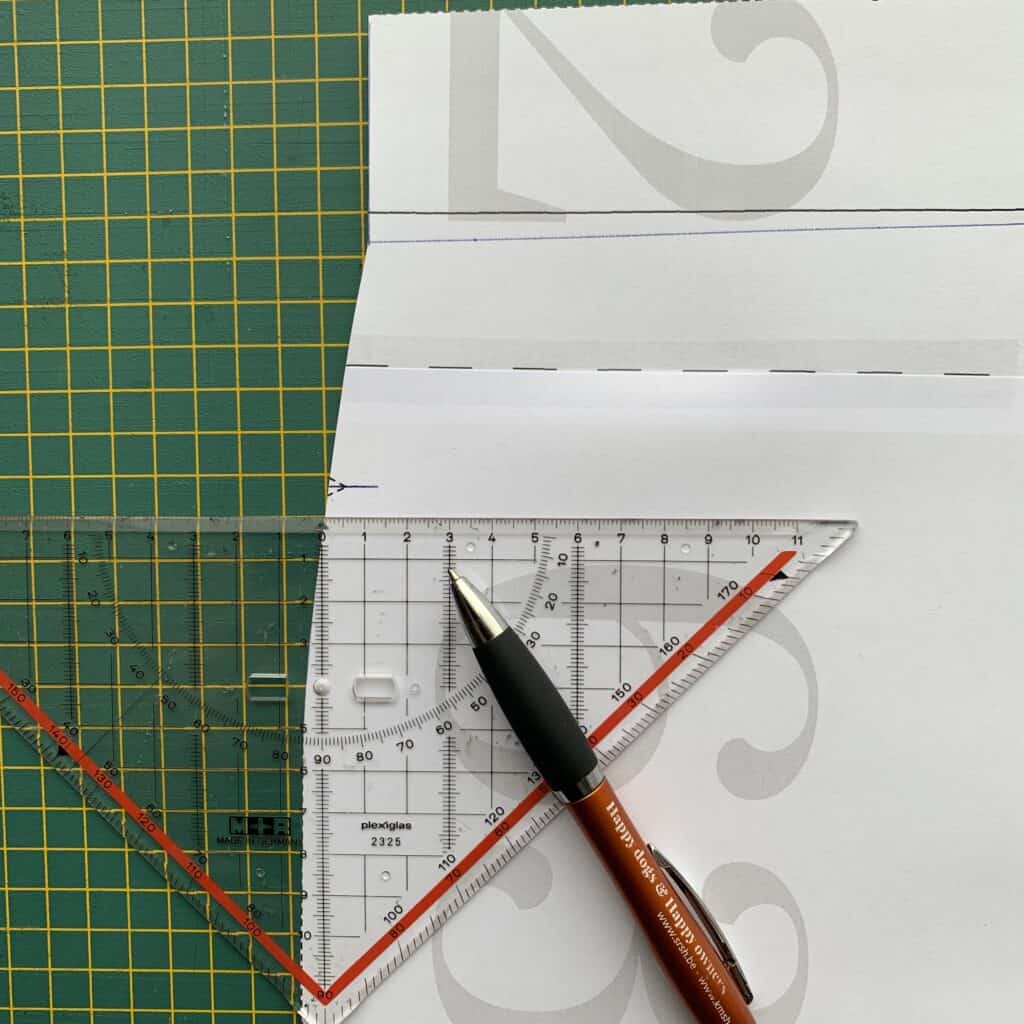
Also connect this point to the top edge of the pattern, parallel to the original side seam.
Cut out on your newly drawn side seam. Don’t forget to transfer the marking for the top of your pocket on the pattern. Because of your adjustments, you probably cut it away.
Adjusting the length
The only thing you have to do now, before you can start cutting your fabric, is to adjust the length.
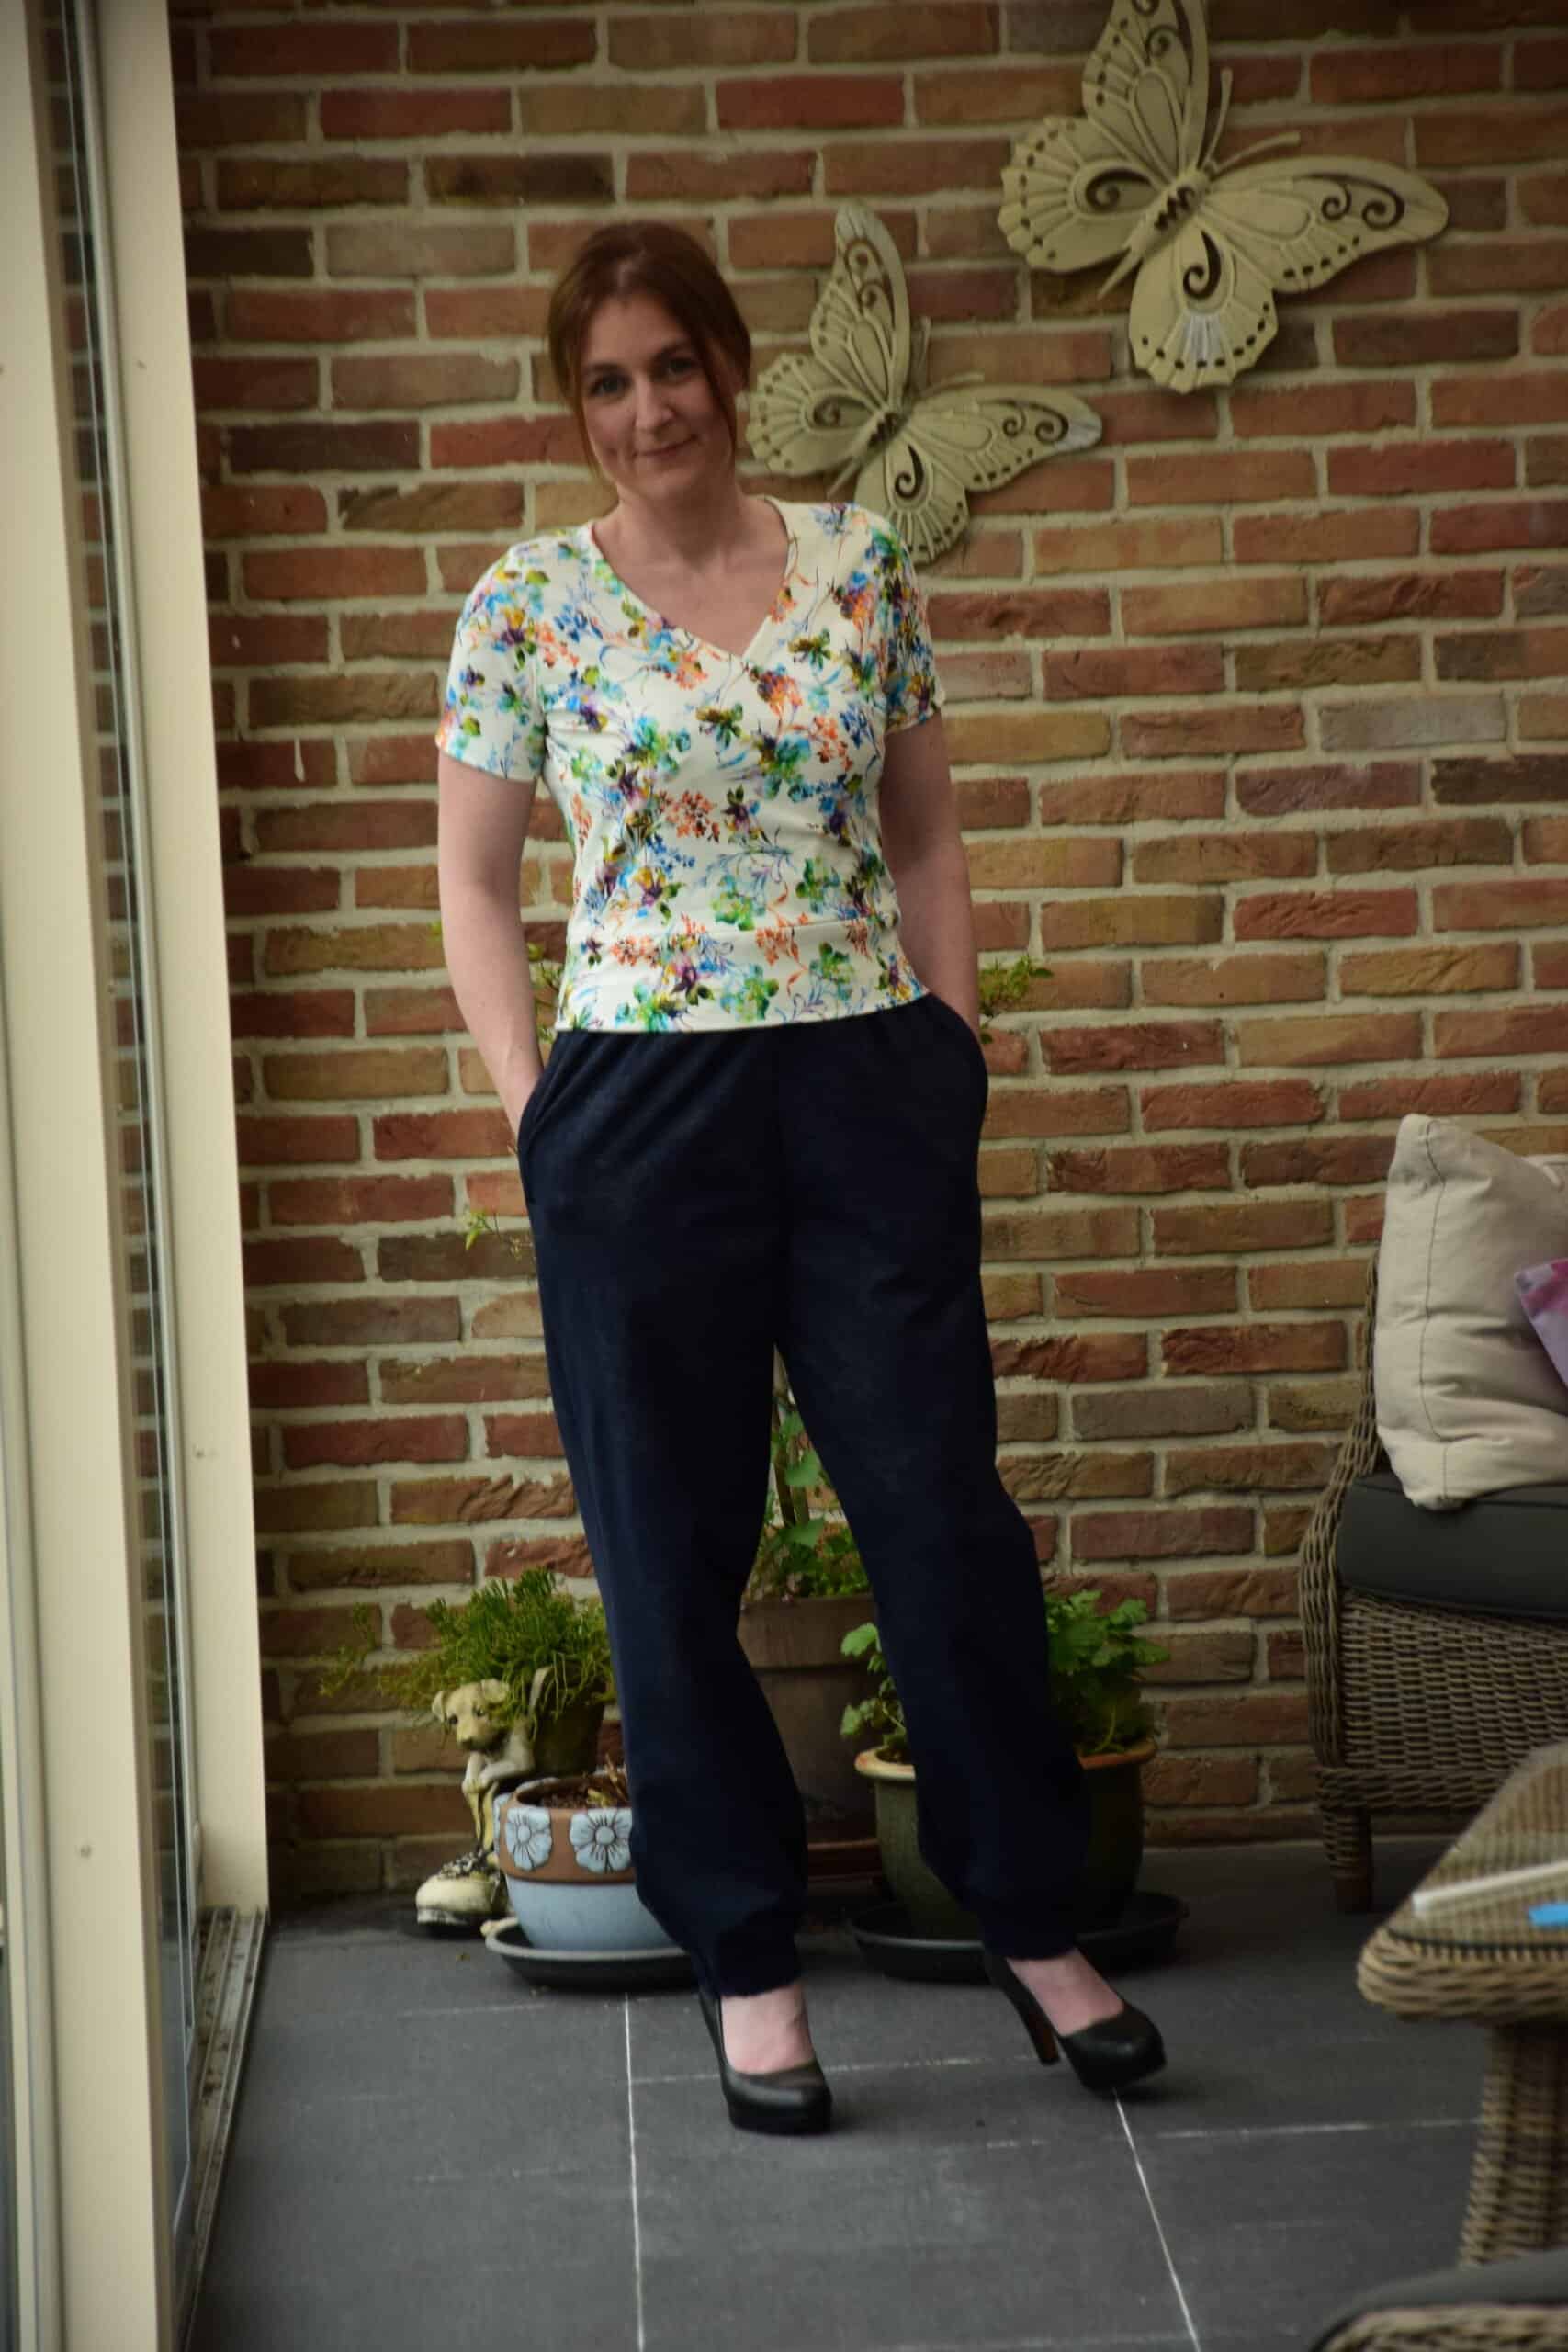
The pattern is drawn on the mens block from Love Notions with a length of 172 cm (5’8). However, I am “only” 168 cm (5’5). Of course, this difference of 4 cm is not completely in my legs, half is also in my upper body, so I removed 2 cm of the leg length in the way described in the pattern. And tada …, your new, curvy Thomas Track Pants pattern is ready! You can sew it completely according to the instructions. Isn’t that easy?

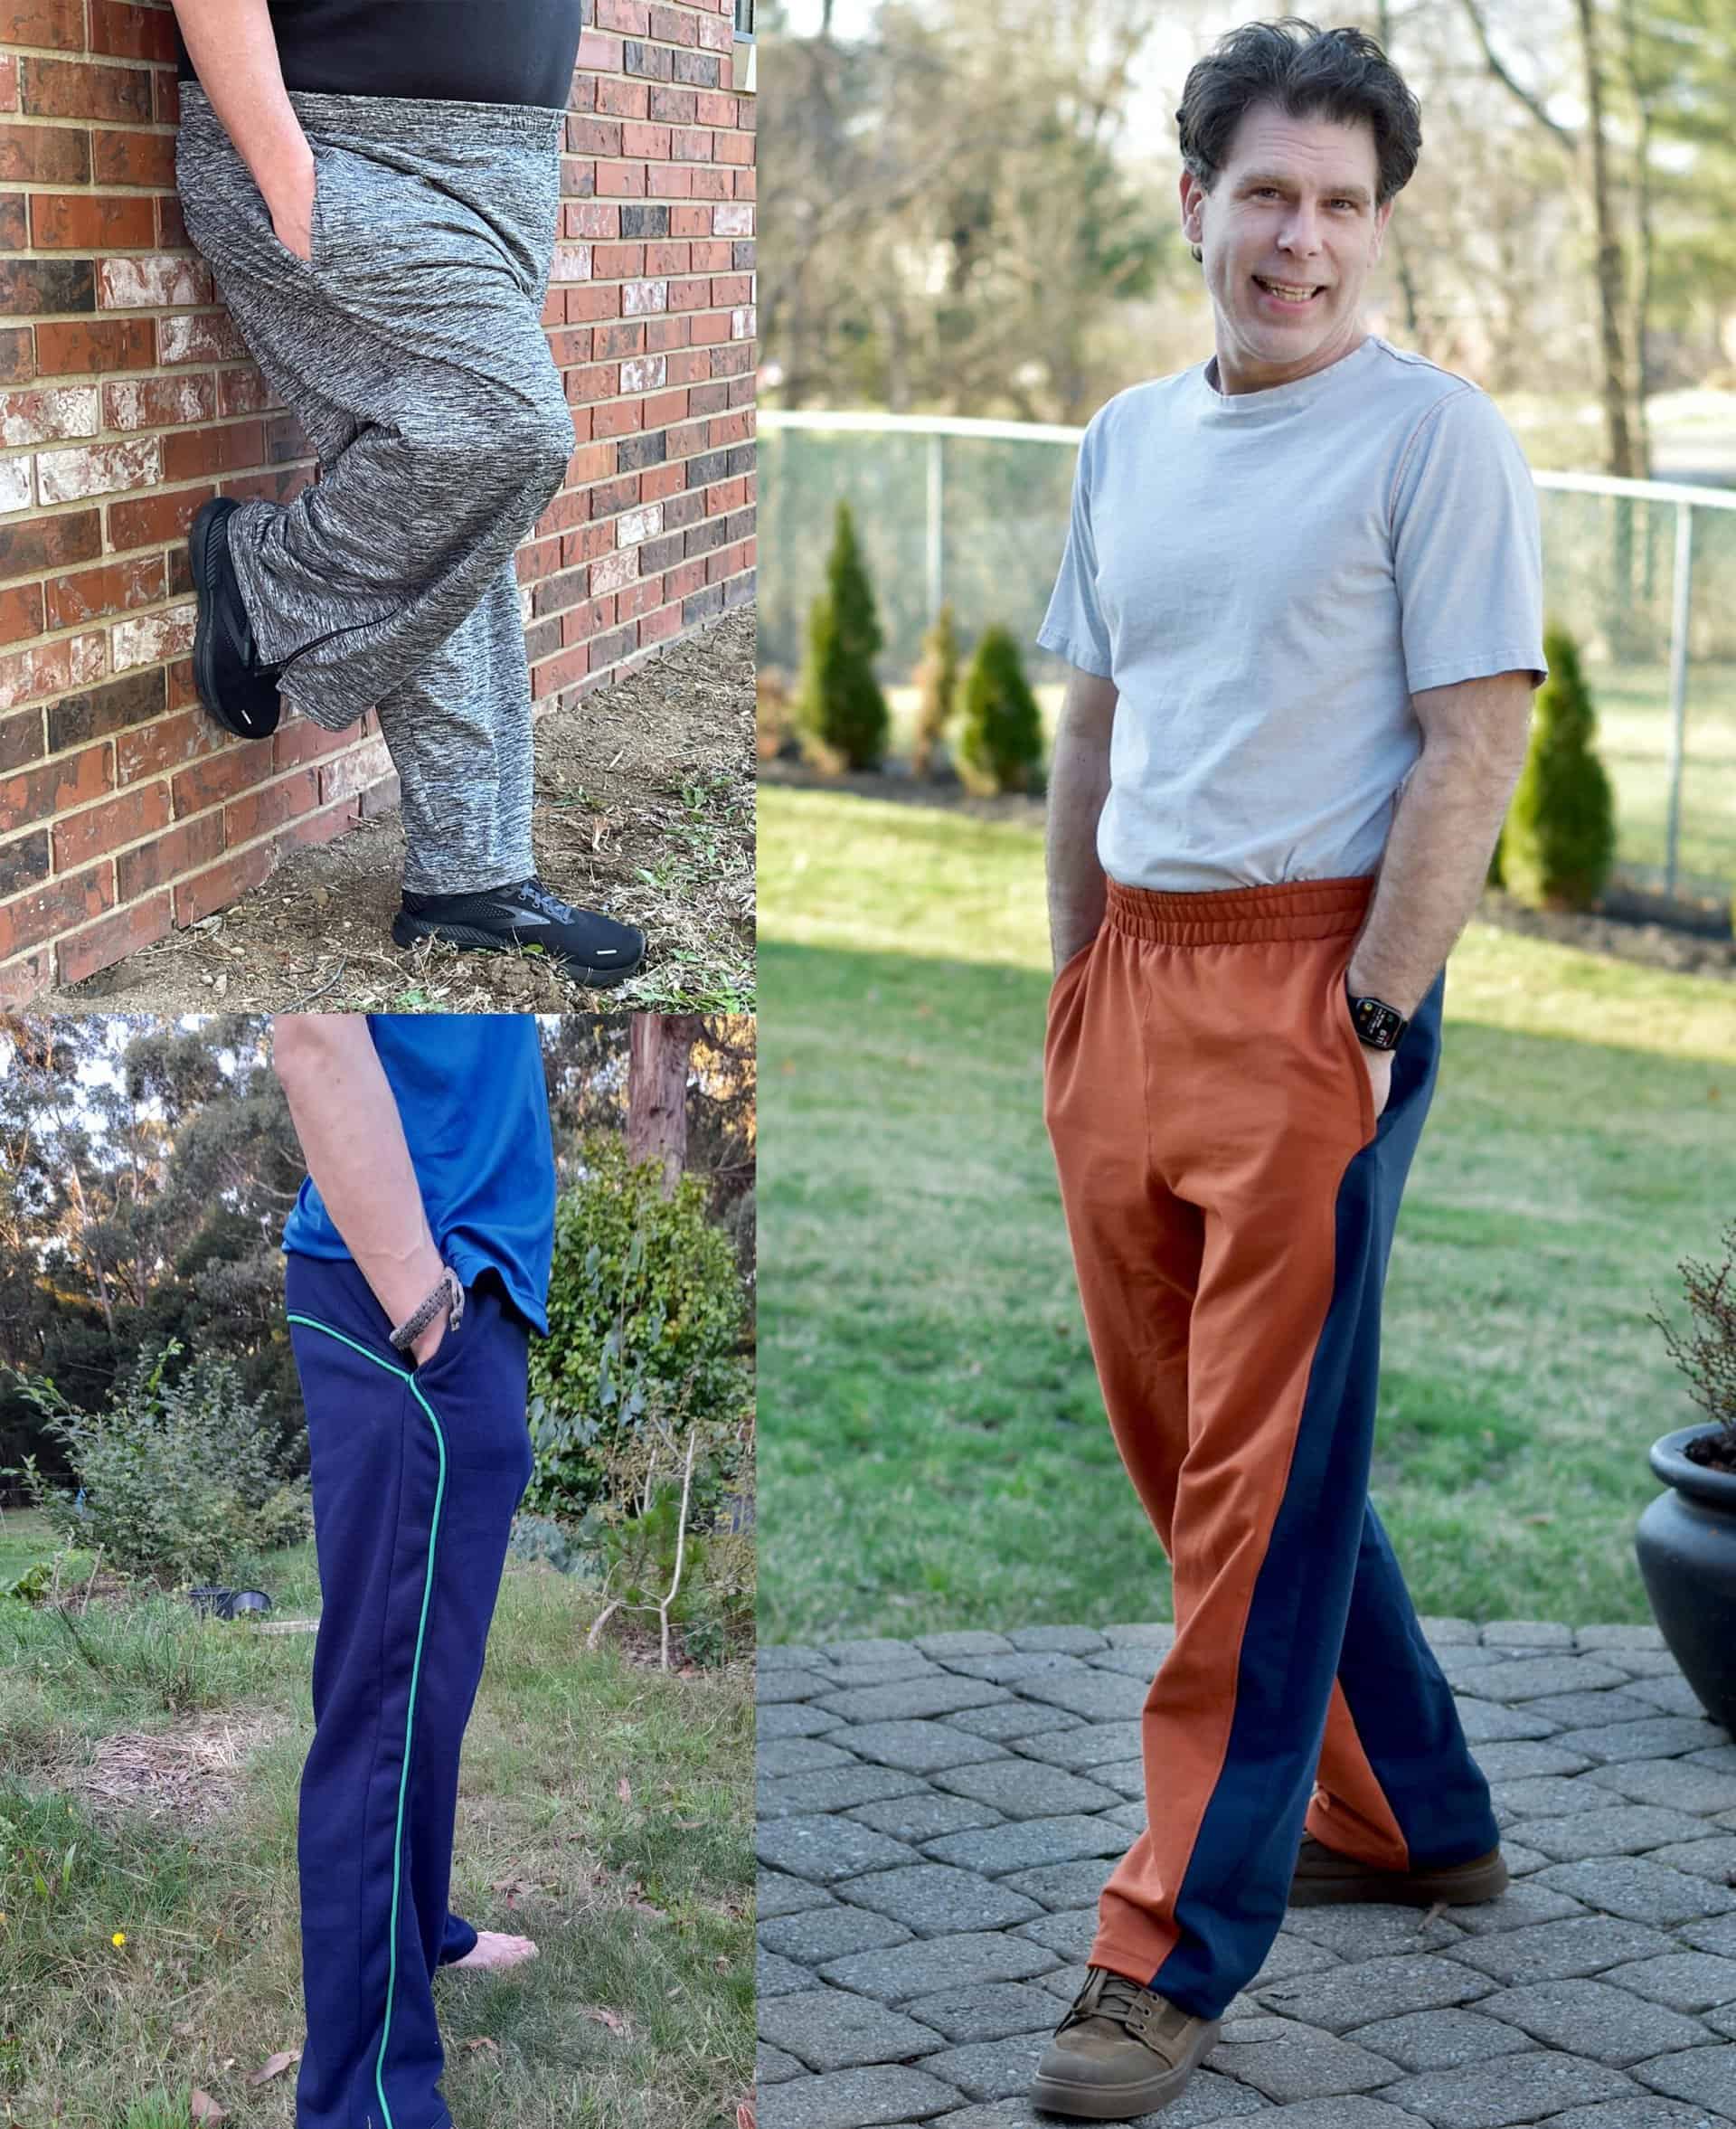
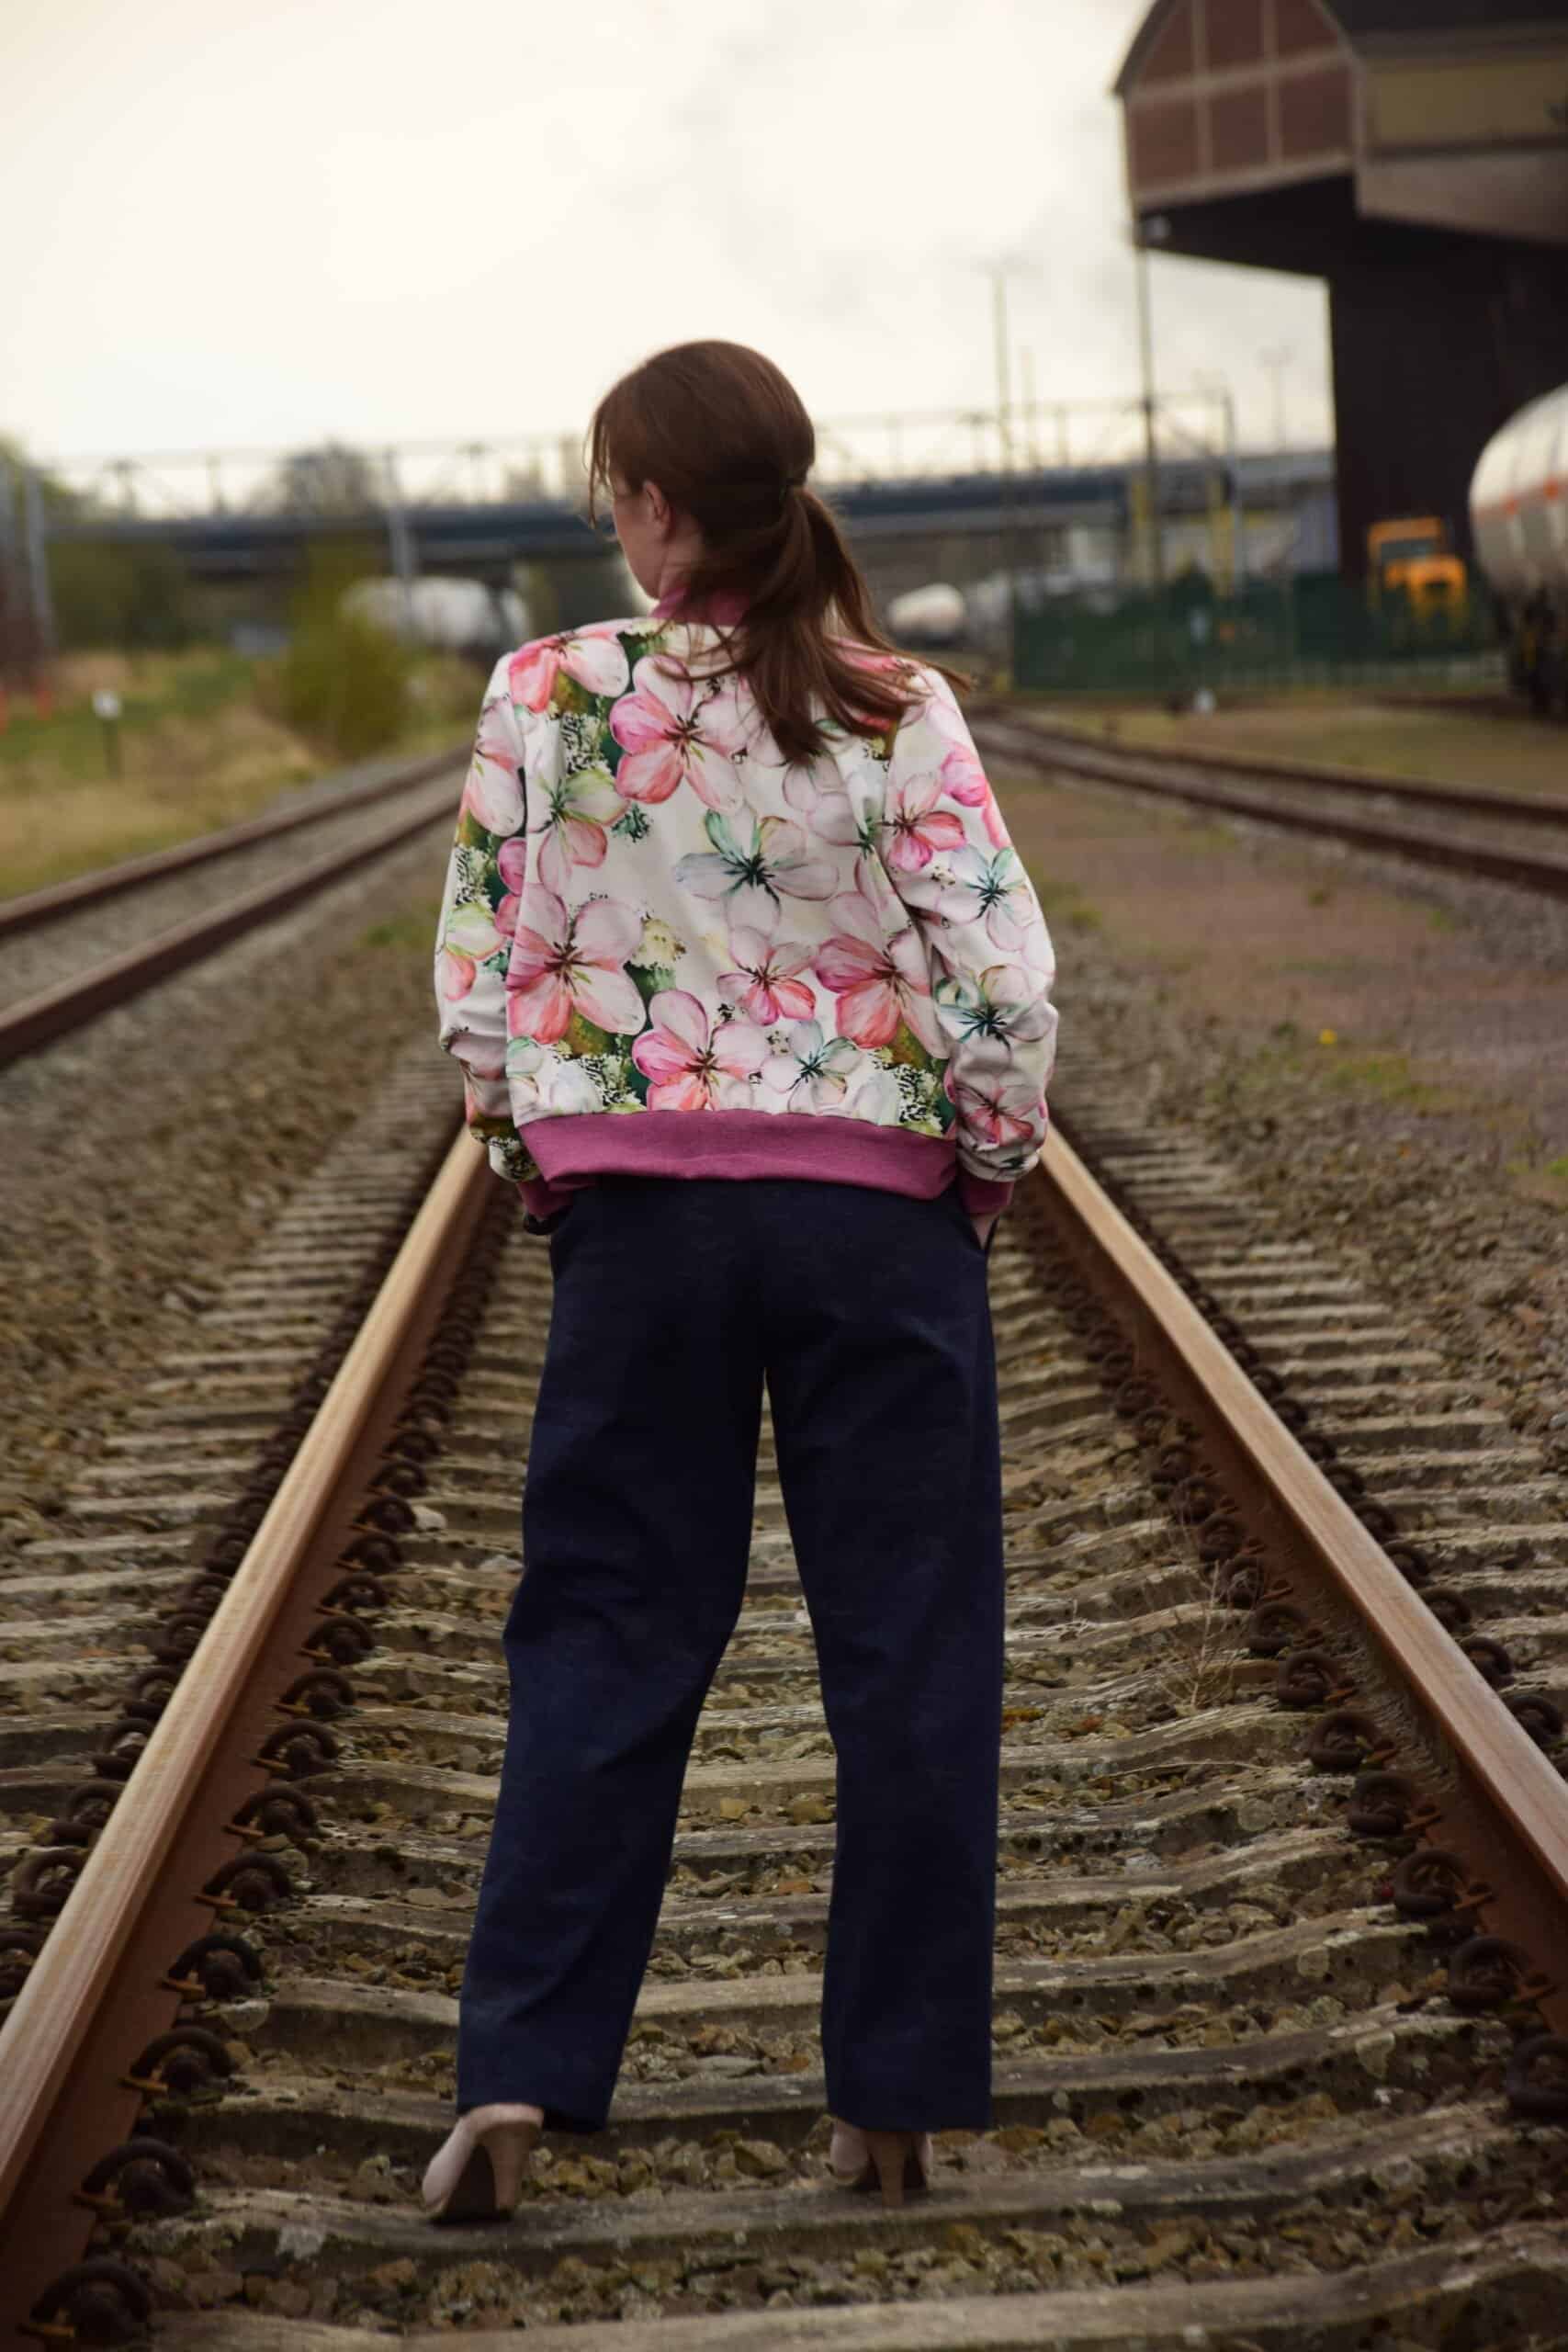
I’m really super satisfied with my new pants!
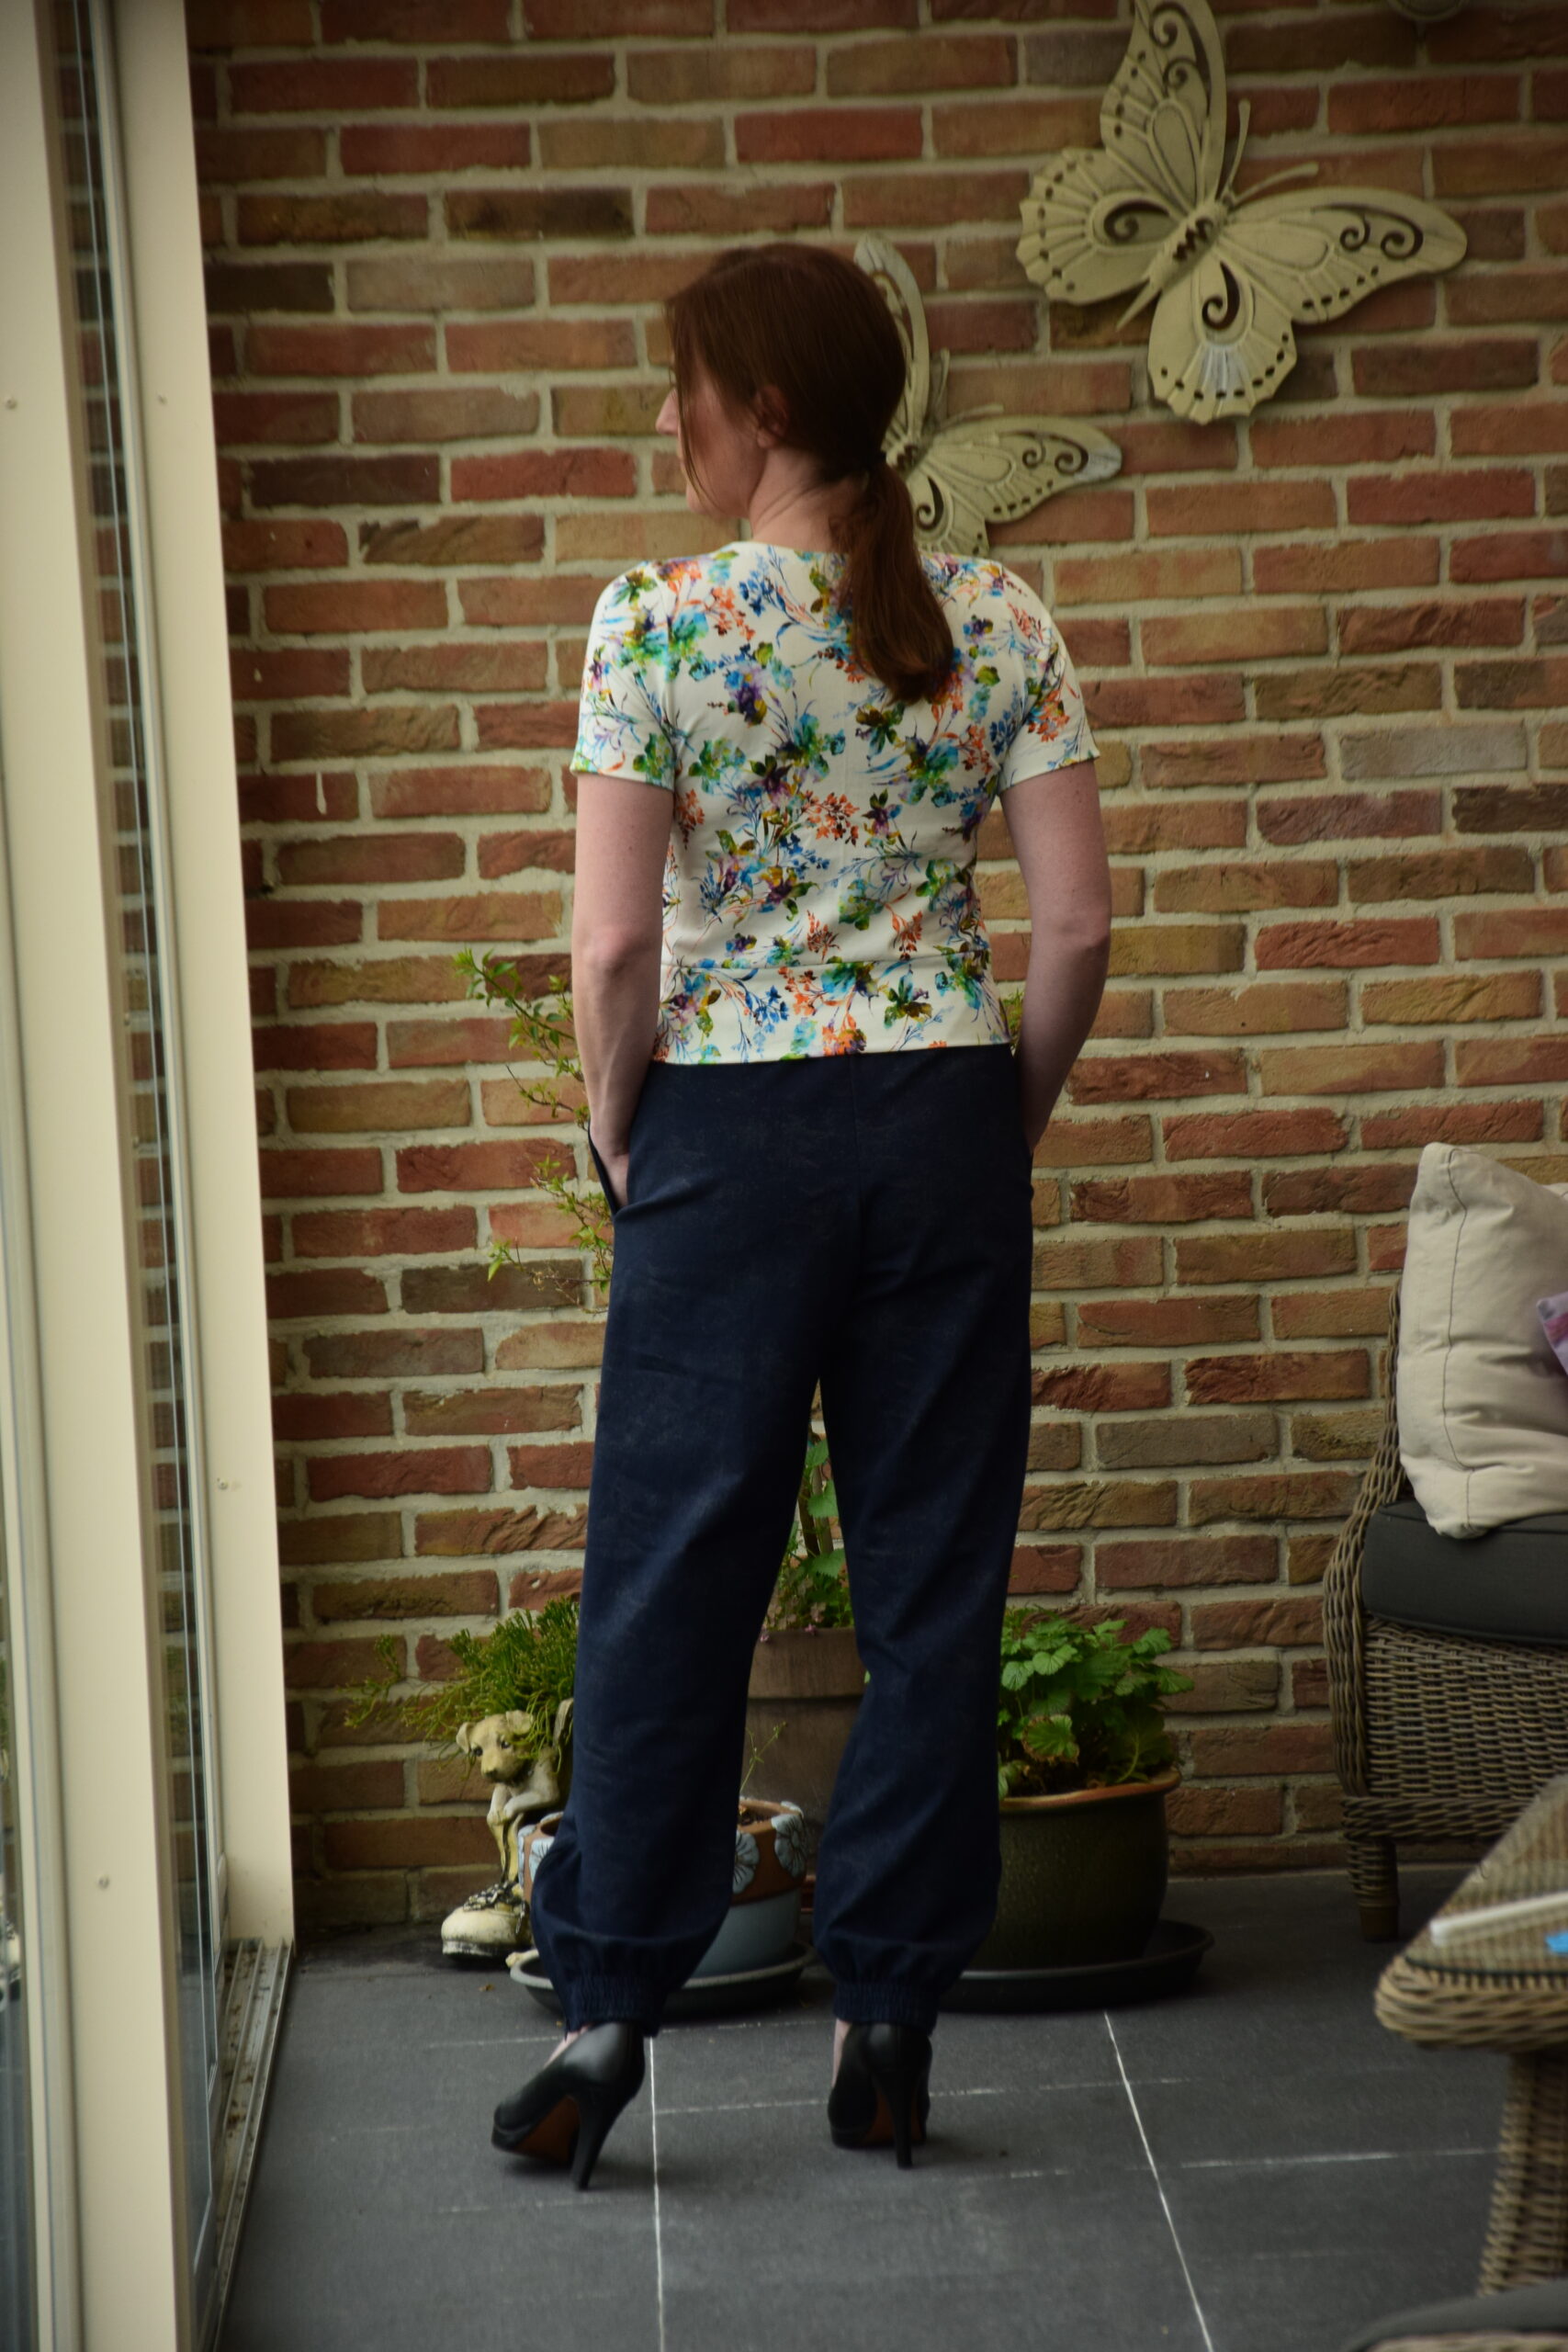
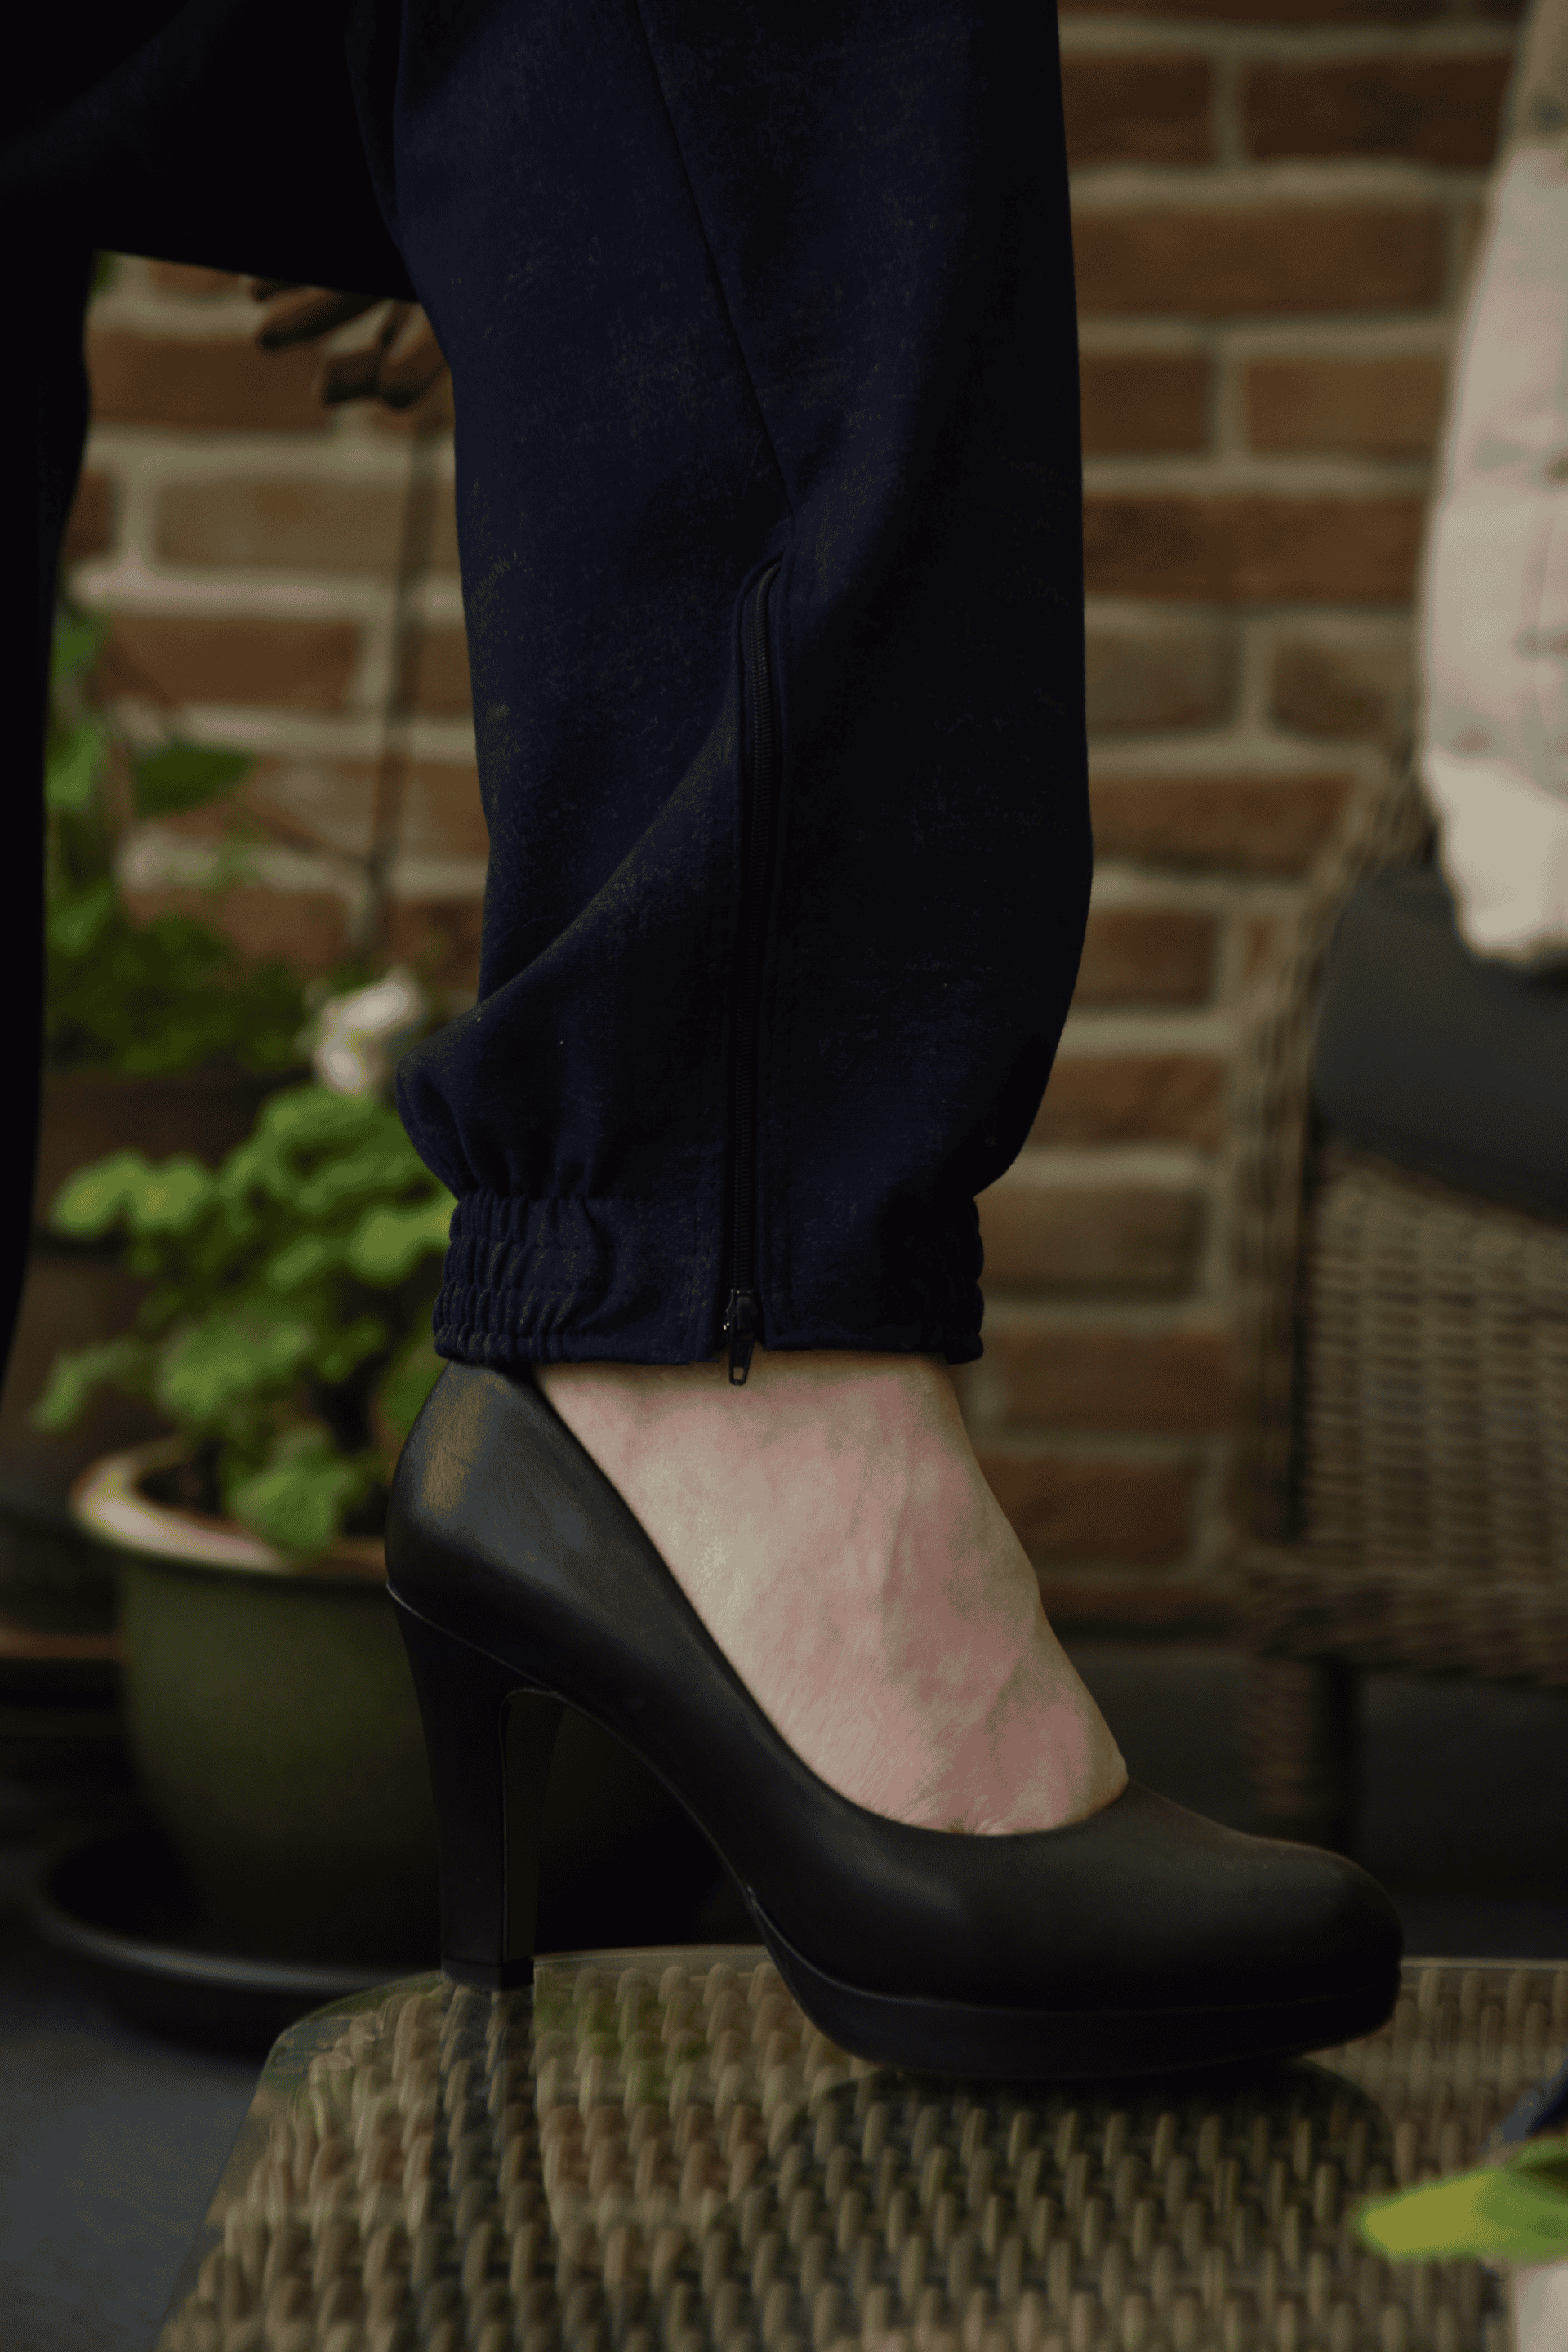
How to apply elastic at the legs
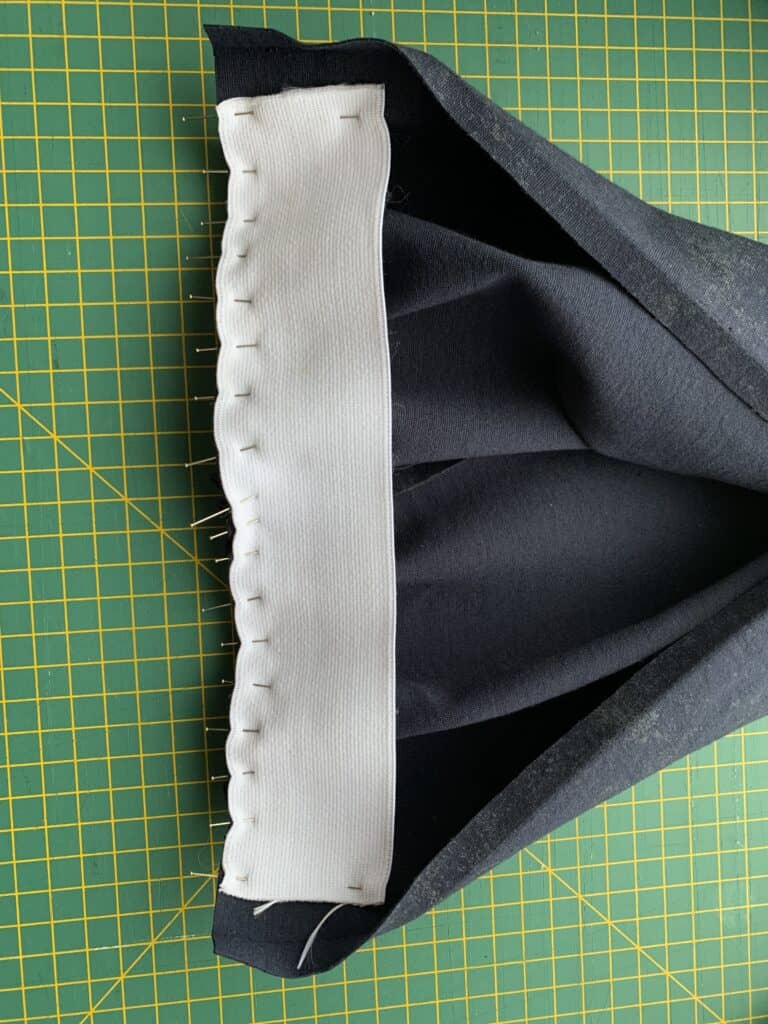
Still, I wanted to give it an extra feminine touch by applying elastic at the bottom of the legs, in combination with the zippers. The zippers are already part of the original pattern so this hack is a walk in the park ;-). All you have to do is determine the length of the elastic by wrapping it around your ankles. The width is the same as that of the waist elastic, so 5 cm (2″).
Before you sew in the zipper, you have to distribute the elastic evenly over the bottom of each leg). Start at 2 cm from the side seam.
Attach the elastic with a zigzag stitch to the bottom of the leg.
Fold over the elastic in the same way you did with the waist. Topstitch in place using a long straight stitch while stretching the elastic flat. I sewed 4 rows of straight stitches with a distance of about 1 cm between each of them.
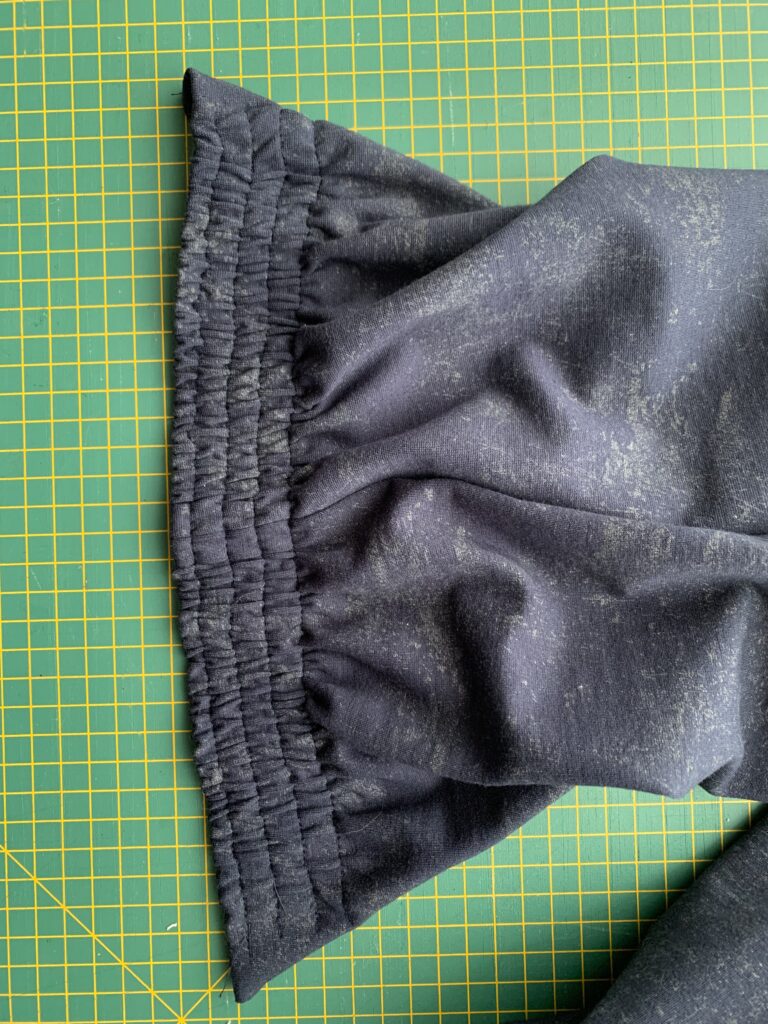
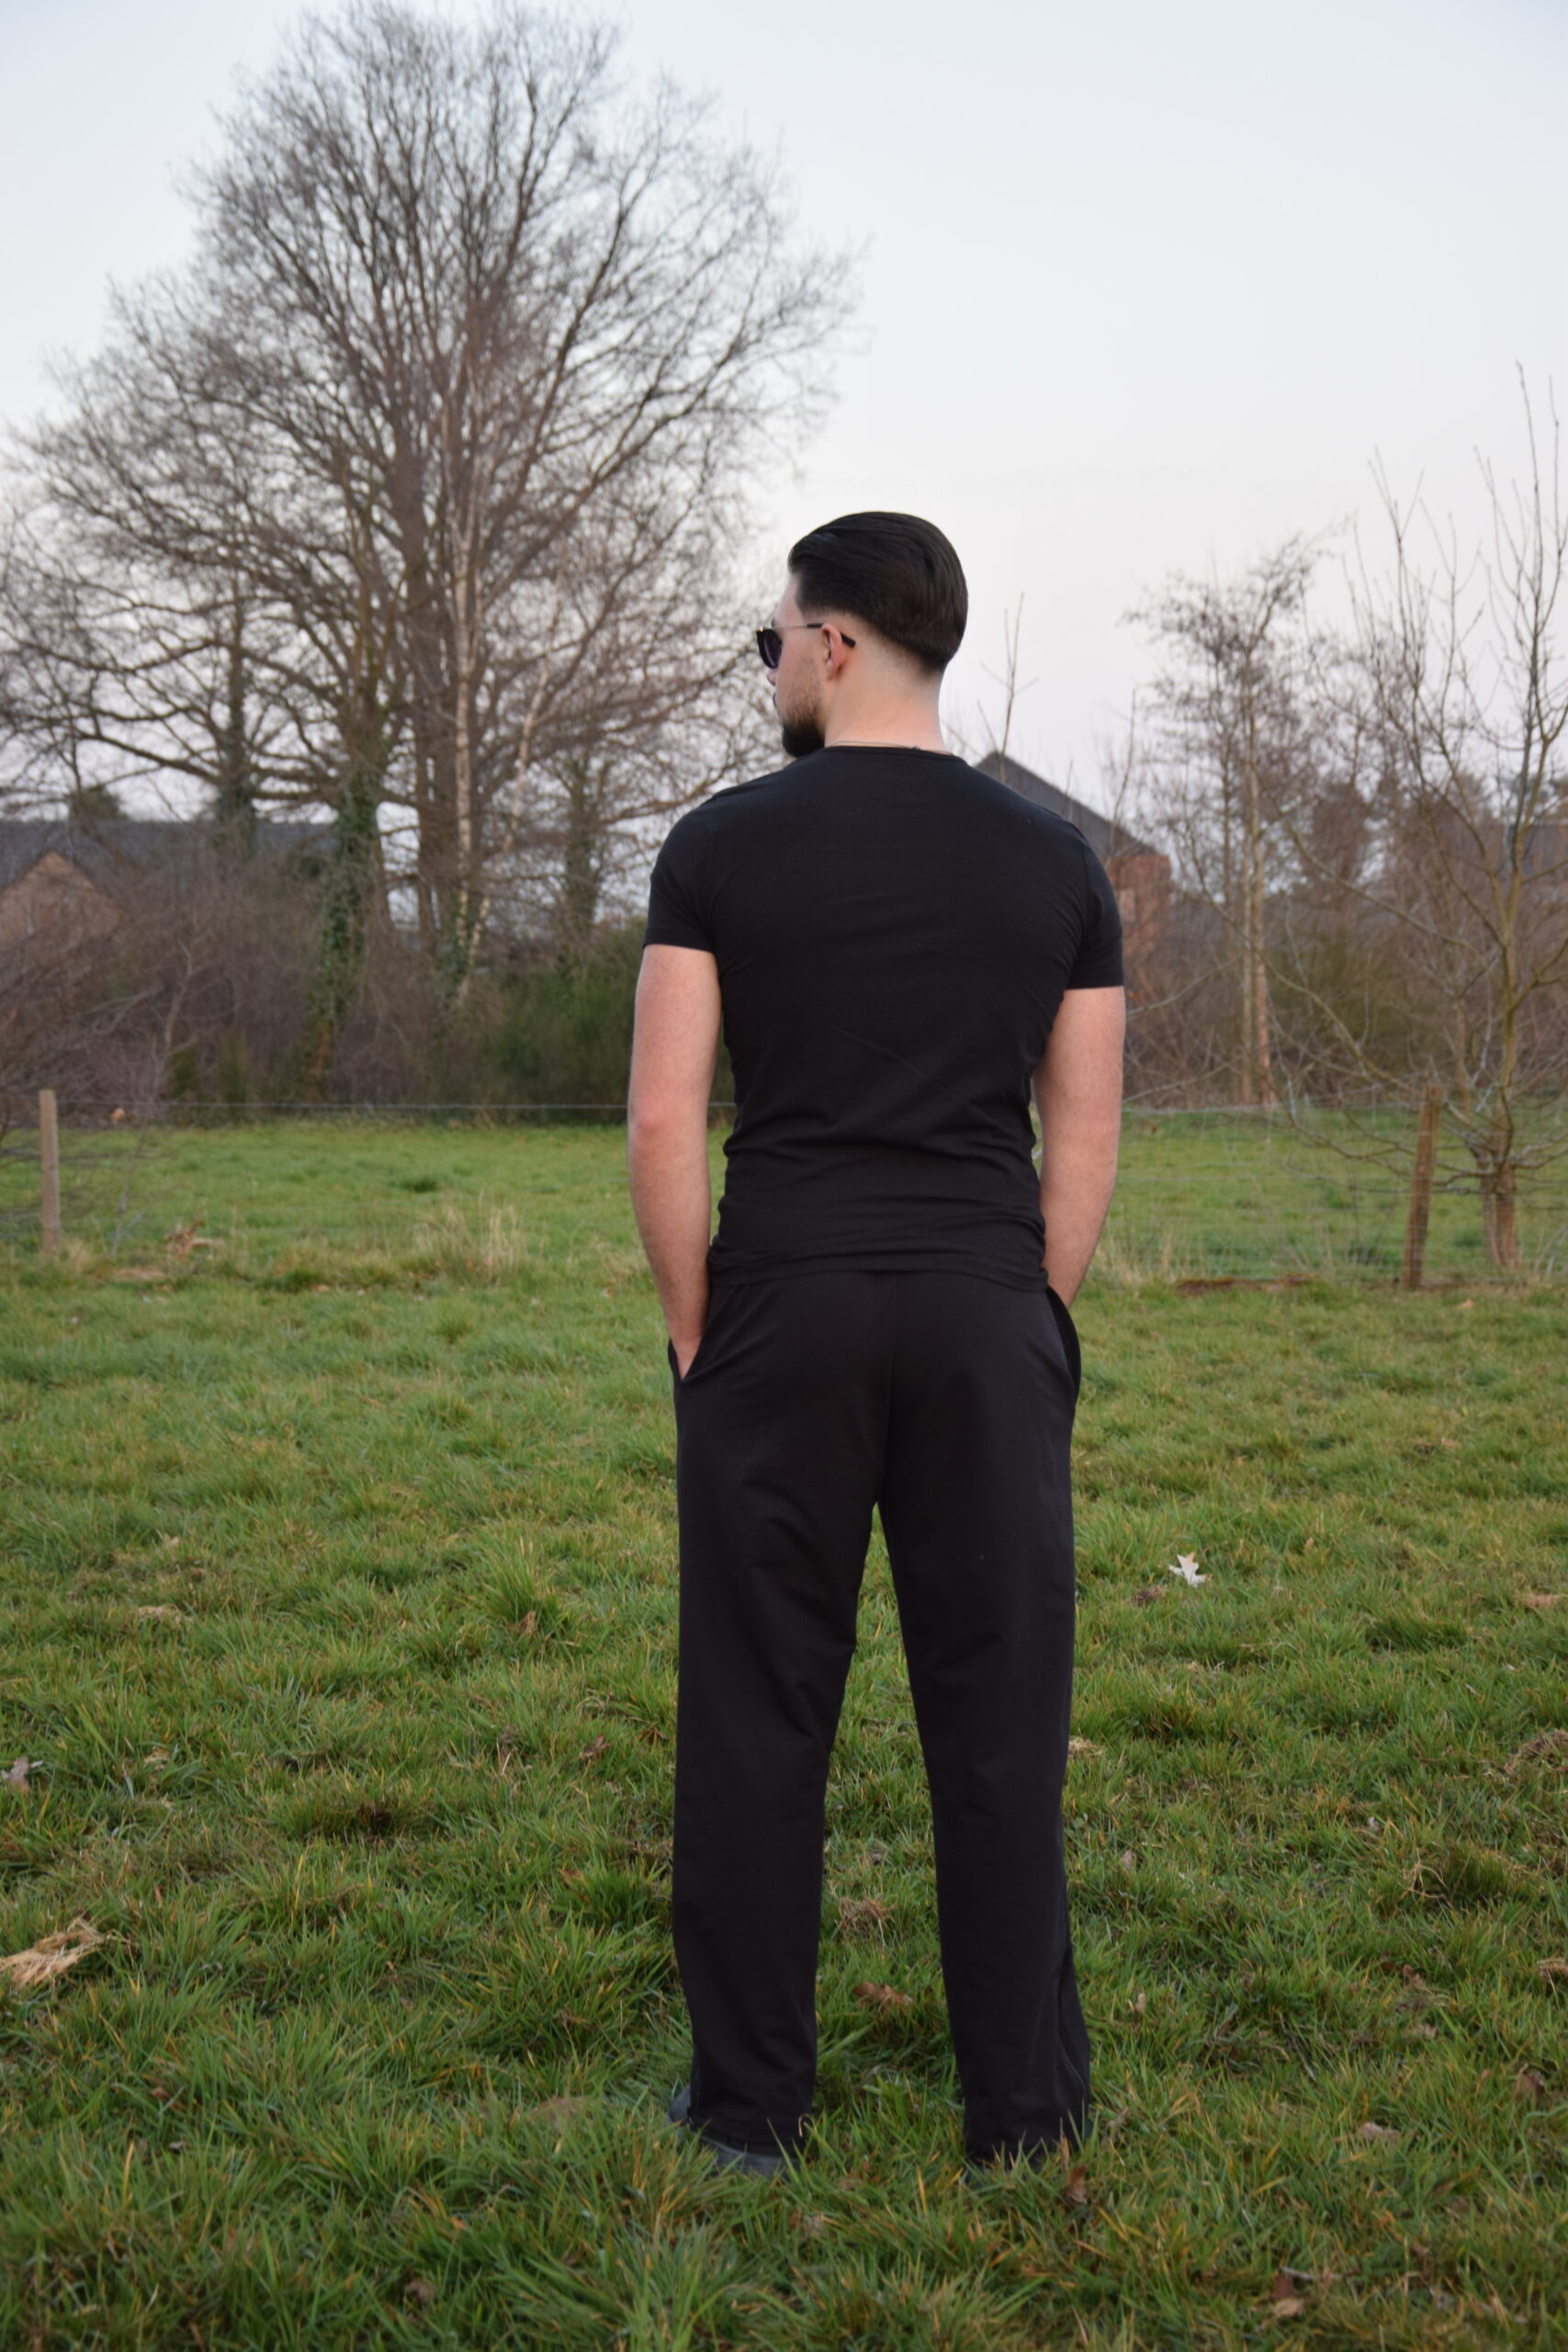
Sew the zipper as described in the tutorial. This will be your result:
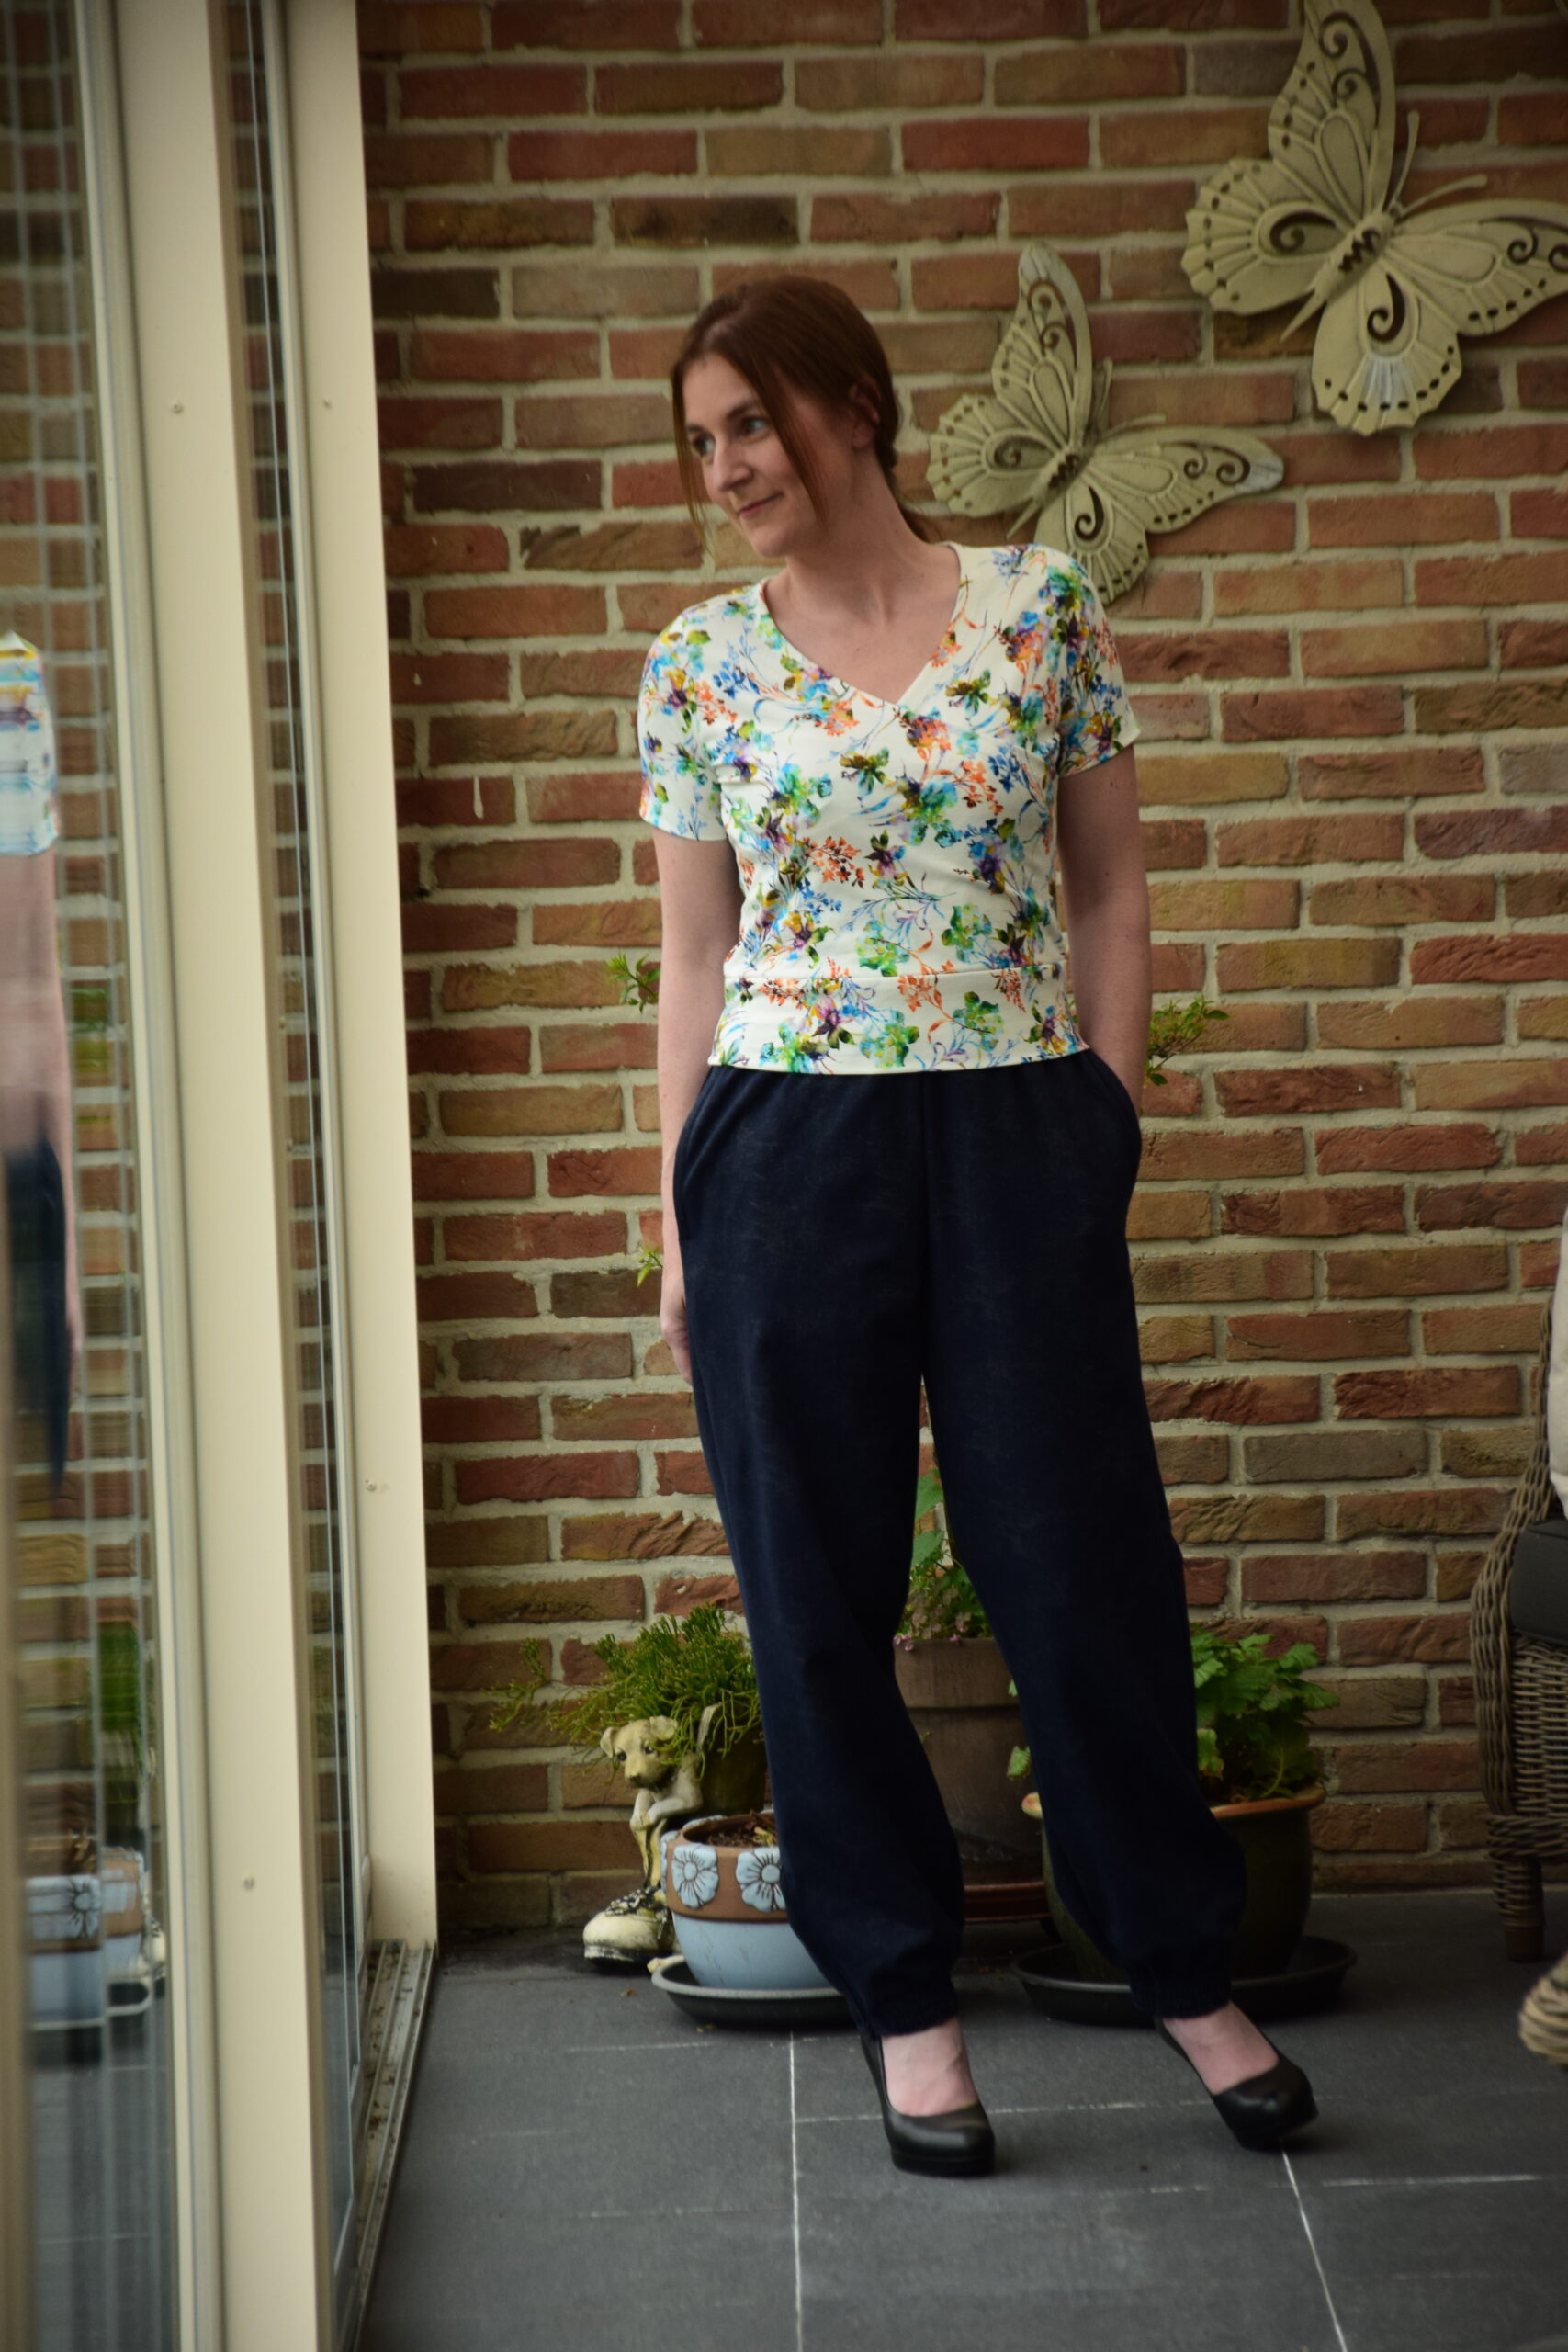
I’m so happy with my Thomas Track Pants for curvy shapes! I hope I showed you how versatile the Love Notions patterns are. Sometimes you only have to think a little out of the box ????!
Have fun sewing!
Xxx
Annick
Save this to your Pinterest Sewing Board