


Sewing School: A Guide to Sewing Eyelet Fabric

Have you fallen in love with the gorgeous details of embroidered fabrics like broderie anglaise but you feel totally intimidated to sew them? Especially with all those scary little holes? This post is for you!
Hi sewing friends, Keira here, your favorite island girl! You may recognize me as Island Sewcialist from my Youtube Channel, my Blog or my colorful Instagram profile where I share all of my makes. Today I’ll be sharing three versions of the newly updated and re-released Cadence pattern all made up in beautiful broderie anglaise. For today’s sewing school lesson, we’ll be chatting all about tips and techniques to get a neat, nicely sewn garment with these very detailed fabrics that can seem tricky to work with.
The Cadence Pattern
The Cadence Pattern is designed for woven fabrics. There are three length options; shirt, knee length dress and maxi dress. There are no closures and all views feature a side slit with the maxi slit going up to the knee. For shaping, there are side bust darts and the back has a center seam. Five sleeve options are included: tank, short, 3/4, flare & bishop. Two neckline options are also included: scoop or notched scoop, both finished with facings. This is your classic shift top and dress pattern, a breeze to sew and wear. Grab the pattern on release sale for $5 today or $9 through the weekend!
What is Broderie Anglaise?
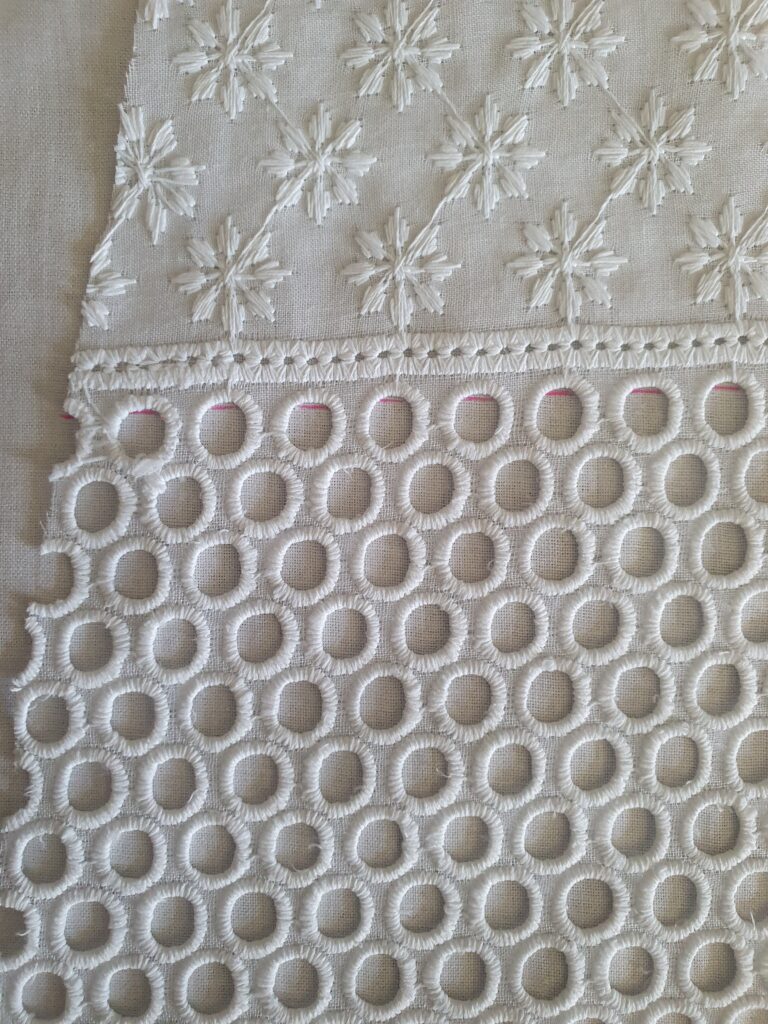
Broderie anglaise is characterized by patterns composed of round or oval holes, called eyelets, which are cut out of the fabric, then bound with overcast or buttonhole stitches. The design gives a delicate lacey effect and is often inspired by nature, such as flowers and leaves. Broderie anglaise or eyelet fabric is pretty much a summer staple. The lightweight, ‘holey’ nature of the fabric lends well to warm weather. It often features a decorative selvage commonly used for hems and sleeves. Broderie Anglaise came about in the 16th century and has stayed with us since. Who can resist such a romantic fabric?
Sewing with Broderie Anglaise/Eyelet
Cutting
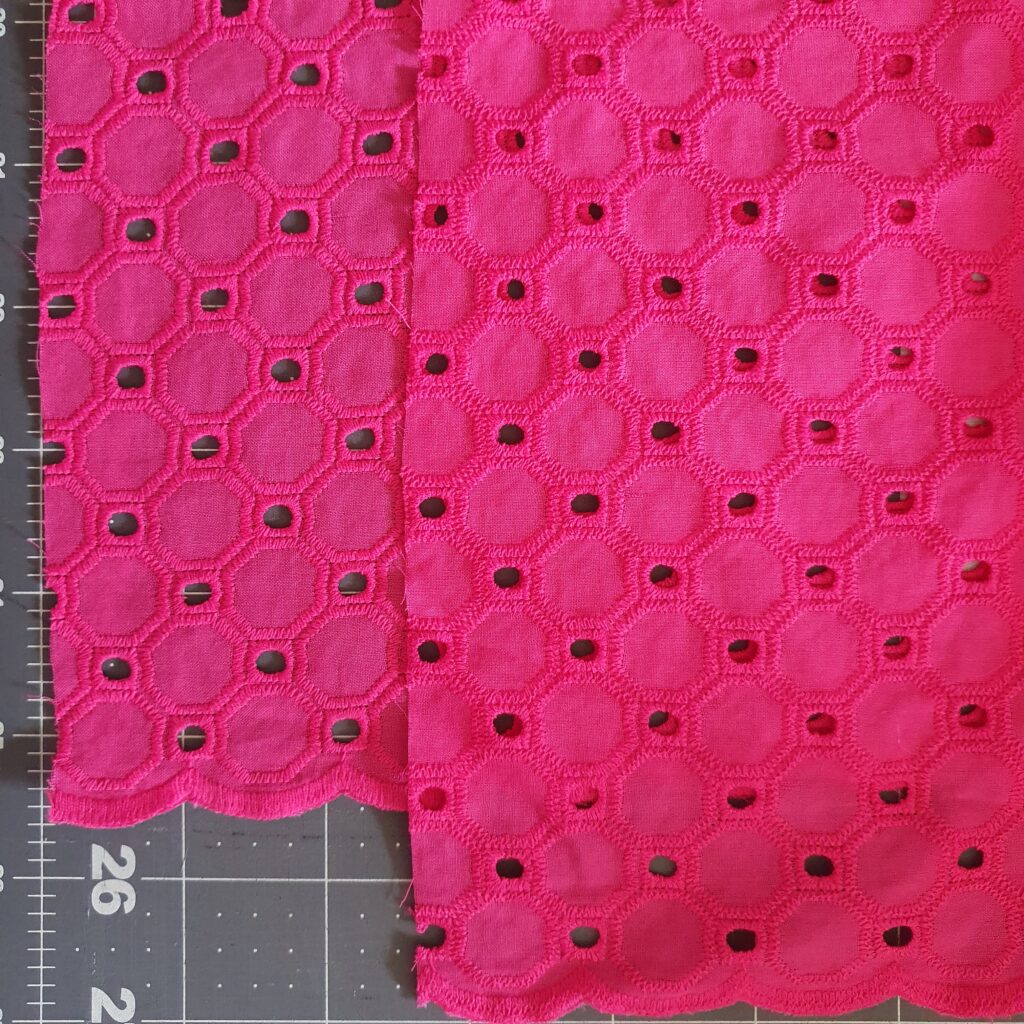
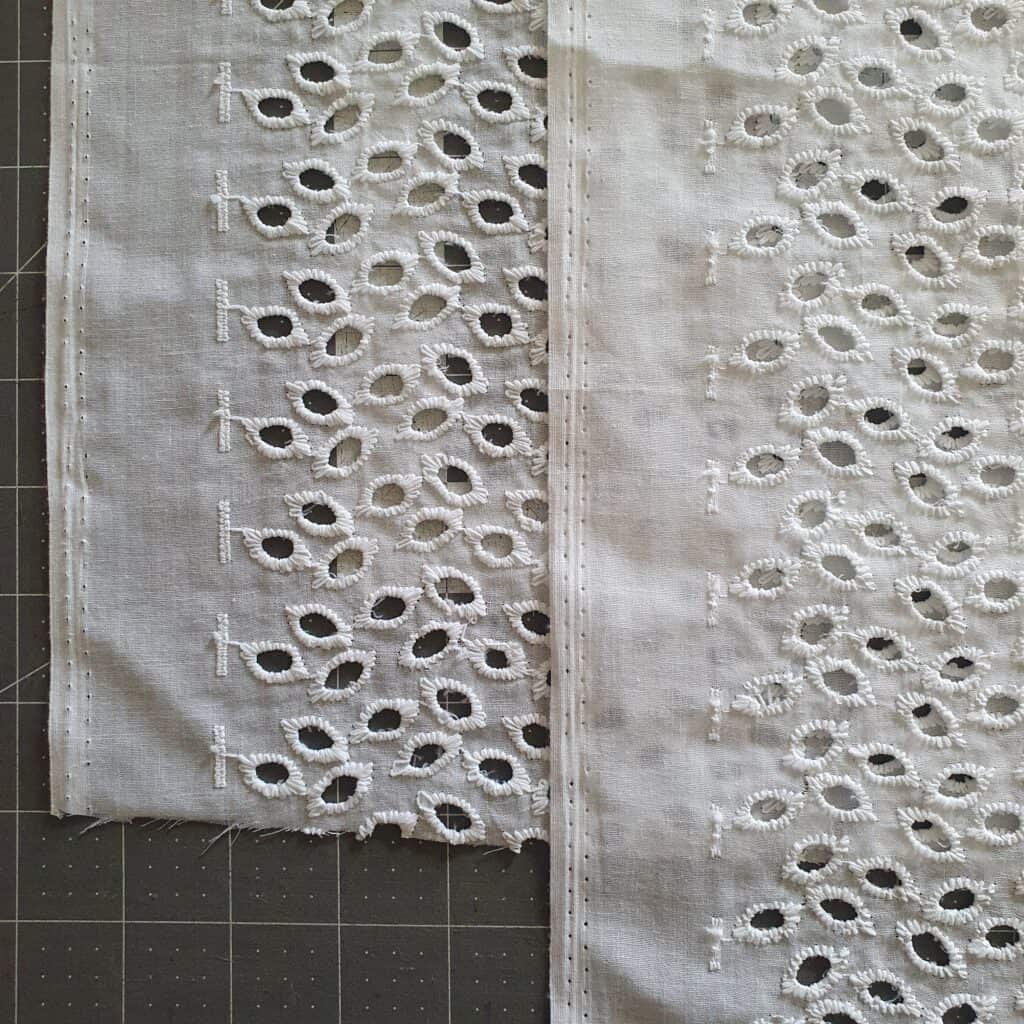
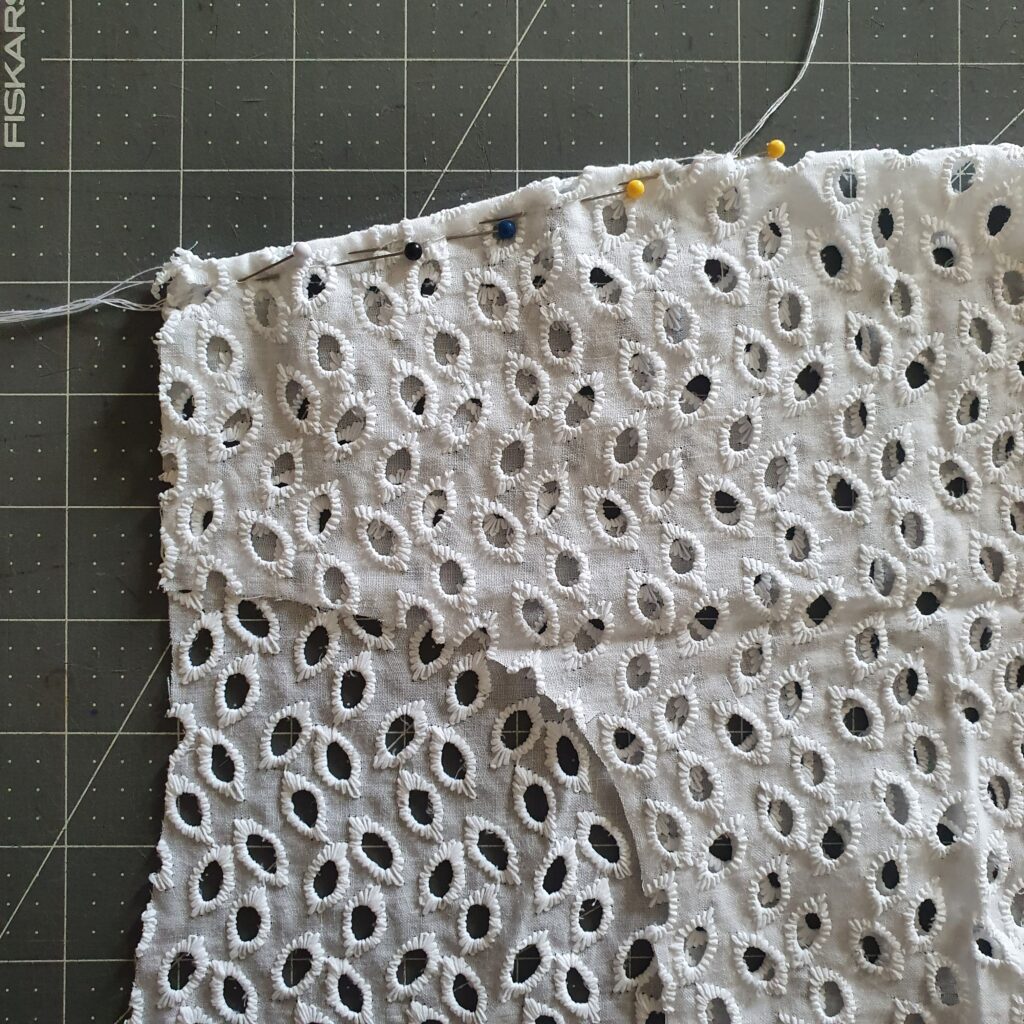
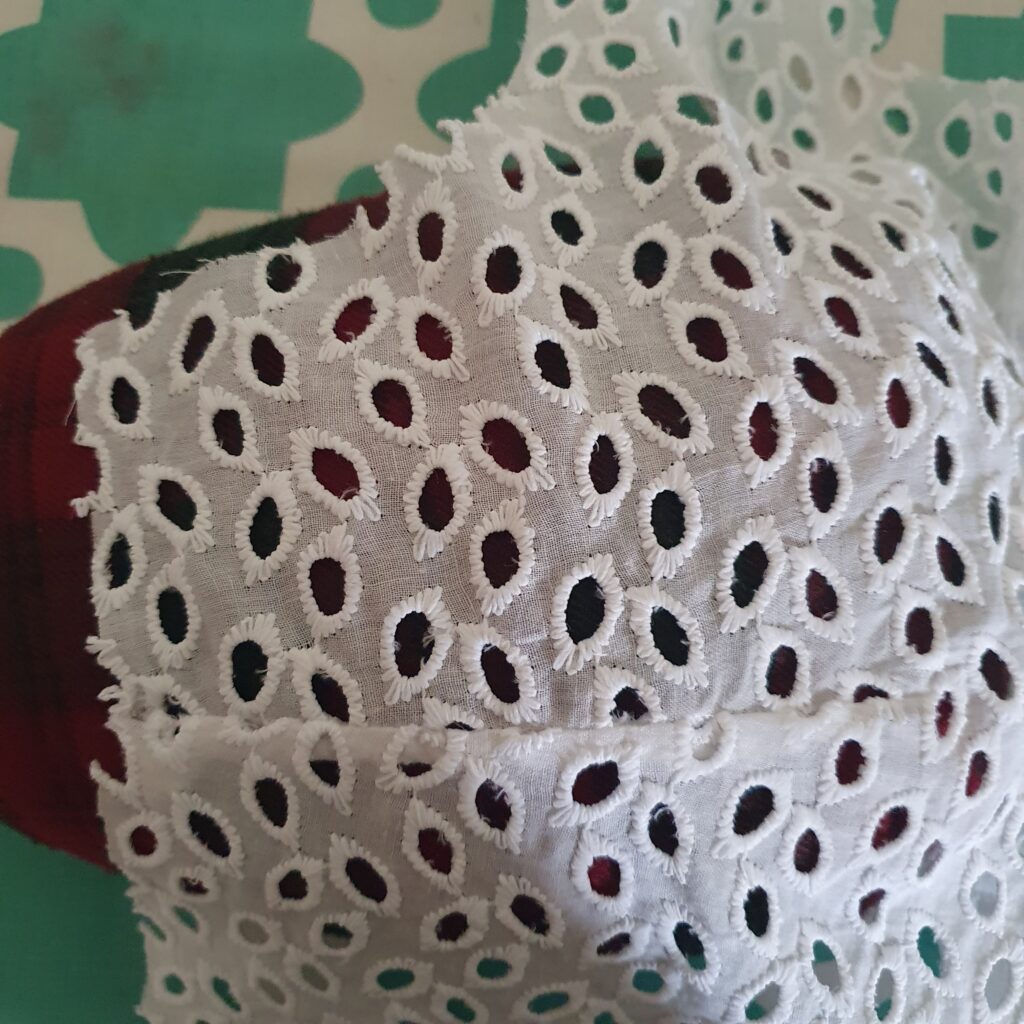
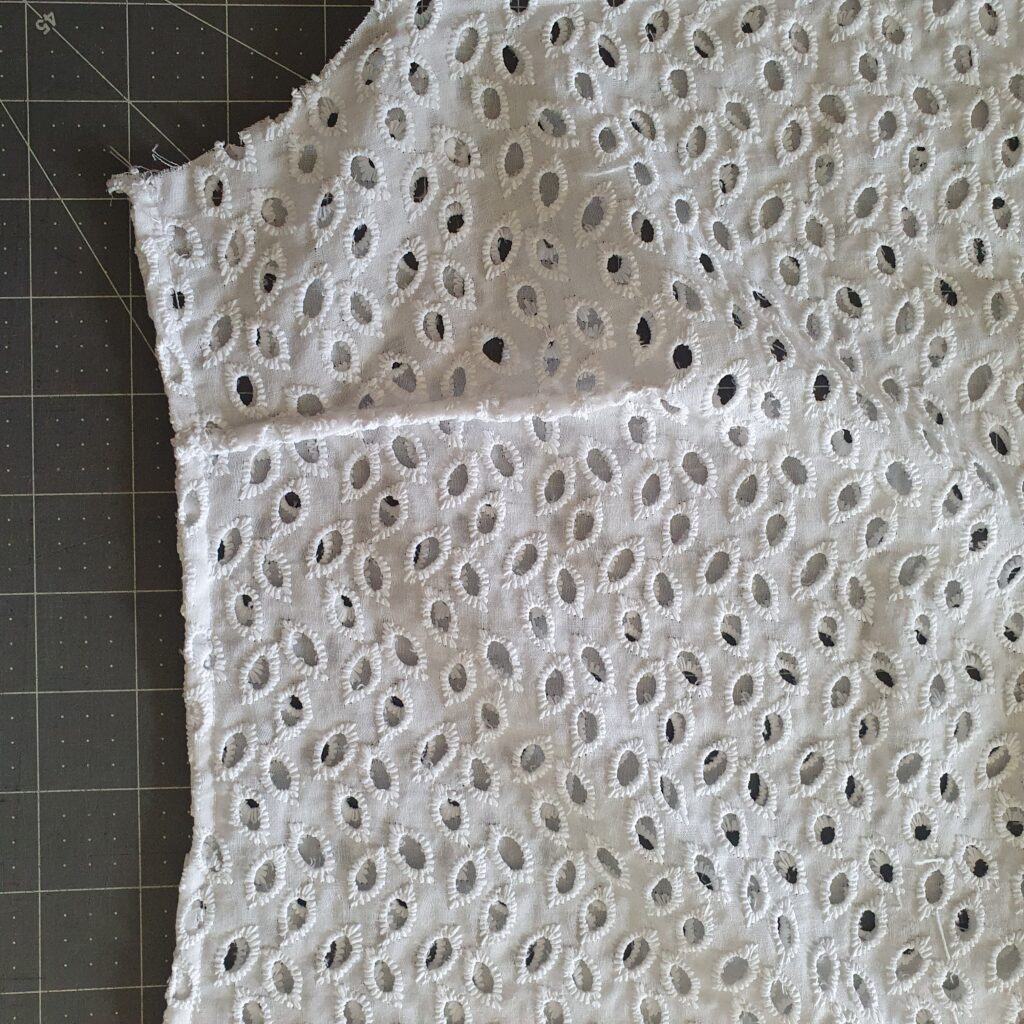
It can be hard to tell the wrong side from the right side depending on the design and you’ll need to look carefully because there is a difference. The embroidery is more raised on the right side and just a little bit smoother. On the wrong side, the stitching looks rougher, there can be loose thread hanging, or the overcasting can look more like a zigzag stitch. Make sure you don’t mix up the sides when cutting! In these photos, the right side is on the left and wrong side on the right.
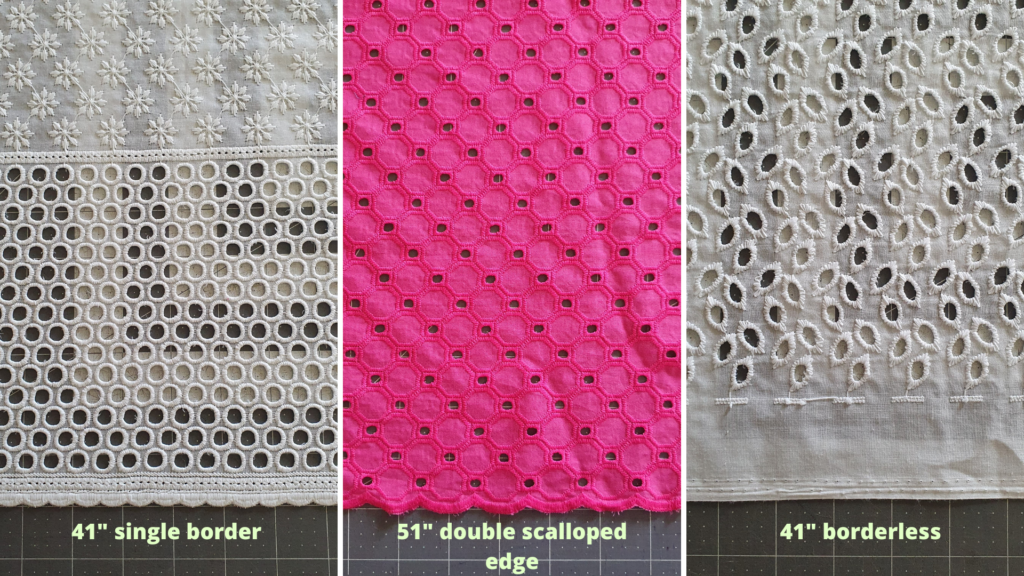
Eyelet fabrics often come in narrow widths and this is definitely something to take note of when shopping and planning for your make. Some fabrics will not even be wide enough to cut a knee length dress from. You may either need to add a waist seam or turn the fabric on the crosswise grain. But if you have a scalloped edge, you’ll lose that decorative hem if you turn the fabric. If there is a double border, that will affect your ‘usable’ part of the fabric as well. Definitely measure your fabric in store if you can.
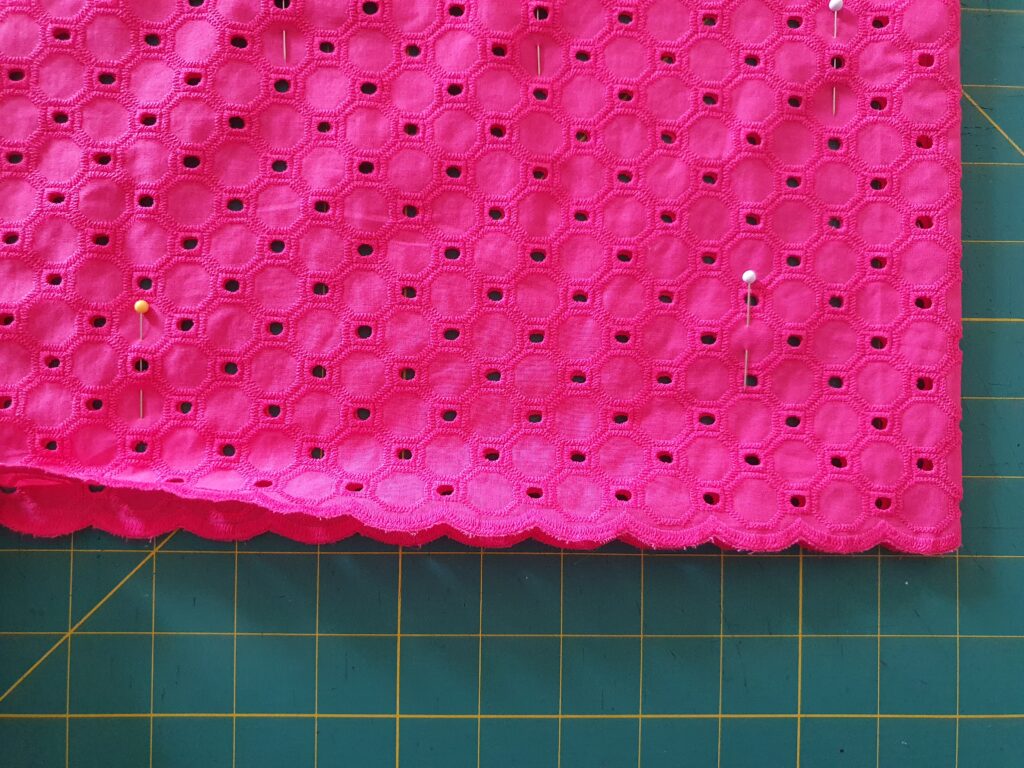
Most people recommend cutting eyelet fabric on a single layer. I much prefer to cut mine on the fold especially when the fabric has a decorative edge such as scallops. I find it so much easier to line up everything when cutting on the fold. You can match up the scallop edges plus the holes. I find that sometimes the eyelets are skewed off grain a bit so pinning the fabric on the fold is really helpful to keep everything straight and aligned.
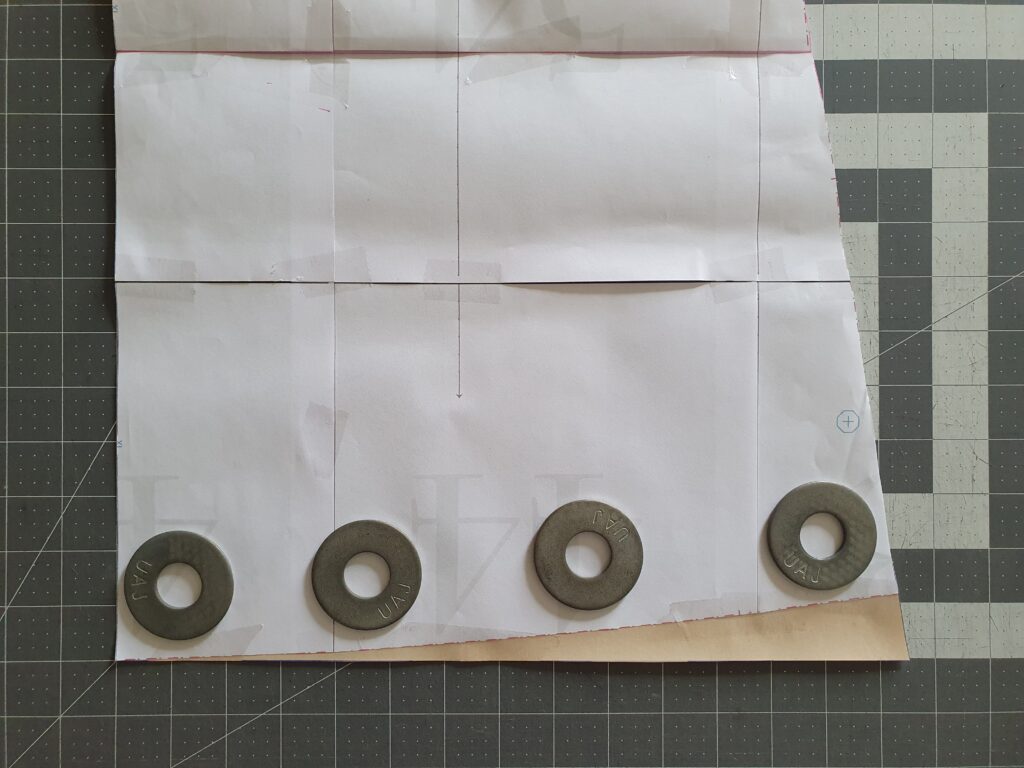
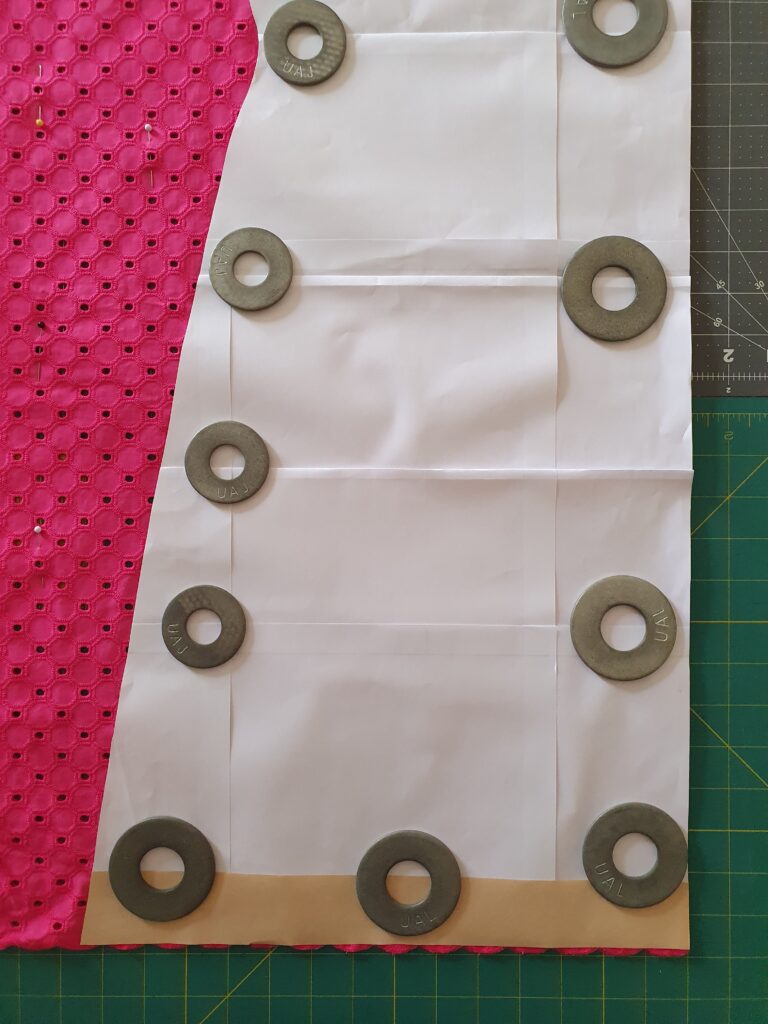
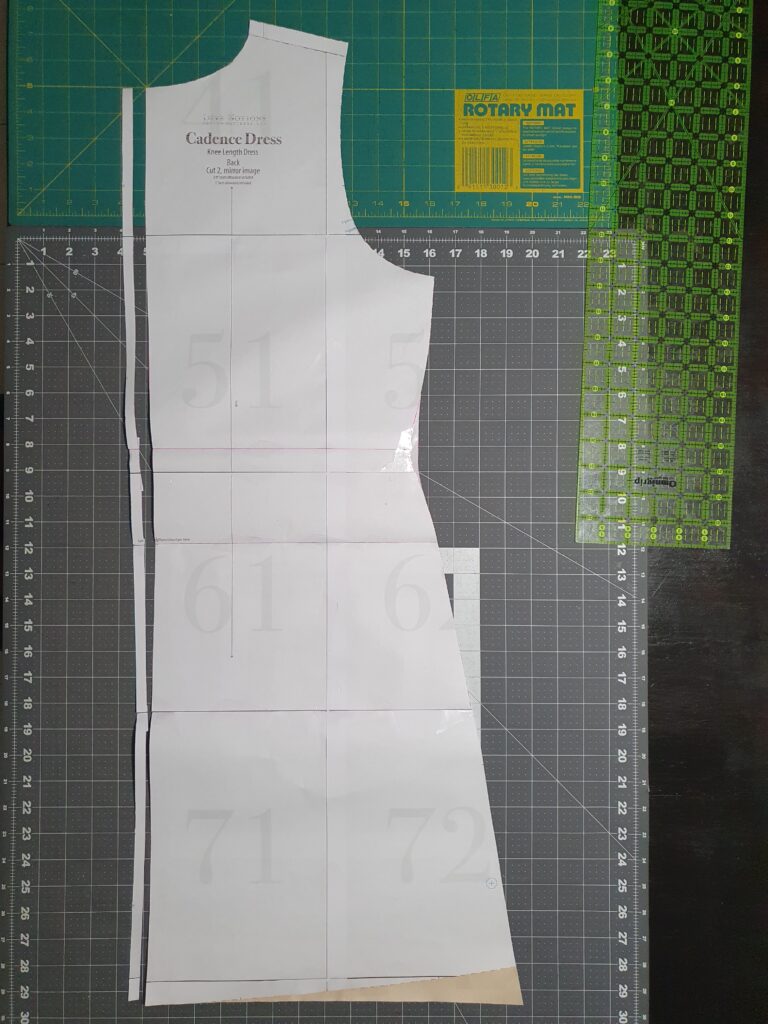
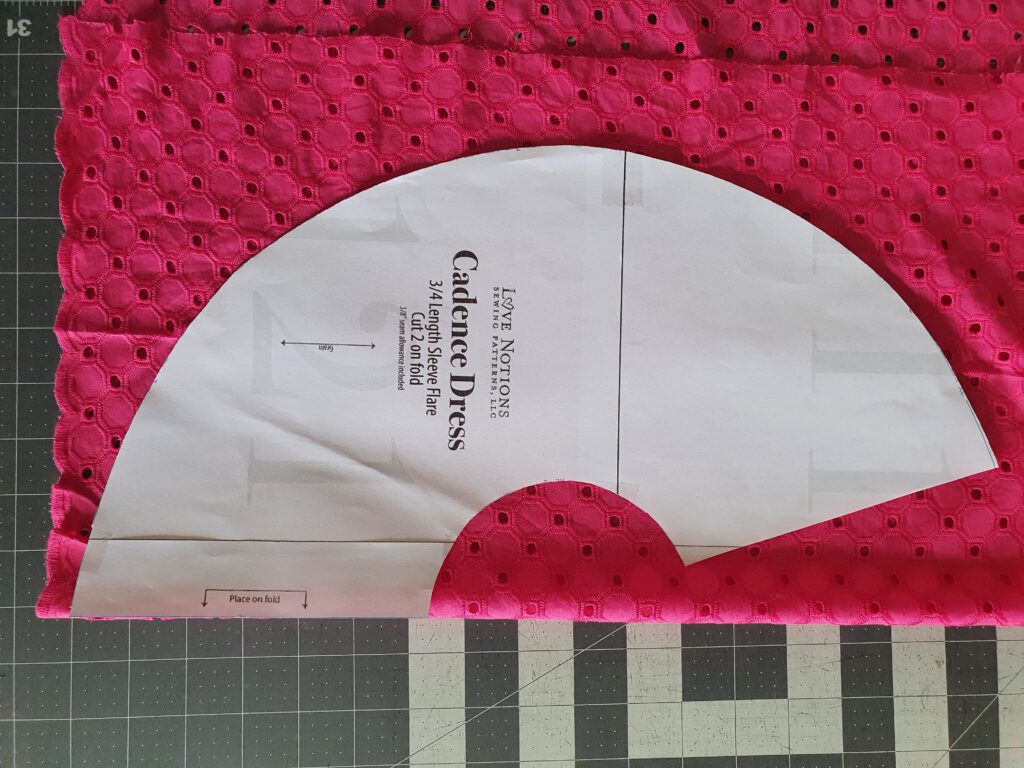
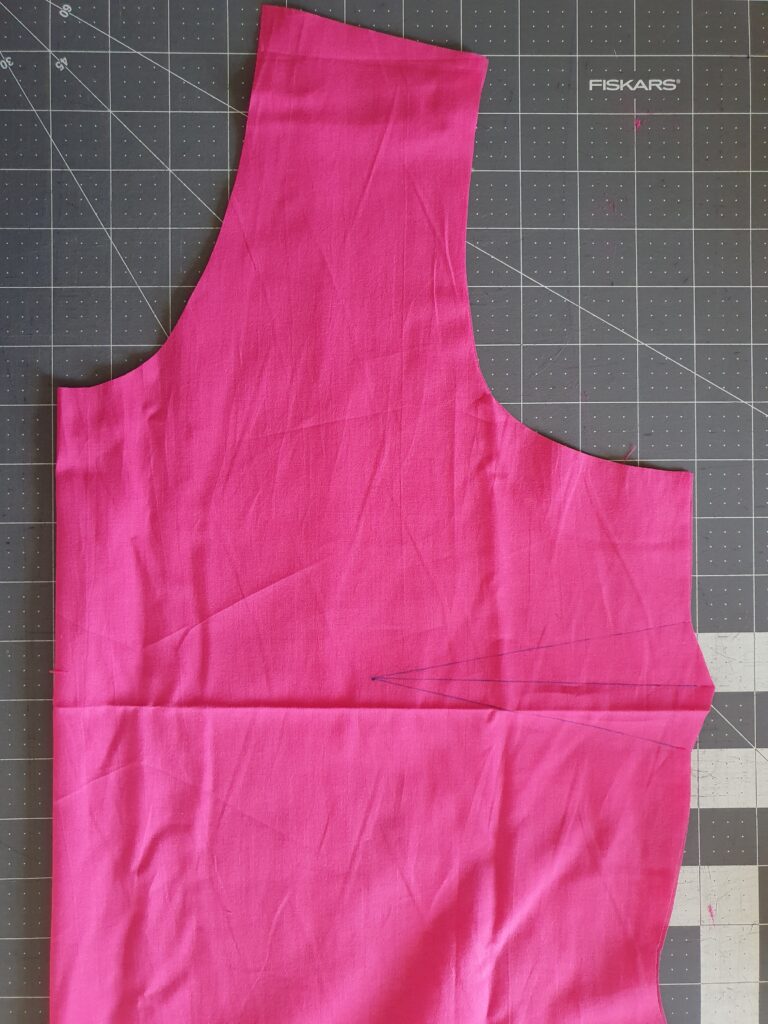
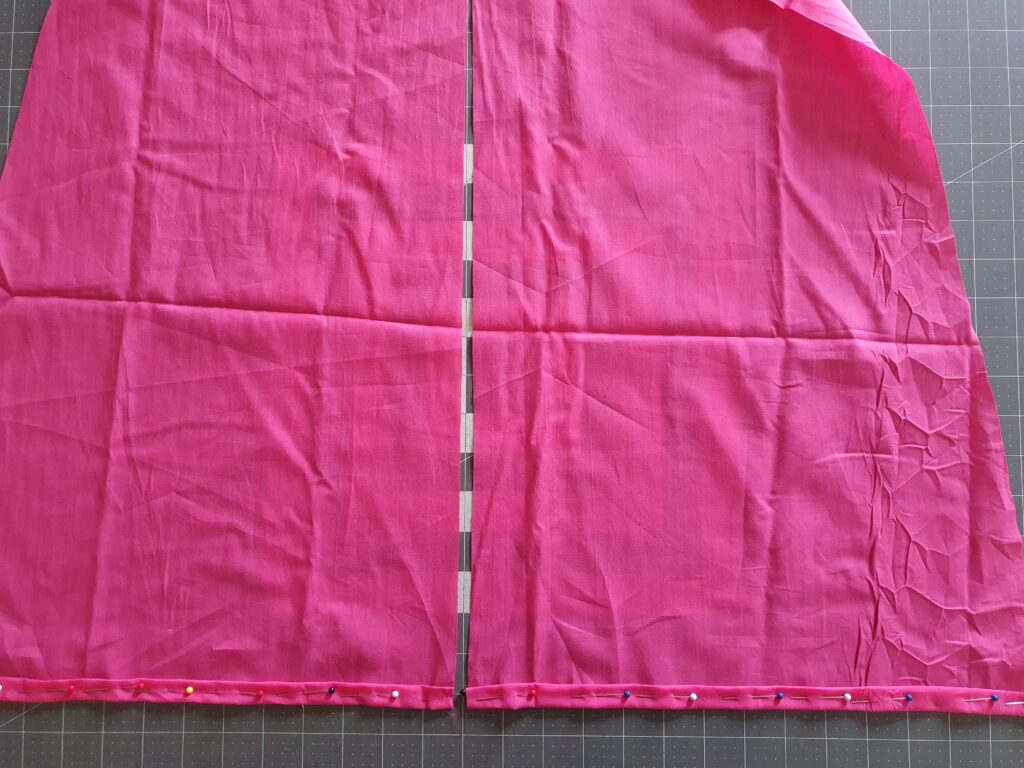
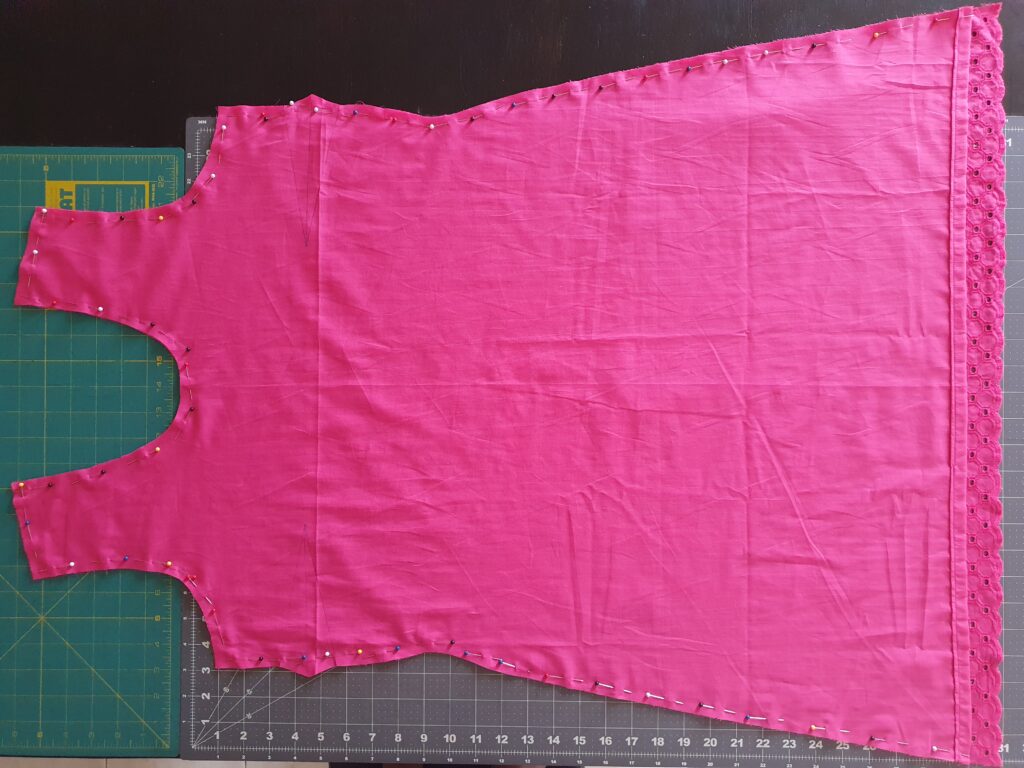
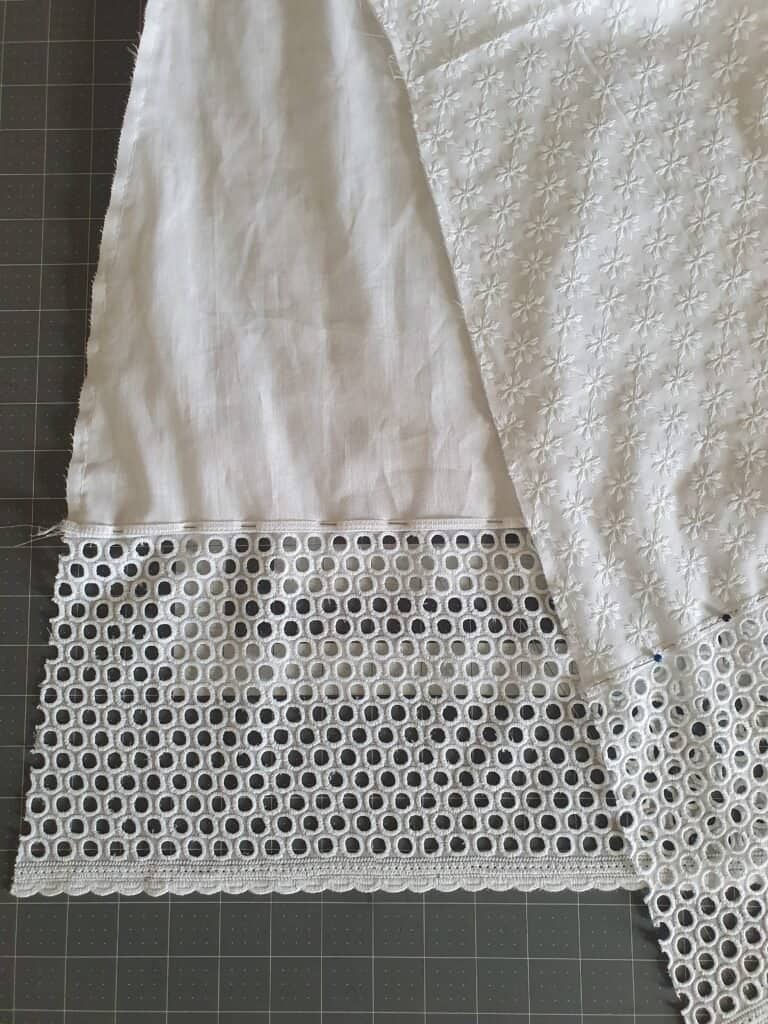
If your fabric has a decorative edge that you’d like to use for a hem, either choose a pattern that has a straight hemline or straighten the flared them. For my Cadence dresses, I straightened the hemline of both the front and back pieces. You can see the brown paper that I added in to make the hem straight. You can just line up your straight hem with the scalloped hem when cutting. (Major plus here is not having to hem the garment woohoo!) I also removed the side slits for all of my projects.
I cut my front on the fold first, then I cut one of my back pieces right next to that front outline to make sure the pattern would line up properly. For my next back piece, I actually used the cut piece of fabric instead of the pattern paper to make sure my pieces were exactly the same.
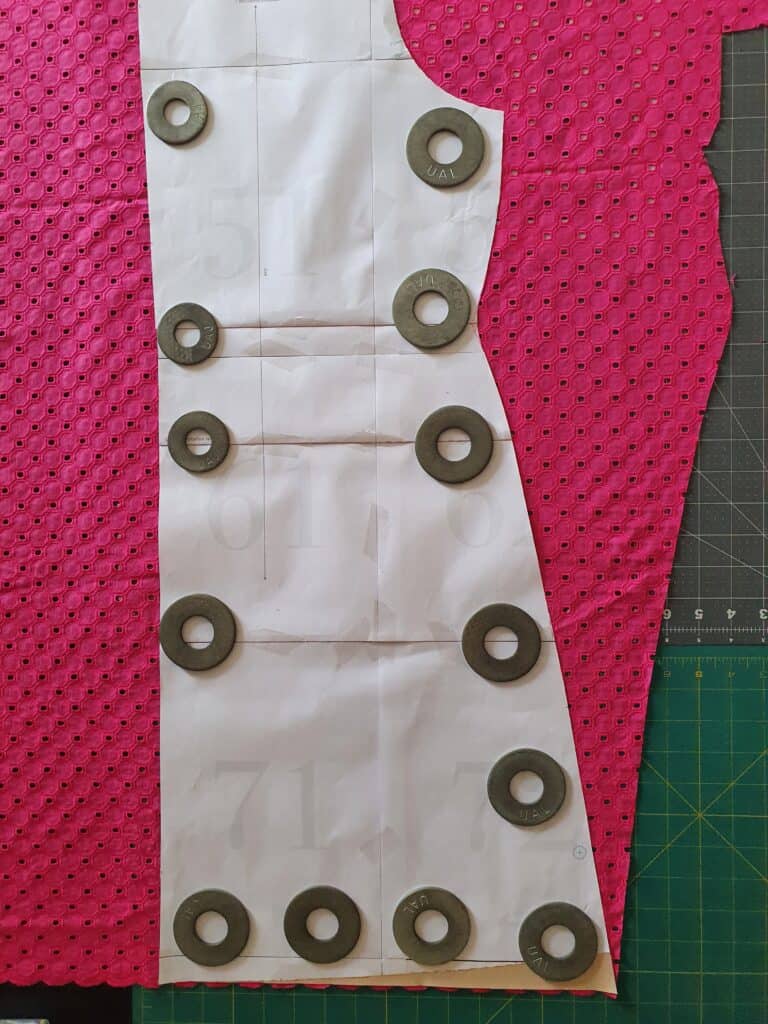
You may prefer to omit the center back seam to preserve the eyelet design. For my white dress, I removed the 3/8″ seam allowance at the center back, and cut on the fold instead as I really didn’t want to add a seam to ruin the gorgeous border. Bear in mind, this will obviously remove the back shaping and result in a looser waist area.
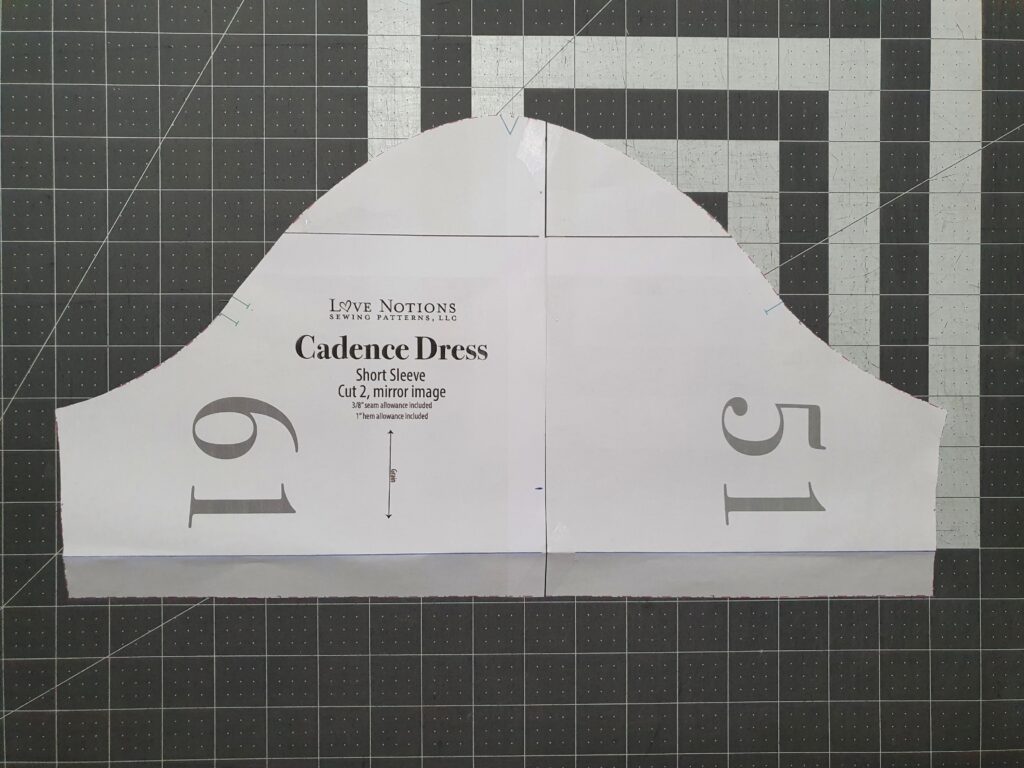
For some borders, you’ll be able to squeeze fun parts of the pattern such as sleeves. I wanted my short sleeves on my white dress to use the beautiful scalloped eyelet border. First I removed my sleeve’s 1″ hem allowance. Then I lined up my sleeve cap right at the beginning of the border to see what length sleeve I could squeeze. I only lost 1″ of sleeve length which was perfect for me as I typically shorten all my sleeves 1″ anyway.
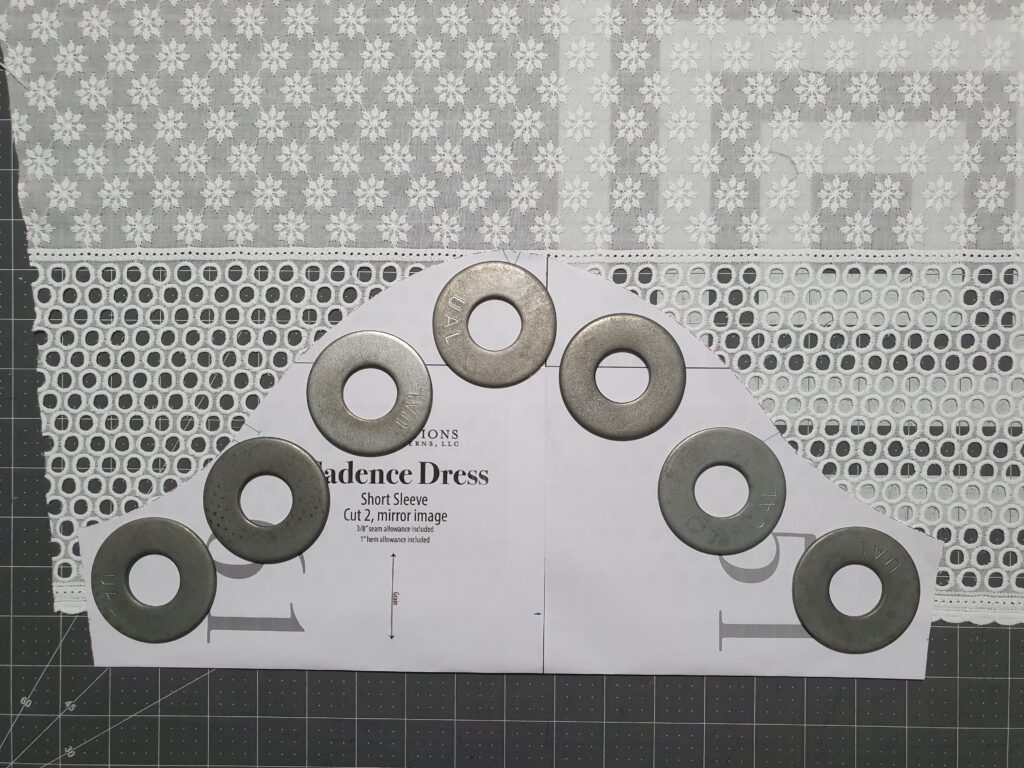
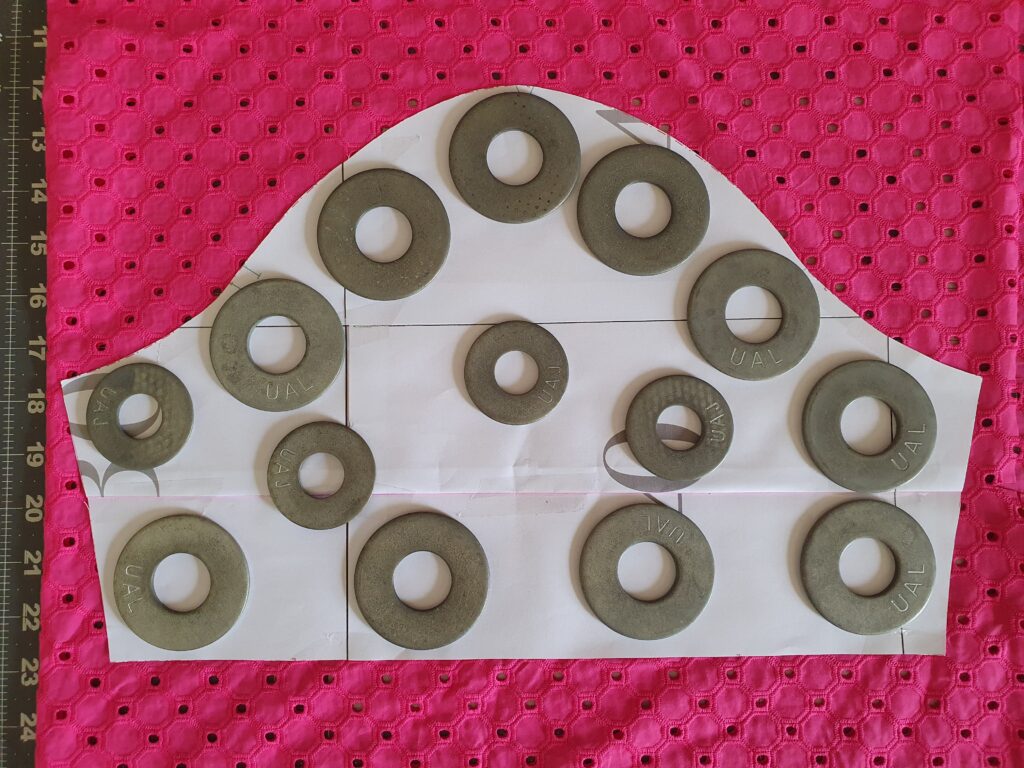
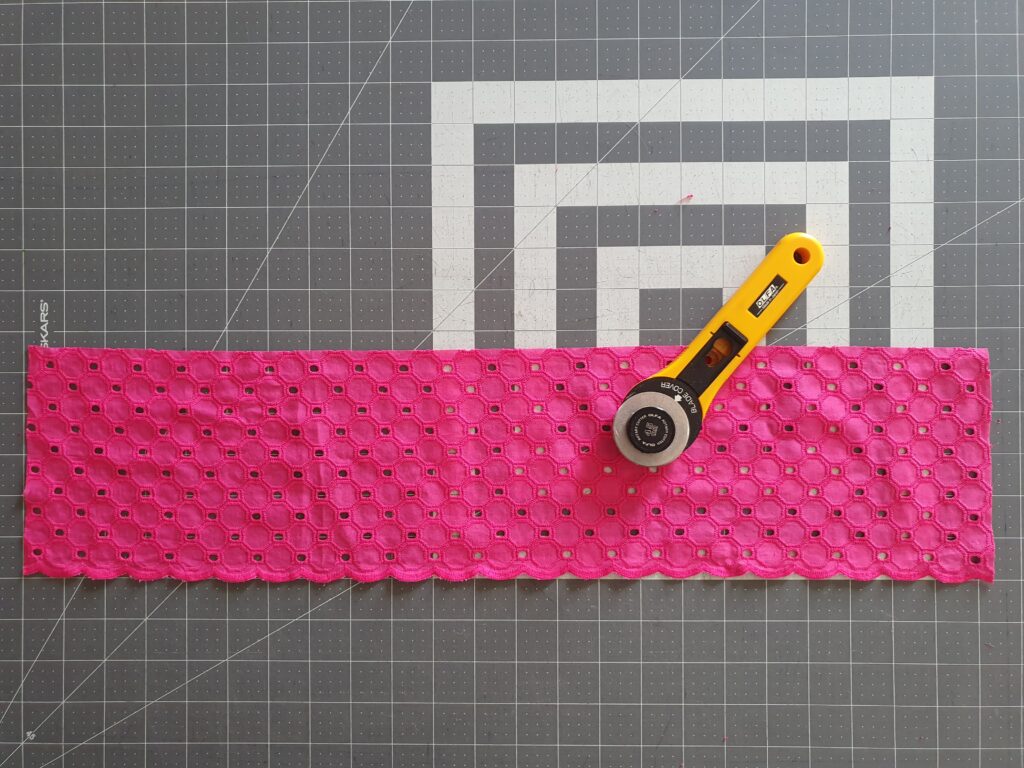
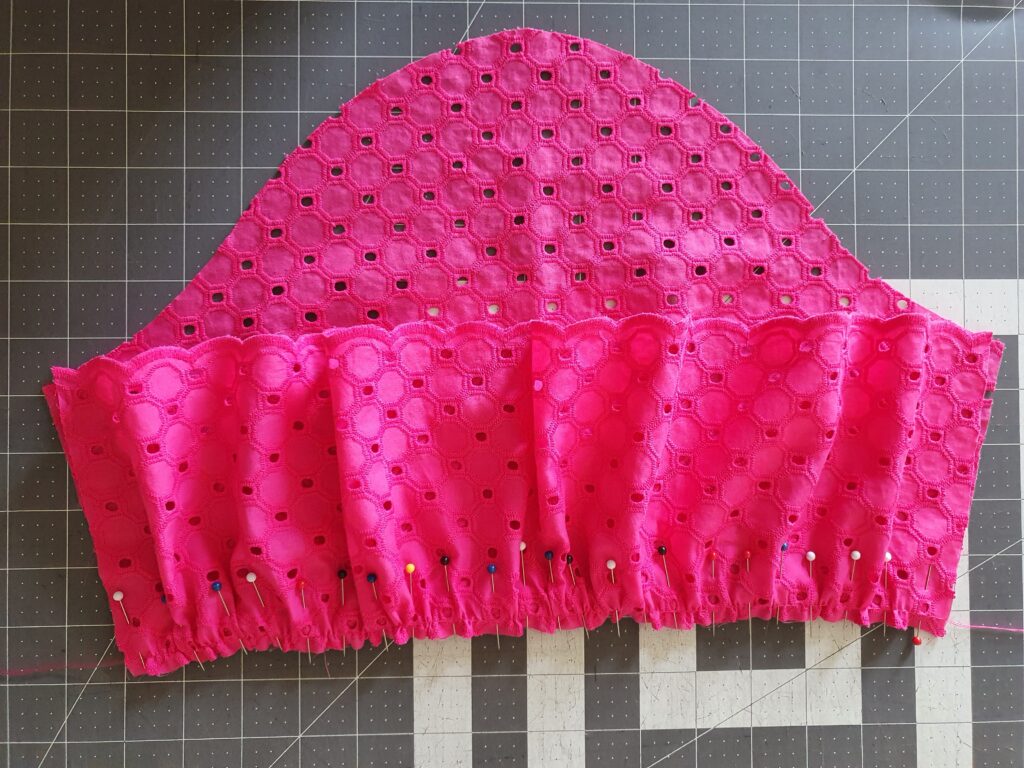
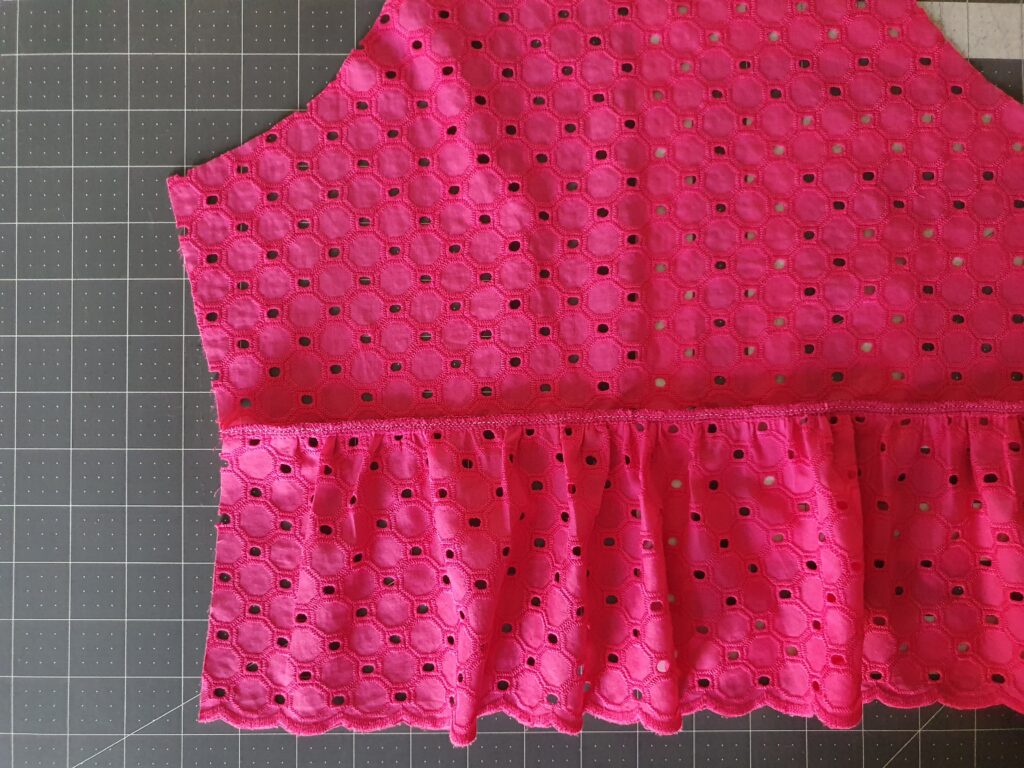
While we’re on sleeves, it is important to note that bordered eyelet fabric isn’t suitable for any type of circle. Be it a circle skirt, a circle sleeve etc. Unless you are willing to sacrifice the border and do a regular hem of course. My favorite sleeve option in the Cadence pattern is the elbow length sleeve with flare. As you can see from the first photo below, it is impossible to keep that lovely border with this flare shape. So instead, I measured the edge of the elbow sleeve, multiplied by 1.5 and cut a rectangle to gather and create a ruffle.

Marking
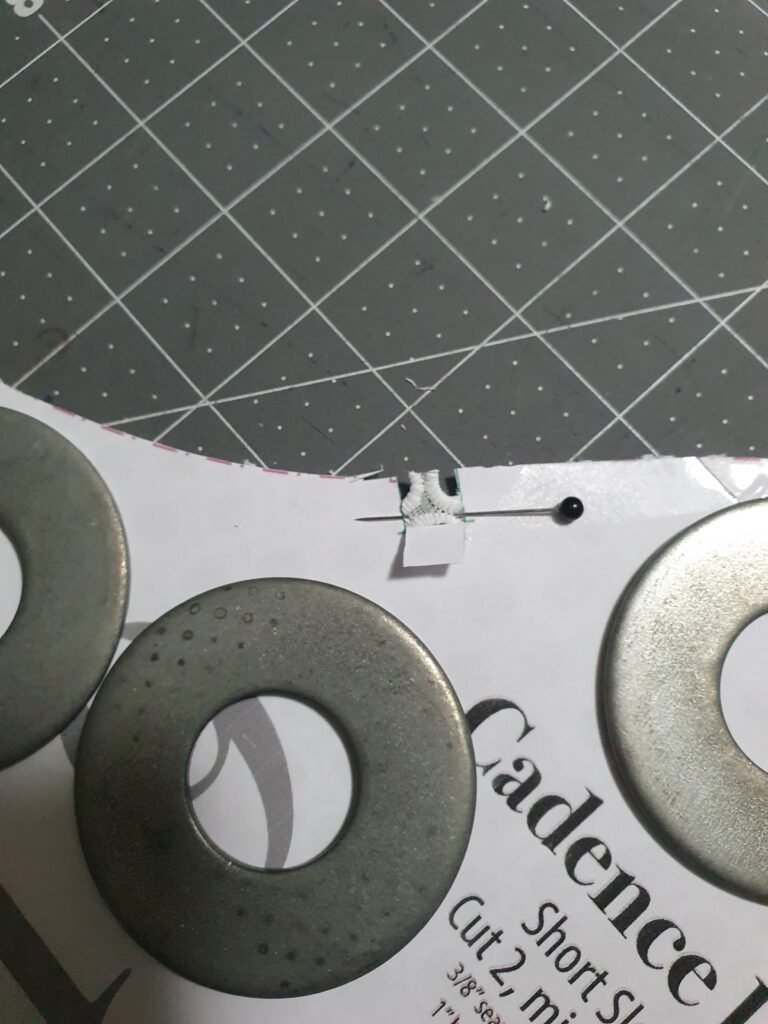
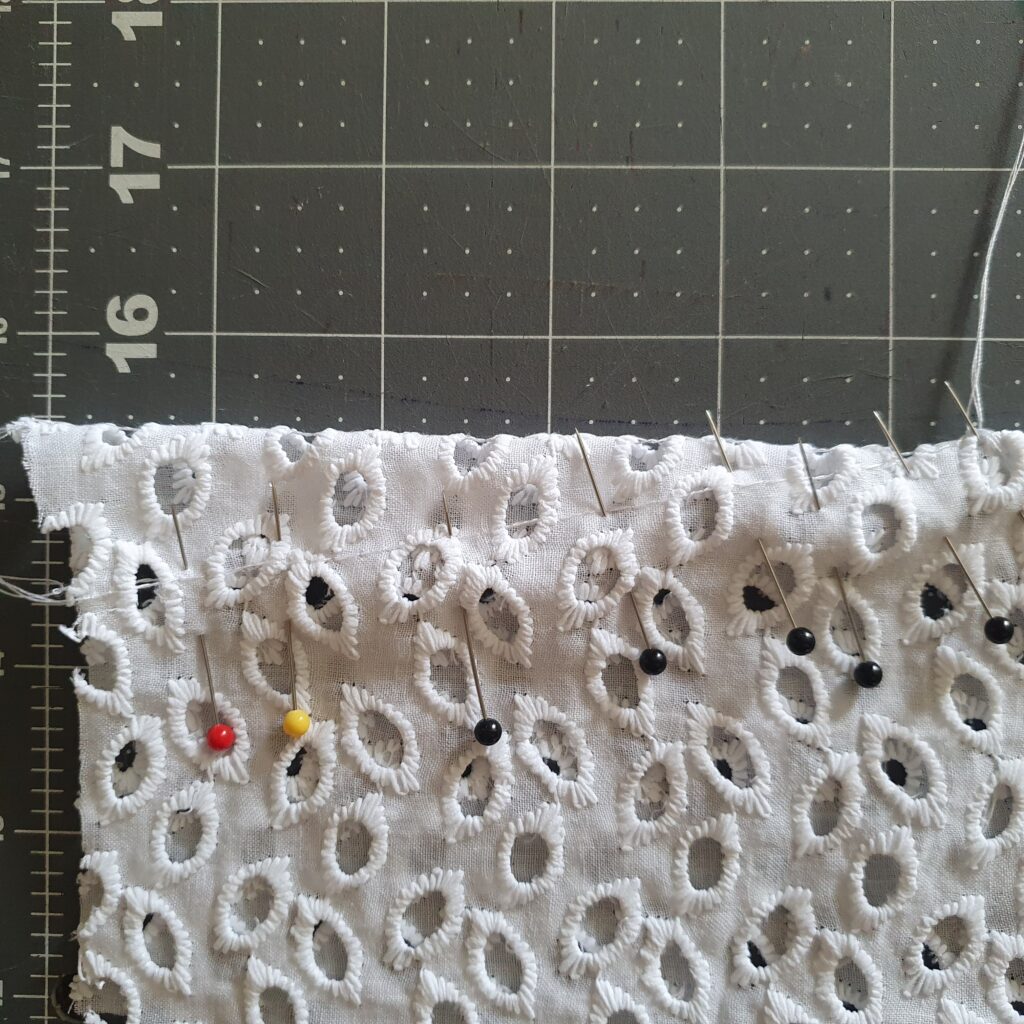
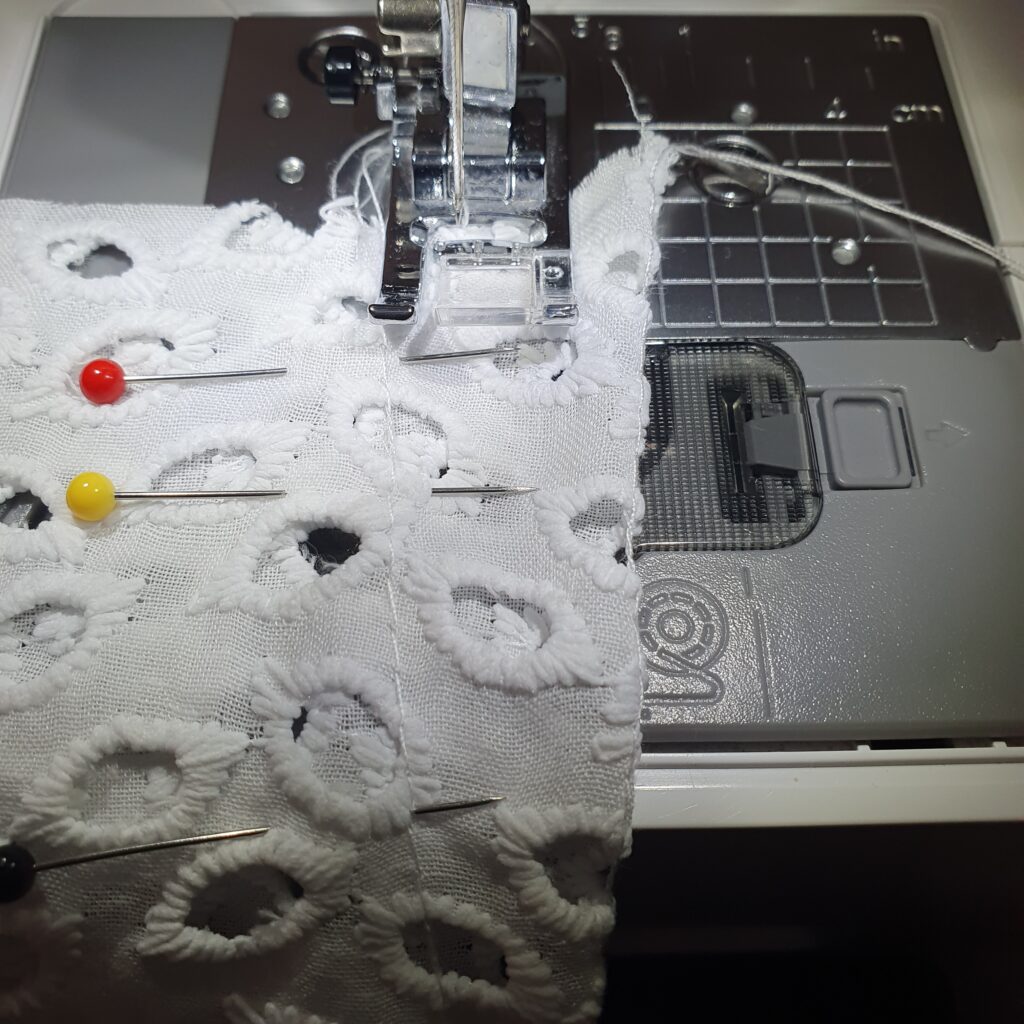
It is strongly advised to stay away from colored marking tools when sewing with eyelet fabric. The colors can seep into the thick embroidered threads and be really difficult to remove. Avoid colored pens, markers and chalks. For fabrics with large holes, clips may be best and where possible, pins will be your best friend. I used pins for all 3 projects. I marked my darts on the lining fabrics instead of the eyelet. Depending on where notches fall, you may not be able to see the cuts like where they overlap a hole for example. Here are two different ways to pin notches so you don’t miss them. (These are double notches at the back of the sleeve piece).

Underlining
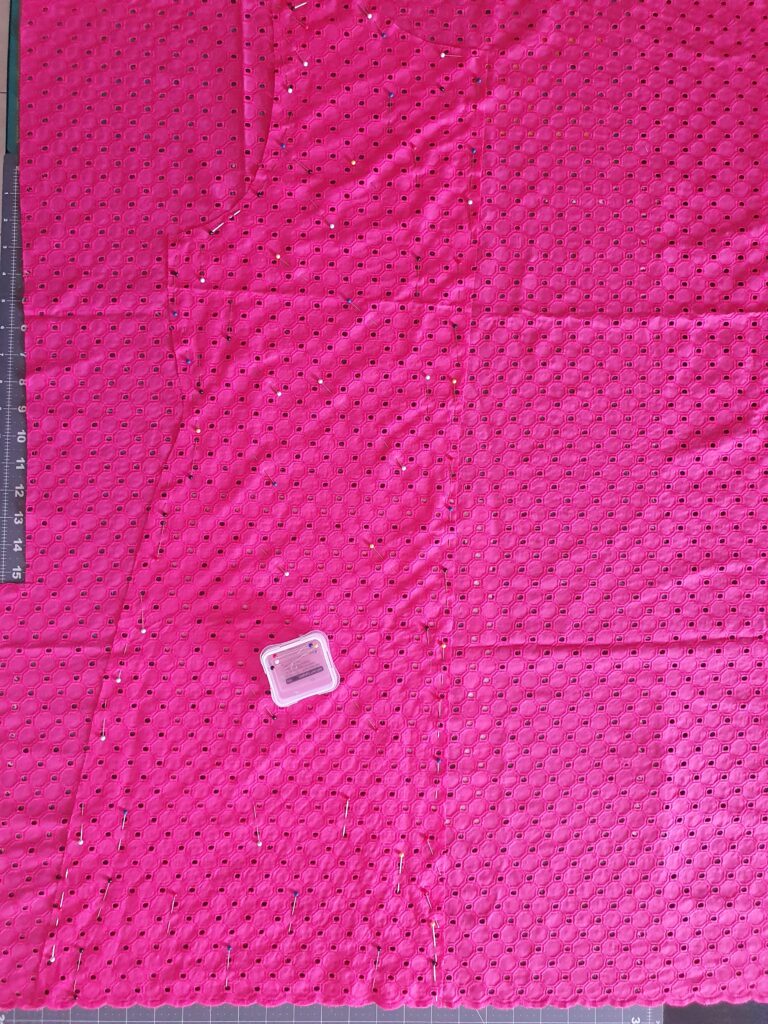
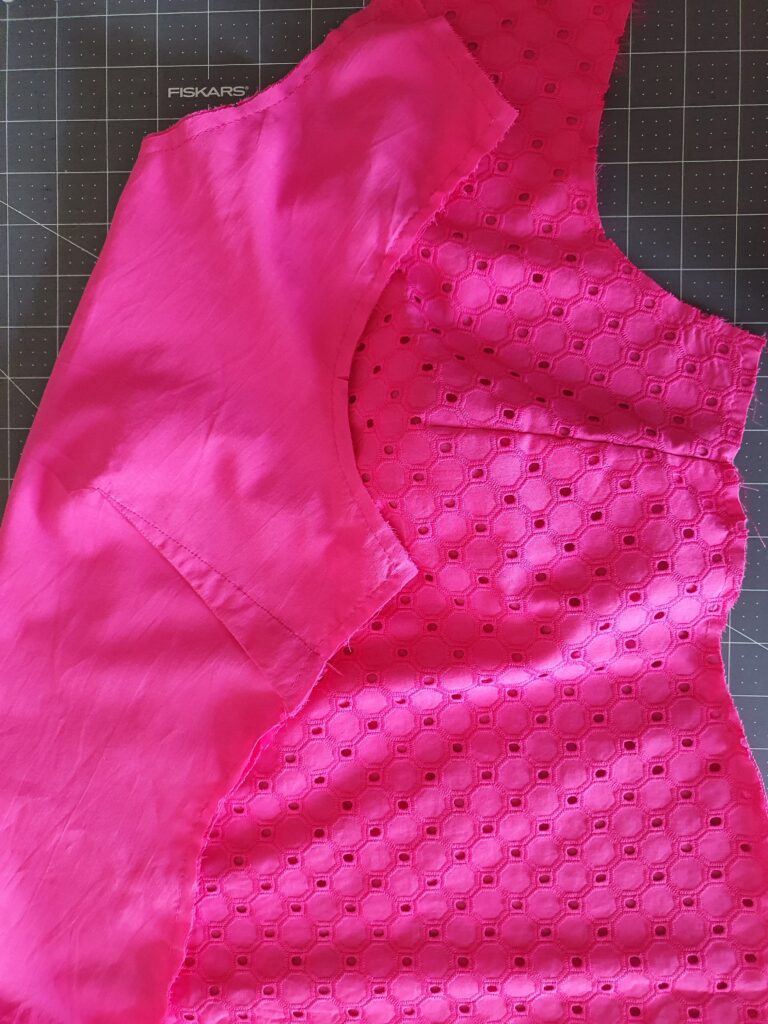
If you aren’t planning on having a sheer garment, you will definitely want to line or underline. My white top is sheer but my dresses are both underlined. I prefer underlining to regular lining so that the seams will be mostly hidden all the way to the inside of the dress as opposed to being sandwiched between the lining and eyelet fabric. The seams could peek out through the holes if you do a regular lining. With the underlining method, you are essentially attaching a background cover to your eyelet fabric and treating them as one piece together. All you need to underline are duplicates of your pattern pieces but in lining fabric. I lined both dresses with cotton; cotton voile for the pink and 100% cotton for the white.
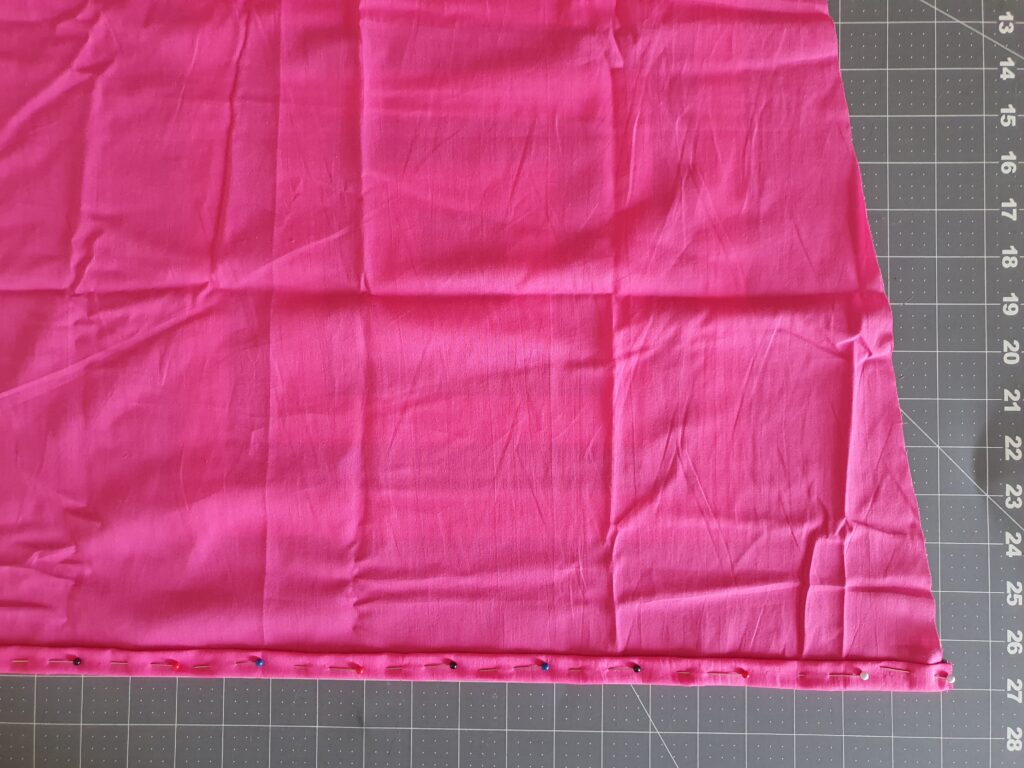
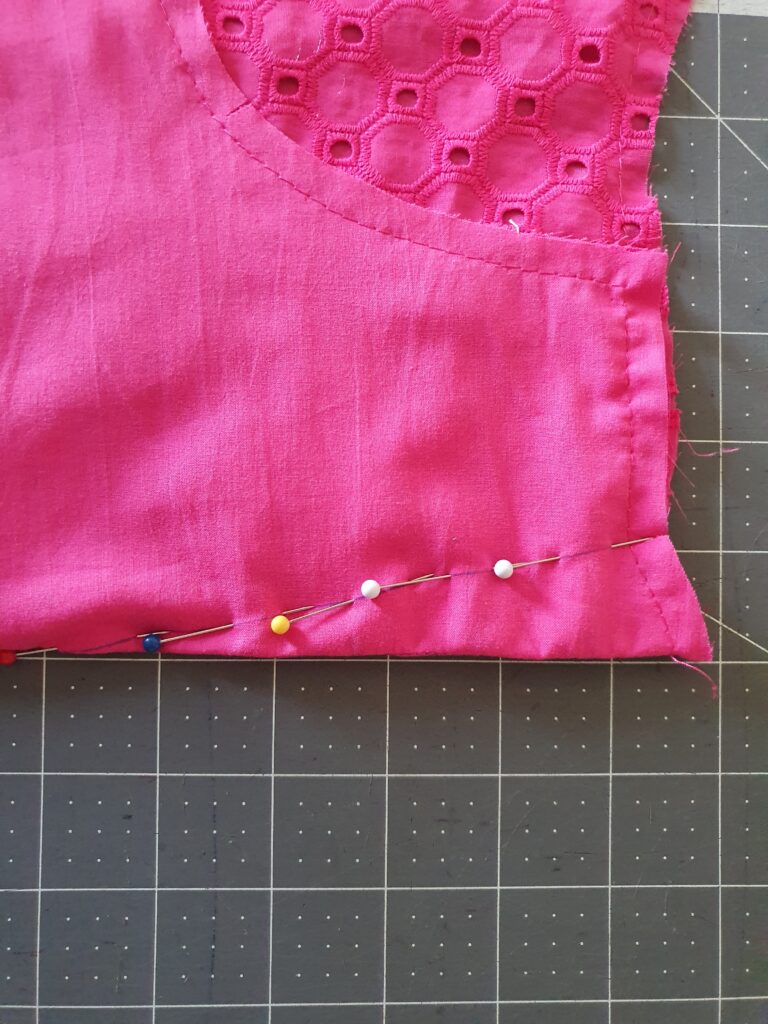
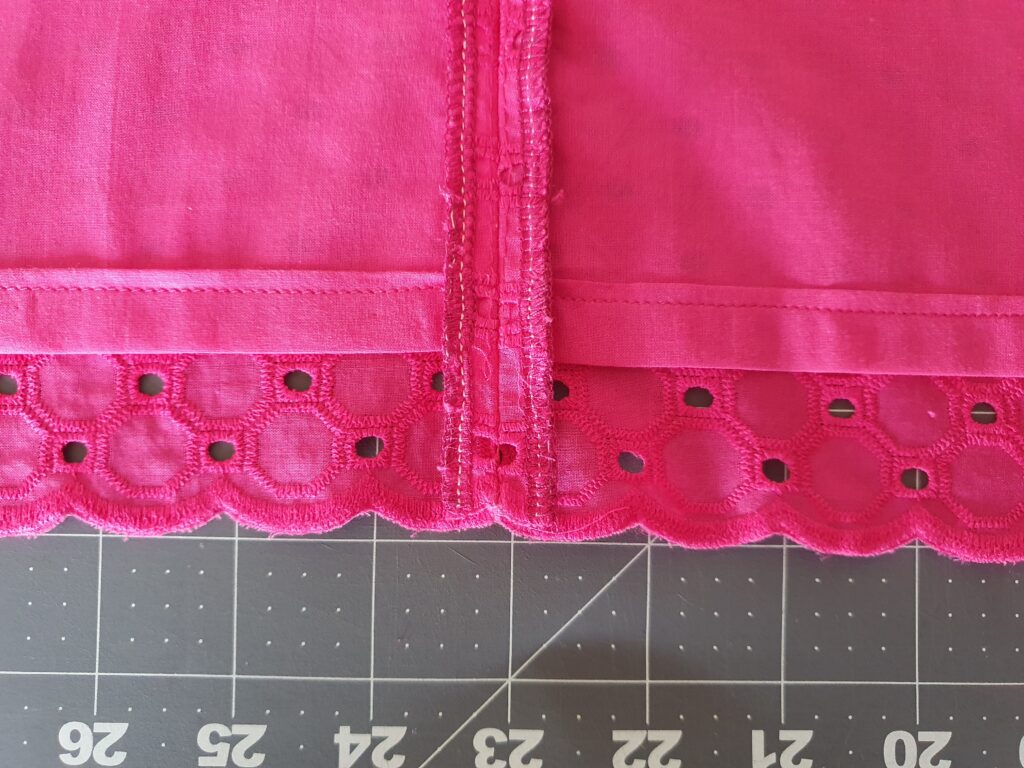
There are different ways to underline and I used 2 different methods for my dresses. For the pink dress, I hemmed the lining, turning 1/2″ twice to the wrong side. I then basted my lining to my eyelet pieces, right side of lining to wrong side of eyelet. This way, you’ll see the right sides of both the main and lining when the dress is on. This is important since you can see through the holes.
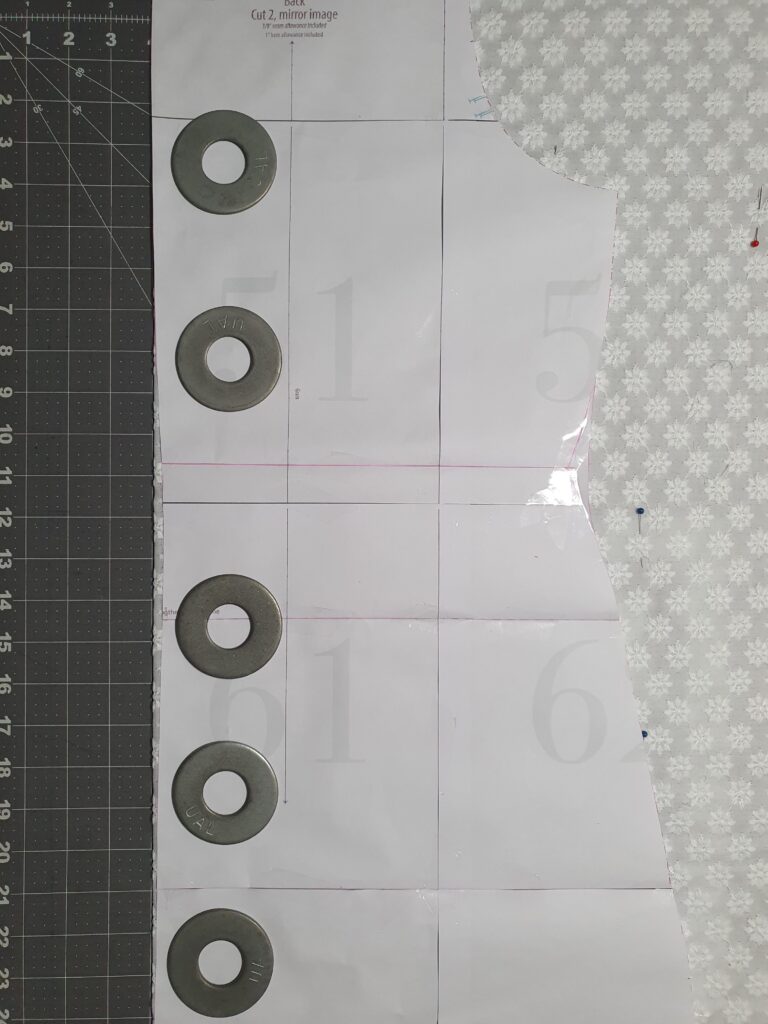
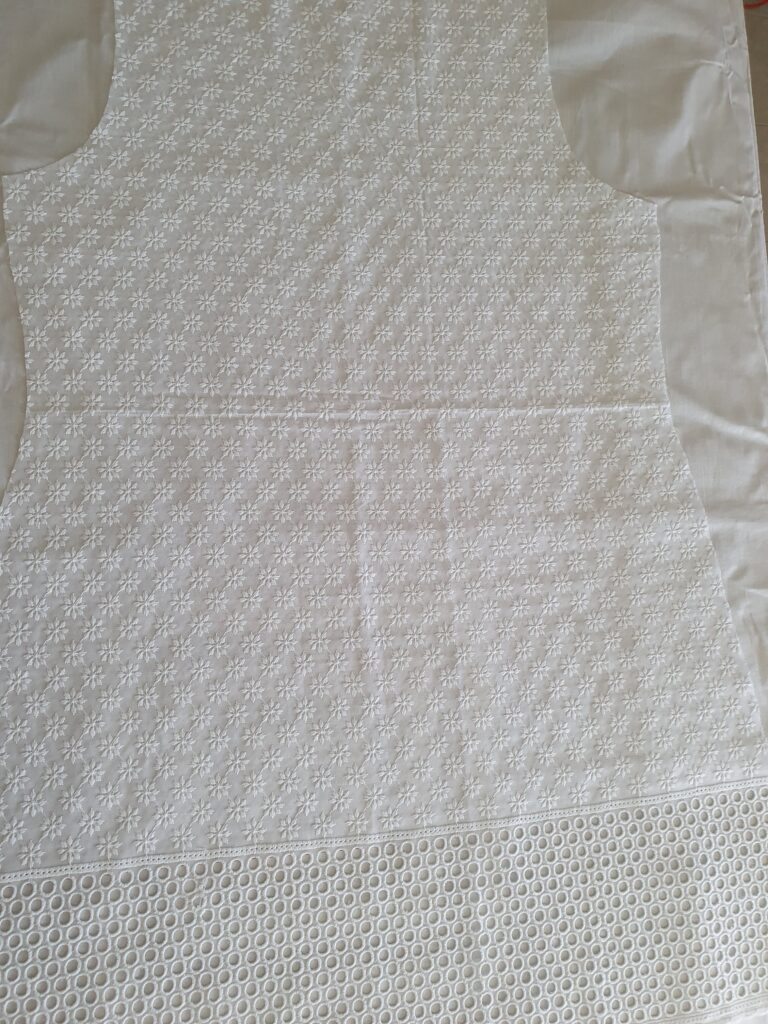
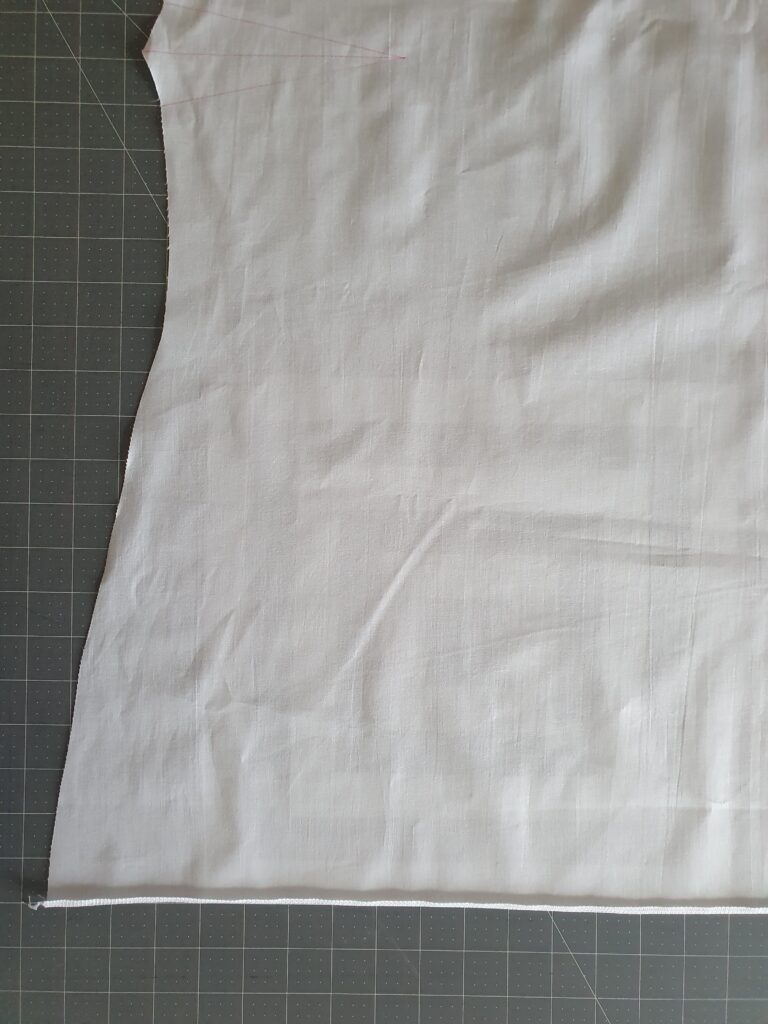
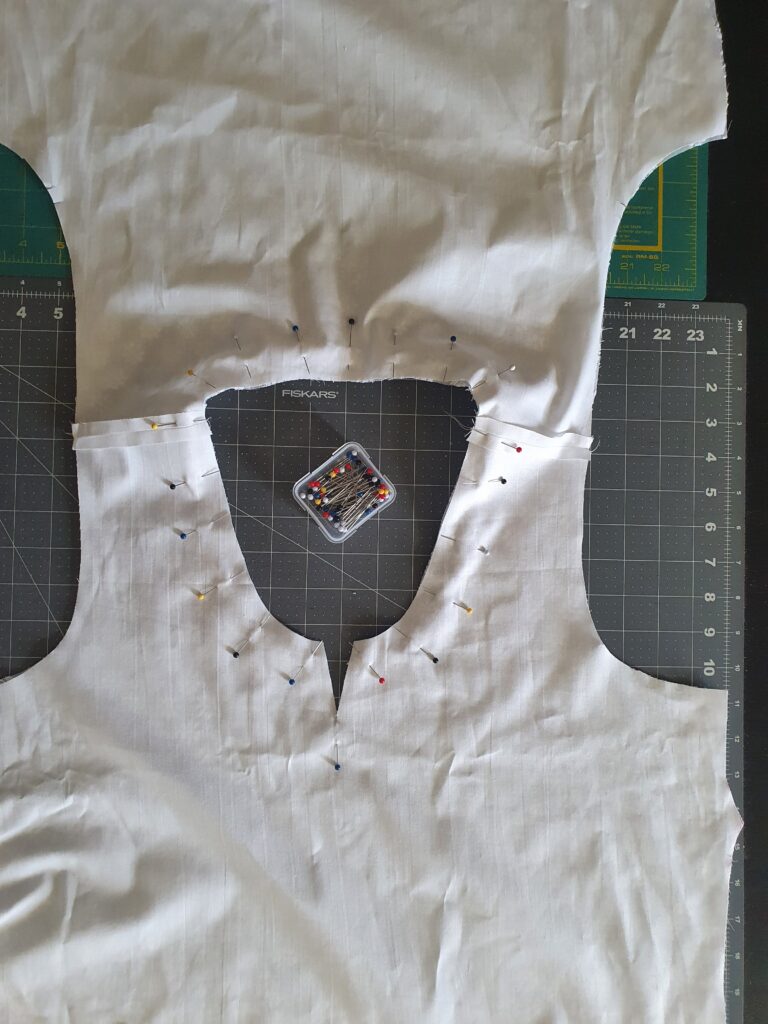
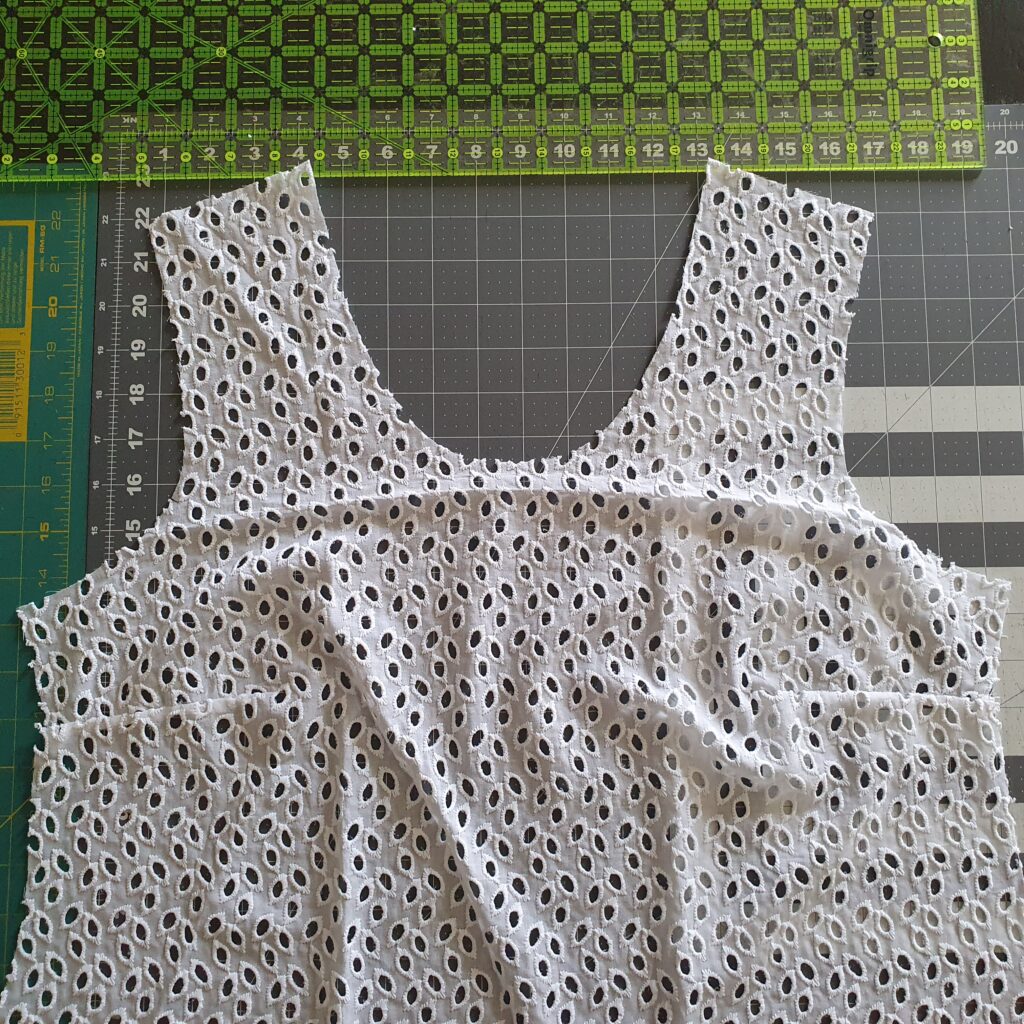
The white dress was a little different. I intended to use a facing for the pink dress but not the white since white fabrics tend to be translucent sometimes and I didn’t want to risk the facing showing through. I also wished to underline only up to the beginning of the border so that the border would remain sheer. Here’s what I did:
1. I laid my front and back pattern pieces on top of my lining pieces.
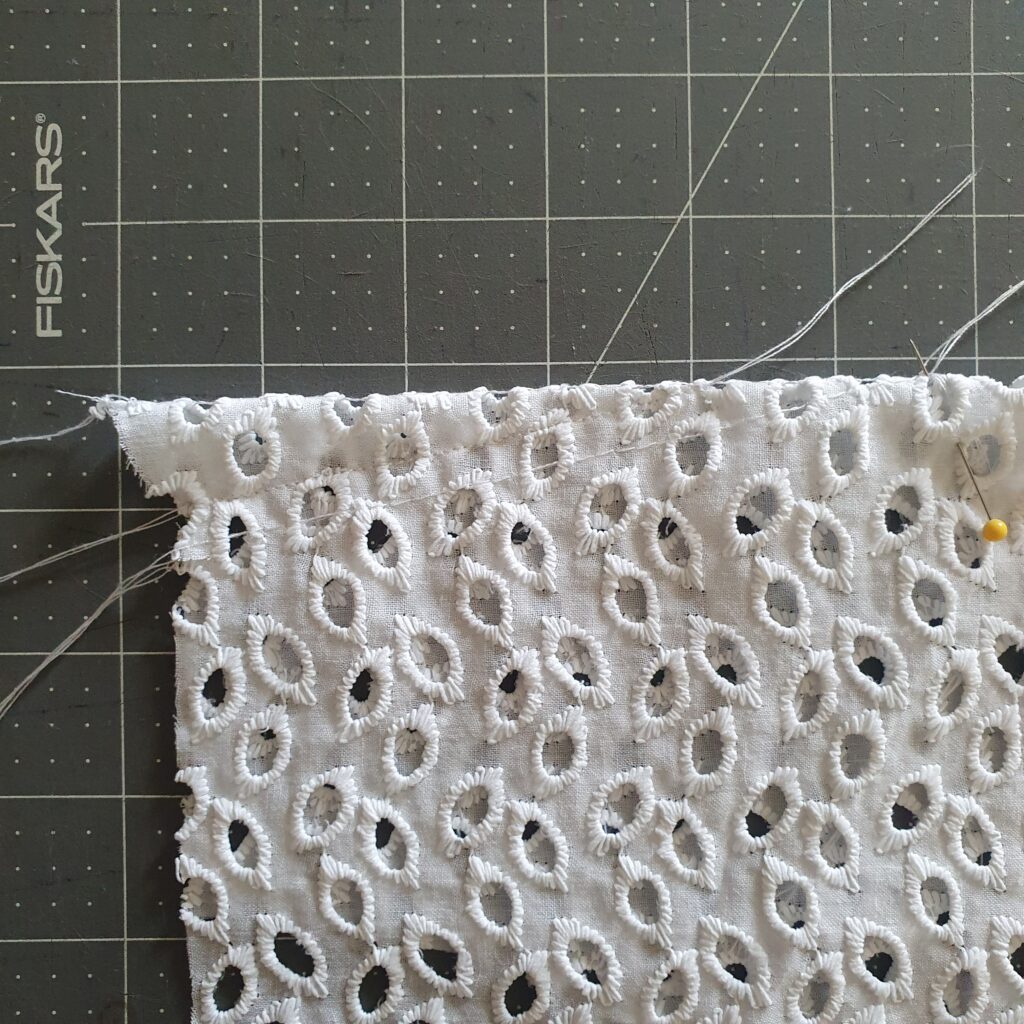
2. I used the first line of holes as my guide for where I wanted the lining to stop so I marked on my lining through the holes all the way across. See those little pink lines?
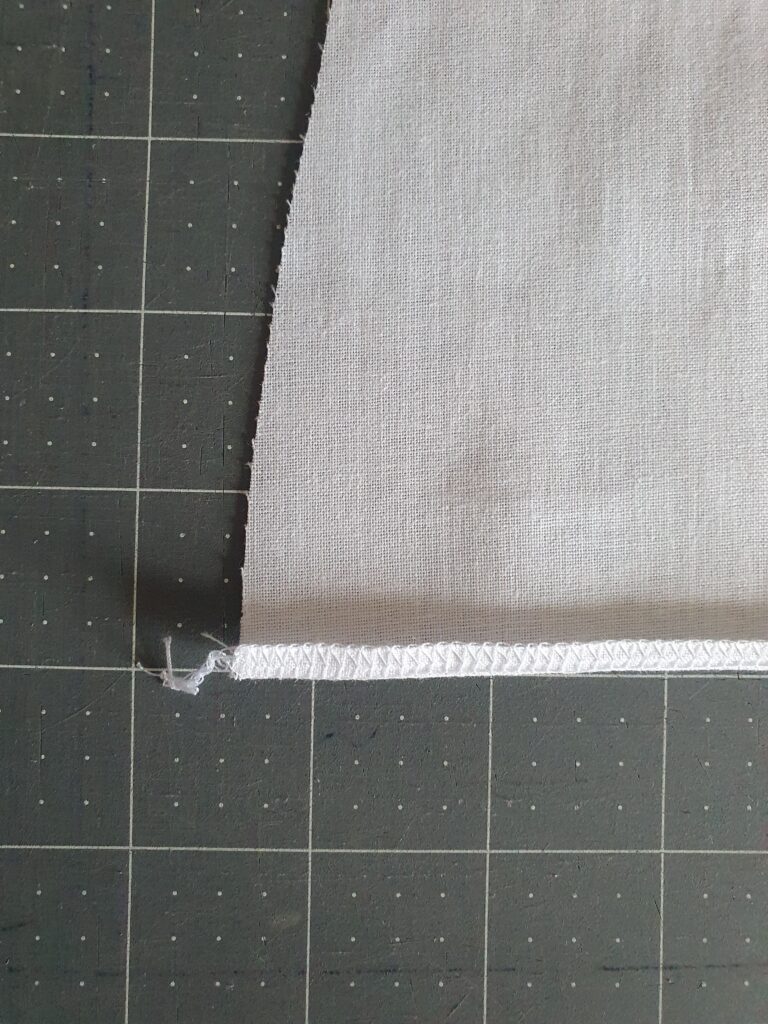
3. I finished the edge of my lining with my serger and turned up that serged edge once to the wrong side.
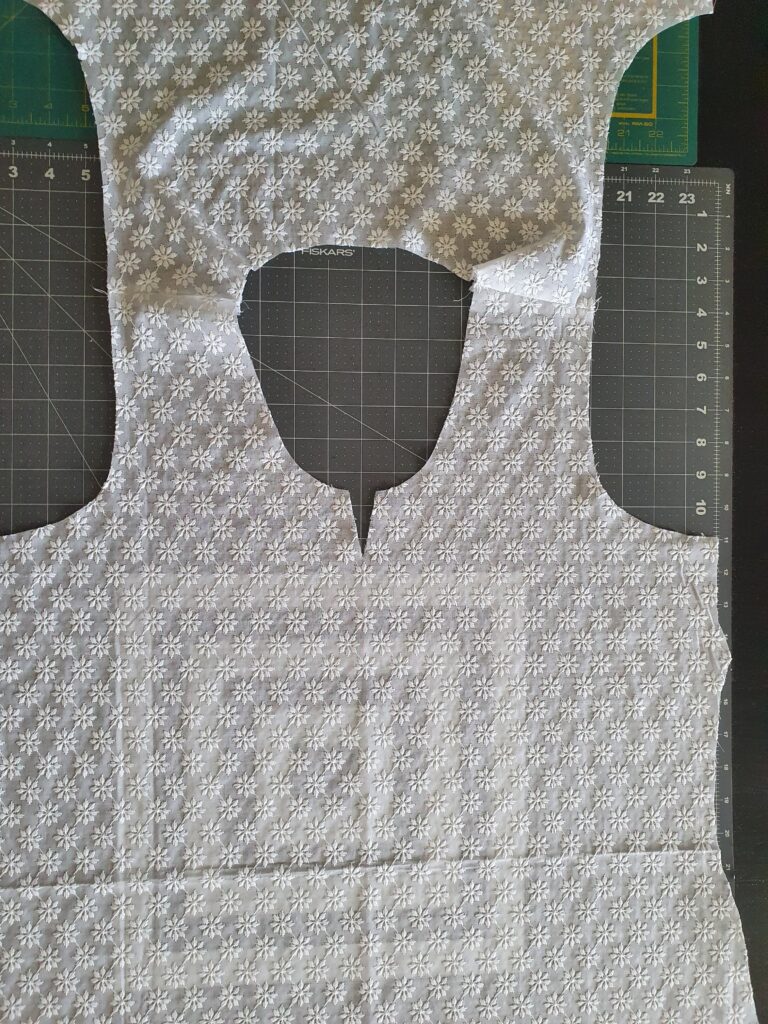
4. I sewed my eyelet front and back pieces right sides together at the shoulders. And wrong sides together for the lining.
5. I laid out my dress with the eyelet right side up. Then on top of that, I placed my lining right side up as well.
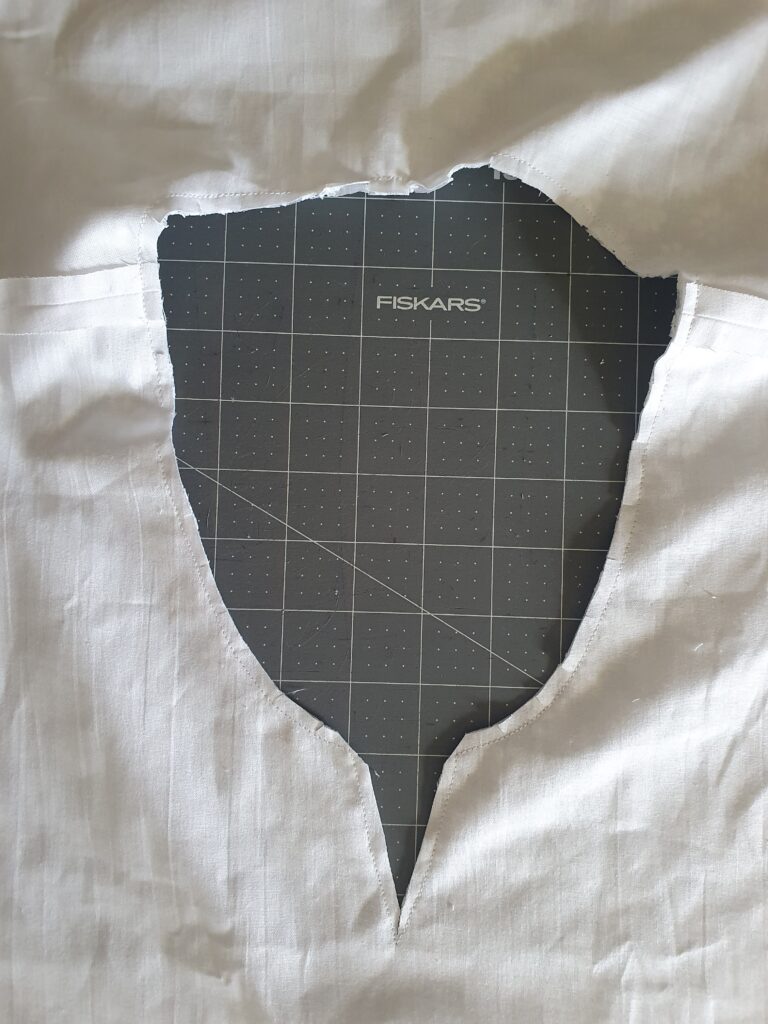
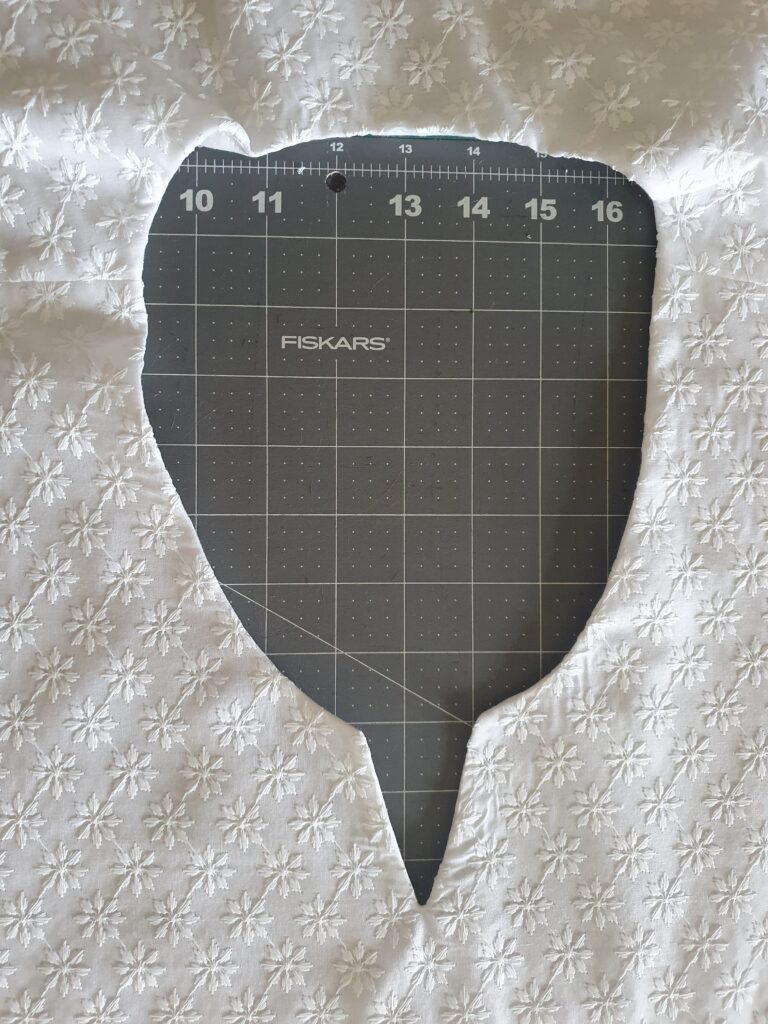
6. I then sewed around the neckline with 3/8″ seam allowance, carefully pivoting at the notch.
7. I clipped my curves and trimmed the seam allowance.
8. I understitched the seam allowance to the lining.
9. I turned it so that the eyelet would be right side out and lining wrong side out.
10. I basted my main and lining pieces together so they would function as one piece.
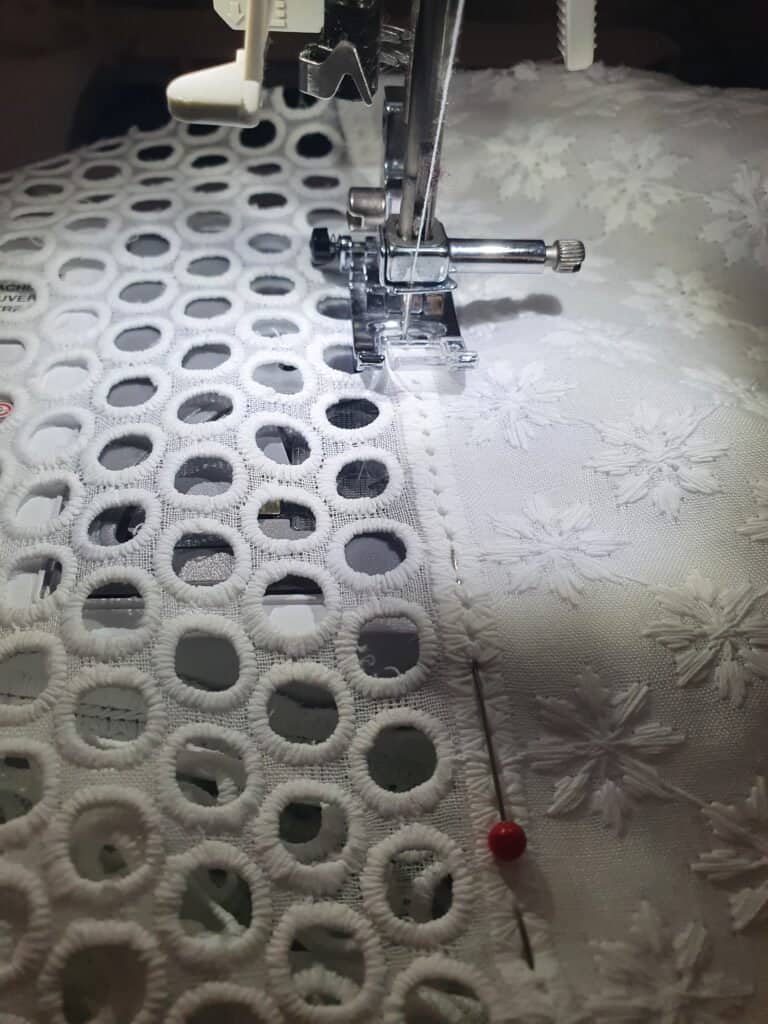
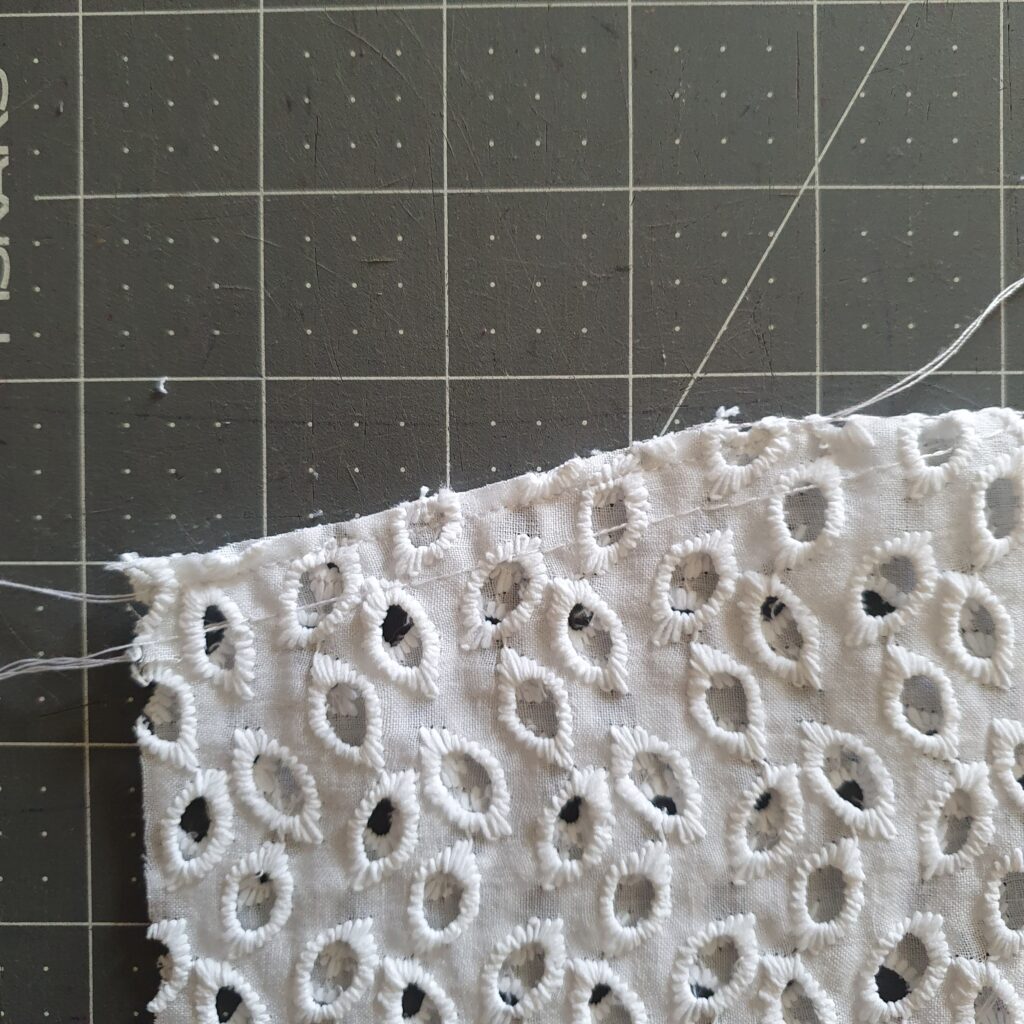
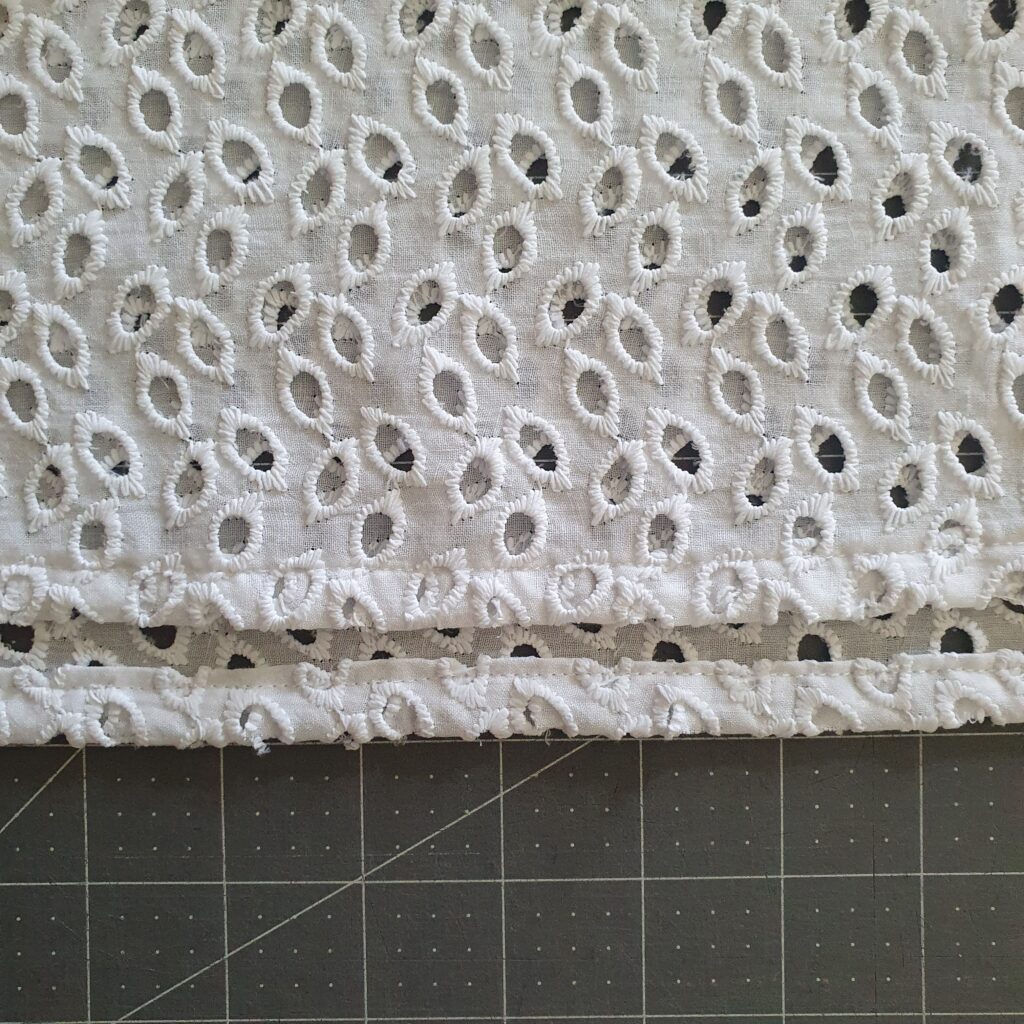
11. Remember that folded up serged edge on the hem lining? I stitched it to the border where the design forms a line right above the holes.
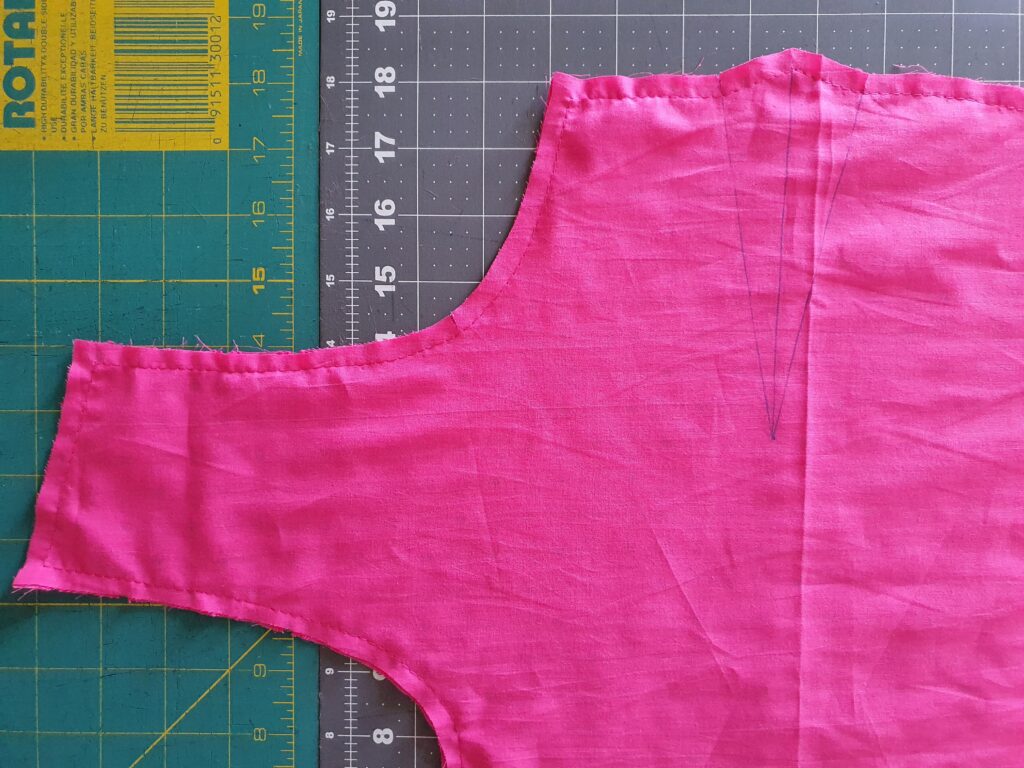
Sewing Darts
Darts can be unsightly on eyelet fabric. There are tutorials online for removing darts or you can avoid patterns with darts completely. For this shift style of pattern, I do like the darts for bust shaping. For my dresses, I sewed my darts through both layers together (eyelet & lining) resulting in the dart being hidden completely on the wrong side of the dress that touches your skin. You cannot see the dart allowance through the eyelet fabric at all. Remember how I only drew the dart on the lining fabric? Here are the steps I took to create a flat neat dart through both layers of fabric.
1. I marked the center line of the dart and stitched down this line. This keeps the two fabrics together so when you fold the dart, it is actually impossible for any shifting to occur.
2. I sewed the dart as normal along the marking.
3. I gave it a good press!
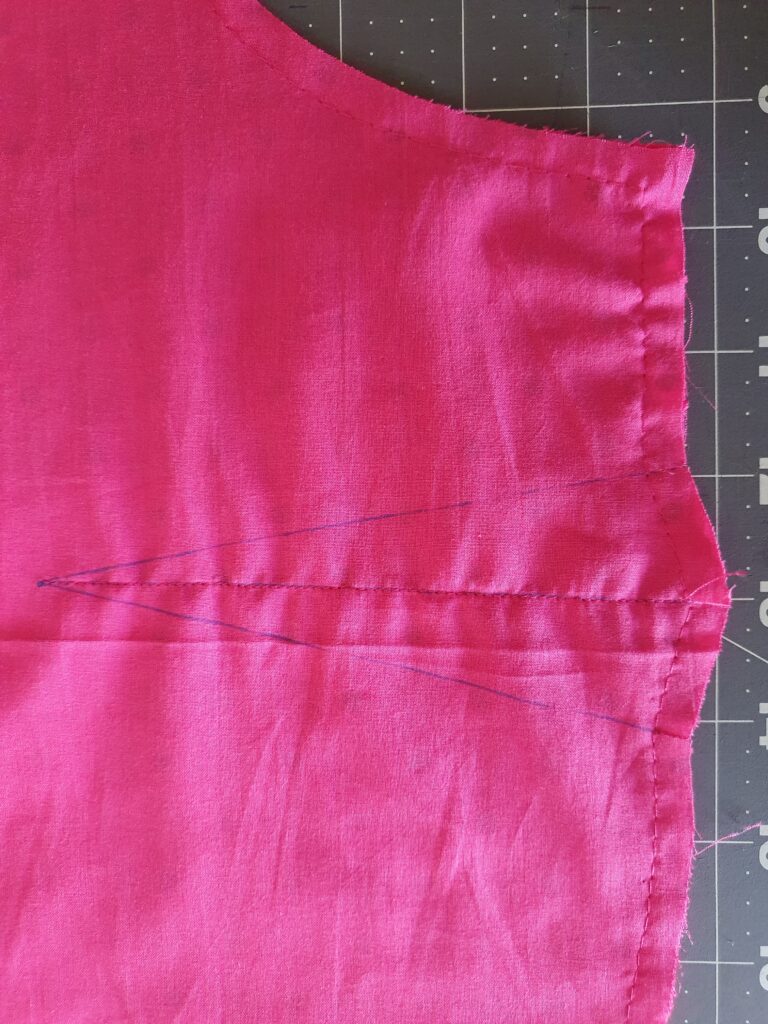
French Seaming a Dart
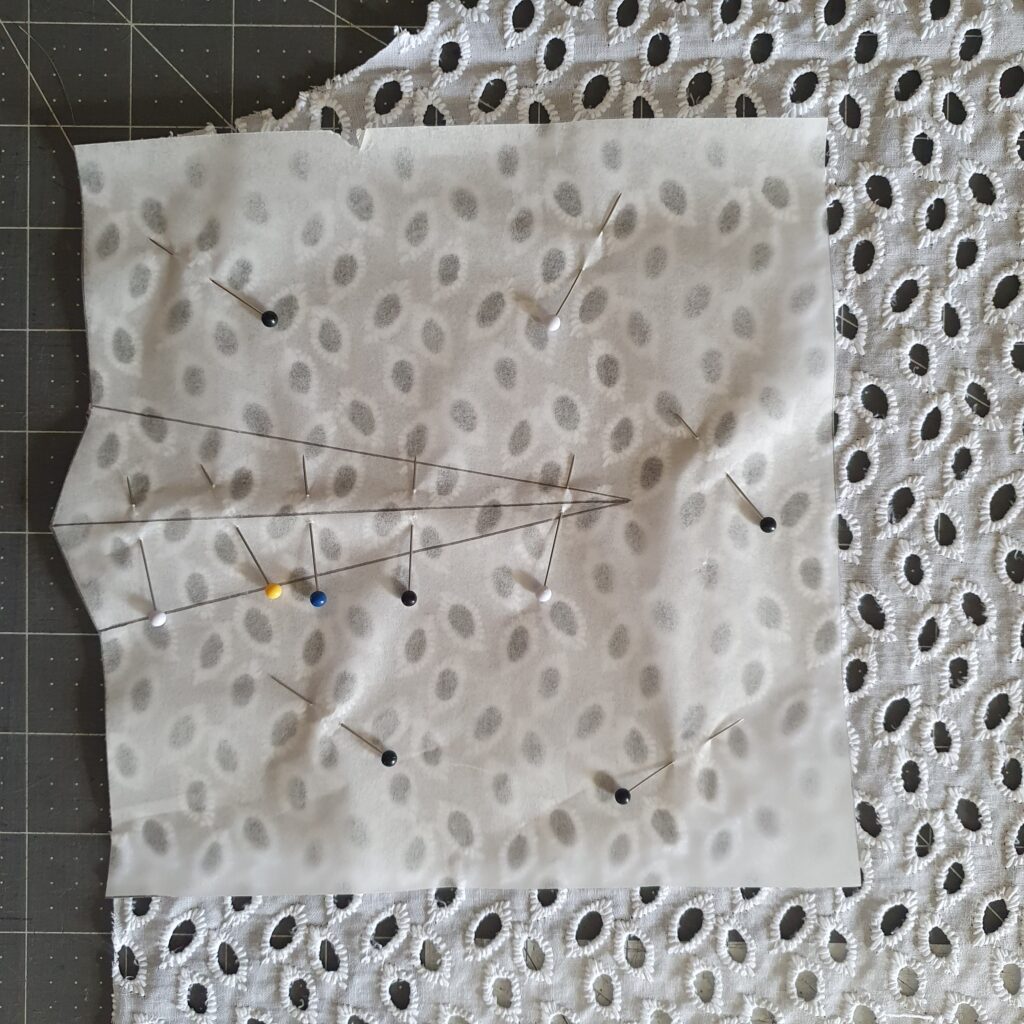
Since my top was going to remain sheer and unlined, I needed to keep the dart allowance neat and minimal, instead of an entire dart showing through the fabric. Here are the steps for french seaming a dart on eyelet fabric (so hard to see on white fabric, so sorry!).
1. Trace the darts for both sides.
2. Align the traced dart on top of the front piece and secure with pins.
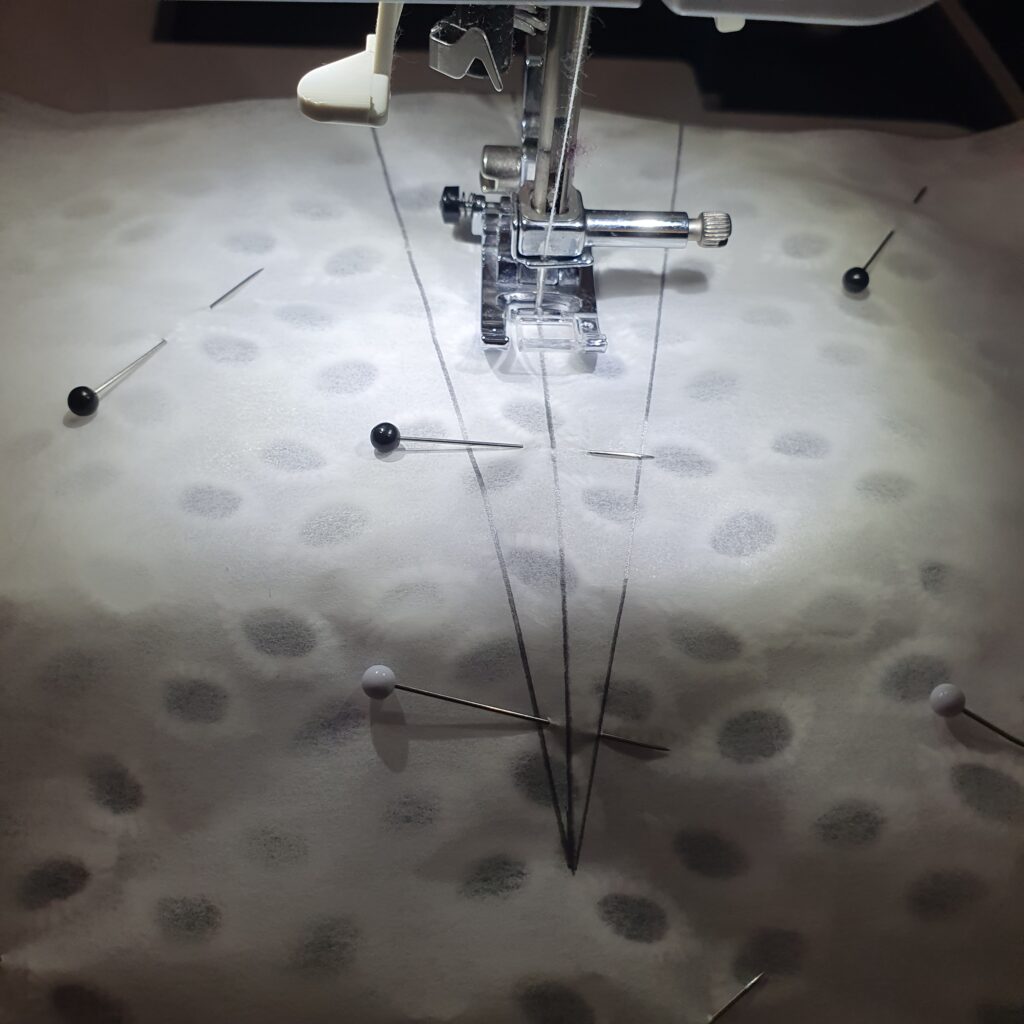
3. Sew basting stitches on all the dart markings, through the tracing paper and fabric.
4. Carefully remove the tracing paper making sure to keep your basting stitches in tact.
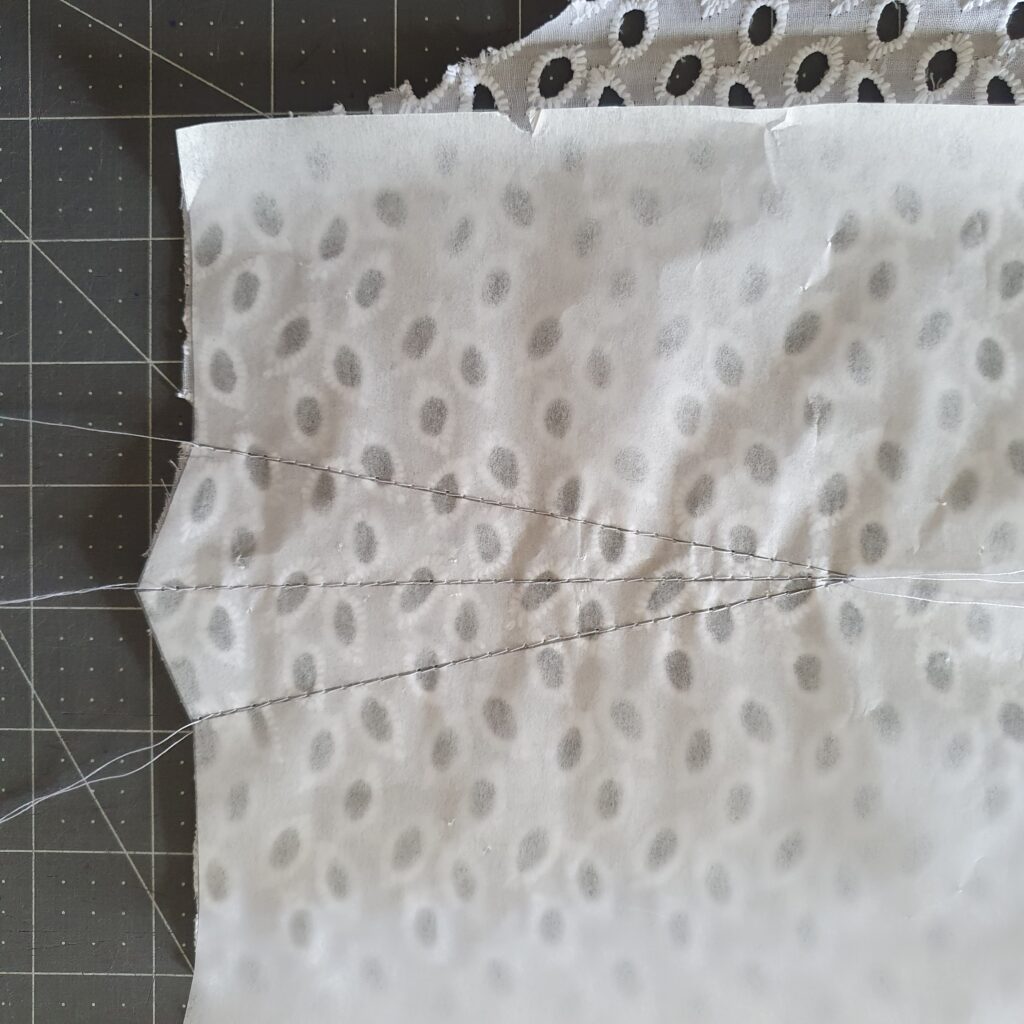
5. Fold the dart along the center line with the fabric wrong sides together.
6. Stitch a line 1/4″ away from where the dart would be. (1/4″ away from the dart leg line)
7. Trim off the excess leaving 1/8″ allowance.
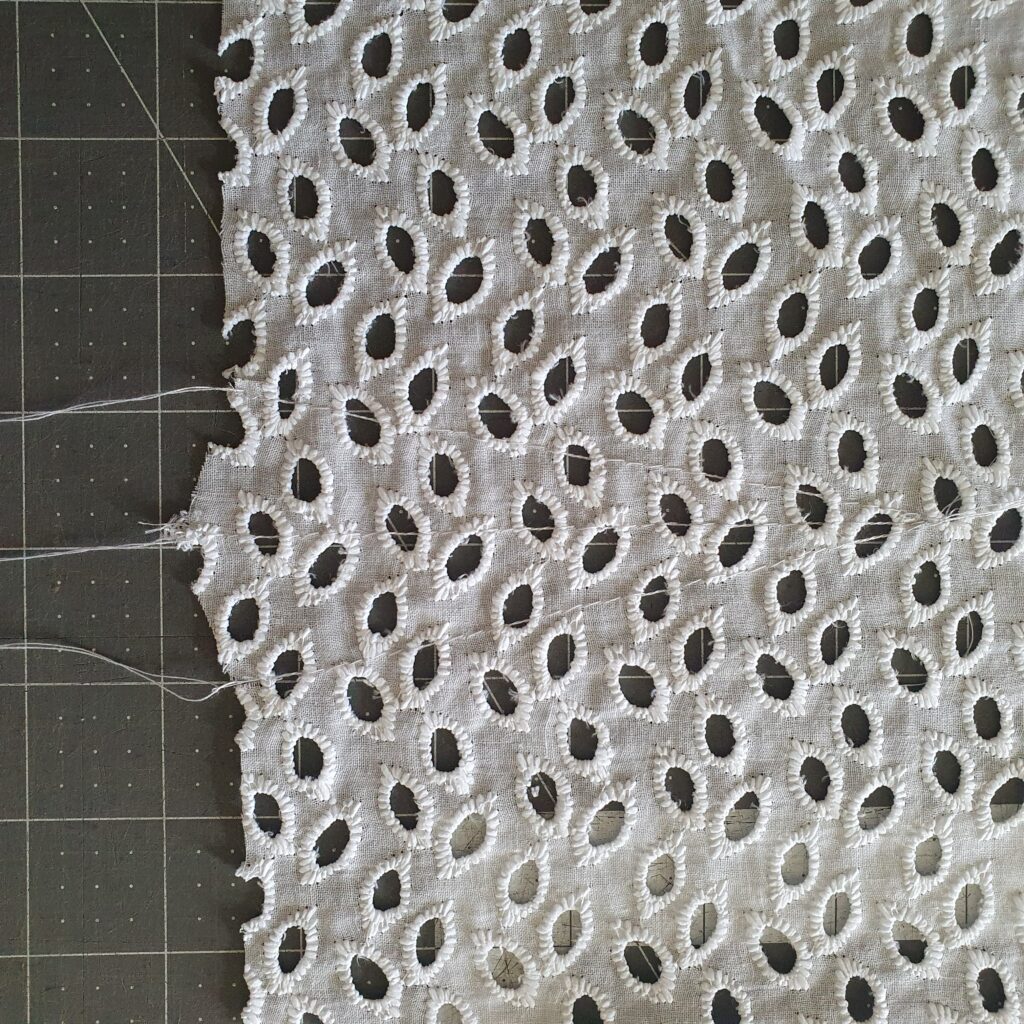
8. Now fold over the fabric right sides together, encasing that 1/8″ dart allowance.
9. Stitch on your dart leg marking. I should be 1/4″ from the edge and then tapering at the dart tip.
10. Remove your basting stitches.
11. Press your french seamed darts downward.
Finishings and Hems
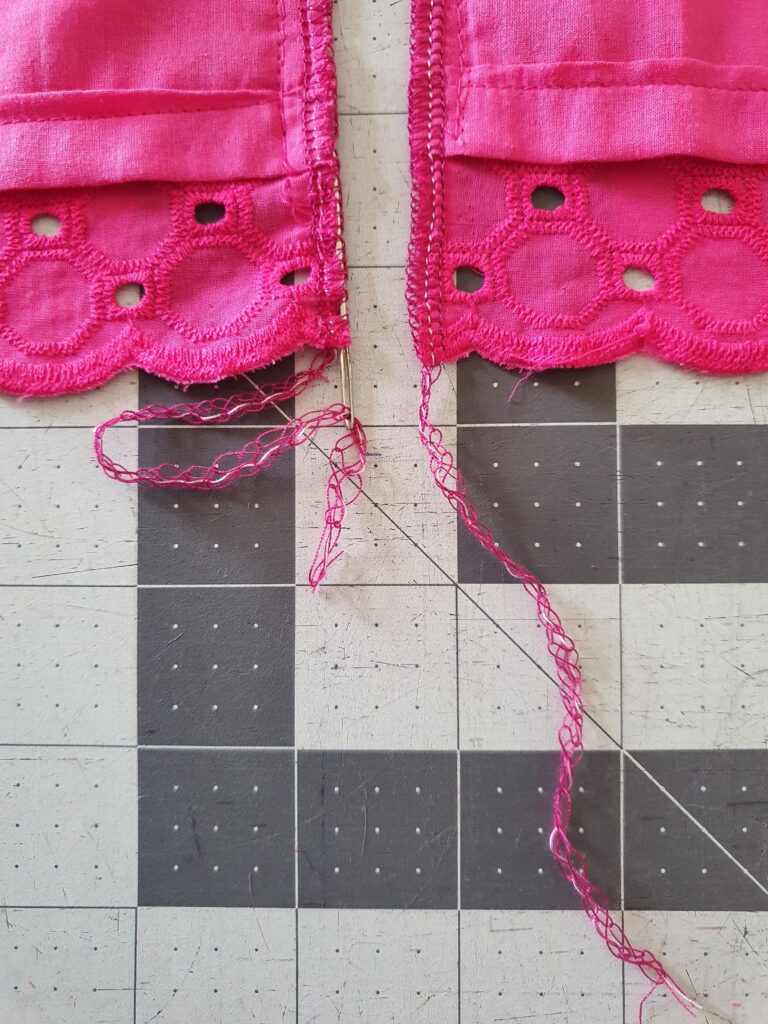
Most sewists would opt for french seams for broderie anglaise fabric. And while I agree that french seams are ideal for fabric with holes, I do find them too bulky when using underlining. I prefer a stitched and serged seam with the thread tails threaded back up through the serge. As long as you choose matching thread, the serge seam will blend in nicely with the embroidered fabric. Especially considering that with underlining, you won’t be able to see through the holes too much.
French seams were perfect for my sheer top, however.
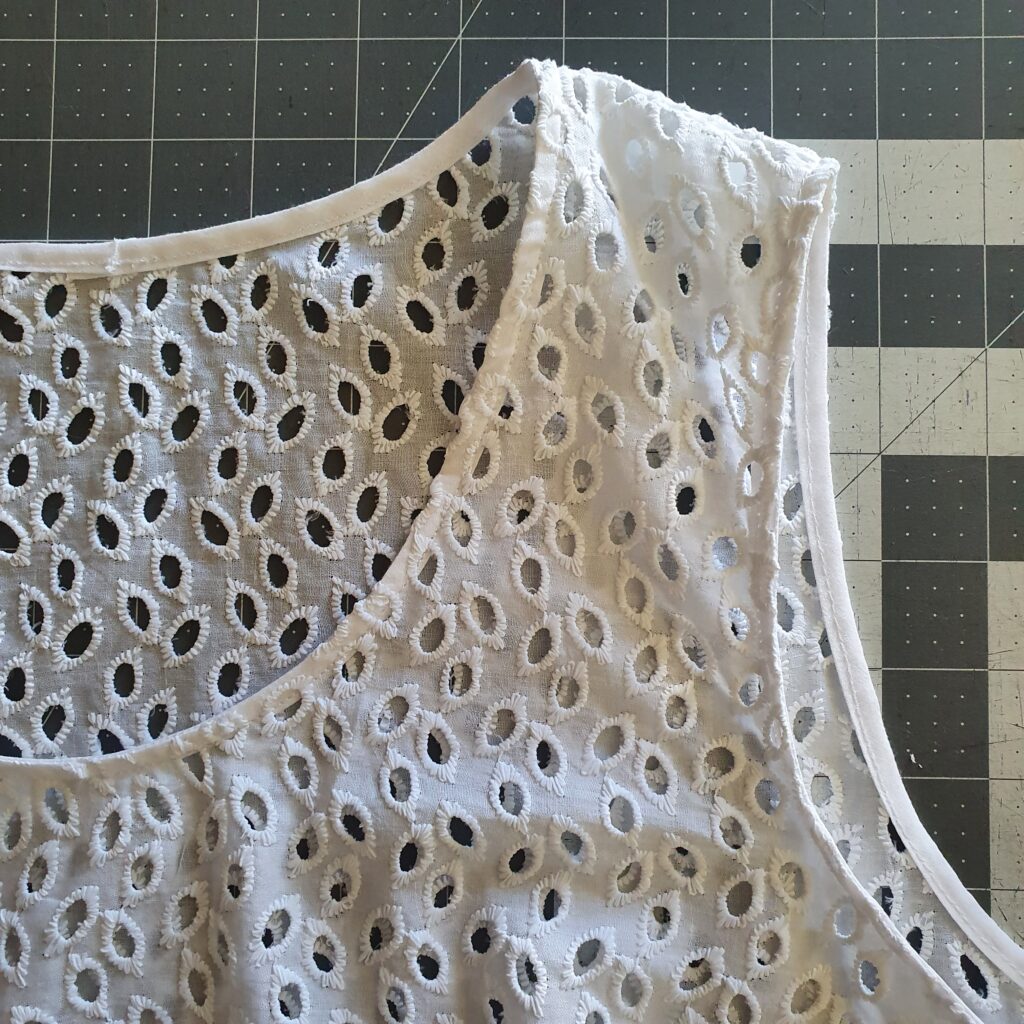
For the hem, a simple double turned hem is great. Bias binding will also give a very neat and clean finish. I turned up the hem on my top 1/2″ twice then topstitched. The neckline and armholes I finished with single fold bias binding.
I hope after reading this post, you were able to take with you a wealth of information on Broderie Anglaise fabrics and how to sew them. It may seem intimidating at first, but these tips and techniques will really make a difference in your final garment. So instead of stroking that gorgeous eyelet fabric and passing straight, next time grab the bolt! And if it’s your first time sewing with this type of fabric, I highly recommend Cadence as a nice beginner pattern. It’s such a good one to ease into sewing eyelets! Happy stitching!
*Links in this post are affiliate links. I will earn a small commission at no extra cost to you. Thank you for your purchase!

