Hello my sewing friends,
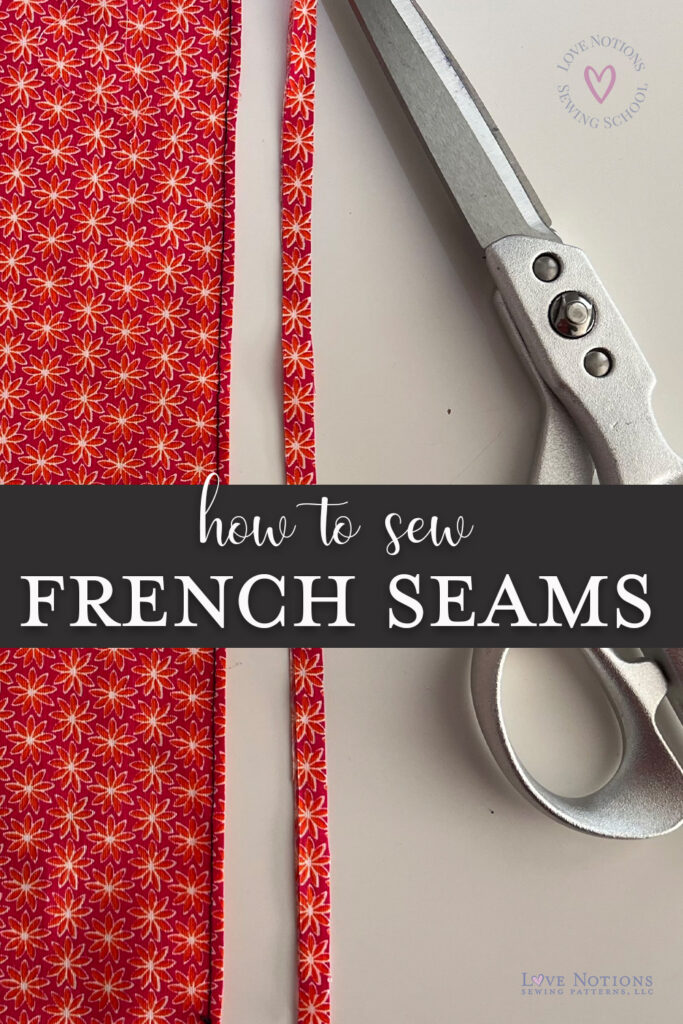
Do you want your garment to look neatly finished on both the inside and outside? Then French seams are one of many solutions to choose from to finish your woven projects. This technique not only makes our garment neater, it also makes the seams of our creation stronger.
What is a French Seam?
A French seam is a method of making a double seam that hides the unfinished edge of the fabric and gives it a professional look, and in some cases even eliminates the need to use a serger. So many benefits.
A French seam is a method of making a double seam that hides the unfinished edge of the fabric and gives it a professional look
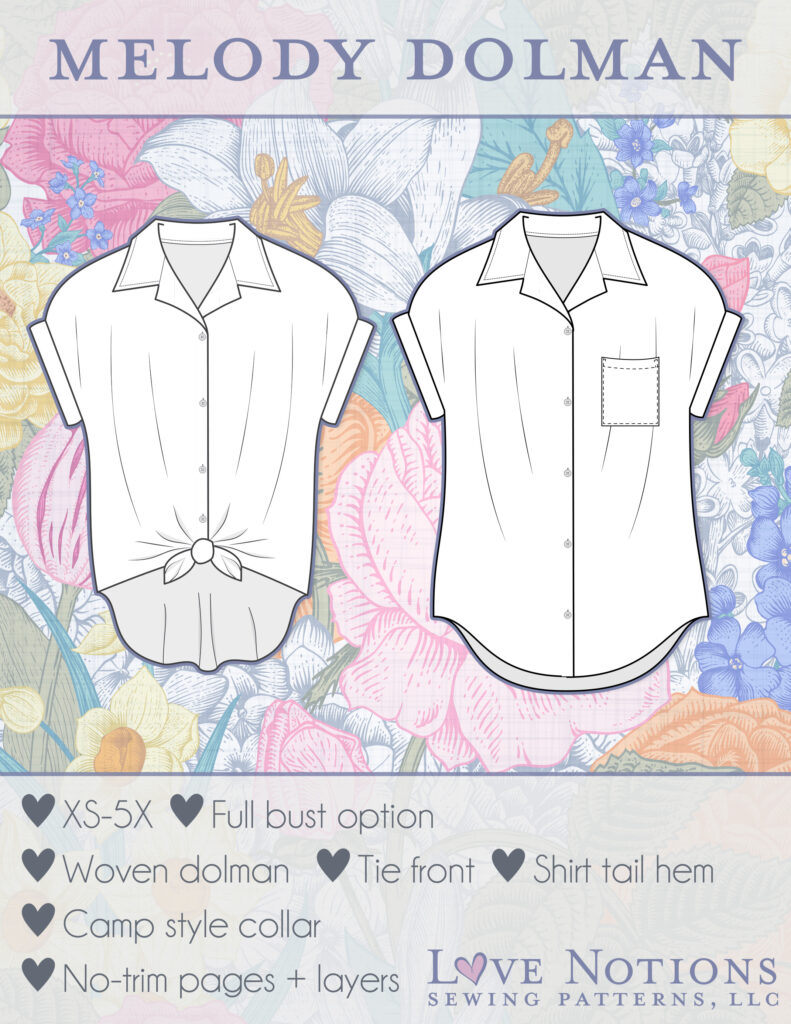
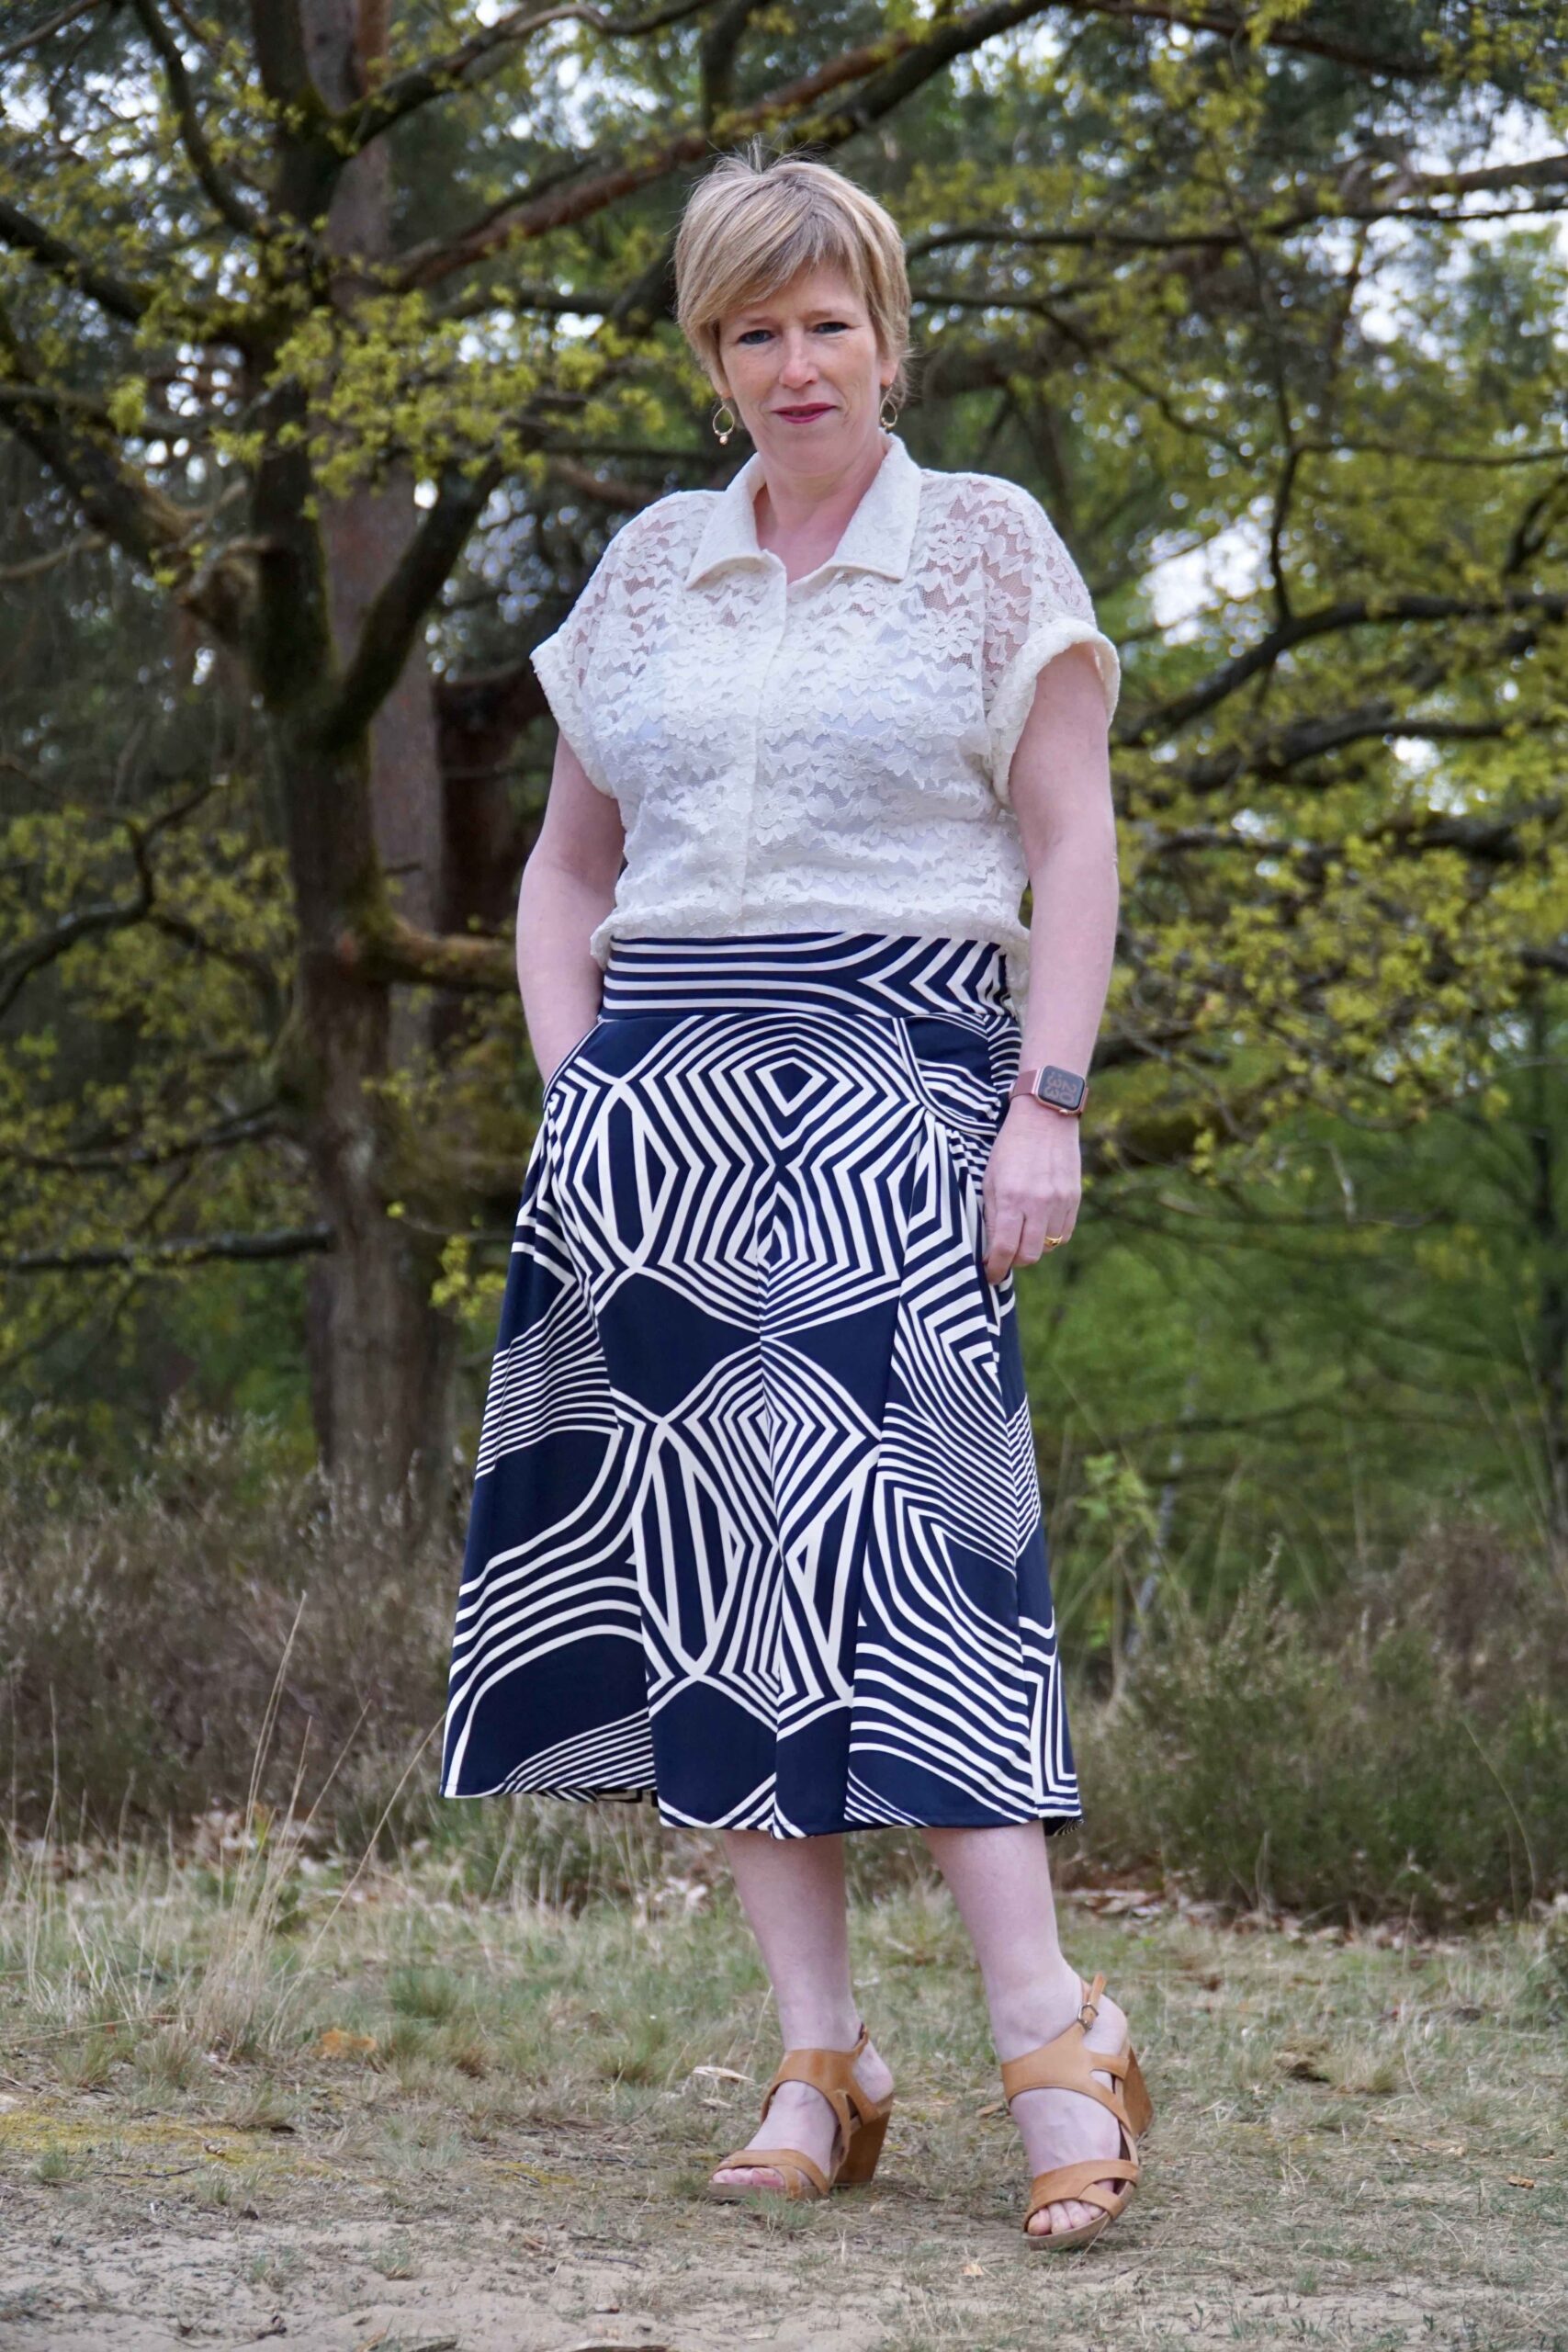
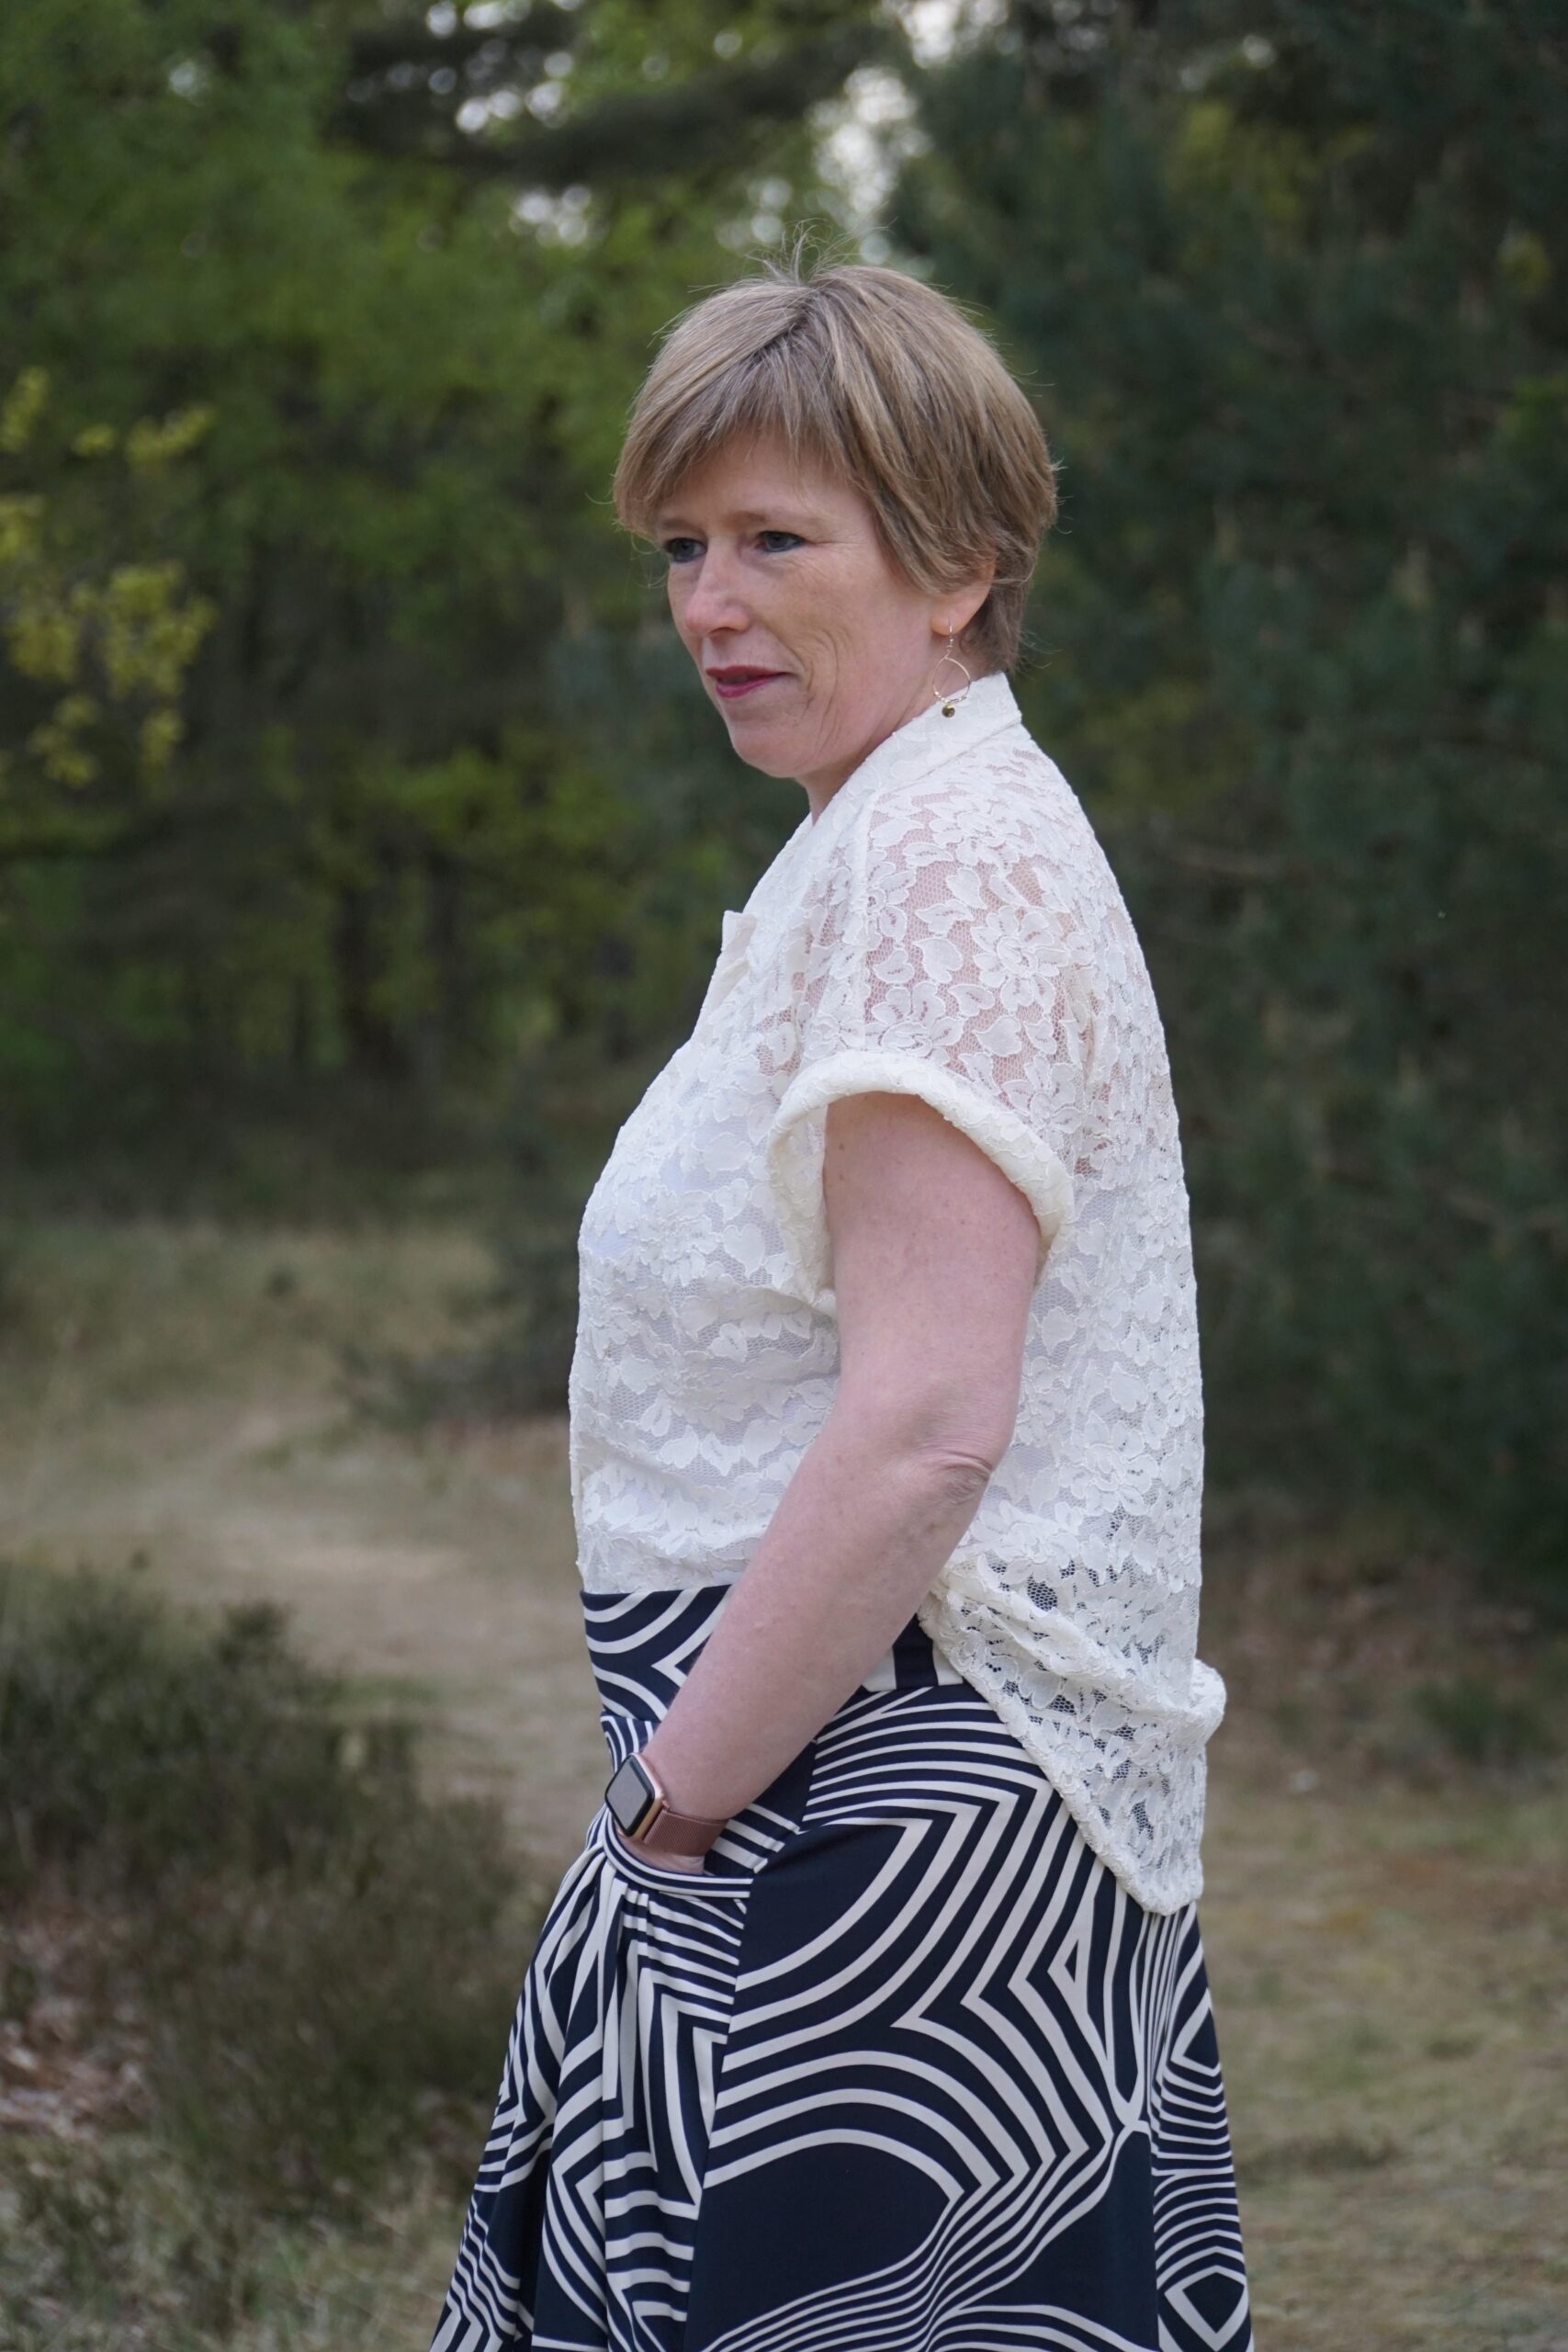
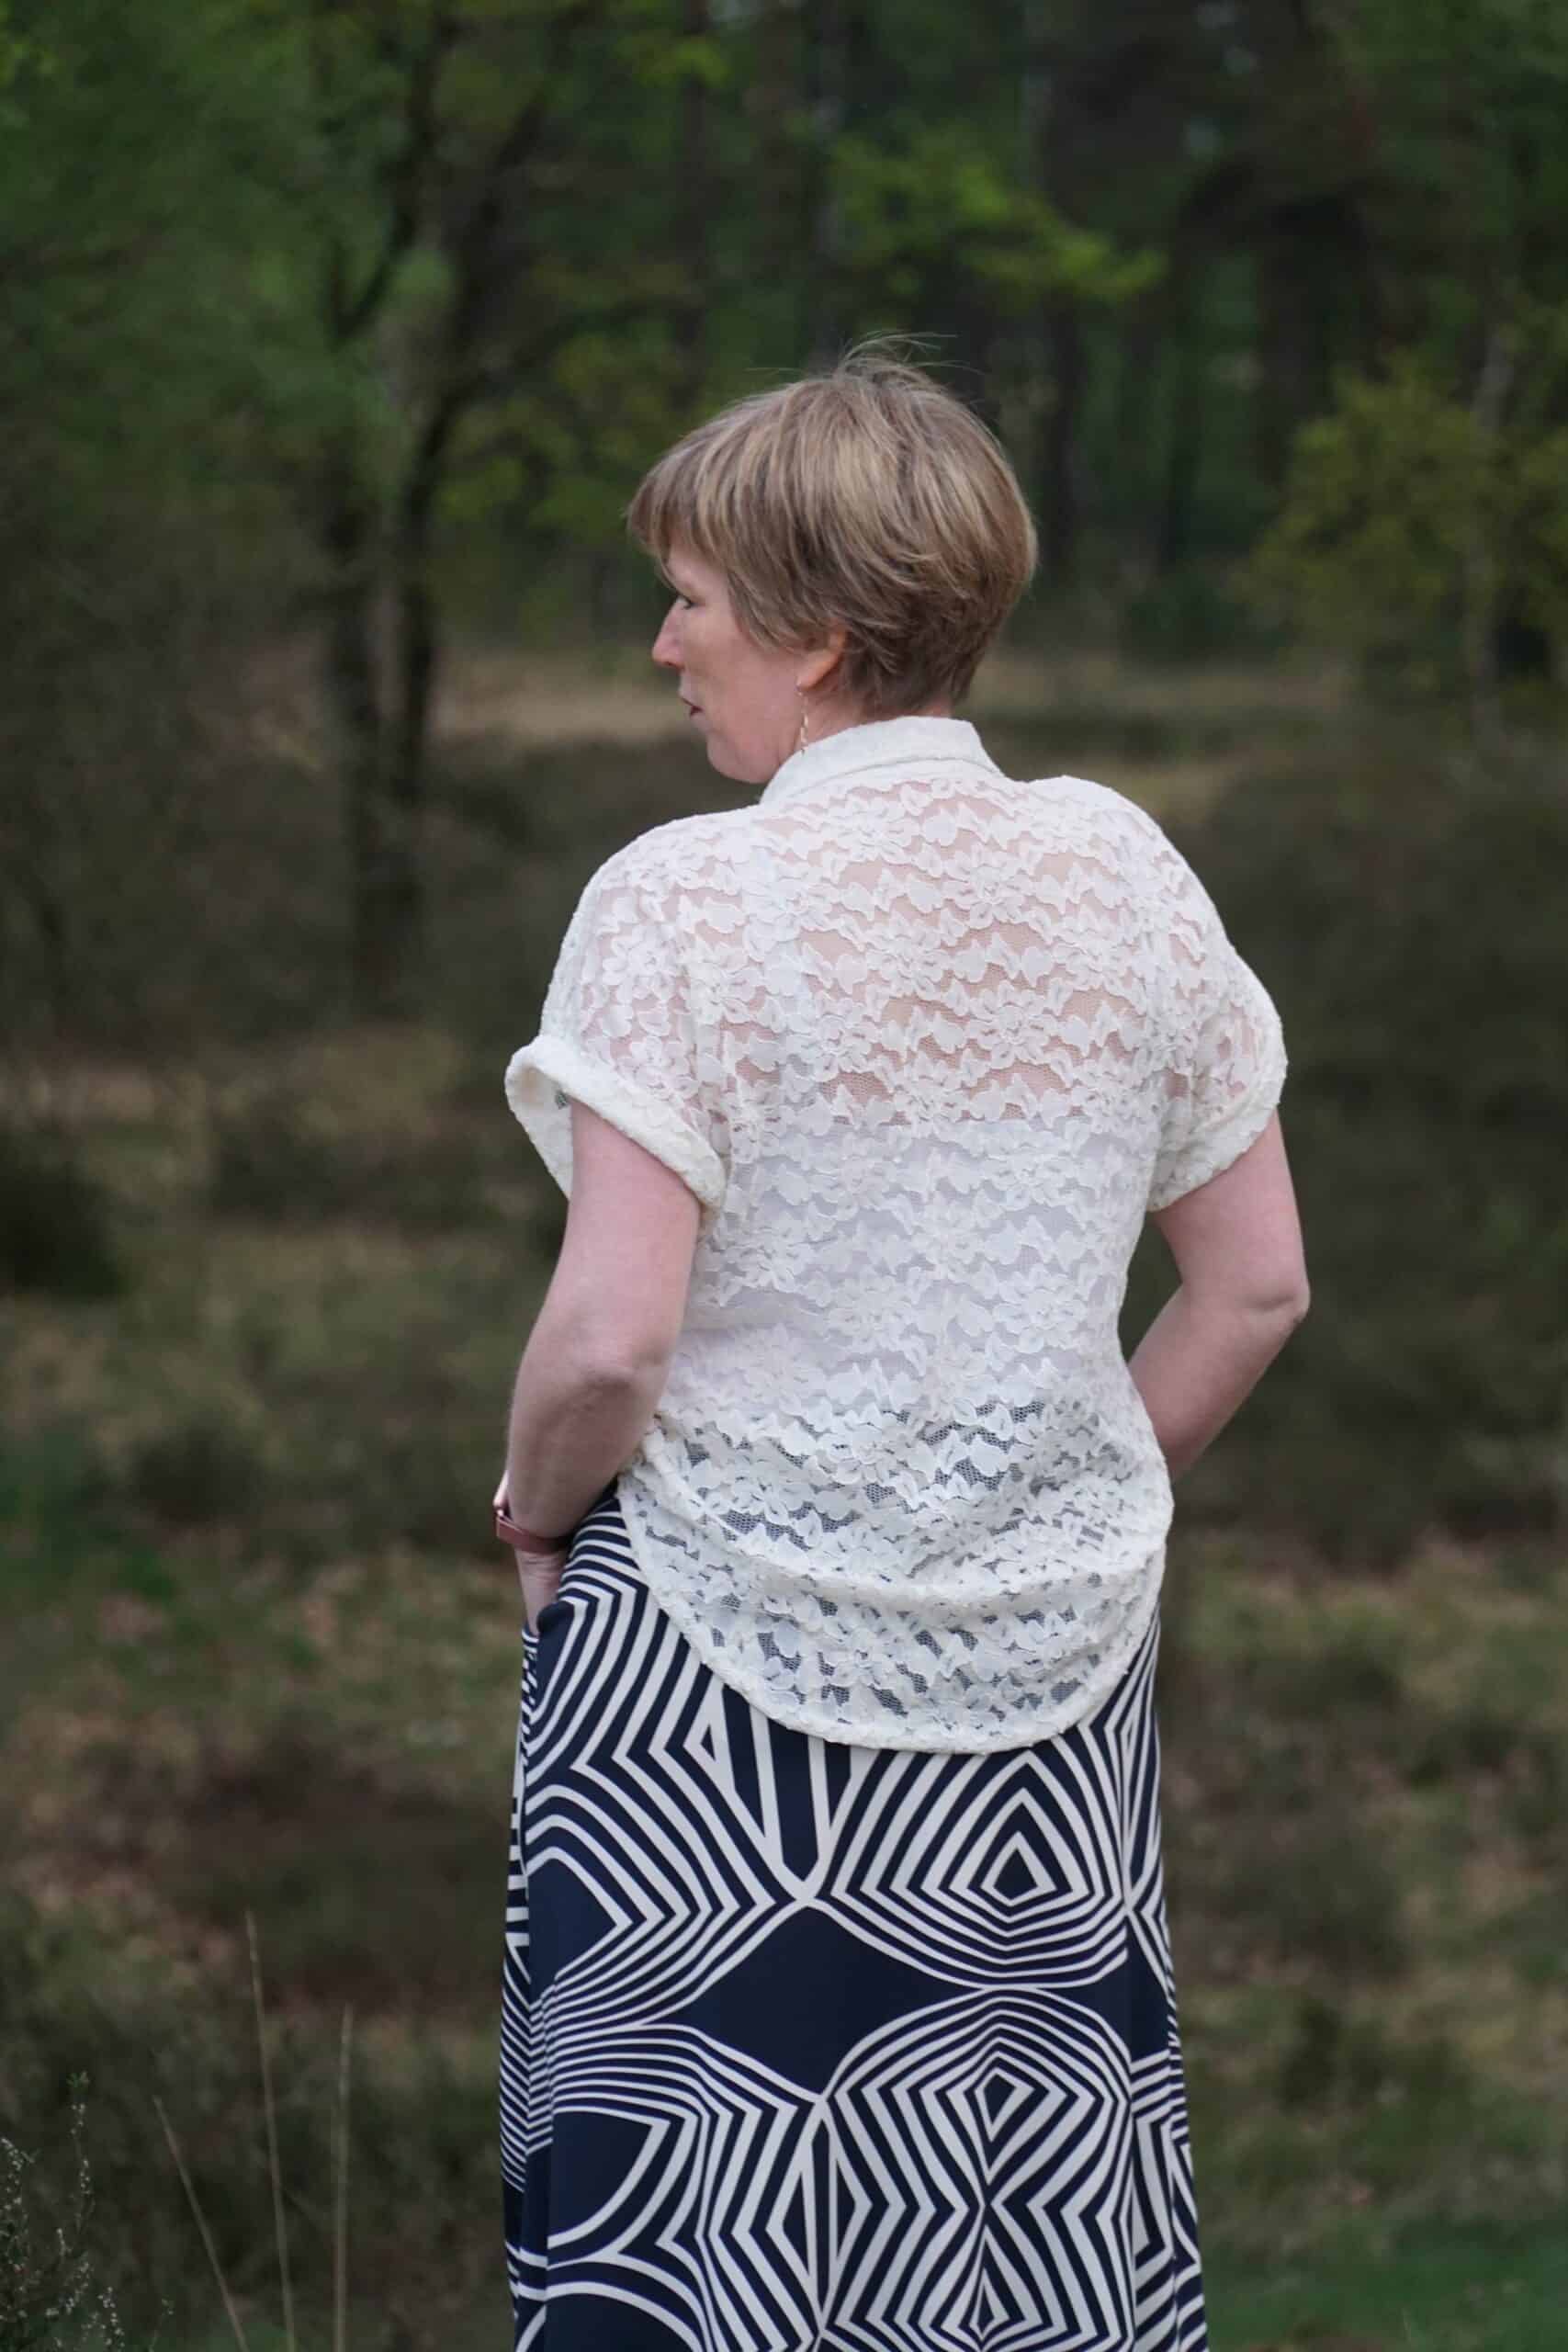
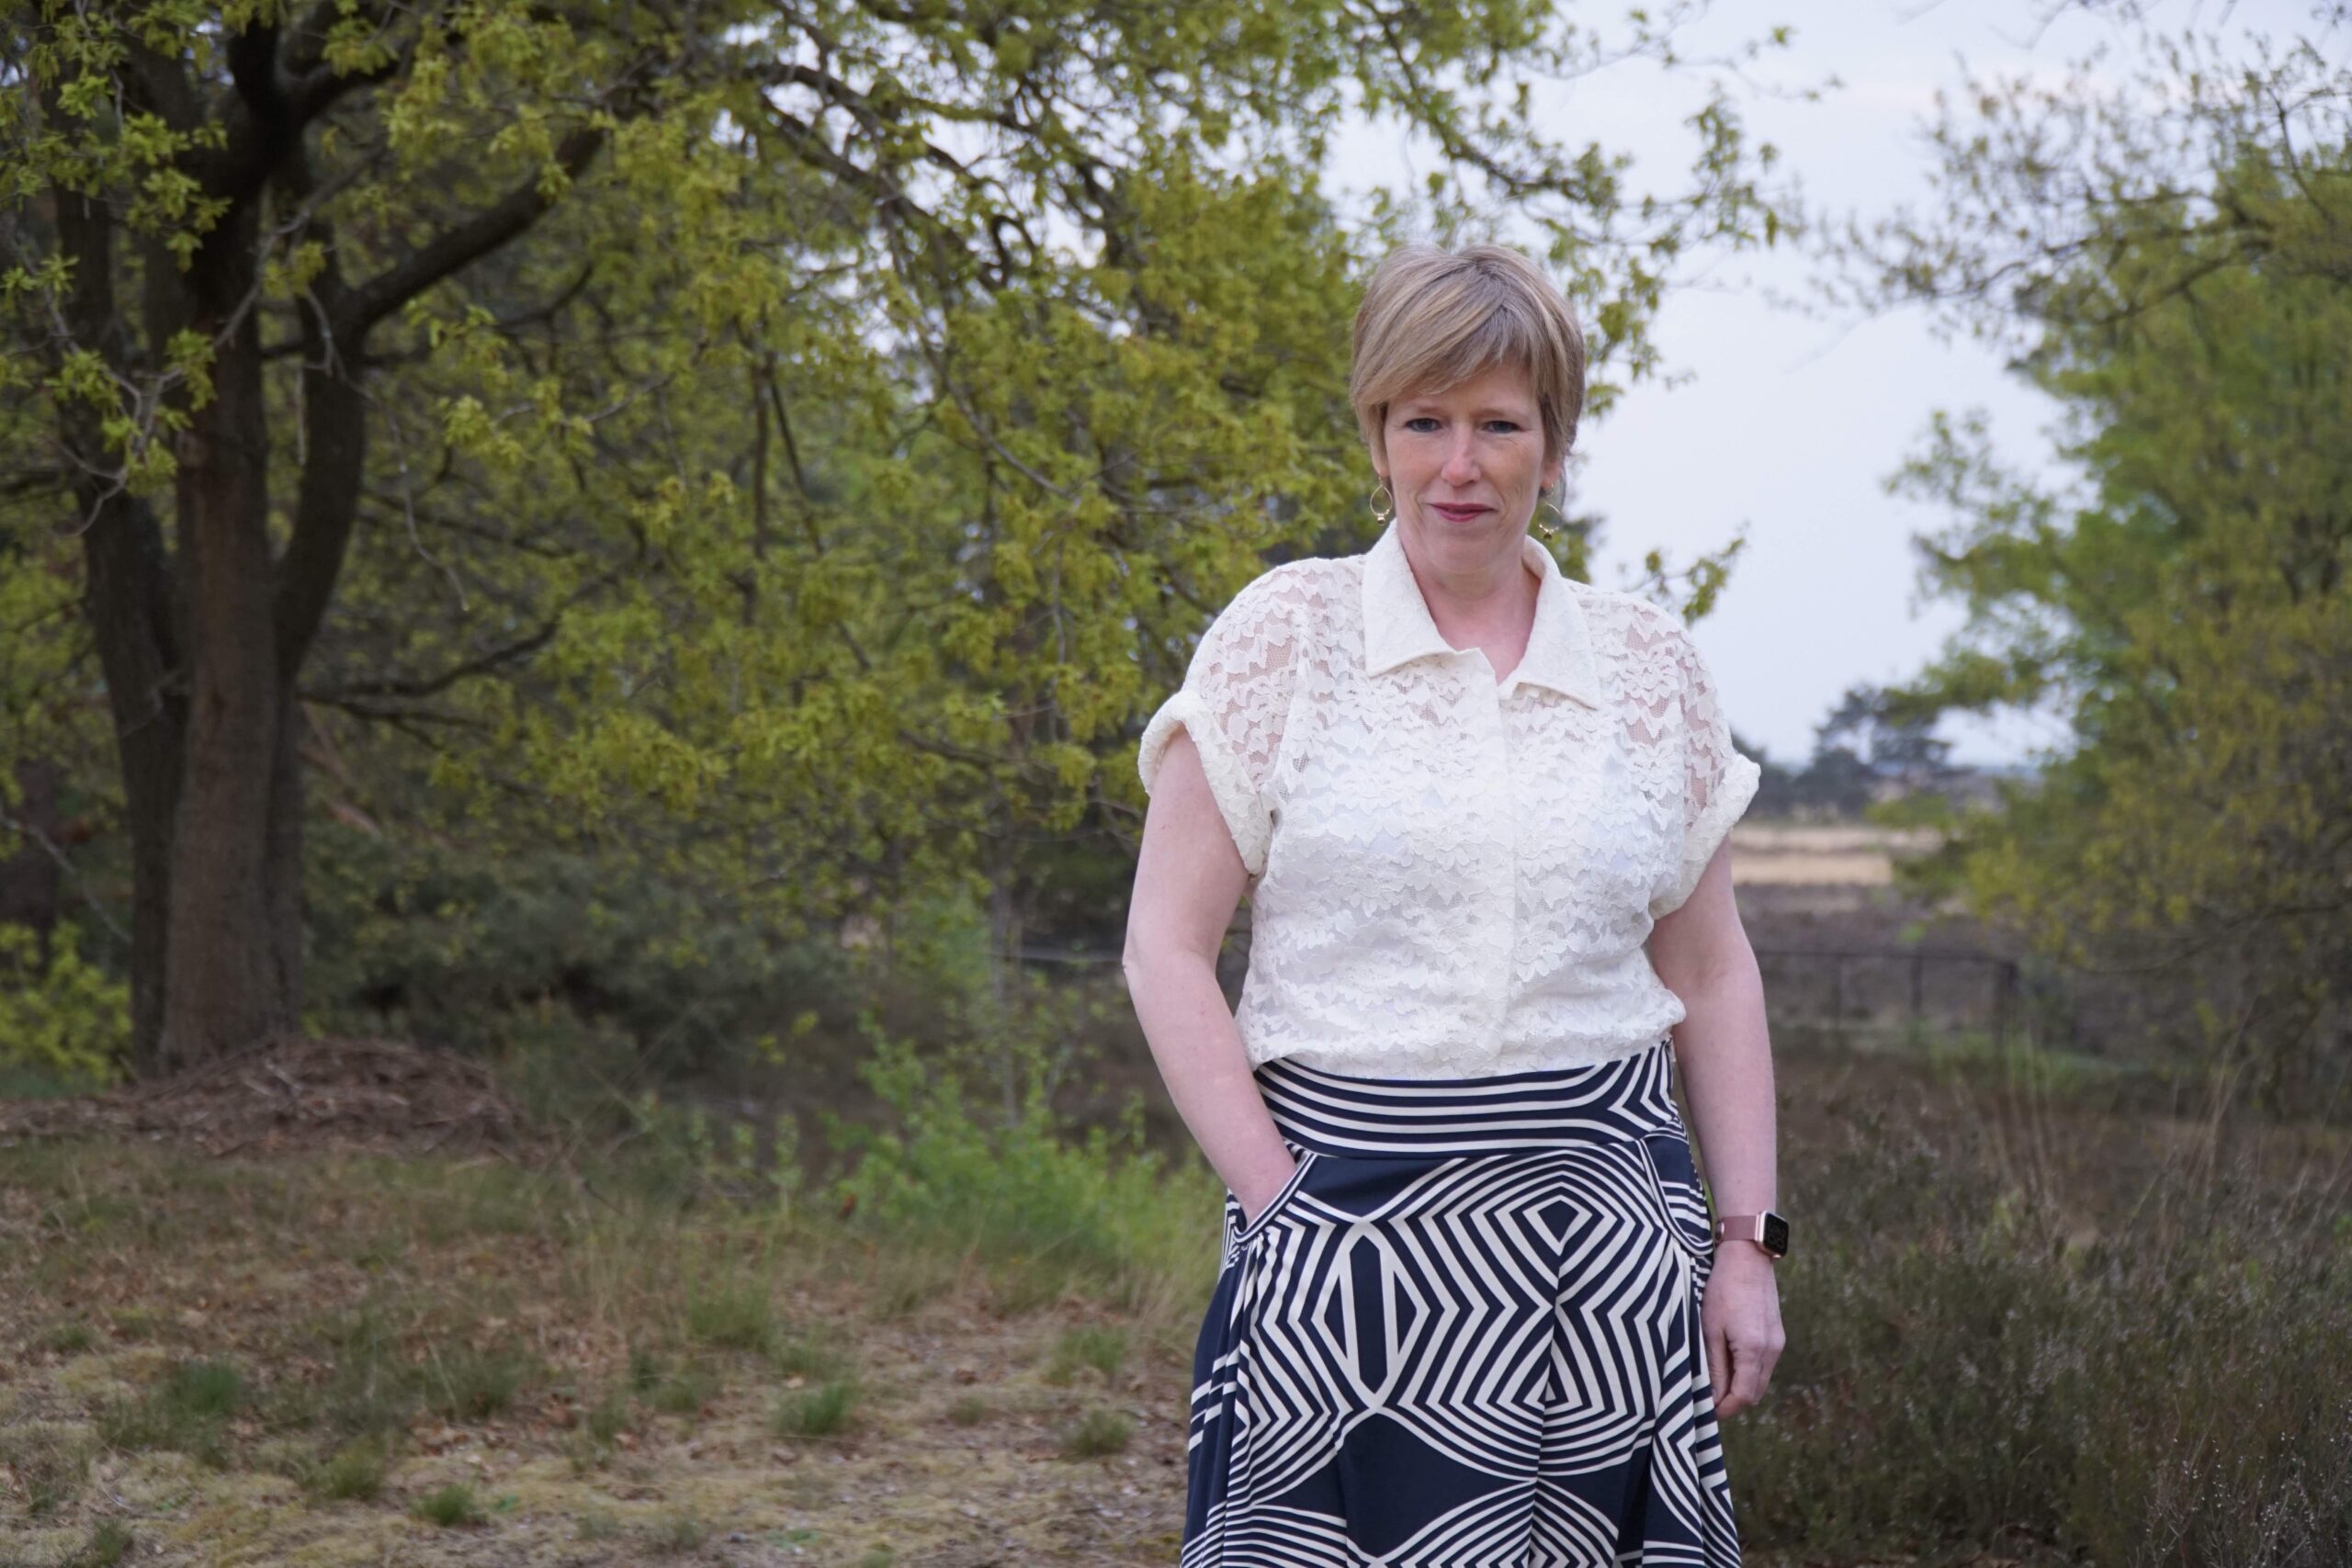
Today I will show you my lace Melody Dolman. I’ve sewn this button-down dolman with French seams and it looks so crisp! In this blog post I will explain this technique to you with step by step photos.
Double happiness because today the Melody is the Featured Friday pattern!
Let’s dive into this interesting technique!

When do we use French seams?
We use French seams on light to medium weight woven fabrics like silk, chiffon, organza, tulle and sheer lightweight delicate fabrics. You could also use it for linen seams where the edges would fray excessively.
The thicker the fabric, the more difficult it will be to apply this technique. It will be too bulky for heavier fabrics.
How much seam allowance do we need for French seams?
To make a proper French seam, you’ll want to be using a seam allowance of ½” (1,2 cm) or 5/8” (1.6 cm). It provides enough between the seam line and the cut edge of the fabric to ensure that the layers are all stitched when joining. It is also important for materials that unravel easily.
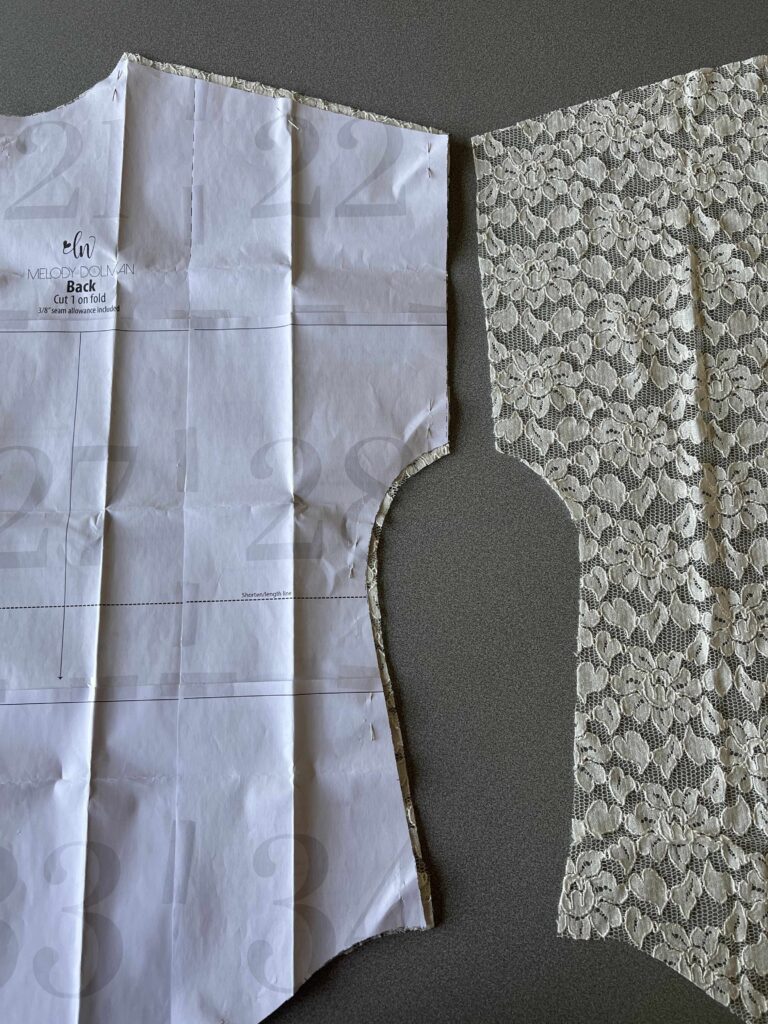
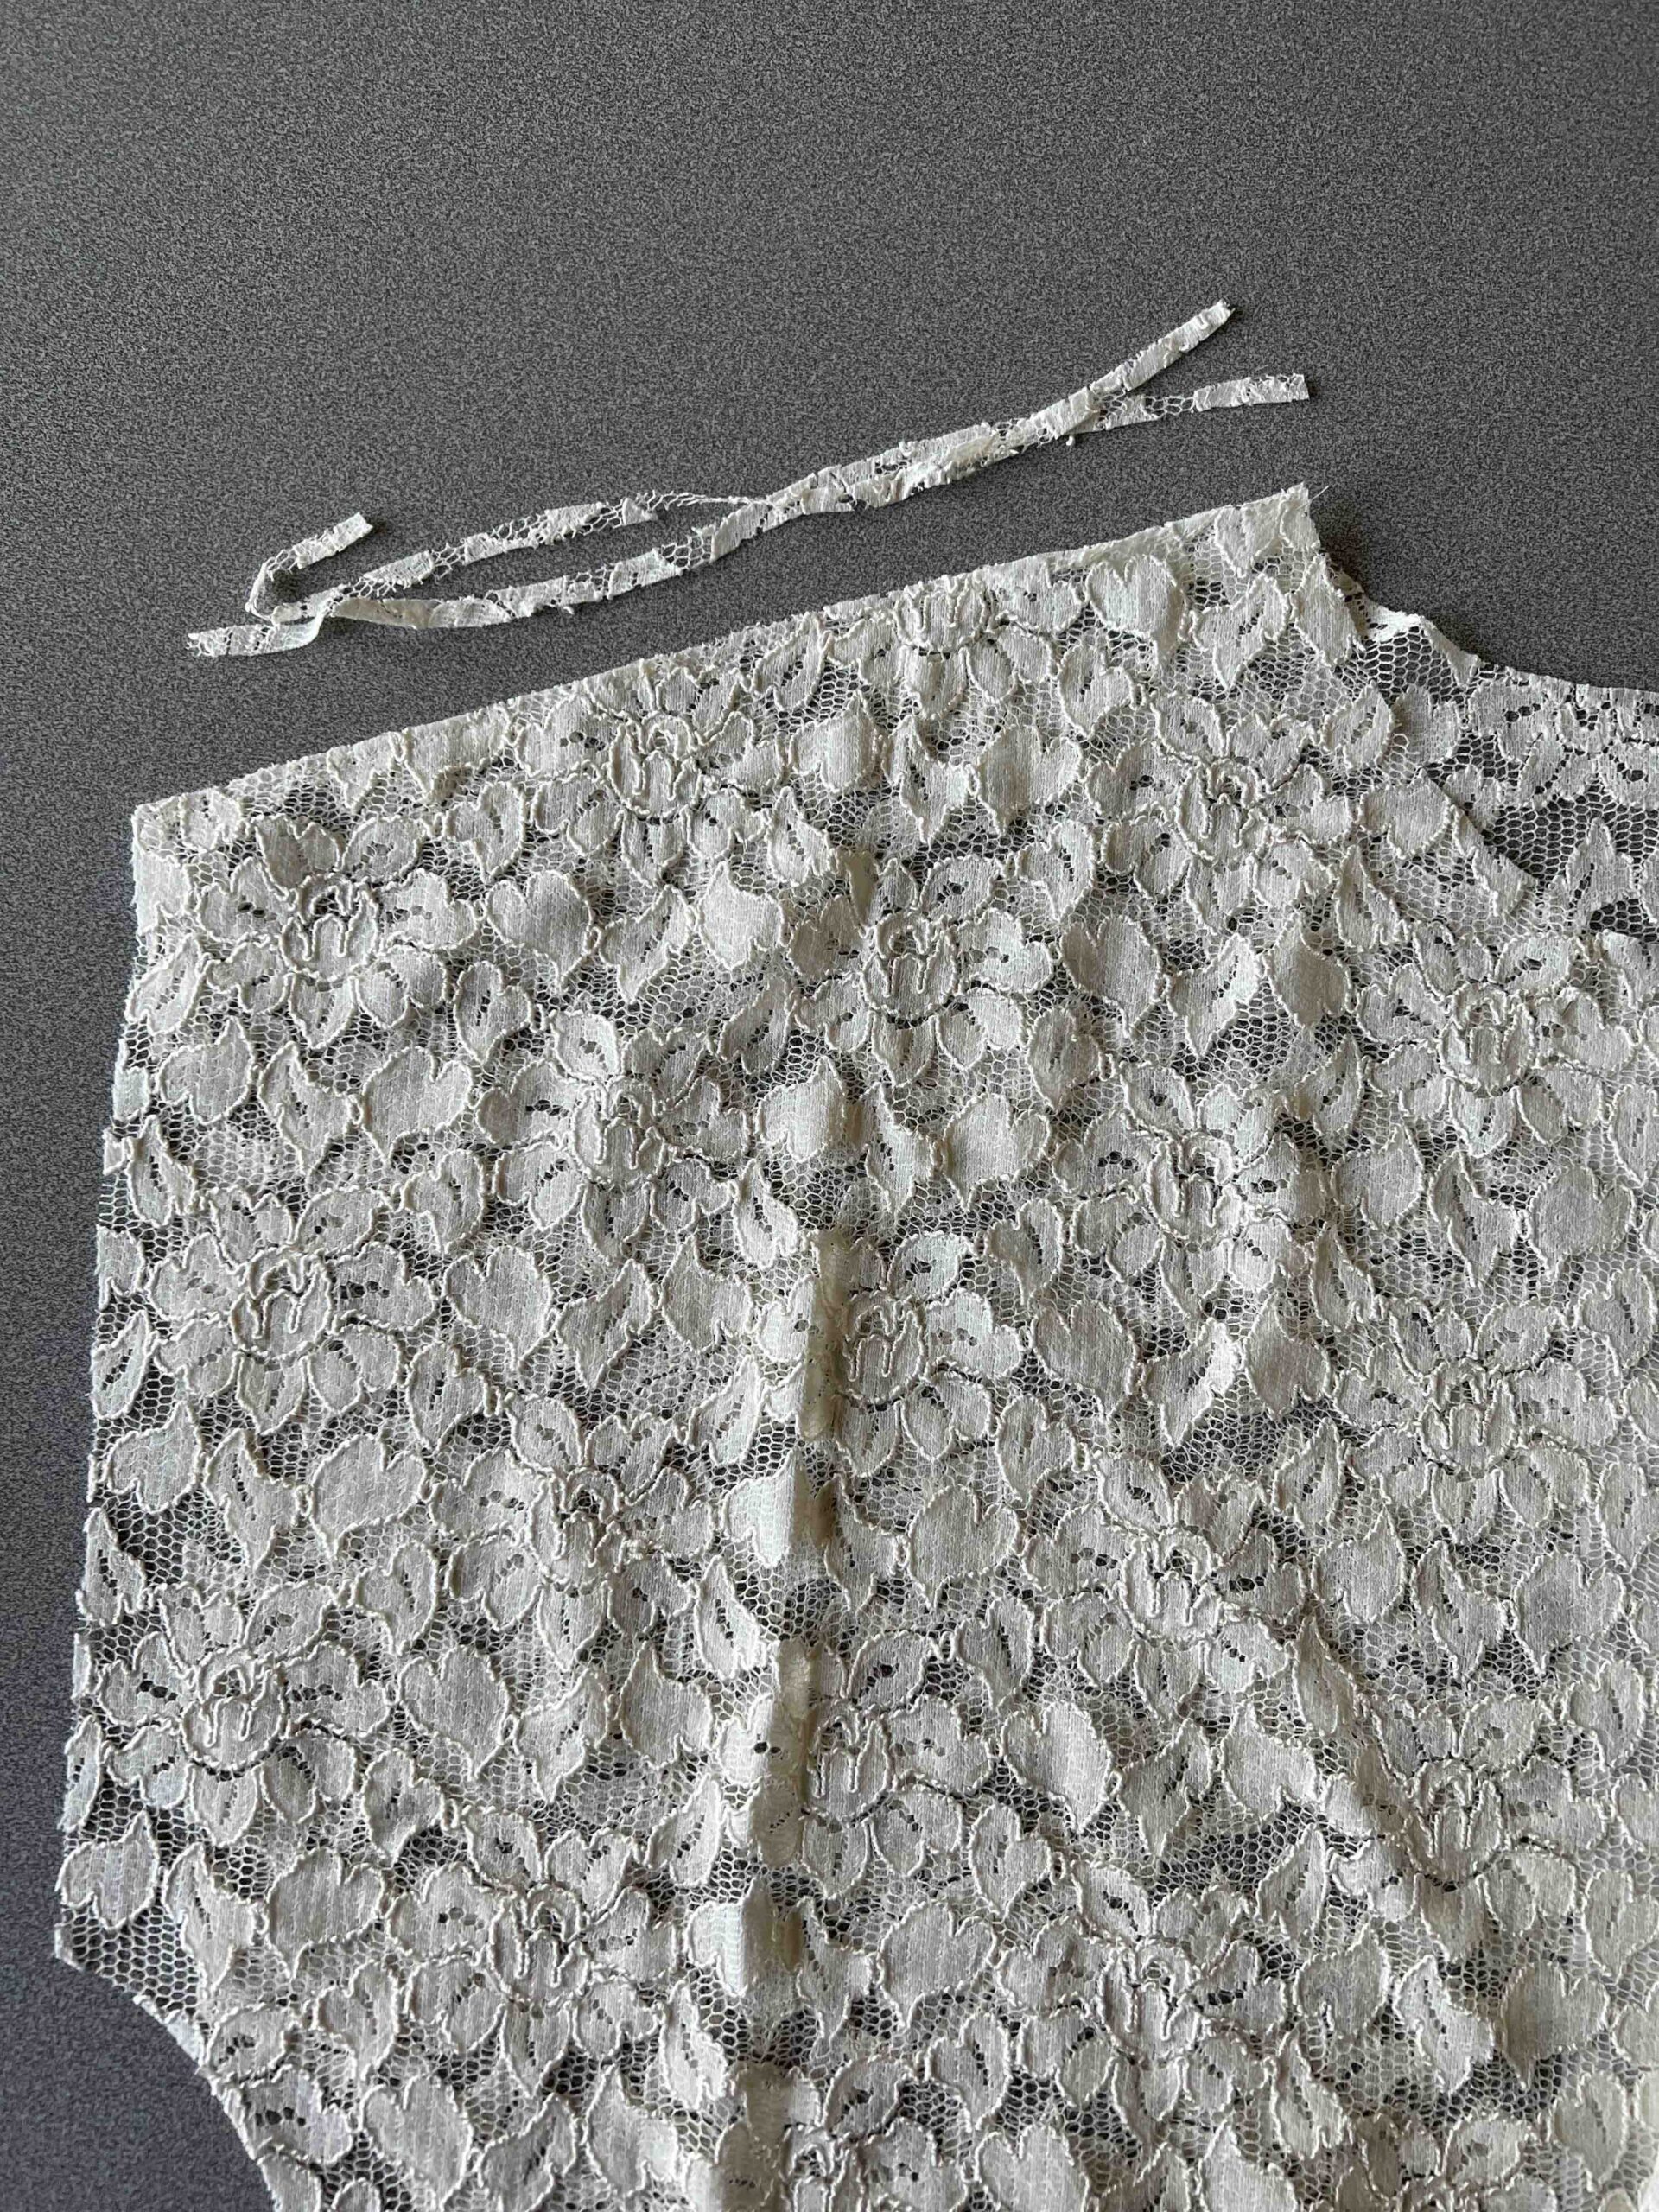
As the Love Notions’ patterns have an ⅜” seam allowance on woven (and knit patterns), you need to re-trace your pattern piece and add the necessary measurement before cutting out the fabric. Here you see how I added more seam allowance at the sides and shoulder of my Melody Dolman top.
How to sew French Seams?
French Seams are mostly sewn on straight seams but it’s also doable on slightly curved seams.
The difference between a regular seam and a French seam is that normally you would start with RIGHT sides together to stitch a seam. With French seams you start with WRONG sides together.
IMPORTANT:
Before starting you need to add the extra dimensions as I said above on your side seams (sleeve head and armhole opening).
The steps below will explain how to implement French seams on your side seams and your sleeves.
If you want to complete only your side seams with the French seams technique, you can do so with a seam value of 1/2″ (1.2 cm), but if you want to finish both your side seams and (inserted) sleeves with this technique I would opt for a seam value of 5/8″ (1.5 cm) for everything because it needs more precision and will be more successful with a 5/8″ (1.5 cm) seam value.
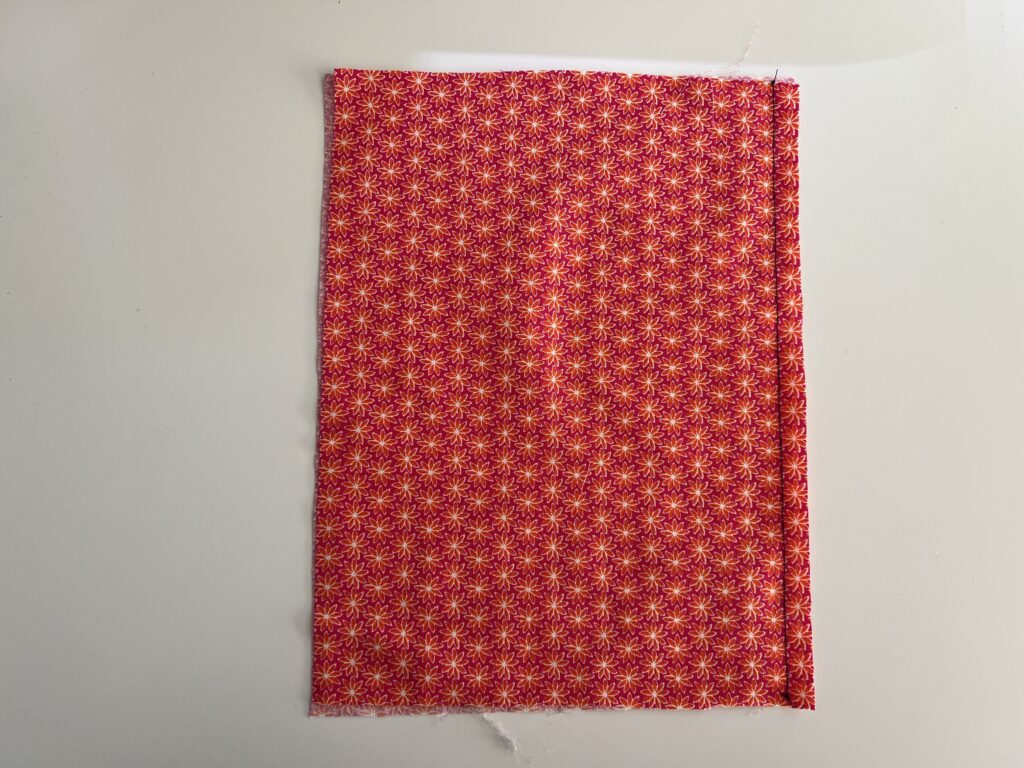
Step 1 : Sew the seam
Turn your top right side out.
Pin the wrong sides of your fabric together.
If you use a ½ “ (12mm) seam allowance you need to sew at ¼ inch (6mm) from the edge. For a ⅝ inch (1.5 cm) seam allowance, sew at ⅜ inch (10mm) from the edge.
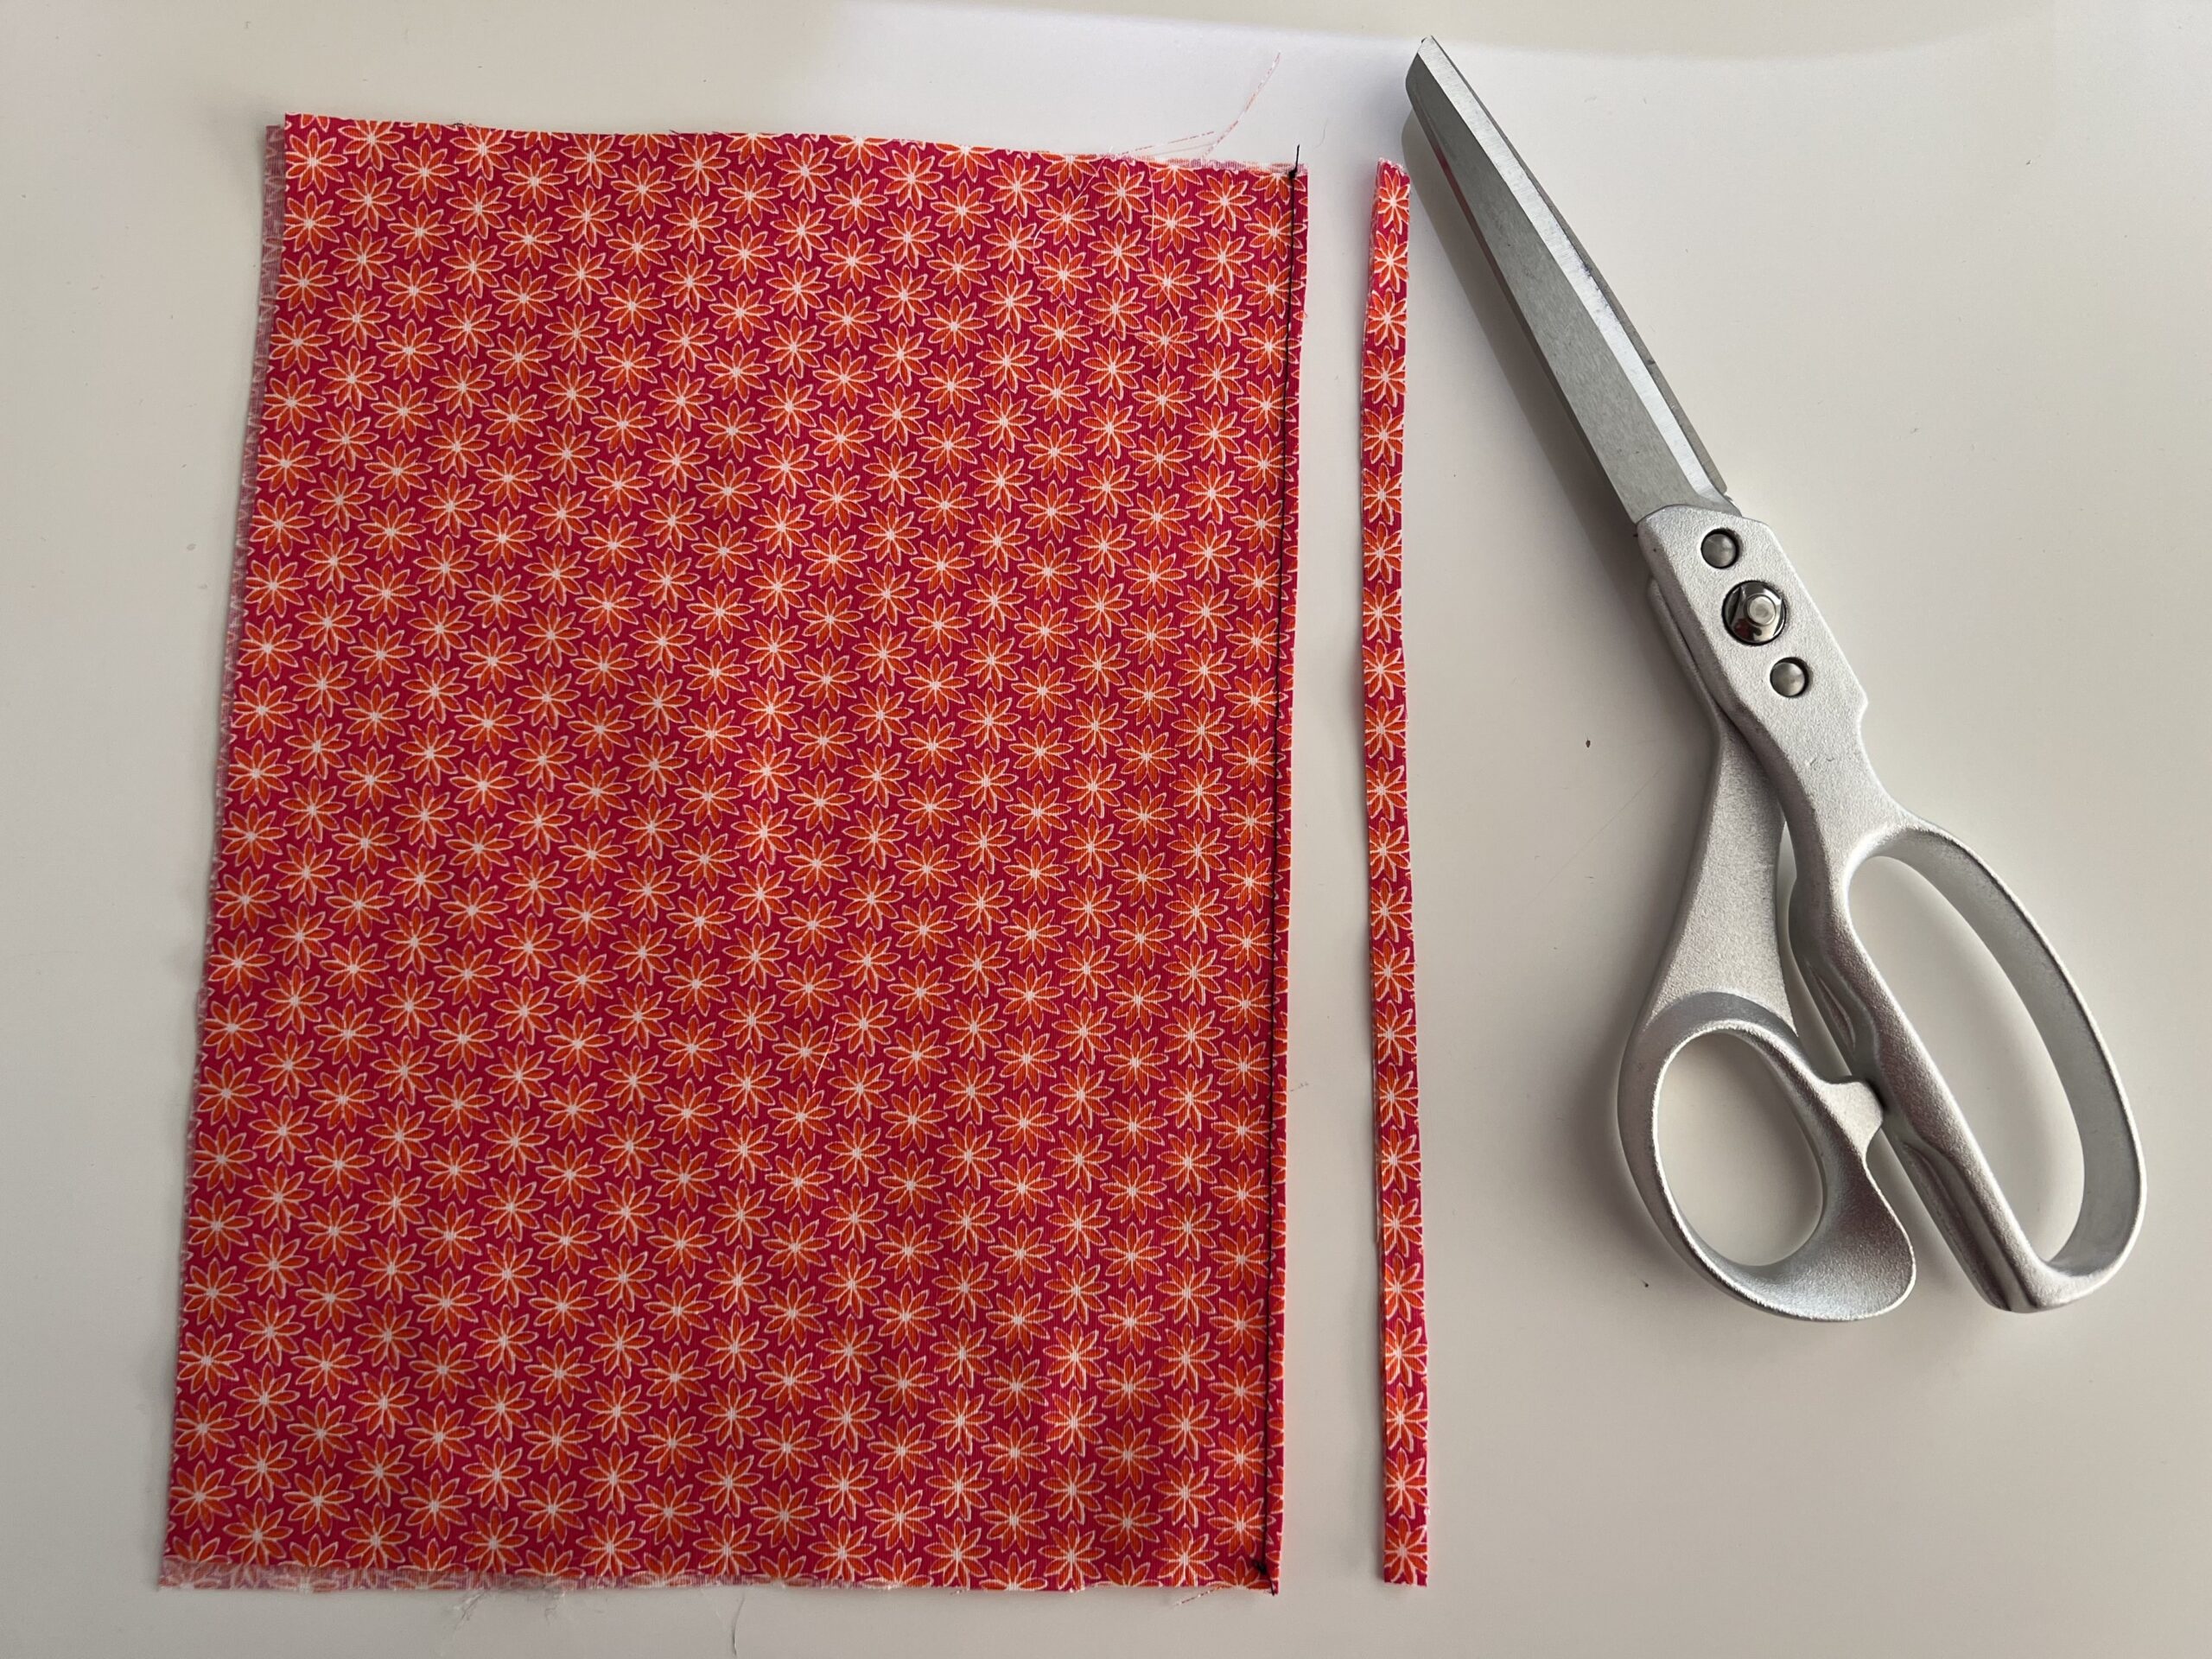
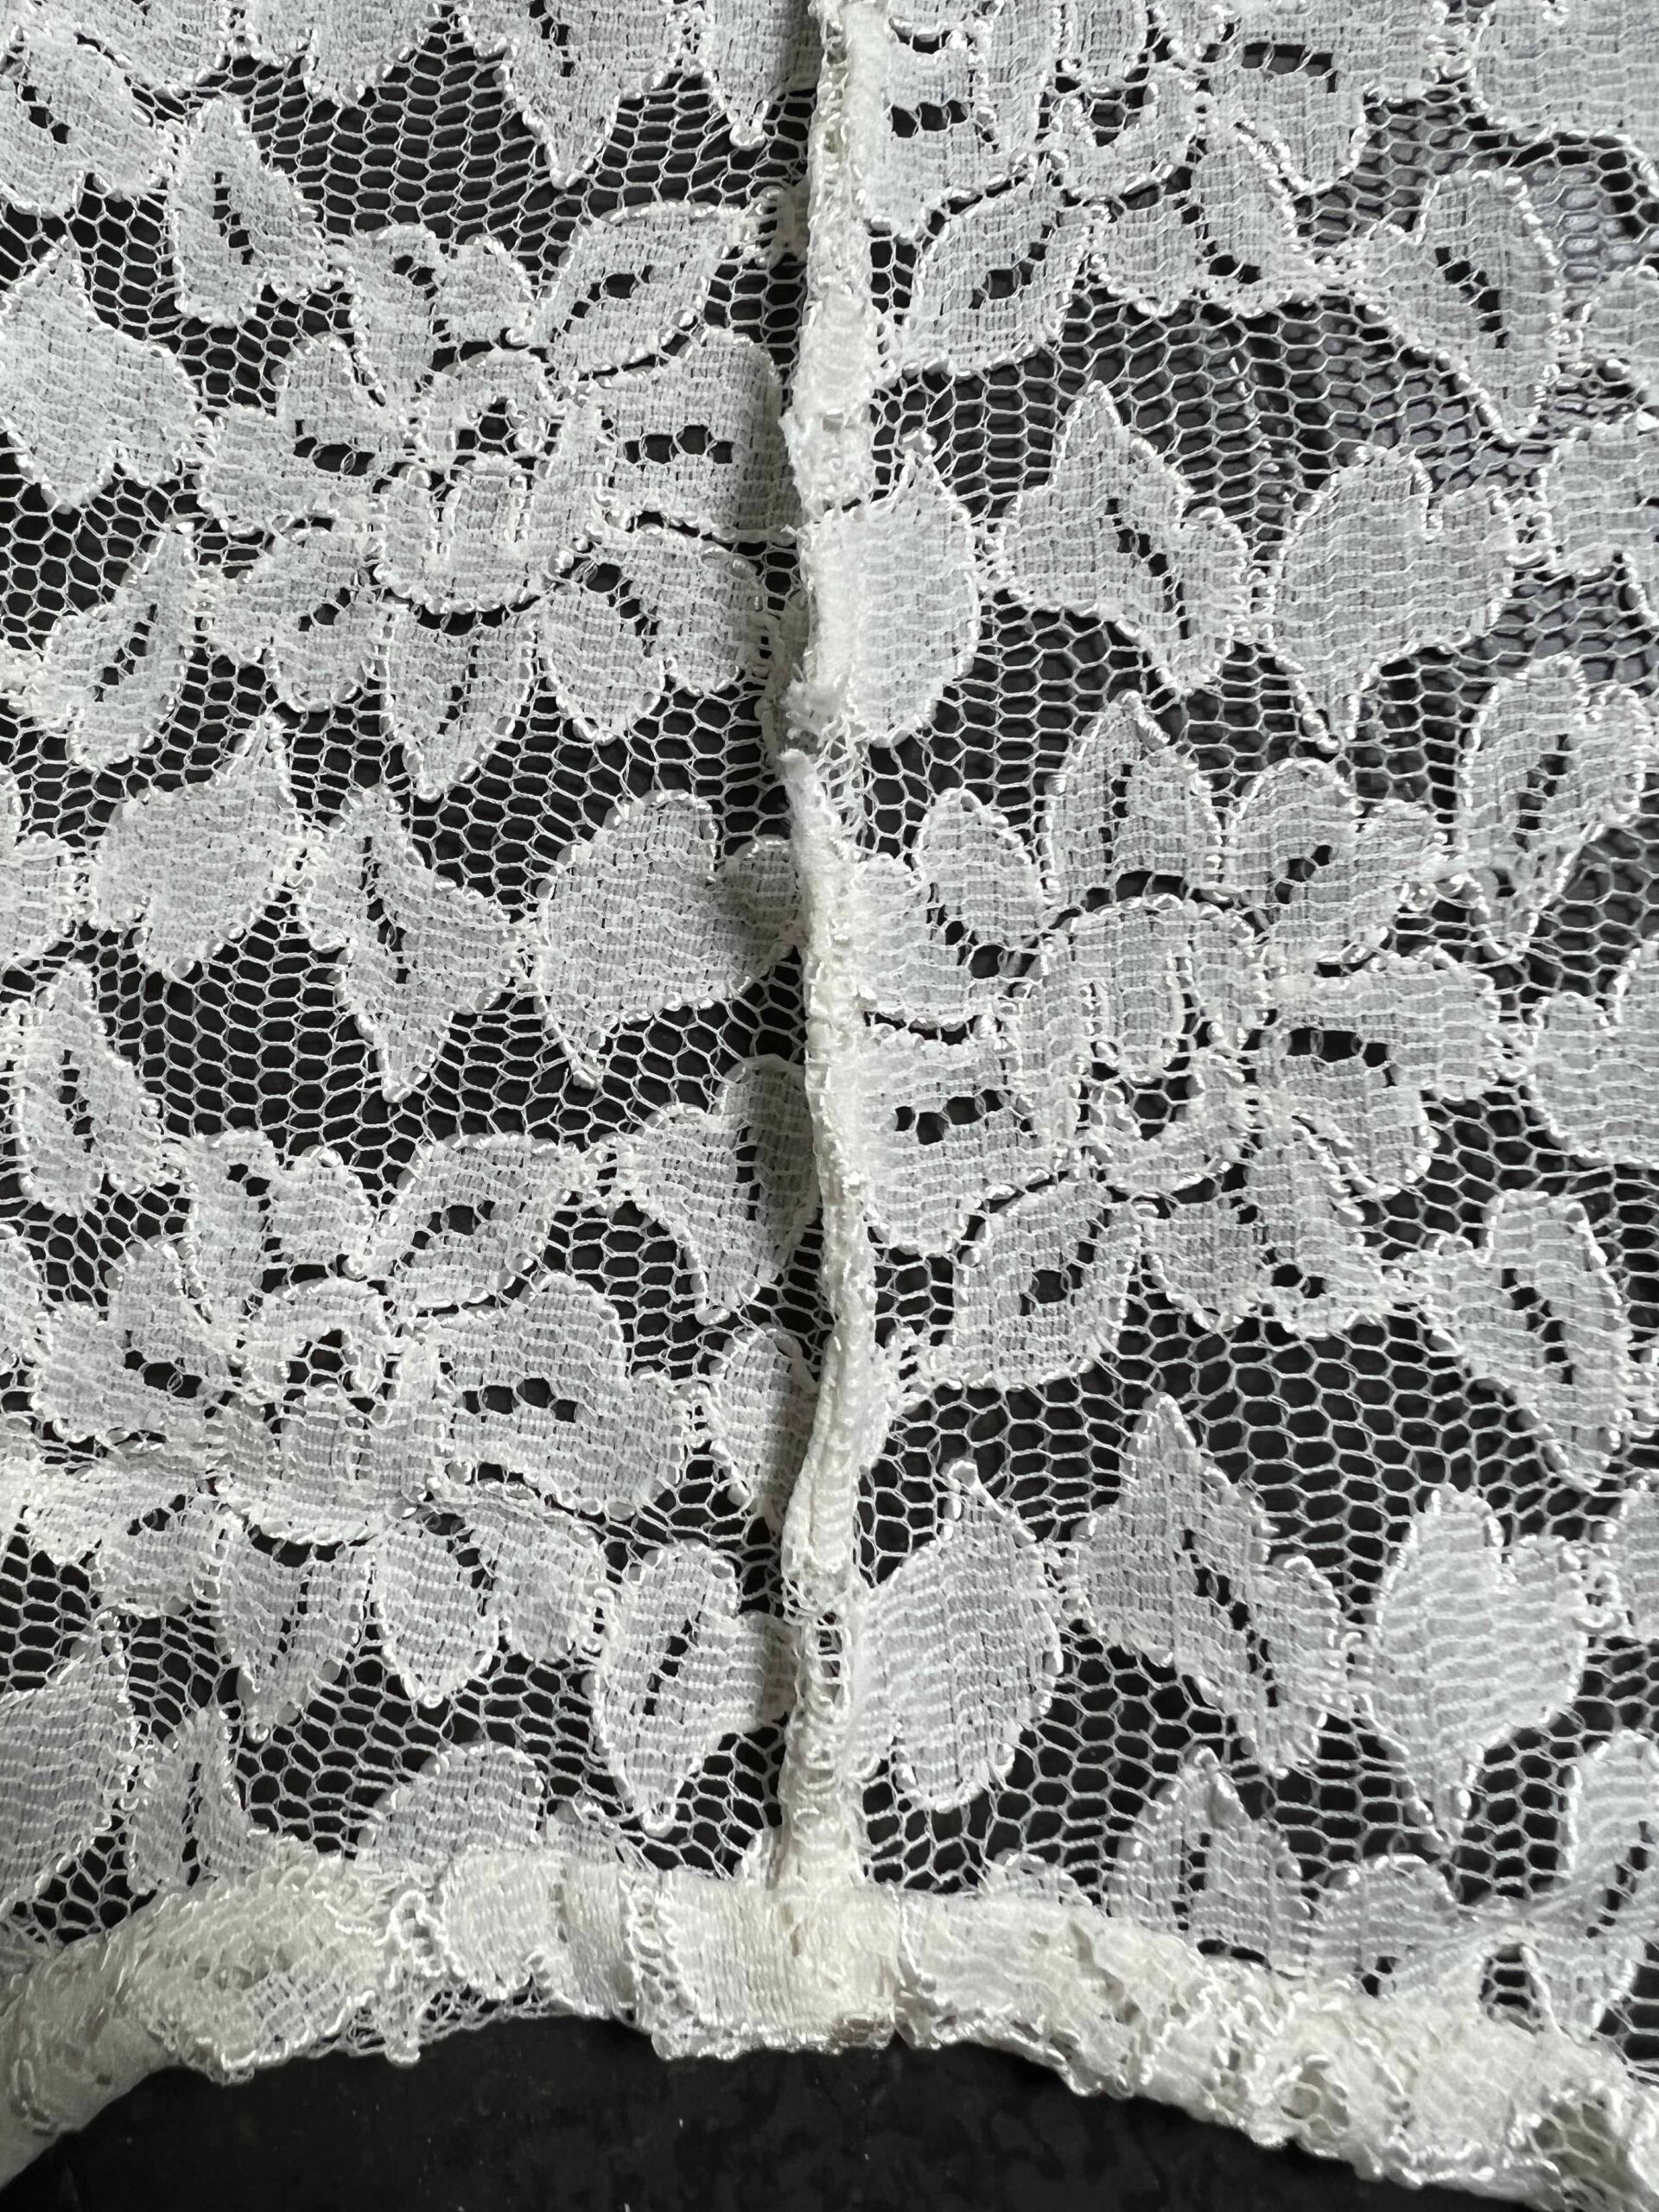
Step 2: Trim the French seams
Trim the seam allowance to ⅛ inch (3mm). Use sharp scissors to get a nice clean edge. If the seam allowances are not trimmed small enough, they will protrude through the final seam.
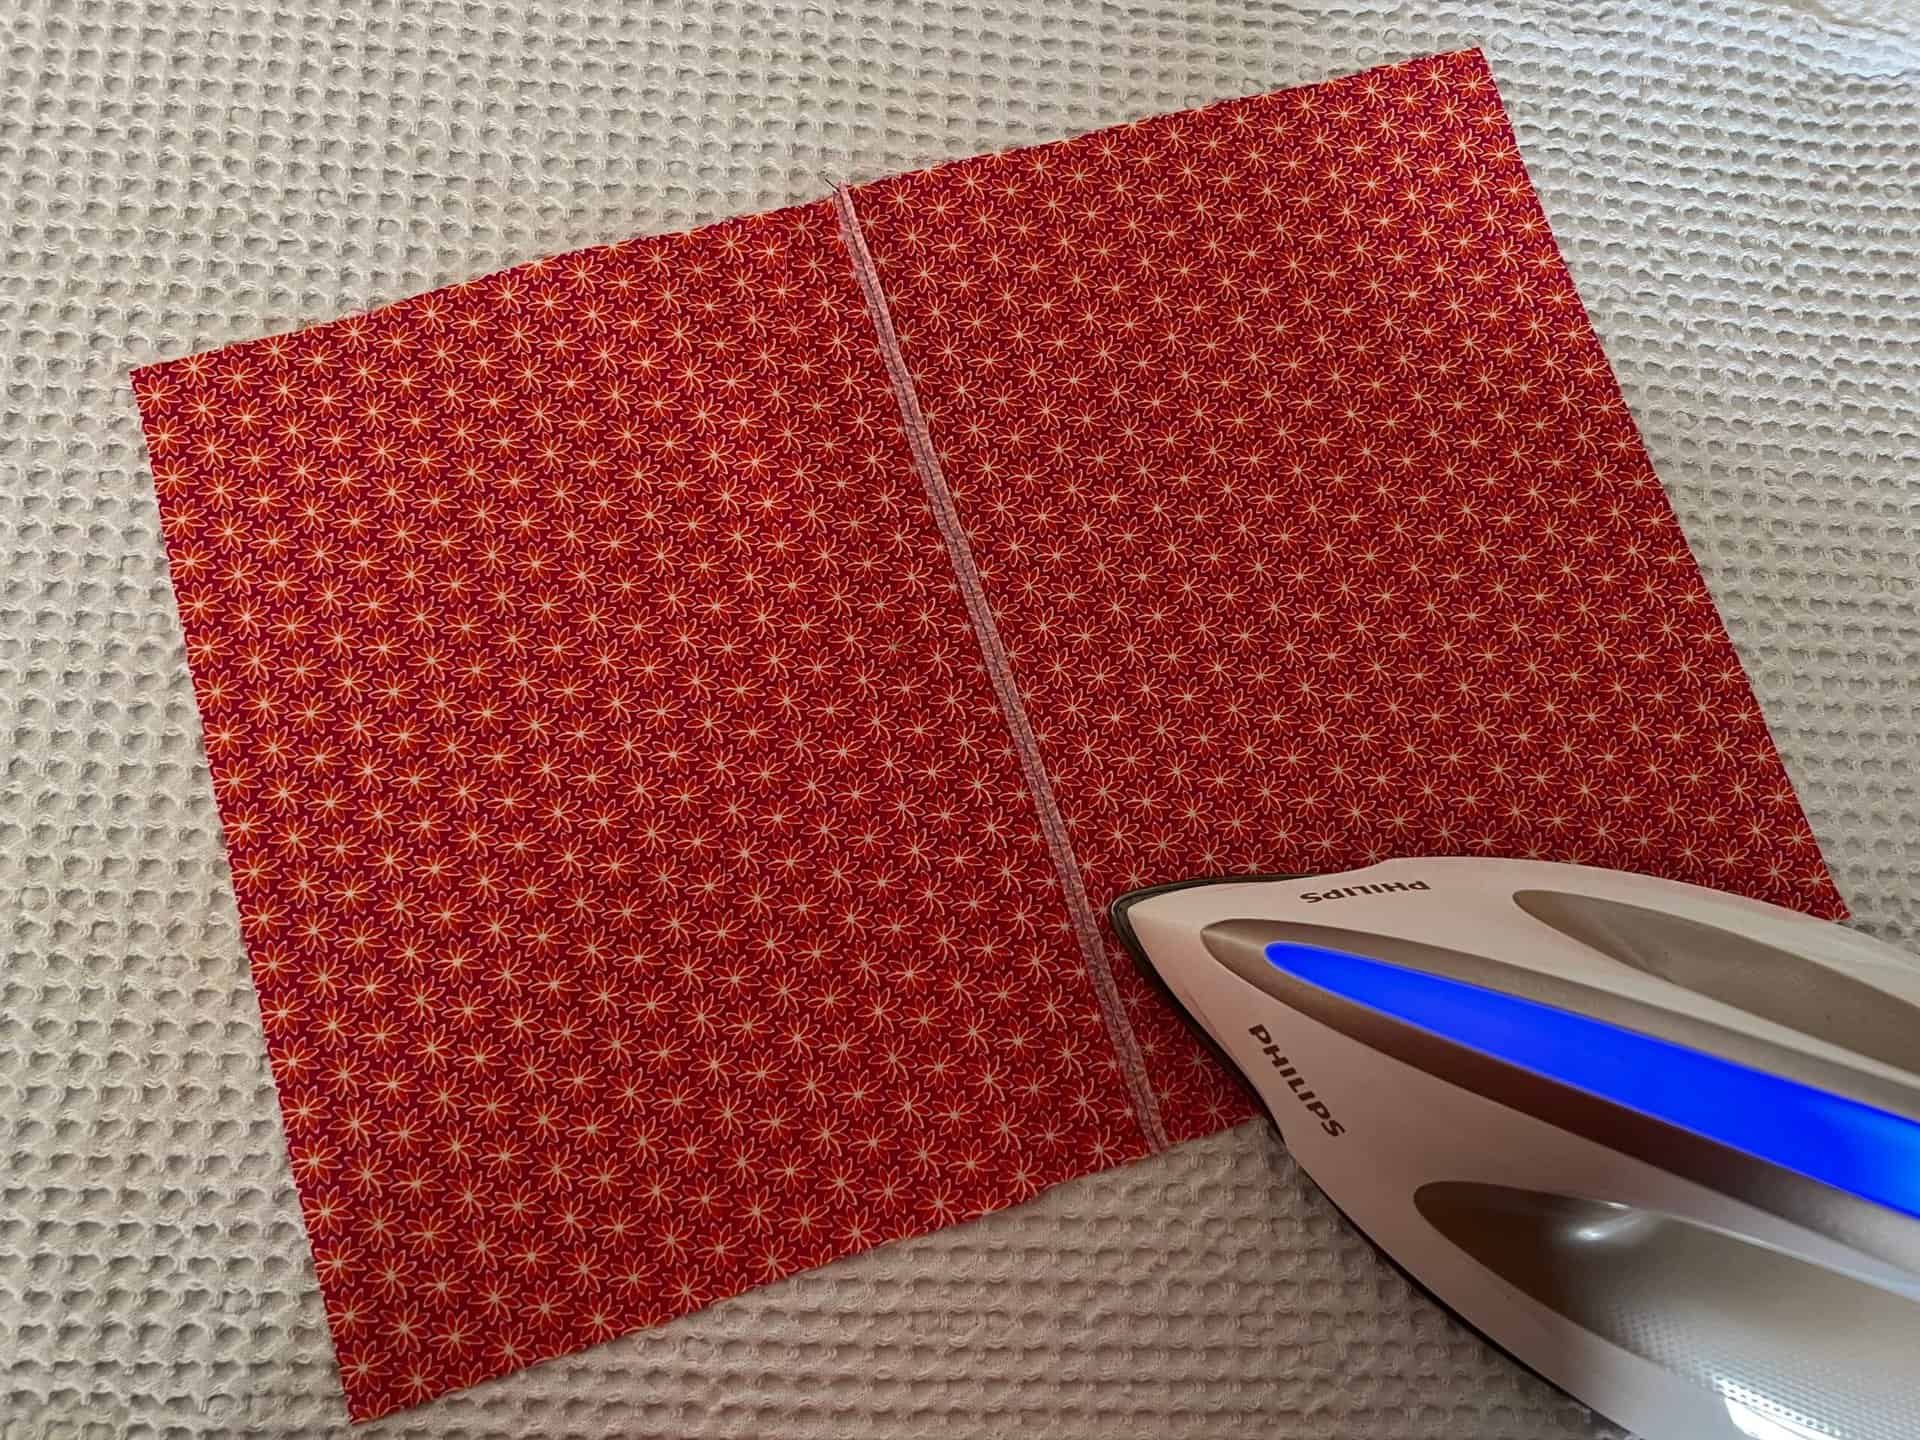
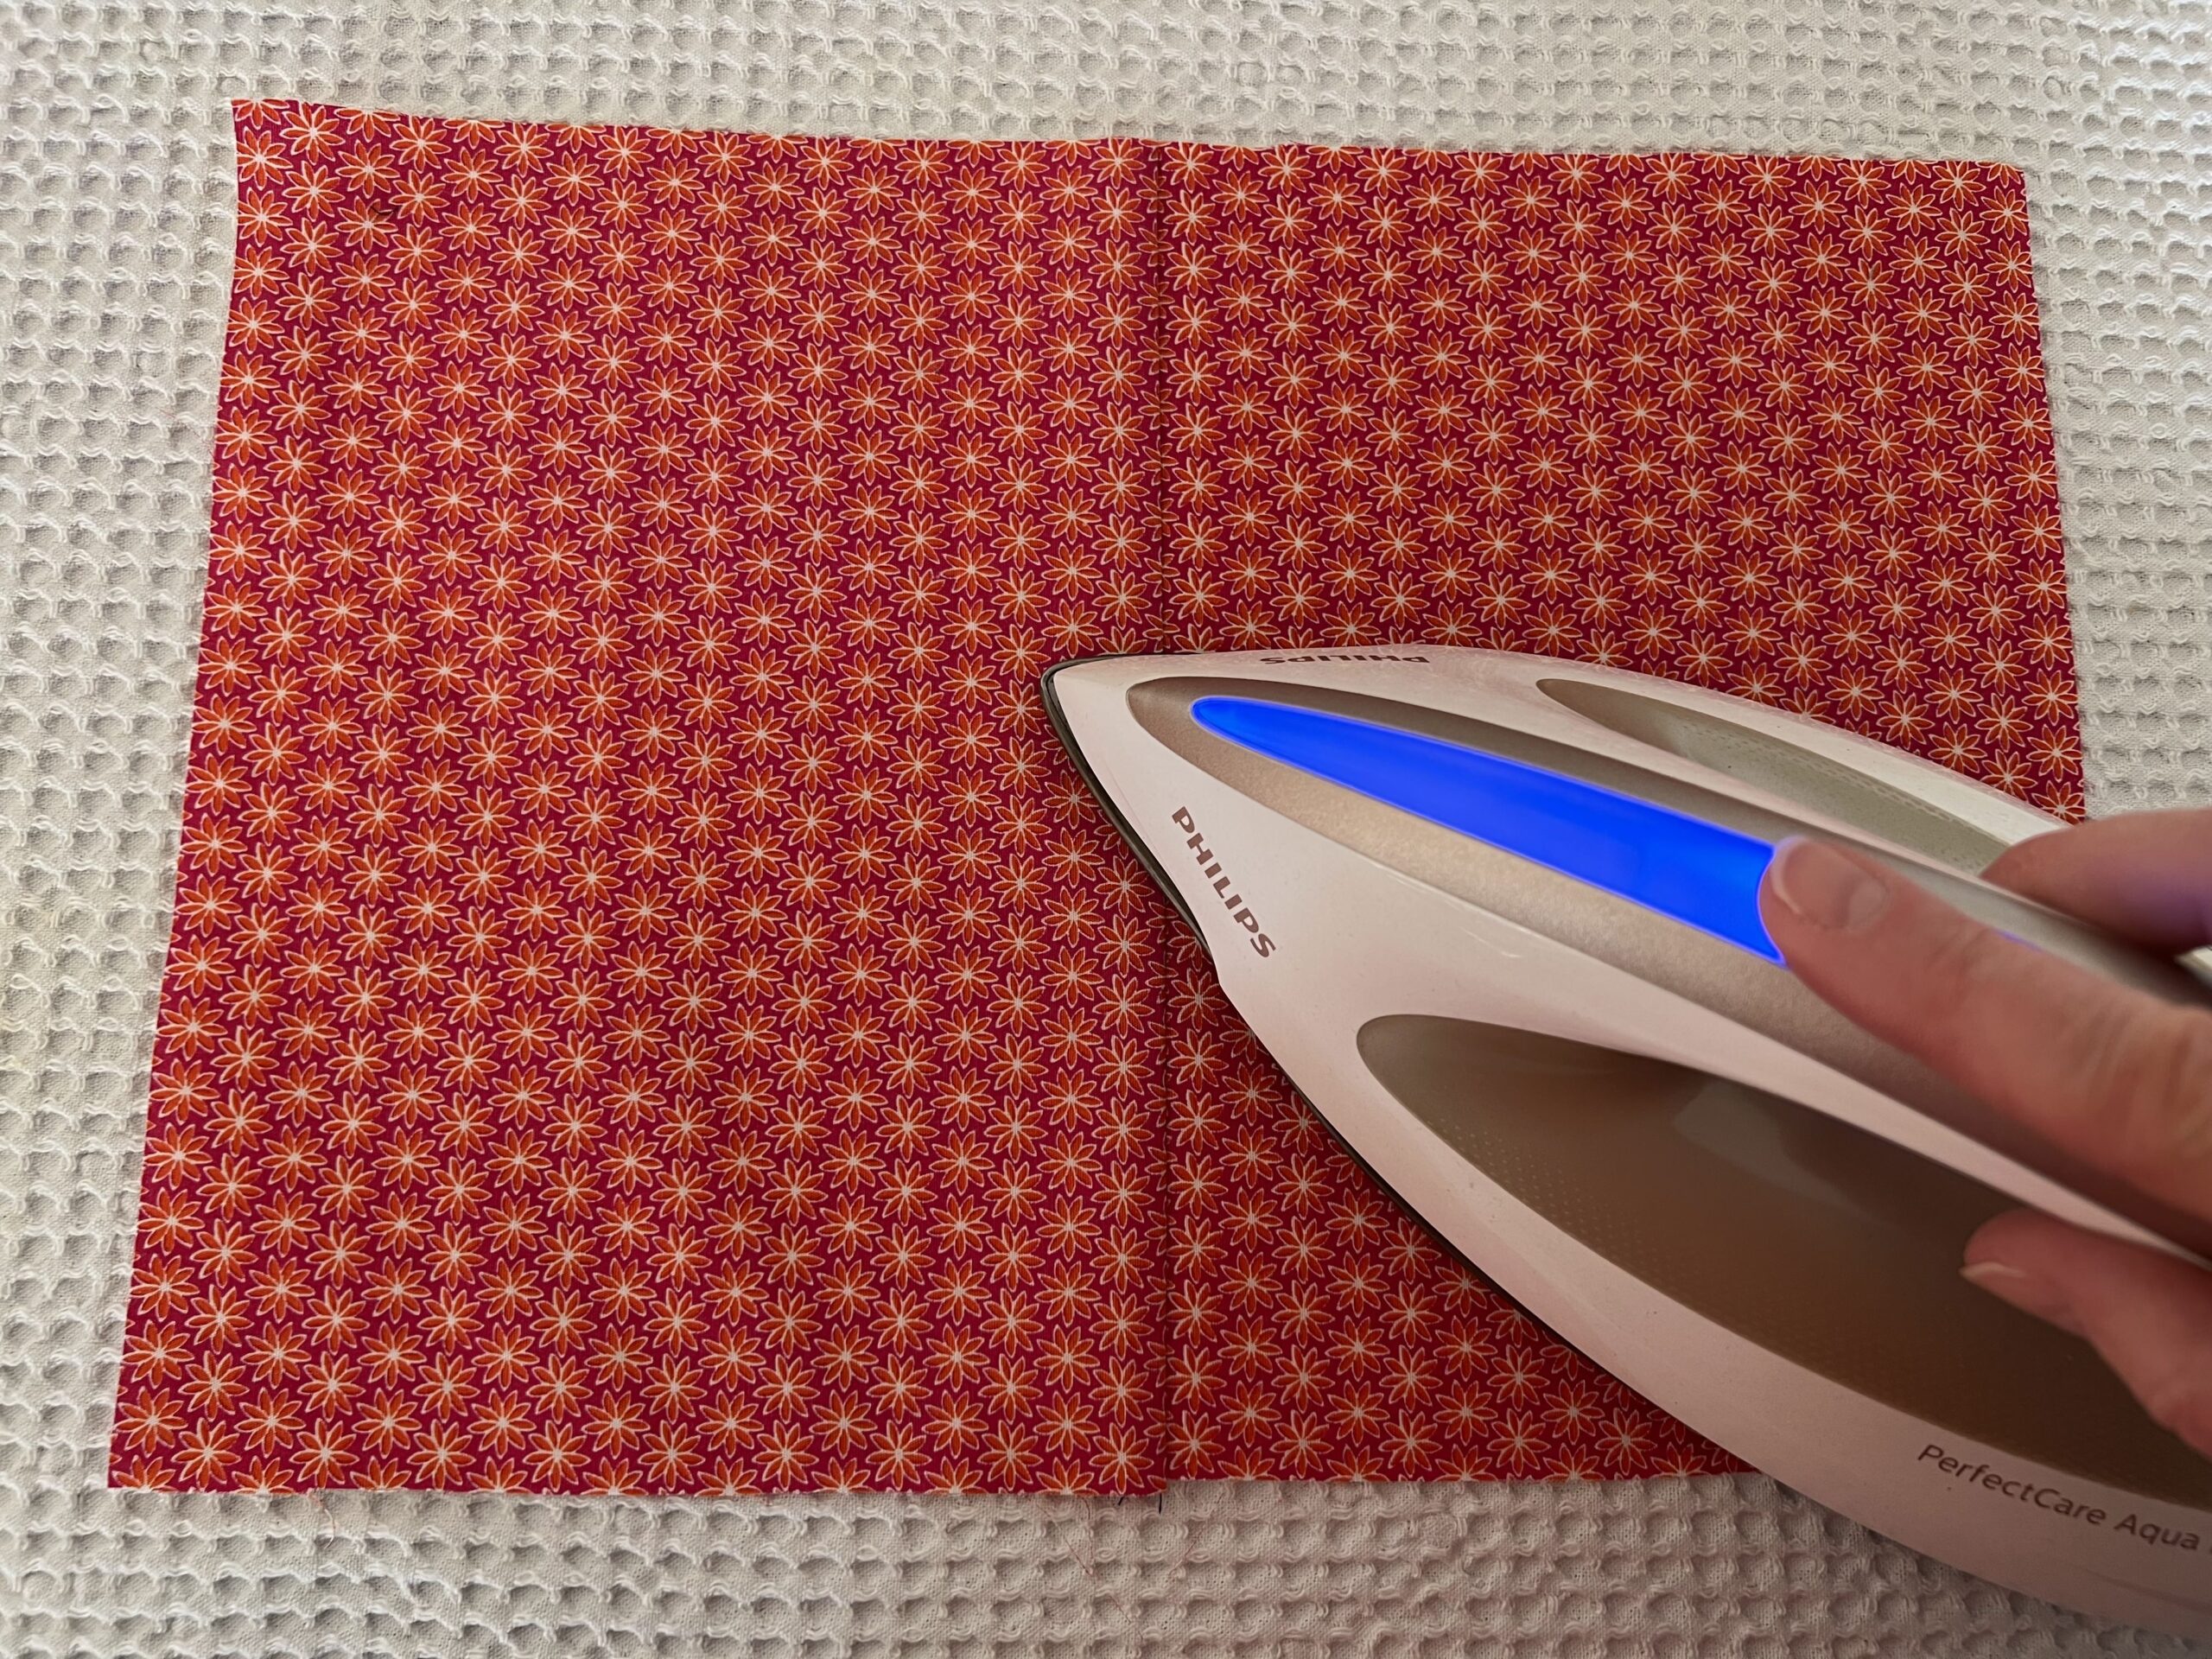
Step 3: Press Seams Open
Press open the seam. Then press it to one side. Make sure the seam is nice and flat. Use an up and down pressing motion rather than pulling the iron along the seam. If necessary, place a cotton cloth between your iron and your lace fabric.
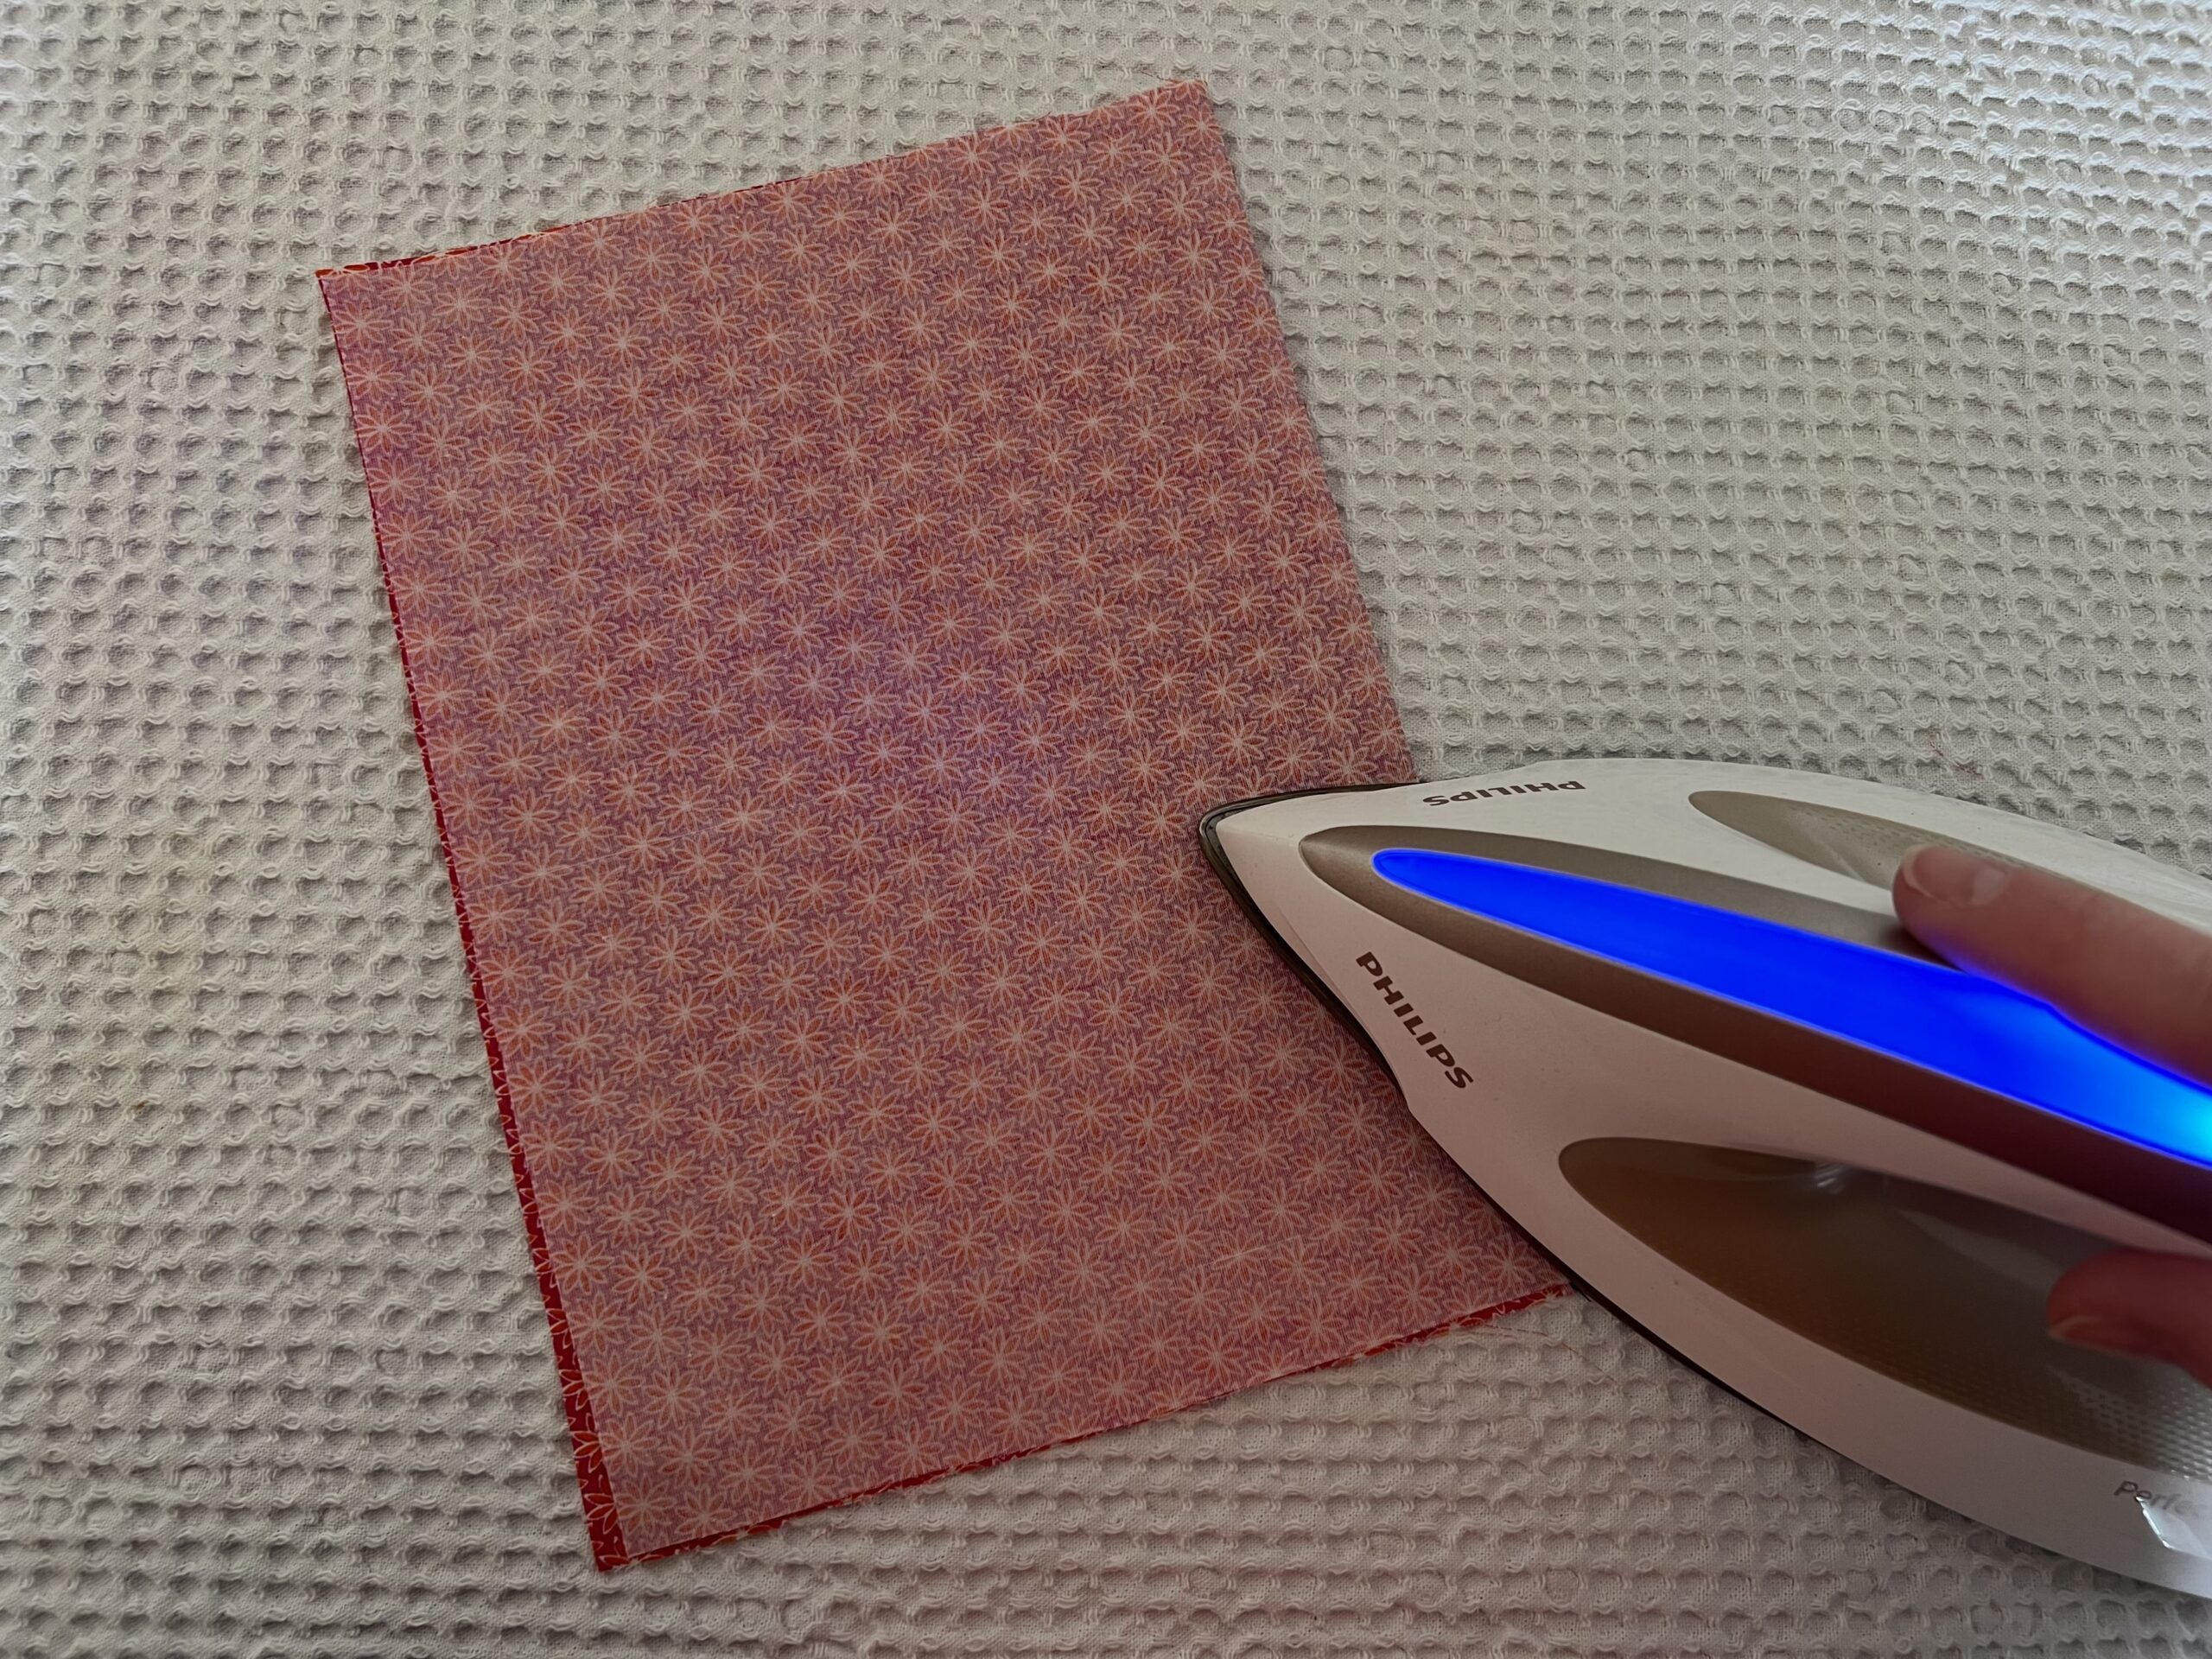
Step 4: Press right sides together
Press the fabric in half with RIGHT sides together and with the seam on the edge. Make sure the seam is located along the very edge of the fabric and not to the side as all for the best results. Pin in position if required.
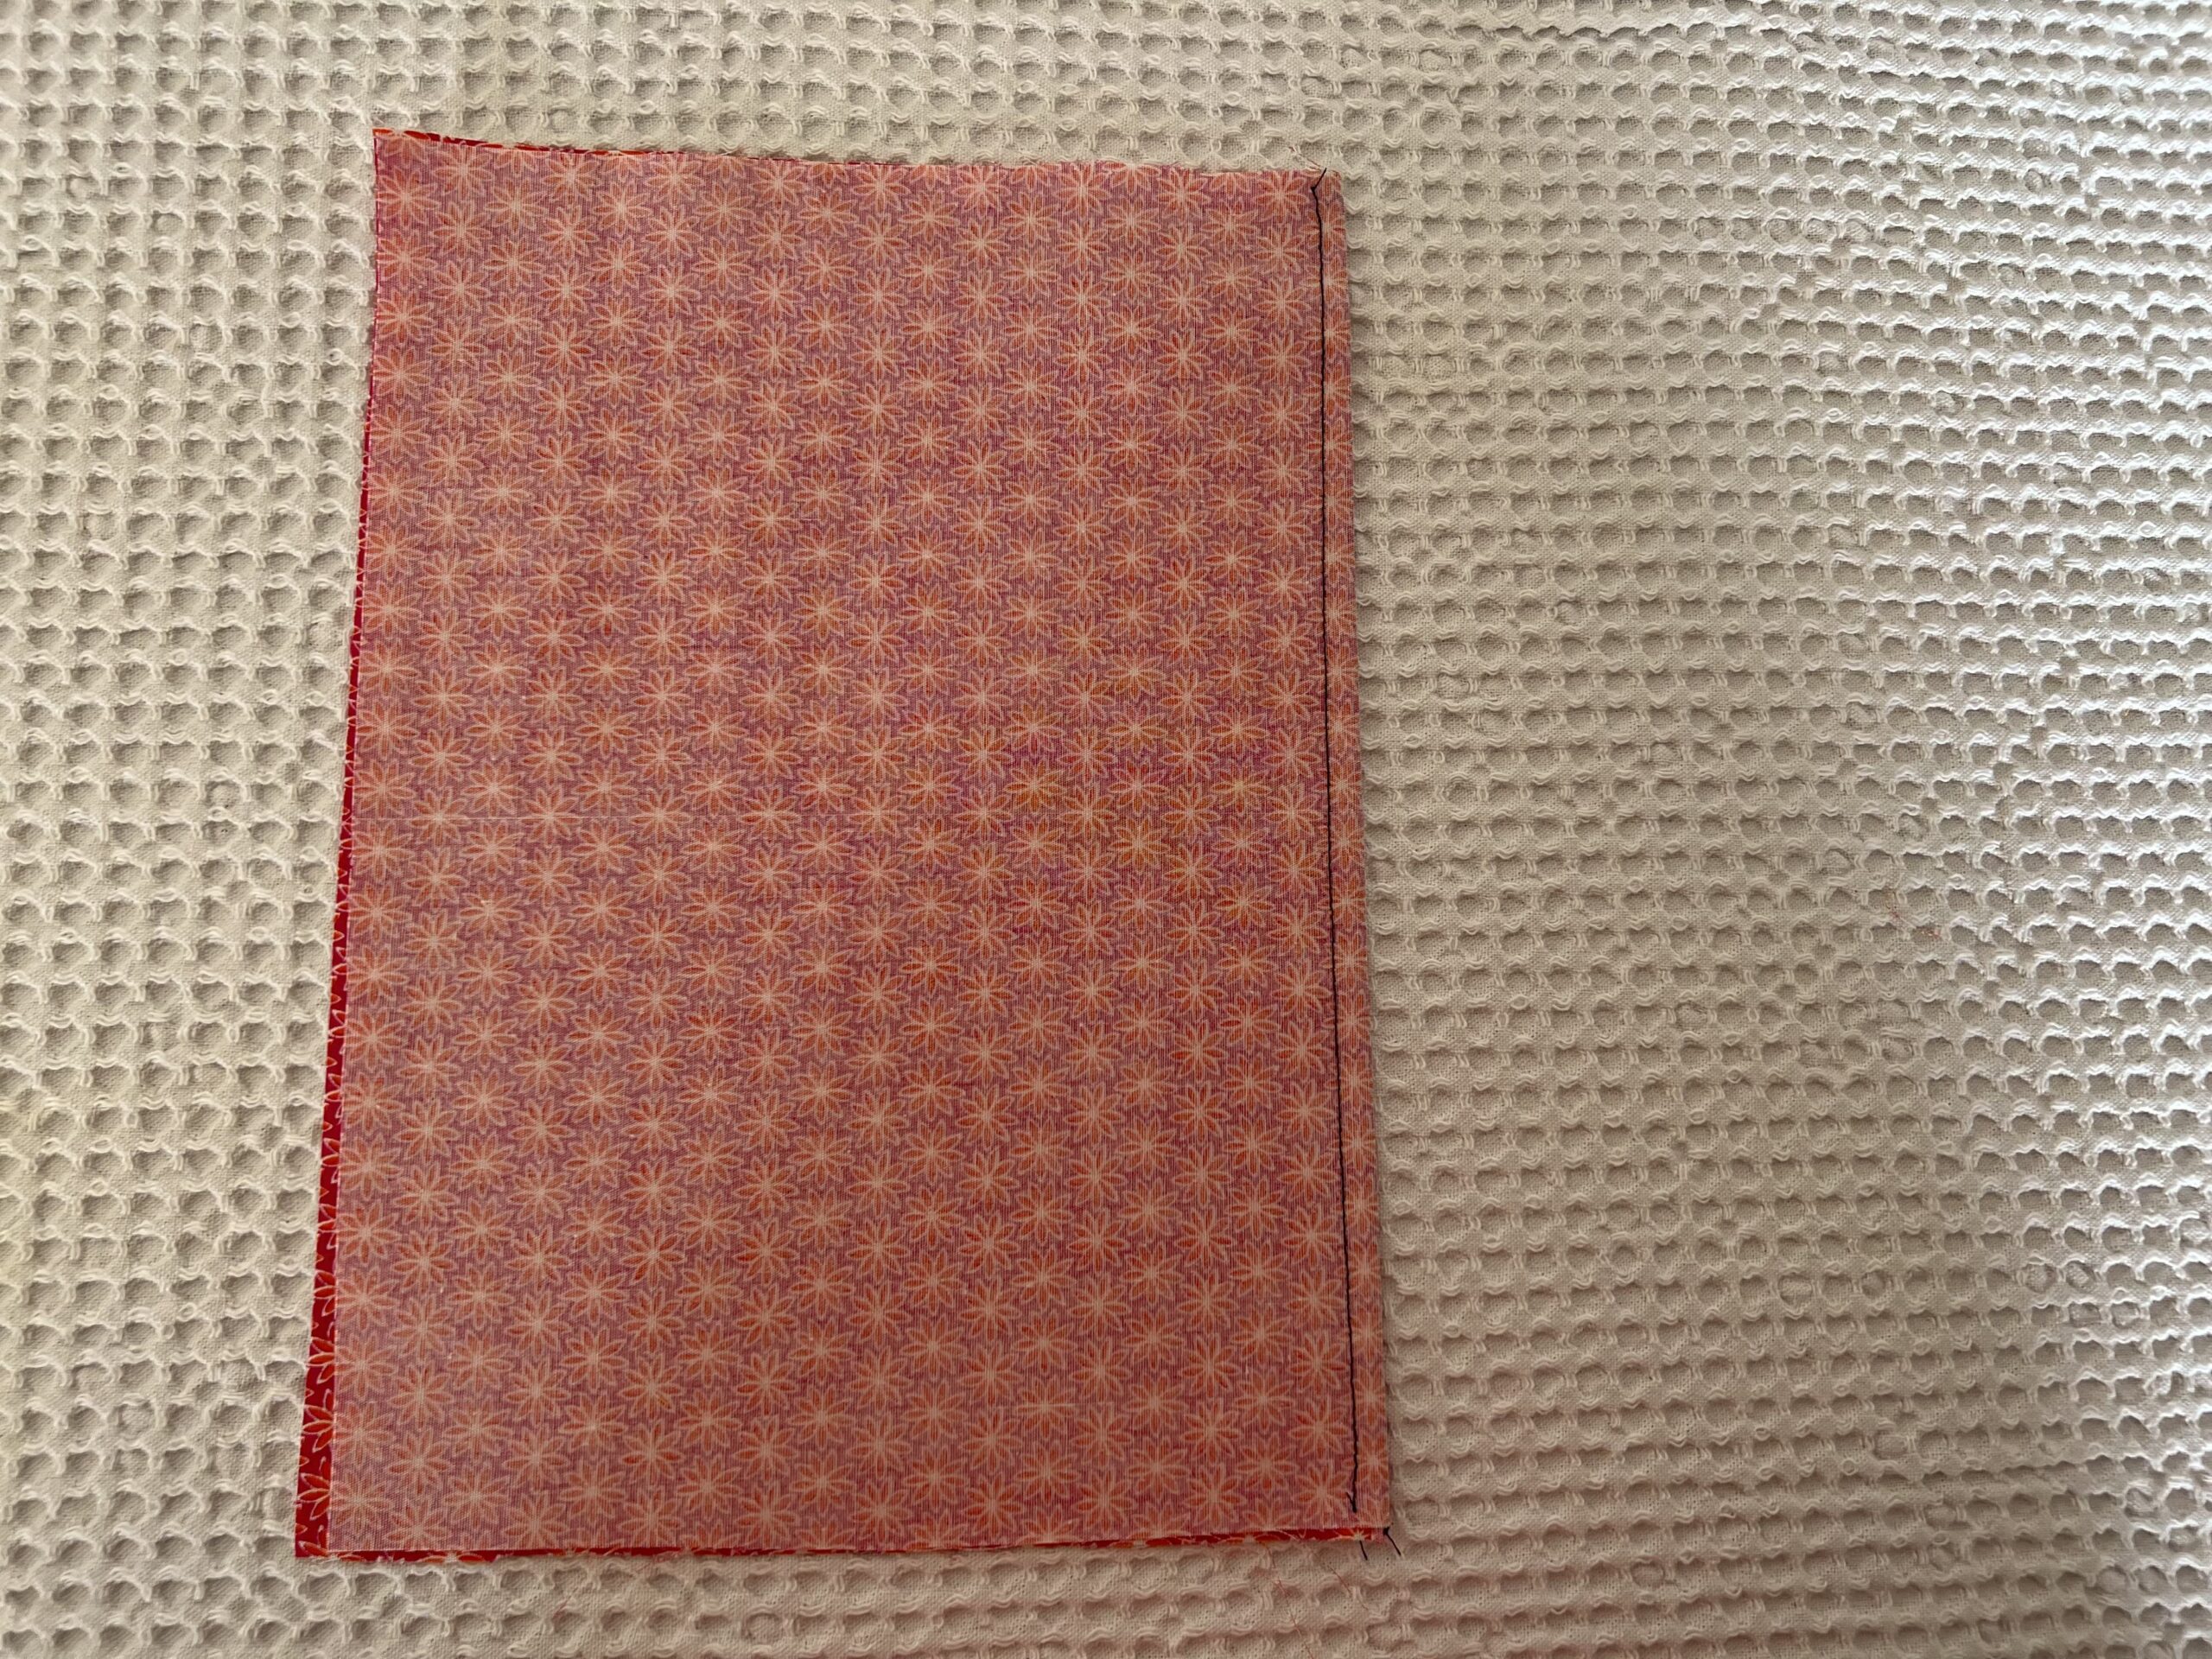
Step 5: Stitch French Seams
Straight stitch the seam again ¼ inch (6mm) from the folded seam edge. The previous seam allowance will be sandwiched in the fold. It is important to sew accurately or you will get little tufts of raw edges poking through the seam.
Step 6: Final Press
Press the seam open again, with the seam allowance towards the back of the garment. Flip your piece over and give the inside of the seam a final press so it is nice and flat.
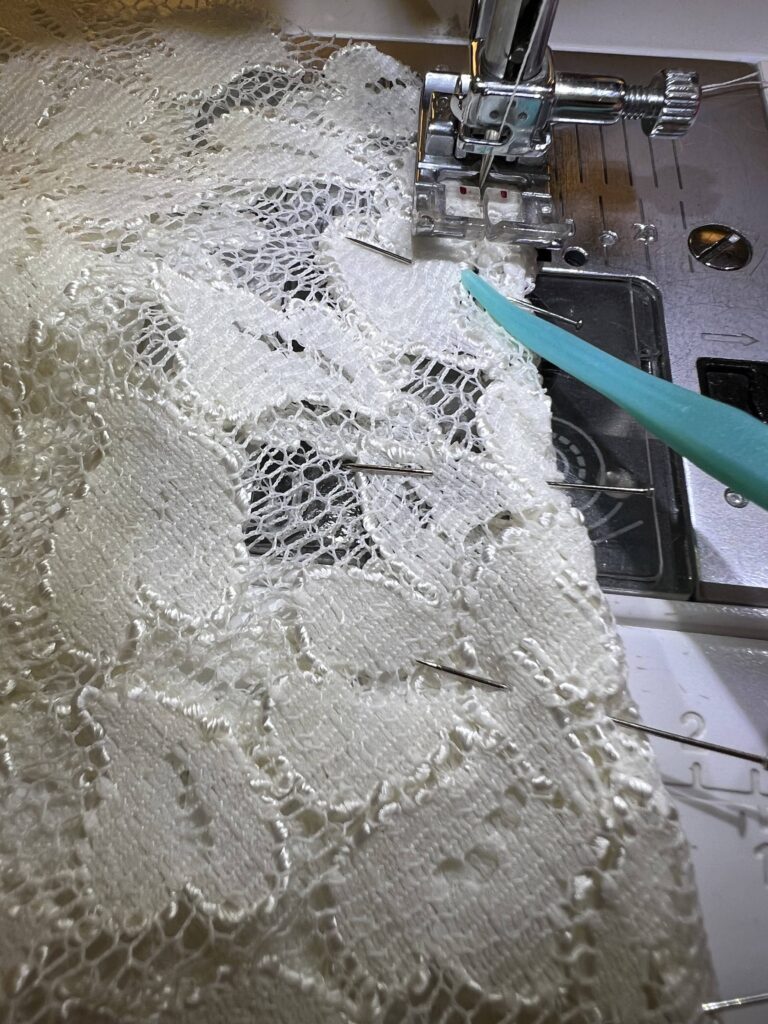
How to do French Seams on an armhole?
The Melody has a dolman sleeve and no inserted sleeve but I’ll tell below how to apply the technique.
Usually you’d sew in your sleeve the normal way — start with the bodice inside out and your sleeve the right way out. And you would insert the sleeve into the armhole. Then you would match and pin the notches and your side seams right sides together. However, to make French seams you reverse it. You turn your sleeve inside out and you keep the bodice right side out. You insert your sleeve into the armhole, match notches and side seams.
Your fabrics are wrong sides together.
Step 1 : Sew the seam
Pin at the side of your sleeve because that’s the side where the fullness will be. You could also use gathering stitches so it eases more into the opening.
While sewing my French Seams on my Melody I used my Green Thang to help ease my fabric and maneuver everything. I received it as a present from Tami and Tessa. Mary Anne MacLean was my secret sewist who searched for fun gadgets and this one was among them.
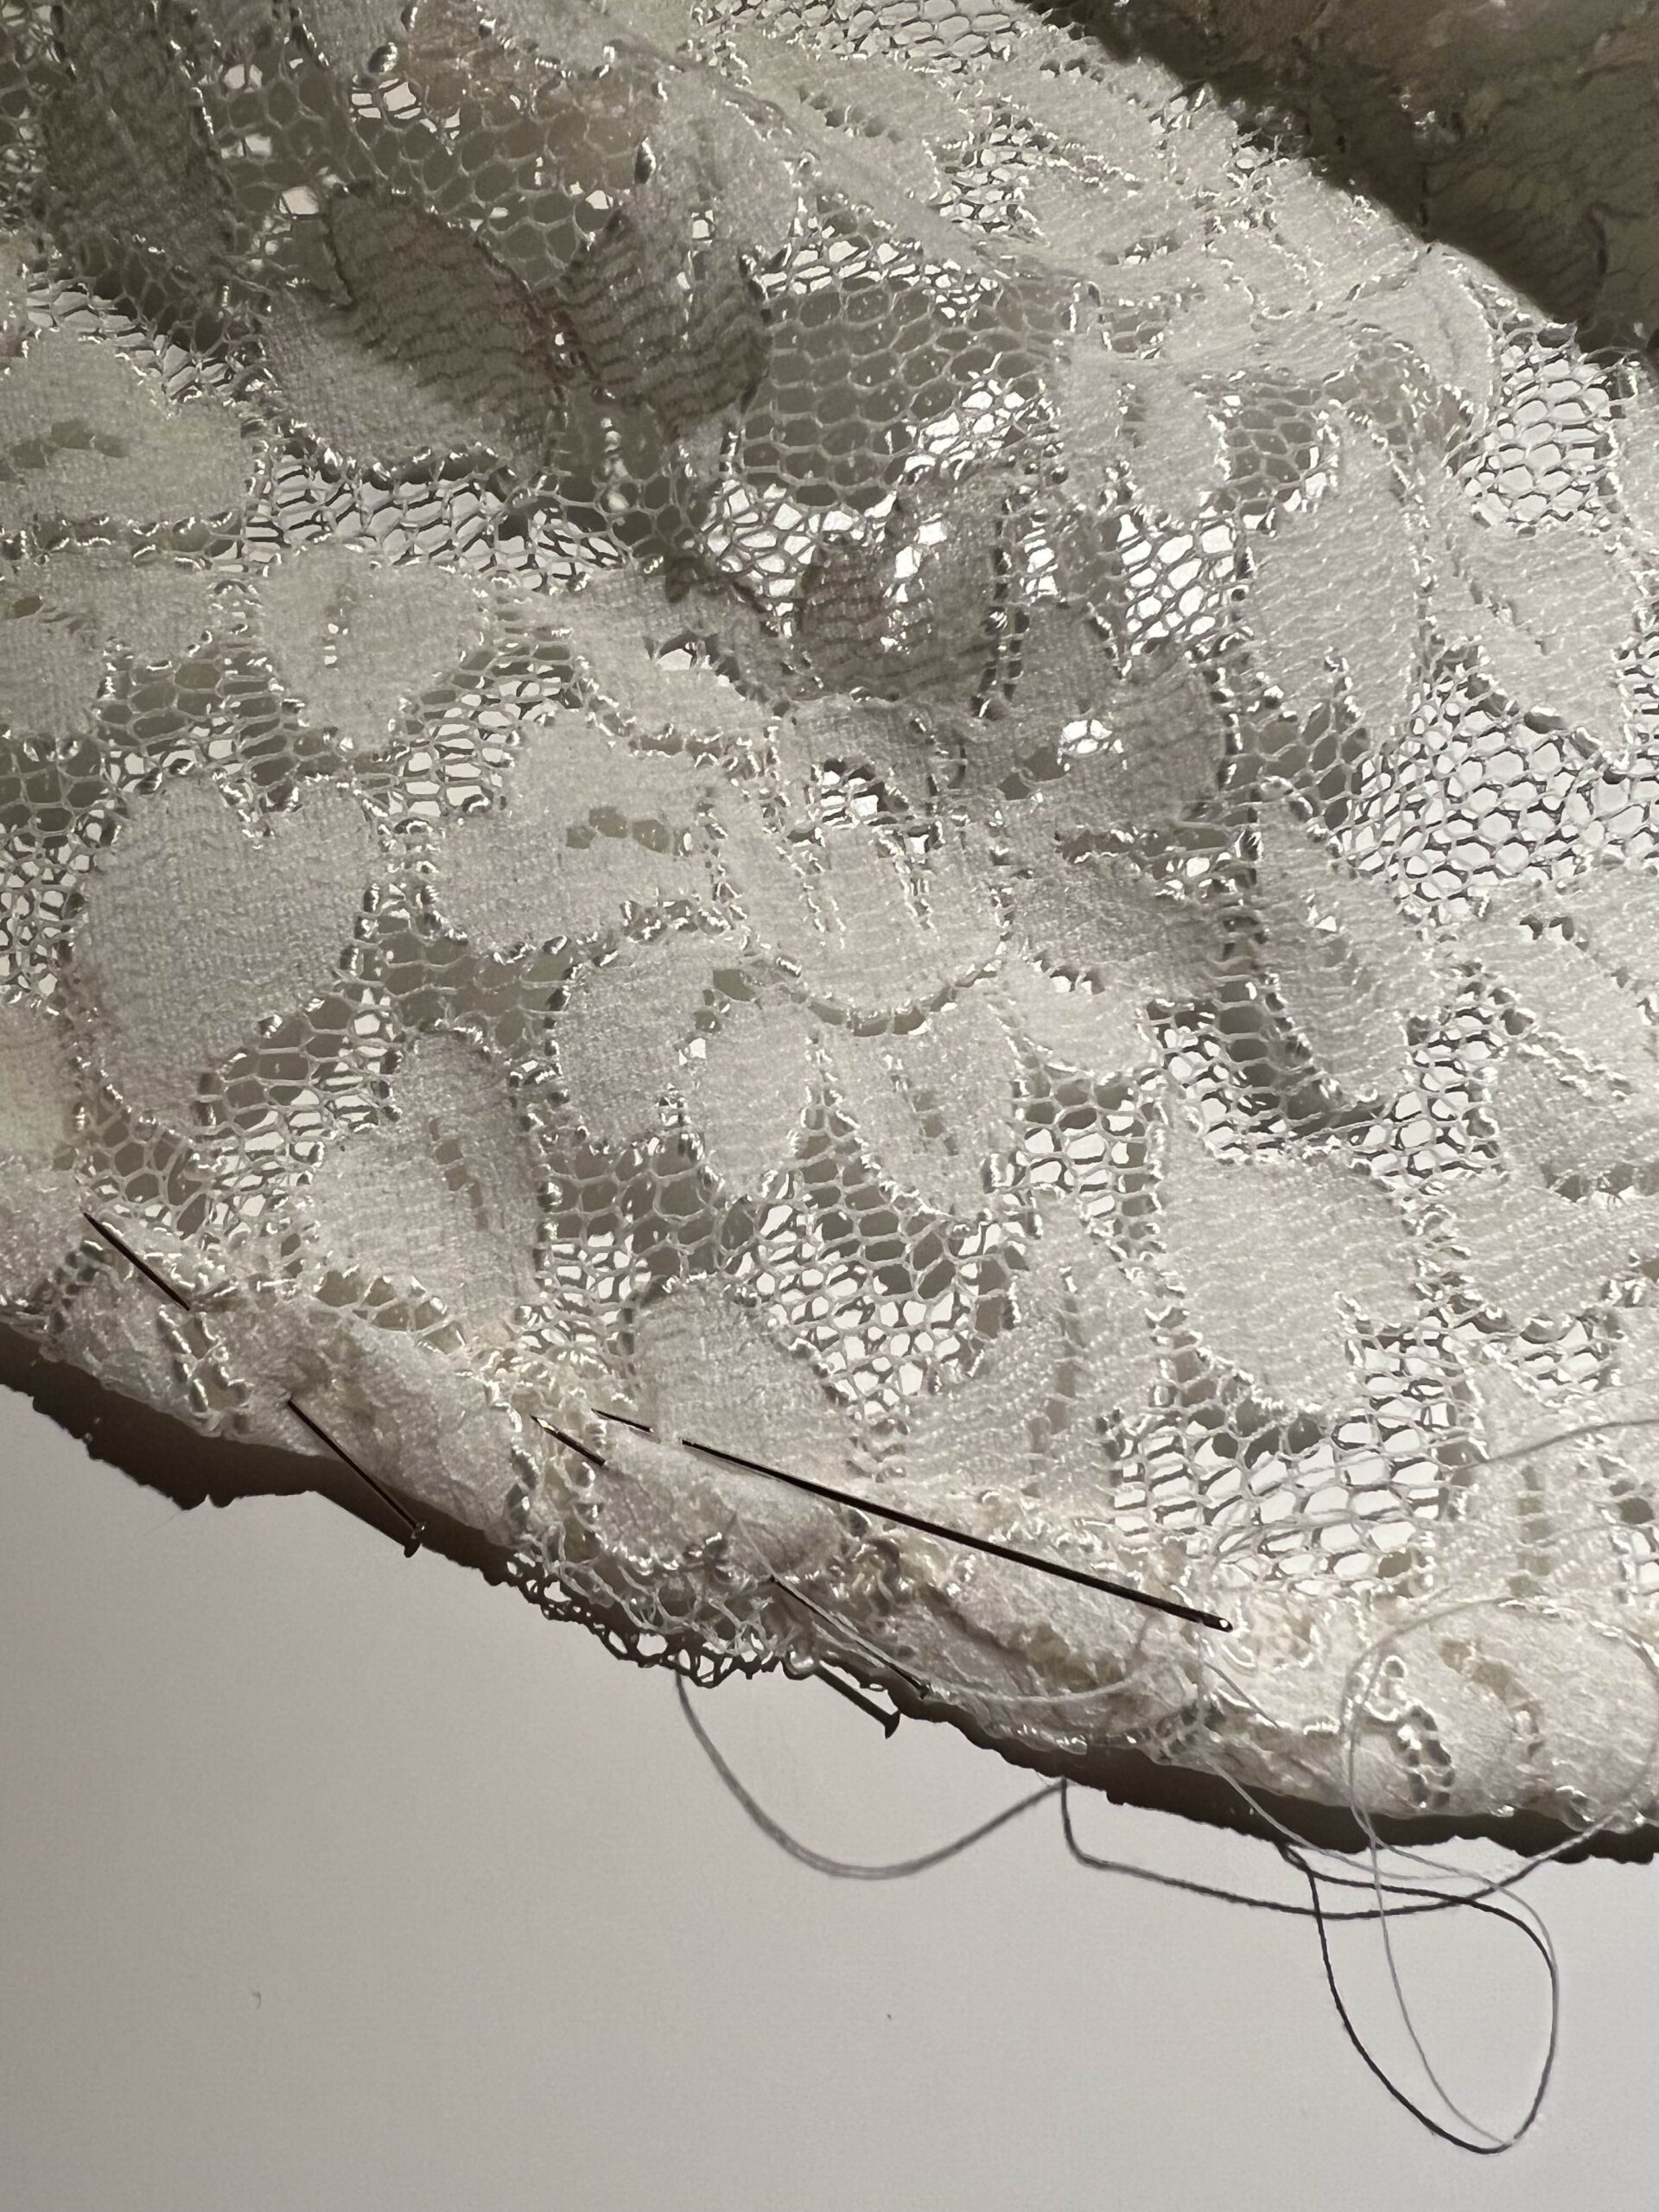
Step 2: Trim the French seams
Before trimming the seam I would press it to smooth out all the bumps, press seams open with your sleeve roll or tailor’s ham.
I can’t deny that inserting a sleeve with French seams is indeed more complicated.
From then… Some Tips & tricks
From then you can repeat the previous steps but it will be more tricky as a straight seam.
To press your seams you’ll need your sleeve roll or tailor’s ham.
When you’re at step 5 you need to hold your sleeve inside the garment and before you will stitch you need to press and pin it first.
Sew from the sleeve side.
Be careful and do it slowly.
Use your ‘needle down option’ and your Green thang so you can reposition everything while sewing.
Give it a last press so it looks super neat!
Finishing.
After I tacked my facing on the inside at the shoulders I finished my hem by hand. This gives the most aesthetically and pleasing finish. I did the same with my sleeve cuffs. This way the seams don’t look flattened but stay very natural.
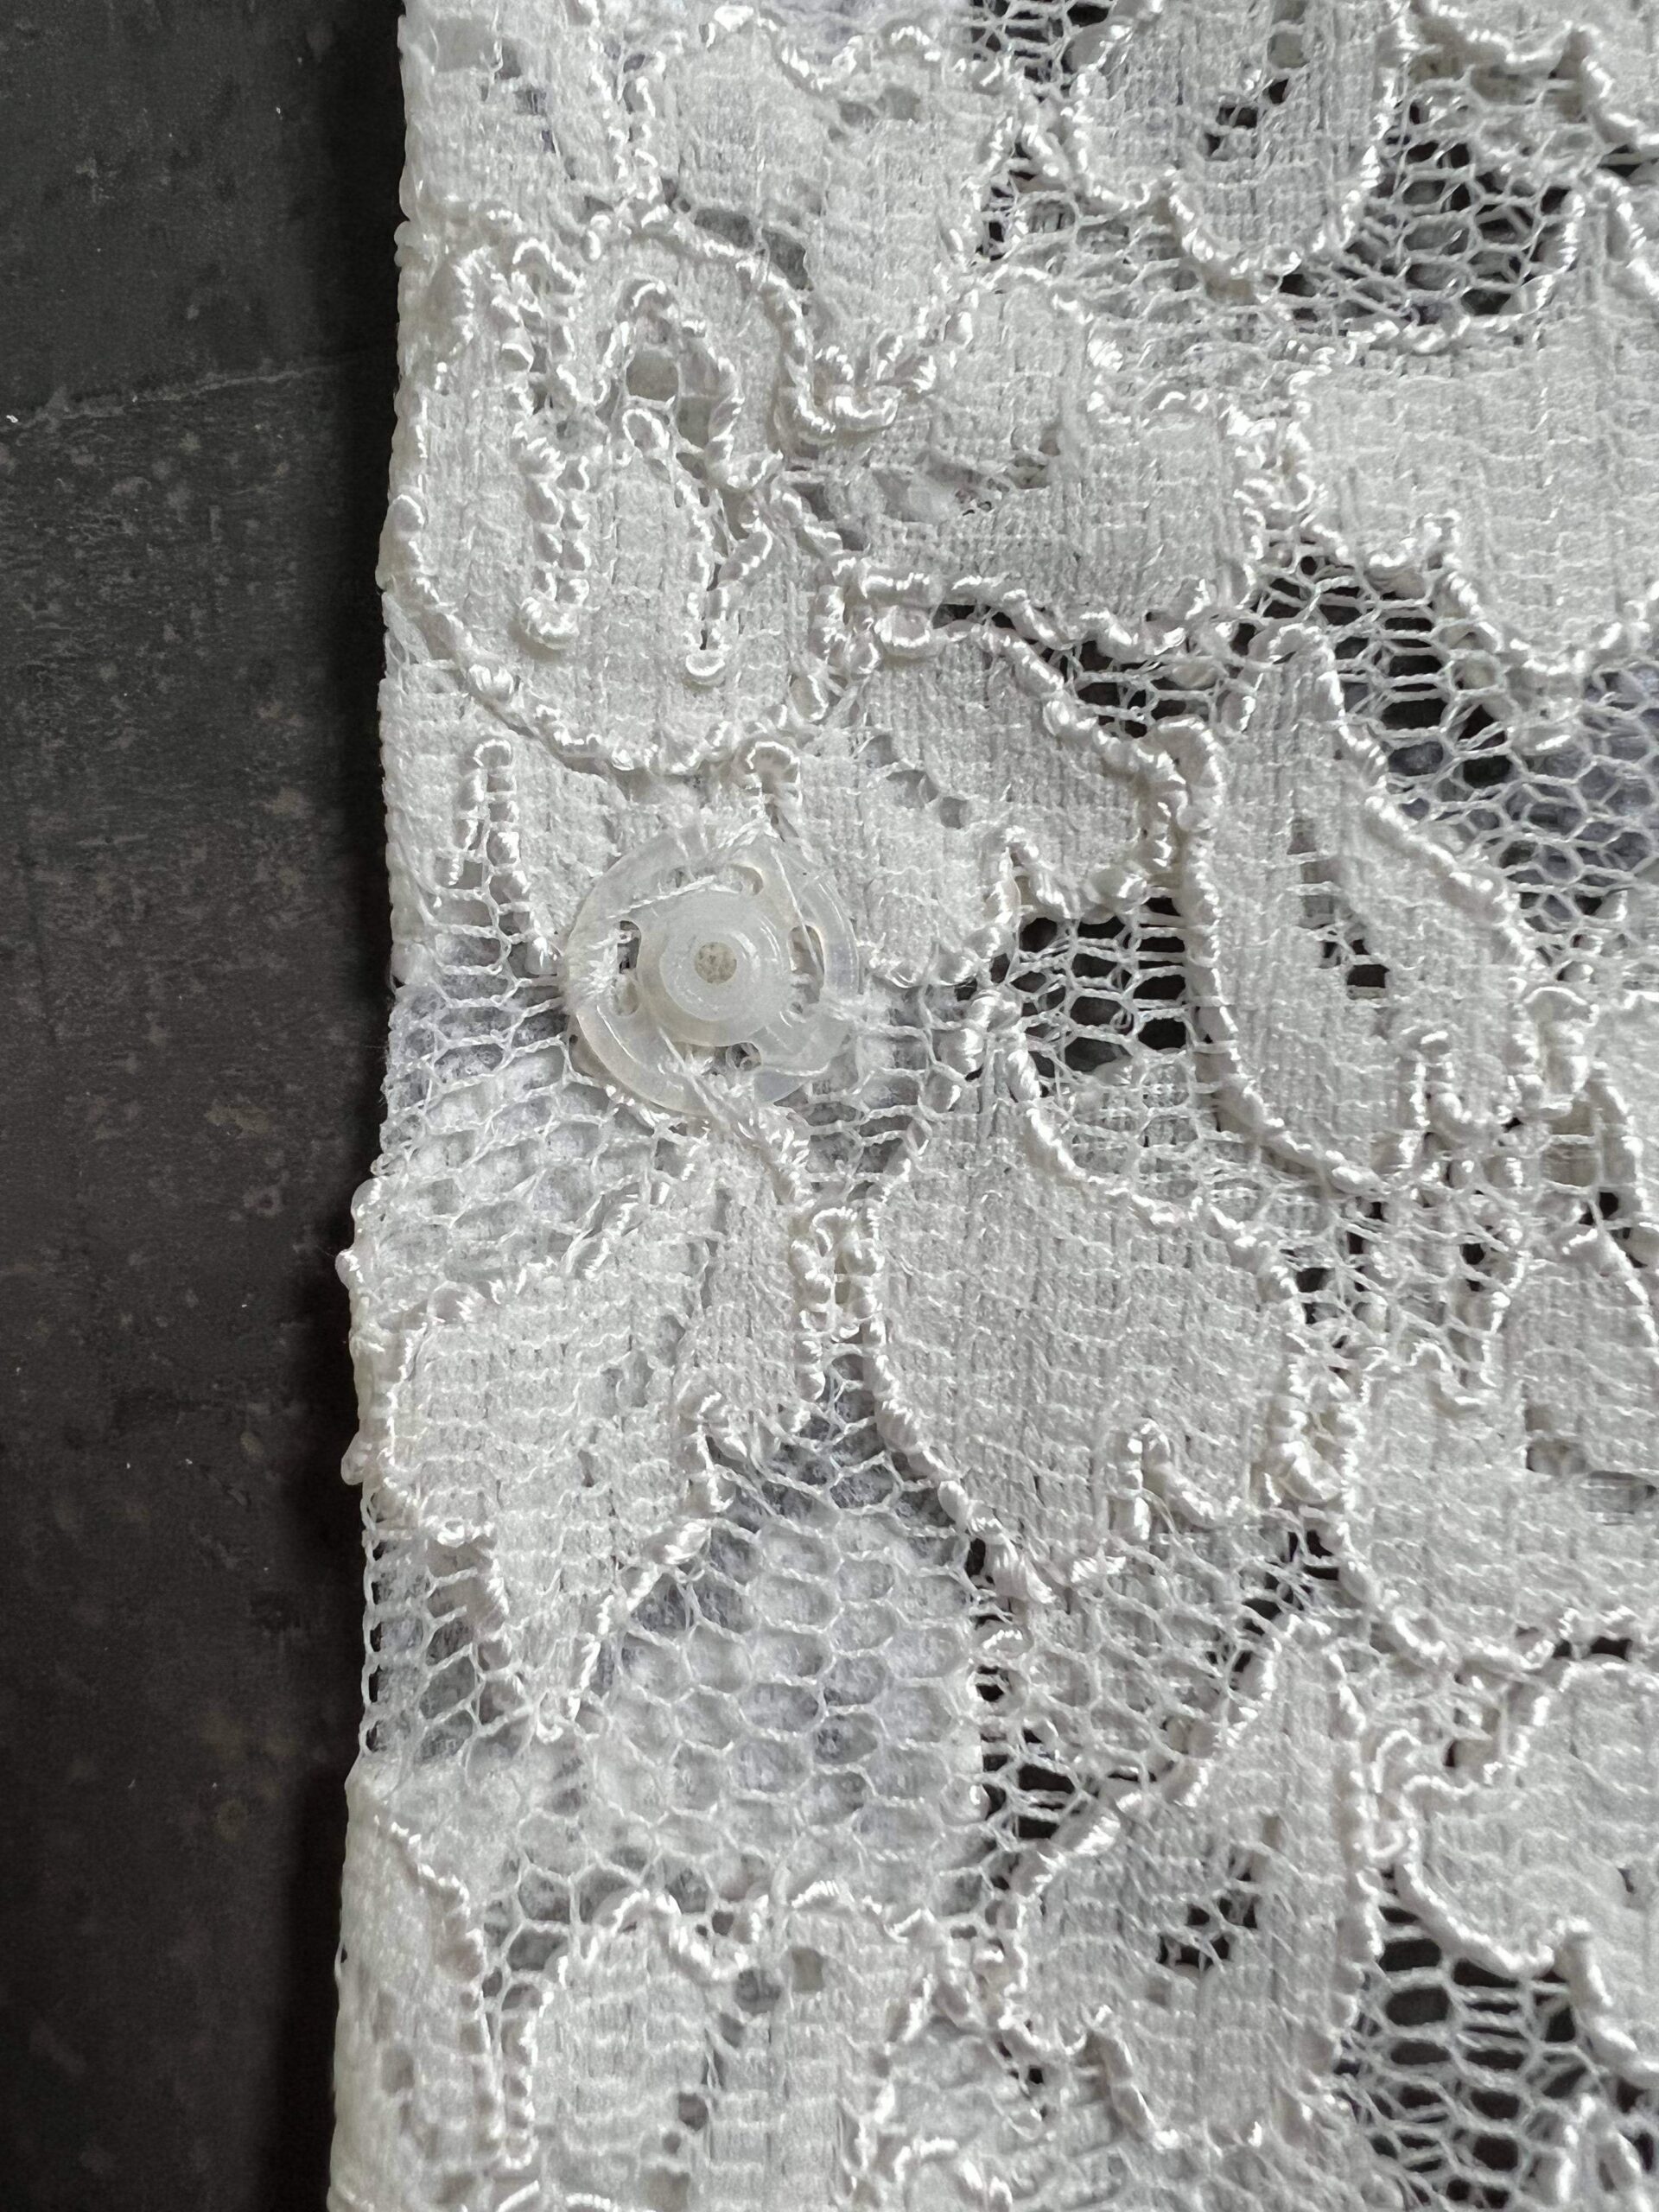
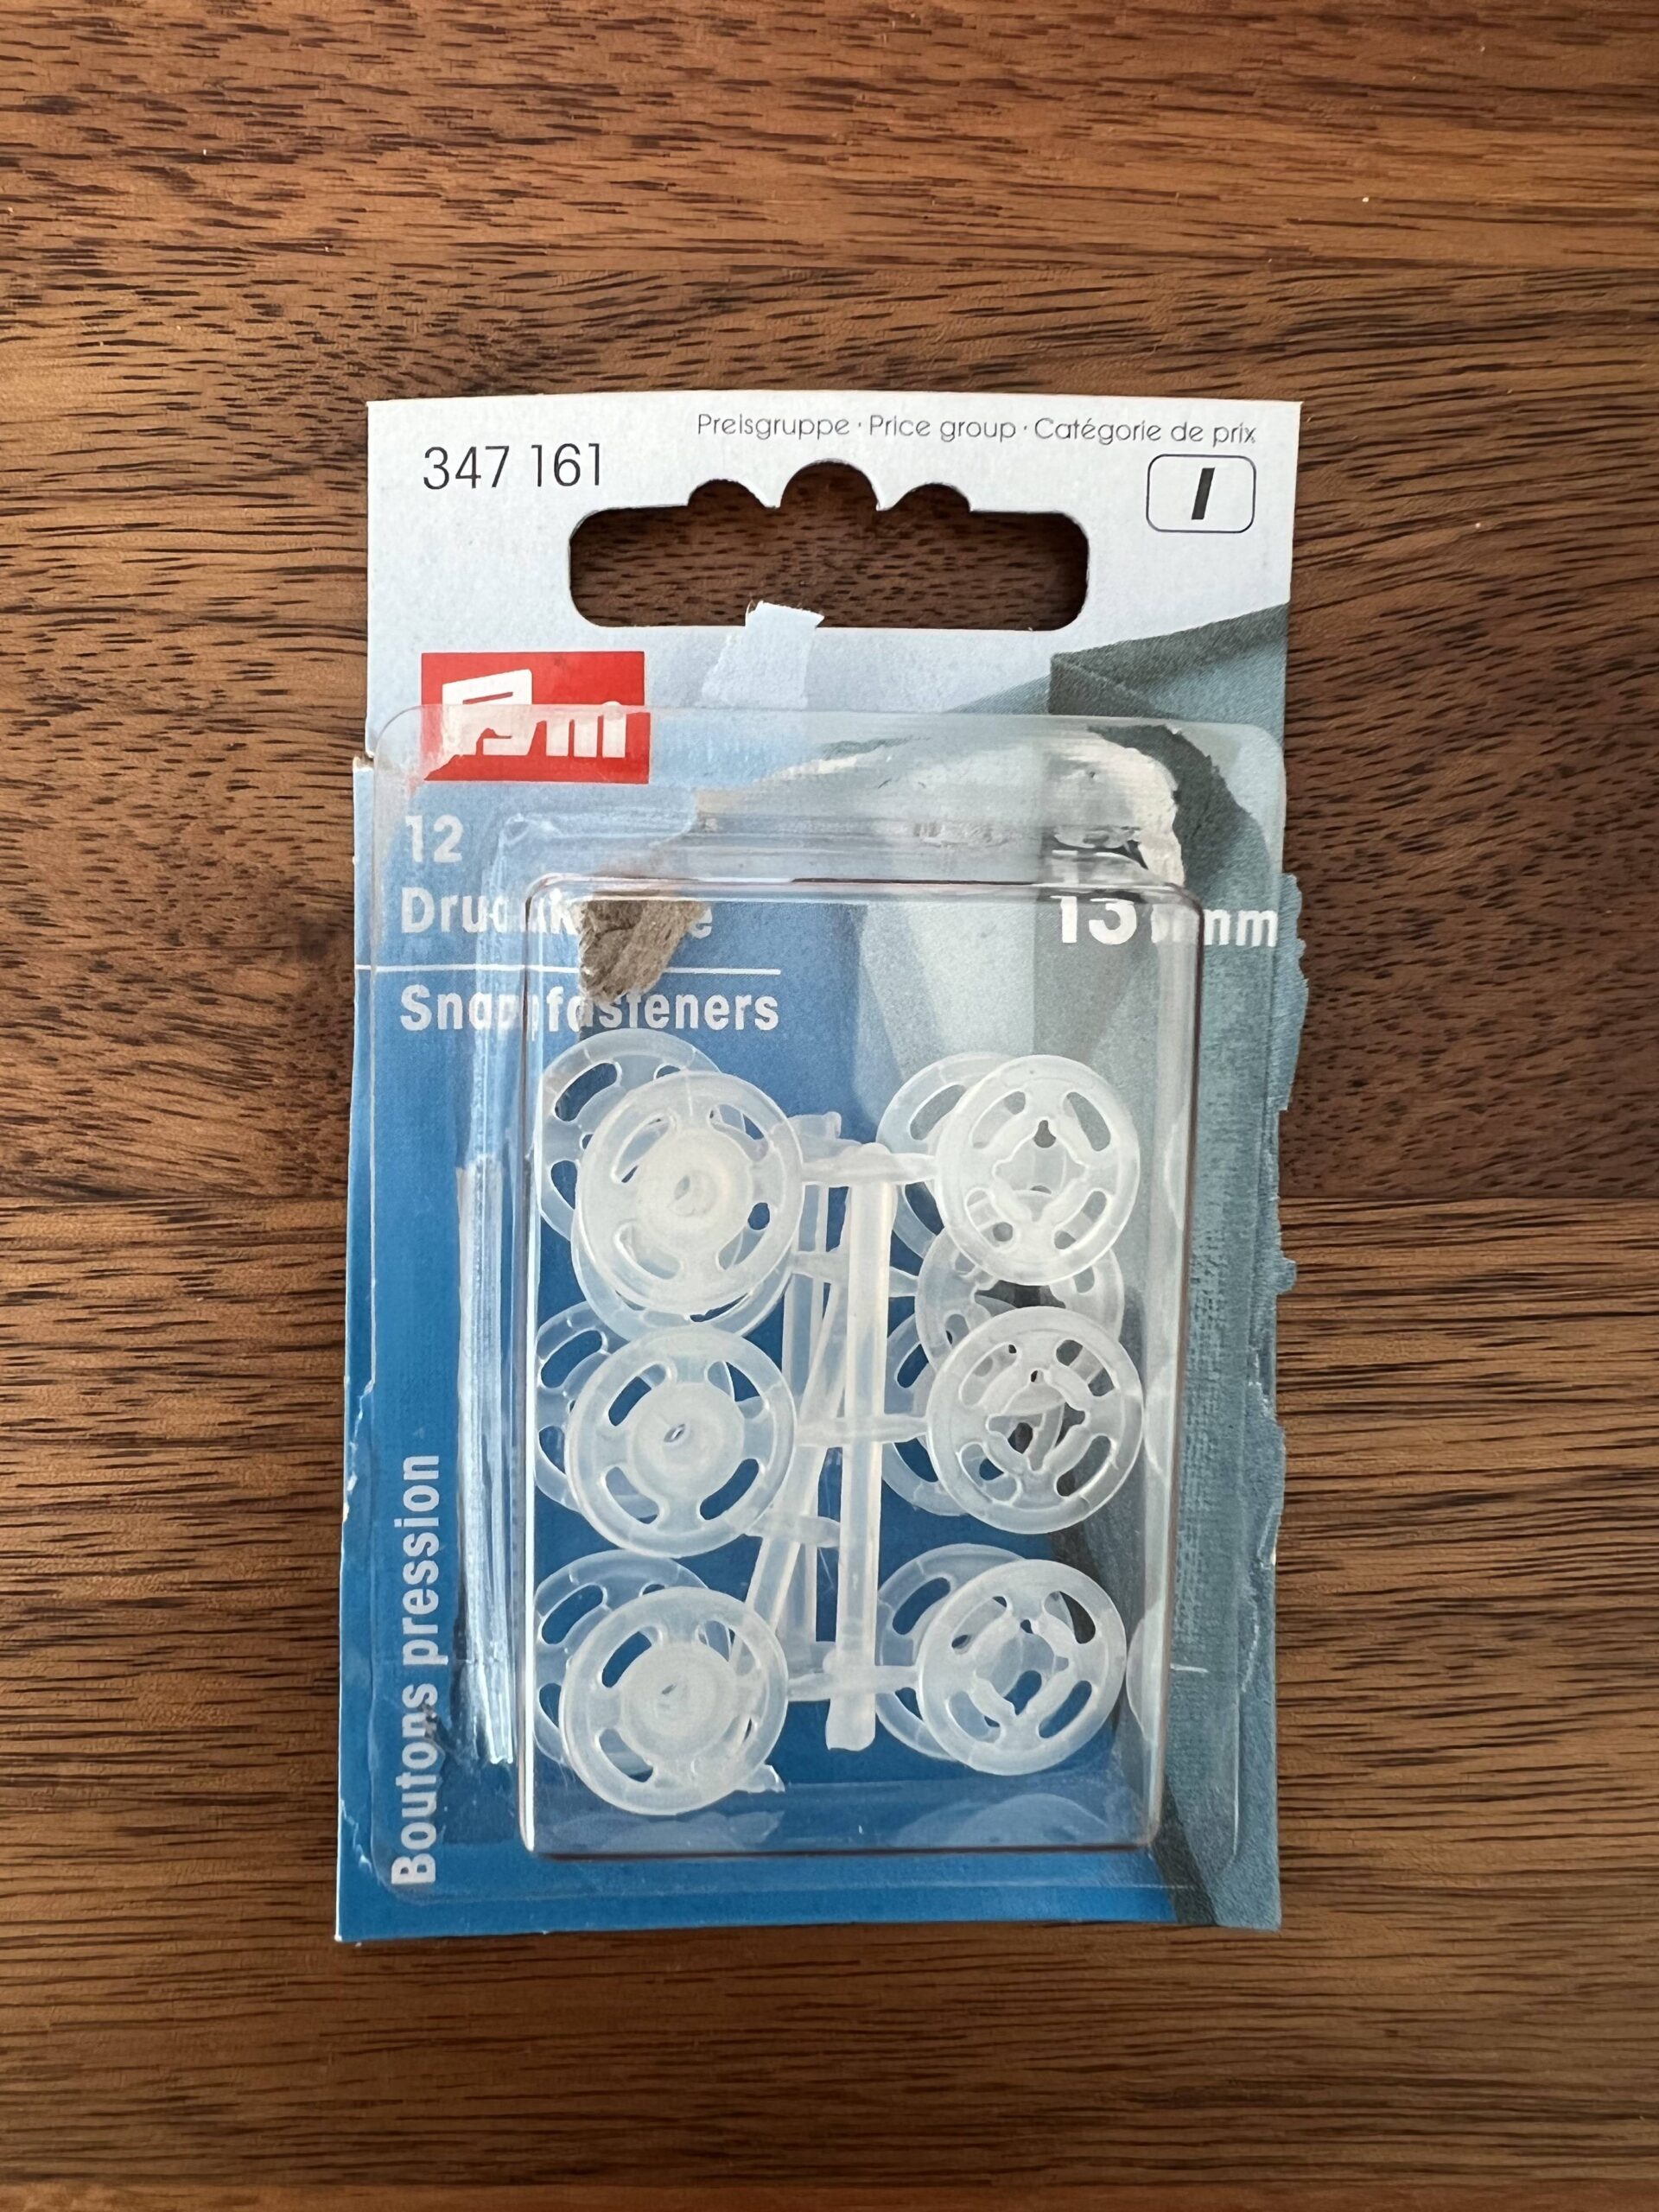
I used colorless snap fasteners of 13 mm that I secured on the inside.
Styling
I paired my romantic Melody with a Ravinia skirt in calf length. The Ravinia also comes in knee length and maxi length. I used an abstract ponte knit that I took with me from Seville two years ago. Every vacation it seems to become a tradition that I carry at least one piece of fabric with me.
Actually, I think the combination is incredibly beautiful, even if I say so myself. When I attend a wedding party in a few weeks, this is what I will be wearing. What do you think?
Thanks for passing by! The highlighted links are affiliate links. Thank you if you consider using one of my links.
You can also find me on Instagram @sewsewilse
Enjoy some more photos. Greetings from Belgium, Ilse


Pin this French Seams post to your sewing Pinterest Board
More French Seam-able Patterns:
-
 Aria Button Down Shirt, Tunic & Dress$12.50
 -
 Lyric Dress & Peplum$12.50
 -
 Harmony Blouse$12.50
 -
 Cadence Dress & Top$12.50