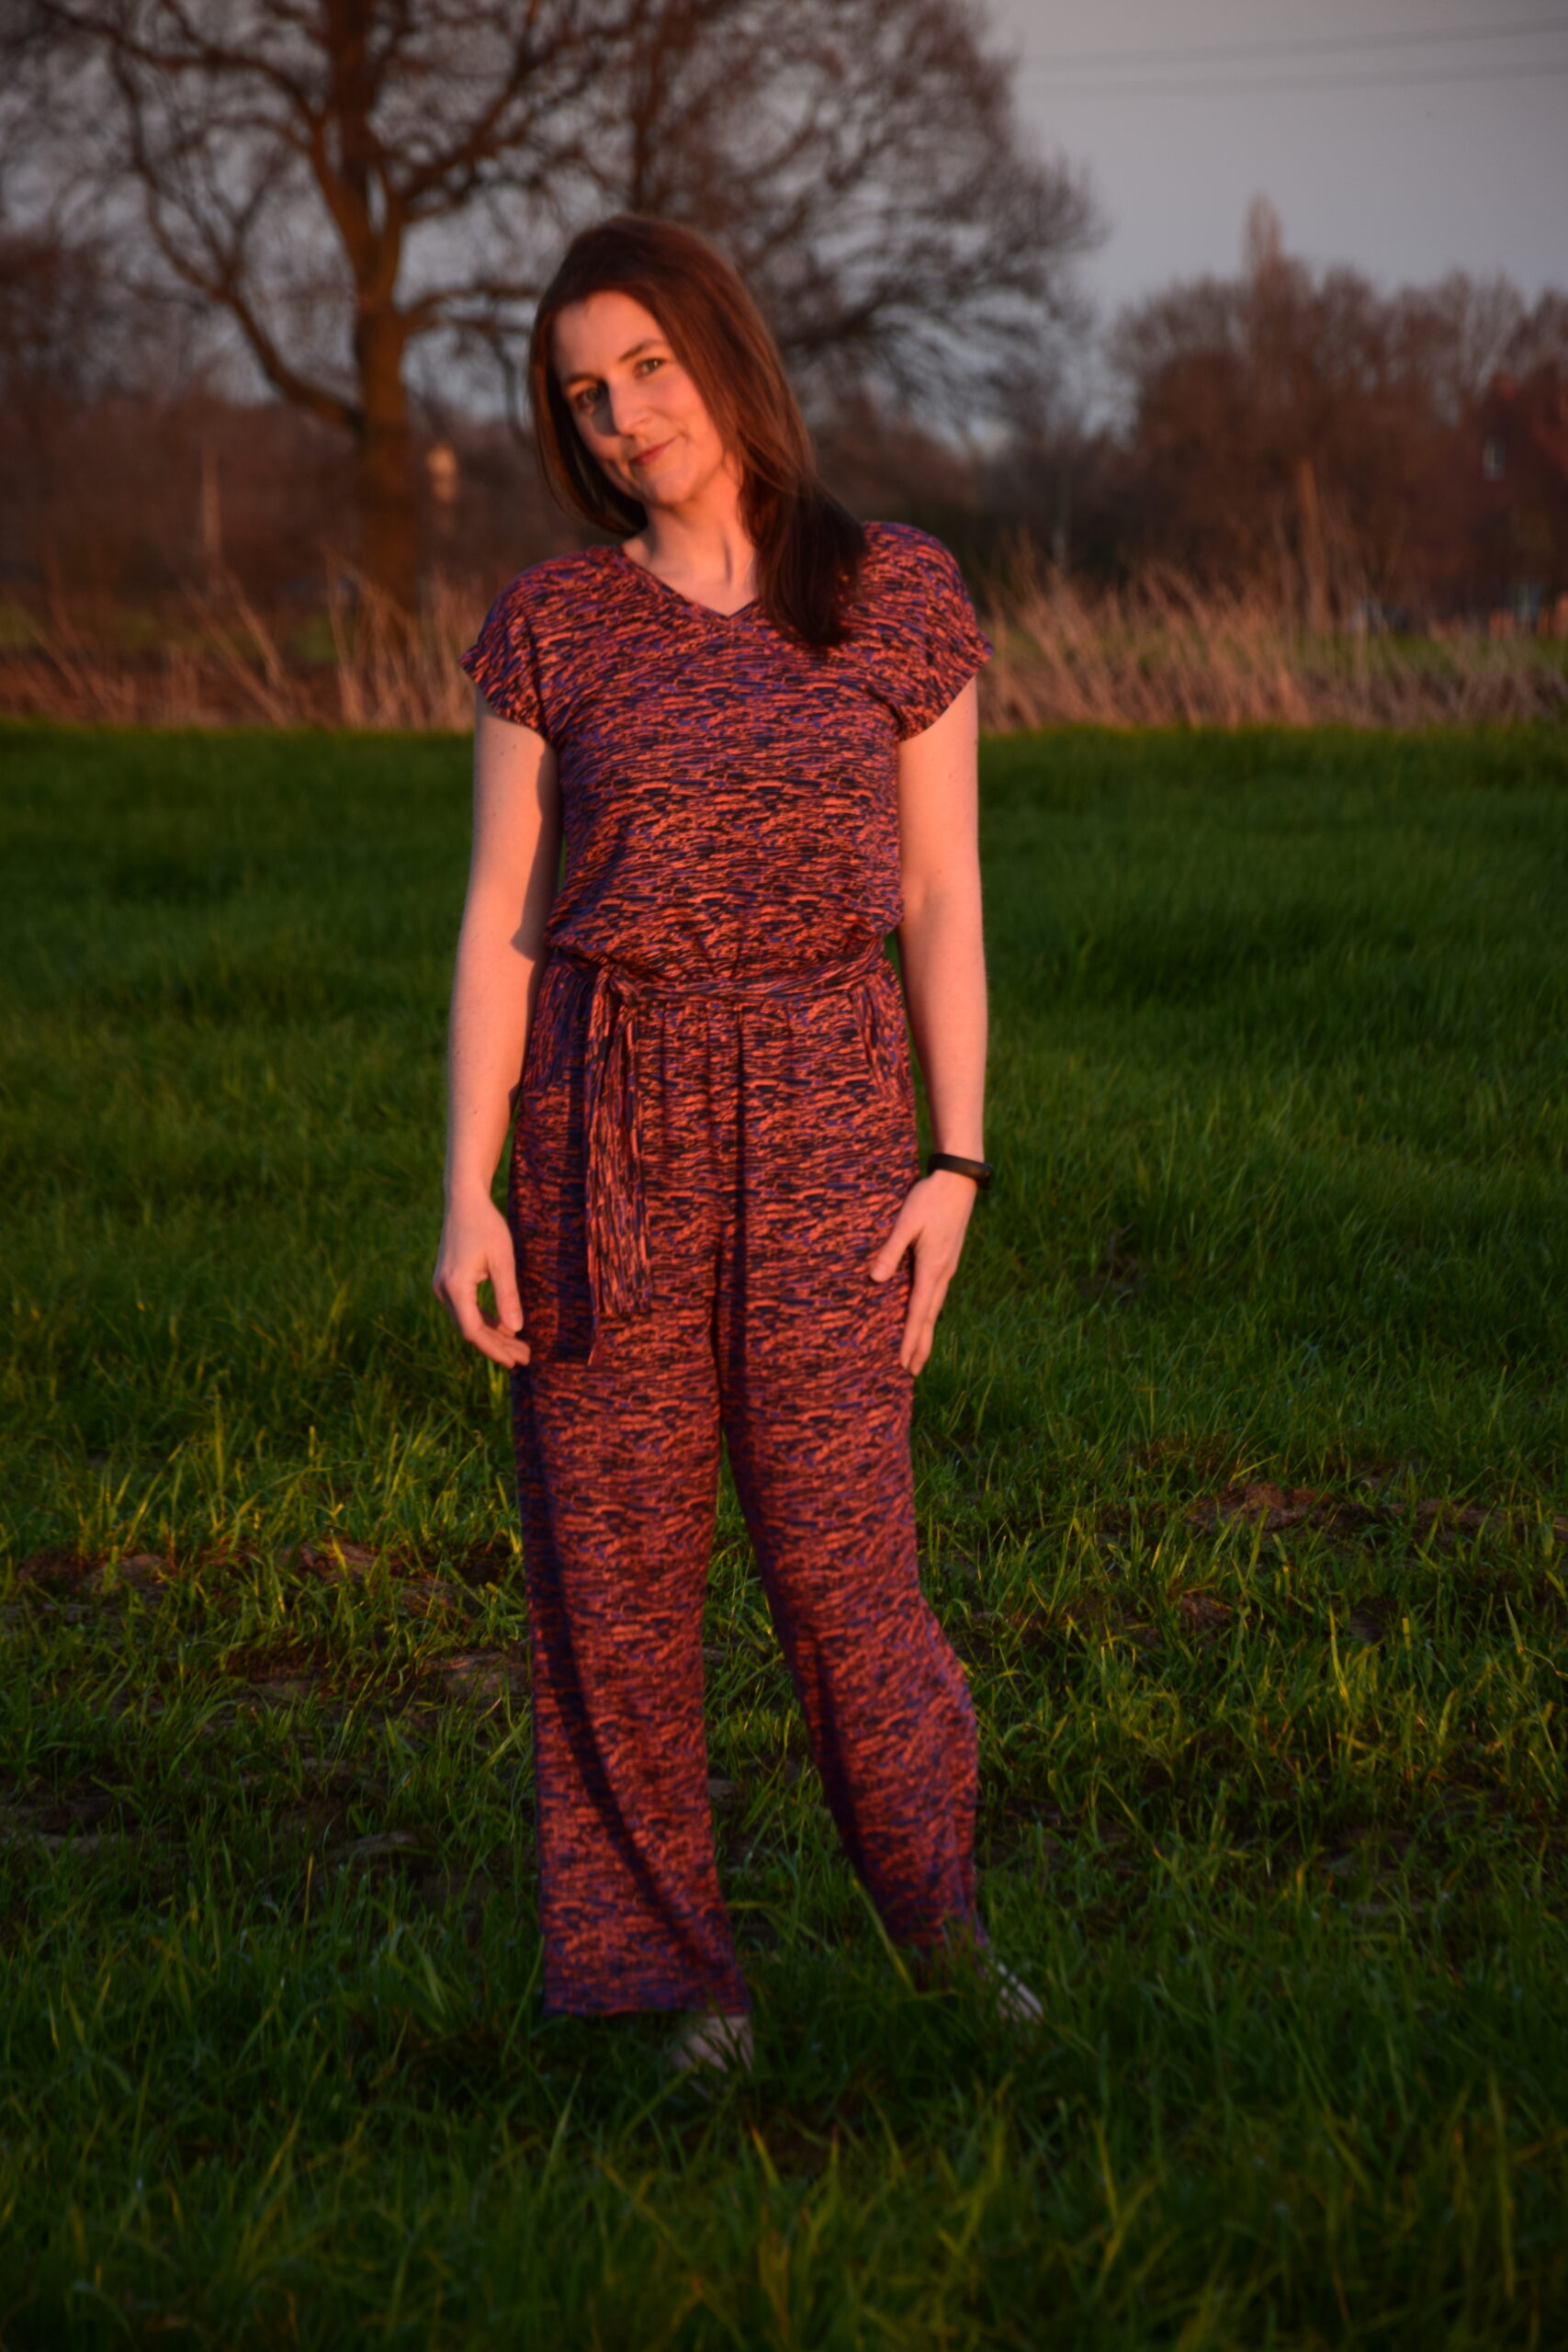
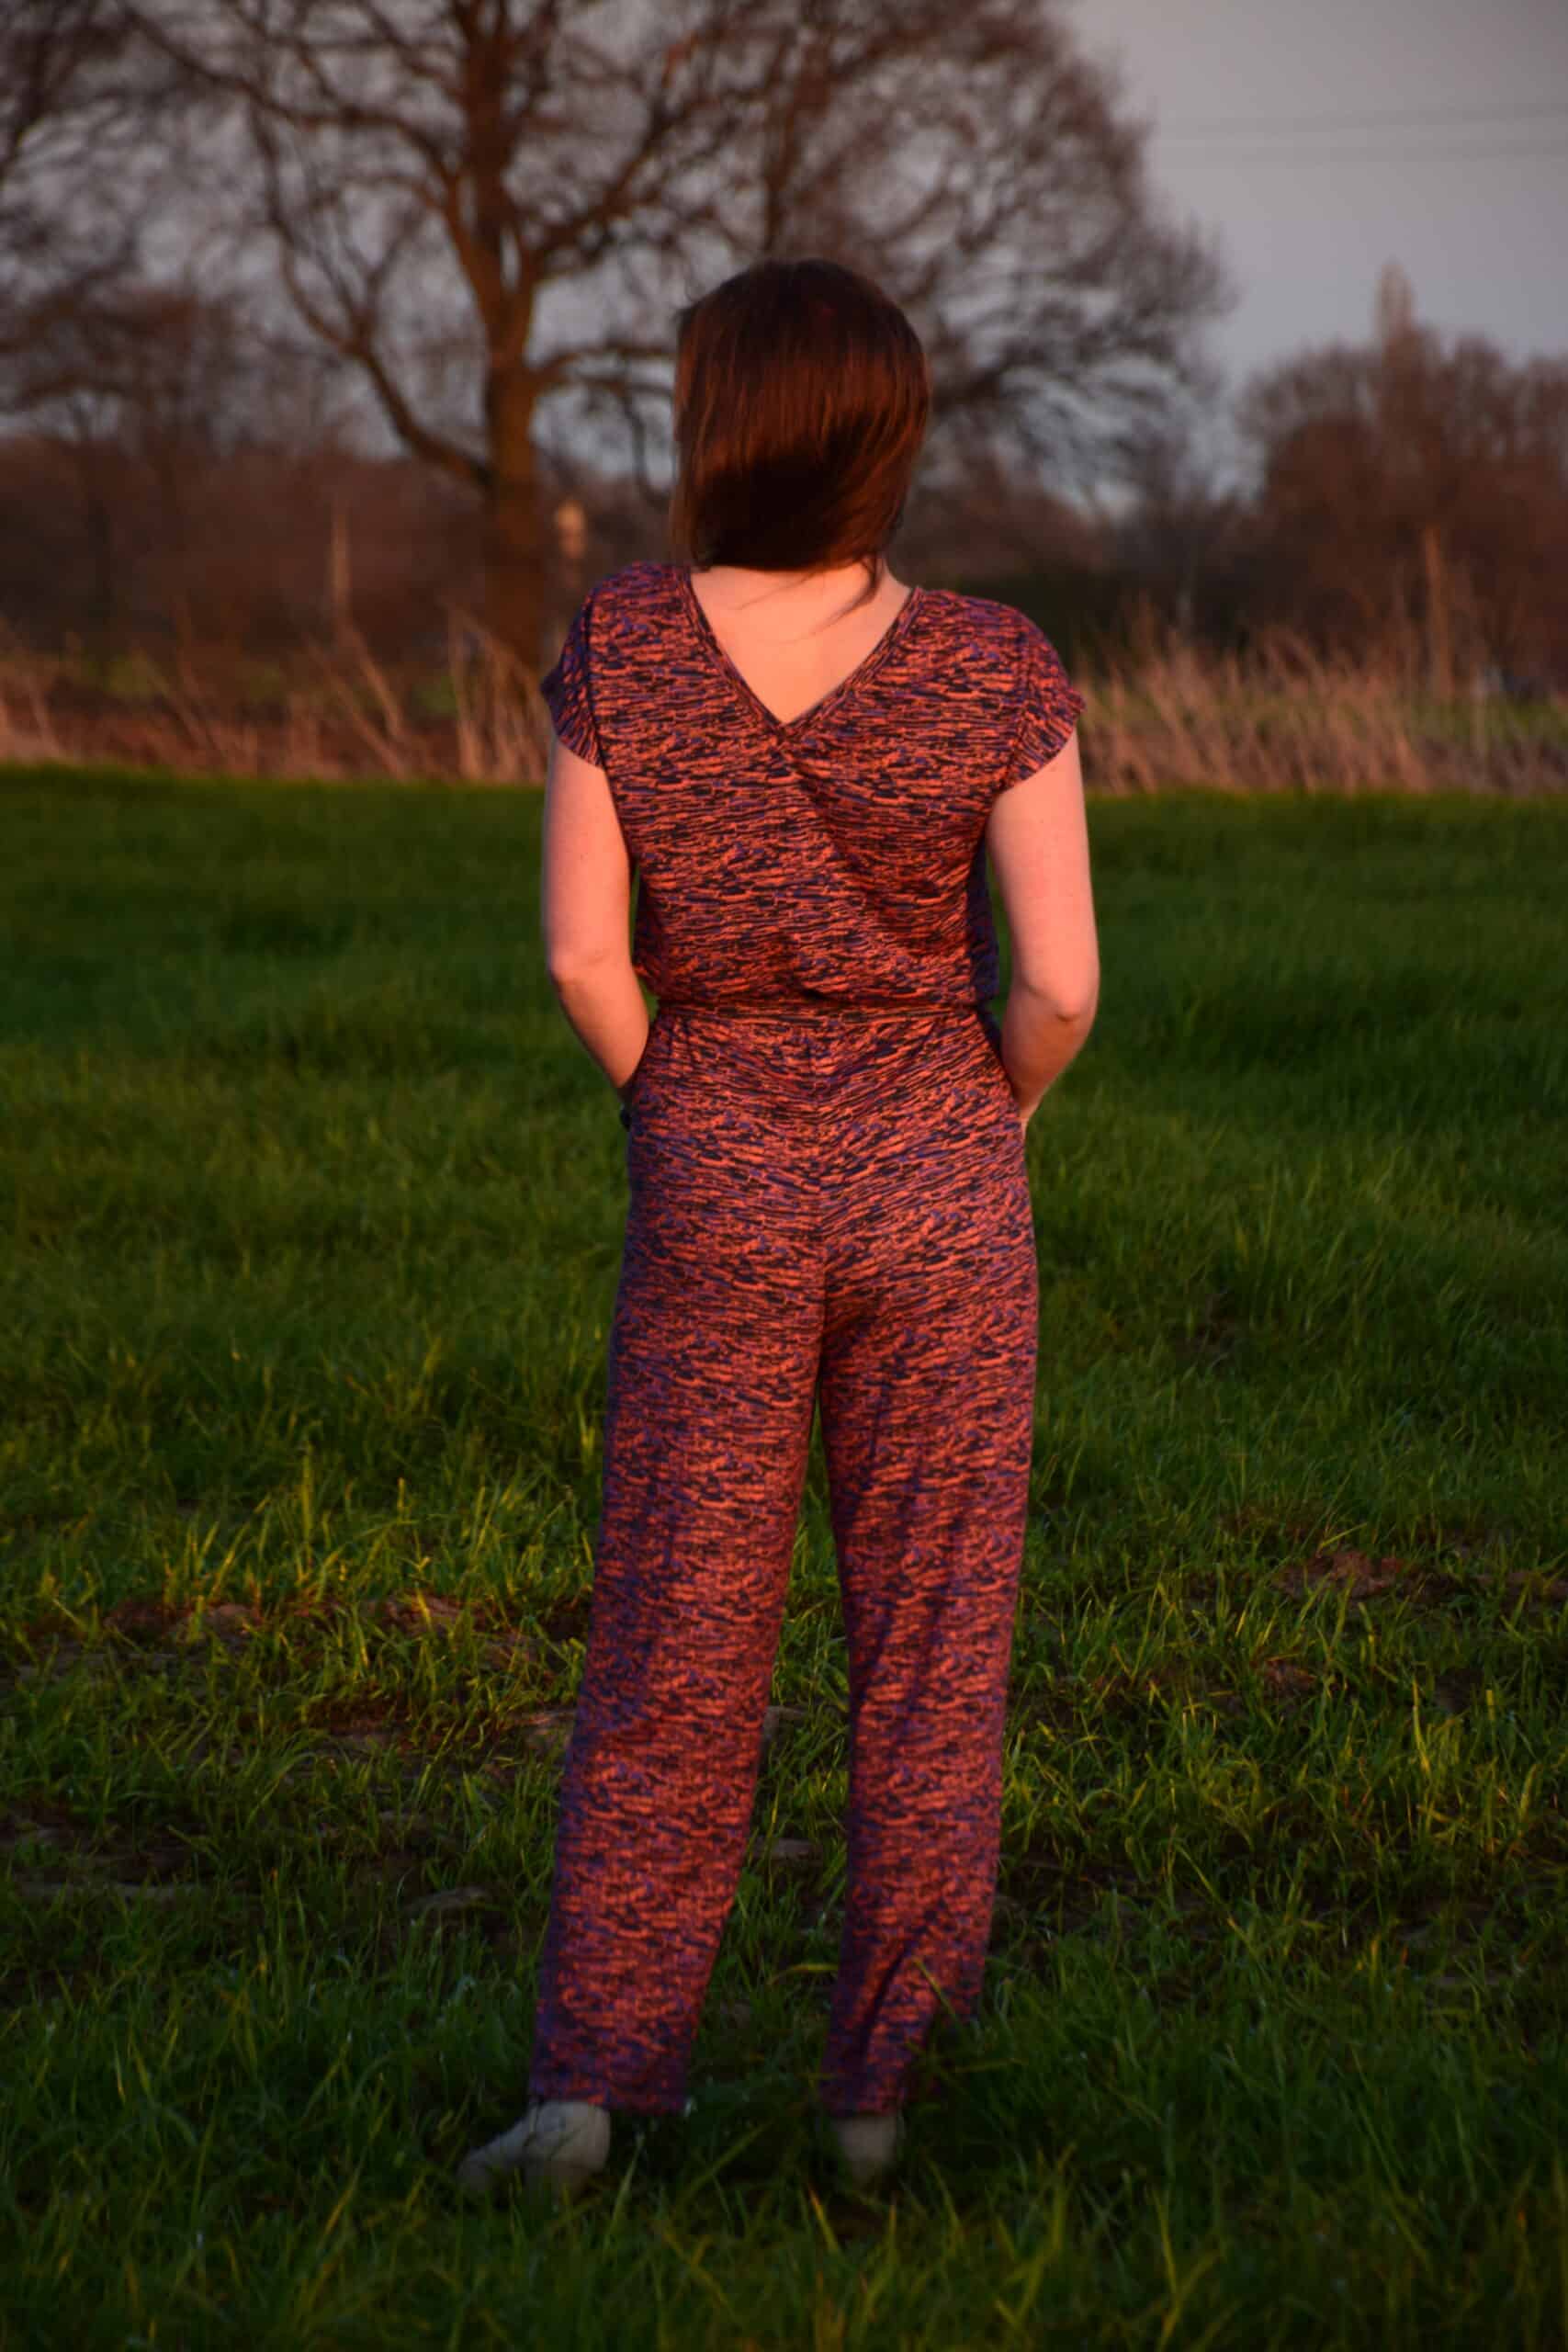
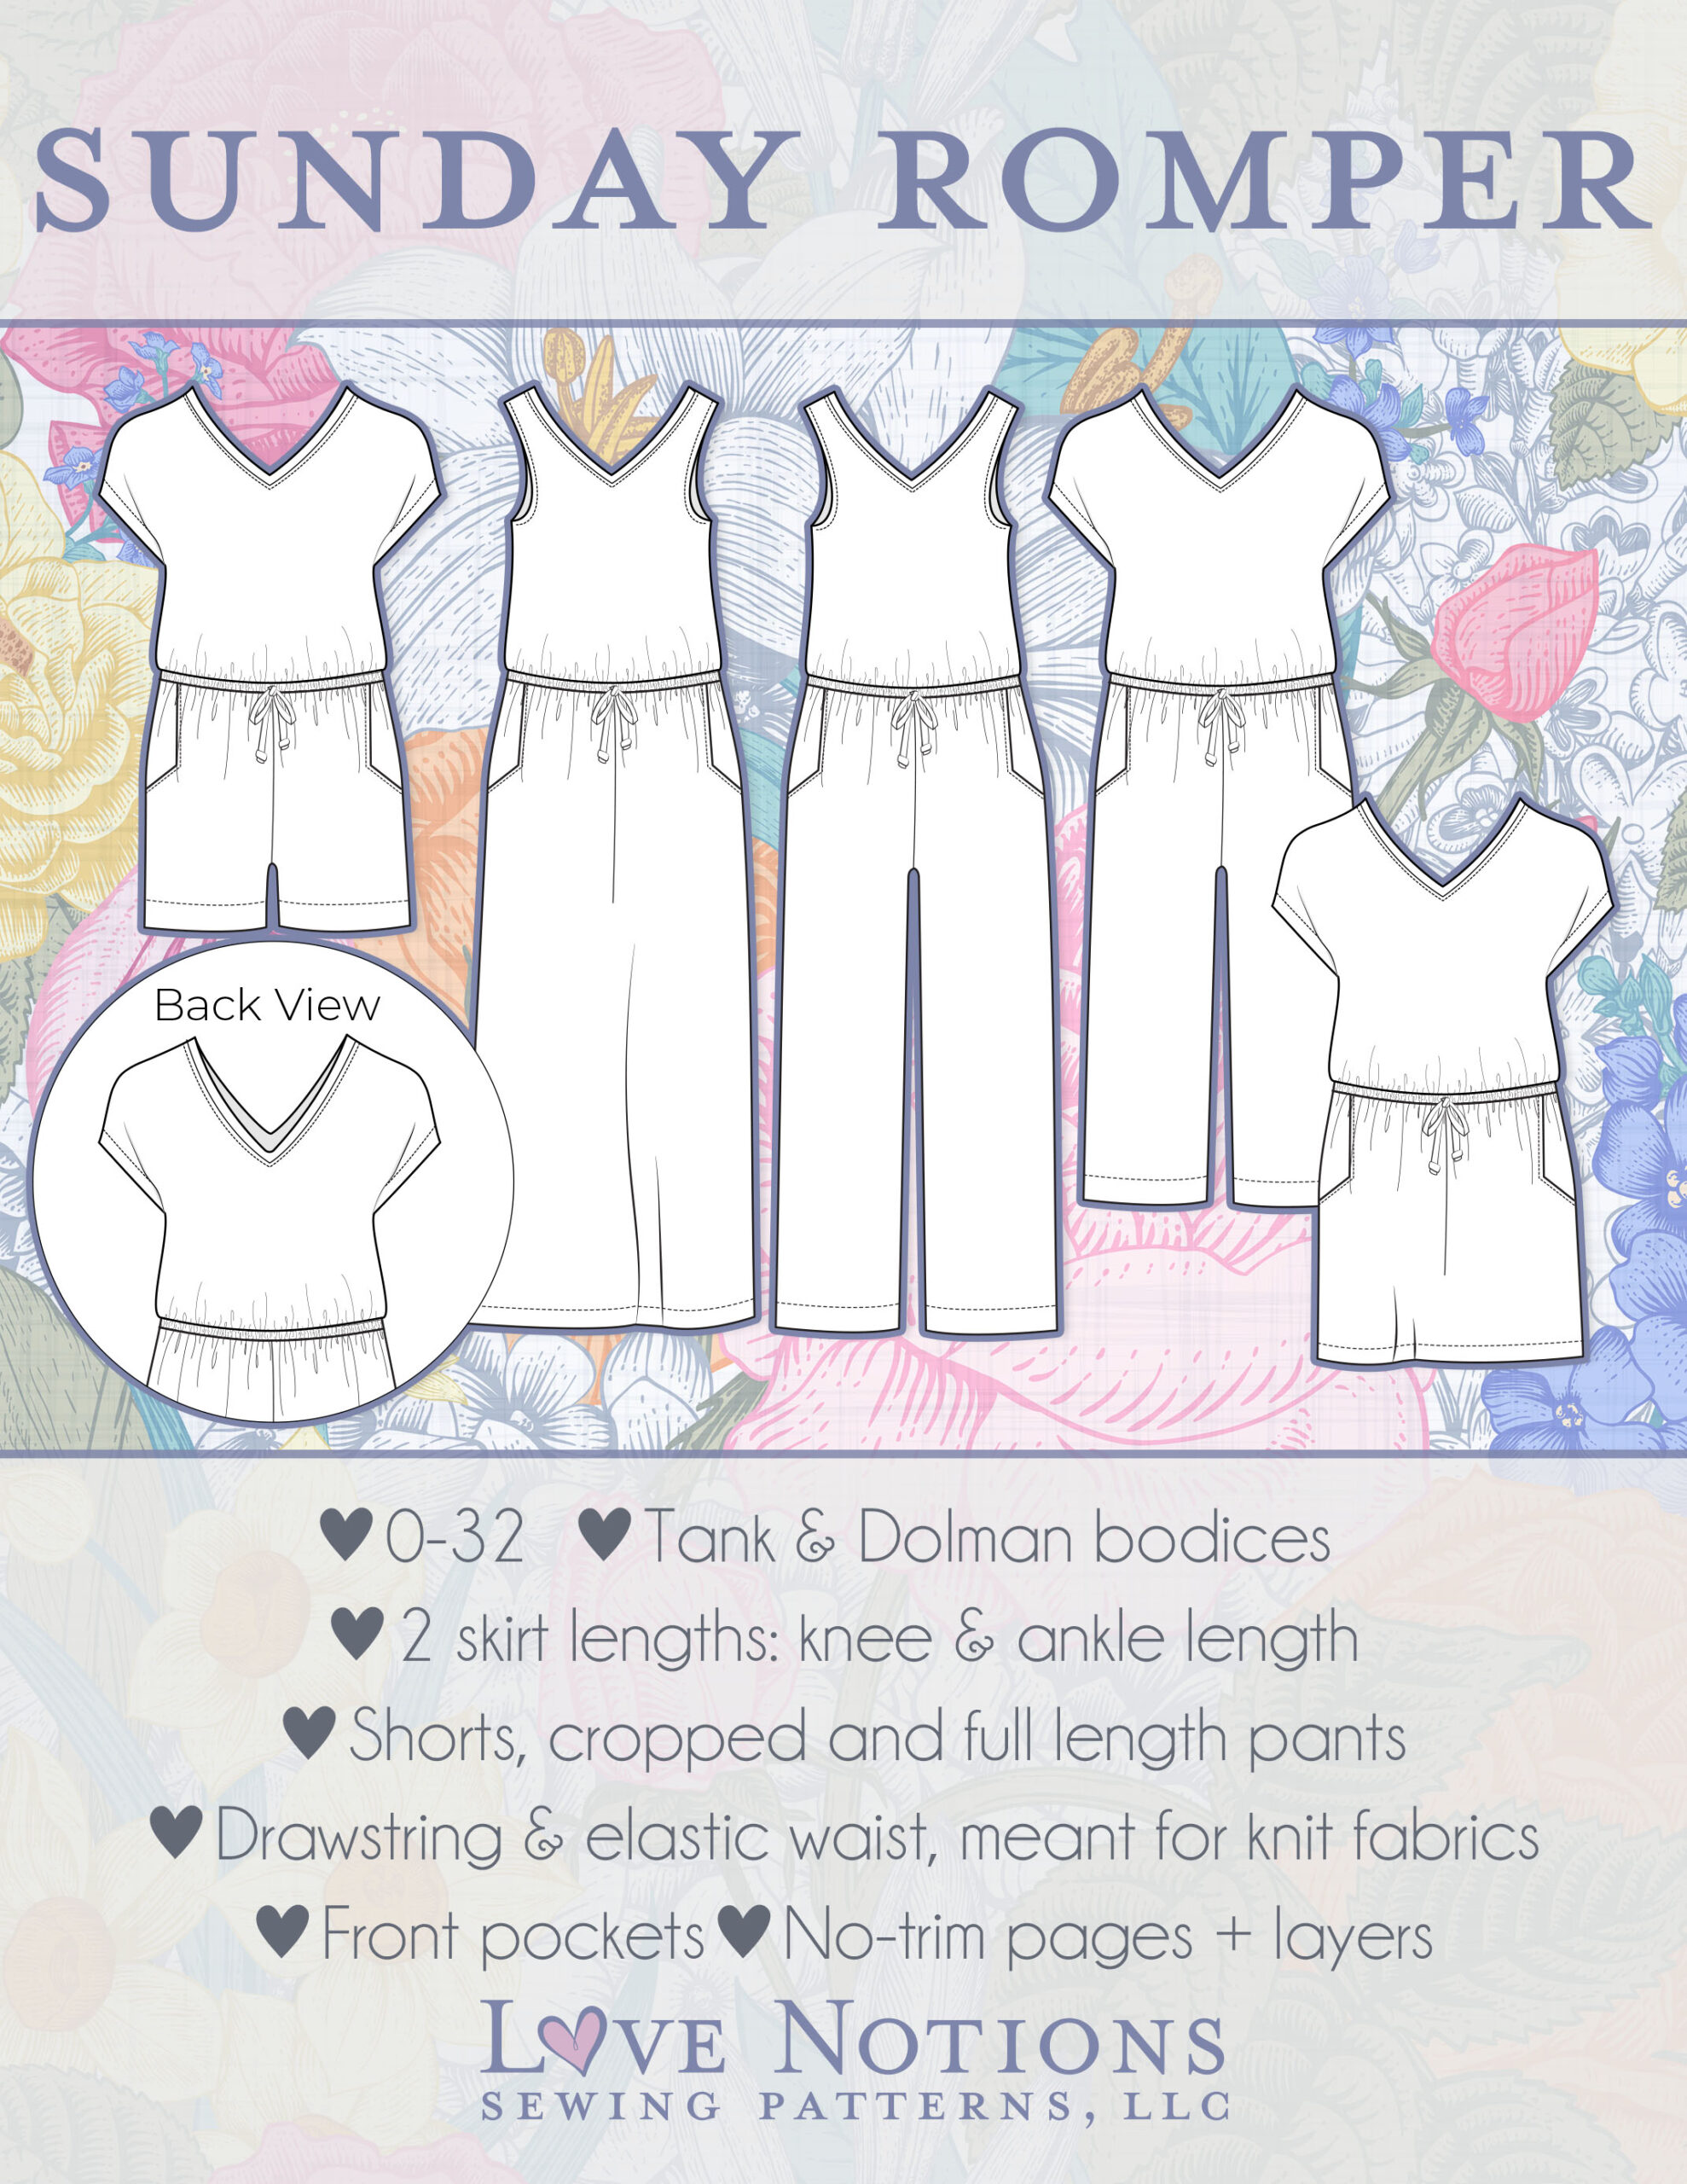
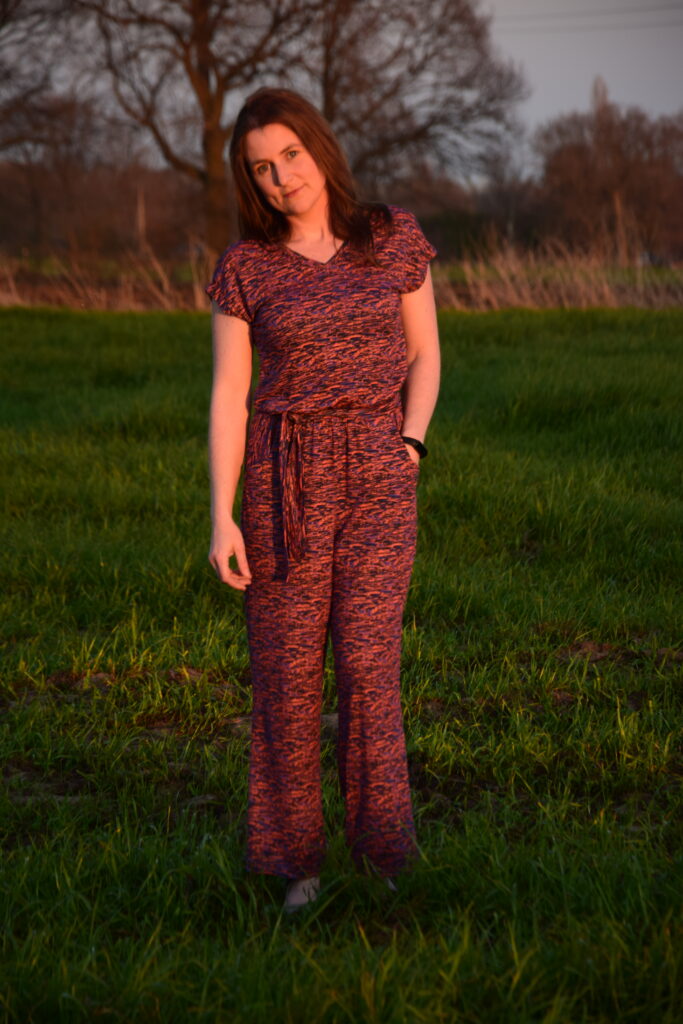
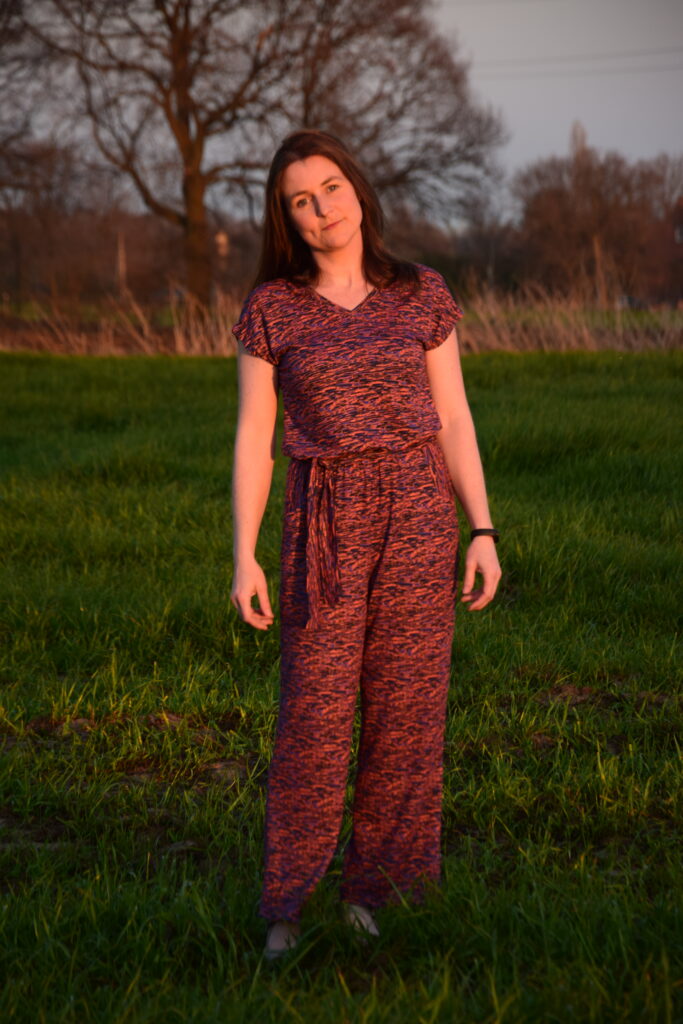
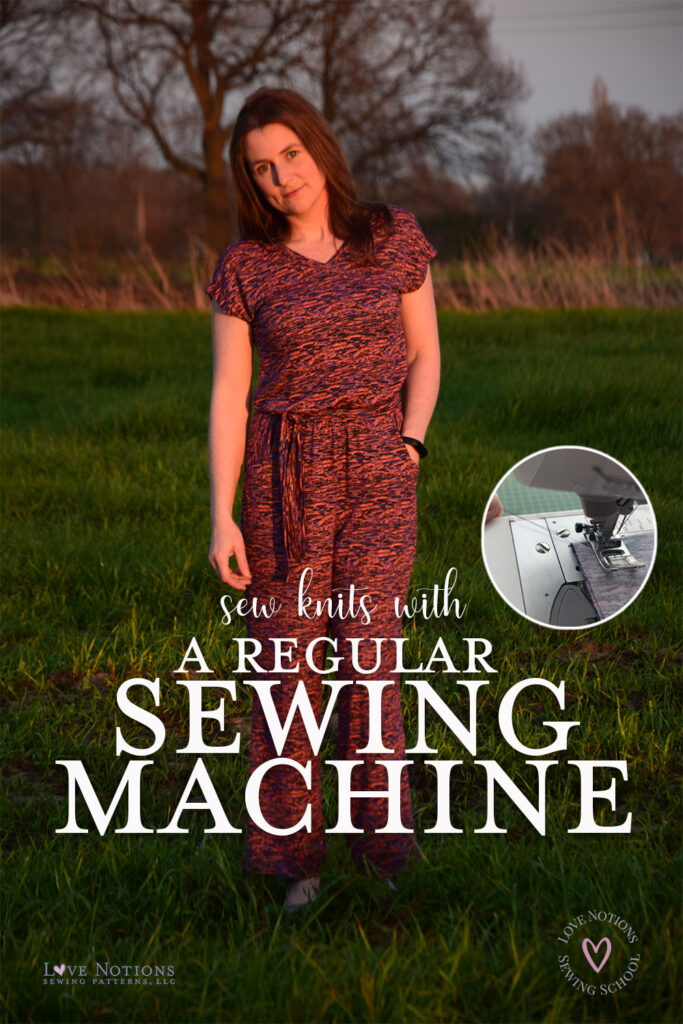
Hi everyone! I’m Annick, An Ca, from flaxfield_sewing and I’m so happy to share my excitement with you about the featured Friday pattern, The sunday romper pattern (aff).
I have a confession…
As you may know, this pattern is intended for sewing with knit. I always prefer sewing with knit and I have to make a confession about this with you, I almost always sew my knit with my regular sewing machine. Knits don’t usually fray, so you don’t have to finish the seams and that’s why a serger is not a must.
I have a beautiful serger who is just gathering dust most of the time because, believe me, sewing knit with a regular sewing machine is really super simple. You just have to observe a few things, and I would like to share them with you today.
Sewing knit with a regular sewing machine is
really super simple.
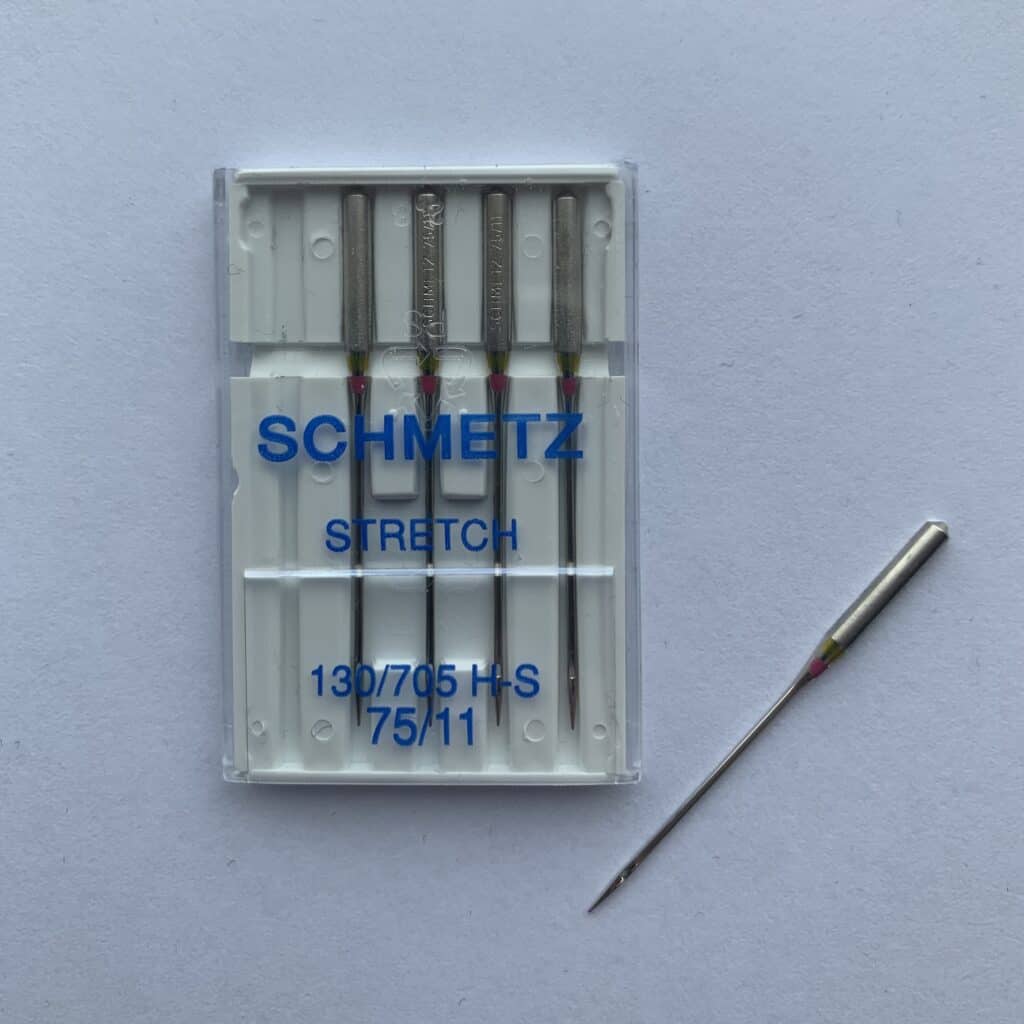
Choosing the right needle
It all starts with choosing the right needle. If you sew with knit fabrics you need a stretch needle. Using a wrong needle can result in skipped stitches or even holes in your fabric. The stretch needles have a smaller, rounded tip that pushes the fibers aside instead of making holes in the fabric. They are usually called ballpoint, jersey or overlock needles. I usually use the Schmetz brand, but I am sure that there are many very good brands on the market.
Also make sure that you change your needle regularly, otherwise you also have the chance that your machine will skip stitches.
Using a stretch stitch
A second tip I can give is that you should always use a stretch stitch with stretch fabric.
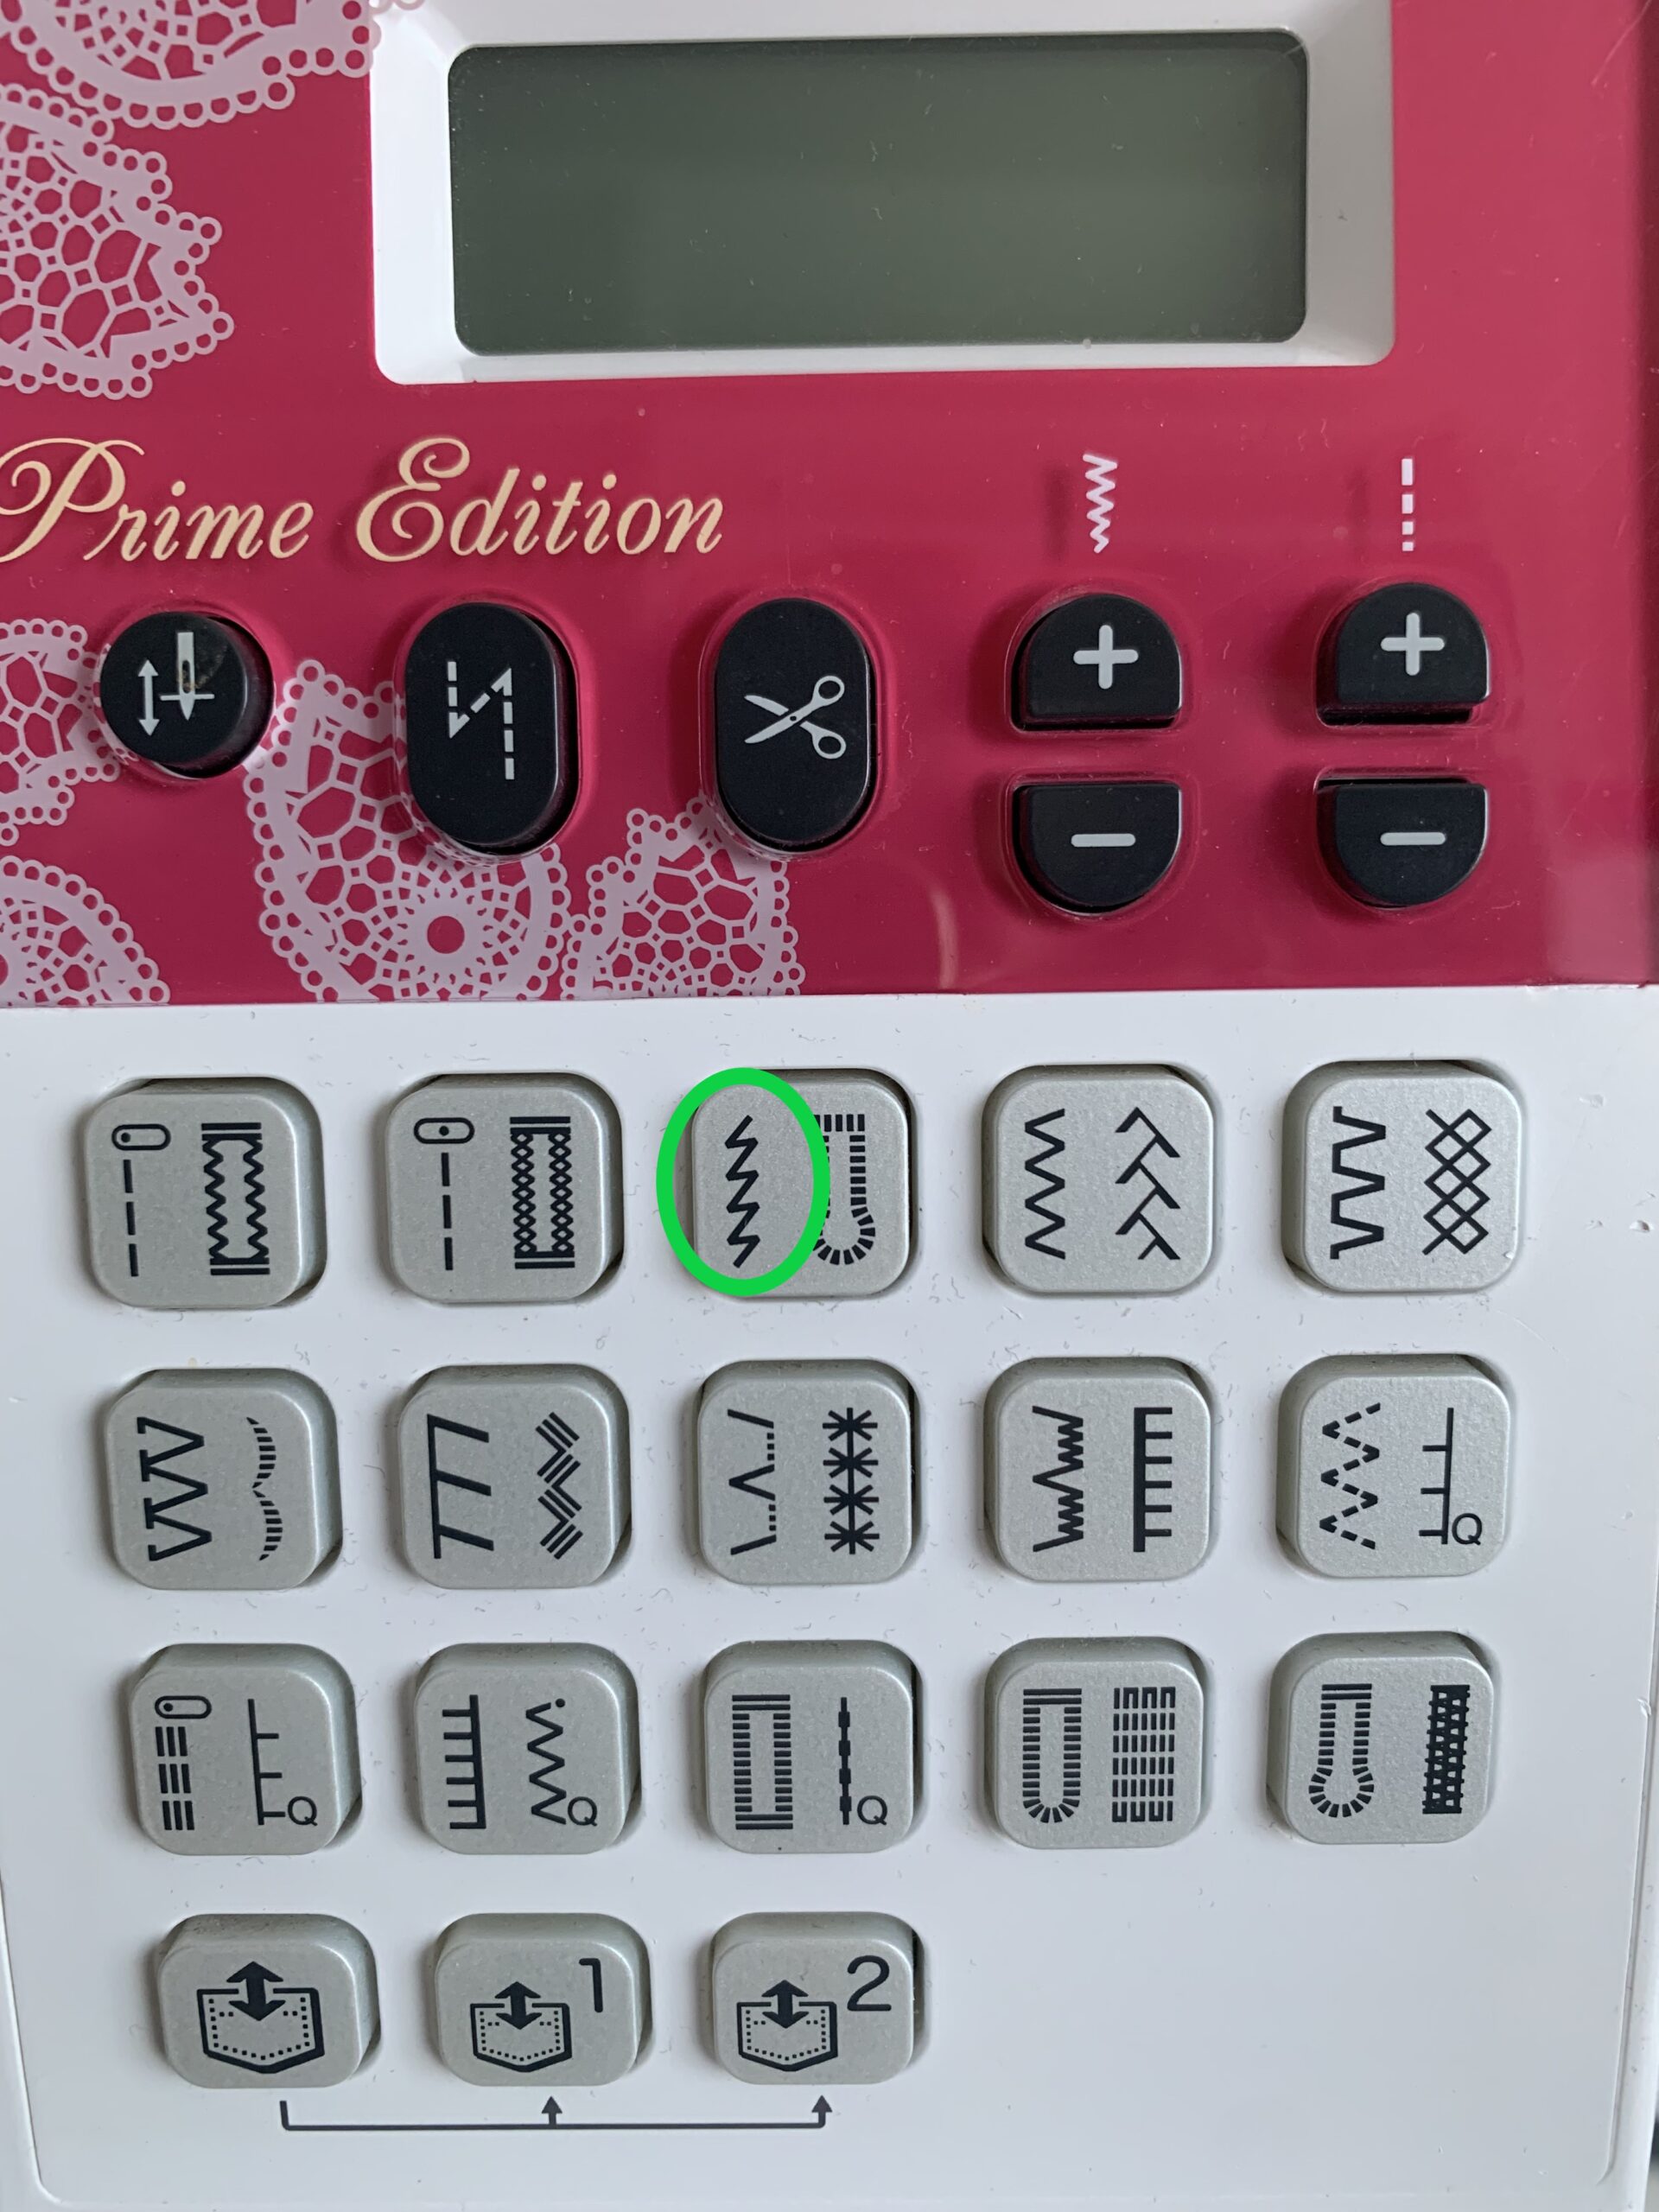
Knit fabrics can stretch and then go back to their original shape and of course, your seam must follow this stretching movement because otherwise it will break. To prevent this breaking, we can choose different stitches on our sewing machine. I will give you the 3 stitches that I use a lot and that can be found on most common machines.
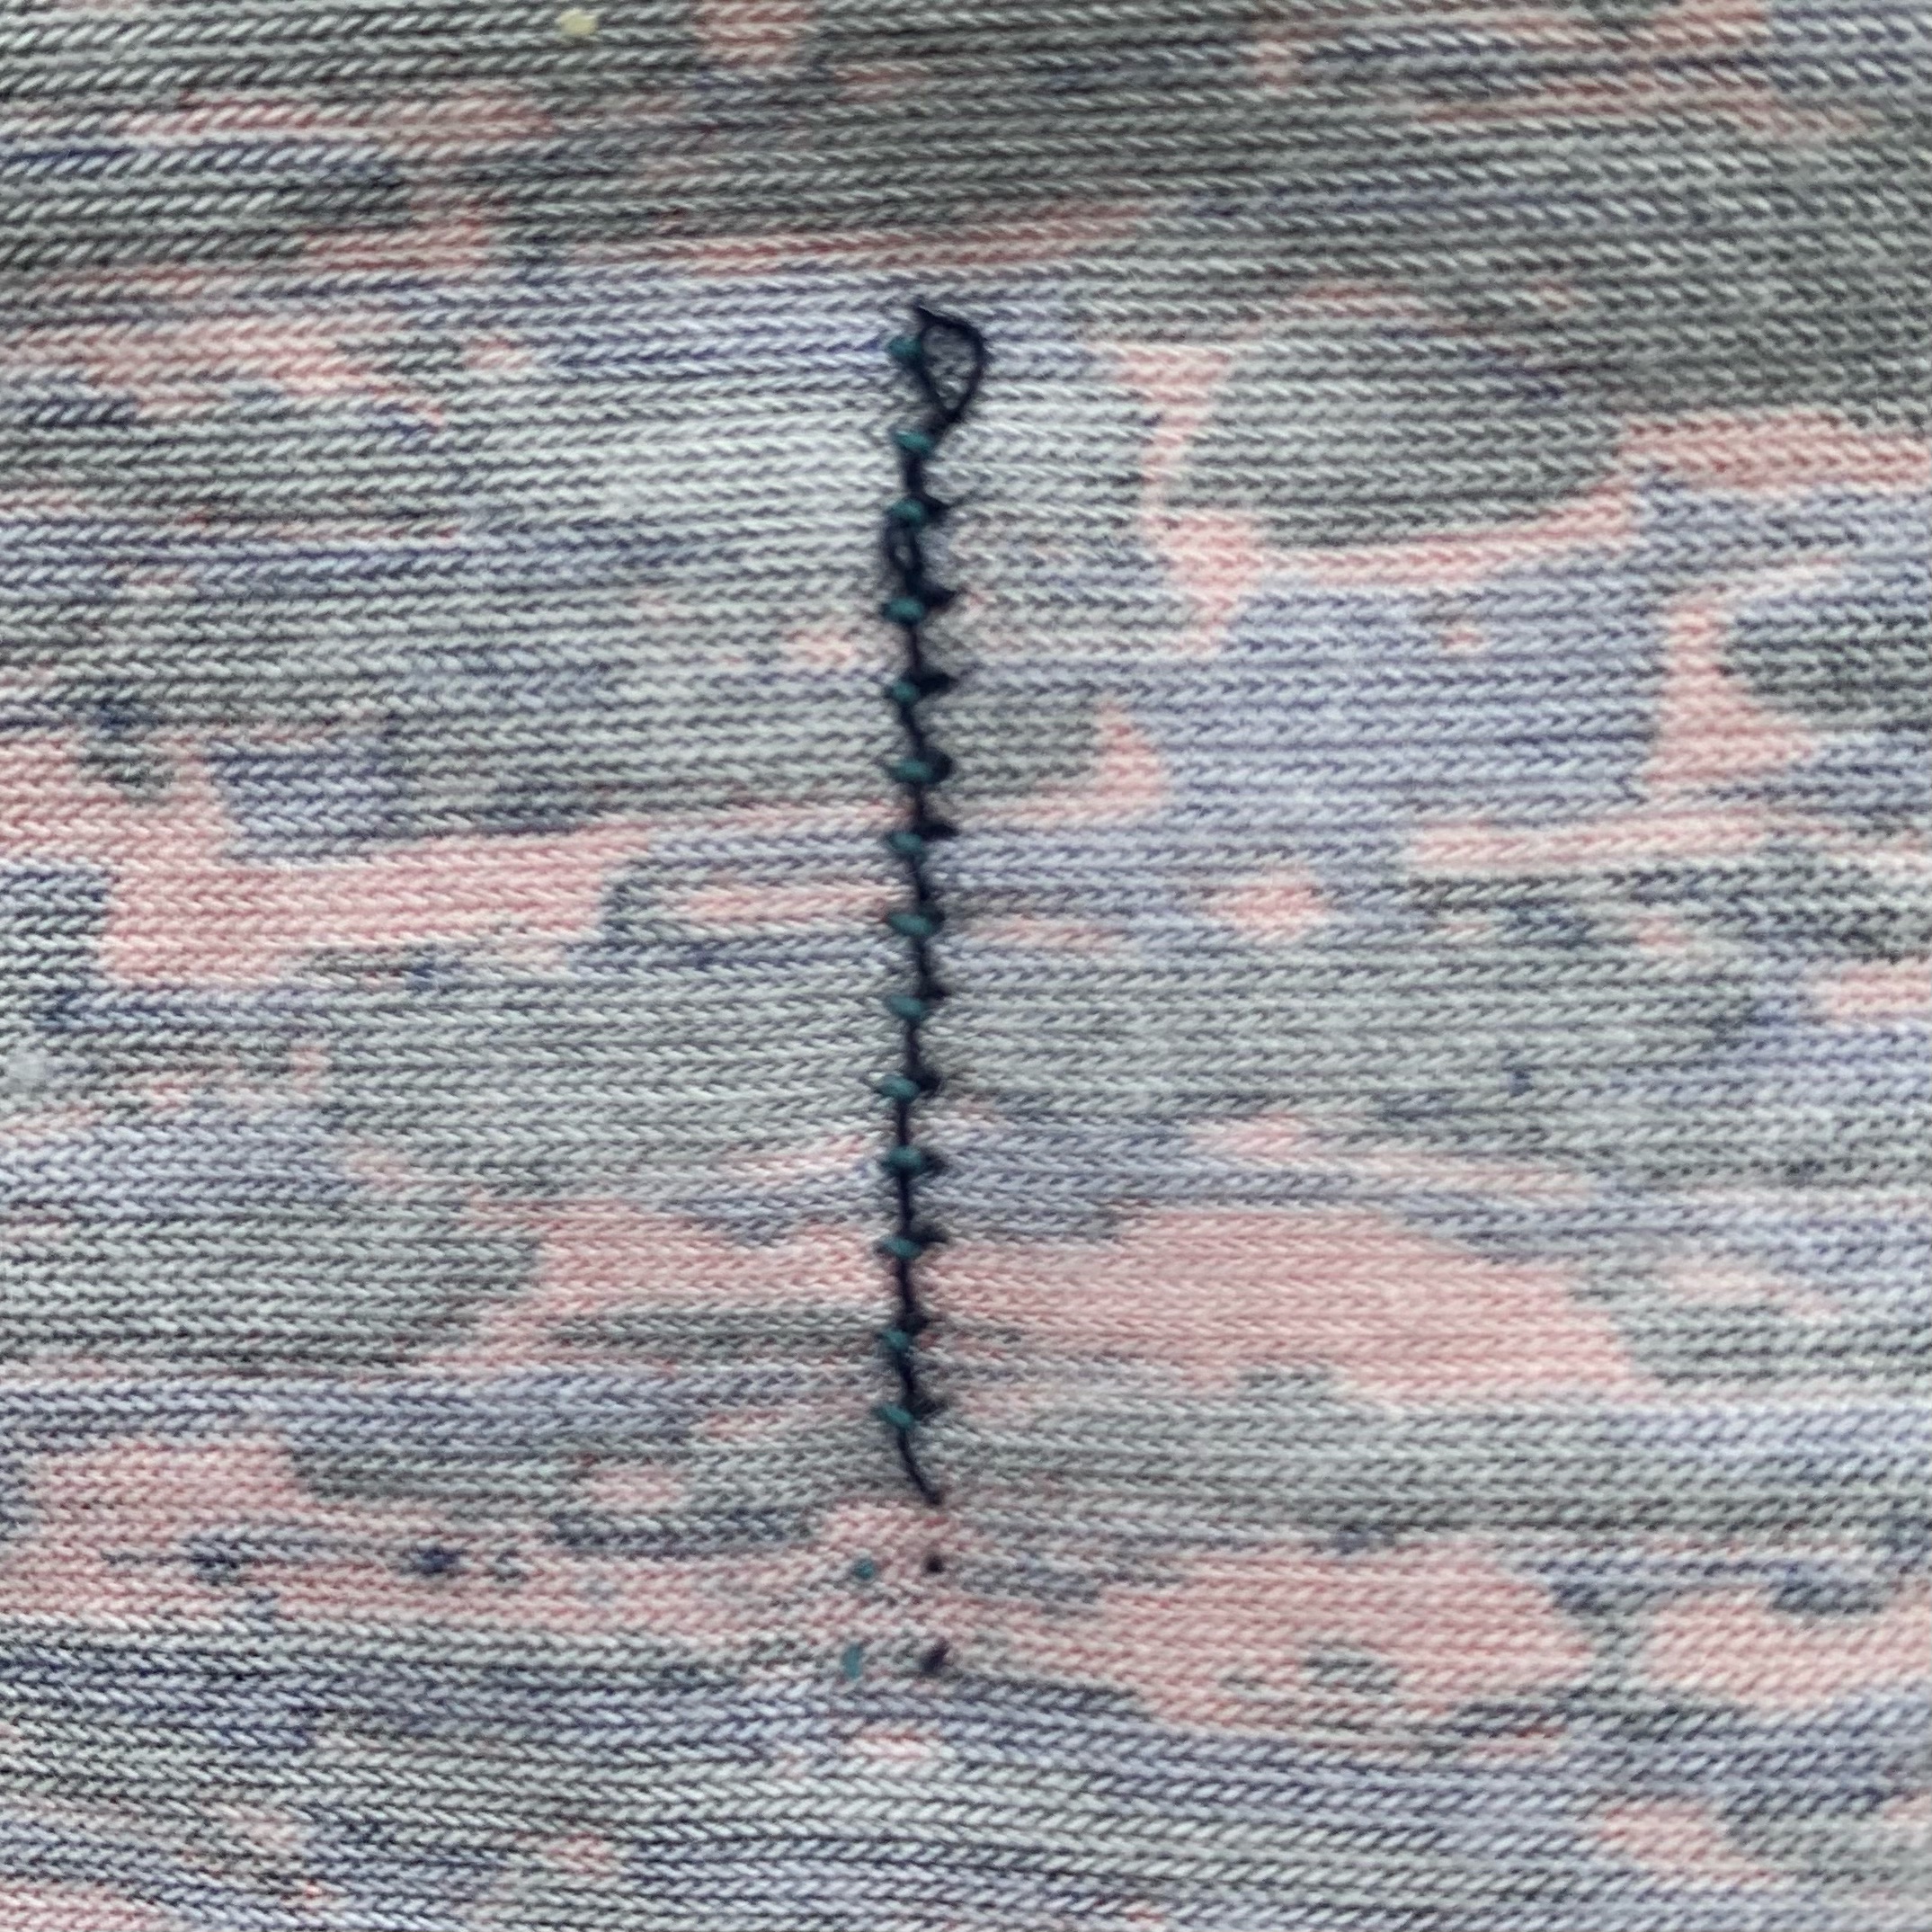
TRIPLE STITCH
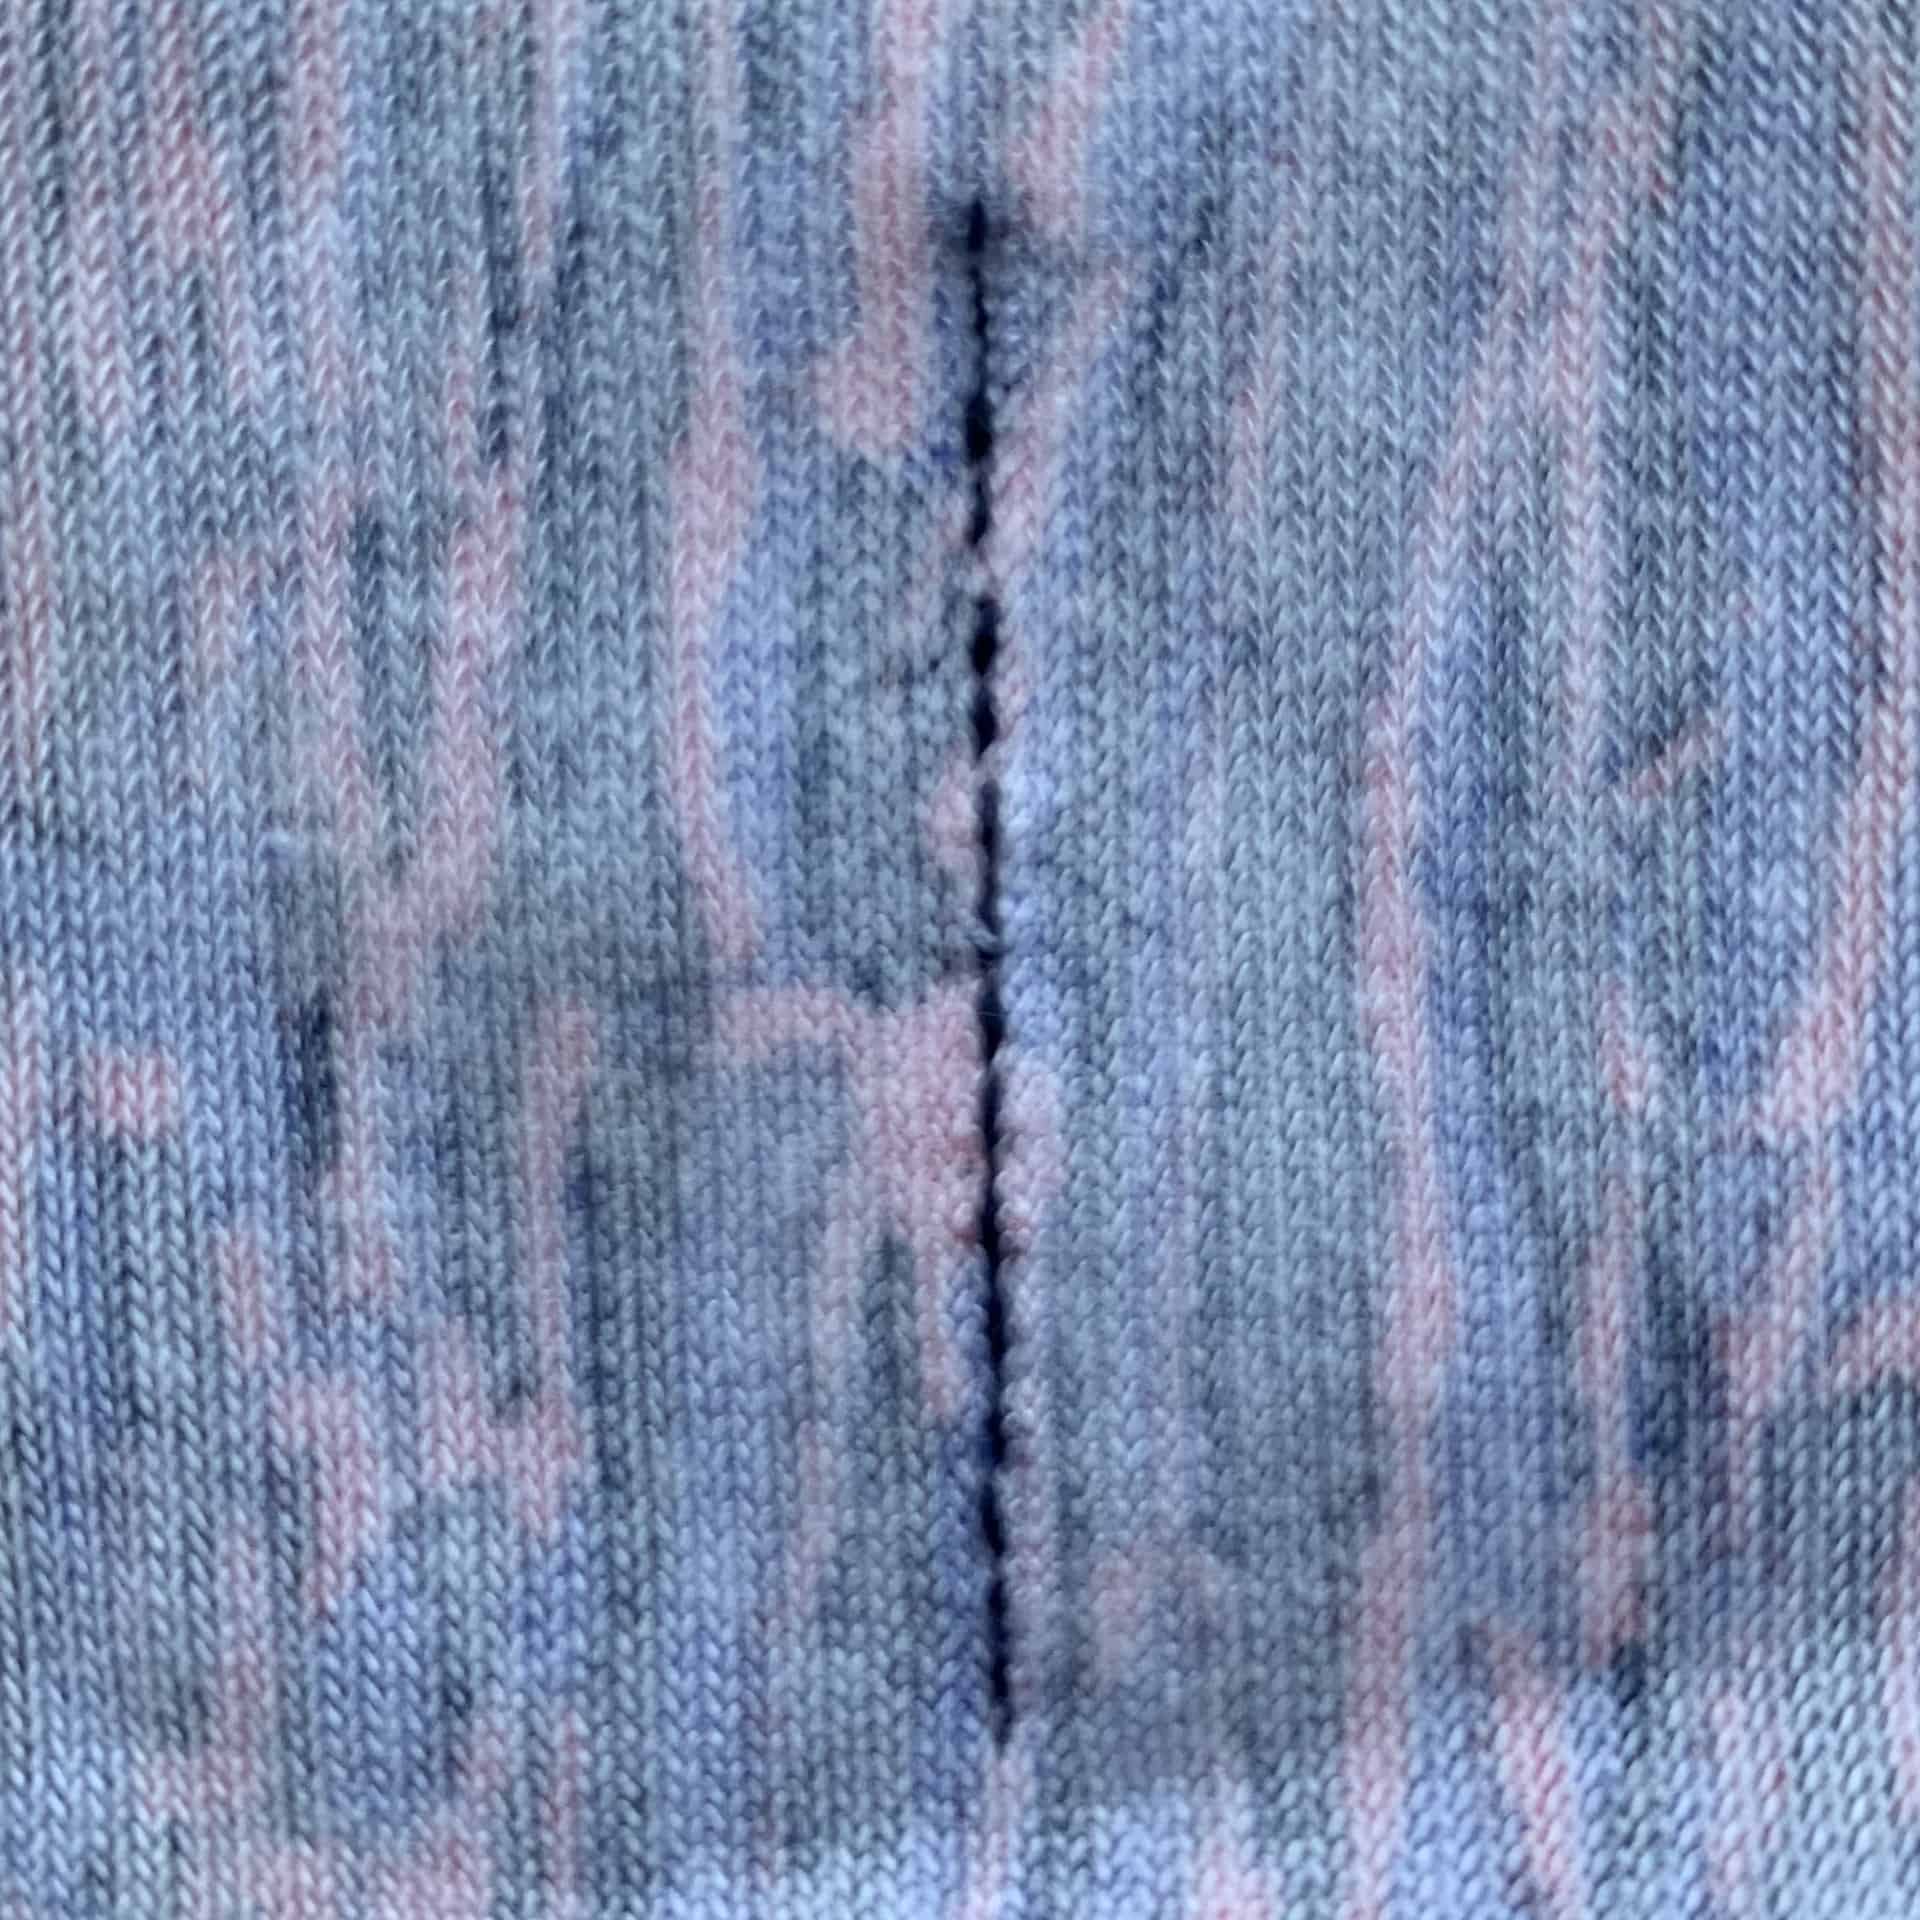
I start with the one I use the most: the triple stitch. This stitch is my favorite because it looks like a normal straight stitch, only each stitch is set 3 times (2 stitches forward, 1 backward), which makes the seam stretchable and very strong. There is only 1 disadvantage to this stitch: it is very difficult to remove it, so you have to be very careful not to make a mistake when you use it otherwise you will spend an awfully long time with your seam ripper.
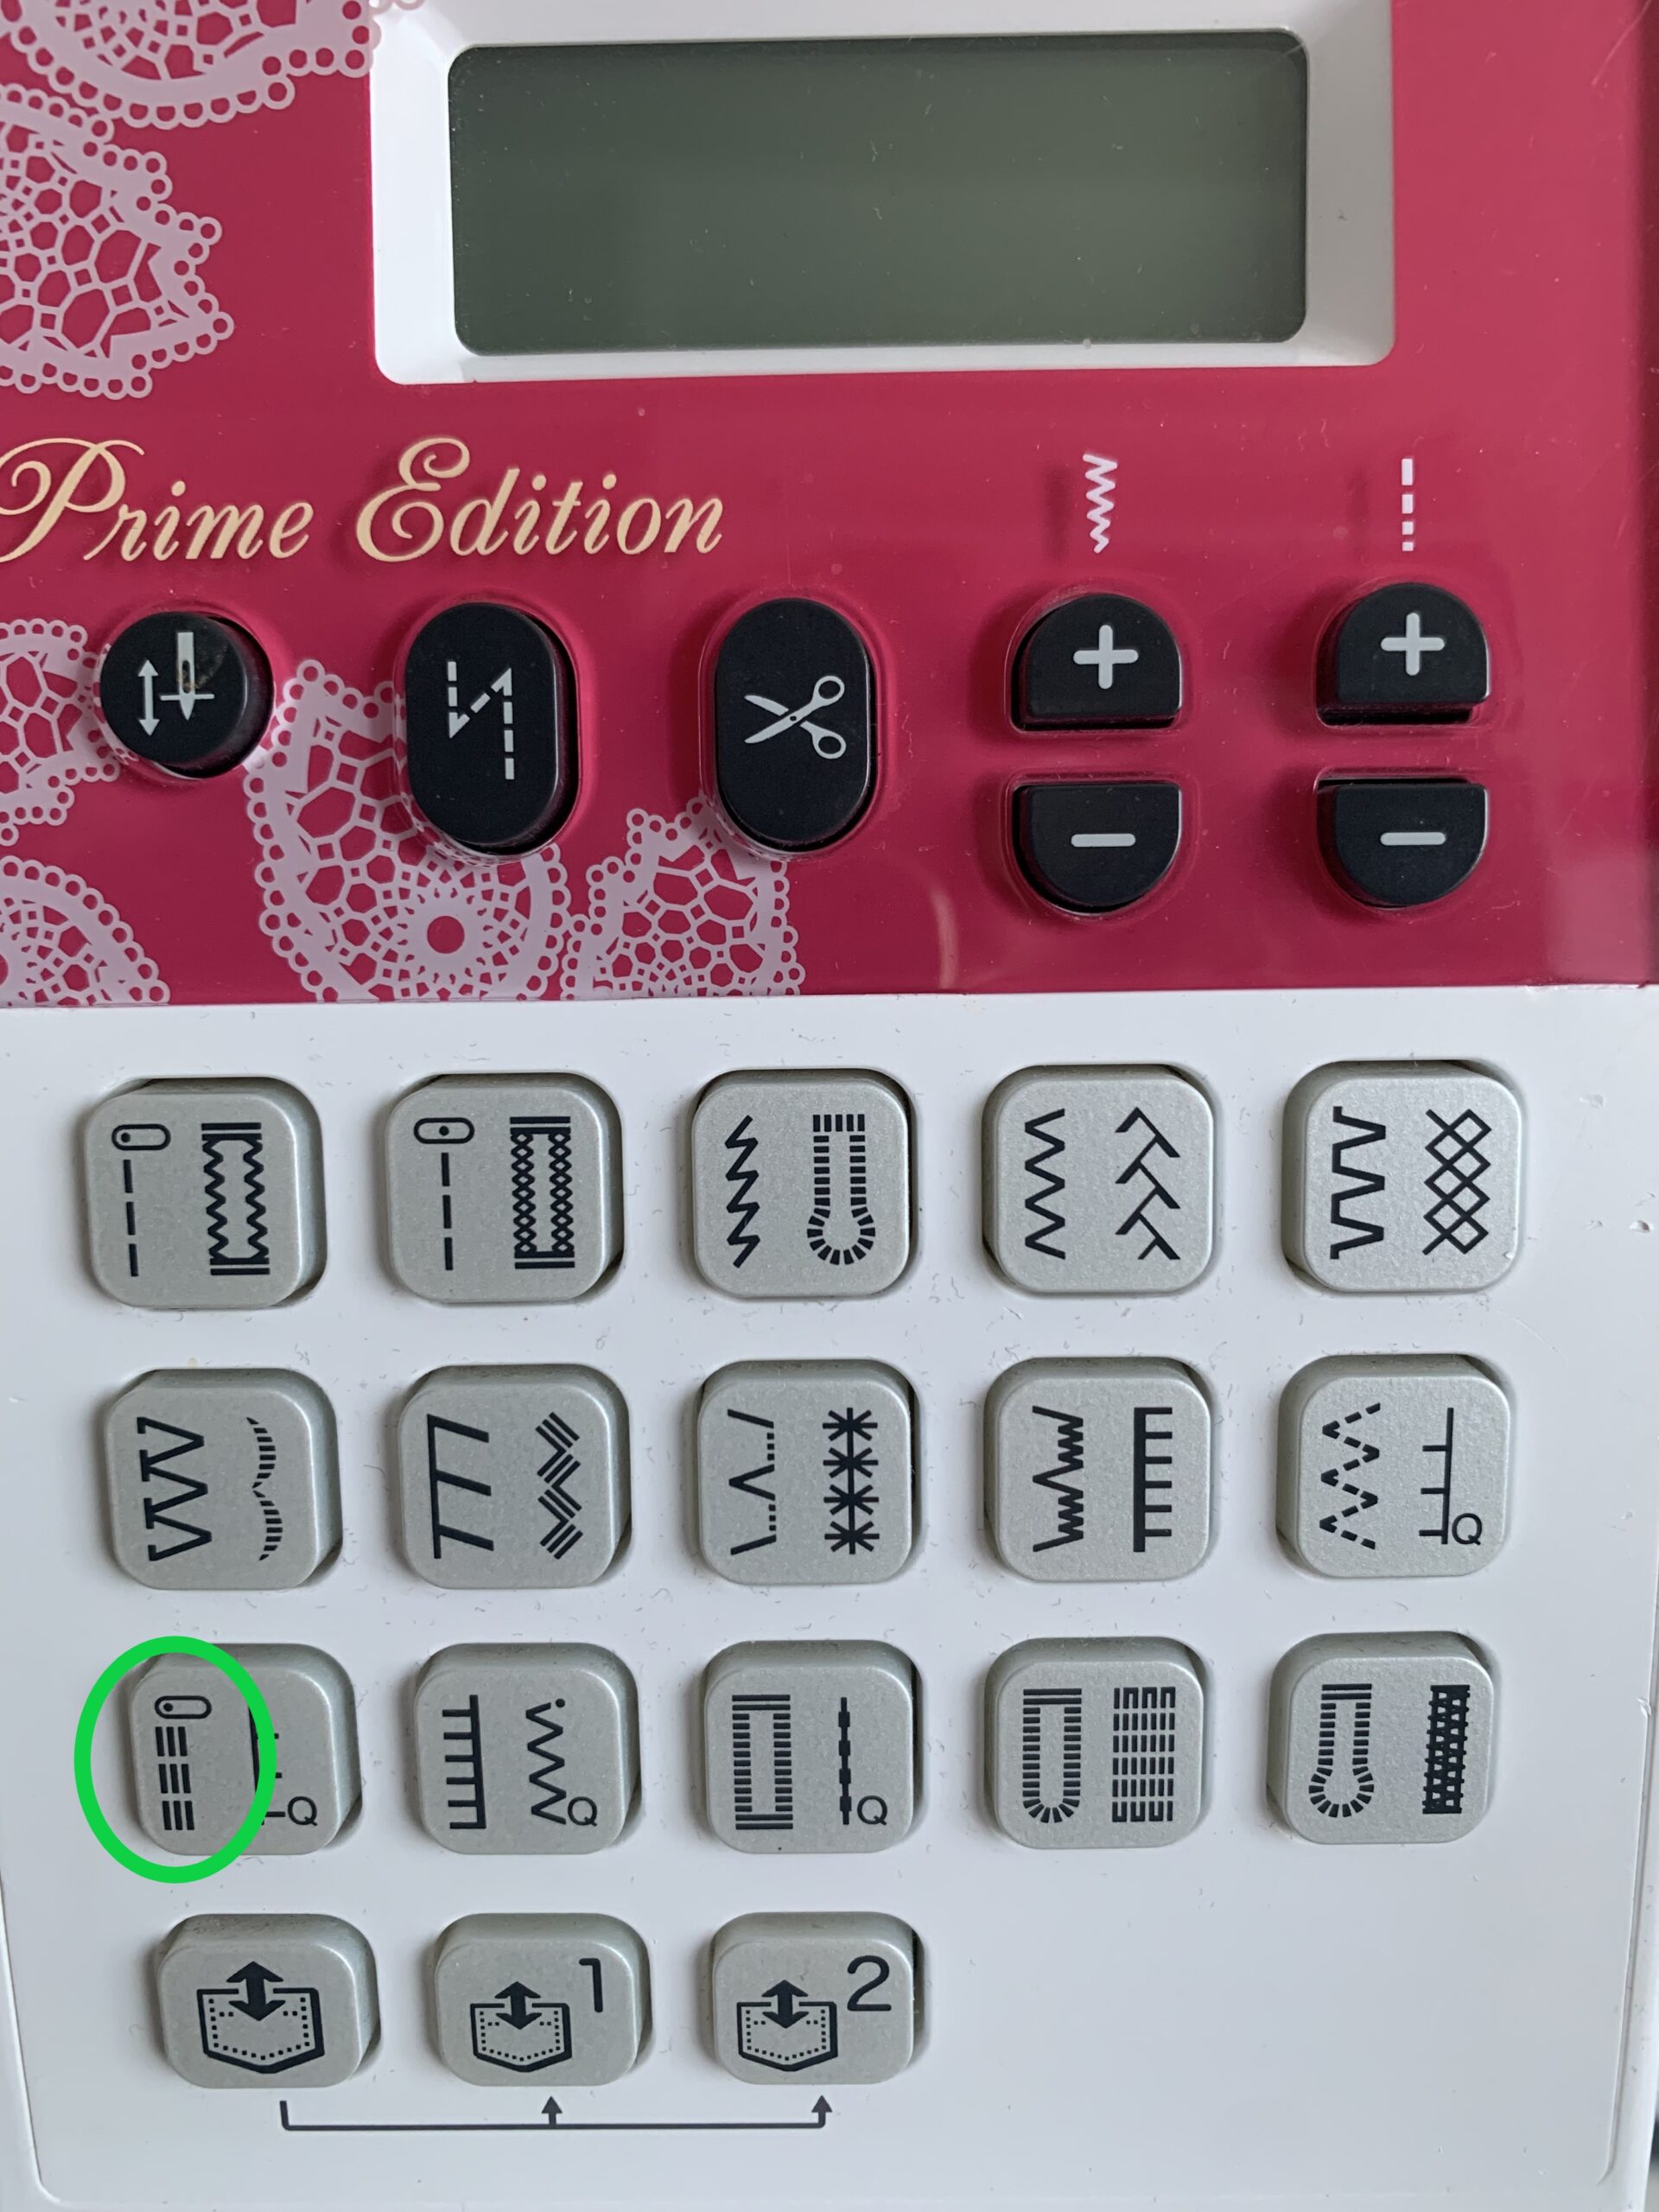
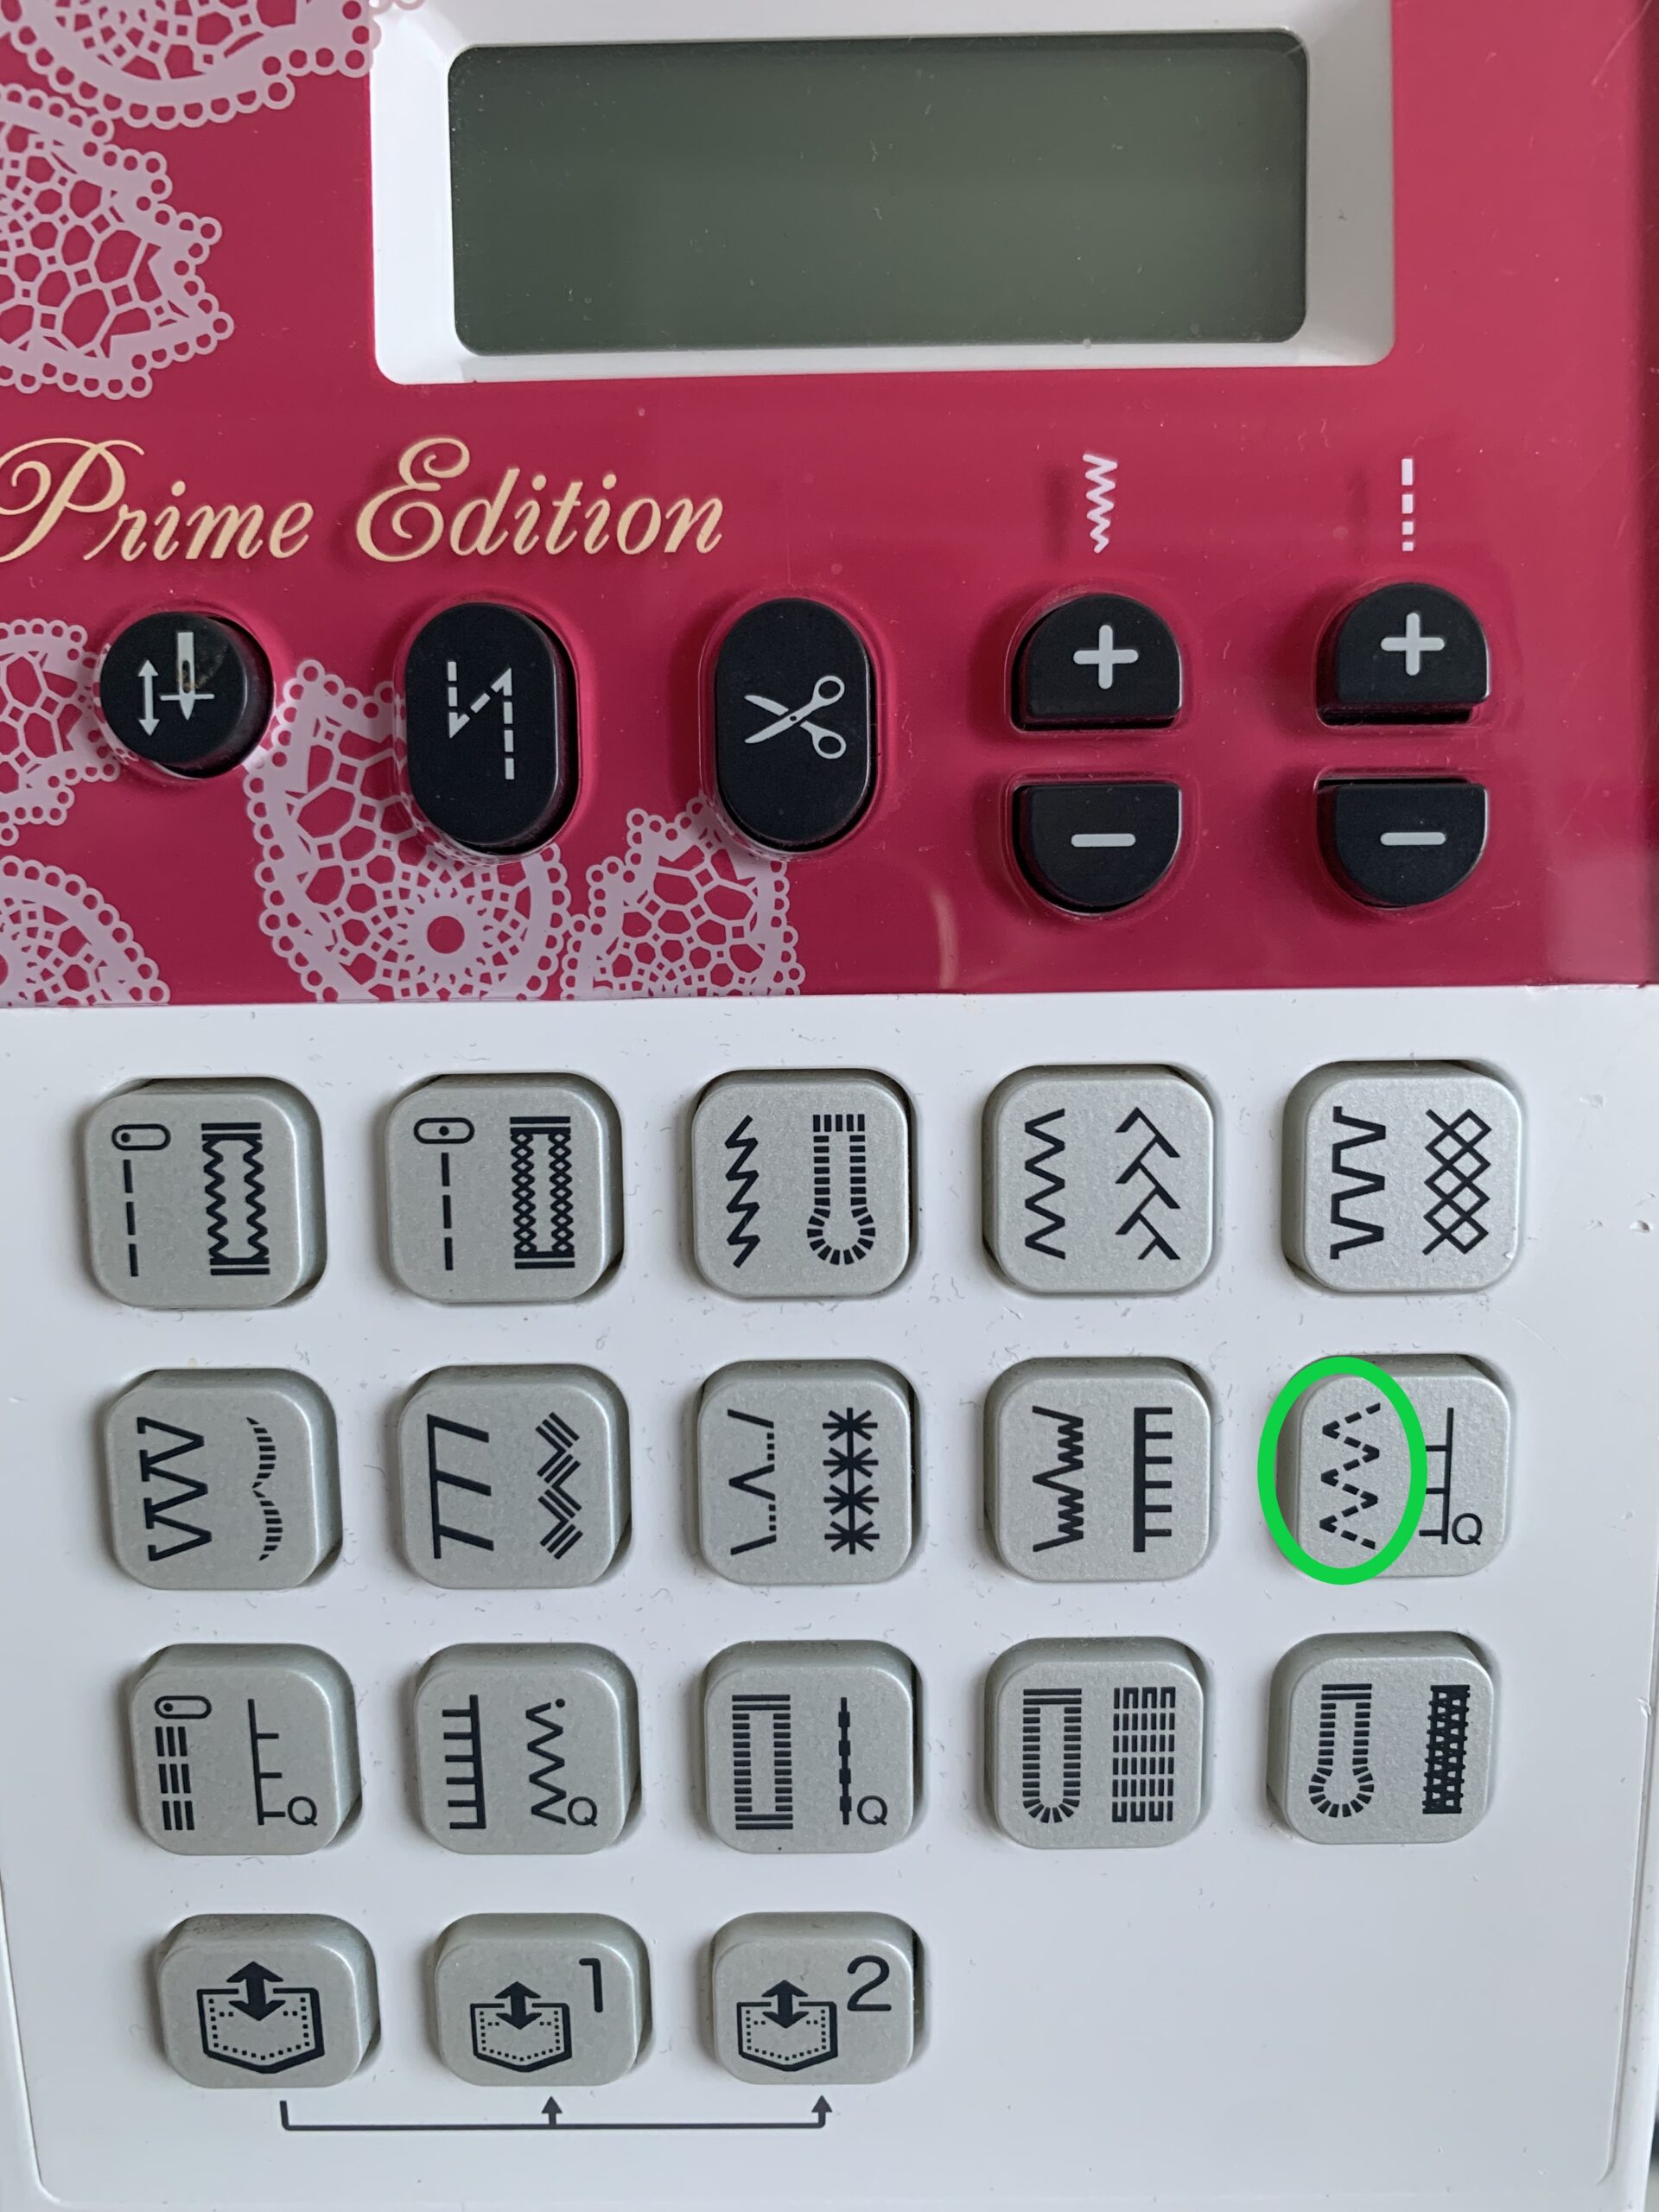
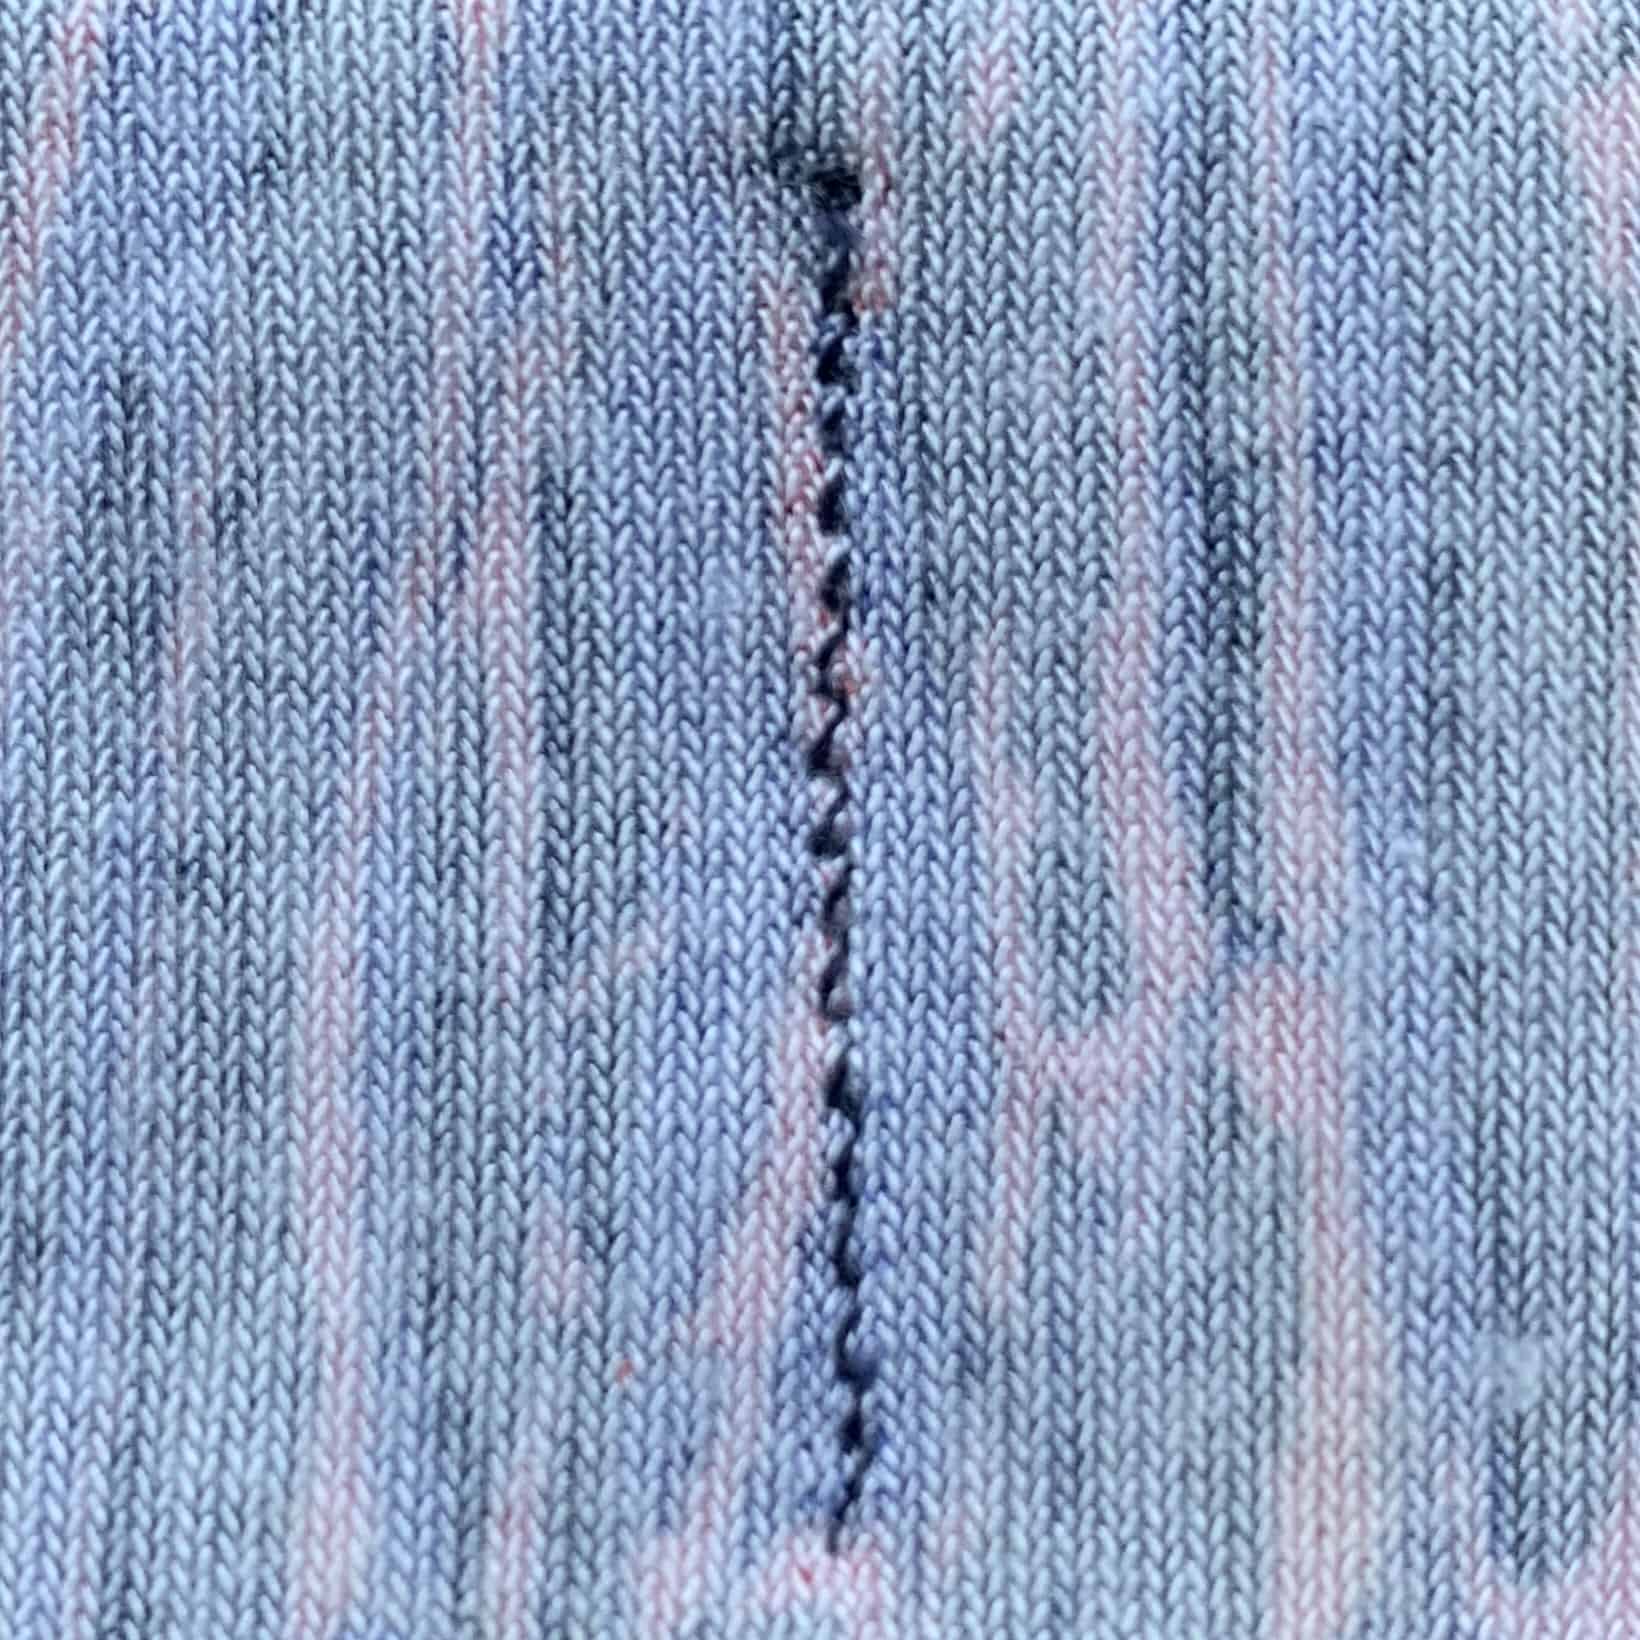
ZIG-ZAG STITCH
Another commonly used stitch is the triple zig-zag stitch. A normal zig-zag stitch is also possible but it can produce a tunneling effect, especially with lighter weight fabrics. With the triple zig-zag stitch you can prevent this. This stitch makes 3 small straight stitches diagonally from point to point, like a w shape. This stitch is also often used along with fold over elastic.
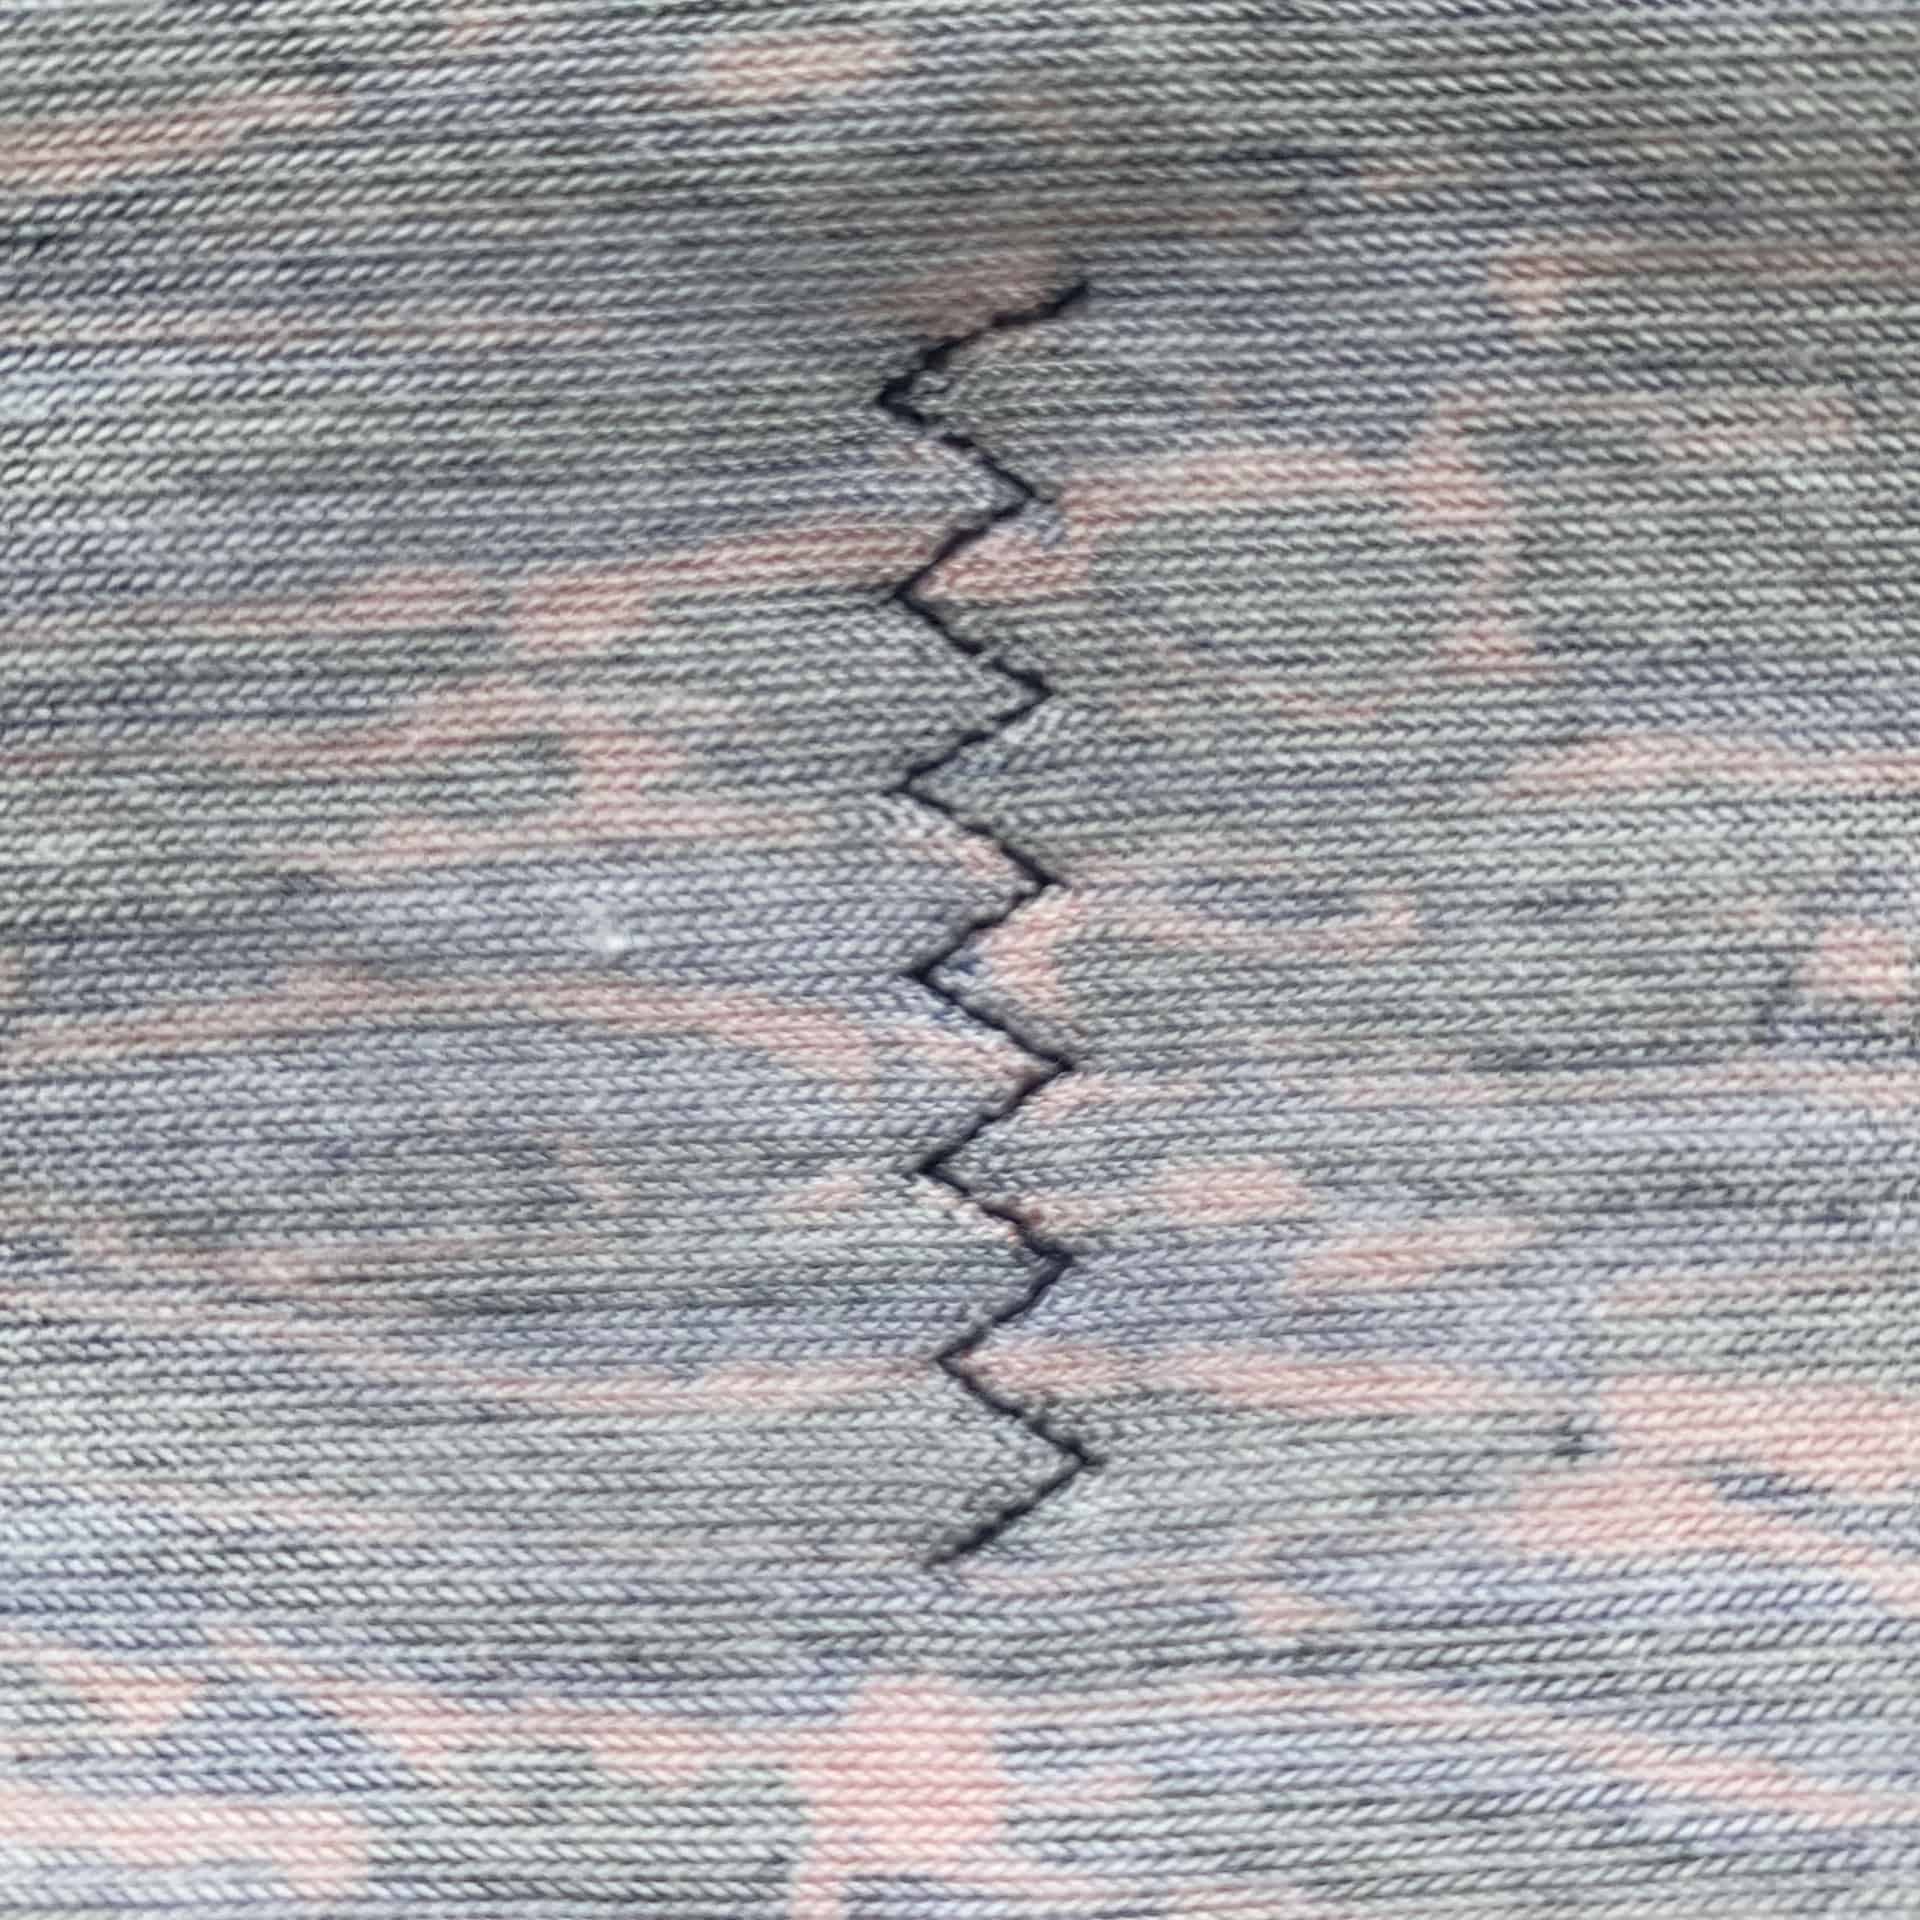
LIGHTNING STITCH
The last stitch I use frequently is the lightning stitch. It’s making a zig-zag stitch in an upward and downward motion and is therefore much narrower than an normal zig-zag stitch. After sewing with the lightning stitch, the seam can also simply be ironed open.
Customize your machine settings
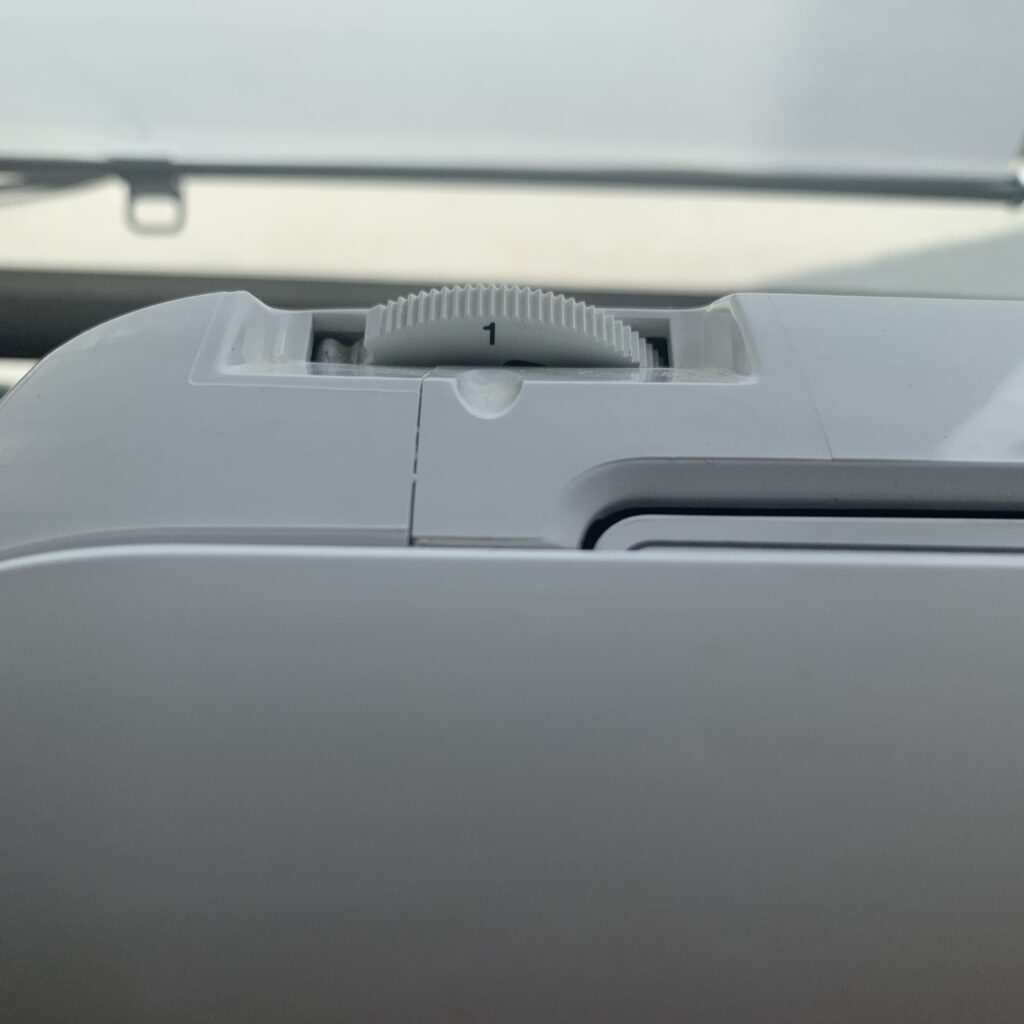
To prevent the stretching of your fabric while sewing, it is important to lower the pressure of your presser foot. I always lower my foot pressure from 3 to 1 when I sew stretch fabric.
It is also advisable to set your stitch length a little longer, for example to 3.
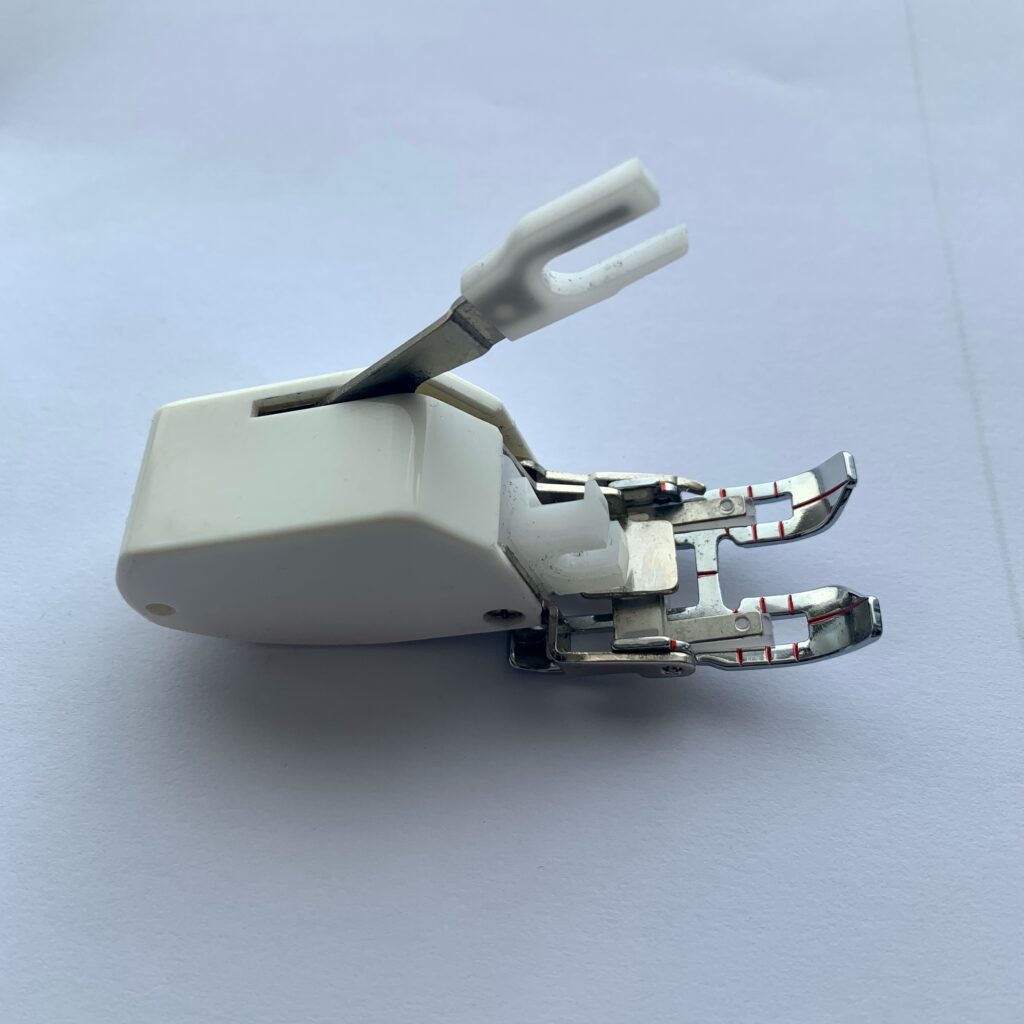
An additional tool: the walking foot
Another way to prevent the stretching of your fabric is to use a walking foot. The walking foot will transport your fabric along the top while the pressure foot will do the same along the bottom. It really makes a difference, especially with thick or slippery thin knits.
Some sewing machines have a built-in walking foot. If this is not the case, as with my machine, you can always buy this accessory separately.
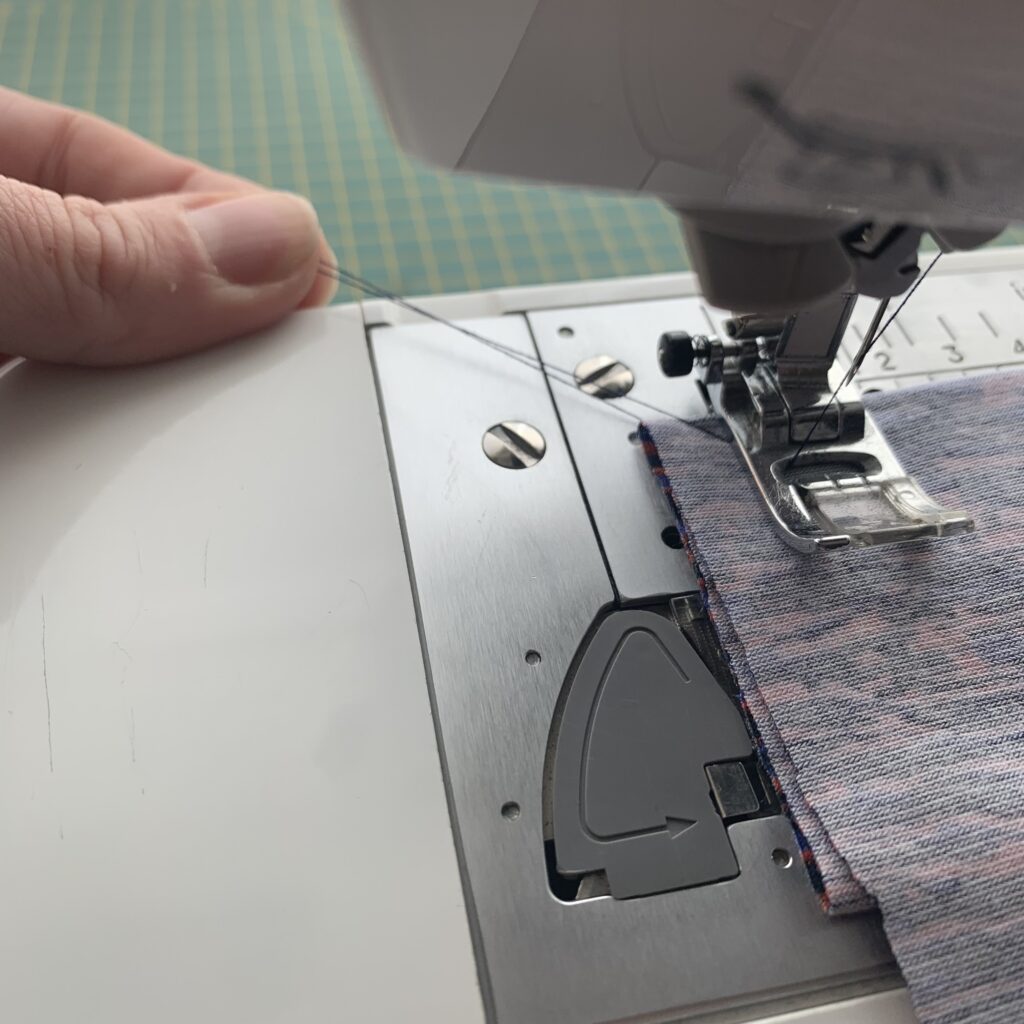
Prevent your fabric from being pulled down into the throat plate
The knit fabric can be pulled down into the throat plate when you start sewing. You can easily prevent this by holding the two thread tails when you start sewing. This will also prevent your thread from becoming entangled at the back of the fabric at the start.
Use a stretch twin needle for hemming
As mentioned above: knits do not fray like woven fabrics do, so you only need to turn the hem under once. For a more professional-looking hem you can use a stretch twin needle.
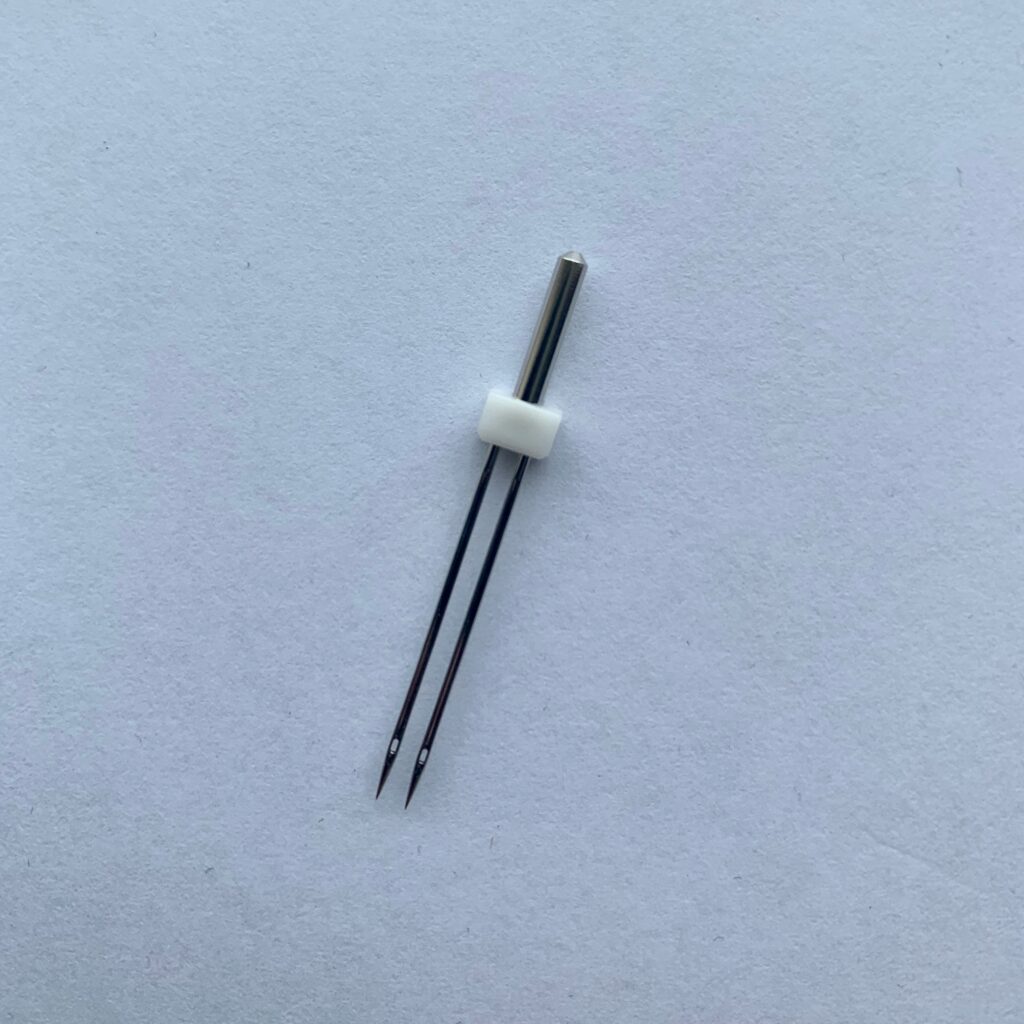
Twin needles are two actual needles in one.
They are very easy to use. You’ll only need a second spool pin (you can attach an extra one to your bobbin winder spindle) to attach your second bobbin of thread.
You can use a basic straight stitch and this gives you two perfect rows of stitching on the top side of your fabric and on the back side it weaves the two threads together with a zig-zag stitch and ensures more stretchability of your hem. The longer your stitch length, the more stretch your hem will have.
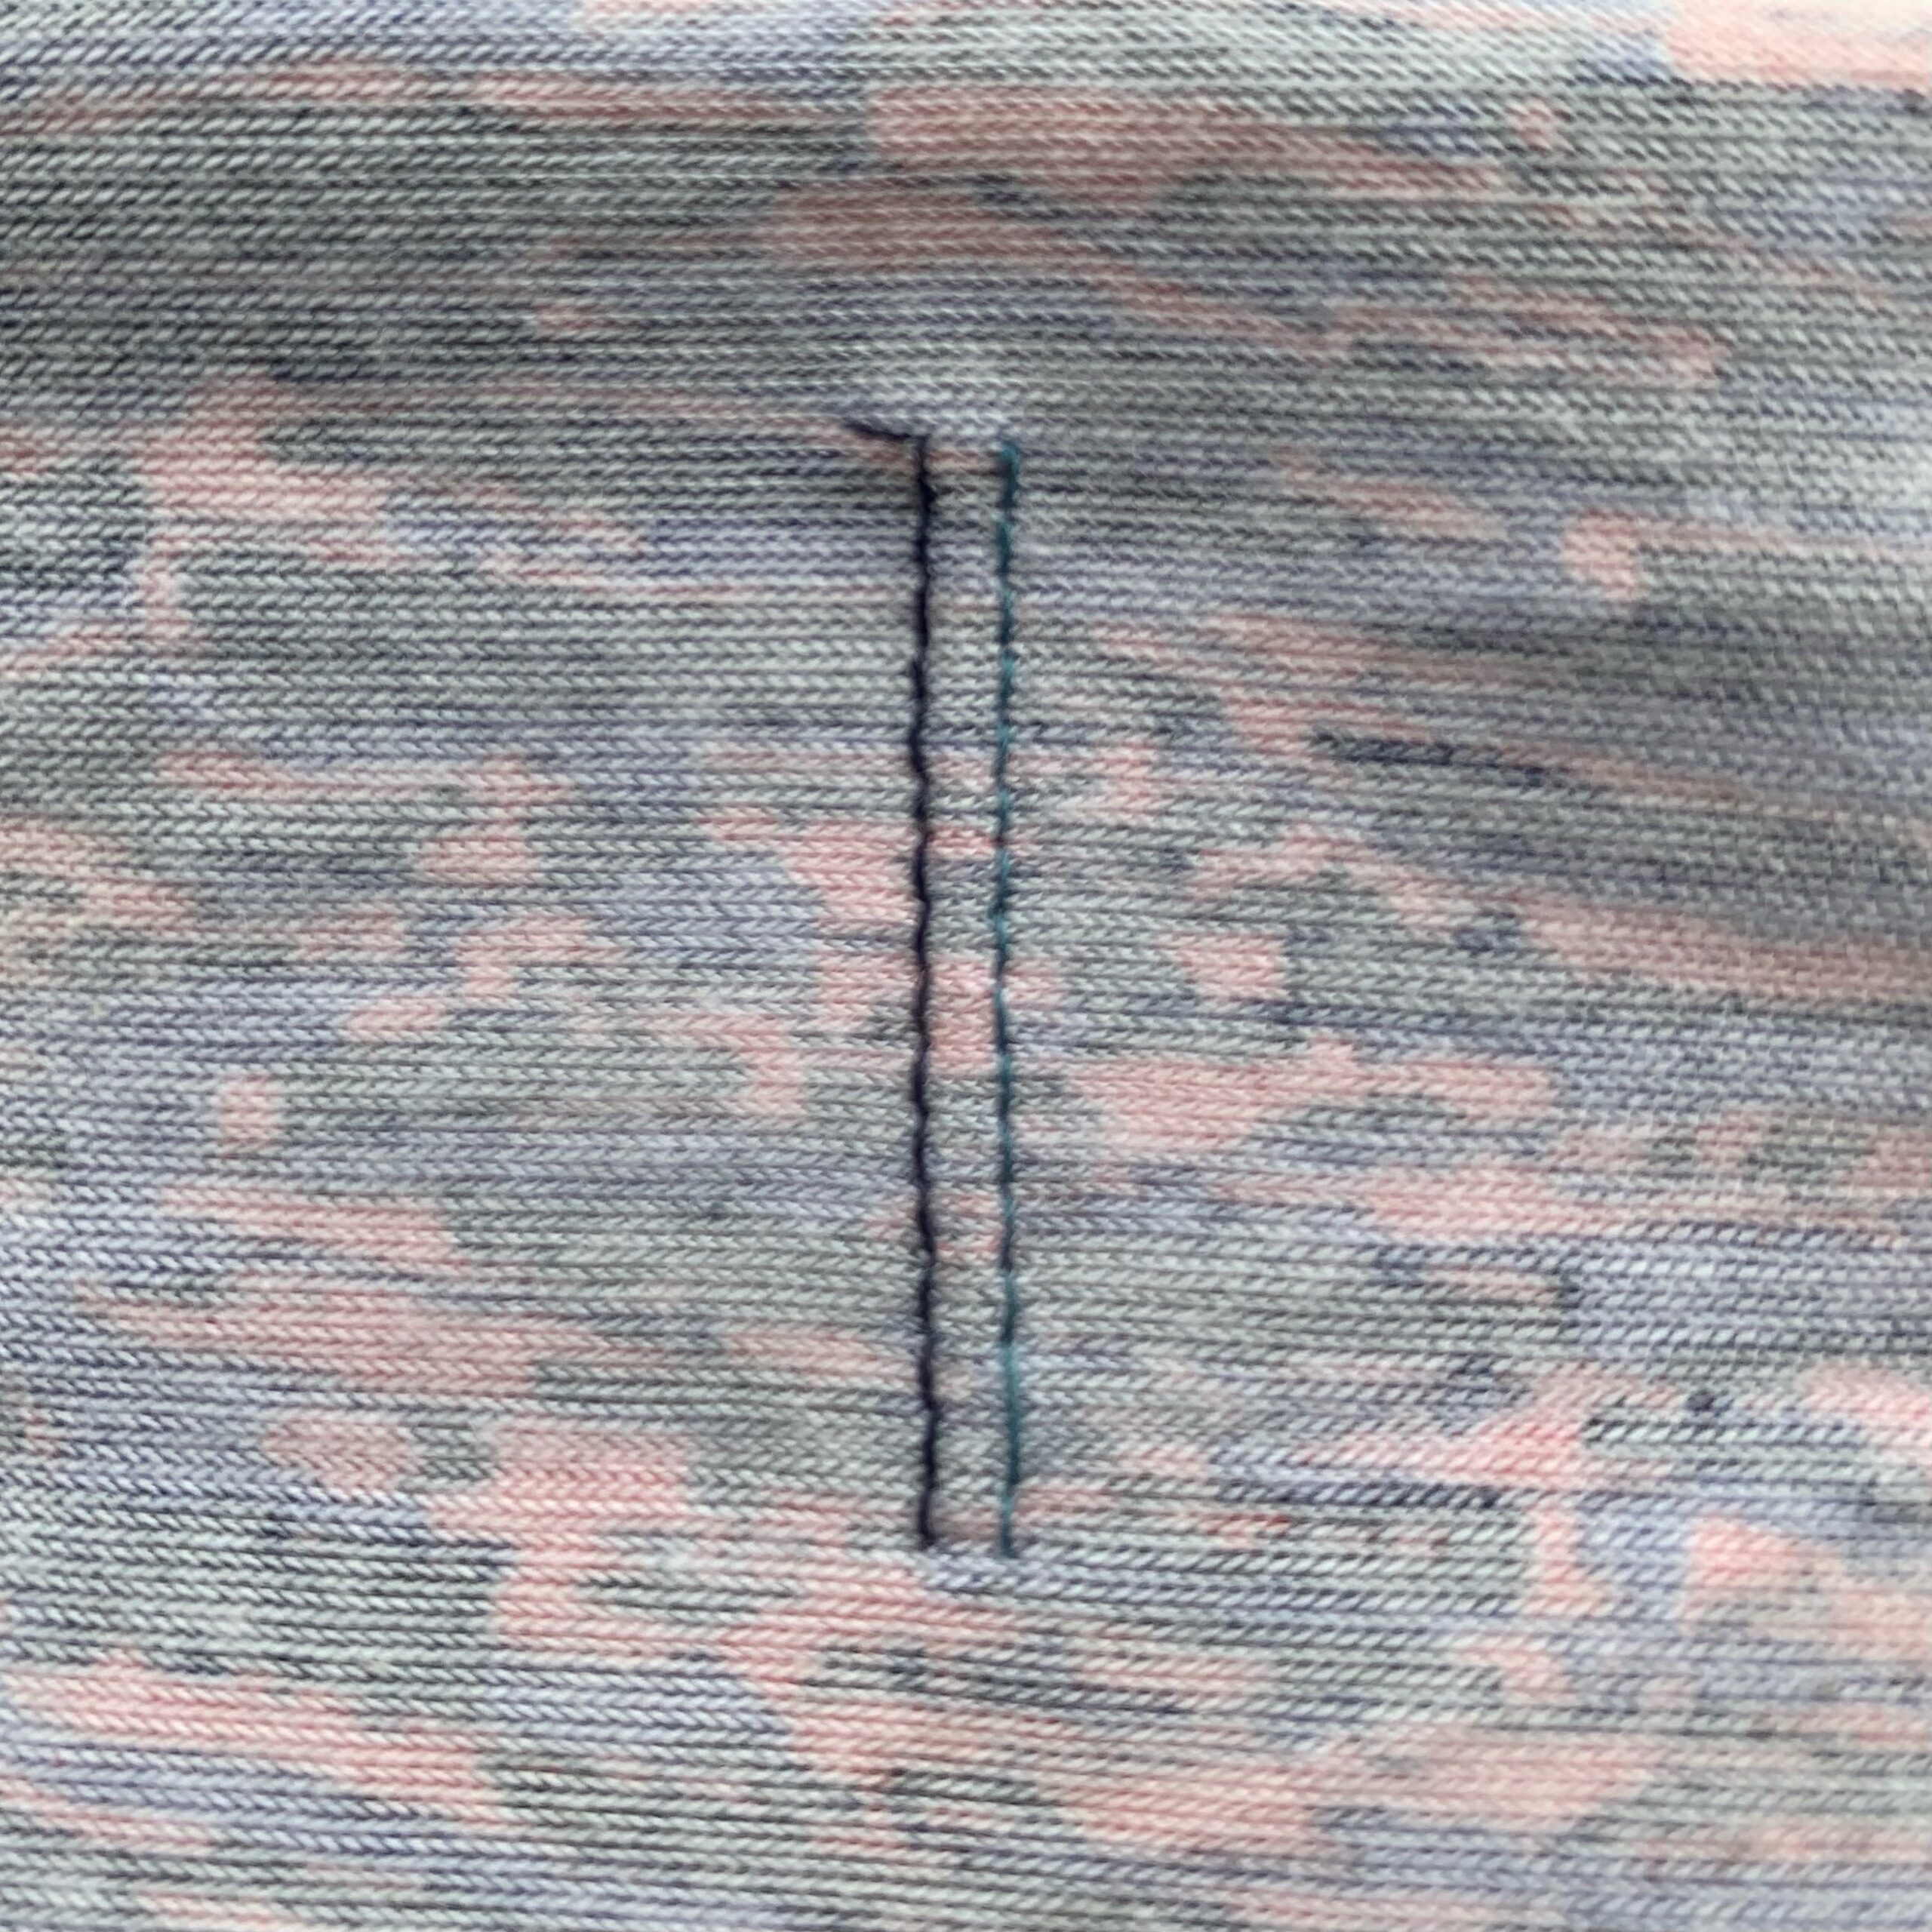
It is also useful to look at the distance between the needles of the twin needle when buying it. The more apart they are, the more chance you have to get some kind of tunnel effect between the 2 rows of stitches. Therefore I always buy a narrow twin needle.
I think that’s all you have to know about sewing knit with your regular machine, you
can see it’s not so difficult after all and I hope I inspired you!
And one last advice: if you’re still a little afraid to sew with knit, try sewing a sample first.
See you soon!
Xxx
Annick
Save this article to your sewing Pinterest board
More Knit Sewing Patterns
-
 Somerset Top & Bottoms$12.50
 -
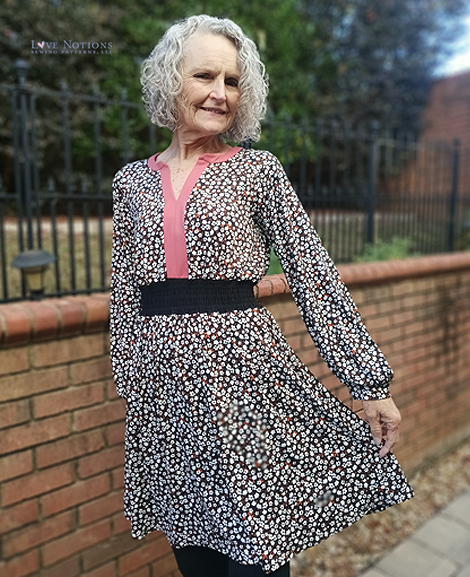 Palmer Dress$12.50
 -
 Bridget Trousers$12.50
 -
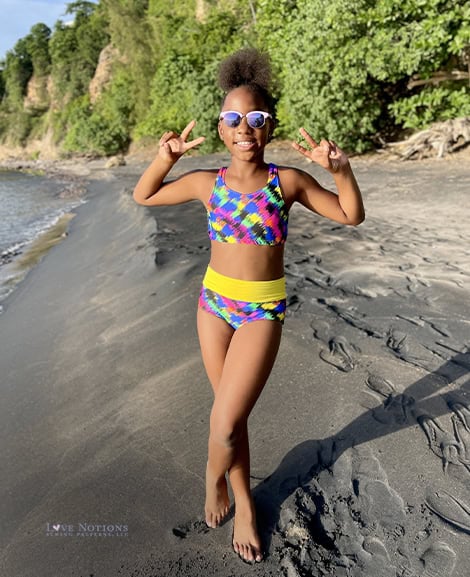 Girls’ Clearwater Summer Essentials$10.50
 -
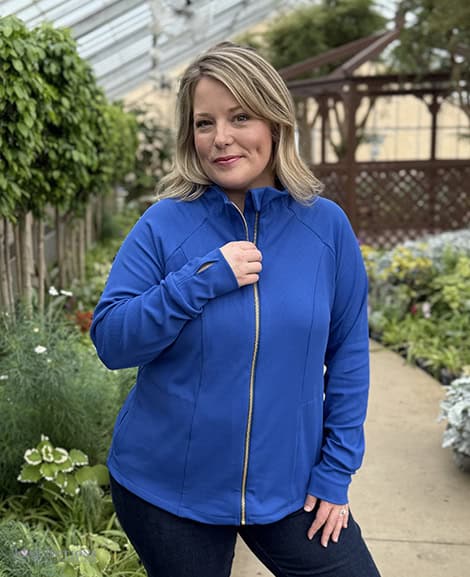 Geneva Pullover & Jacket$12.50
 -
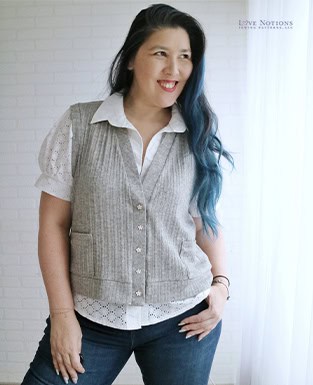 Evanston Vest$12.50
 -
Product on sale
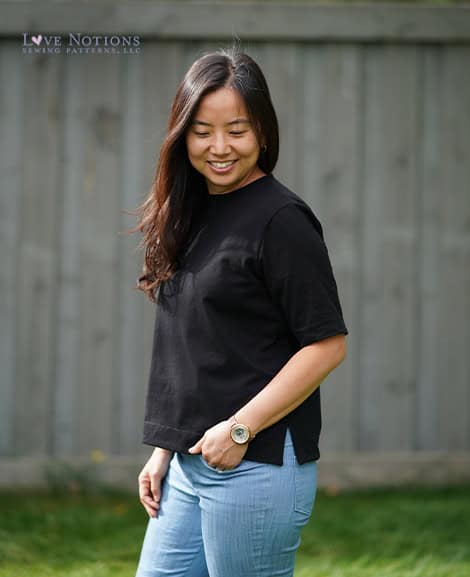 Barrington Boxy TeePrice range: $5.00 through $23.00
 -
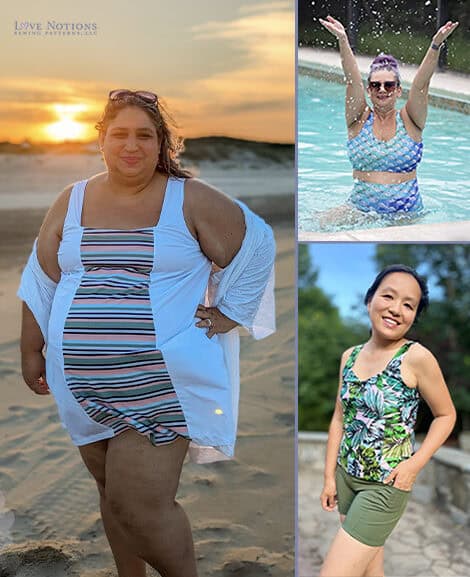 Clearwater Summer EssentialsPrice range: $12.50 through $23.00