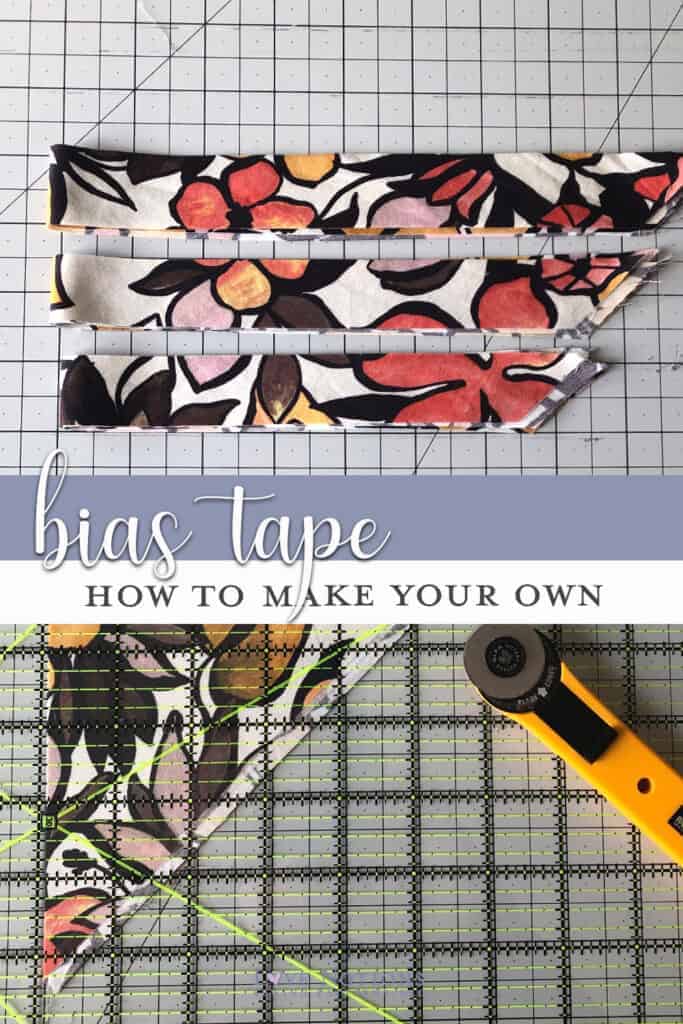
Hi all, I’m Ilse and you can find me as Sewsewilse on my blog and Instagram. Today I’m here to chat with you about bias binding. I hope this will be a good resource for all the bias binding related topics.
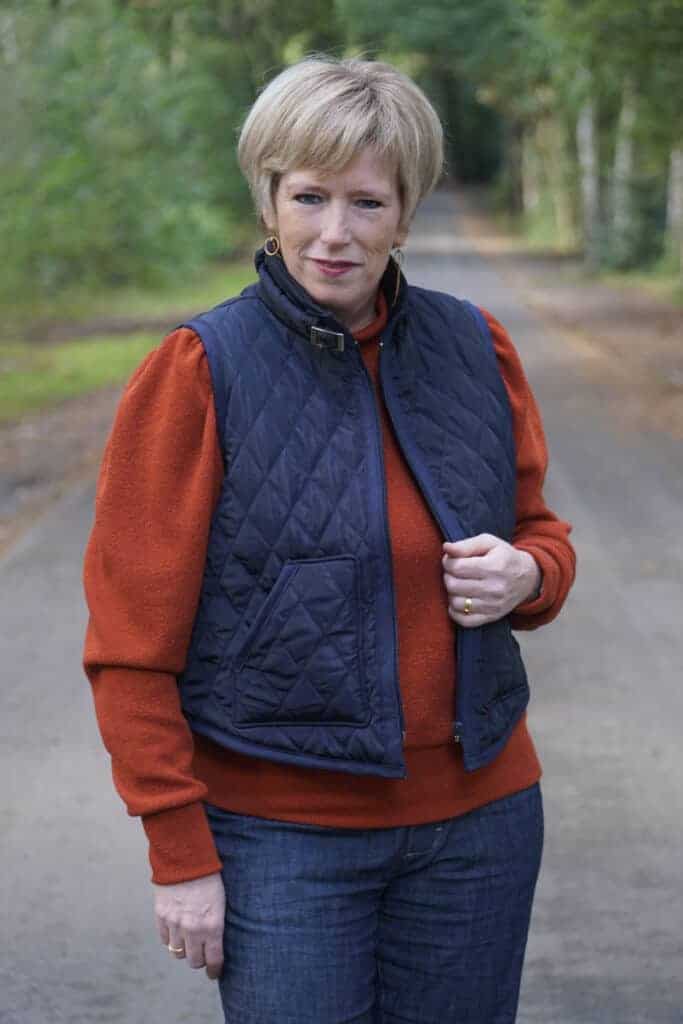
Not only do you use bias for clothing but if you are making quilts or children’s blankets you will finish them with bias binding. Today I want to take you through my process of finishing my Oakley vest with bias and show you how I did it. And especially today, the Oakley pattern for ladies and the Acorn vest for girls is a Feature Friday $5 promo! This is the perfect addition to your fall wardrobe. Great to throw on an extra vest over your shirt or sweater when it gets chilly. And that’s what I did. My Arlington Sweater is a great way of styling for me.
Let me walk you through my process of how I used bias binding on my Oakley Vest.
What is bias?
When you have a piece of fabric, you have two sides. One is the selvedge side and has the manufacturer name on it. The other side is the cut side. These have a 90 degrees angle with each other and it will not have much stretch when you try to stretch it in both directions because it’s a woven fabric. But when you stretch it on a 45 degrees angle (or the bias) it has a little bit of stretch.
The stretch is important because when you turn it into a binding it allows you to put it around a rounded hemline or something else and it will lay nice and flat.
Types of bias tape :
Bias tape can be decorative or an easy way to neatly finish an armhole, neckline, seam or edge. For example when you make the Game Day Jersey you can use stretch single fold bias tape as a decorative touch for the stripes on the arms.
You can make your own DIY single or double fold bias tape or you buy it pre-made in a store, stretch or woven.
Single fold bias tape is made from strips of fabric that are cut diagonally and folded over to meet in the middle on each side. You can choose to sew the bias tape on the outside for an attractive contrast look or hidden on the inside of the garment. When I walk through the store here in Belgium and check out the bias tape section, I find practically only single-fold bias tape. So that’s the most common bias tape here.
Surely there are quite a few Love Notions patterns that require single fold bias tape and I think that’s the most easy bias to work with. The following patterns also need single fold bias tape: the Ballad Blouse (puff sleeve and sleeveless view), the Kids Dolce Dress and Lyric Dress for woman, the Harmony, the Rhapsody, Tabitha Top and Tessa Sheath Dress if you make the woven yoke option.
Double fold bias tape is the same as single fold bias tape but then folded in half again which makes it easier to wrap around the edges of the raw edge. Most double sided tapes are wider than single folded tapes. For making the Oakley Vest (Acorn Vest too) I used pre-made double fold bias tape. The North Star Hoodie & Pullover for Men, the Constellation for women and the Navigator Pullover for kids also need double fold bias. And the Presto Tunic is definitely not to be forgotten to mention in my list either.
How to make bias tape with and without a tool?
There are lots of colors and prints available in bias tape, but one in exactly the same fabric makes the whole thing look more sophisticated and will look like you just bought your garment in the store. So why not make it yourselves?
Before you begin, you need to know how wide you have to cut your bias strips.
When you want to make single fold bias tape you need to cut strips double the finished width of your bias tape maker. So for finished single fold bias tape of ½” you need to cut 1” strips.
When you want to make double fold bias tape you need to cut x4 the finished width of your bias tape maker. So for finished double fold bias tape of ½” you need to cut 2” strips.
First make some strips!
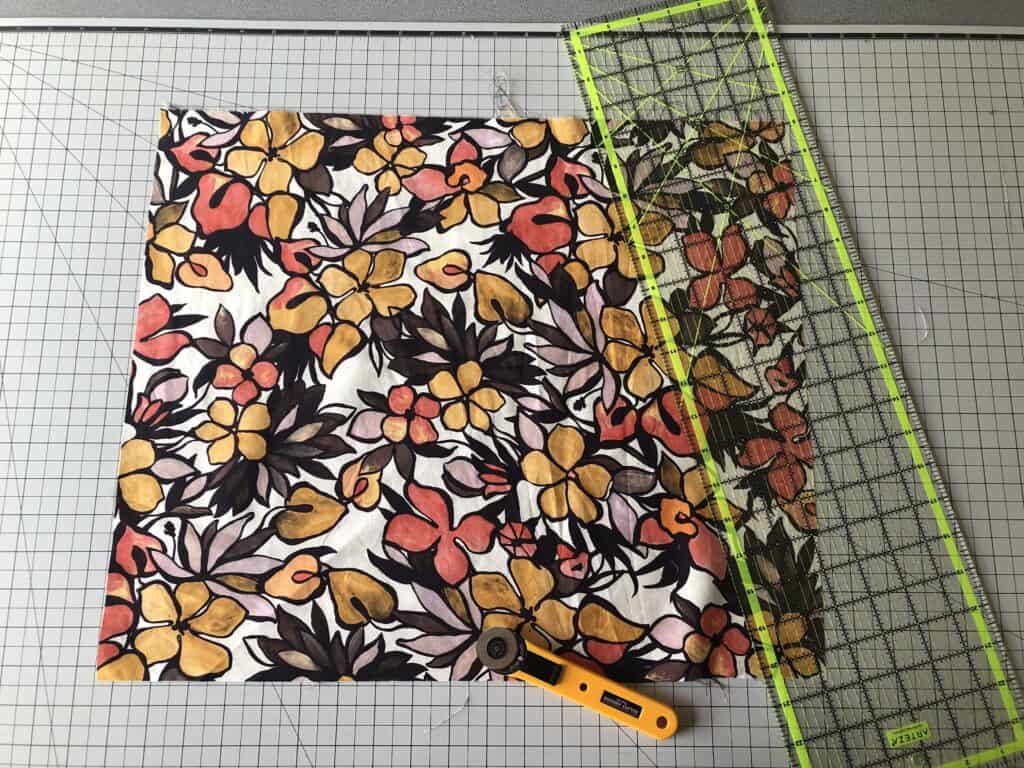
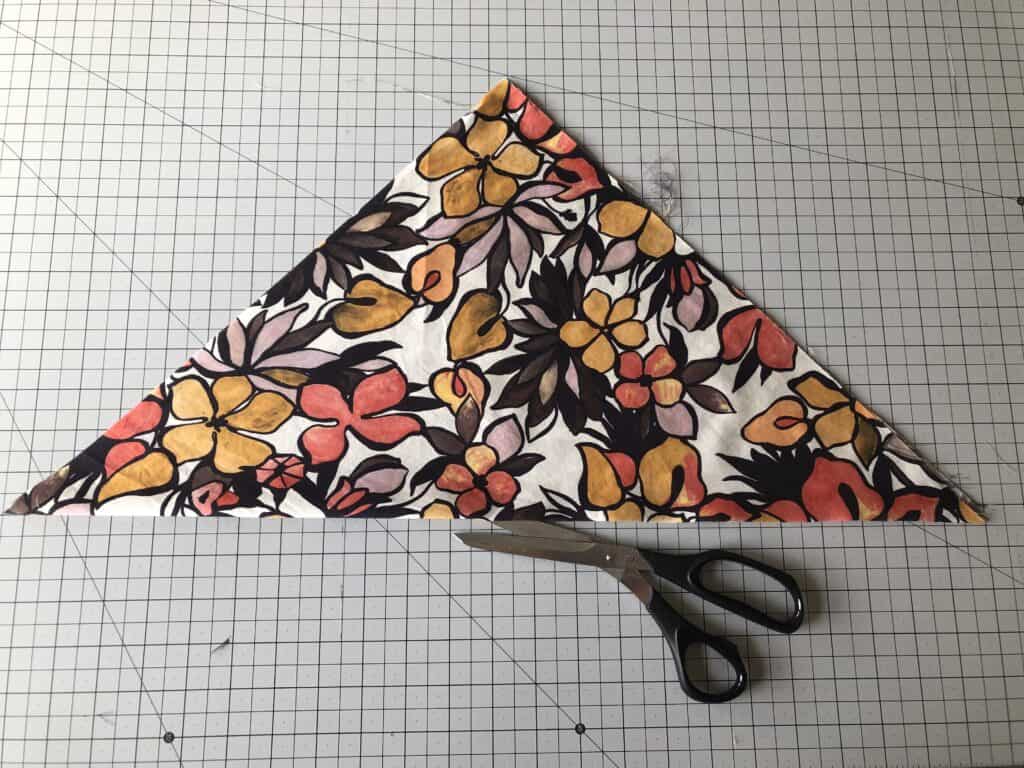
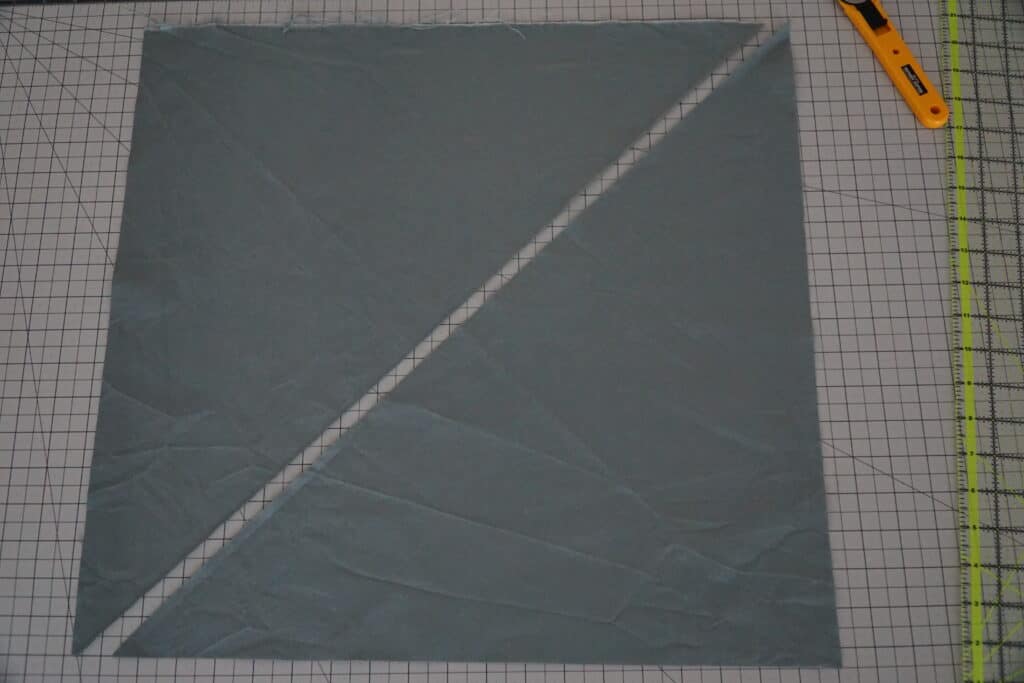
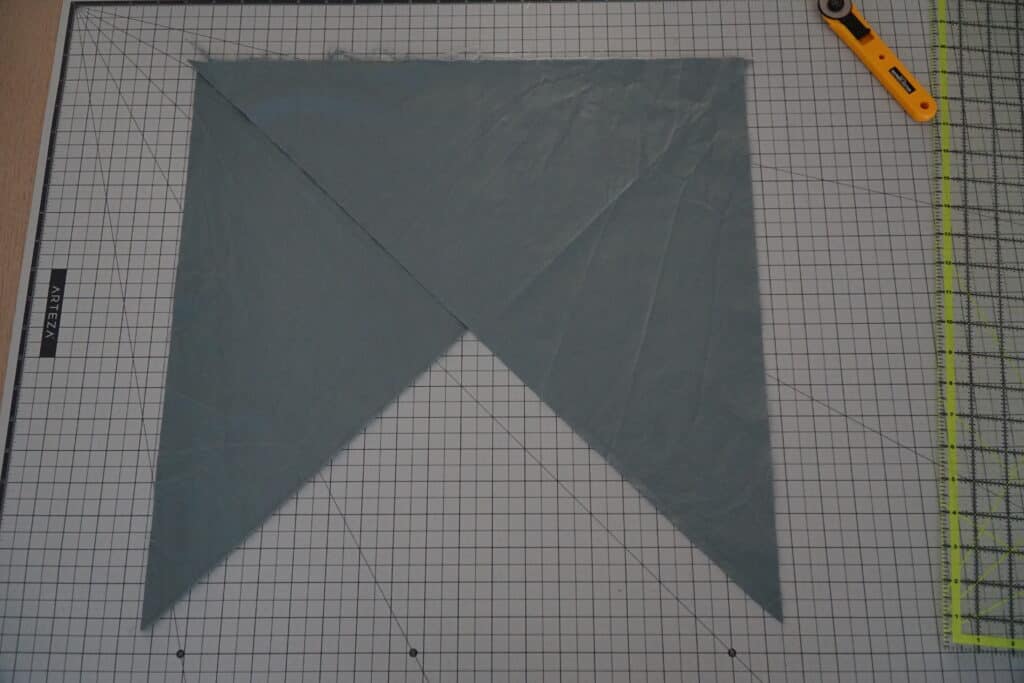
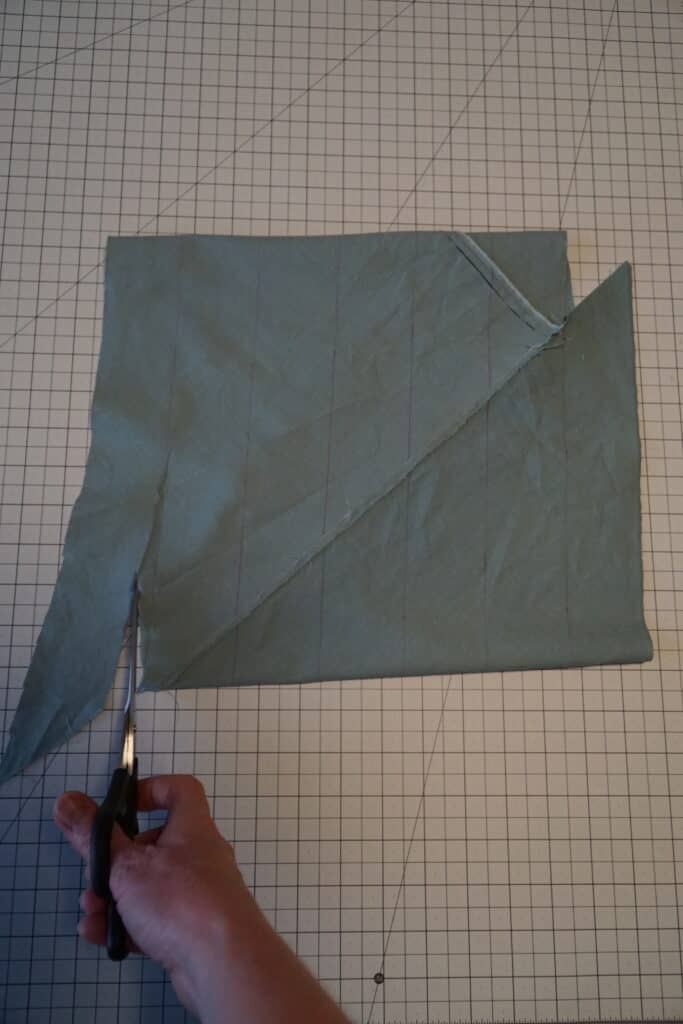
1: Cut a square of fabric you want to use and fold it diagonally. Below you see I need to cut off a piece of fabric to get an exact square. Maybe you recognize this fabric but I used this bias for my latest Harmony.
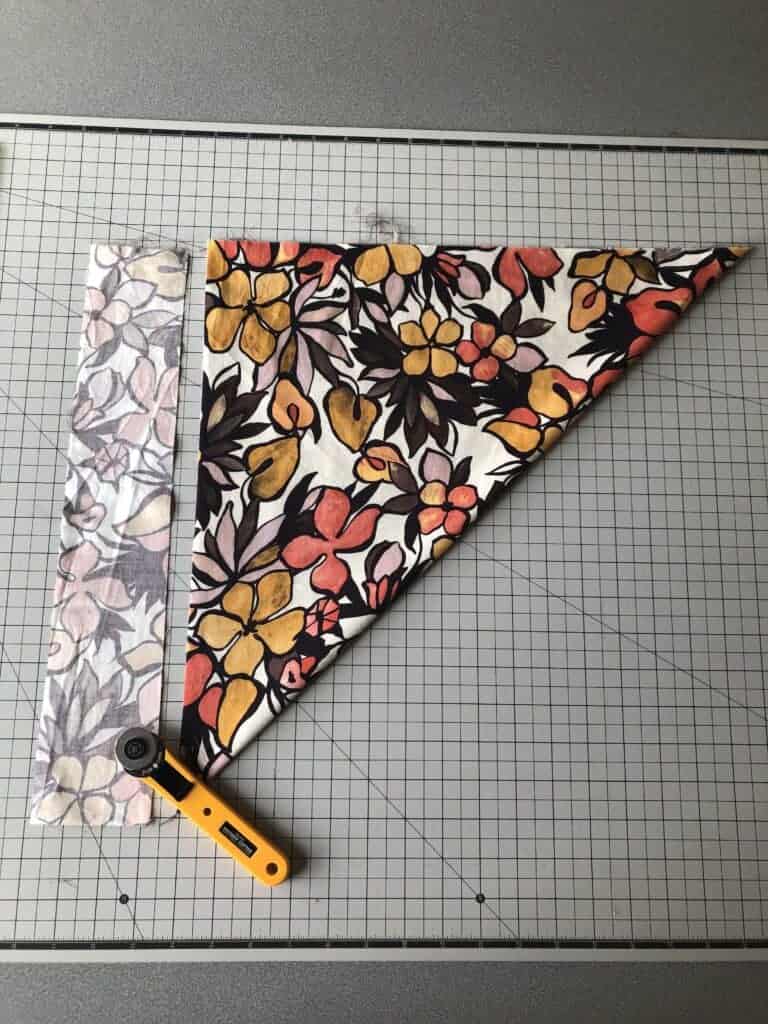
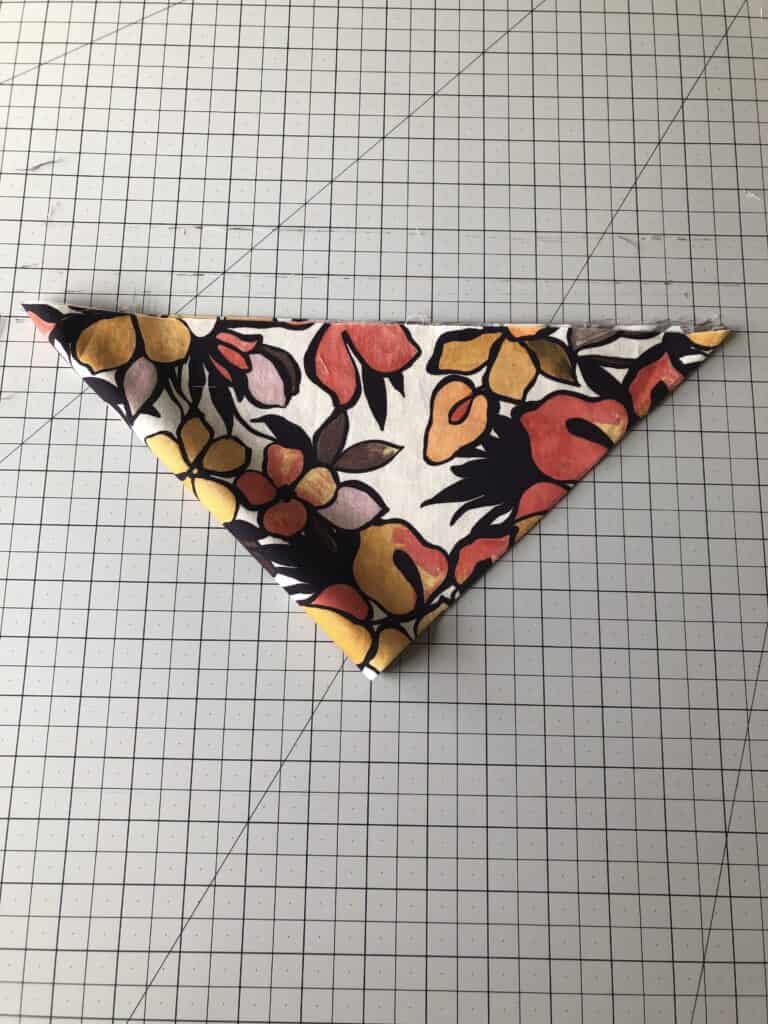
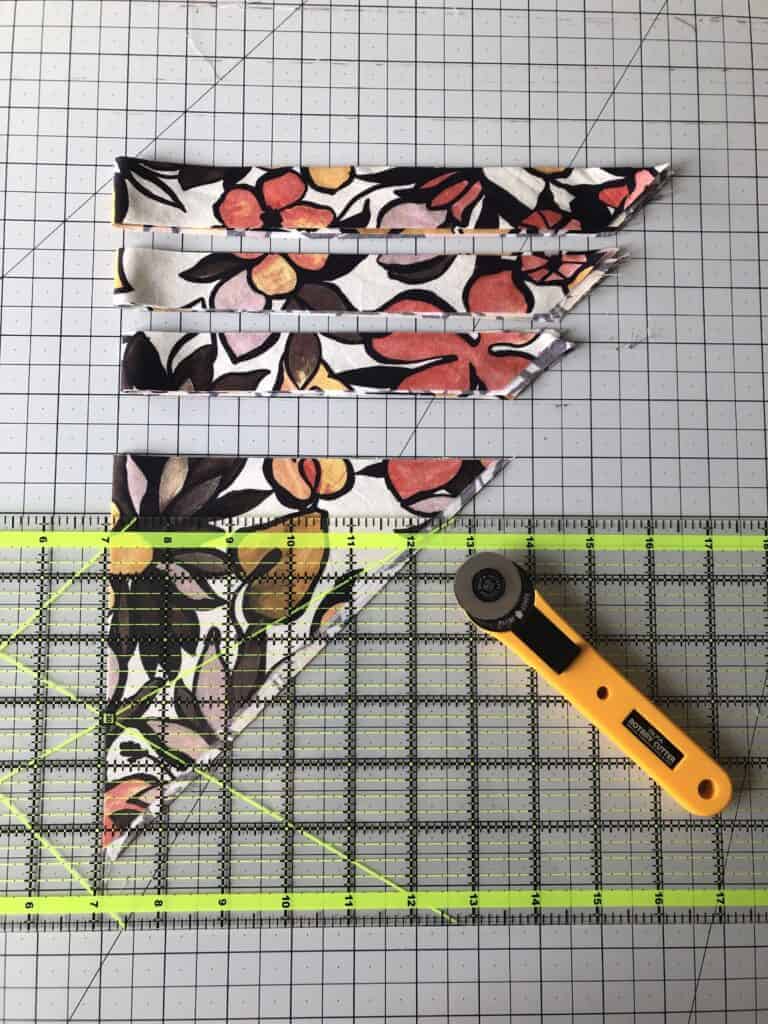
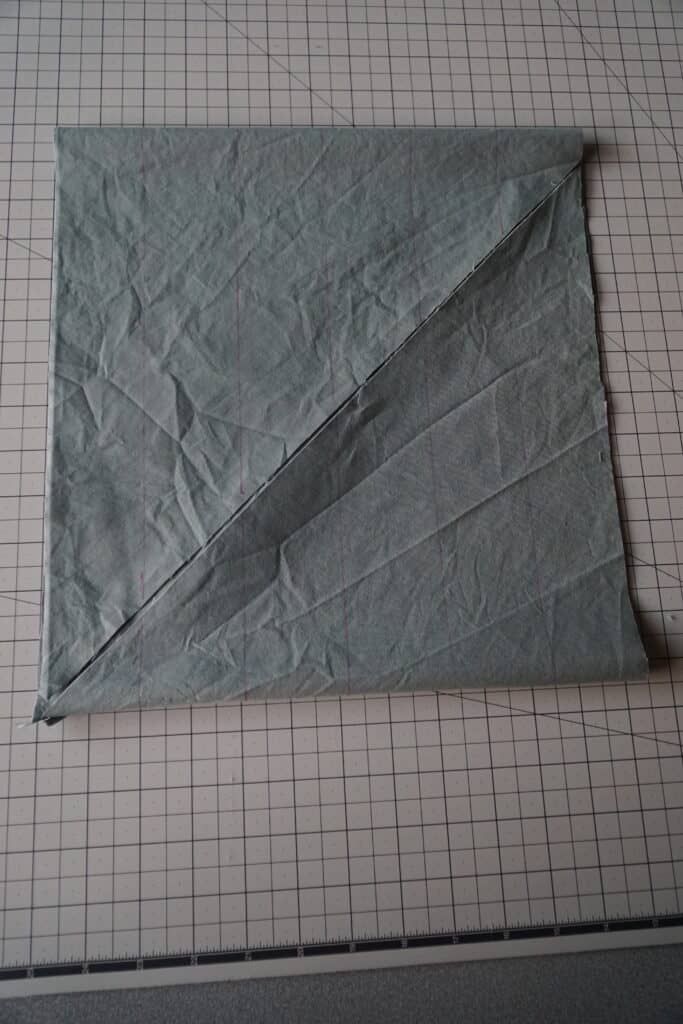
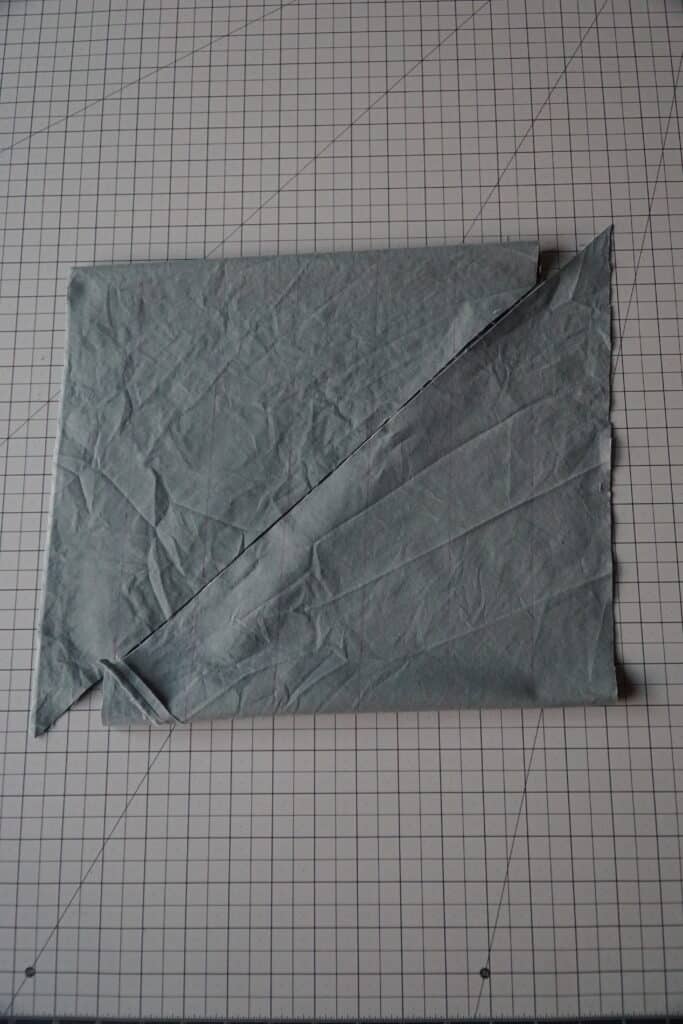
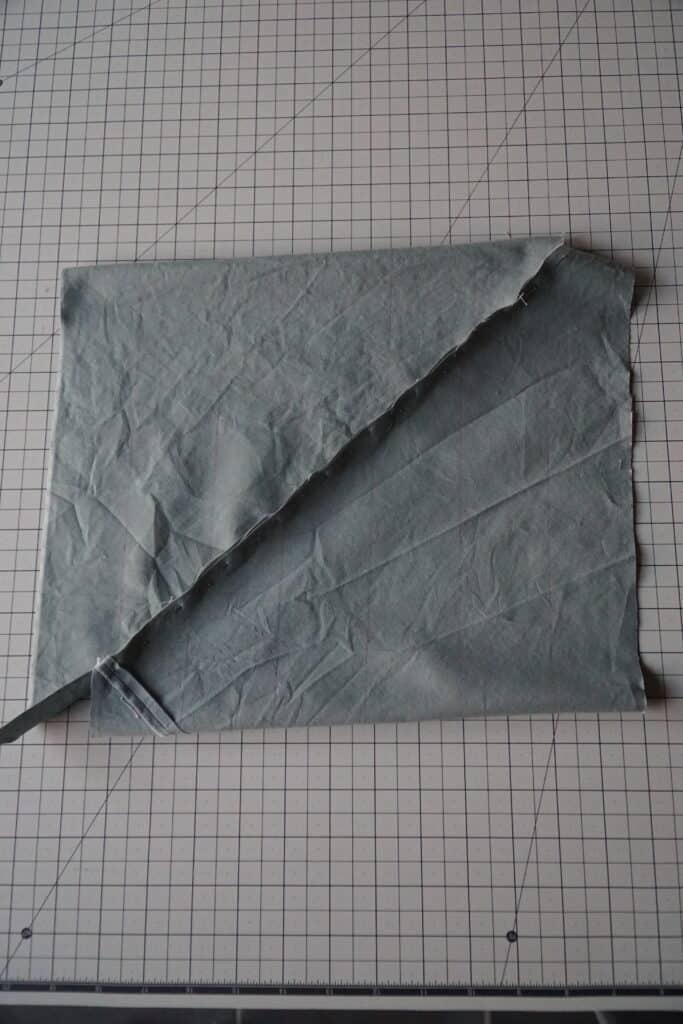
2: Because I want longer strips, I cut the square in half along the diagonal side and fold the triangle in half again. With your fabric fold on the left you now cut your strips to the desired width. I cut horizontally in order to do it in a safe way here. Beware if you use your rotary cutter in the other direction.
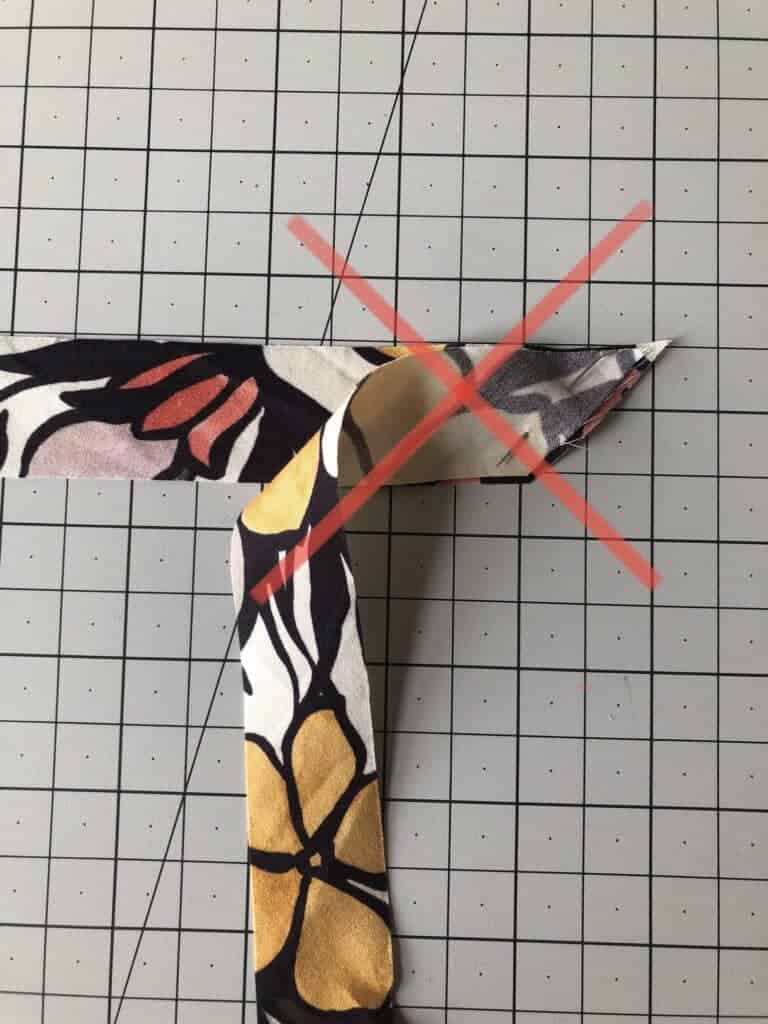
3: Now we are going to sew the strips together so that we get one long strip.
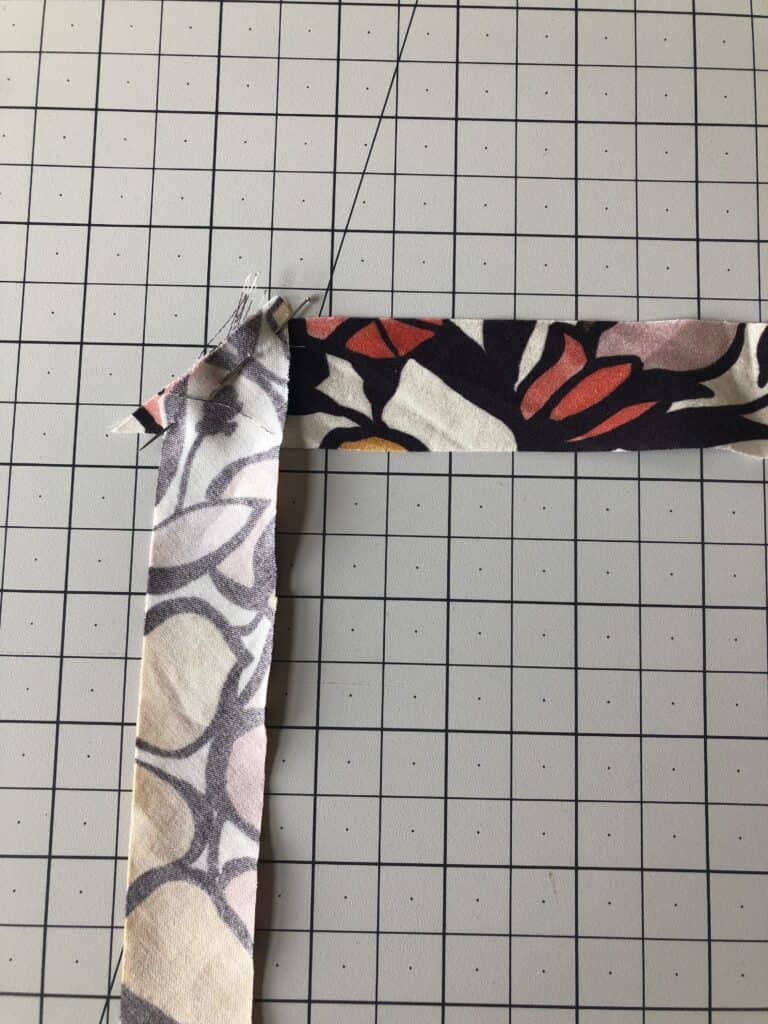
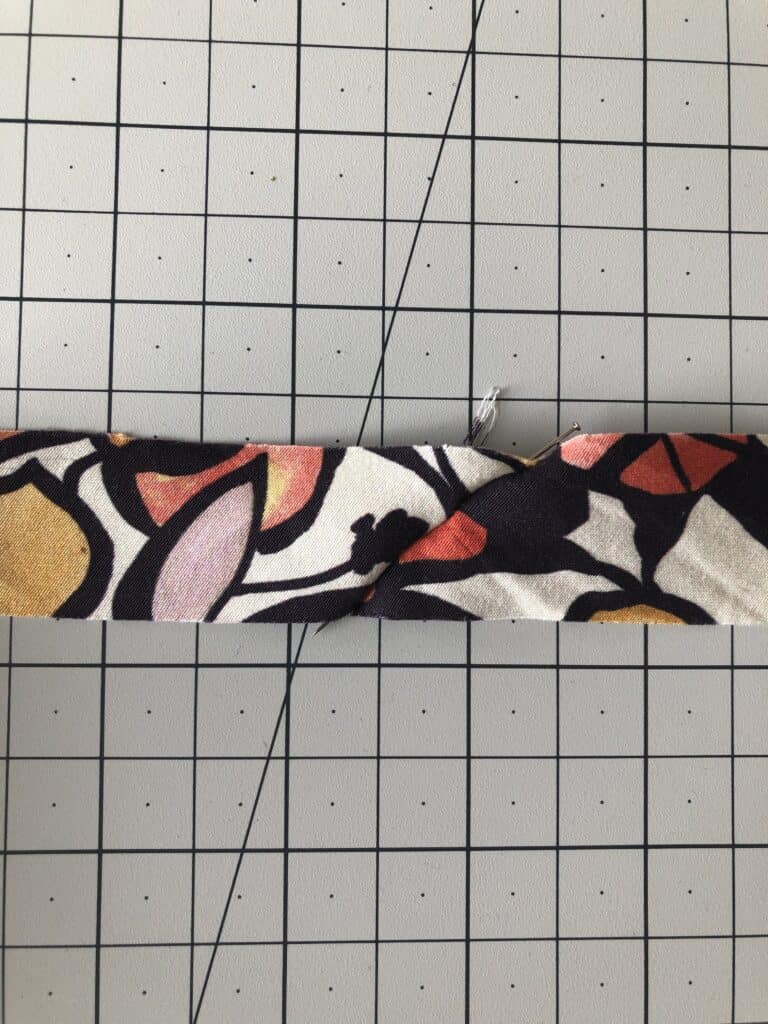
Below is a picture of how to sew them together. The first photo shows you how it shouldn’t be done, the other photo is the correct way.
- So take two strips that have their ends pointing in the same direction.
- Put the right sides together and sew your pieces together with a seam allowance of 6 mm or ¼”. Repeat until all the strips are sewn together to form a continuous strip of bias tape.
- Iron your seams open.
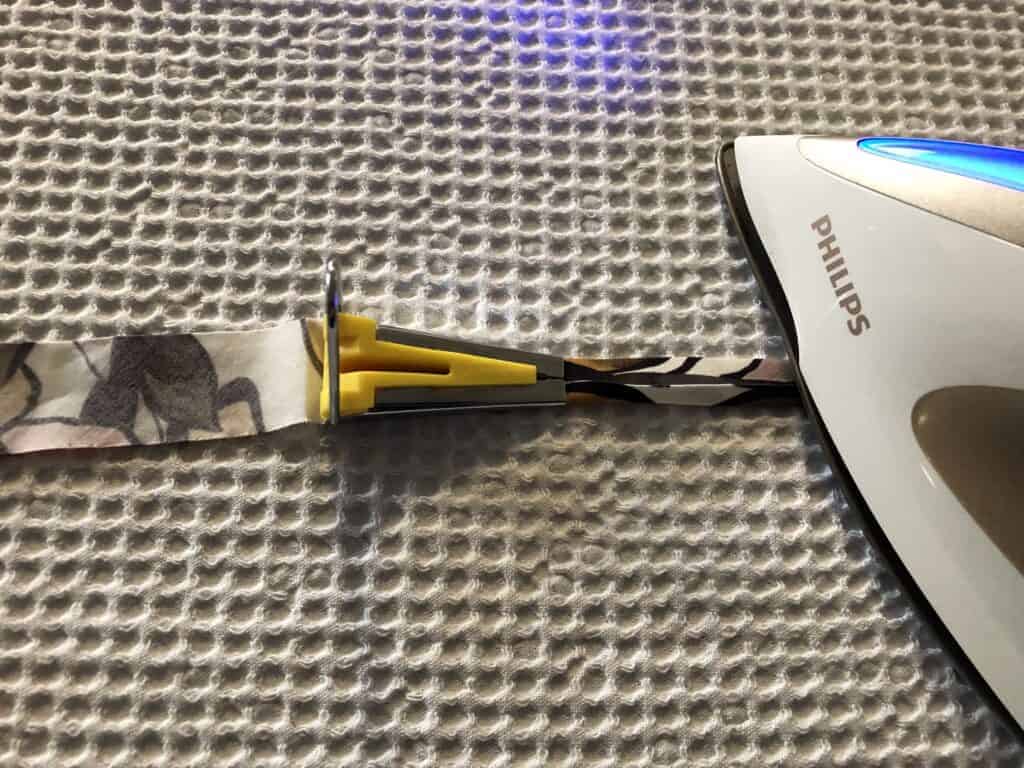
Let’s start to make some single folded bias with a bias maker tool!
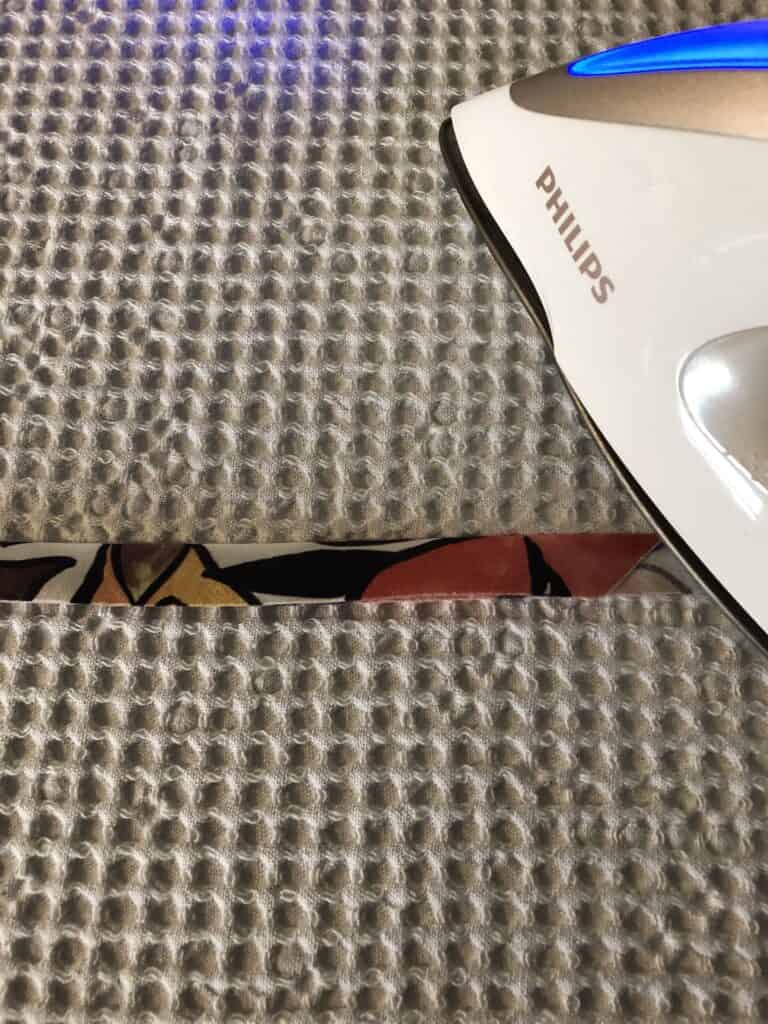
- Slide the long angled end into the bias maker and push it through the other end. I always use a needle or my seam ripper to slide it through easily.
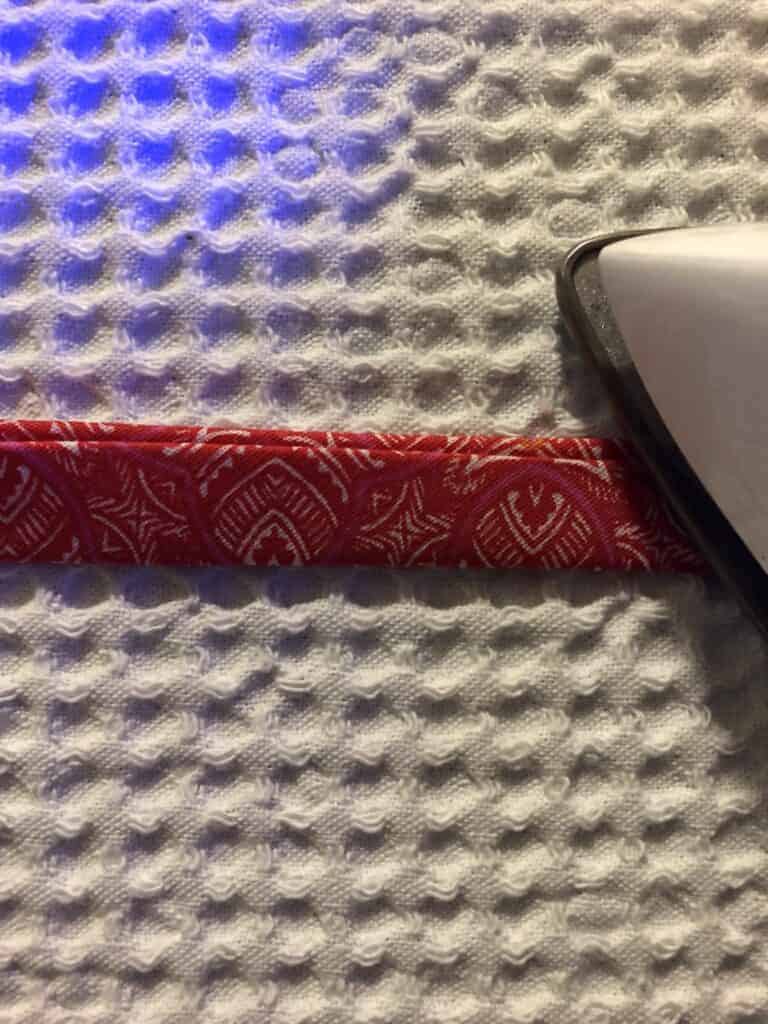
- Iron your folded fabric that will come out on the other end. Iron your whole strip until you’re ready.
- When you have hard-to-iron fabric you’ll need to steam it, but look out for your fingers! You now have single fold bias tape.
How to make double fold bias with your tool.
- Actually you make your single fold bias tape as instructed before.
- Here I use my ½” or 12 mm bias maker so I cut my strips 4x the width of the bias maker = 2” wide.
- Now I have single fold bias tape and I fold the tape in half. Be sure one side is wider than the other.
How to make bias without a tool:
Making bias tape with a bias tape maker is quite easy, but it can certainly be done without it.
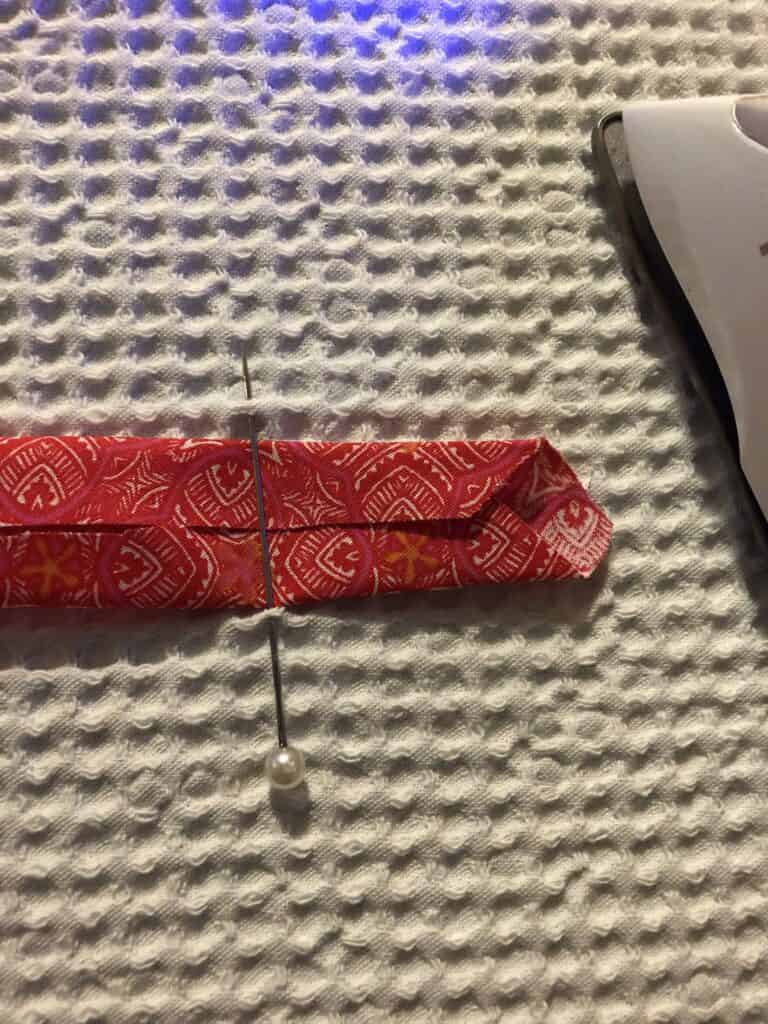
- You can make bias tape with just your fingers and your iron.
- Press the bias strips in half with the wrong sides together to form a crease.
- Open up the bias and then press the edges in to meet in the middle crease. You now have a single fold bias.

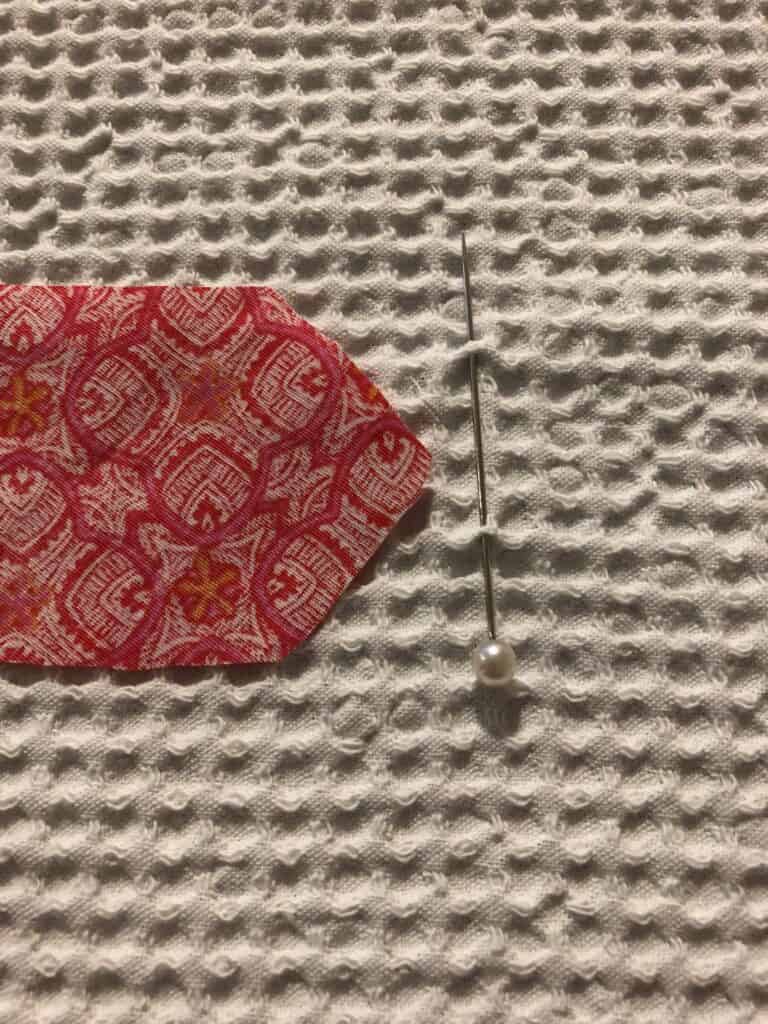
- You can also make bias by using a needle.
- Take a (long) needle and stick it in and then out of your ironing board cover.
- Then measure a gap the width of the tape you need to make and stick it back in the ironing board and out again.
For single fold (that’s what I did) for ½ “ or 12mm single-fold bias, the gap should be ½ “ or 12mm. If you are making a 1 “ or 2.5cm single fold bias then the gap should be 1 “ or 2,5 cm.
For double fold : for double fold bias, the gap should be double the final width of the tape. For example, to make a ½ “ or 12mm double-fold bias this gap should be 1” or 2.5cm.
How to make continuous bias tape?
When you need lots of bias tape this continuous method is very smart to use. Let’s take a look!
- Cut a large square piece of fabric. You need two triangles so draw a line from the bottom left corner to the top right corner. Cut along that line.
- Lay the triangles together, matching the top edge with the right sides together.
- Stitch a seam about ¼ inch (6mm) from the raw edge and press it open.
- On the wrong side of the fabric, mark lines at your desired width.

- Bring the short diagonal sides together forming a tube. Bring the shorter ends together in the center.
- Move the edges so that the lines are offset by one strip and carefully pin matching the ends of the lines.
- Stitch a ¼ “ or 6mm seam. Trim the seam to ⅛ “ or 3 mm and press the seam open.
- Cut along the lines in a continuous bias tape spiral.
Your continuous bias tape is now ready for pressing with a bias maker.

Overlapping bias tape:
A seamless overlap is always very neat. And there’s a simple technique to hide the place where you overlapped your bias.
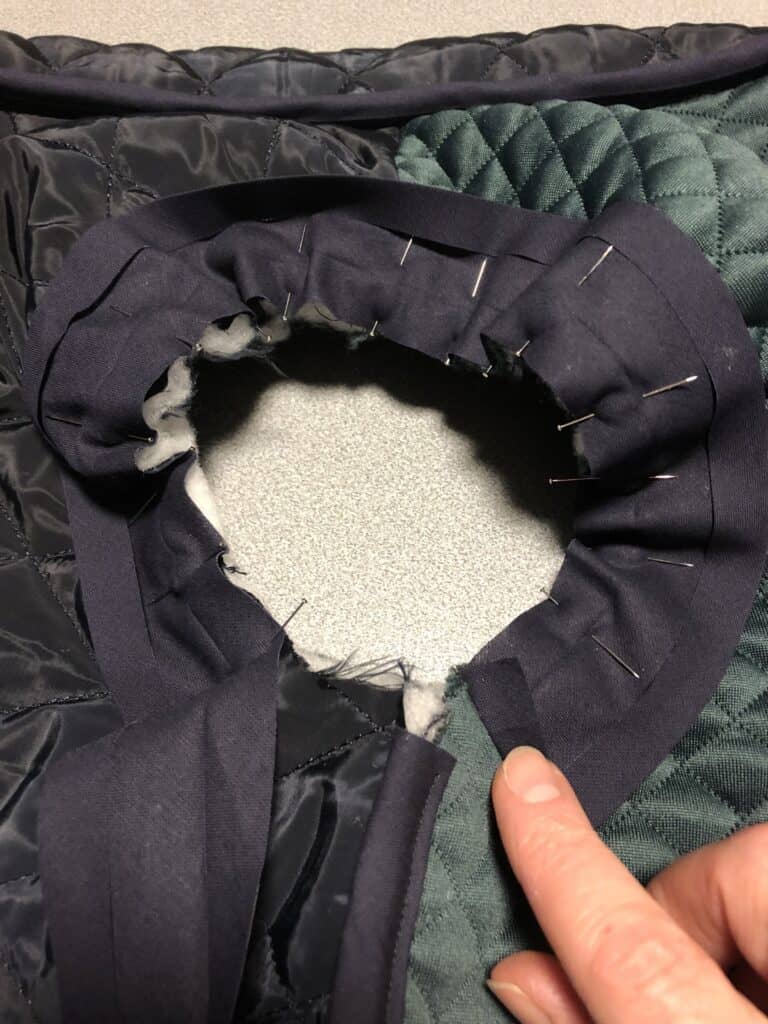
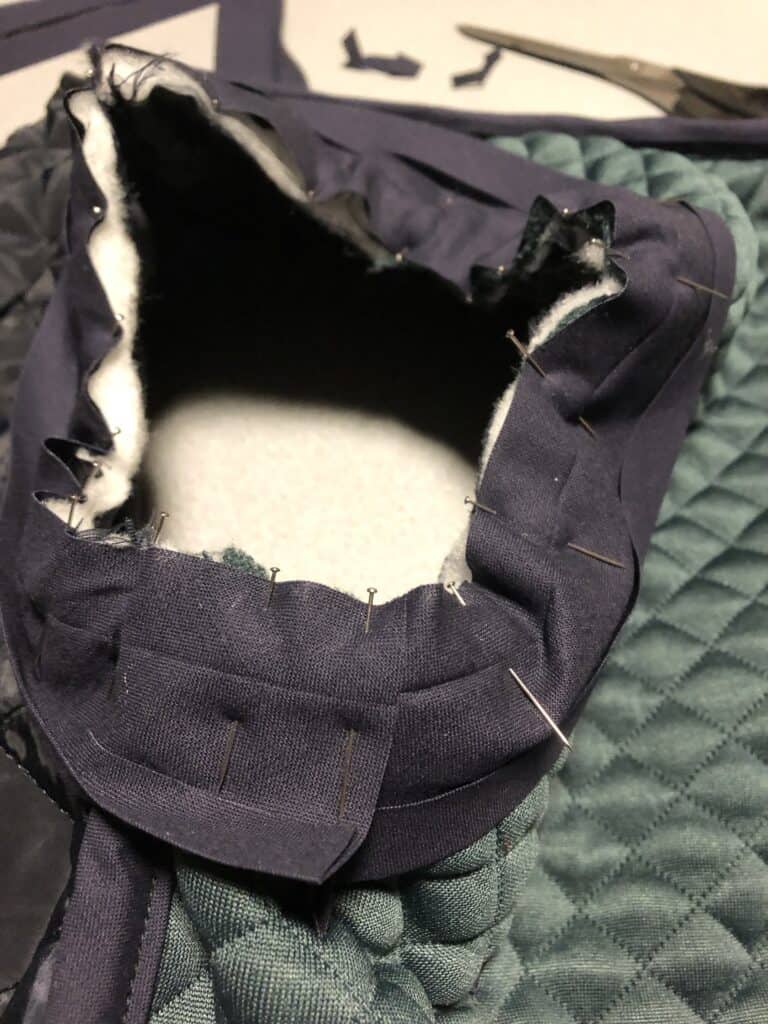
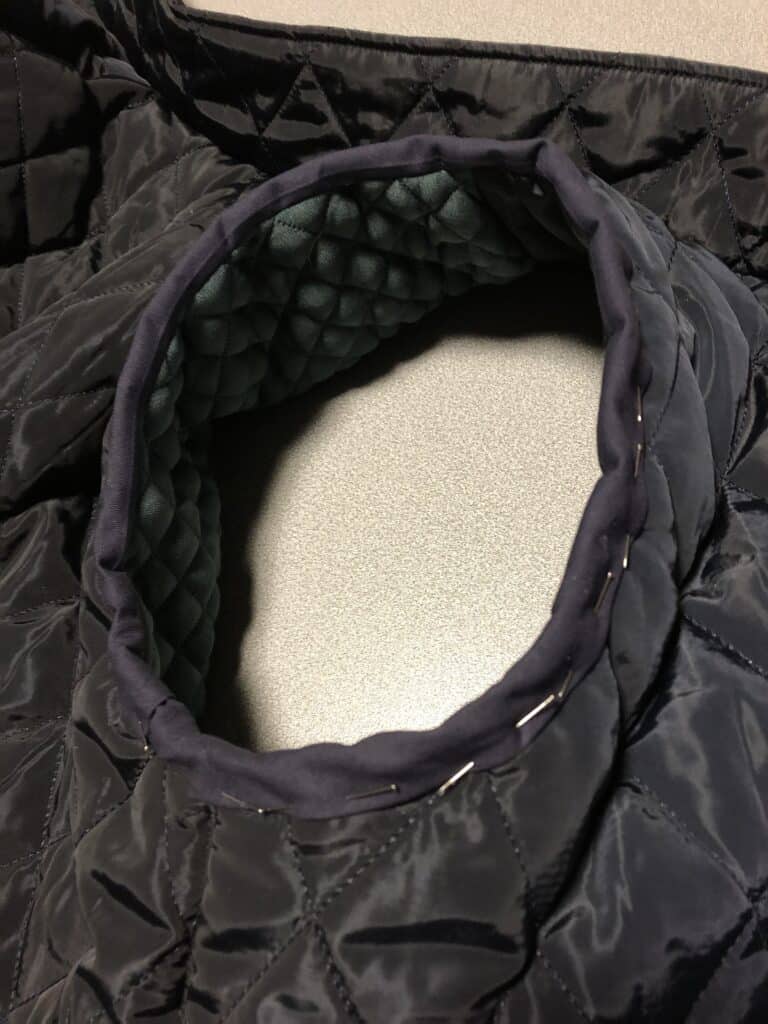
When you start you have to overlap your bias about 12 mm or ½” and best in a place you would not notice it. With the finish of the armholes with the Oakley, I did it on the bottom of the back.
When you get back you just overlap the folded edge. You won’t see a fold and it will be nice and neatly tucked inside.
Bias bound seam:
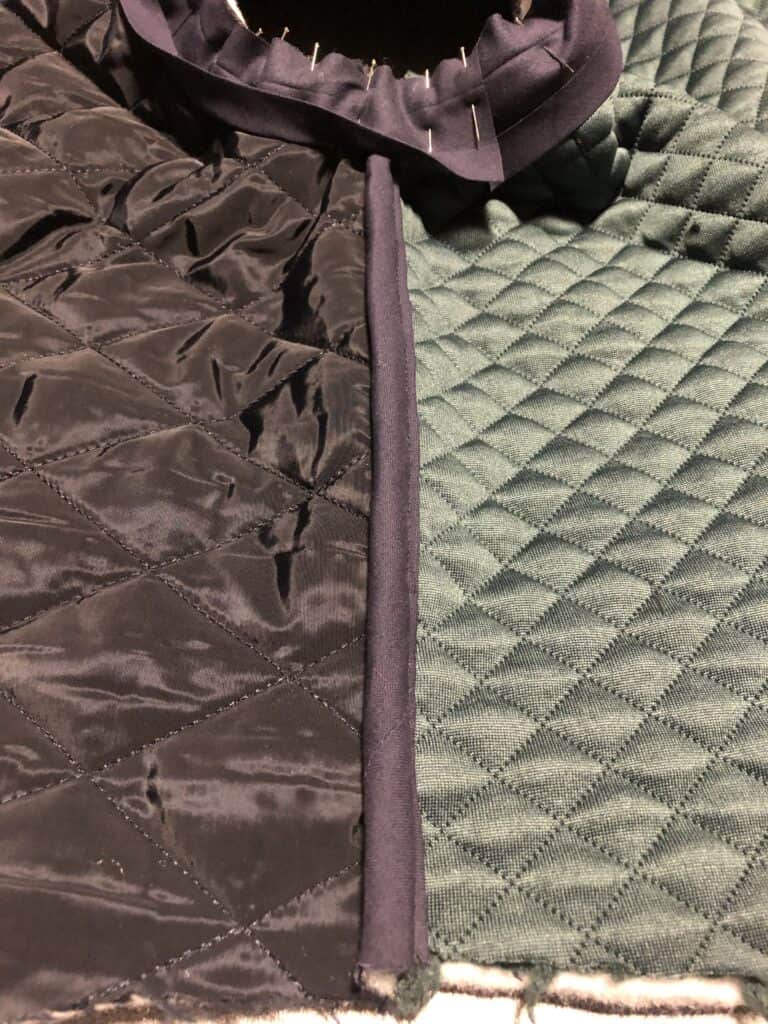
Bias bound seam is totally different from a Hong Kong finish but I decided to bound my side seams in one operation. You can also decide to sew the bias on each side of a pressed open seam.
You can decide to add some contrast colors to finish off your seams but I decided to stay with the same binding as my back lining already had some color 😉
I finished it the same way as I used my double fold tape.
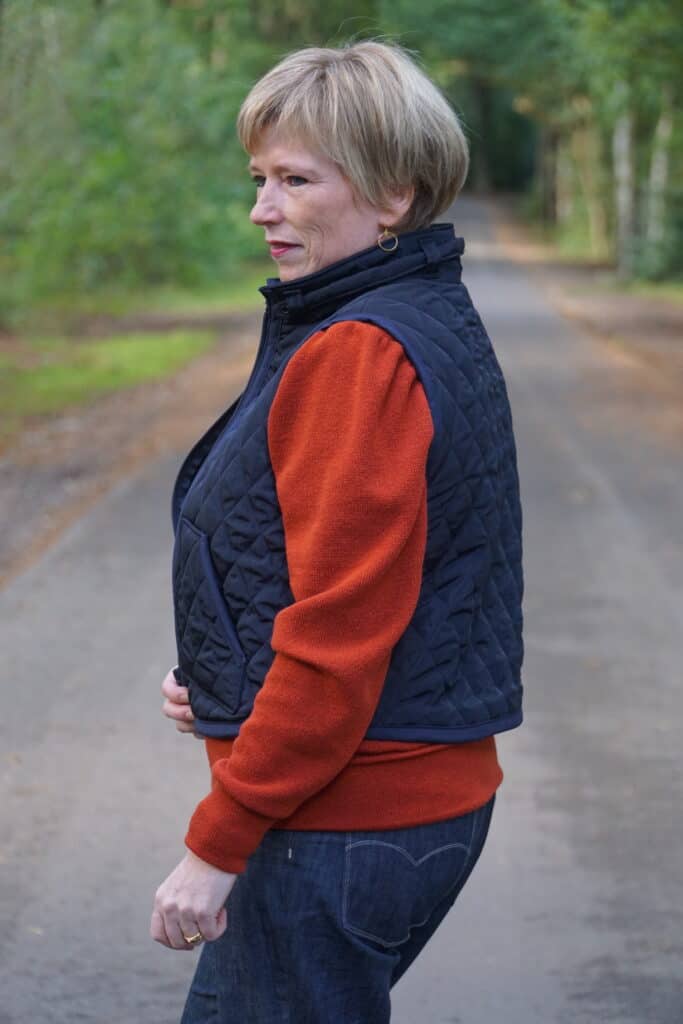
About my hacked Oakley:
As I wanted a shorter sporty version, I shortened the Oakley by 4” or 10 cm. To do this, I used the lengthen and shorten line on the pattern piece.
Accordingly, the zipper I bought was 4” or 10 cm shorter.
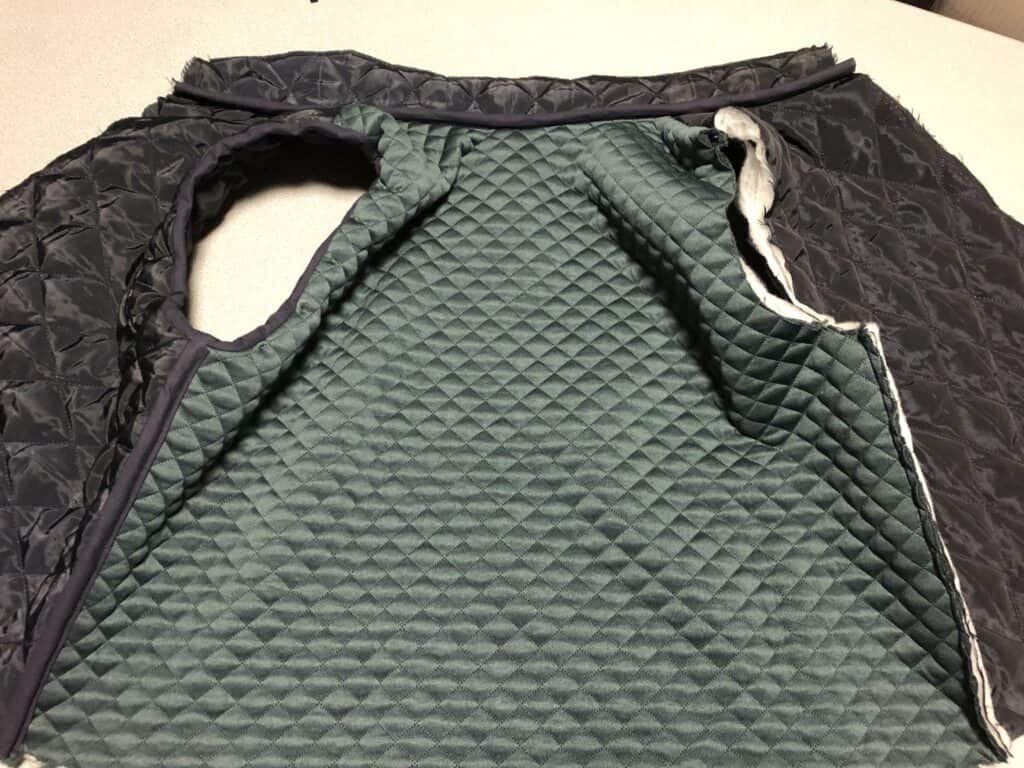
Because my quilt lining was a single layer, I had to double cut each piece and this allowed me to modify the inside of my back panel and use a different kind and color of fabric. A double layer so that means the Oakley would definitely become nice and warm.
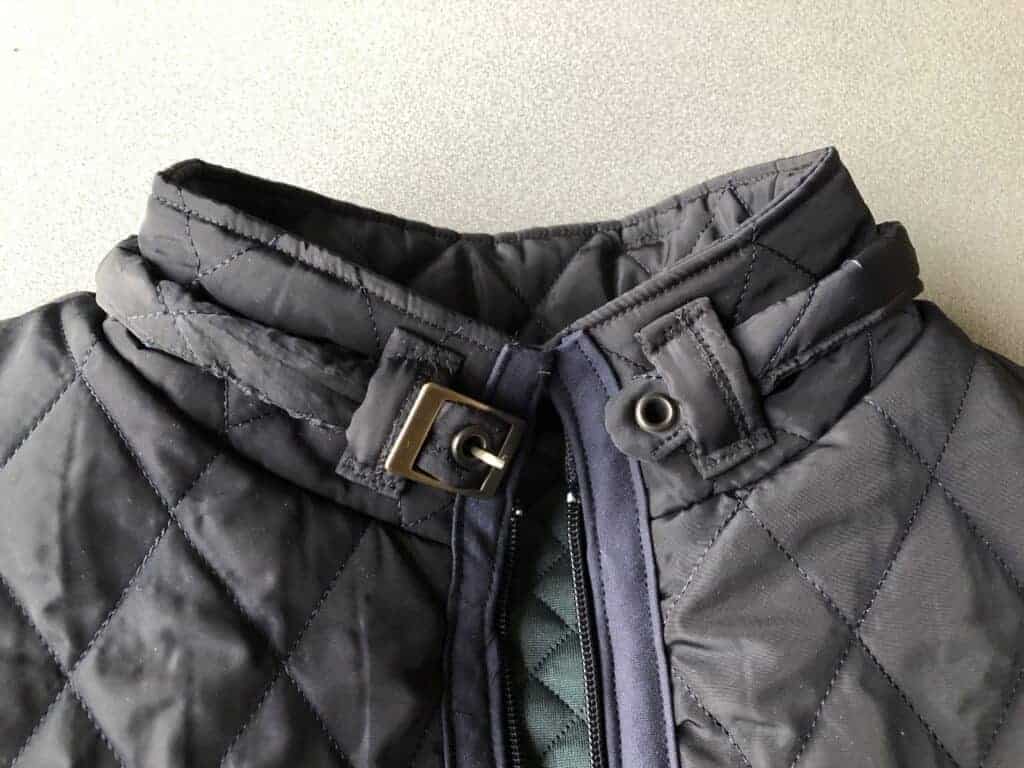
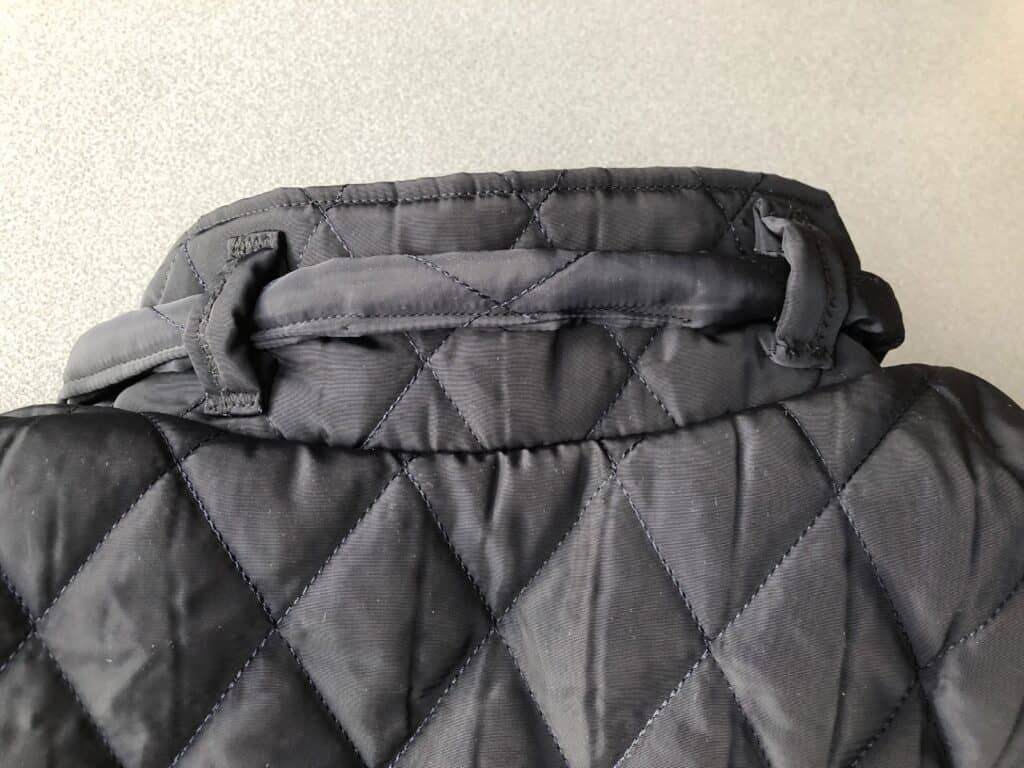
On Pinterest, I saw a fun idea come along where the collar had a nice detail to it by adding a little belt with closure and that was exactly what I wanted. So I added 4 belt loops, a strap and a buckle.
I’m so pleased with my trendy Oakley and I’m sure I’ll wear this vest with pride!
Thanks for stopping by, see you soon! @sewsewilse

Pin this article to your Pinterest Board