Facings on Cadence Dress
Hey you guys! I’m Kris also known as Unsewcial over on my blog and on IG where I share my sewing escapades! I’m a self-taught sewist from the islands where sea, sun and sewing accurately describe my life. I’m sooooo excited to be on the Love Notions Blog with another post today! After a sewing hiatus in 2022, I am back with a bang and happy to be in your space again!
The Pattern
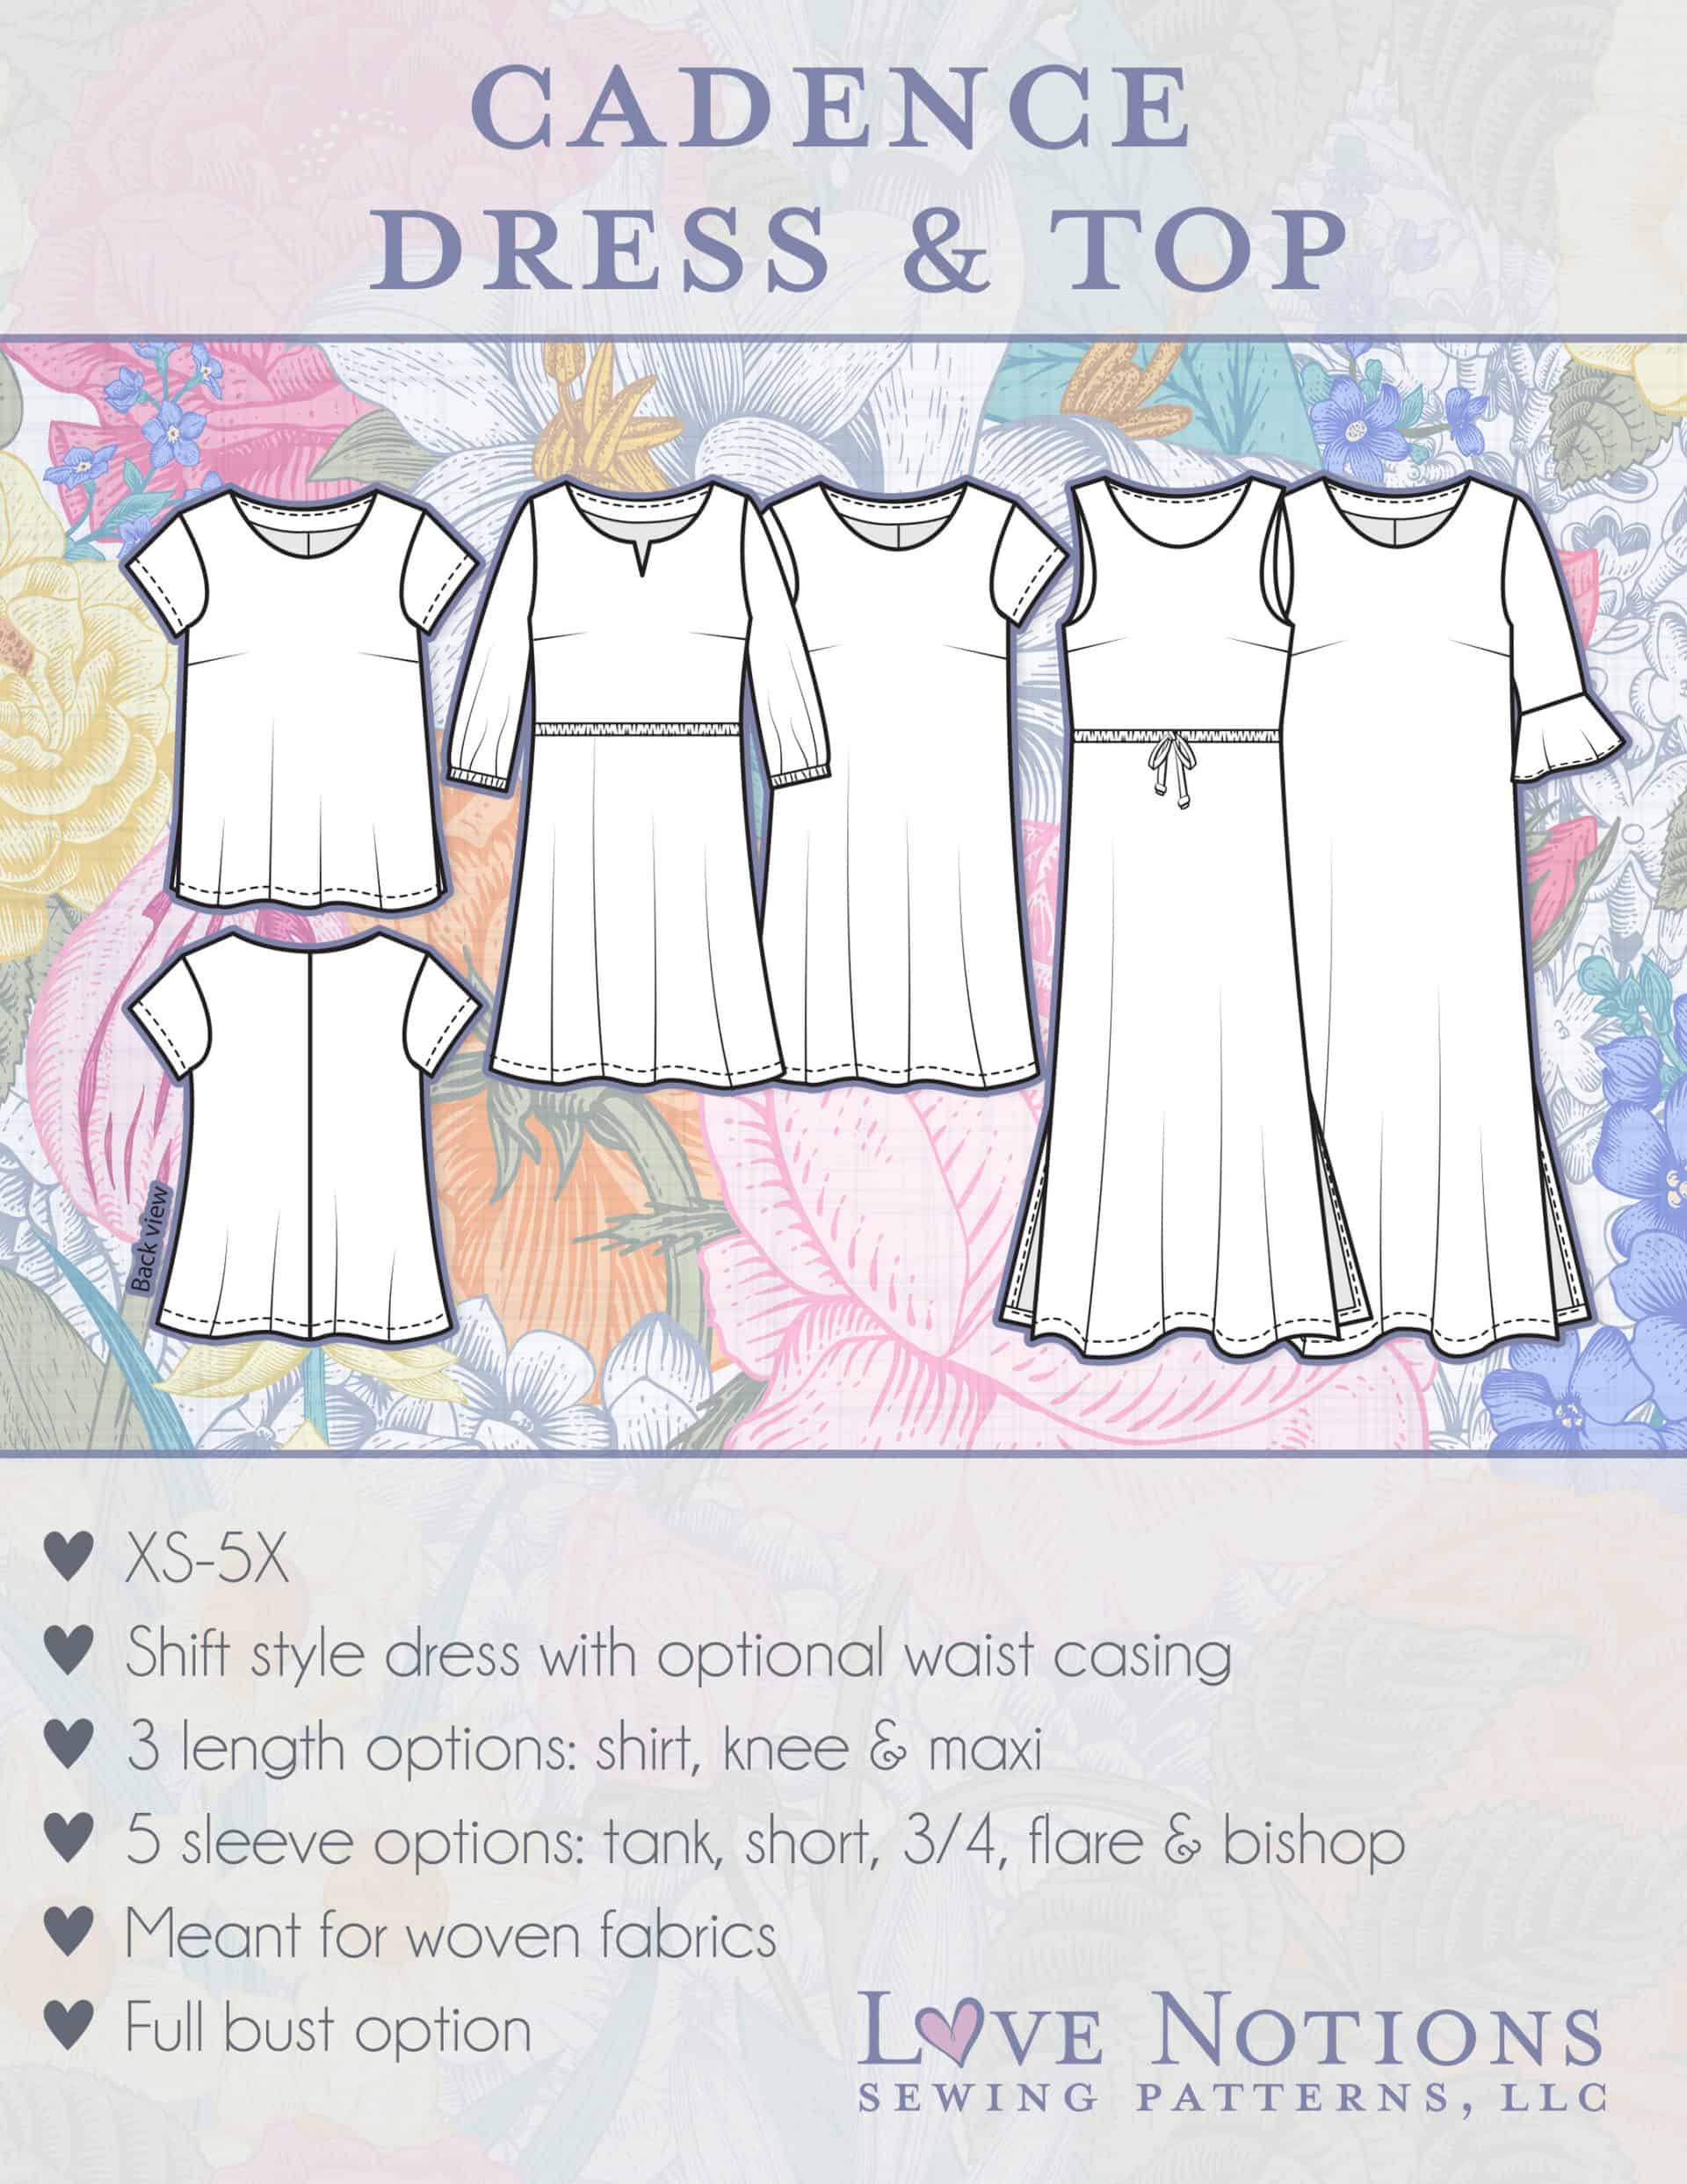
Today’s Feature Friday pattern is the Cadence top and dress [aff link] and you can grab it at the $5 sale price, but only for today so hurry!!! Cadence is a beginner-friendly, shift dress pattern, with major hacking potential. It comes with 3 skirt lengths, 2 necklines and 5 sleeve options making this a pattern YOU NEED in your stash! More important for today’s post, the neckline and armscye are finished with a facing, making Cadence the perfect pattern to explore on our deep dive into facings!
What’s a facing anyway?
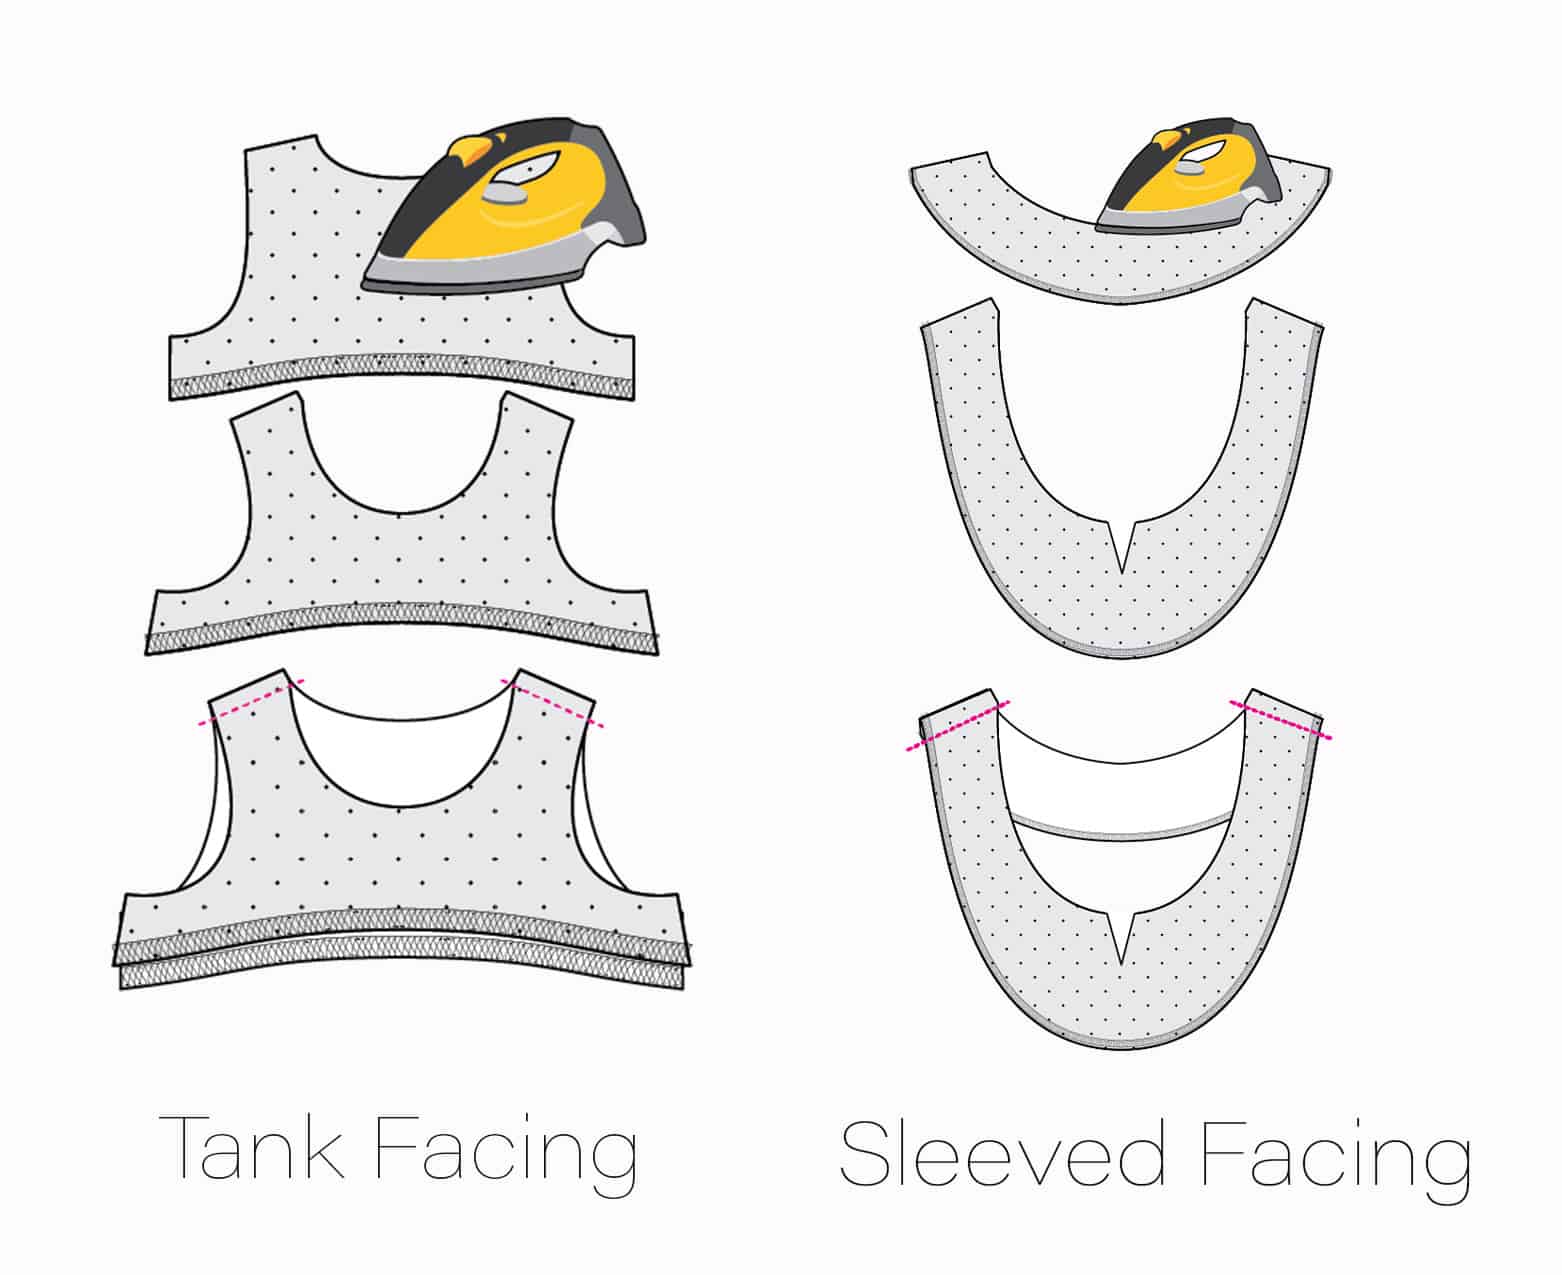
A facing is a piece of fabric used to finish the raw edges of a garment whilst providing stability and helping to maintain shape. The facing piece mimics the shape of the main piece being faced, but is narrower. Facings are commonly used to finish collar-less necklines and the armscyes of sleeveless tops and dresses, as is the case with Cadence. They can also be used on skirts, trousers, and anywhere there is a ’cut out’. It’ll take me allllll week to talk about every type of facing, so for today’s chit-chat, we’ll focus on neckline and armscye facings.
C’mon, walk and talk with me!
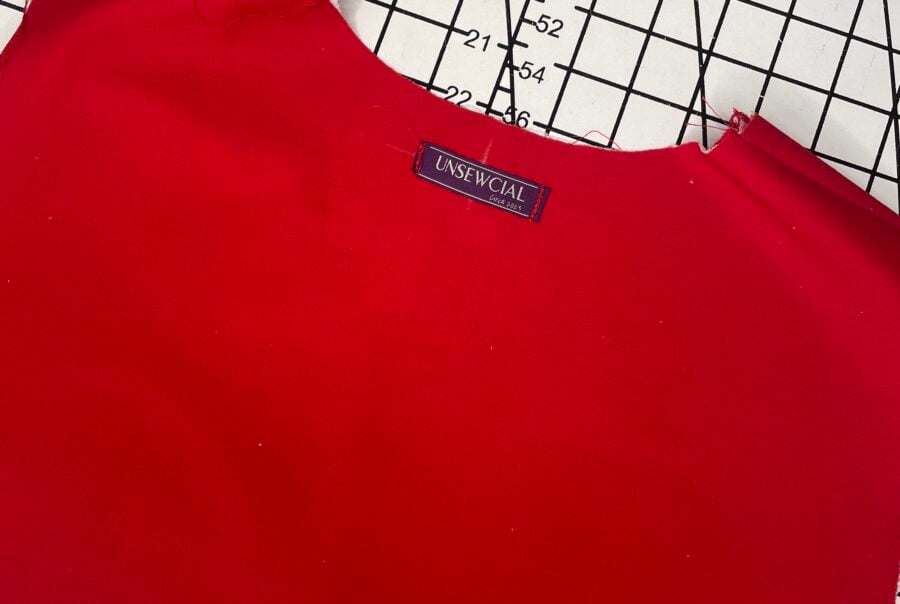
If you’ve ever stumbled across my blog, then you already know I LOVVVEEEE facings and much prefer them to a bias bound finish. I’ll tell you a secret, even where a pattern calls for a bias finish, like, for example, the Love Notions Harmony [aff link], I often draft my own facings. When I made my first Harmony a while back, that’s exactly what I did. If you’re curious to see how, I saved the process on my Instagram Highlights! IMO facings are far less fiddly and give a cleaner finish than bias bindings. Plus, a facing provides the perfect spot for a custom label and I NEVER make a garment without adding my label. Heehhehee. It’s like the icing on the cake!
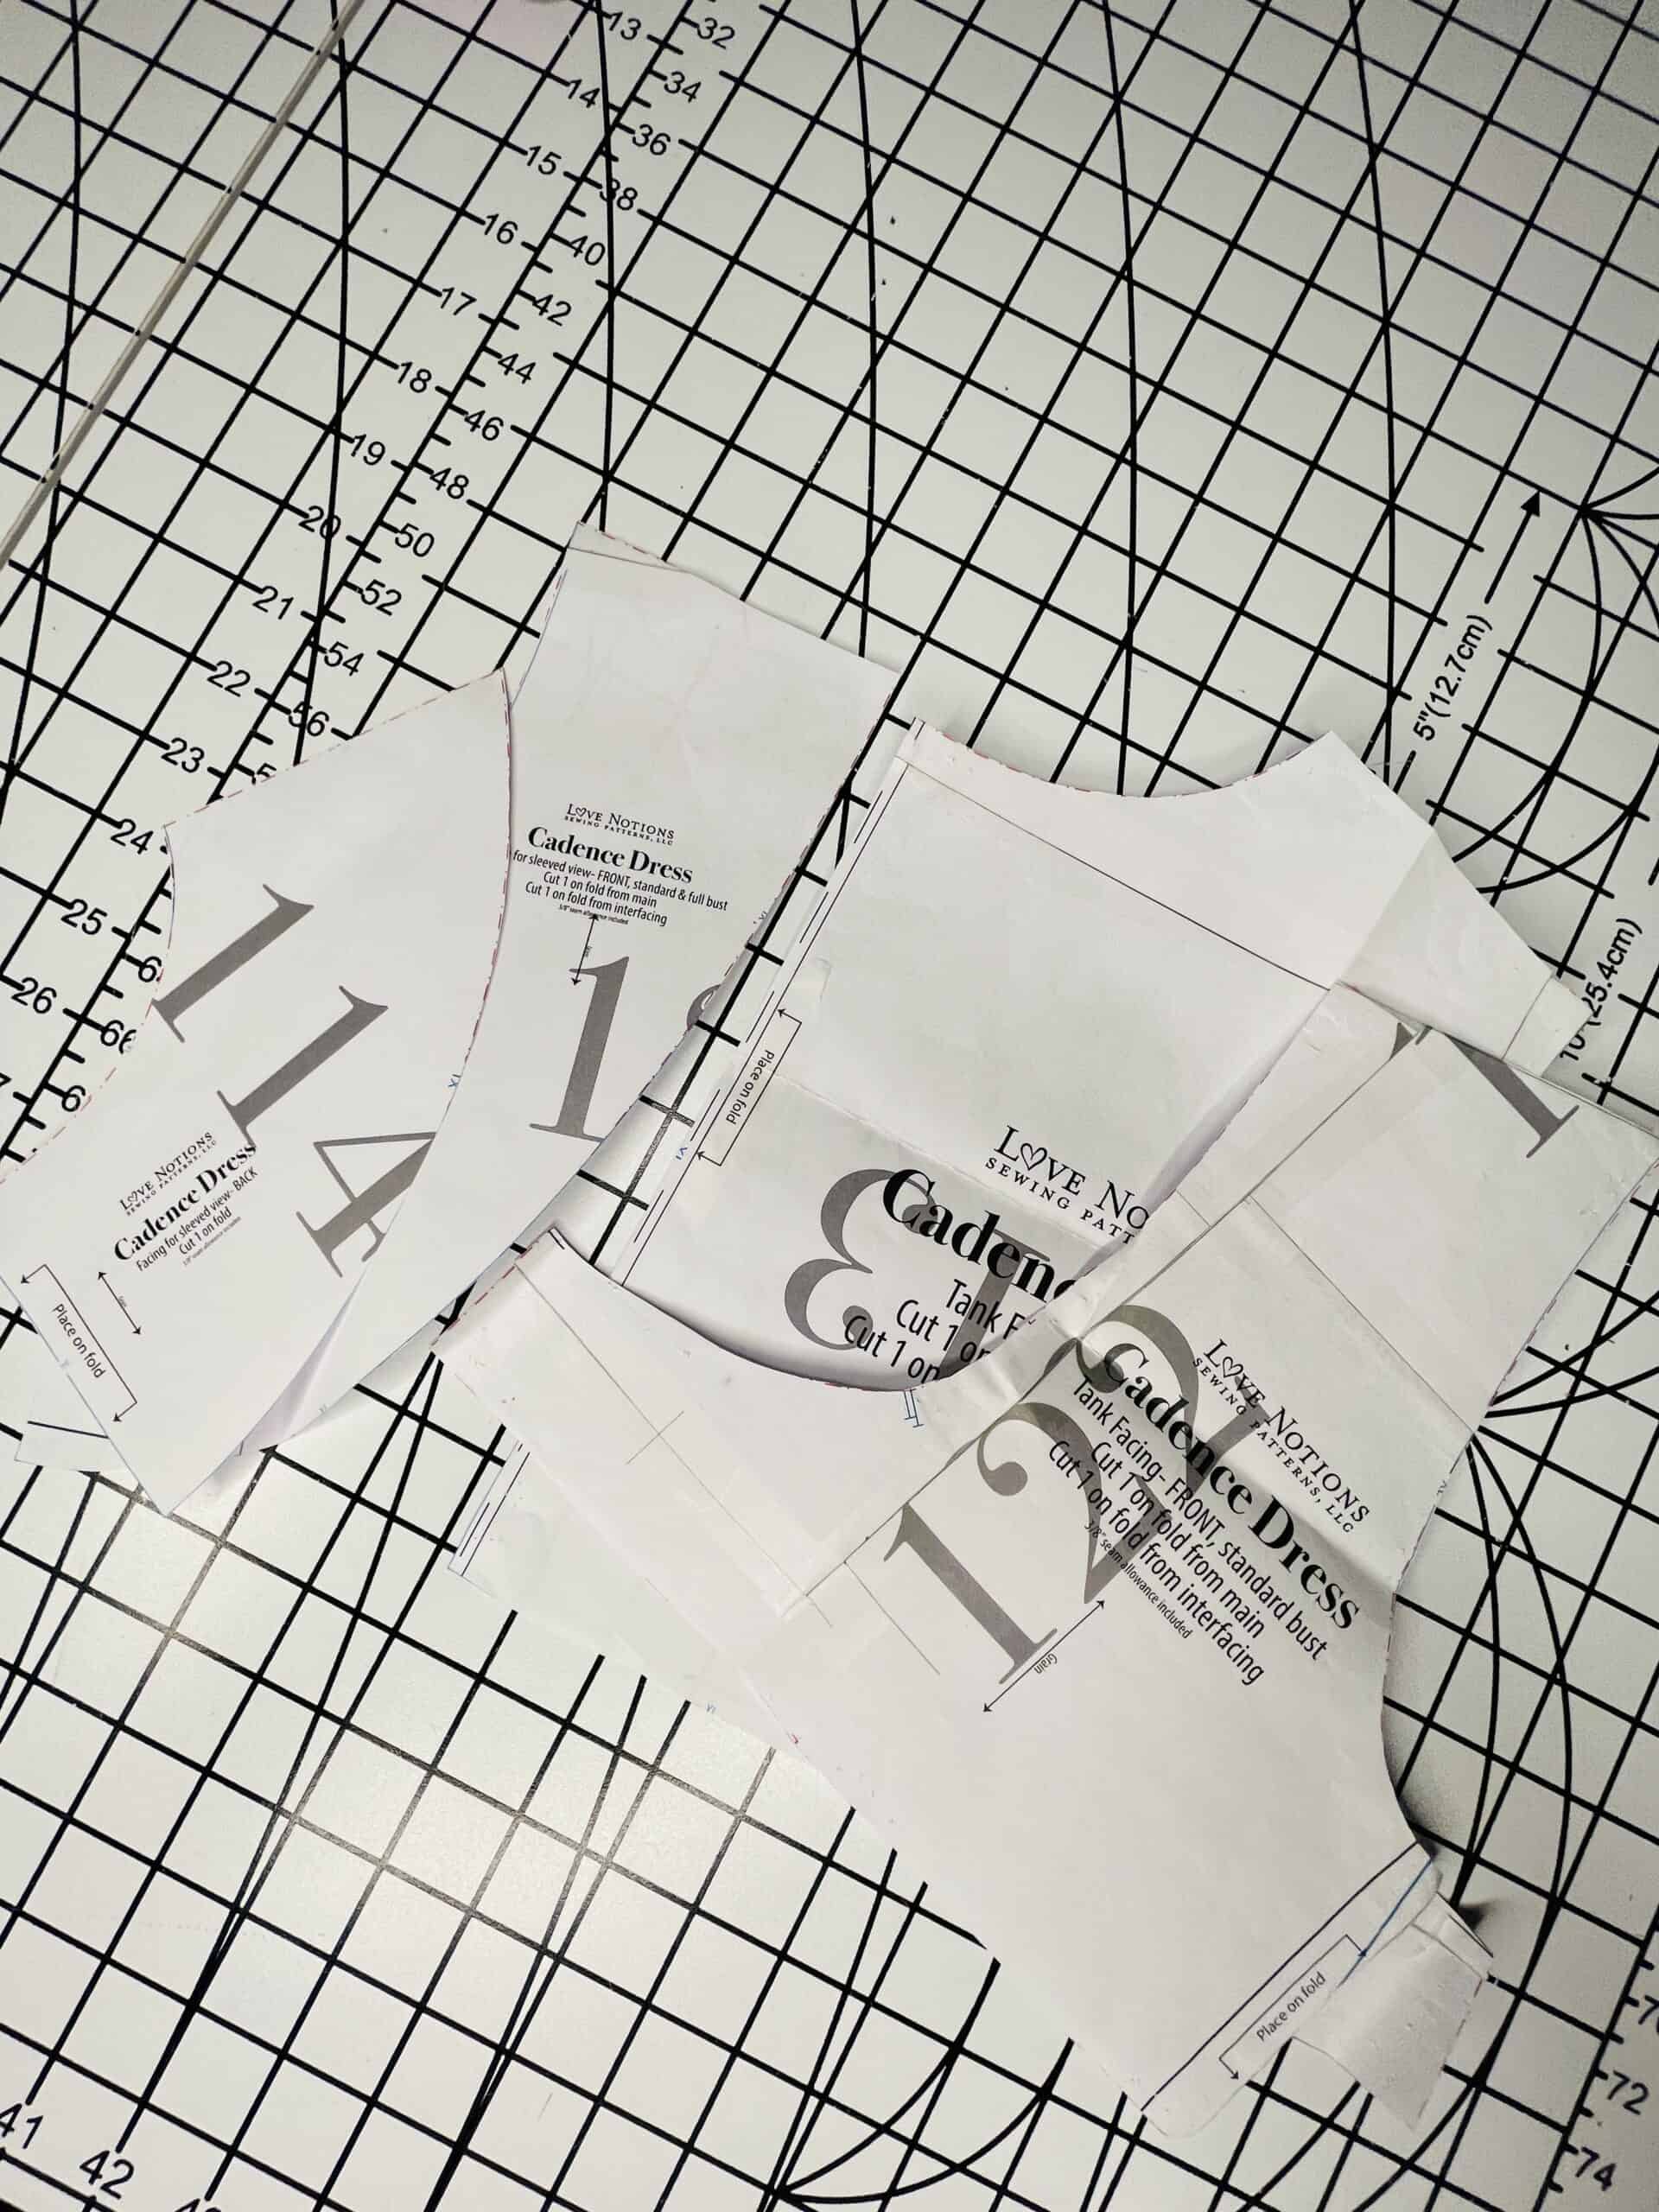
Thankfully, Cadence already includes facing pieces: a set of facings for the sleeveless version, and a different set of facings for those who choose to make their Cadence’s with sleeves. I opted to make not one, but two sleeveless Cadence dresses, both with signature Unsewcial twists!!! I contemplated making a sleeved view, but you remember the ‘sun’ I told you about at the start of this post? Well, it’s just tooooooooo hot in my parts so… less is definitely more right now.
Sizing and adjustments
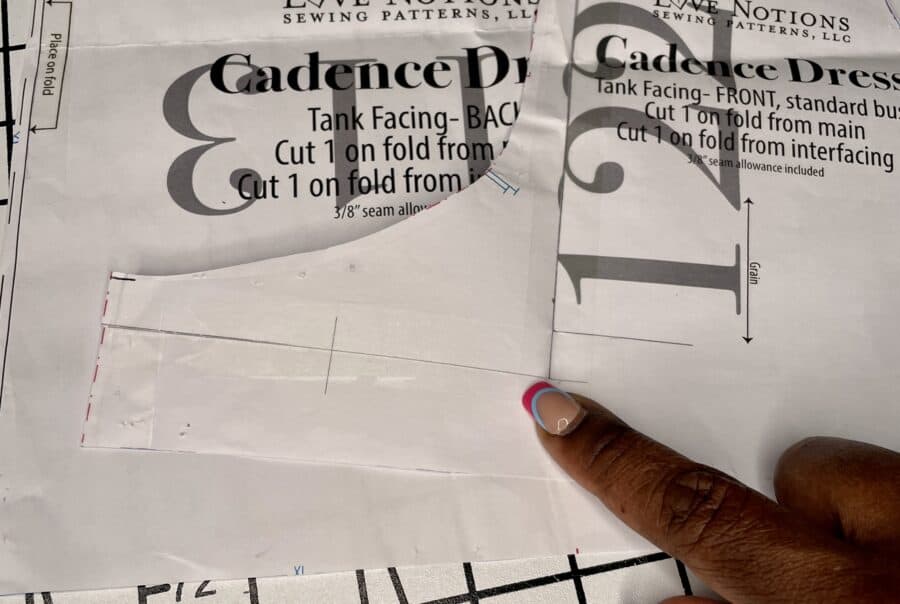
Before embarking on my hacks, I printed off a size Large Cadence blended out to an XL from the bust to hem. I then made a couple of fit adjustments, which have become pretty standard for me. Of note, I made a sloping shoulder adjustment. This adjustment changes the angle of the shoulder line, whilst simultaneously lowering the armscye. If you want to see how it’s done, my last post here on the Love Notions blog showcases the step-by-step!
Making this adjustment on the main bodice meant I had to do the very same adjustment on my facing pieces in order to get them to match when sewn together. Whenever you make an adjustment to the main pattern piece, be sure to also adjust the corresponding facing pieces otherwise you may run into difficulties when constructing your garment.
Preparing your facings
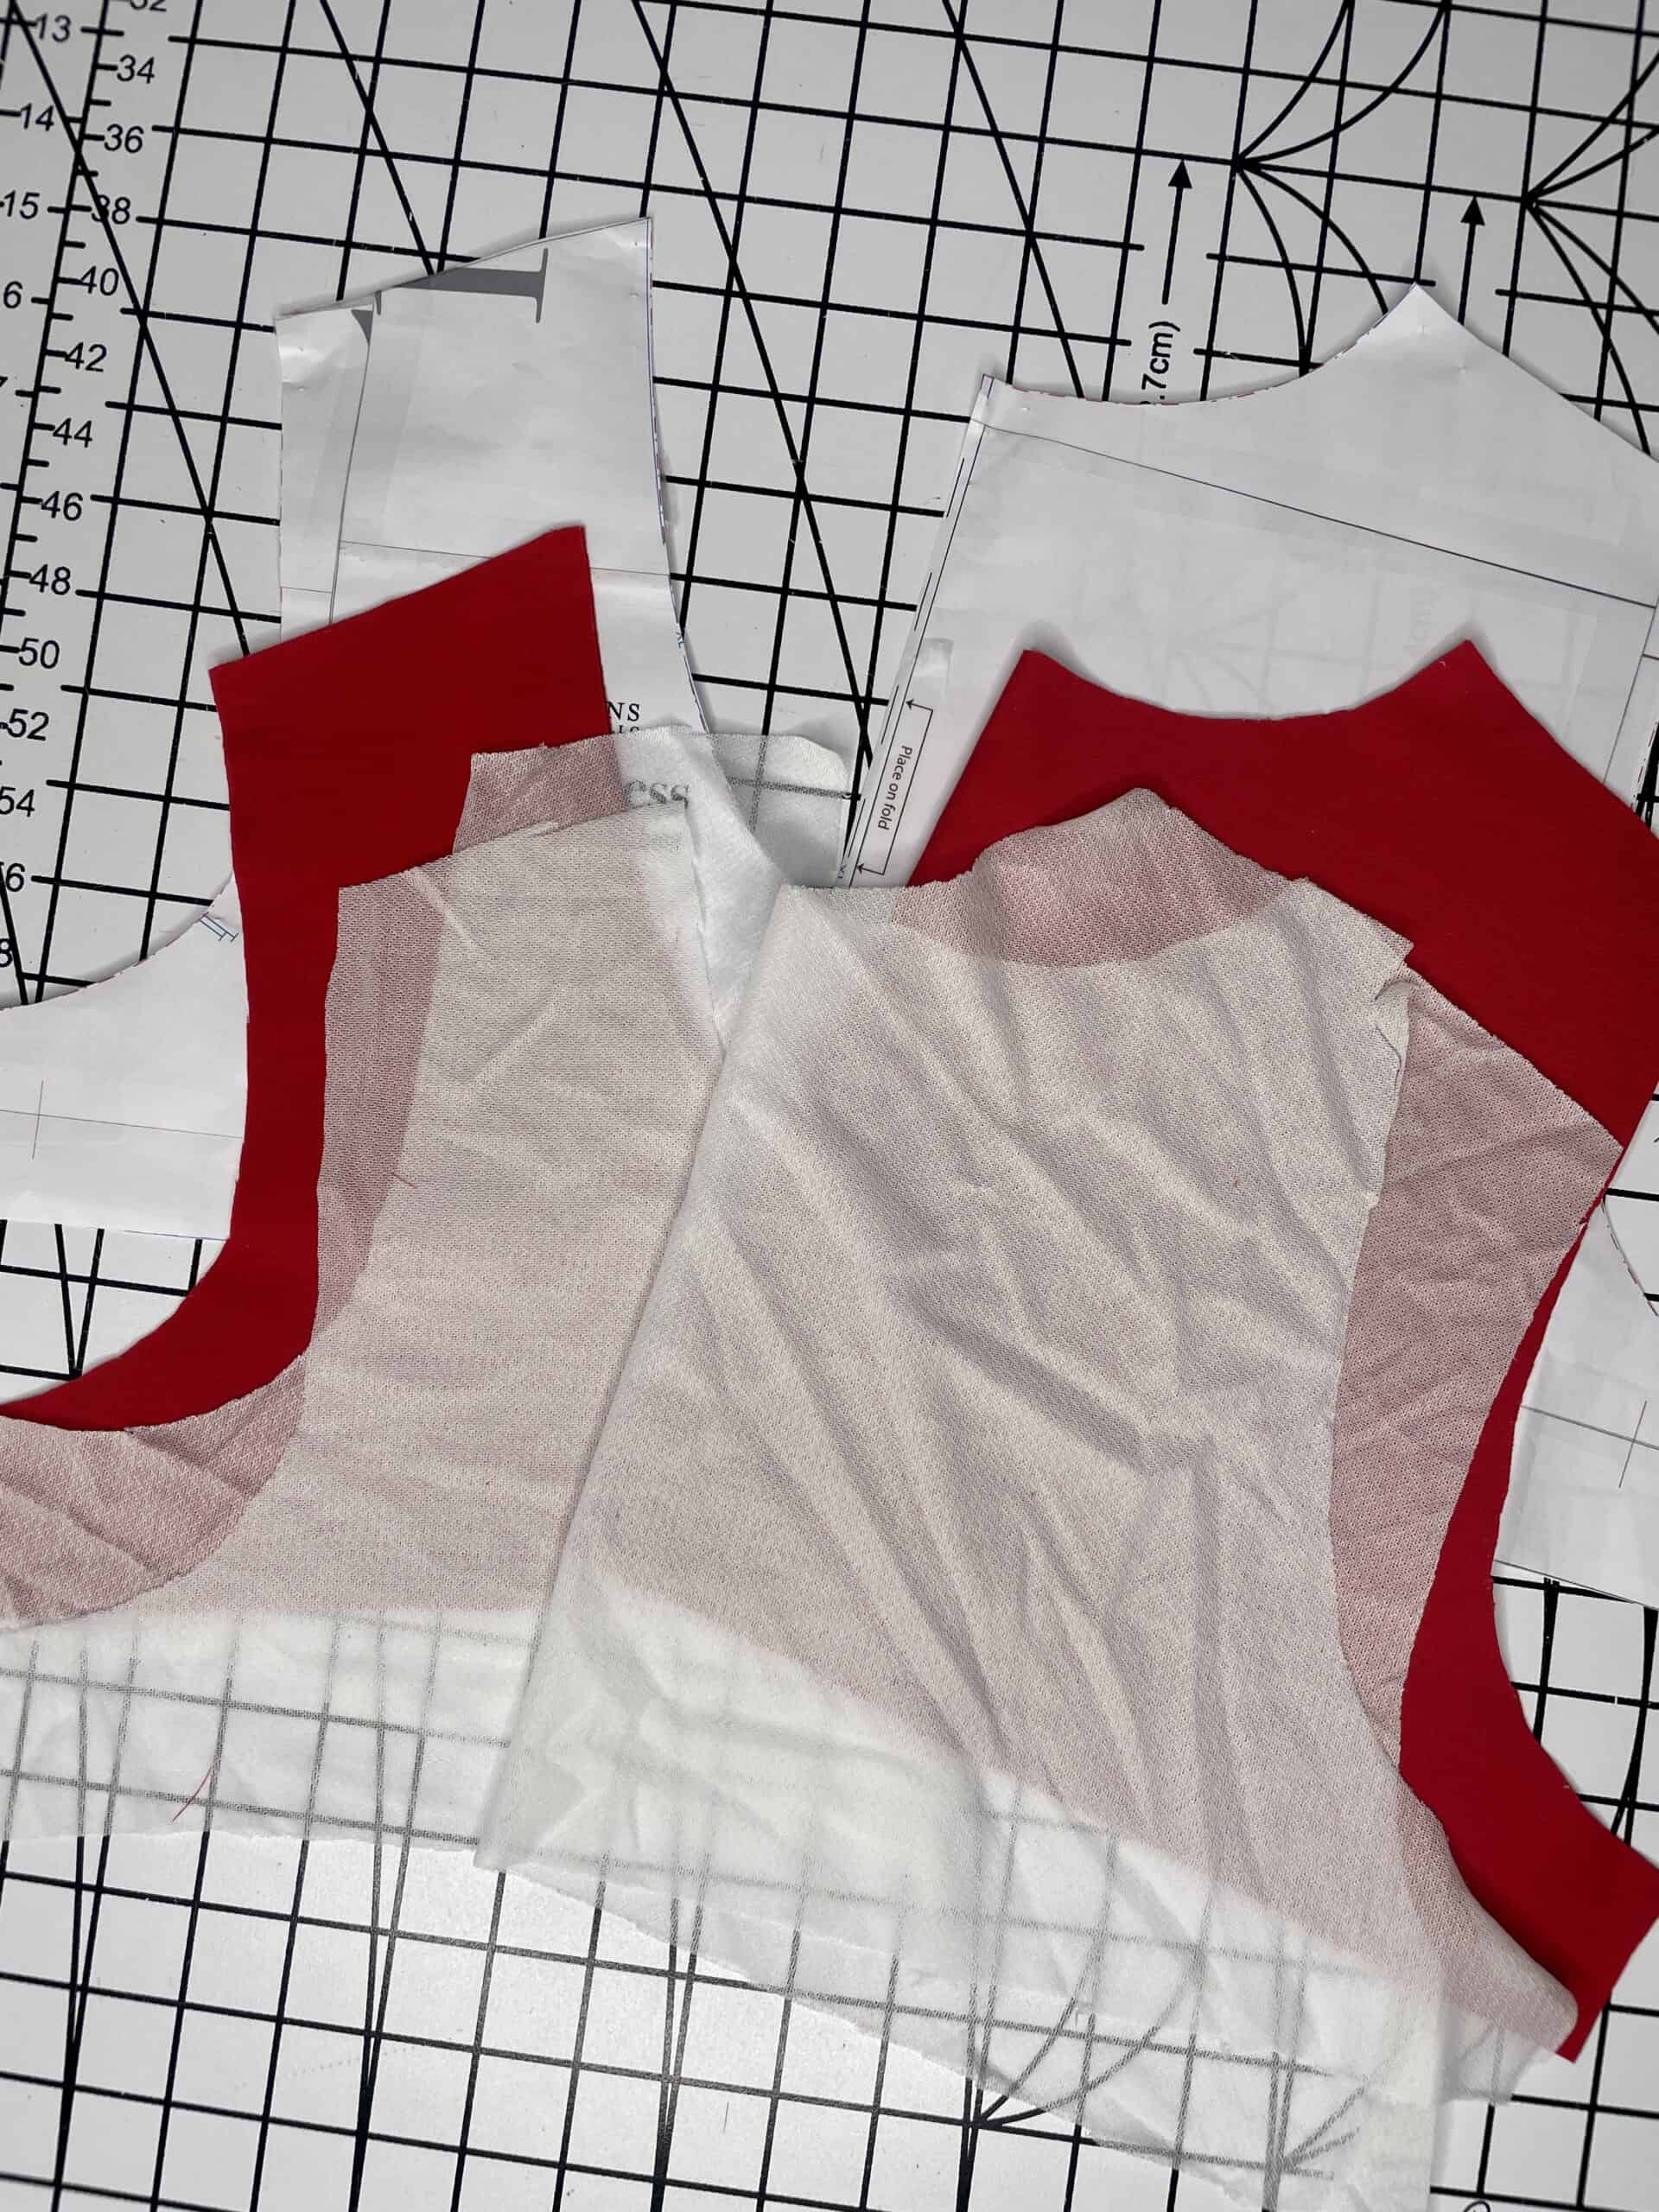
Once I had adjusted my pattern, I cut out my facing pieces for the sleeveless view of the Cadence, making sure to follow the grainline carefully. Facing pieces must be cut on the same grain as the main piece, so as not to upset the flow of the garment. Once I had my facings cut out of self-fabric, I made sure to cut out interfacing as well. Facing pieces gotta be interfaced y’all, and even if a pattern doesn’t tell you to, NEVER skip the interfacing. The trick is to make sure your interfacing is the same or similar in weight as the facing pieces. My first Cadence was made out of a cotton poplin from Mood Fabric, and I opted for a light-weight interfacing; whilst I used a featherweight interfacing on Cadence number 2, which was made out of viscose rayon from Style Maker Fabrics.
Facing Construction
Facing pieces are constructed similarly to the main bodice. The back and front facing pieces must be joined at the shoulder seam, and the neckline is then faced. Love Notions patterns are very comprehensive, and the Cadence tutorial walks you through the process of preparing and sewing your facing pieces.
Facing Attaching
There are a couple things I would absolutely recommend when attaching your facings:
- First, it’s a good idea to staystitch the neckline (and sometimes the armscye) before installing your facing. This helps prevent any distortion, particularly with lighter weight fabrics. Skipping the stay stitching on the neckline of my poplin cadence probably wouldn’t have been too harmful; but I can imagine the stretched-out mess I would have ended up with, had I skipped the staystitching on my rayon. To be on the safe side, your girl also staystitched the armscye of the rayon Cadence. I definitely did NOT want droopy armholes lol.
- Second, grade and clip seams. The area where two pieces of fabric are joined can become quite bulky, especially with heavier weight fabrics, and I would absolutely recommend grading and clipping your seams to help release some tension, especially on curved edges like the scooped neckline, and the armscyes of the Cadence.
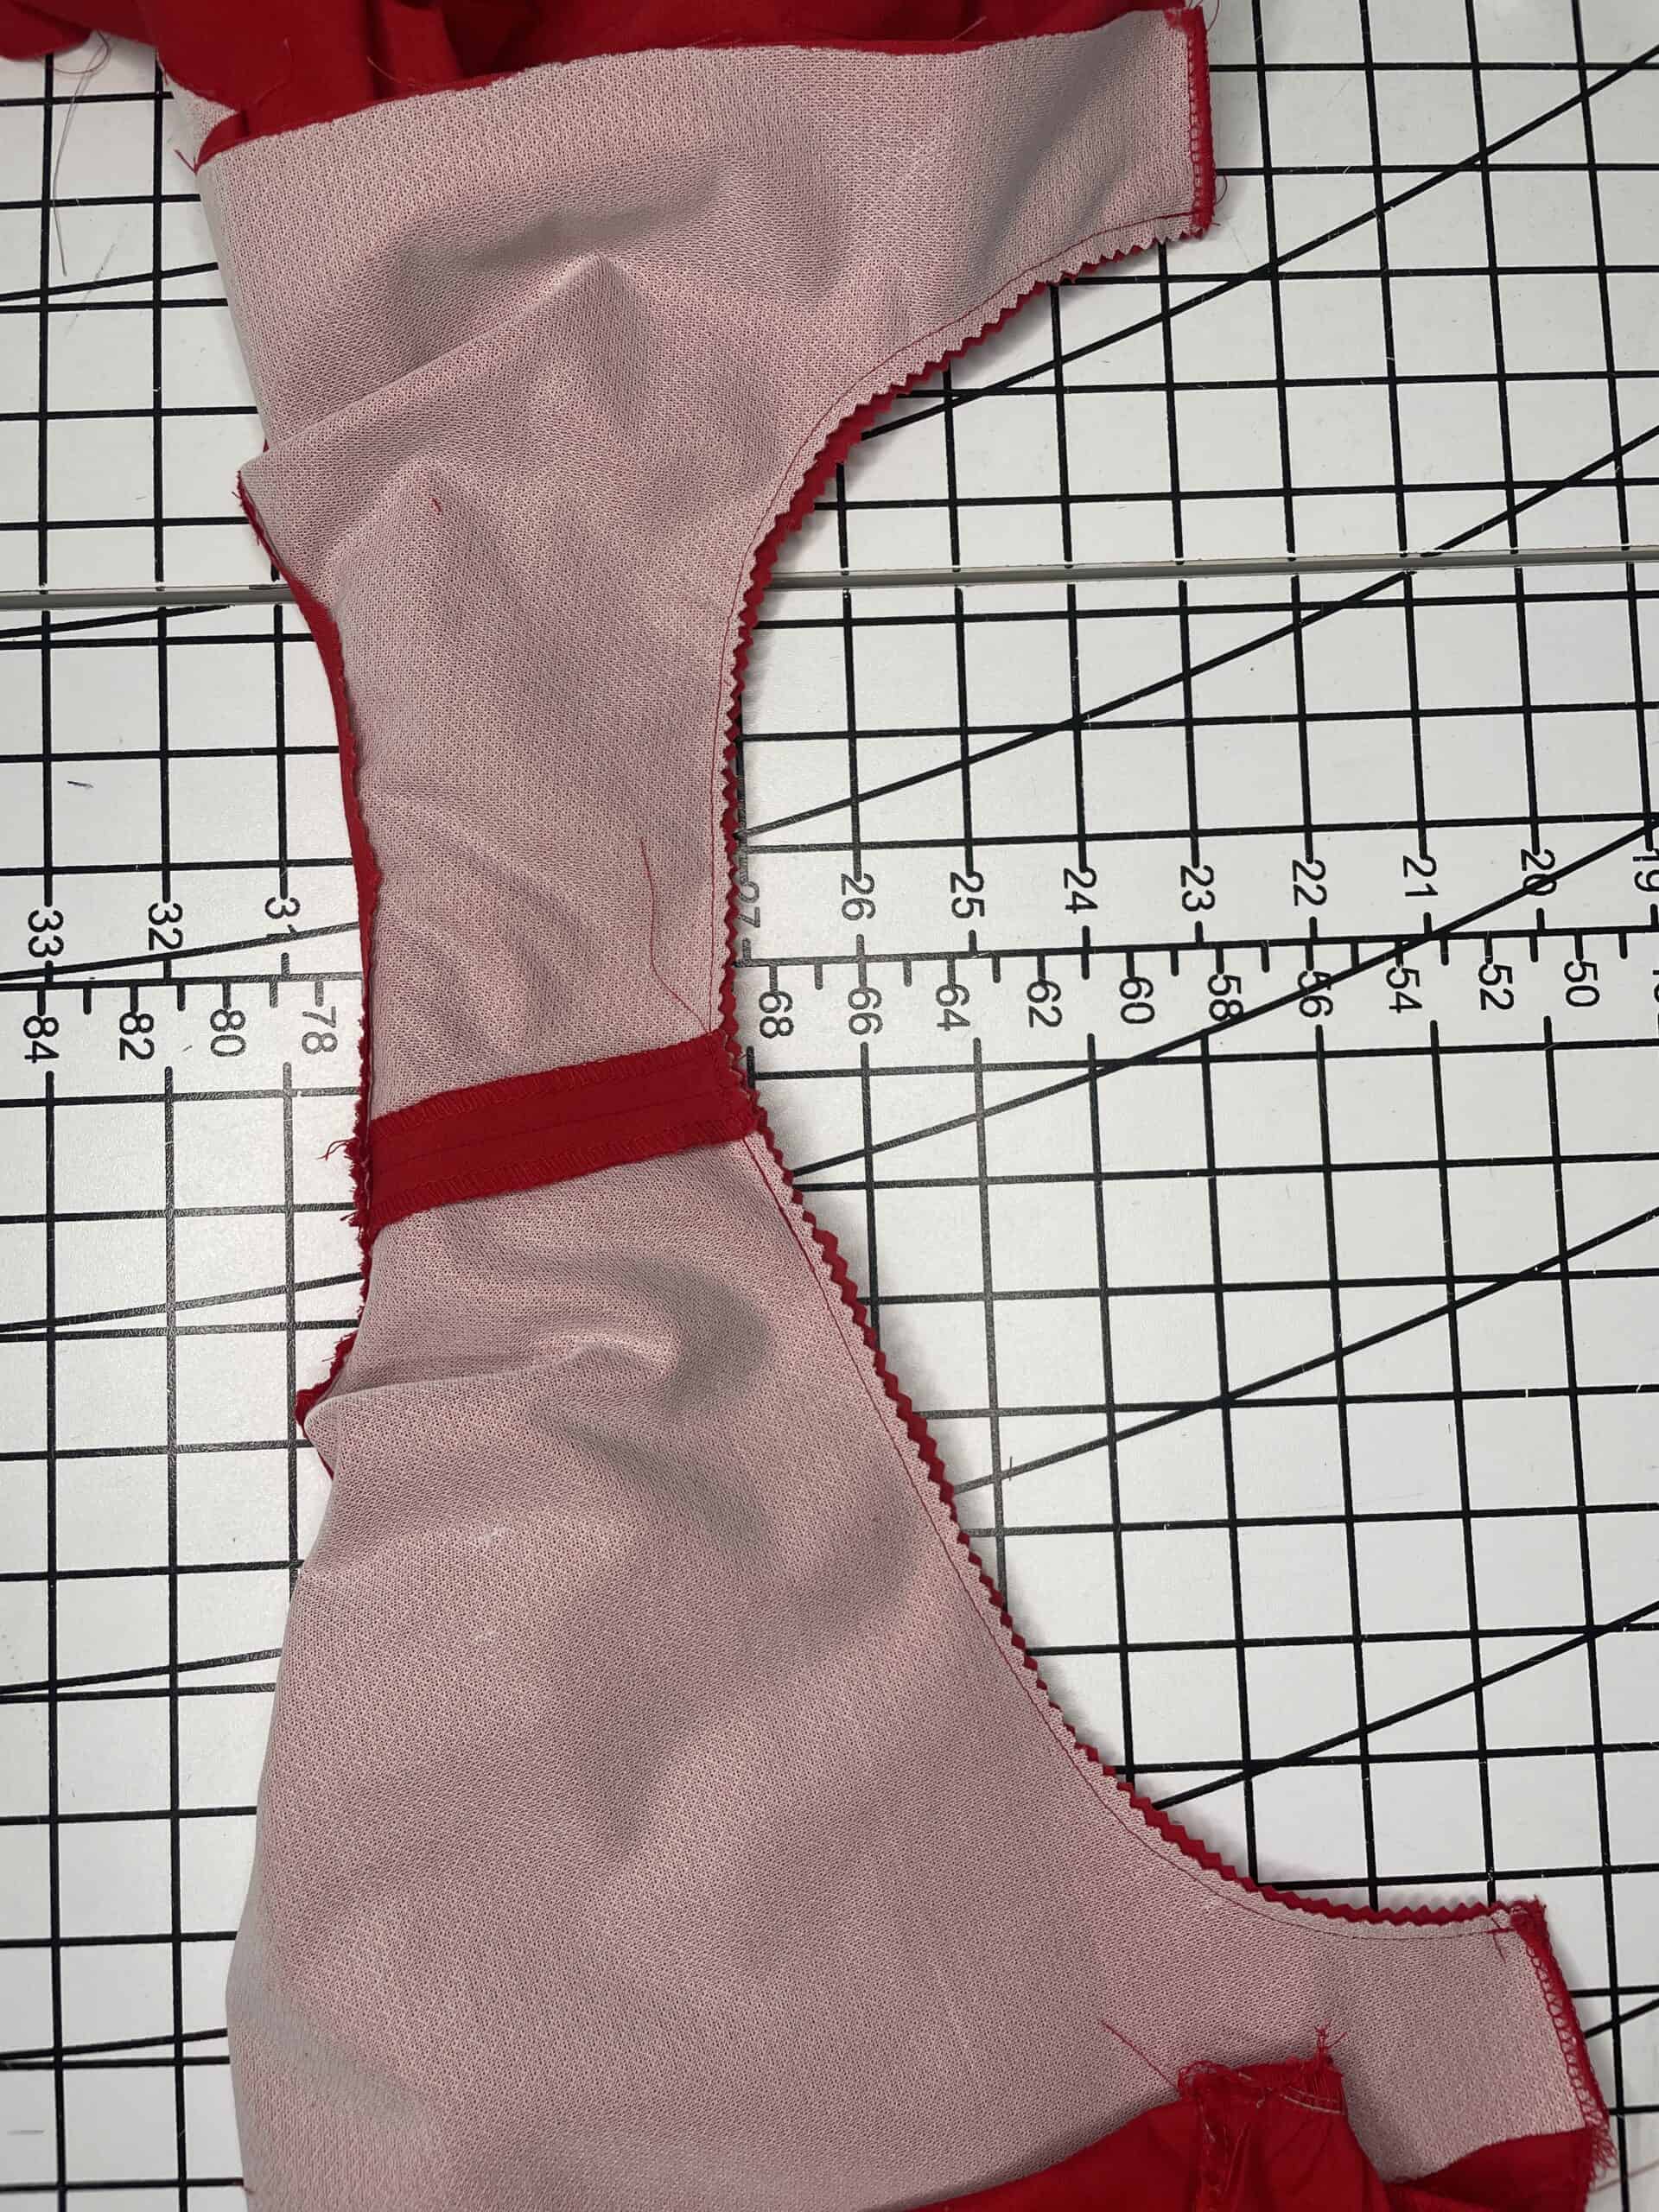
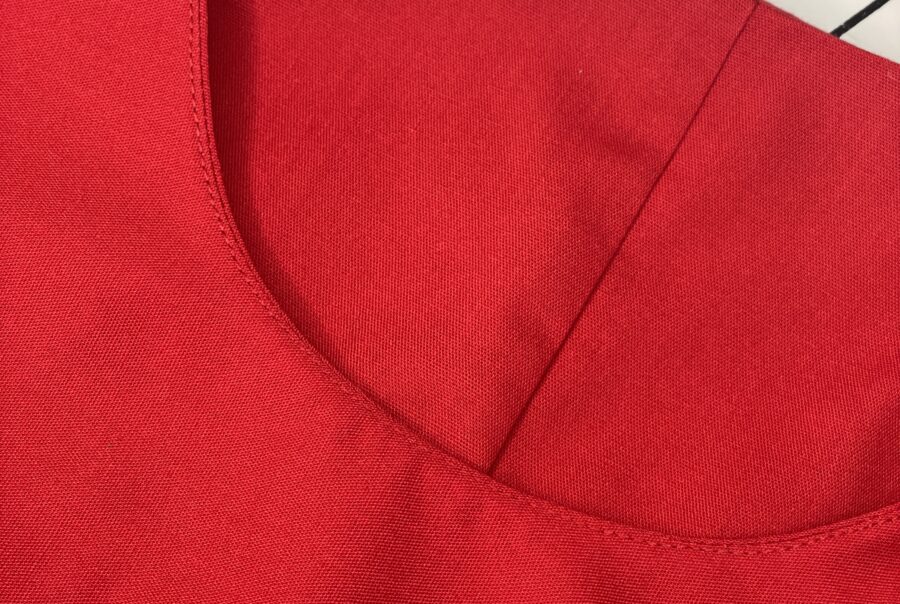
- Third, under stitch, under stitch, under stitch!!! Under stitching, which is the process whereby seam allowances are secured to the facing pieces, helps your facing to roll to the inside, and makes for a clean, polished finish. Give it a good press and step back to admire your neckline! For even more security, I like to tack my facing to the main at the shoulder seams and centre back seam. This just helps keep the facing from flopping outward.
Facing Finishing
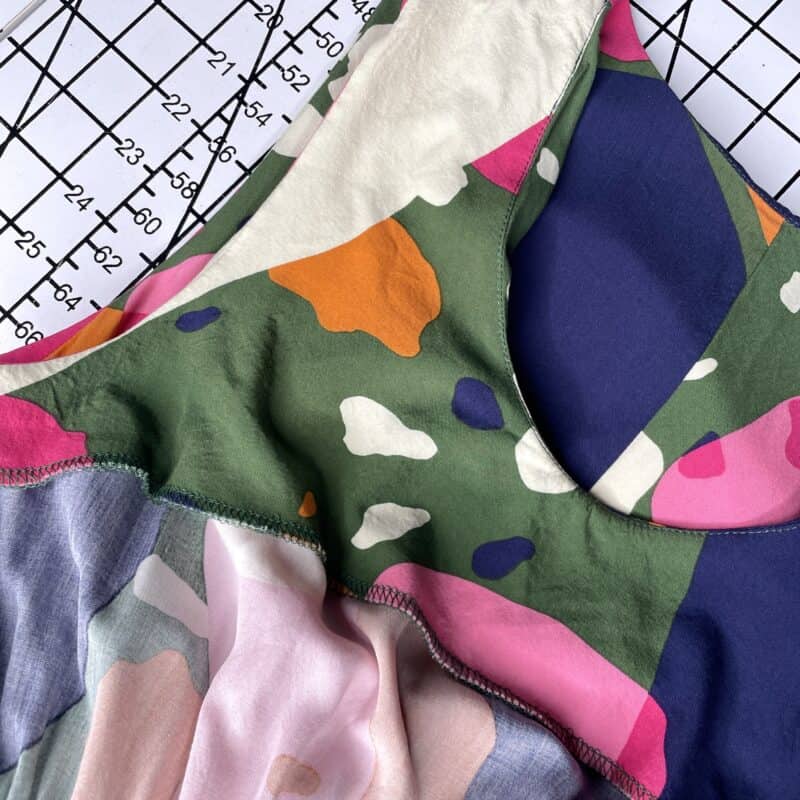
But wait, a facing piece ALSO has raw edges, so what do we do with these? A seam finish has to be applied to the outer edge of the facing (the part that doesn’t attach to anything else), to stop the fabric from fraying away. Facings can be finished in several ways: they can be trimmed with pinking shears, turned under and hemmed, finished with a serger, or with bias binding. My preference is to serge my facing edges as I feel like this finish is quick, easy, and doesn’t add any more bulk to the facing, like for example, bias binding might.
A few Cadence Pattern Hacks
I think I’ve covered all you need to know about facings, but just before I bid you farewell, I thought I’d share just a little about my Cadence pattern hacks. I’ll go in more depth over on my Instagram account, so be sure to follow me there too!
Cadence #1
My first cadence was made using red cotton poplin. Asymmetrical hems seem to be popping up everywhere! I’ve seen so many on my Pinterest and on Instagram ads 🤔 and I thought that the Cadence pattern would be the perfect starter block to recreate the look. I cut my pattern apart in a scooped, asymmetrical line, creating a slanted, drop-waist dress. I then widened the ‘skirt’ portion using the slash and spread method then gathered and attached it to the bodice. If you look closely, you might also notice a ruched effect on the bodice of the dress. I achieved this by lengthening the front bodice 2” more than the back bodice piece, then gathering along the front bodice pieces from the bust darts down to the waistline before attaching it to the back. I absolutely love this hack and I think it makes for a cute summer dress.

Cadence #2
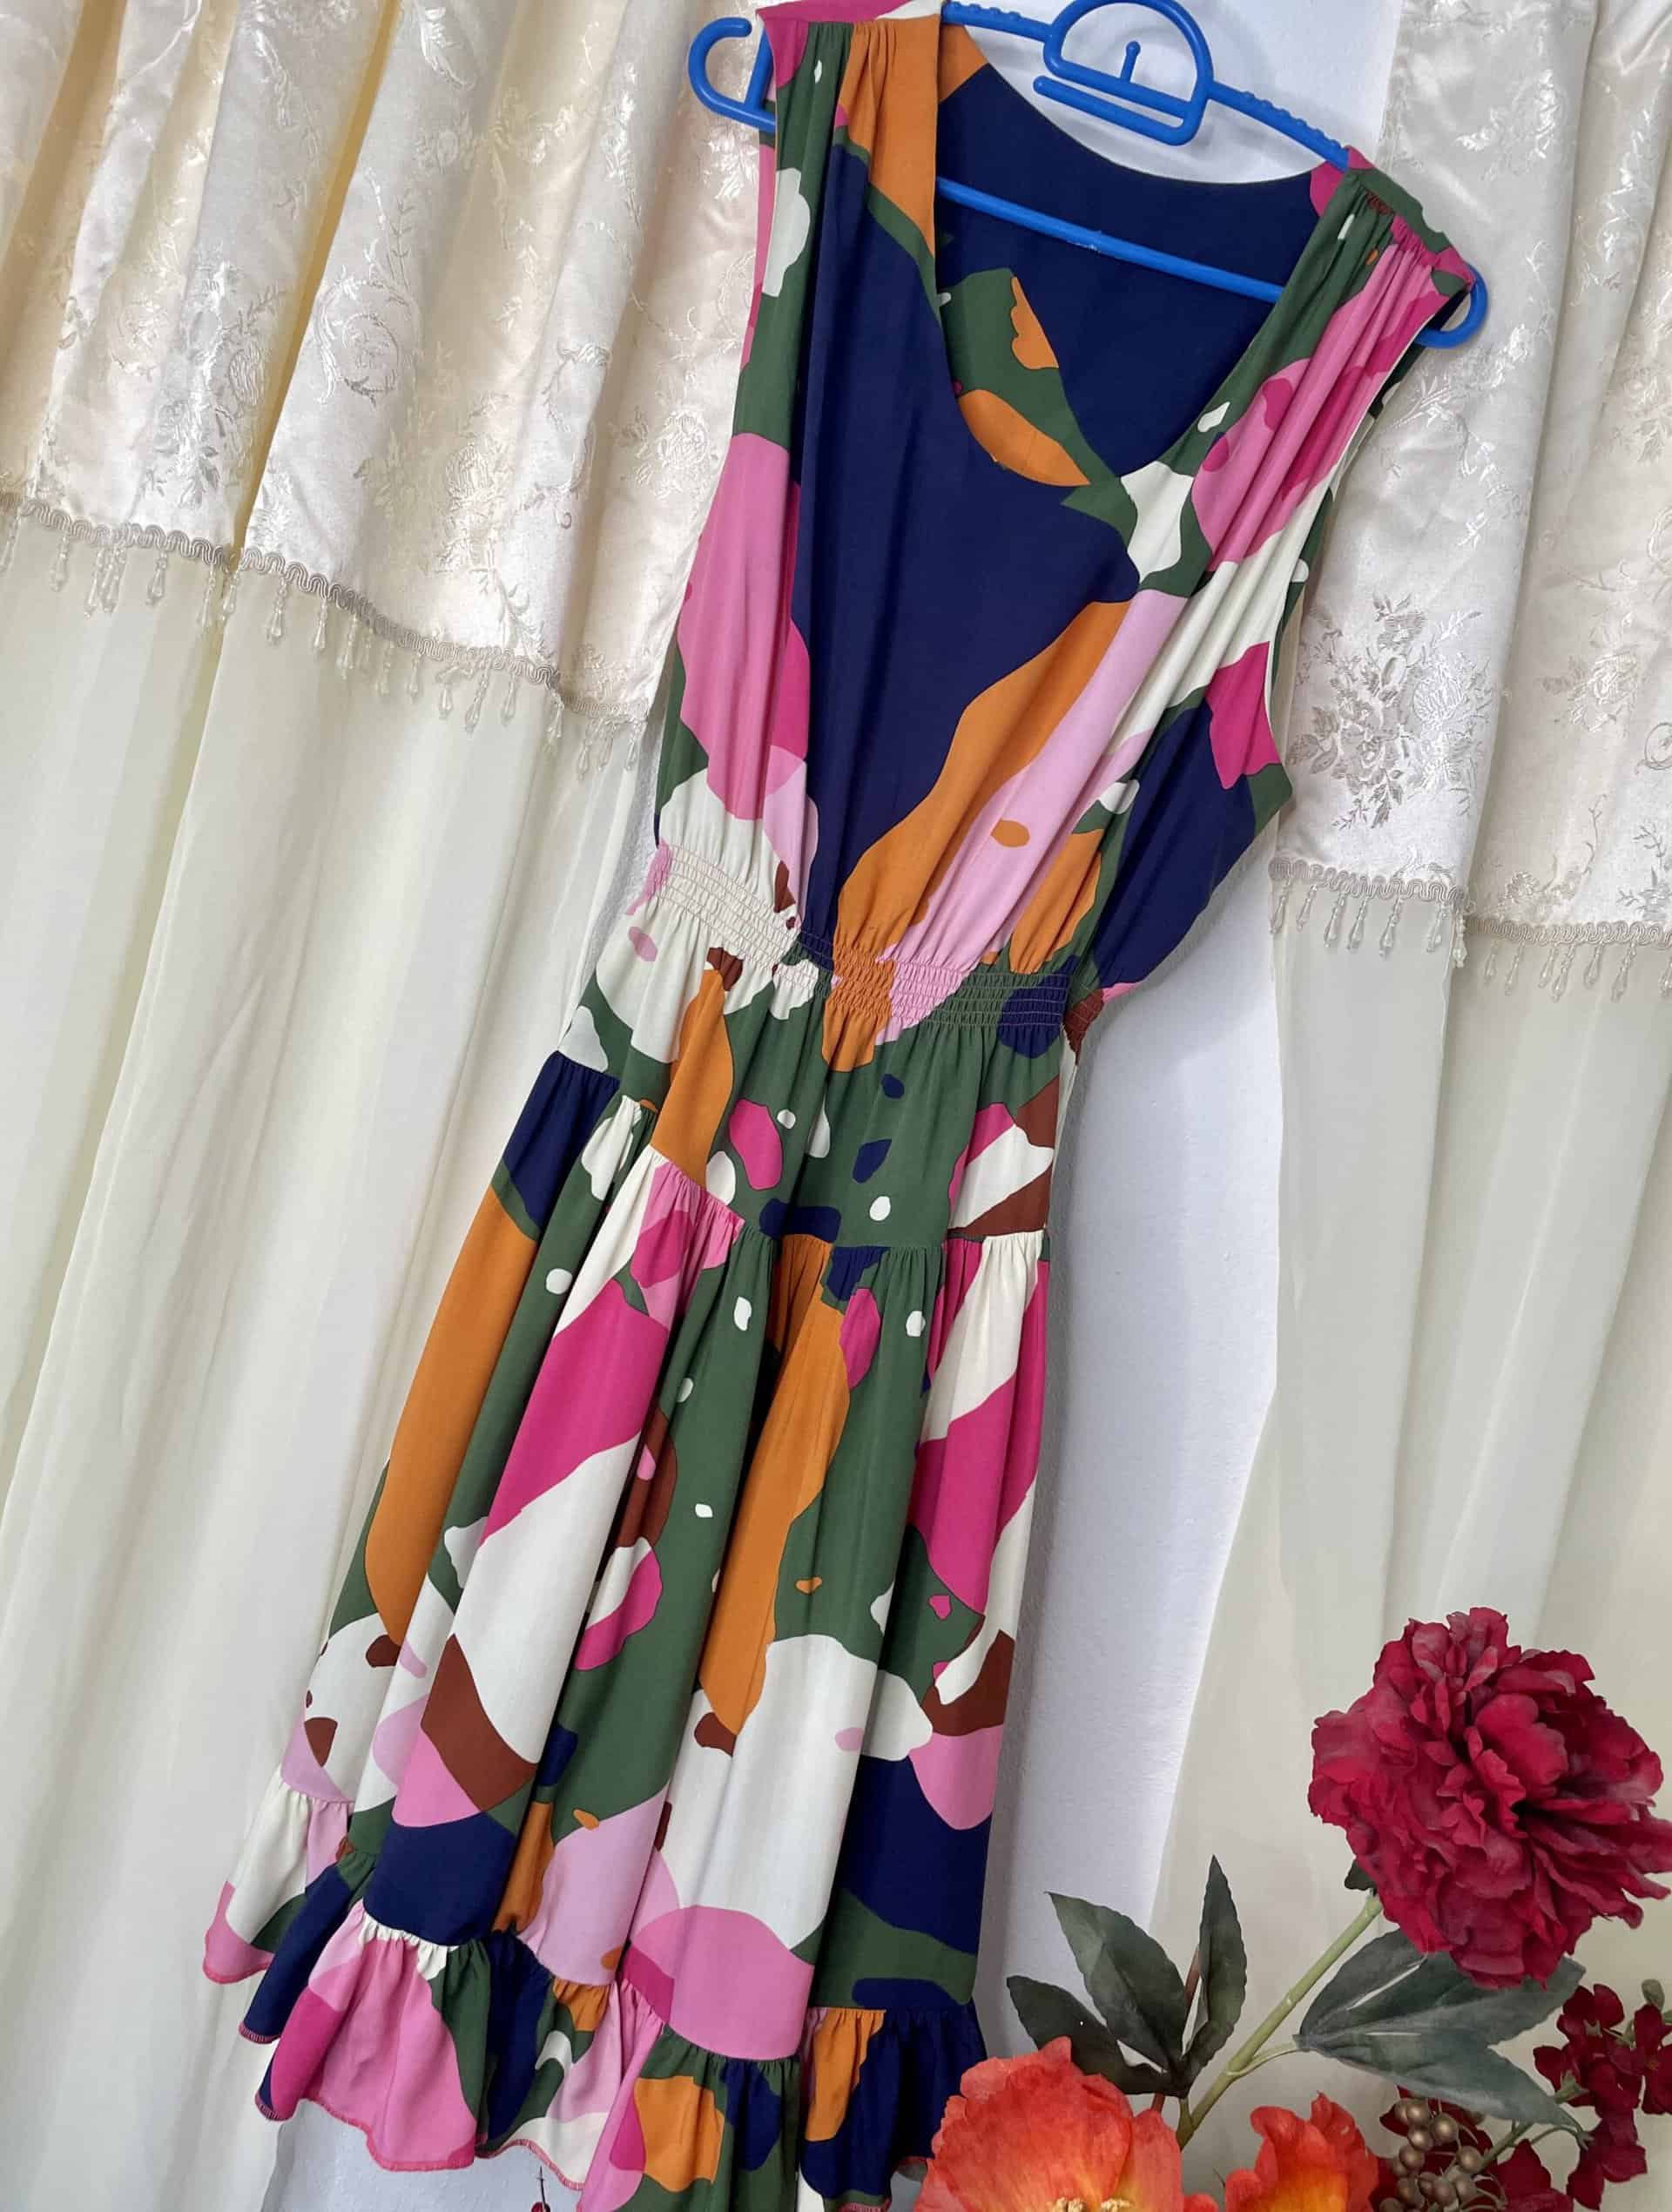
For my second Cadence, I knew I wanted to use a different substrate with a little more drape and movement. I like seeing loose, flowy dresses on other people, but I typically shy away from shift like dresses for myself because I’m a sucker for some waist definition. On this hack, I first rotated the bust darts up to the shoulder to create a gathered shoulder. I cut the bodice a couple inches below that where I thought my waistline would fall, and attached two gathered tiers. The first was width of fabric, and the second two times width of fabric. Instead of using the included casing in the Cadence tutorial, I added 5 lines of shirring, each ¼” apart because I lovvvveeee shirring and it has become a popular sewing technique over the last couple of years. I think this Cadence is so chic, and the fabric is giving me some rich auntie vybes!
Can’t wait to see your facings!
I’m really honored to have been with you guys today, and I’m hoping that this post helped to shed a little light on facings! Summer is fast approaching for me, and many of you I’m sure, and Cadence is the perfect addition to a summertime wardrobe. Along with making for a cure shift dress, you can see how hackable this pattern is. Great bang for your buck, I say! Feel free to use one of my hacks and tag me on IG so I can see, or flex your creative muscle and come up with your own! Go grab it whilst it’s on sale, and I’ll really appreciate if you used my affiliate link below.
*Links in this blog post to Love Notions patterns are affiliate links and earn me a small commission at no extra cost to you. Thank you for your purchase! *




Thank you so much for this blog. I love your hacks and as soon as I get the Cadance I have cut out finished for sizing I am going to try yours.
Awesome! Happy Sewing! ~K
This was so helpful!! Thank you Kris! Both versions are beautiful. It’s great to see your creativity!
Hmm, I was hoping there would be some explanation of the facing for the neckline with the little V. Both of your samples are sleeveless with the round neck.
I’ll check with the team and see if anyone has examples on their own blogs or YouTube. It’s sewn up the same way, though, except for the detour into the V. Was there a specific part you were concerned about?