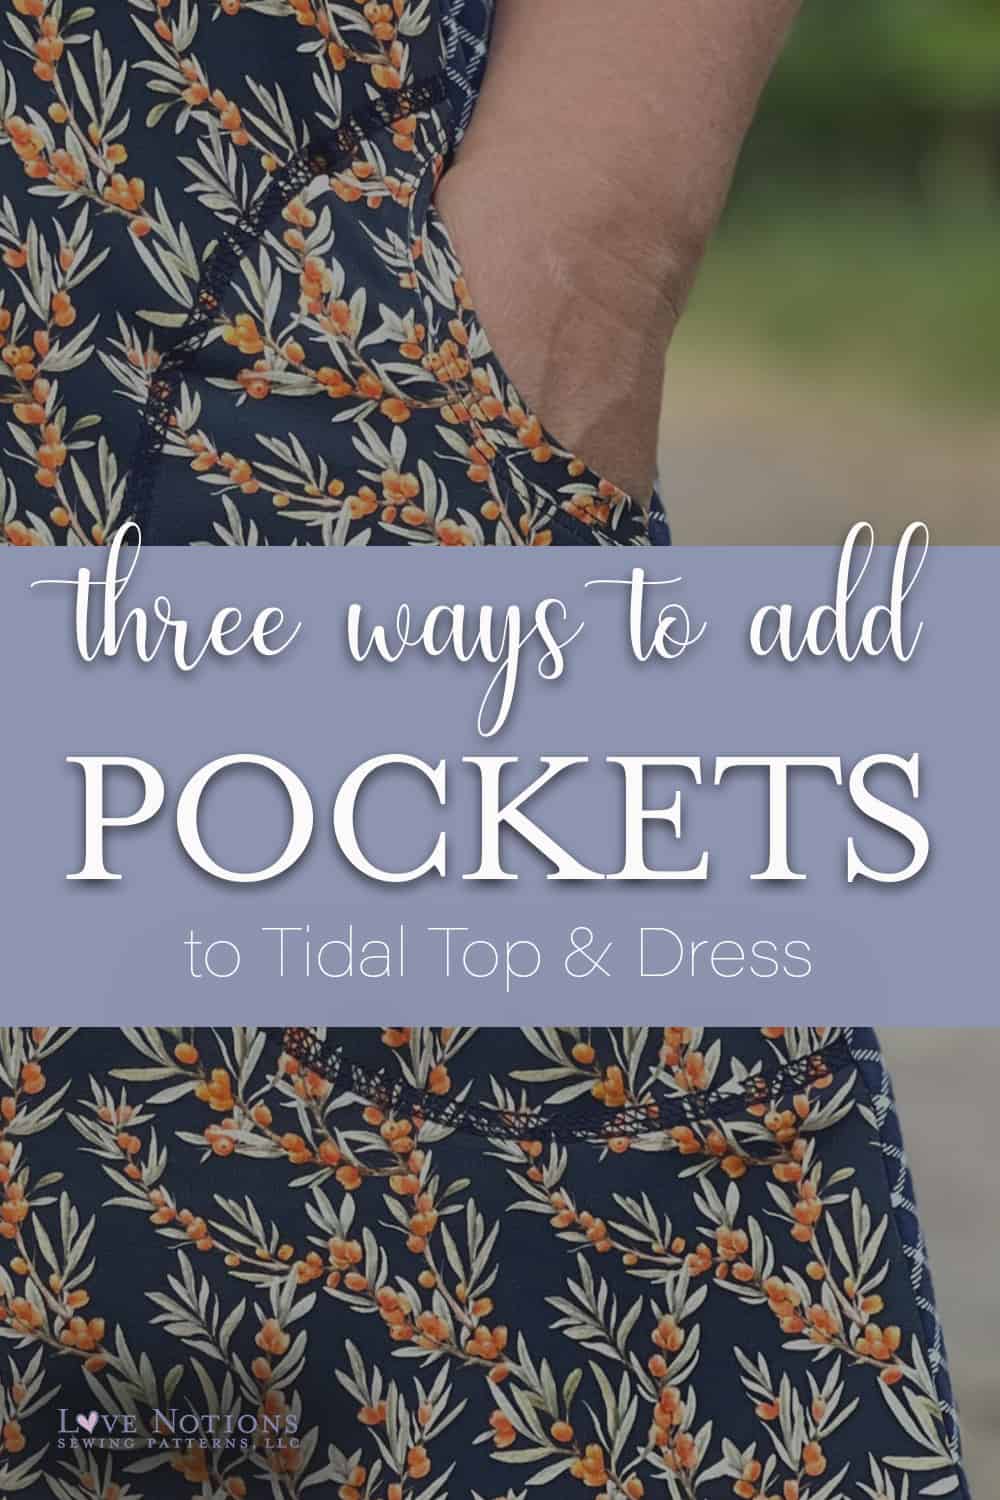
Who doesn’t love a pocket??
Here are three easy ways to add even more functionality to your knit pattern.
3 Ways to Add Pockets
Hello!! I am bursting at the seams excited for my first blog post here and to talk about my favorite sewing technique- adding pockets! I love to use a pocket as a design detail as well as a functional detail. Today, I will cover 3 different pockets that you can incorporate into your sewing. I will showcase them all using today’s $5 feature Friday pattern, the Tidal Tank and Dress. Finally, I will give you my honest review of this pattern along with my measurements, as well as the size and adjustments I made. Let’s get started!
The Pattern
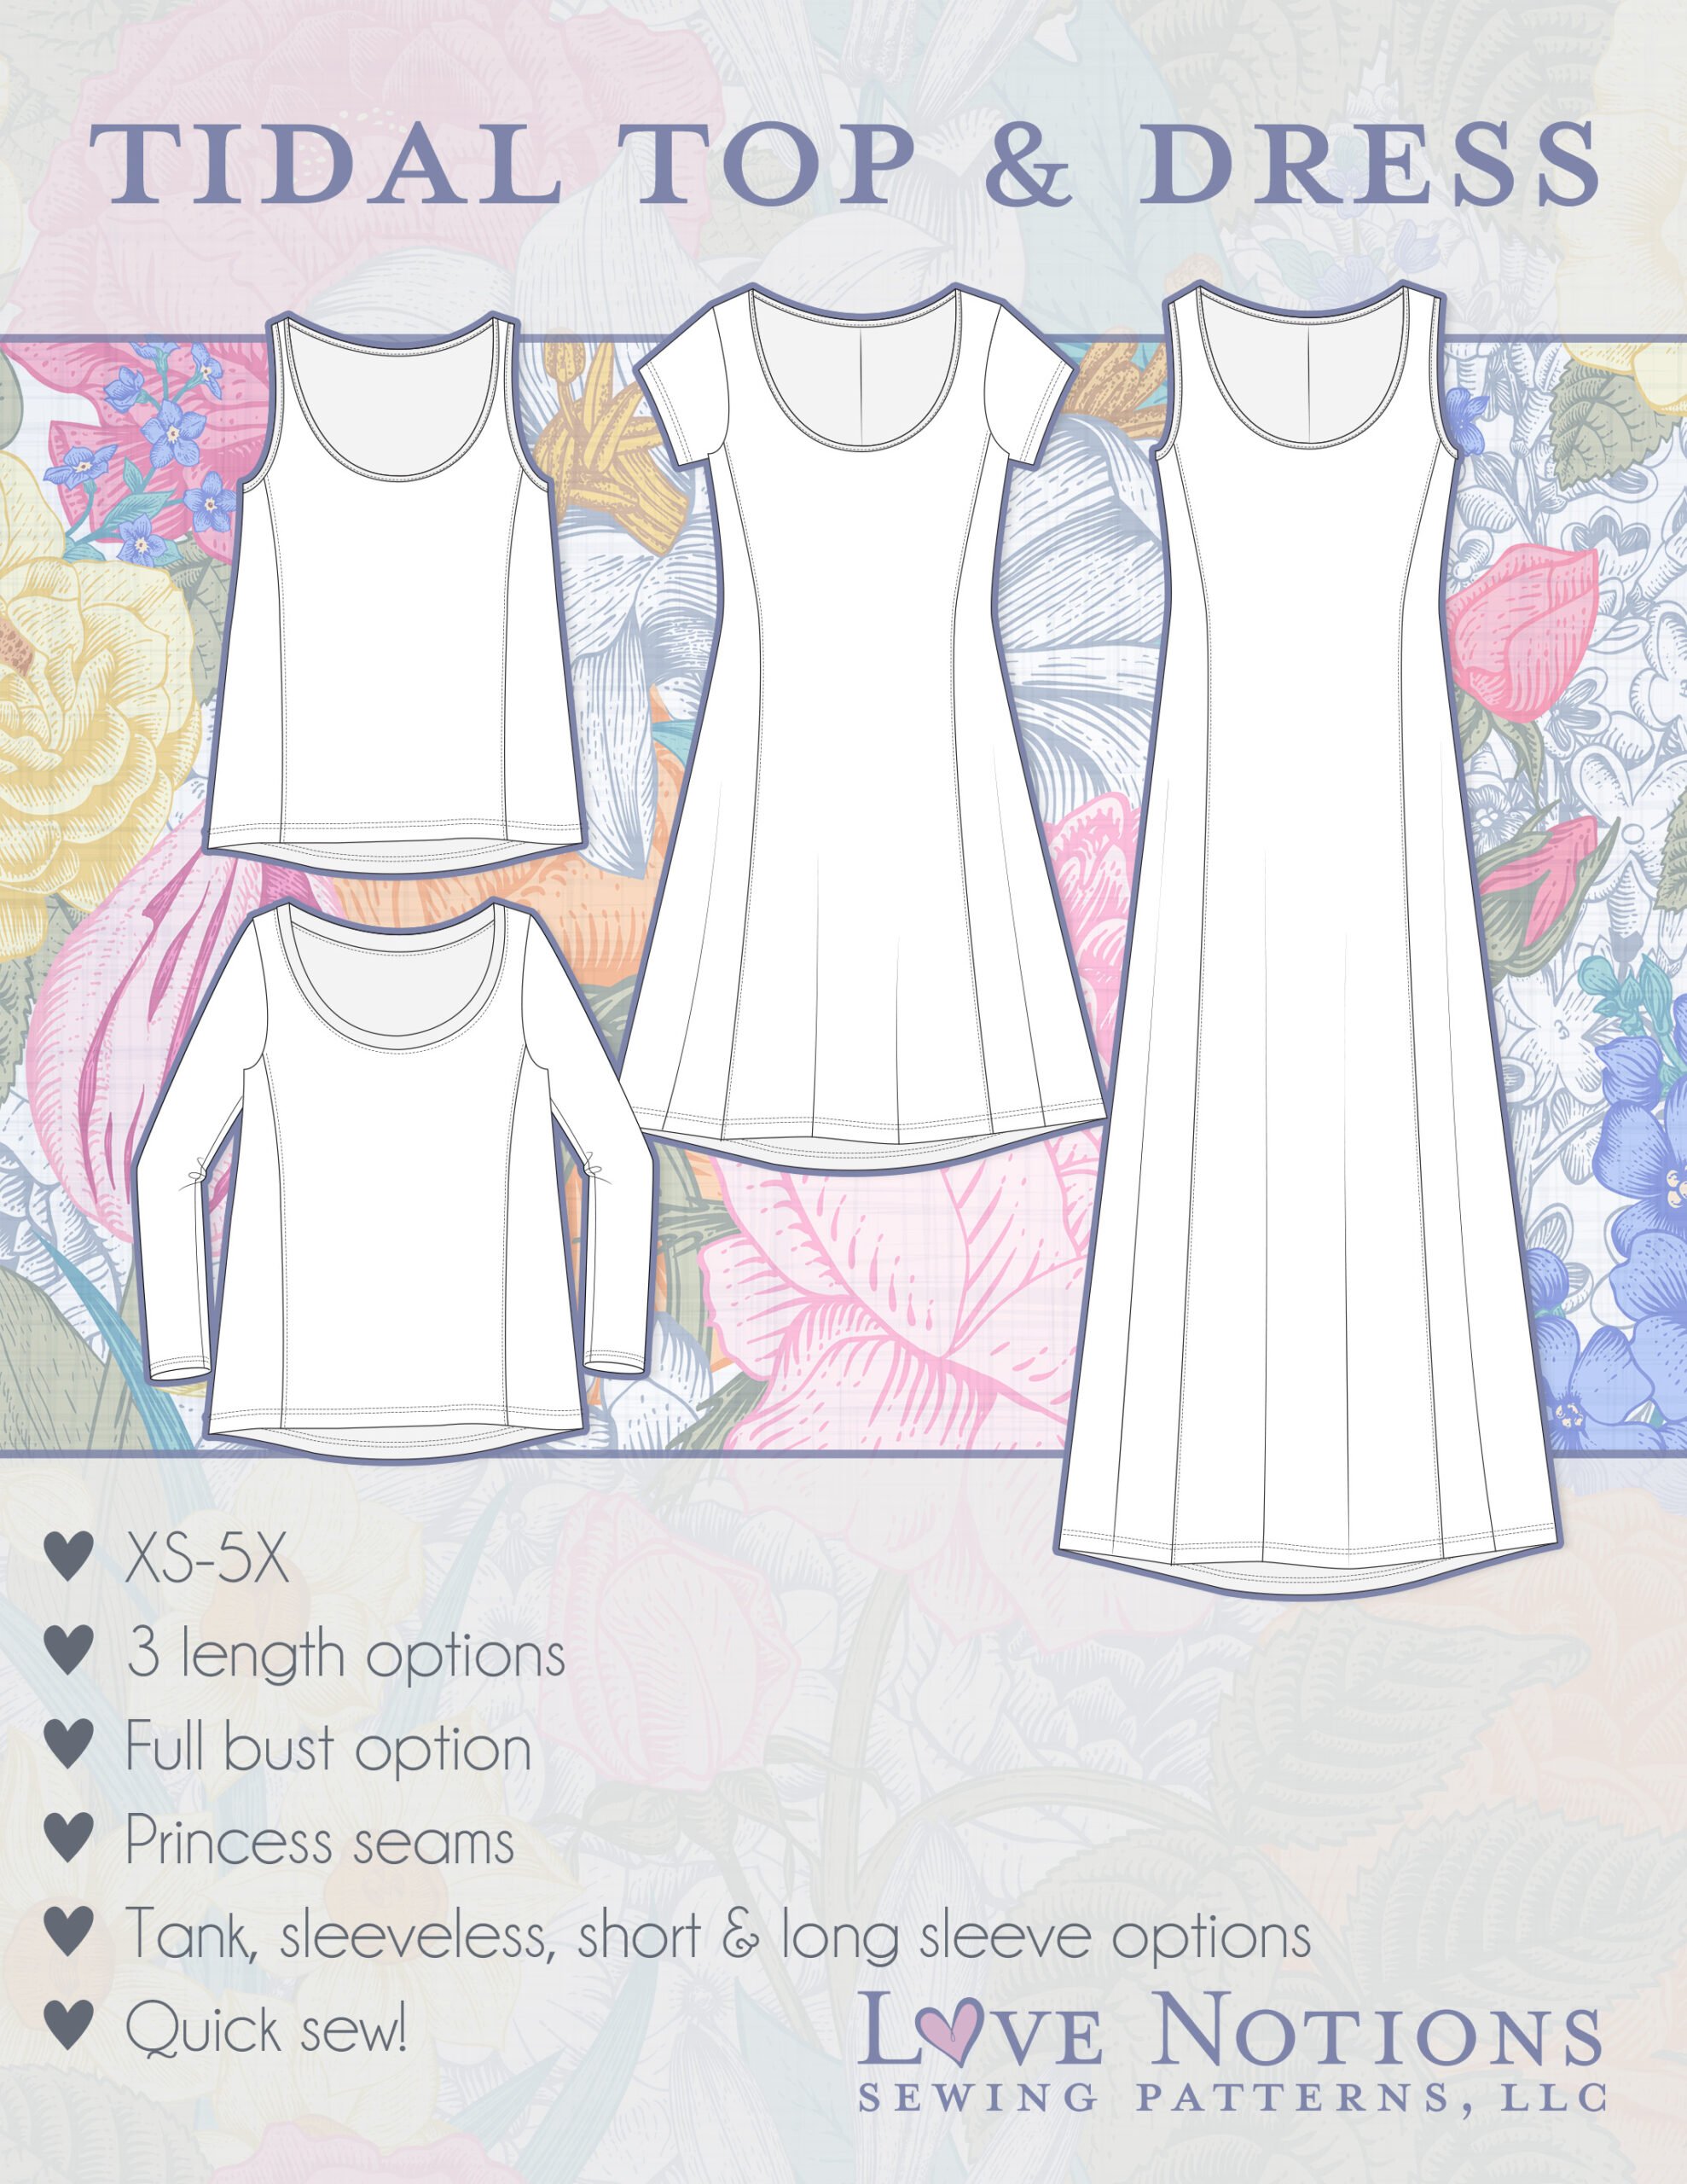
Today’s Feature Friday pattern is the Tidal Top and Dress [aff link] and you can grab it at the $5 sale price, but only for today so hurry!!! Tidal is a beginner-friendly, knit top and dress pattern that is excellent for summer and throughout the year. It comes with two dress versions (maxi and knee length) as well as a top and tank.
Front Chest Pockets
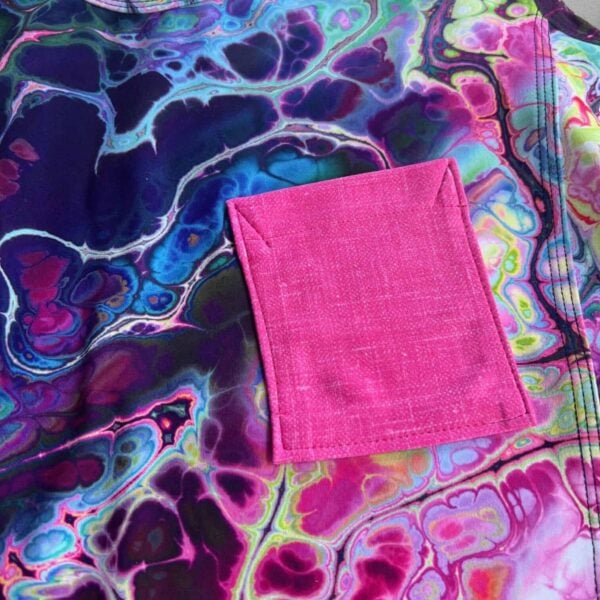
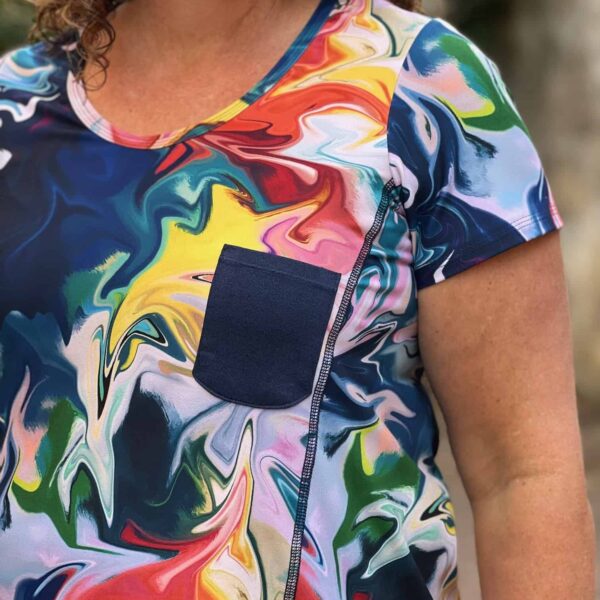
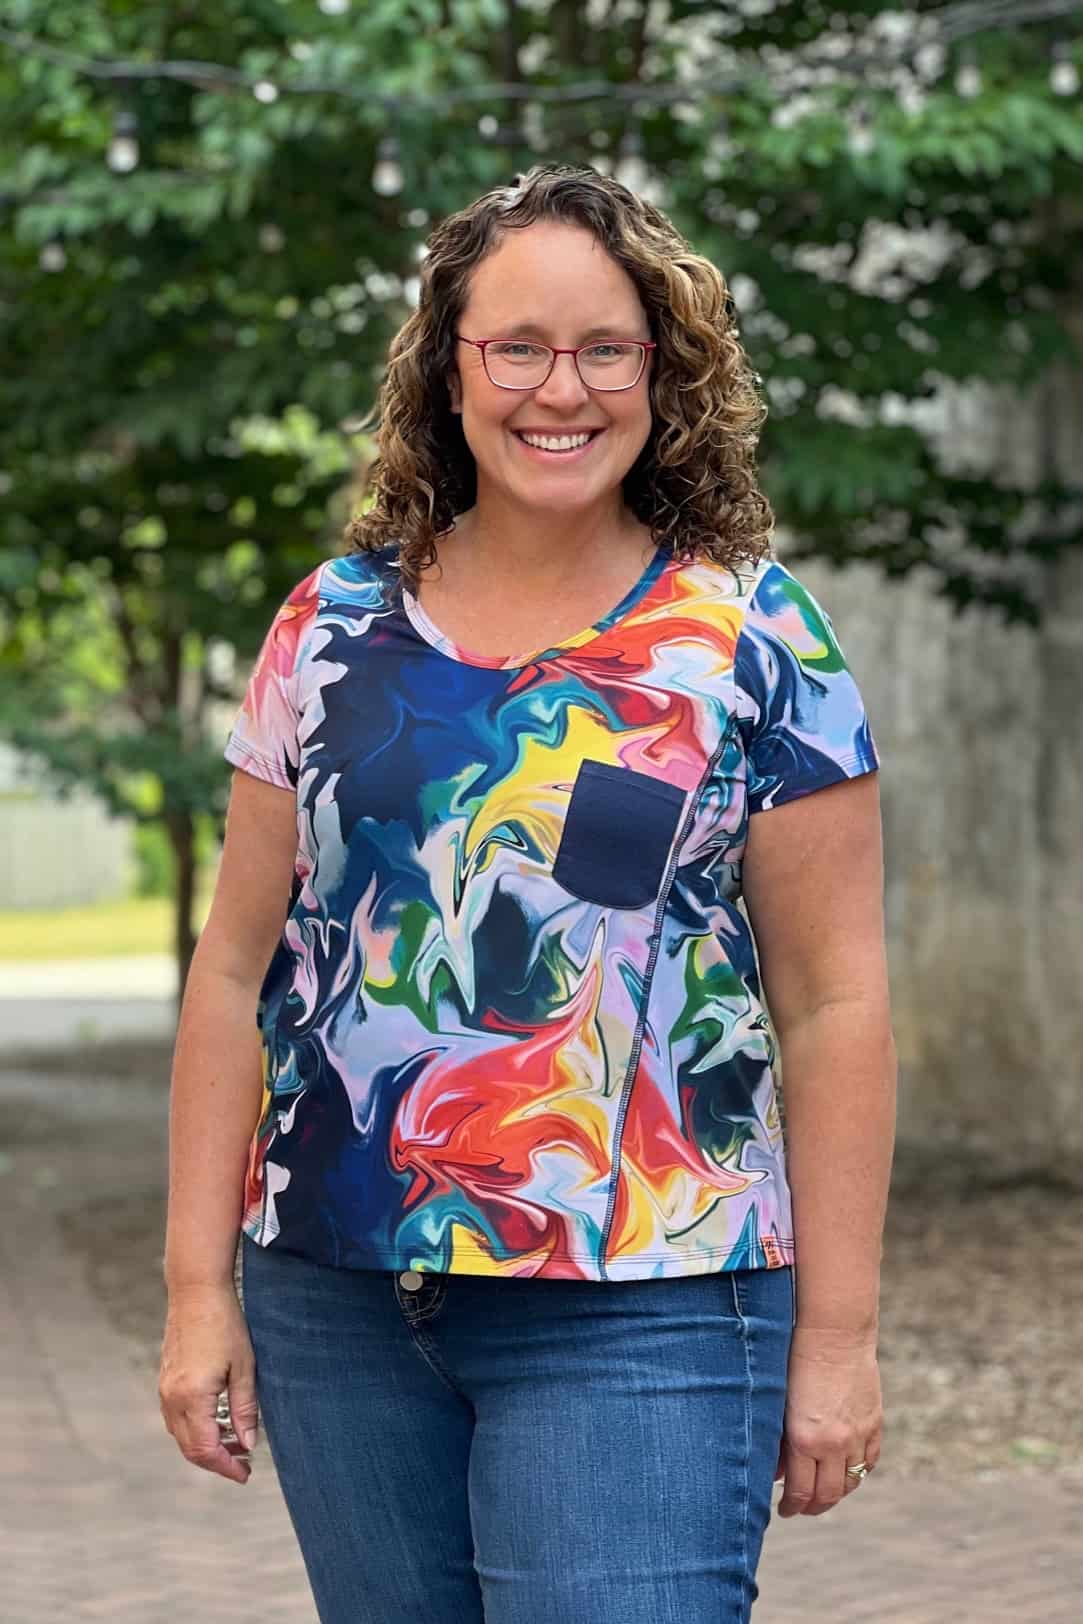
A few months ago I was trying to find a front pocket on the site, and I was surprised there was not one single front chest pocket in any pattern. No worries, I am going to share two different front pocket shapes and instructions. The first Tidal I made was the sleeveless version of the top, paired with a simple square pocket. Before starting with the pocket construction, though, you need to sew the first two steps of this pattern and grab some washaway wondertape. AnCa did a wonderful blog post about wondertape you can see here.
Pocket Method #1

Here’s How:
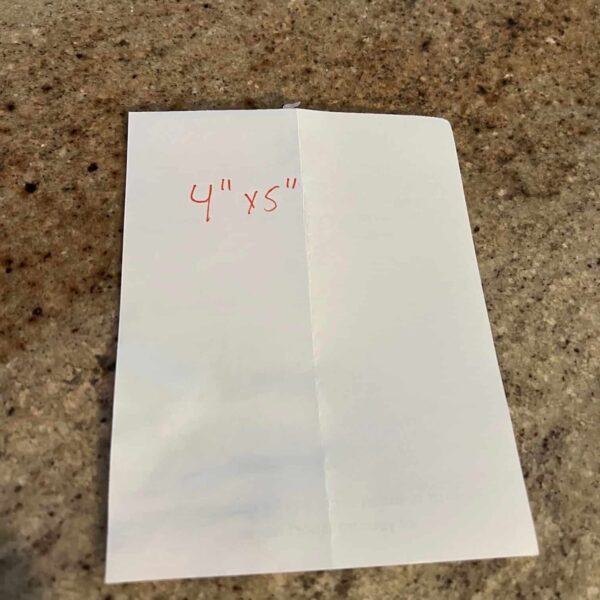
- Cut a rectangle pocket pattern 4” x 5”.
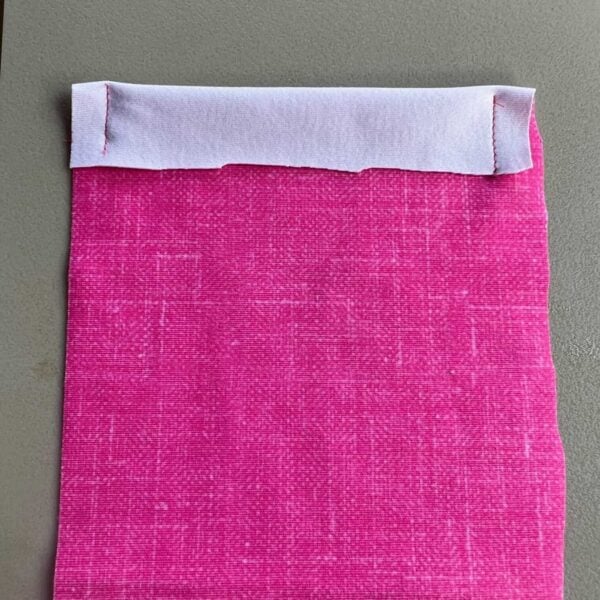
- Fold the top of the pocket down ½” with the right sides together, and sew from the top of the pocket down the ½” fold using a straight stitch.
- Turn the pocket right sides out, press, and top stitch just across this top part.
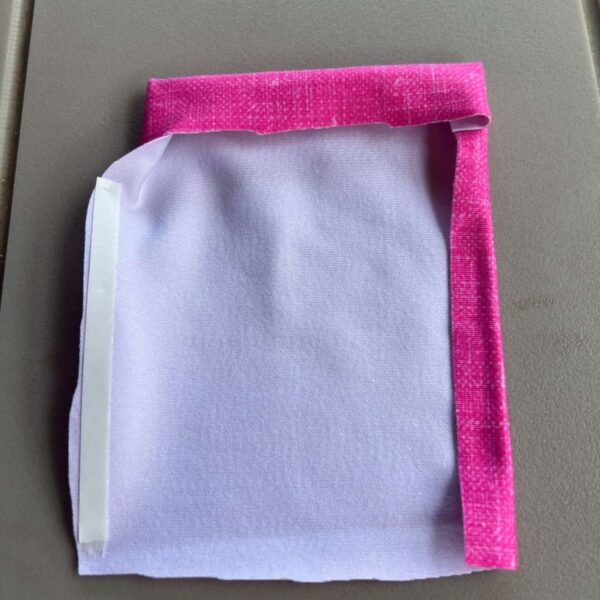
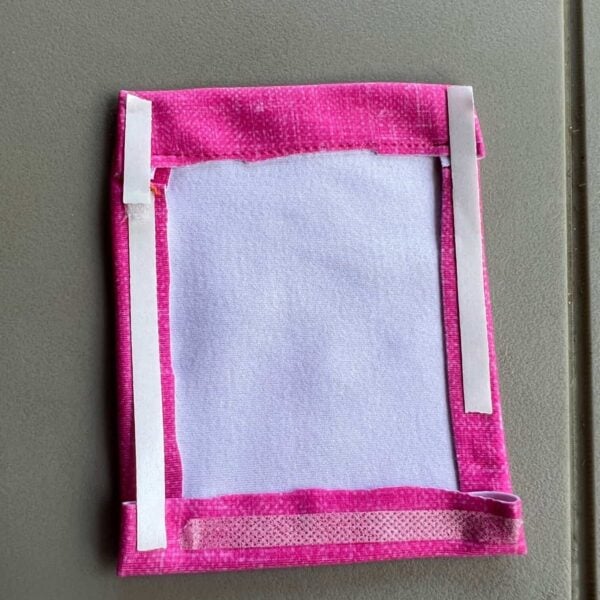
- Place washaway wondertape along the two longer sides on the wrong side of the pocket. Fold those two sides in so the wrong sides are together. Do the same for the bottom.
- Put the washaway wondertape along the inside of the pocket (on the two sides and the bottom) and decide where you would like your pocket. I like to use washaway wondertape so I can check the placement before sewing-though pins would work well here too. I placed this pocket on the center front left side. Top stitch the sides and bottom of the pocket- and admire!
Pocket Method #2
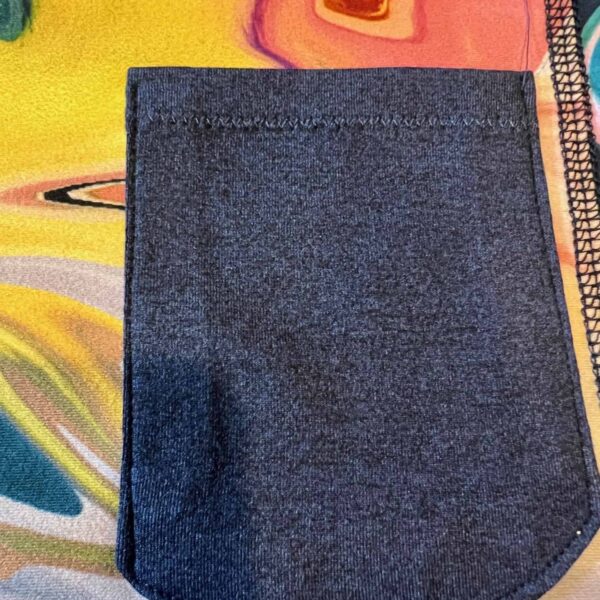
The second pocket I will show you is also a patch pocket, but with a curved bottom. I just love how this looks, and it only takes a few extra minutes to add. Before you get started, just like in the first tutorial, finish the first two steps of your Tidal as per instructions.
Here’s how:
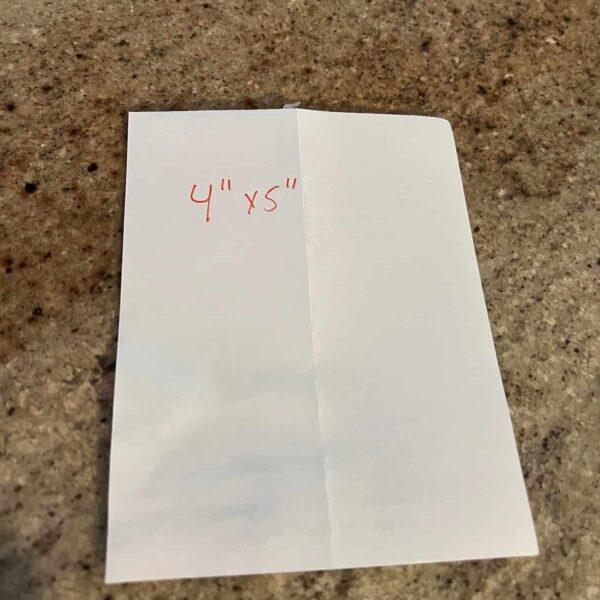
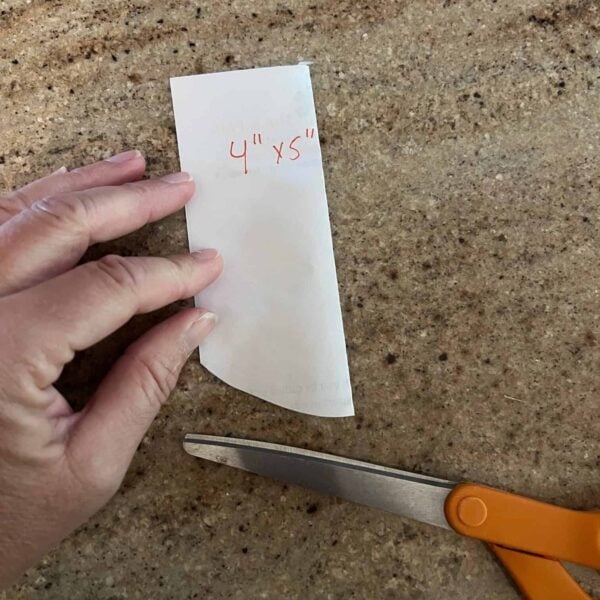
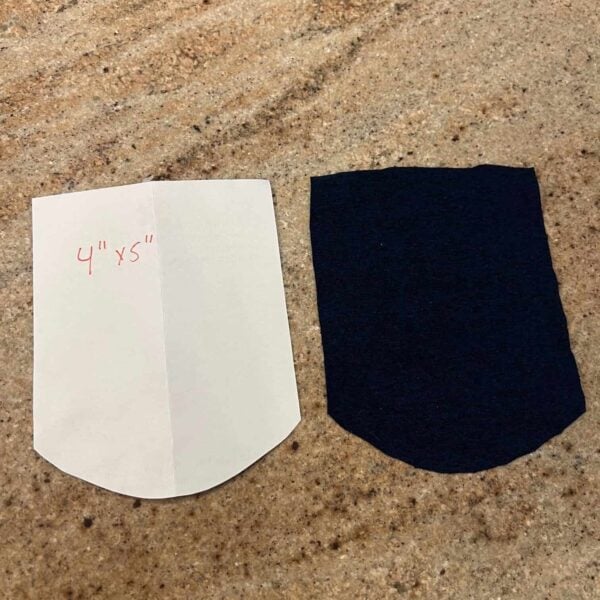
- Cut a pocket piece 4” x5”. For this one in particular I like to use a piece of paper as a pattern piece.
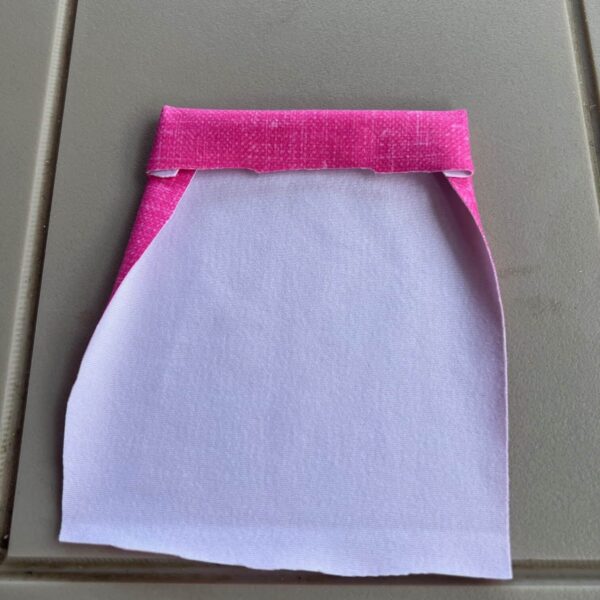
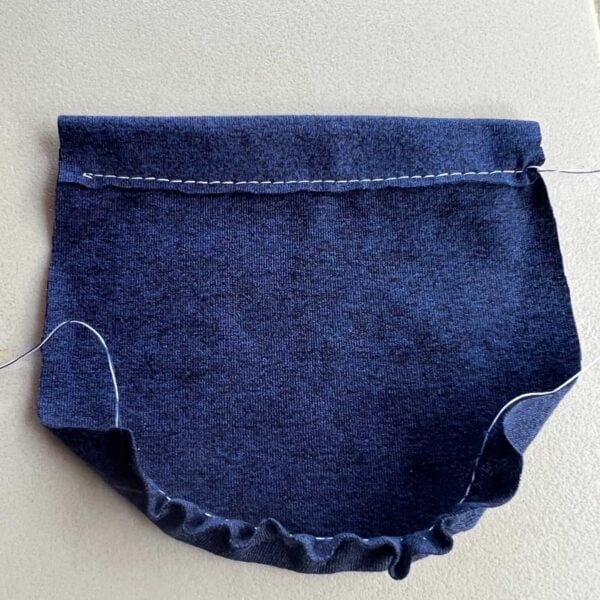
- Cut a gradual curve along the bottom of the pocket as shown in the photo below.
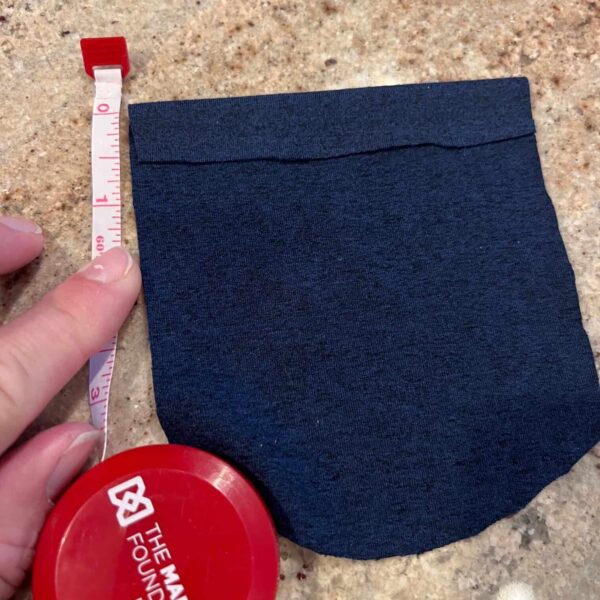
- Fold the top of the pocket down ½” with the wrong sides together. Topstitch.
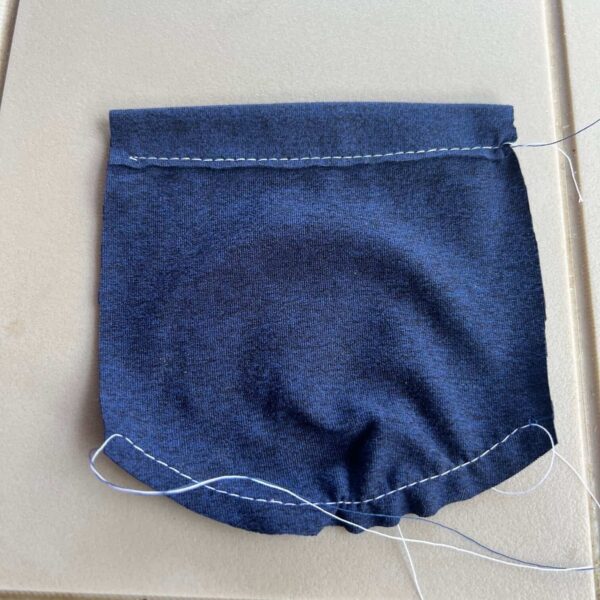
- Sew one row of gathering stitch at the bottom curved edge of the pocket at a ¼ seam allowance. I adjust my stitch length to 4 and tension to 7 on my sewing machine. Be sure to leave long tails at the beginning and end of the gathering stitch.
5. Pull gently on one of the long tails to gather. This will naturally allow the fabric to fold to the inside. Once you are happy with the gathering give this bottom a good press.
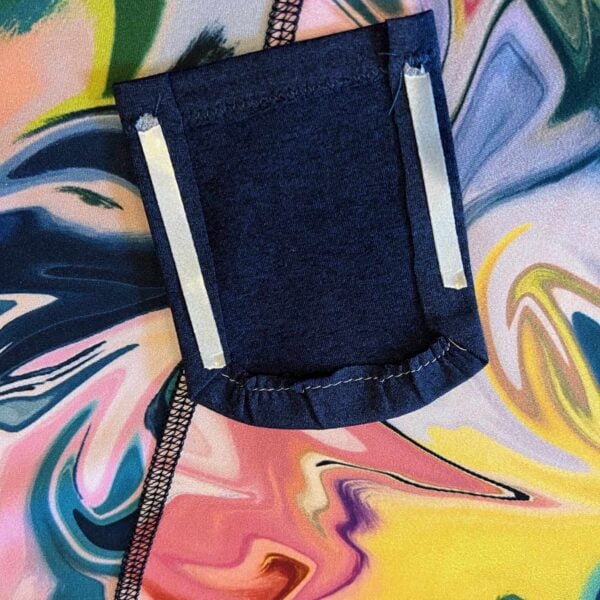
6. Fold the two sides of the pocket to the wrong side a ½” with the wrong sides together. I use washaway wondertape here.
7. Place washaway wondertape on the wrong side of the pocket (on both sides) and adjust the placement on your shirt. For this one I used the front Princess seam as a guide which gives a different finished look than pocket number one.
and now, my favorite pocket …
Pocket Method #3
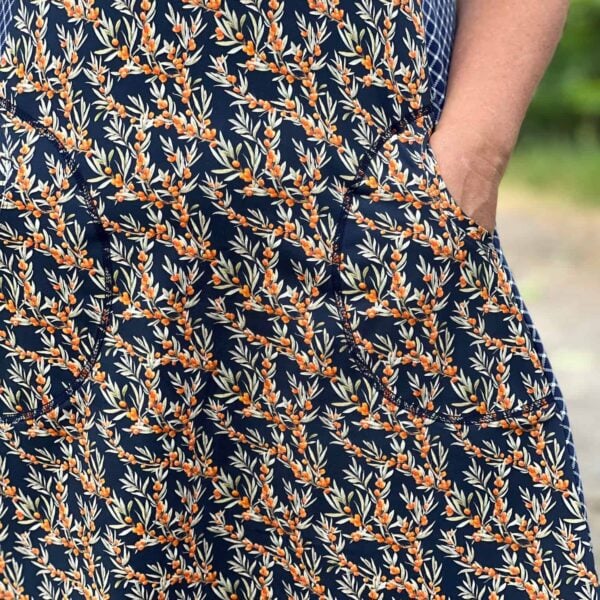
The third pocket is one that I have used on more patterns than I can count. Check my Instagram here for another example. I routinely use this on the Willow Wrap dress, Game Day Jersey, and Summer Basics – plus, it works great on the princess seams of the Tidal too! Follow the steps below before beginning any construction of the pattern.
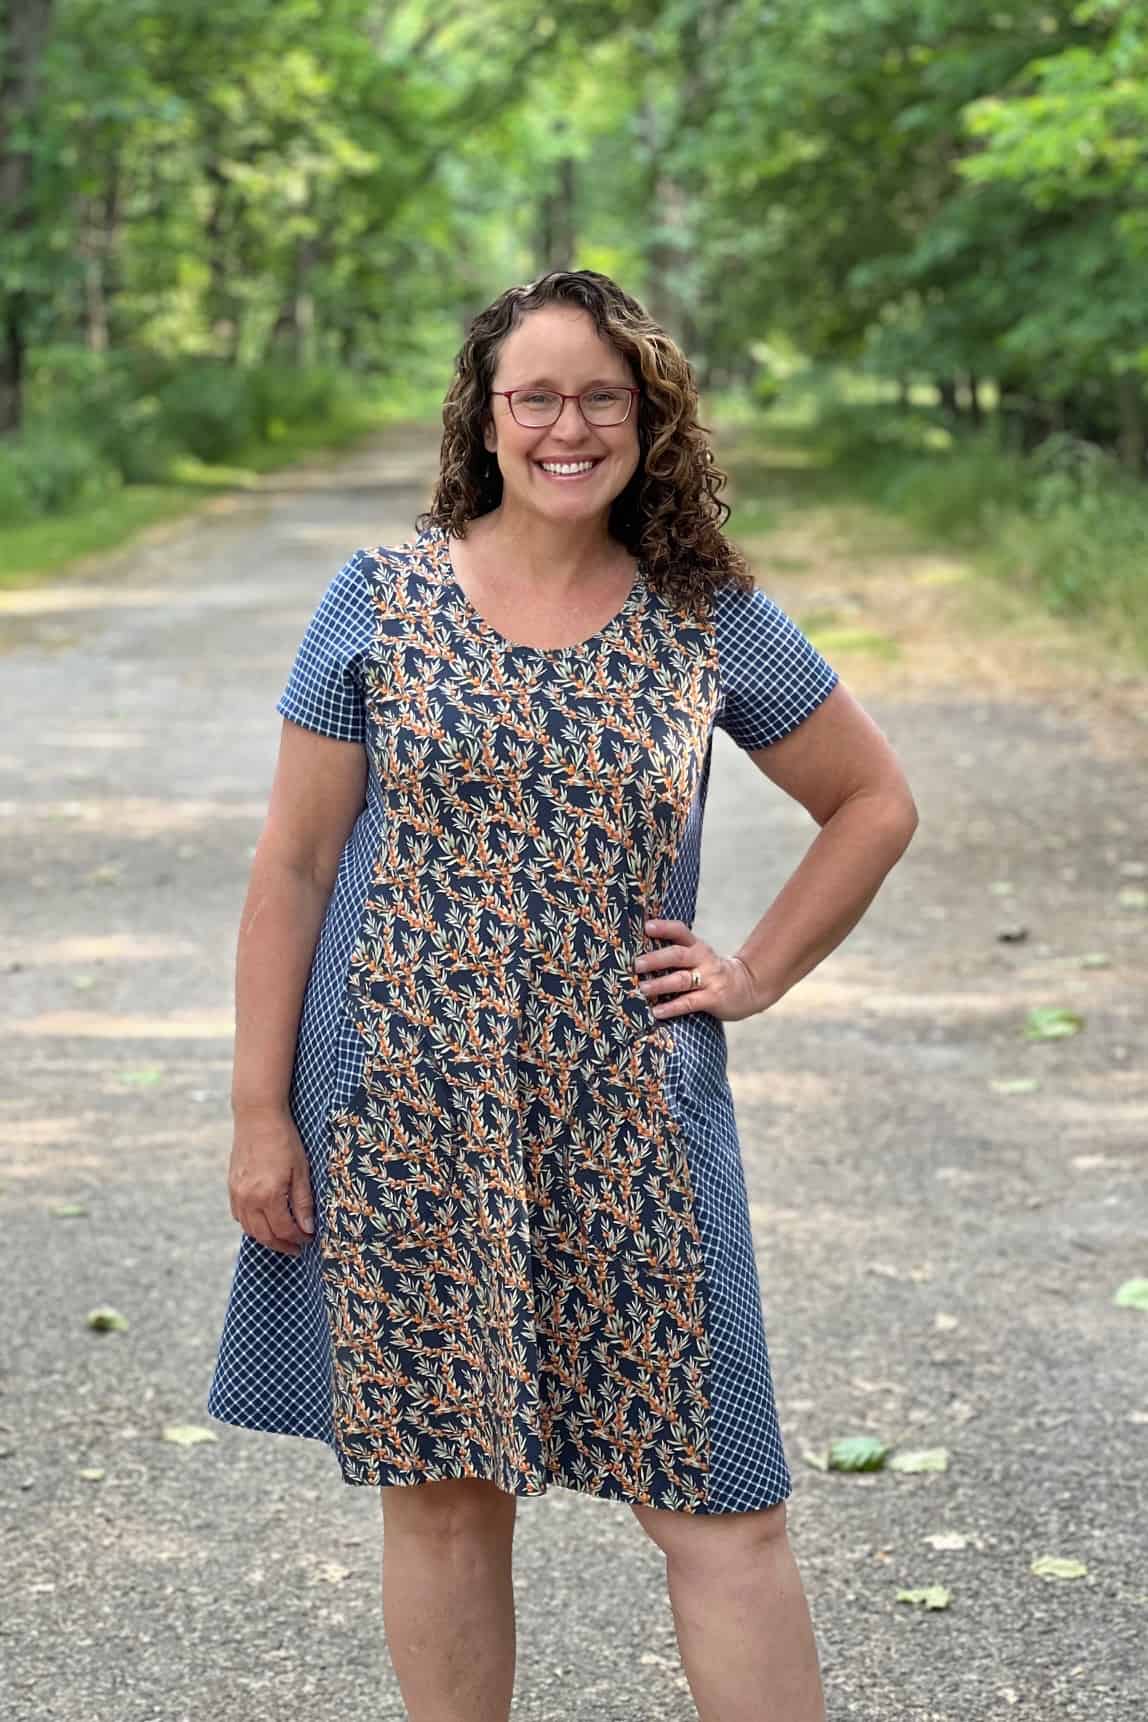
Here’s how:
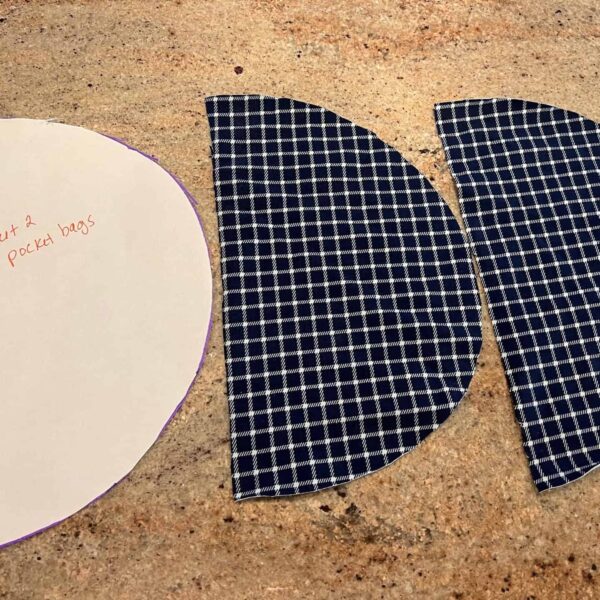
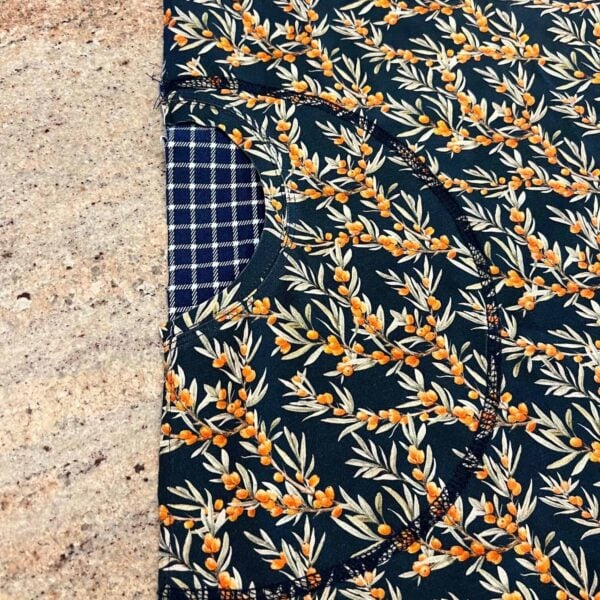
- Create a pocket bag. I use my phone as a guide as it has to be able to hold that! I use a large oval shape and be sure to match the side of the front pattern with the side of the pocket. Cut two mirror images of the pocket bag.
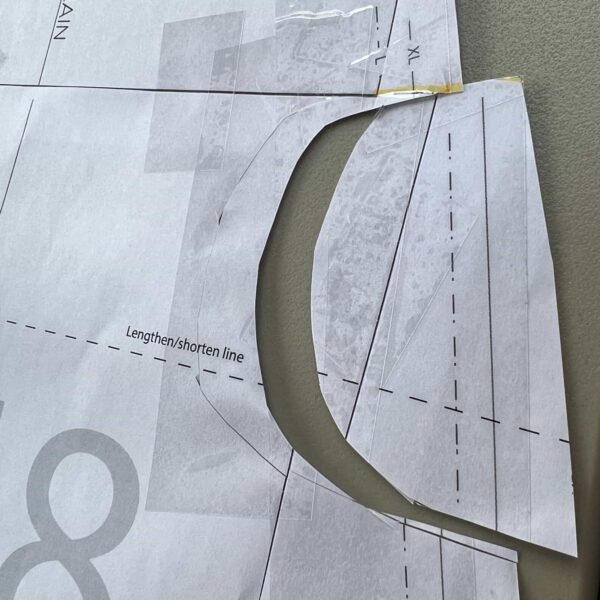
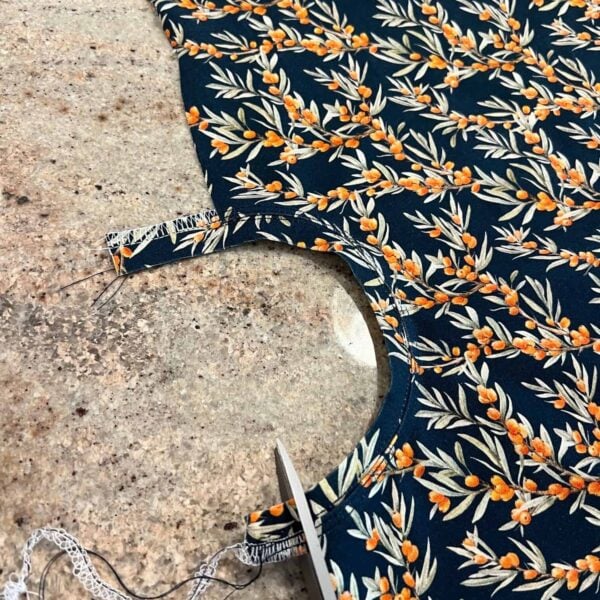
- Cut a semi-circle opening for your hands from the front of the tidal dress on both sides. I cut this on the pattern piece so it can be adjusted as needed. Just be sure the opening is large enough for your hands to slip through. I cut mine 3” above the lengthen/shorten line but I am tall. Definitely check the pocket placement by holding the pattern up to you.
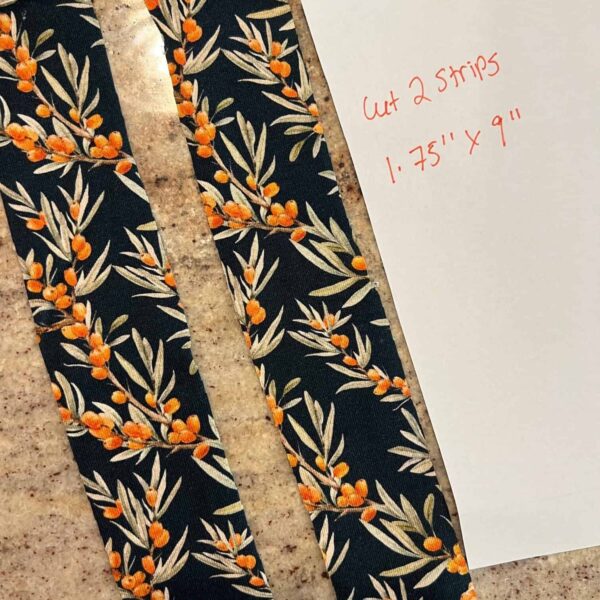
- Cut two strips of fabric 1.75” x 9”.
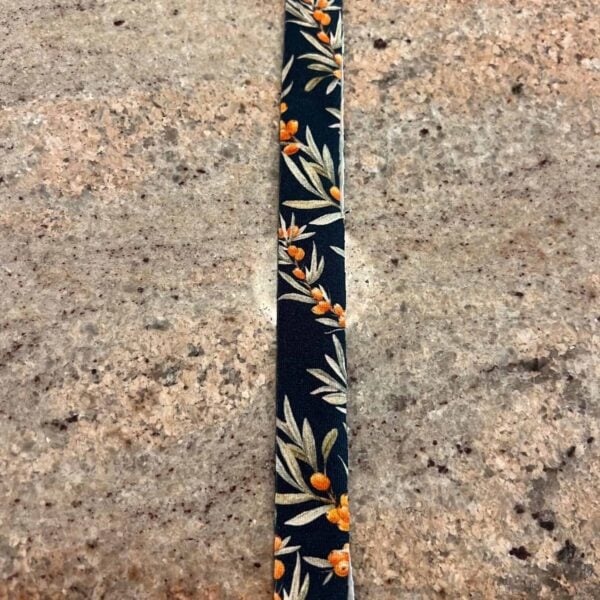
- Fold the long strips of fabric wrong sides together along the long edge. I like to press this to give it a nice crisp edge before sewing.
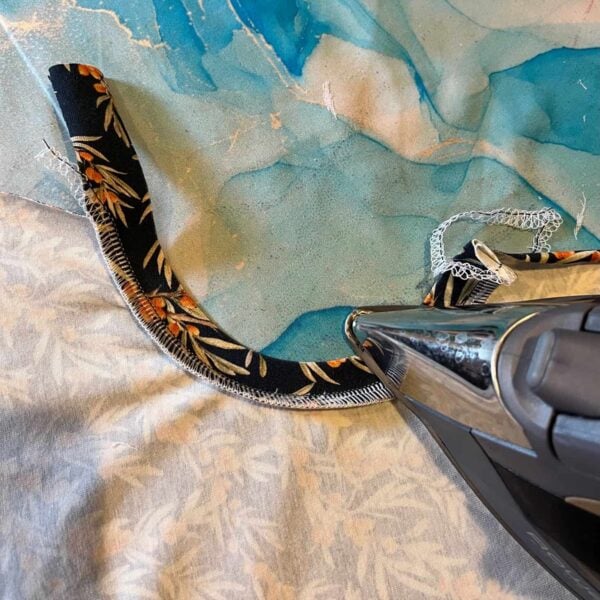
5. As you would a neckband, attach the strips right sides together with the pocket opening. You will stretch the band slightly as you sew (again similar to a neckband). Press this seam down and top stitch if desired. Trim the excess strip fabric.
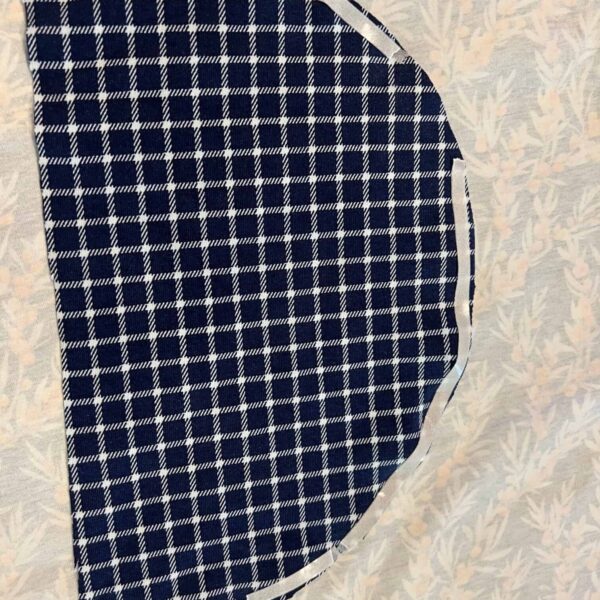
6. Place washaway wondertape on the right sides along the curved edge of both pocket bags. Place the pocket bags right sides of pocket bag facing the wrong sides of the dress front.
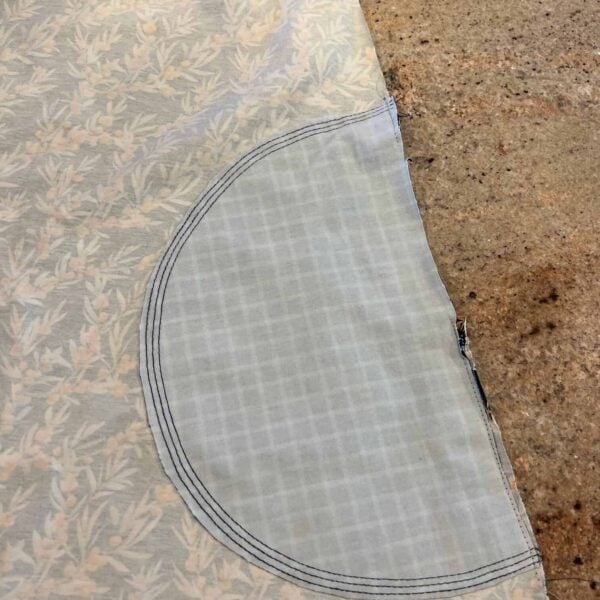
7. Topstitch the pocket bag to the dress from the back of the dress and baste the sides of the pockets to the sides of the Princess seams.
8. Give the whole pocket a good press and finish dress construction.
That’s all it takes to create pockets!
I hope you find these pocket ideas useful and I would love for you to check out my other me-mades on Instagram at @kaylasmithsews or here is the direct link.
And what about that Tidal Top and Dress Pattern?
Last but not least is my quick pattern review of the Tidal. I love it and see many more in my future!! It is a straightforward pattern with many sleeve and hem lengths, a full bust option, and beautiful princess seam shaping! I made my usual LN size- large bust graded to 2xl hip with a full bicep adjustment. My measurements are 39” overbust, 39.5” full bust, 38” waist, 48.5” hip. I am 5’8” tall and shortened the top ½” per personal preference and made the dress with no lengthening adjustments. I used an athletic brushed polyester for both tops and cotton lycra for the dress.
Grab the Tidal it for $5 at this link. This is my affiliate link that does not cost you any extra and gives me a small commission. Thank you for reading and happy sewing!!

$10.50Add to cart
$12.50Add to cart
Save this article to Pinterest
