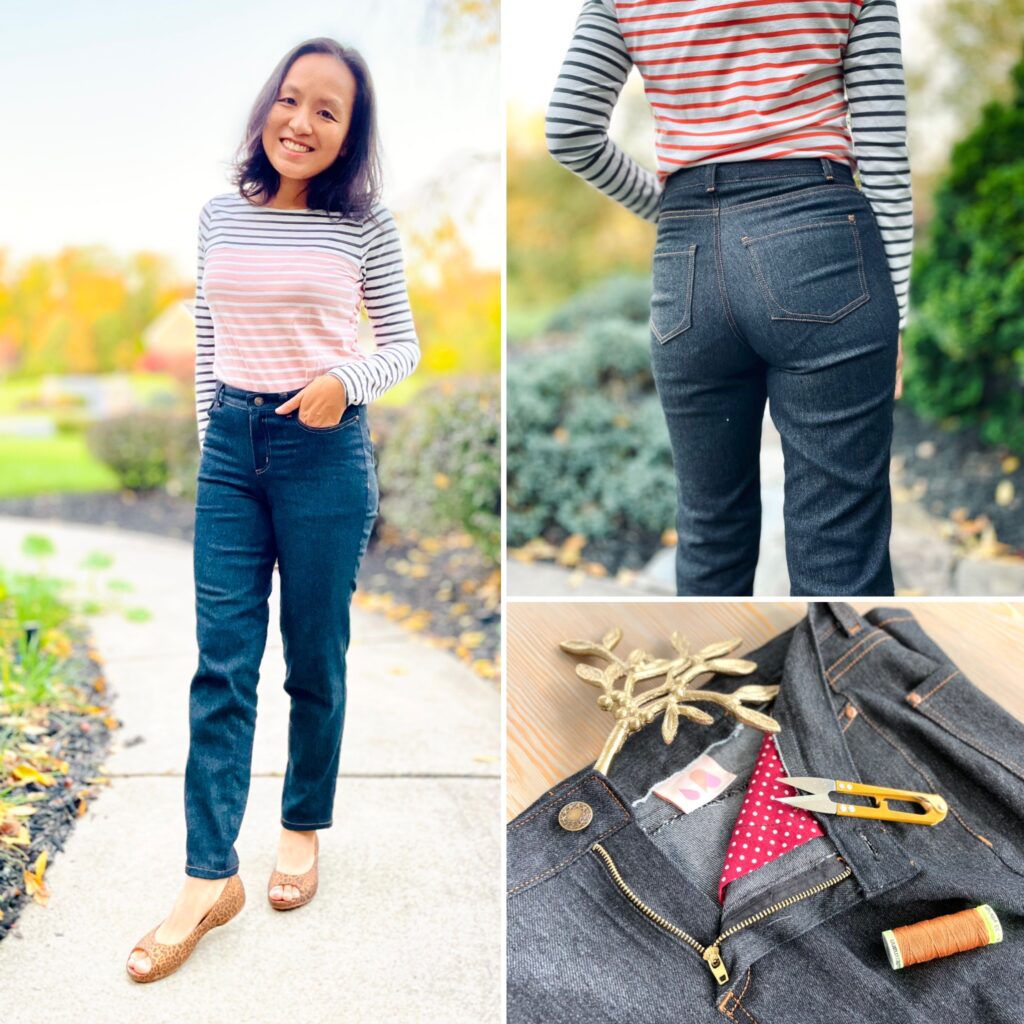
Dear Love Notions sewists, it’s Chloe @no.idle.hands here on the blog with the very first Legato Jeans Feature Friday! When Legato was released last year, I made mine in classic black stretch denim, which has since become my go-to jeans. It pairs well with pretty much all the tops in my wardrobe and it’s a wonderful feeling being able to complete a me-made outfit with my favorite jeans! With the accompanying comprehensive on-demand video course, Legato is a fun and satisfying sew for sewists of any skill levels. For TODAY ONLY, you can get the Legato pattern for $5, or FREE with purchase of the on-demand course! (pictures linked below in the gallery)
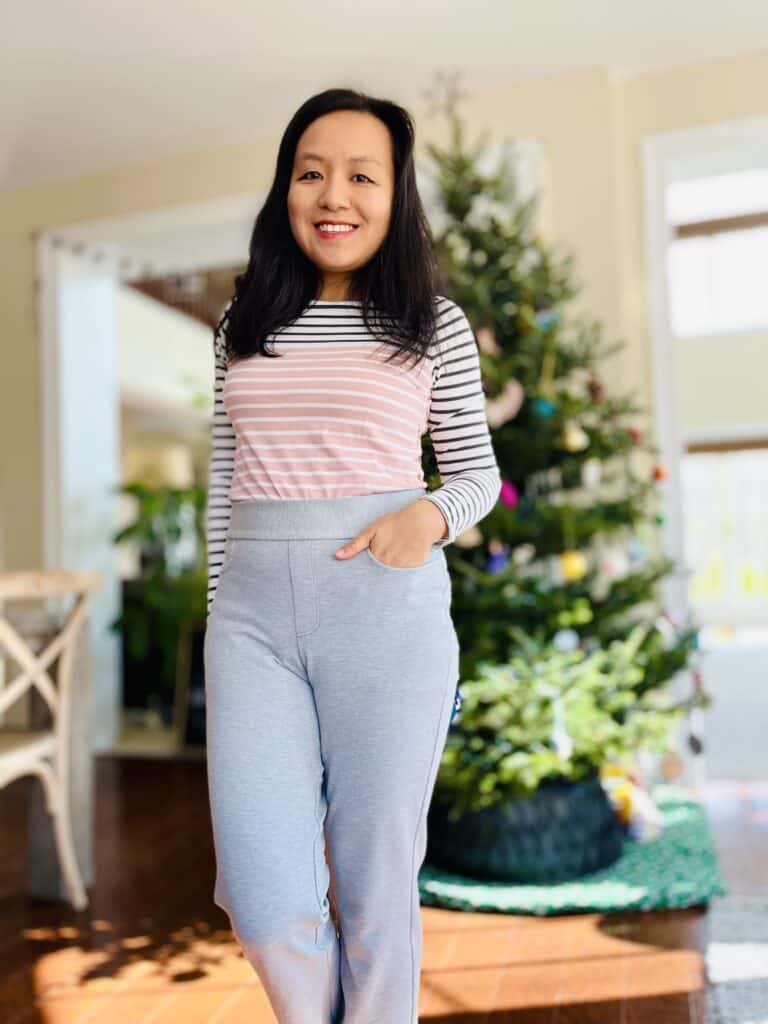
Now with the holiday season upon us, I find myself reaching for my stretch/knits pants more lately. Surely I’m not the only one here? 😉 I have plenty of leggings and joggers, and would really love something a little more polished without compromising on the comfort. And Legato jeans in knit fabric is just the answer! With a few considerations and easy adjustments, I have my perfect “holiday feast pants”. The icing on the cake – it’s easier and quicker to sew than the denim version, so you can have several pairs sewn before the festivity starts. Let’s get started!
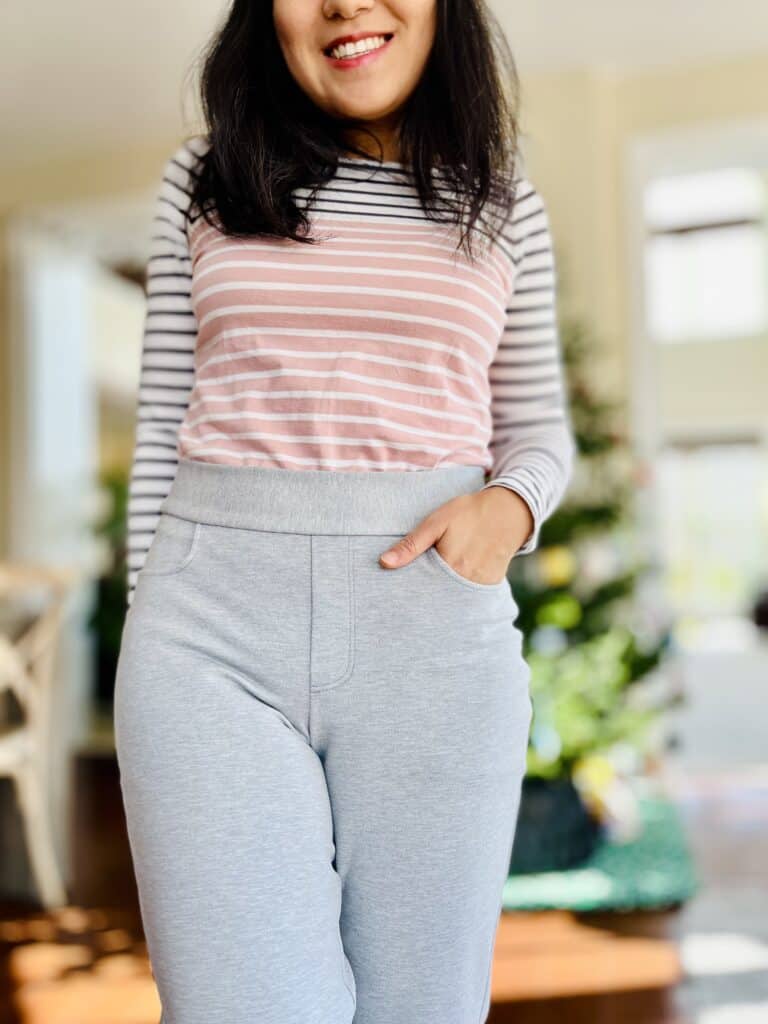
I went for maximum comfort level for my knit Legato and chose a heavy ponte fabric with high stretch (40% width wise and 50% length wise) and perfect recovery. This allows me to skip the zip fly and sew the waistband pull-on style as you would for leggings and joggers. I am ever so thankful to live in a day and age when these amazing fabrics are plentiful for the home sewists! Look for ponte, scuba, jeggings and bottom weight athleticwear fabrics with 20%+ stretch and excellent recovery. 4-way stretch is not necessary but highly recommended if you plan to sit in these pants at a holiday feast 😉. Mine feels like yoga pants thanks to the 50% length wise stretch!
FABRIC CHOICE FOR KNIT JEANS
The key to sewing a woven pattern in knit is the fabric choice. The 3 factors to pay attention to is fabric weight, stretch percentage and recovery. The Legato Pattern is originally designed for medium weight denim/woven fabrics with a small amount of stretch. For example, the black denim I used for my first Legato is 300gsm with 10% stretch width wise. Your starting point of picking the right knit fabric is medium weight with great recovery, ideally with some structure and body to it. Avoid anything light weight, slinky and drapey like jersey, brushed poly, ITY, etc. Also stay away from fabrics that stretch but do not recover, such as sweater knits.
If your knit fabric has a similar amount of stretch (10-20% width wise) and good recovery, you can simply sew the pattern as is, with the zip fly, waistband and button closure – no mods needed! Some French Terry and double knit fabrics fall in this category and can be a nice and soft substitute for stretch denim. Fleece and Fur backed sweatshirt fabrics often have lower stretch than most knit fabrics and make wonderfully warm pants for winter. For extra fun, why not try faux leather and suede in the knit variety? (pictures linked below in the gallery)
SIZING FOR KNIT JEANS
The common wisdom of sewing a woven pattern in knit is to size down. This is particularly important if your knit fabric has a higher stretch percentage. The exception of the rule is when your knit is made to bounce back with perfect recovery – think high quality athletic and swimwear fabric. My heavy ponte fabric has enough body and amazing recovery, so I decided to sew my regular size 2 with confidence. (pictures linked below in the gallery)
MODIFICATIONS FOR KNIT JEANS
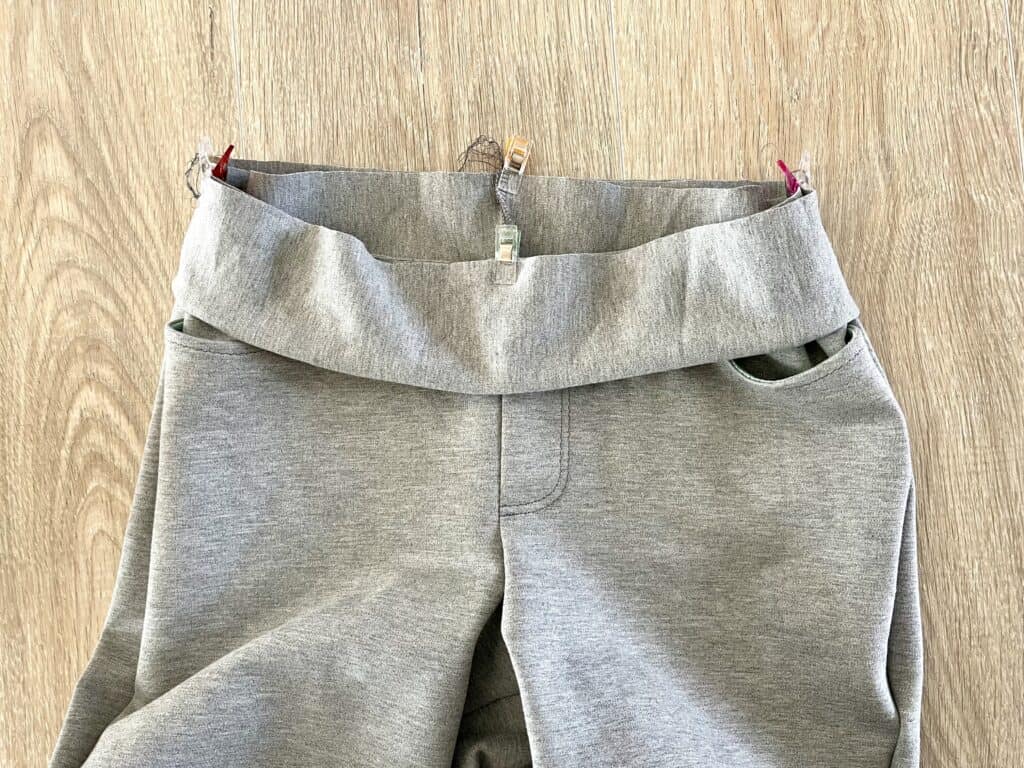
Now to make our stretch Legato pants pull-on style, we need to eliminate the zipper front and modify the waistband. The original Legato has either straight waistband (straight fit) or a curved waistband (curvy fit). The pull-on style waistband is simply a long rectangle and can be drafted the same way for both fits. The short ends of rectangle are sewn together into a loop, which then get folded over lengthwise, and sewn on the pants like you do on a pair of leggings or joggers. You have the option of inserting wide elastic inside or relying on the stretch of the fabric itself. (pictures linked below in the gallery)
- To draft my waistband, I doubled the height of the size 2 straight fit waistband, which gives me a 2.5”x2=5” height. The finished waist measurement of size 2 is 28”. If you are inserting elastic into the waistband, that can be the length of your waistband piece. I decided to utilize the excellent stretch and recovery of my ponte itself, and took 2” off for some negative ease around the waist. So my waistband piece is a 5” by 26” rectangle. (Yes, I am aware that I’m neglecting seam allowance here – blame the “stretchy pants, don’t care” holiday spirit!)
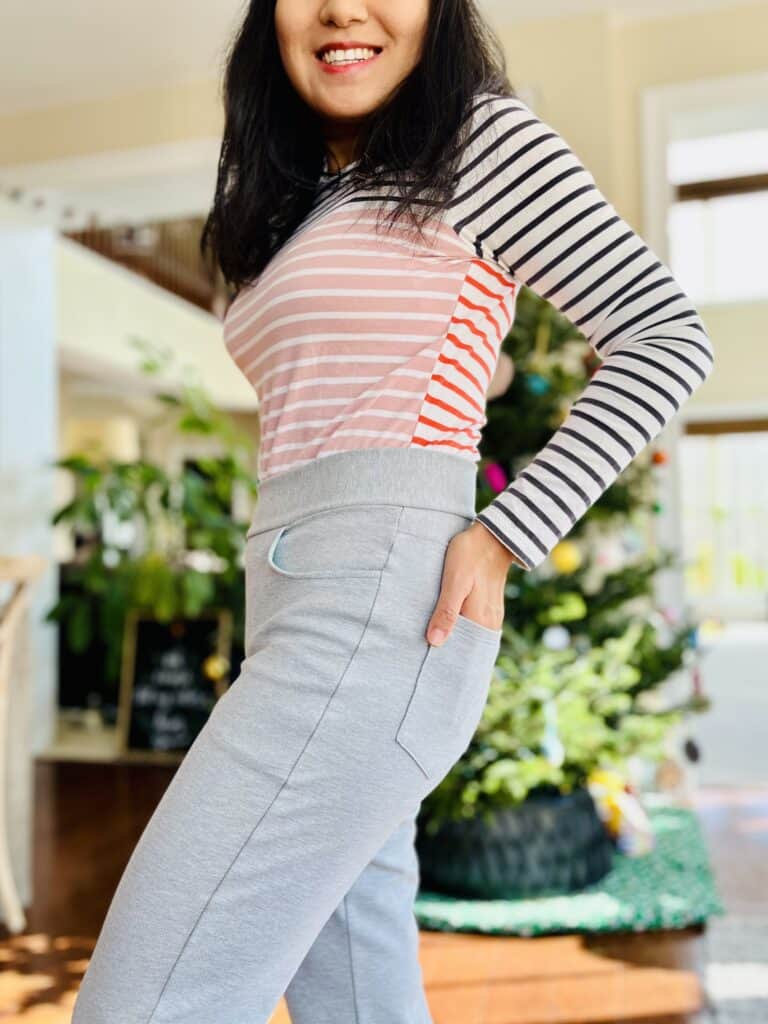
- I also really like the “control panel” style pockets on Sabrina Slims and Summer Cayes, and hacked them into my knit Legato. I usually do all my adjustments with a projector (another blog post for another day?). In this tutorial, I will demonstrate how to draft your new pocket on scaled down paper pattern pieces.
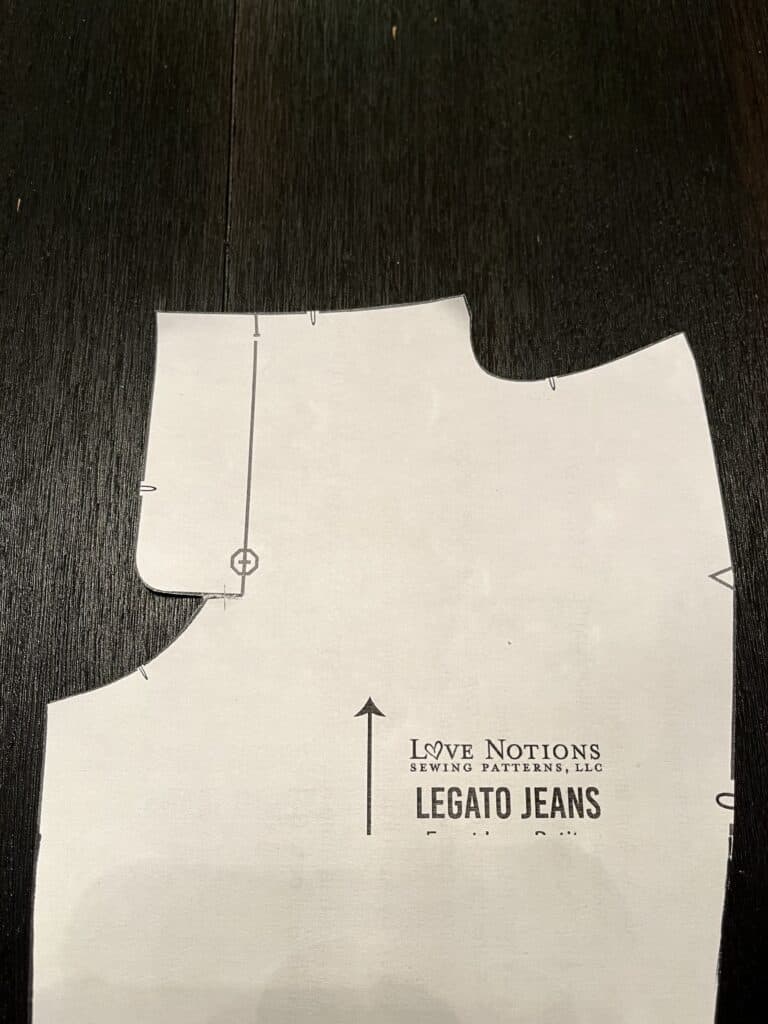
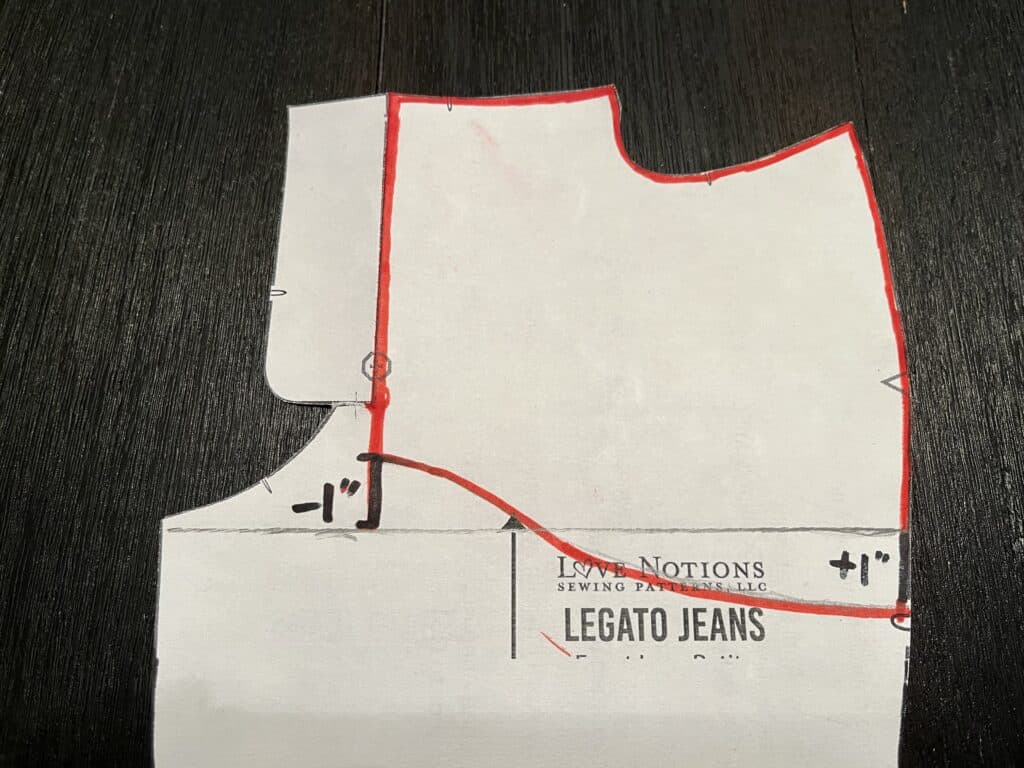
- First, you need your front leg pattern piece. Place the original pocket piece on top, matching the pocket opening edge. Draw a horizontal line right under the pocket piece.
- Now take the pocket piece off. Extend the center front line down (shown in red) to intersect with horizontal line you just drew in the last step (shown in pencil). Mark UP 1” along that vertical line. Then on the side seam, mark DOWN 1” below the pencil line. Connect the 2 markings with a nice gentle S curve (shown in red).
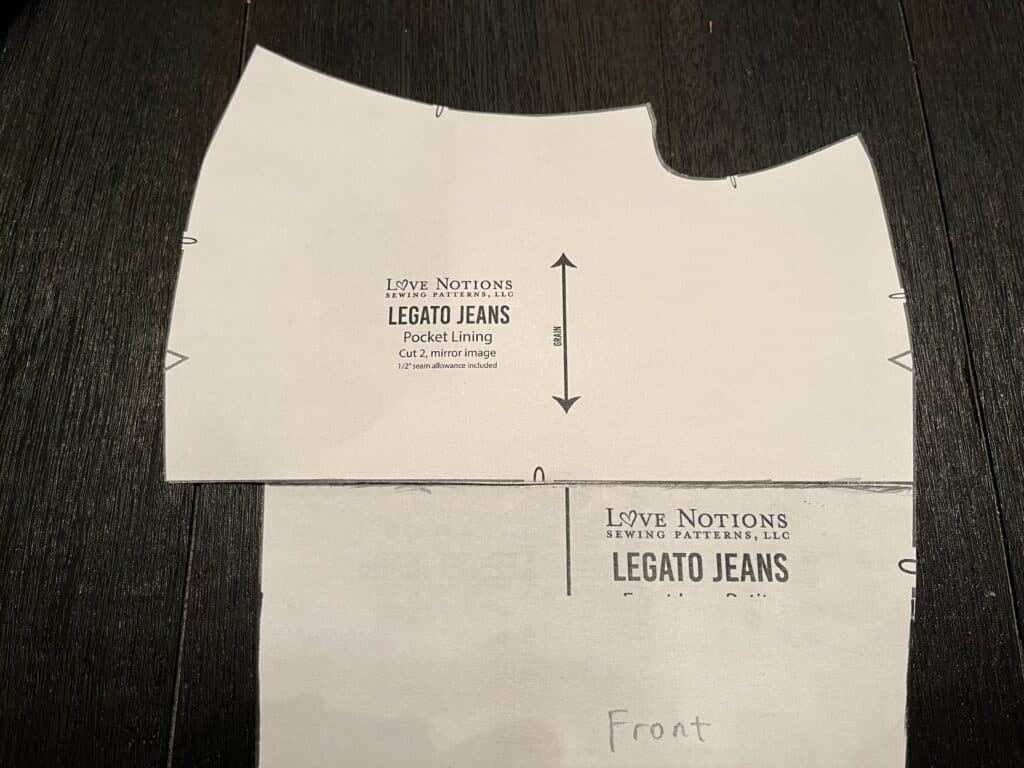
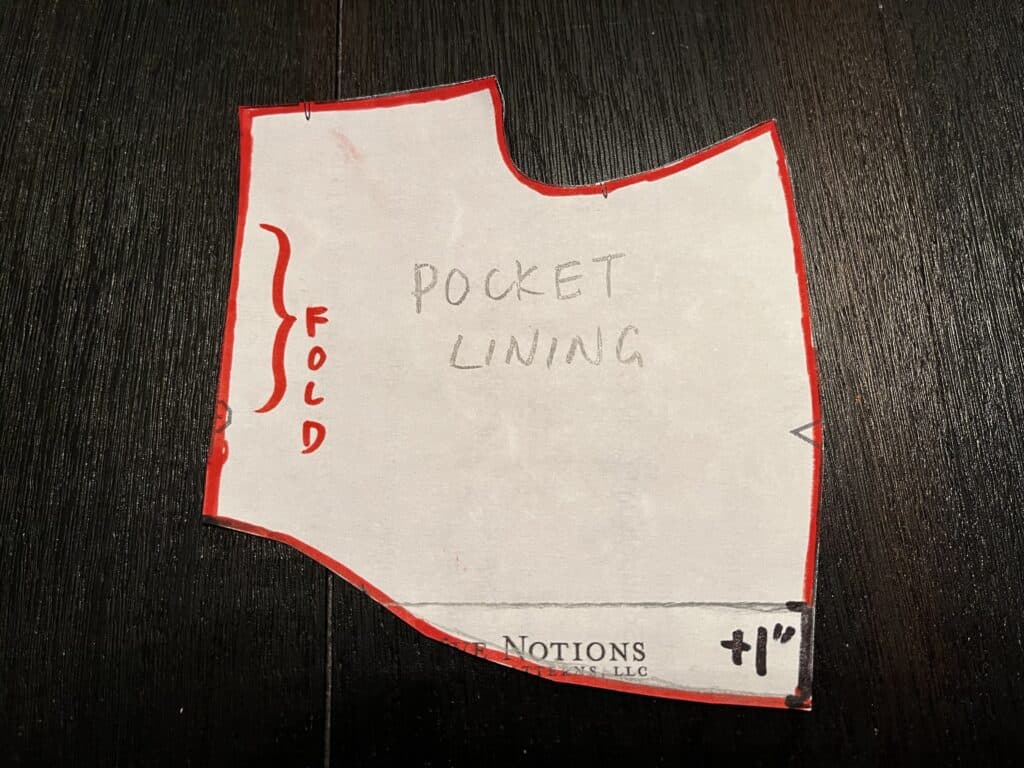
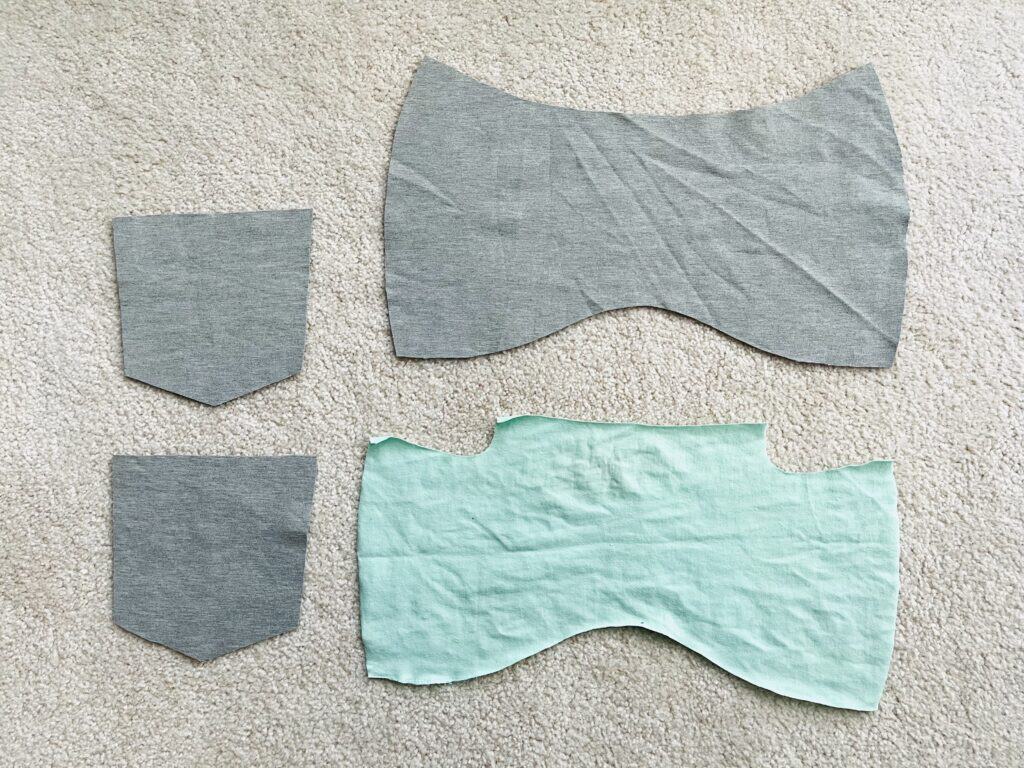
- The red outline is now your new pocket lining pattern piece (cut on fold). Trace it / make a copy before you move on to the next step.
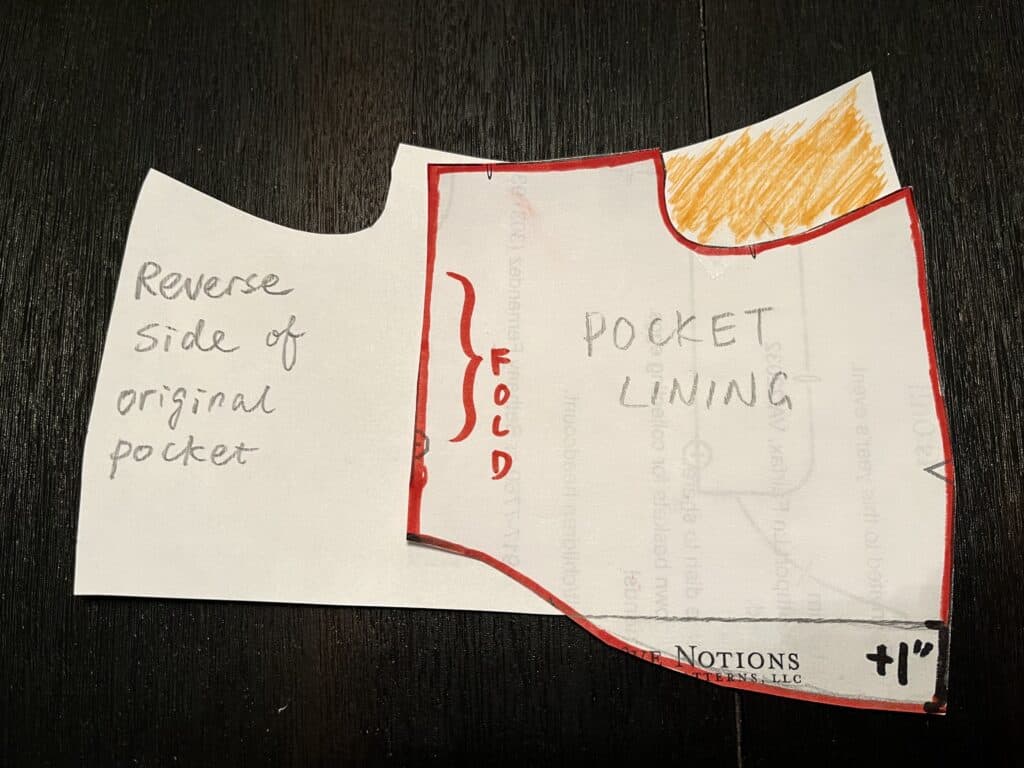
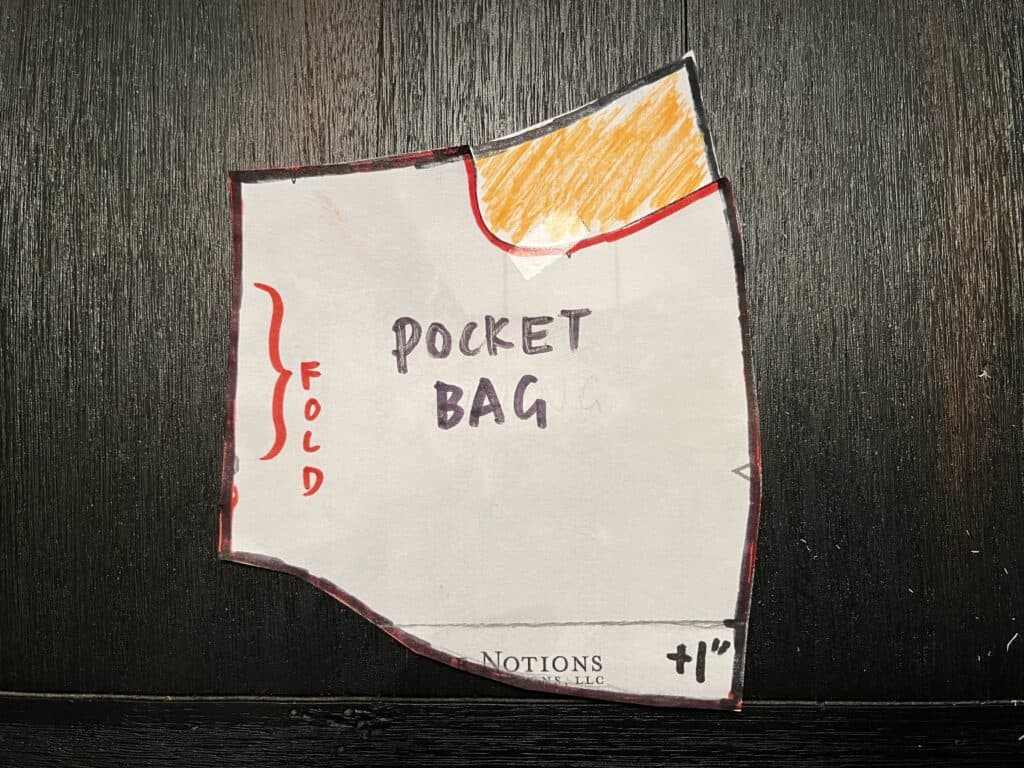
- Take your original pocket piece and flip it reverse side up. Place your new pocket lining piece on top, matching the top and side seams. Tape the orange shaded area onto your pocket lining piece and cut it out – it’s your new pocket bag piece (cut on fold).
SEWING THE POCKETS
Now the fun part – sewing! If you’ve made the Sabrina Slims and Summer Cayes, the pockets are constructed the same way and you are all set. Here’s the quick how-to: (pictures linked below in the gallery)
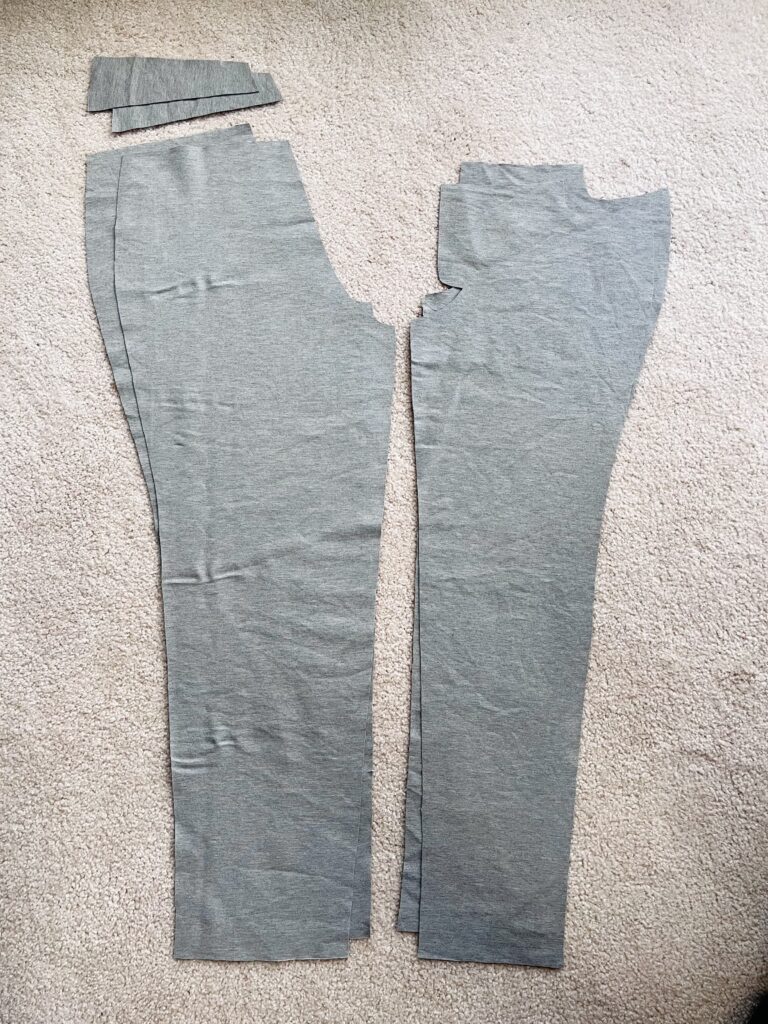
Step 1. Cut out 1 pocket lining and 1 pocket bag piece, both on fold. I used a contrast light jersey for the pocket lining. Also shown here are the front/bag leg pieces, bag yokes and back pockets. I skipped the coin pocket and belt loops for a quick sew.
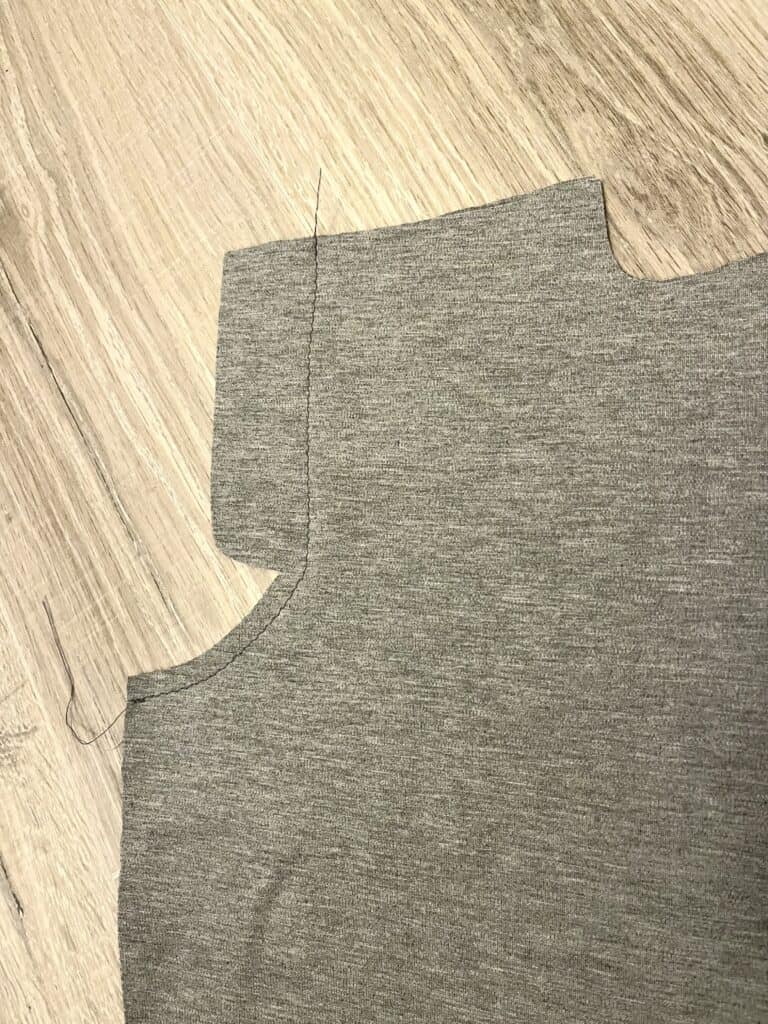
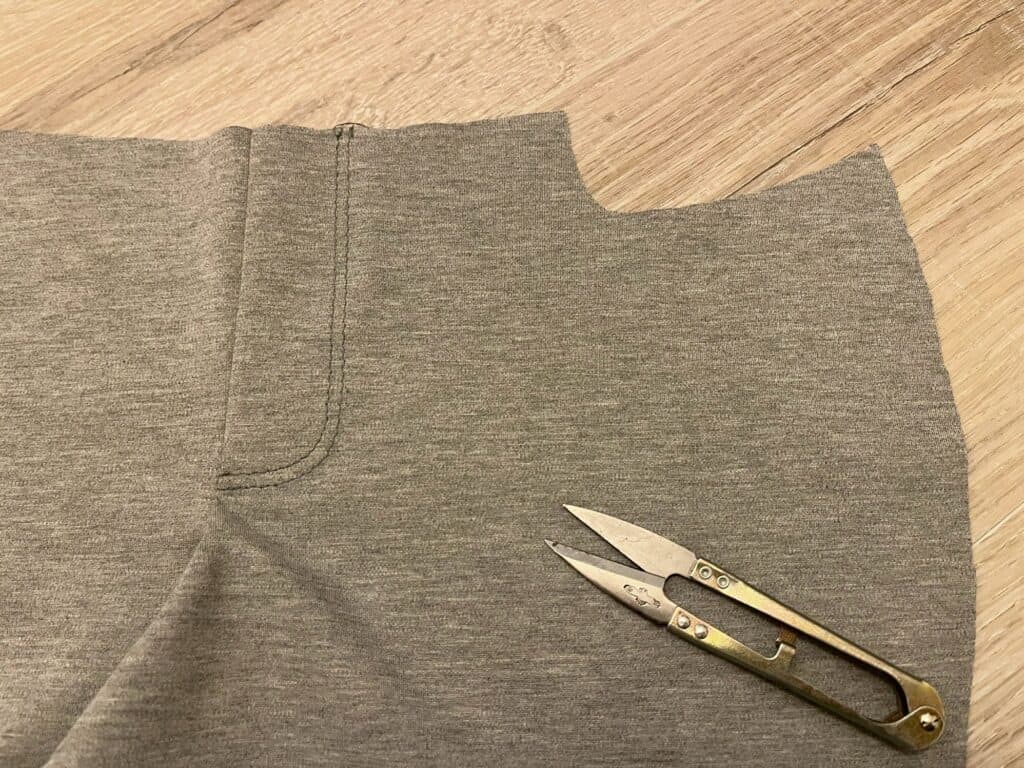
Step 2. Sew the center seam of the front legs. Do NOT trim the zipper fly part off. Instead, press them to one side and use it as a guide to topstitch a faux fly. Unless you want the leggings look, then trim away and skip the topstitch. For all the topstitching on this project I used a very narrow zigzag stitch with shorter length to accommodate the stretch – test on scraps to decide the best setting for your machine.
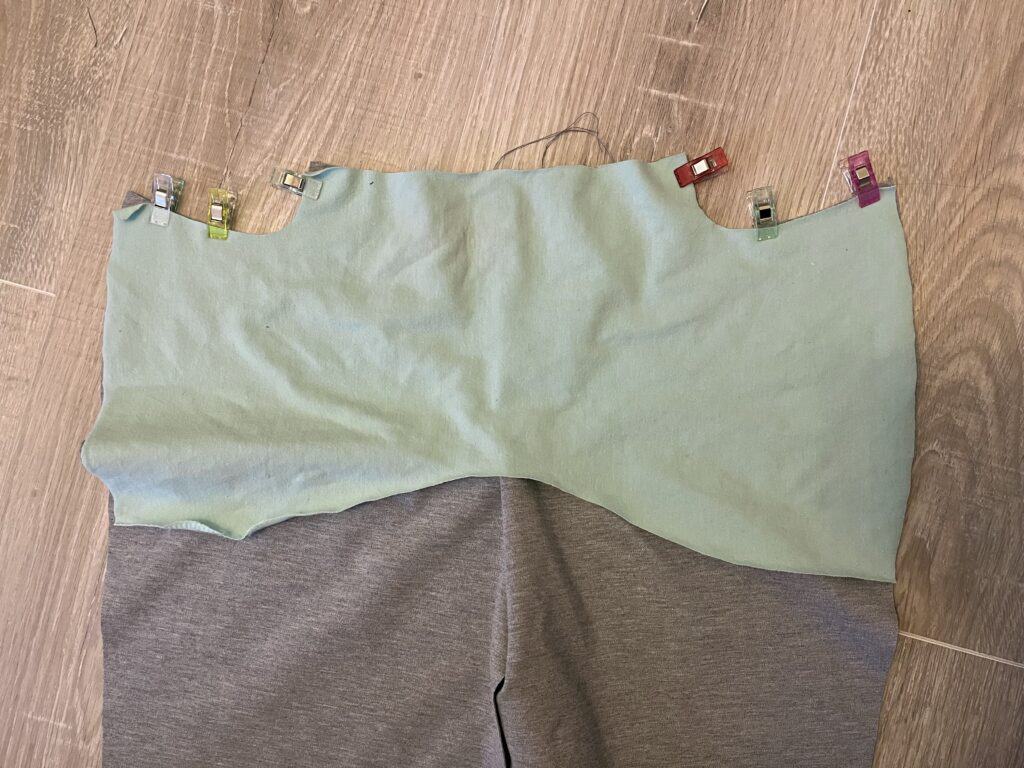
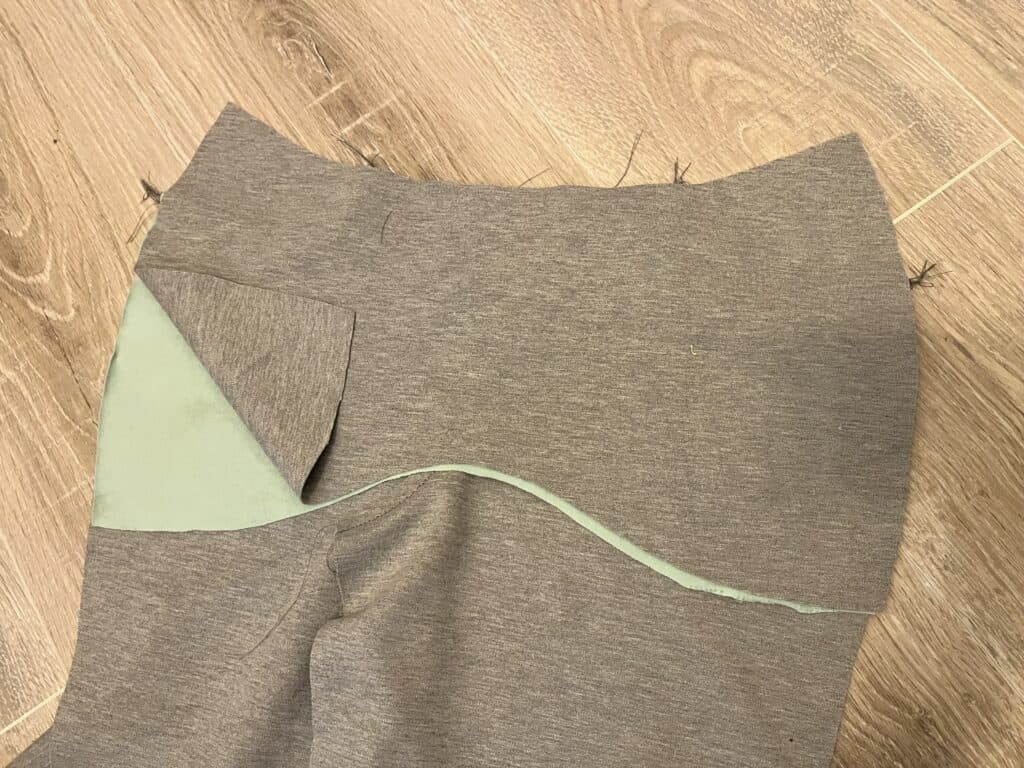
Step 3. Place the pocket lining on top of the pants front, right sides together matching the top seams. Sew the 2 curved pocket openings.
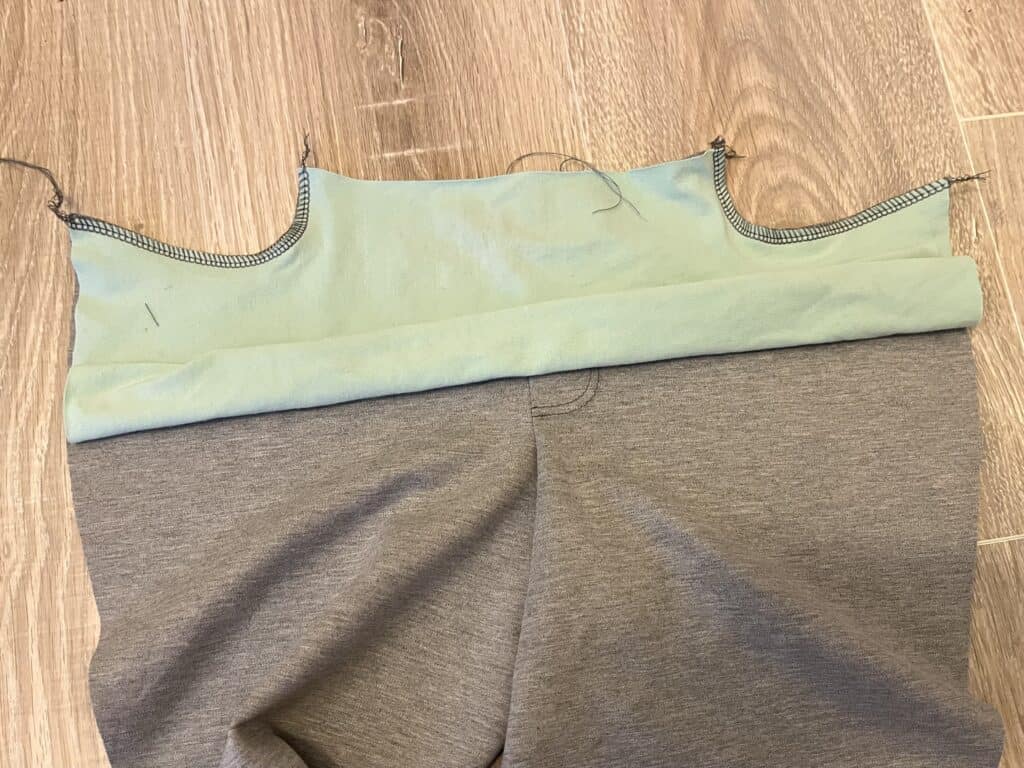
Step 4. Understitch the pocket opening seam allowance to the pocket lining. Then from the right side of the pants front, topstitch the pocket opening.
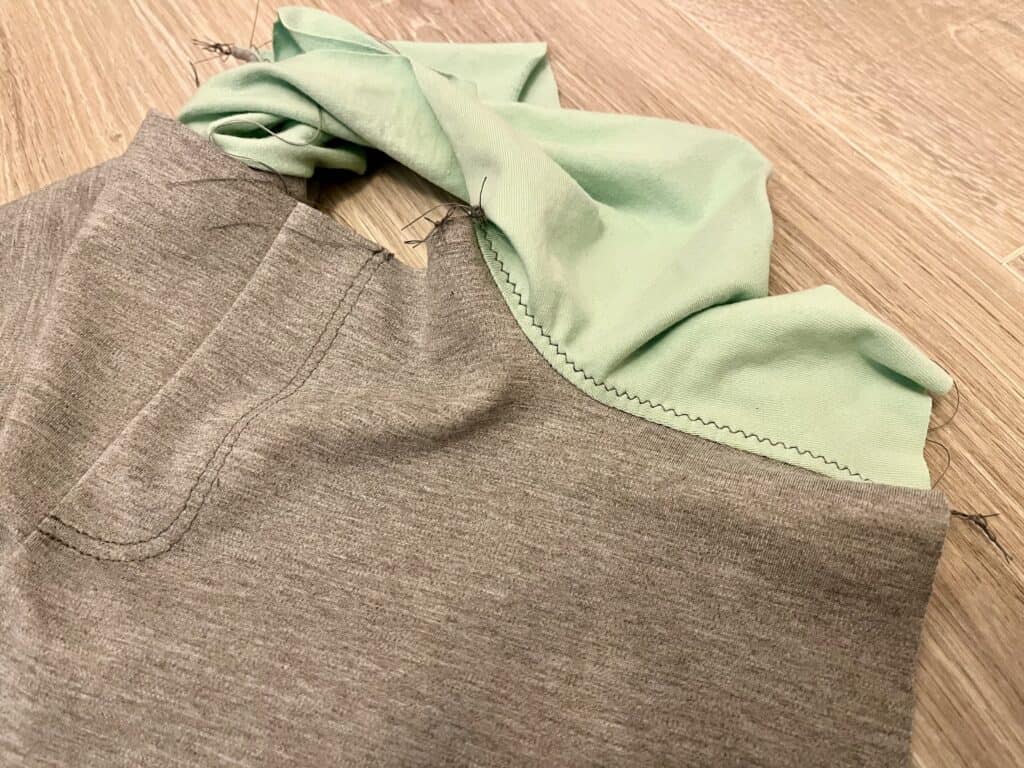
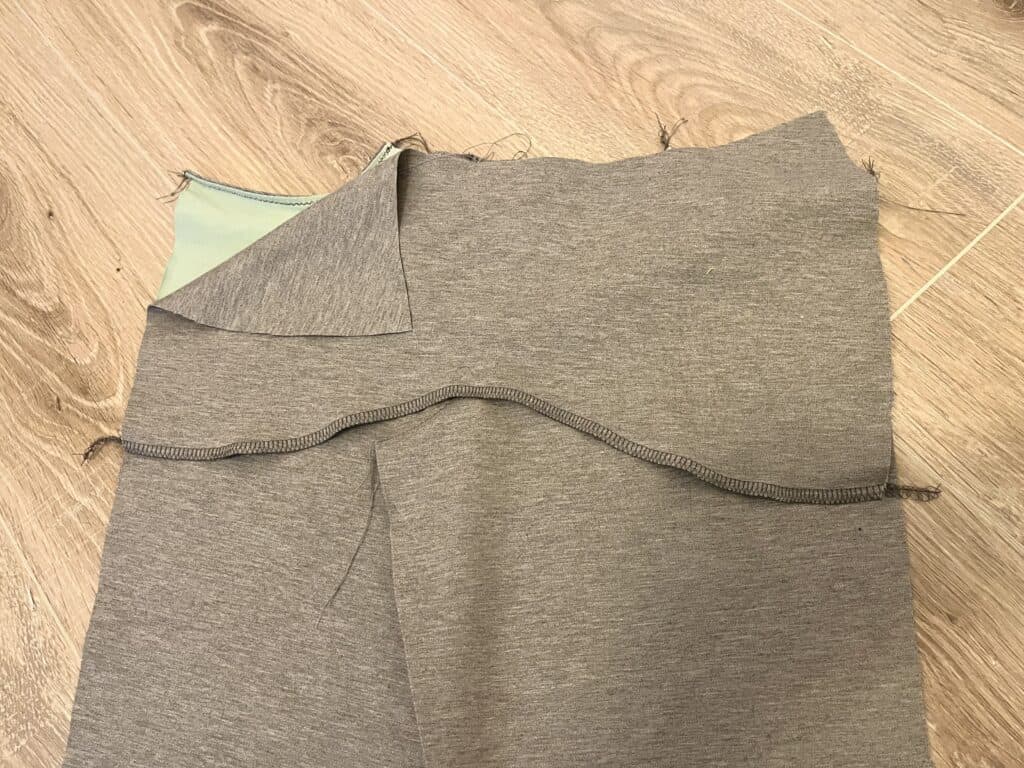
Step 5. Flip the pants front wrong side up and place the pocket bag right side down on top. Sew the bottom edge of the pocket lining and pocket bag together. You can also baste the side seams of all three layers (leg/pocket lining/pocket bag) where they overlap.
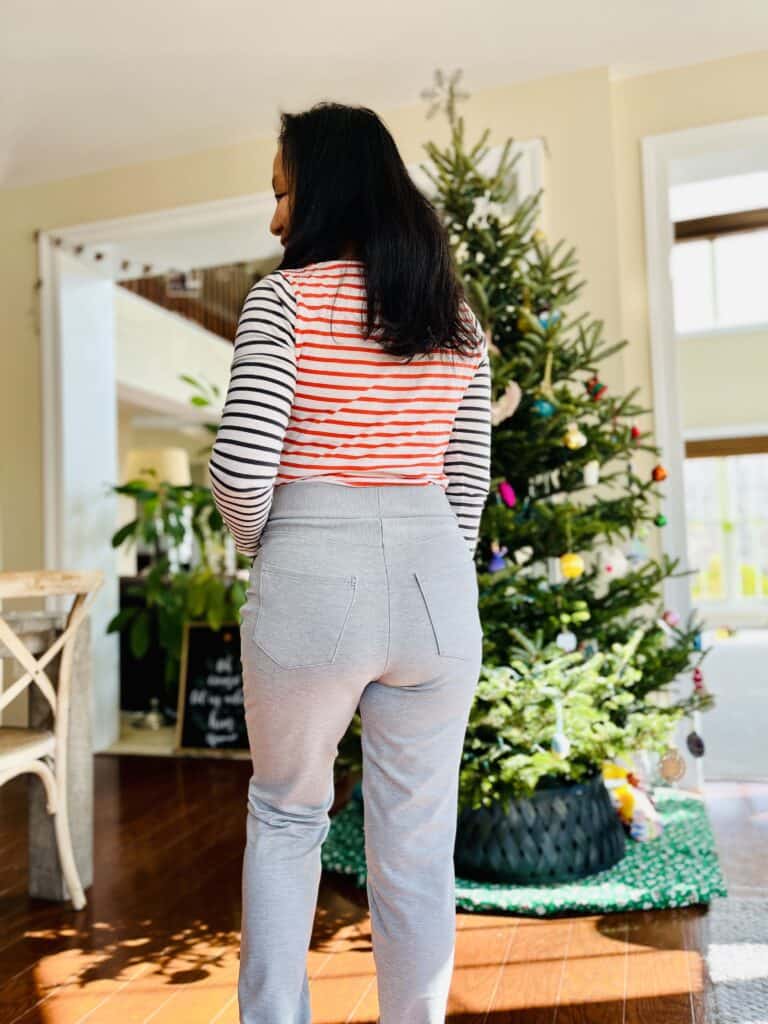
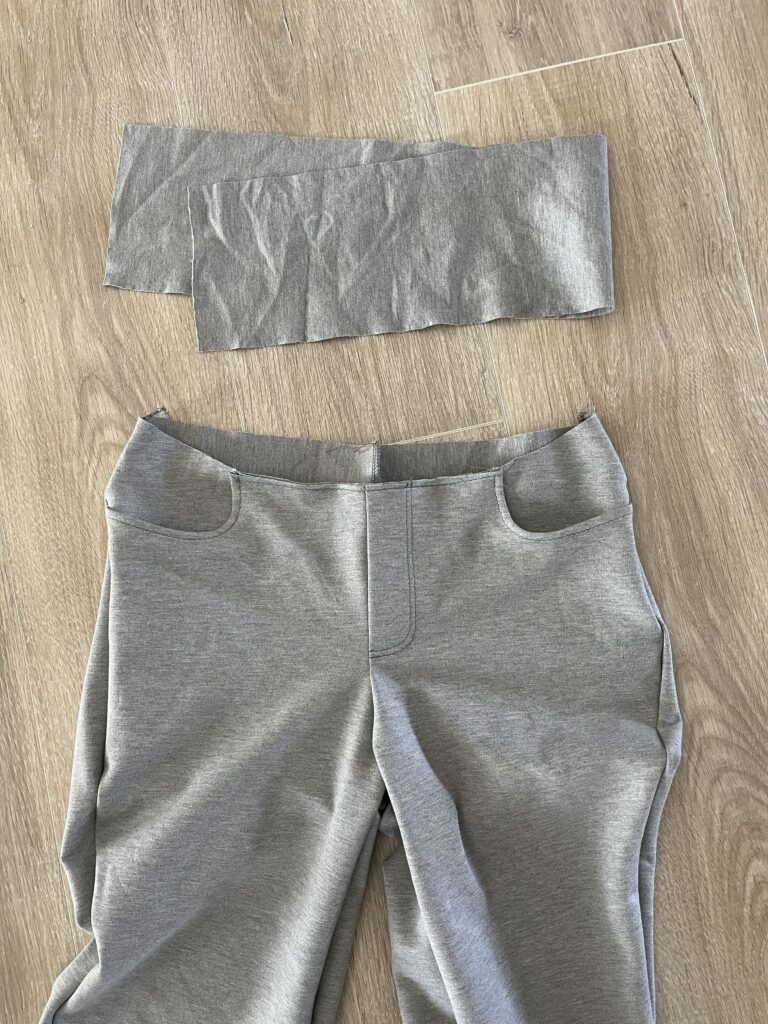
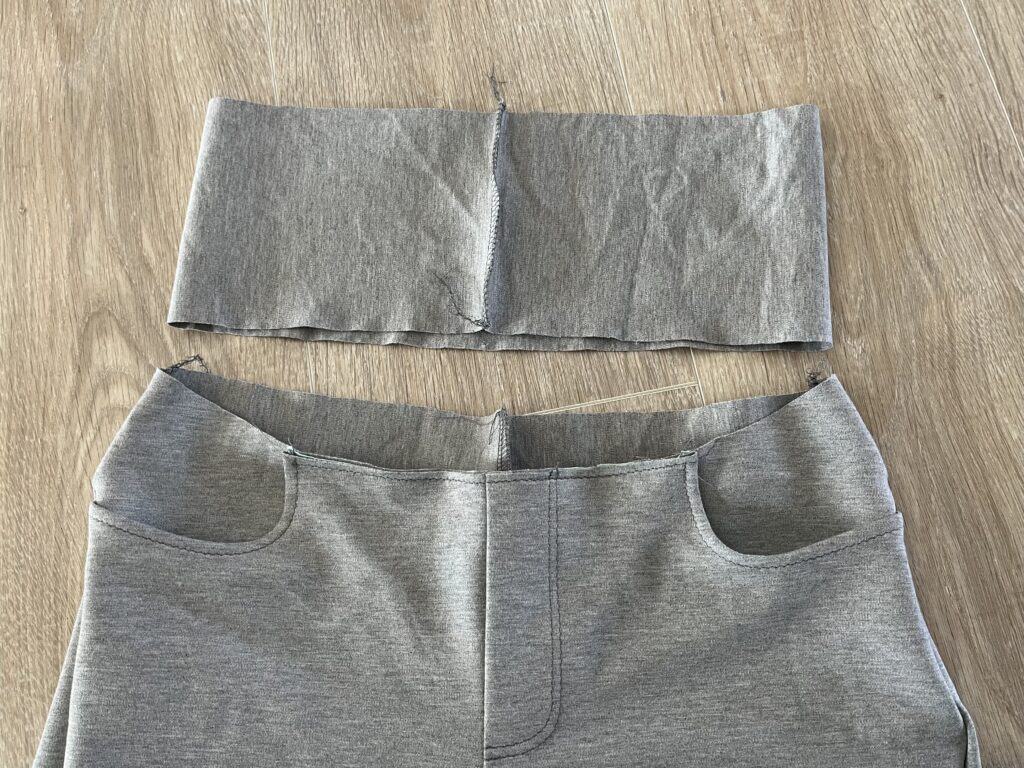
Step 6. Sew the back legs as per the original pattern. Finish the side seams and inseams. Take your new waistband piece and sew the short ends, right side together. This is a good time to try on the waistband before sewing it on. See if it fits snugly around your waist and is easy to slip over your hips. Adjust the length if needed and decide if you will insert elastic for extra support there. If so, use 2” wide elastic and choose the length that feels comfortable around your waist.
Step 7. Now fold the waistband wrong sides together, evenly stretch and distribute around the pants waist and sew it on, right sides together. Insert the 2” wide elastic if you wish, before closing the seam. And tada! Stretch pants of dreams – and doesn’t it look neat and pretty inside too?
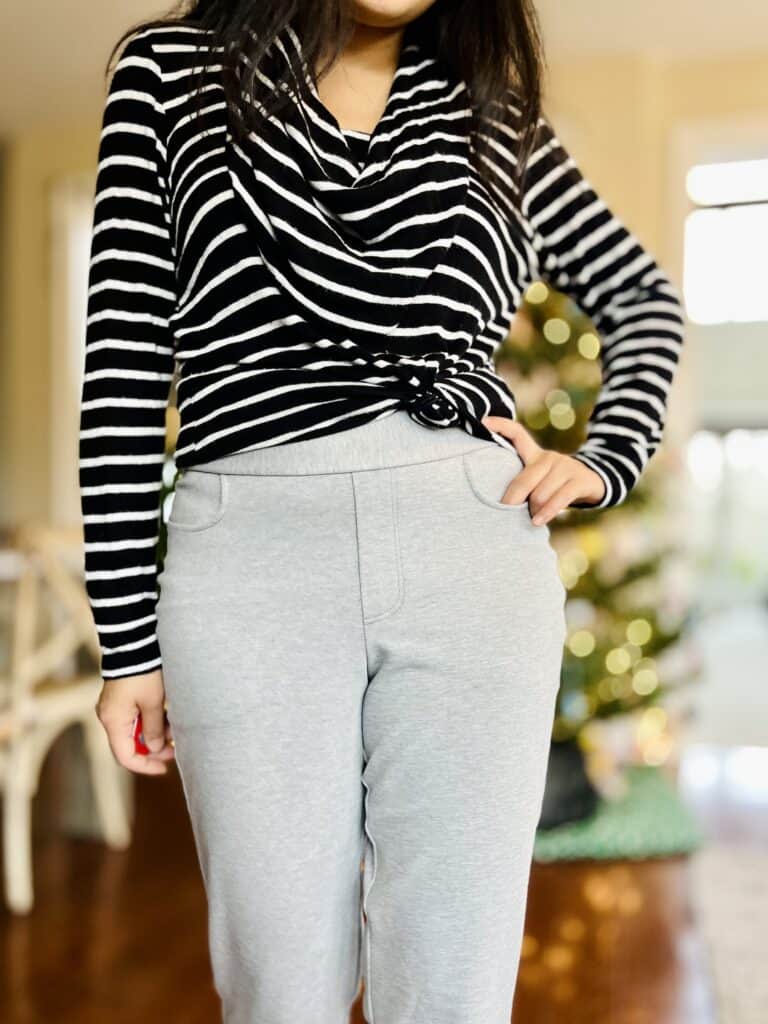
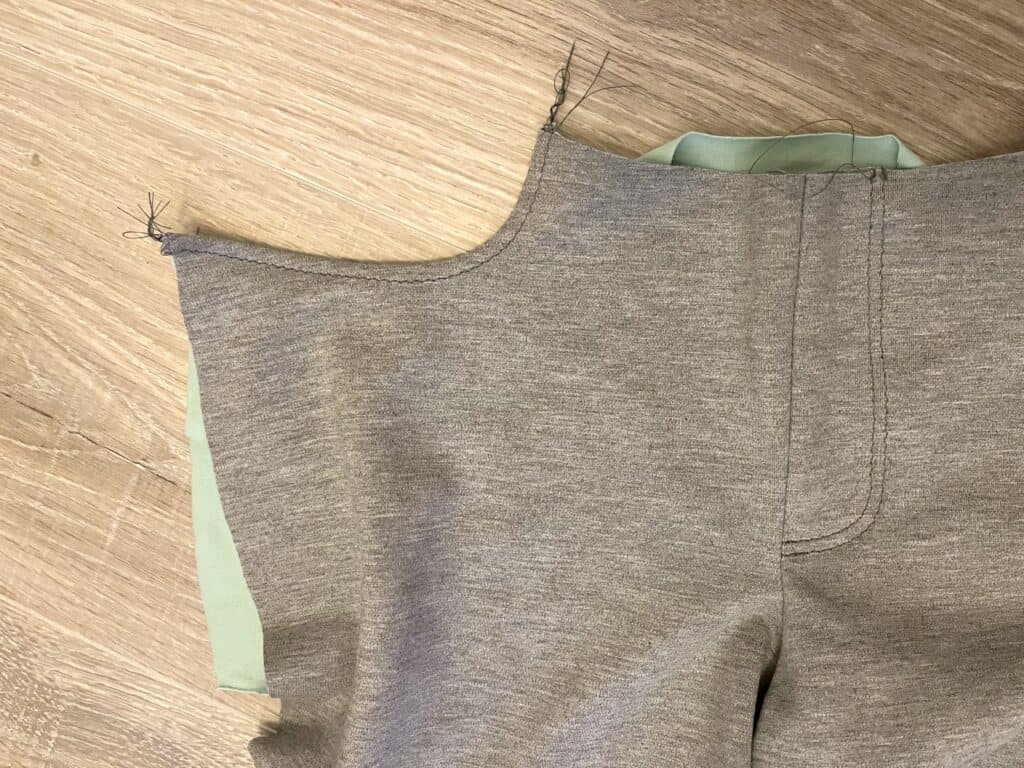
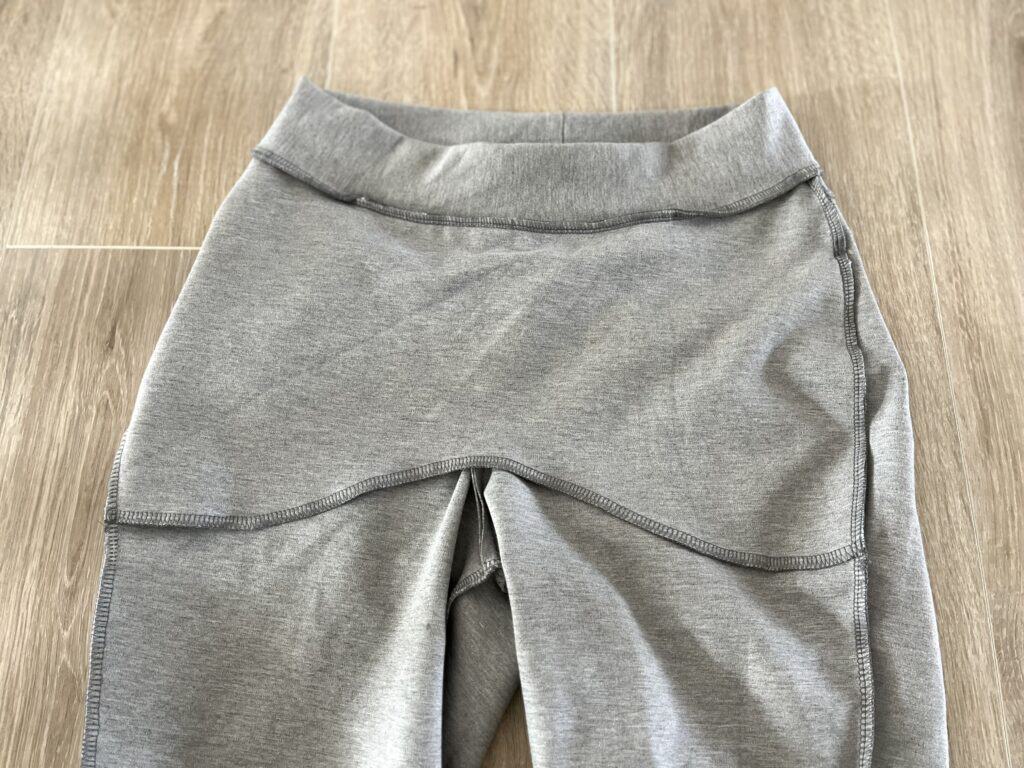
I absolutely love how my knit Legato fits and moves. The waist and tummy area has just the right balance of support vs ease. The one-piece control panel pockets are excellent for smoothing out the front, giving it a sleek look (hopefully even after the holiday feast 😉). If you have tried the Sabrina Slims, this is basically the more relaxed and straight fit version. Think cigarette legs for Sabrina and stovepipe for the knit Legato. I really could live in these and will be sewing up a batch of them here. No more sweatpants this holiday season!
I hope you enjoyed reading about my knit Legato! To see it in action, find me on Instagram @no.idle.hands along with my Love Notions Ambassador promo code. Meanwhile, grab a copy of the Legato Jeans Pattern for $5 TODAY ONLY, and get your perfect holiday pants on 😊! If you want to sew up the authentic denim version and need more in-depth visual help, do check out the full video course too – and get the pattern for FREE!
Until next time,
Chloe @no.idle.hands