Lotus Blossom Sew Along: Day Four
Today is the day we tackle the twist! Do worry! The Lotus Blossom Twist just feels like it’s complicated. But I am going to break it down for you with a video tutorial and then we will assemble the body of our shirt. Let’s do this!
Below you will find a video for how to create the twist feature on the front of the Lotus Blossom. You won’t believe how easy it really is!
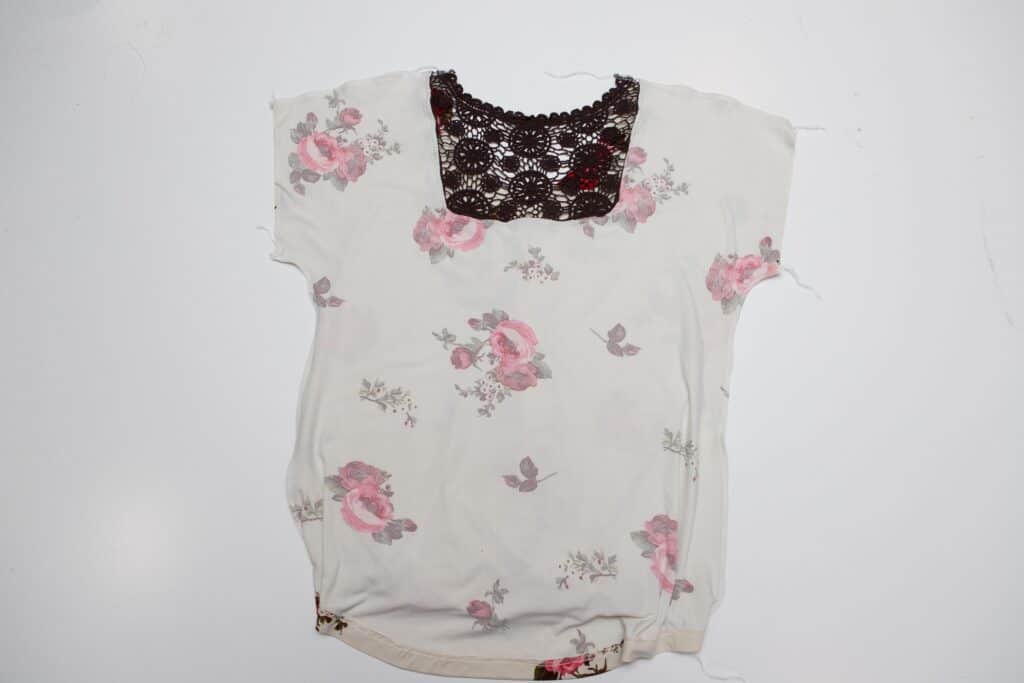
Stop here if you used an applique for the back! You will need to sew the neckline in place first. That post will be for tomorrow. Continue below if you are sewing a full back version or the inset lace.
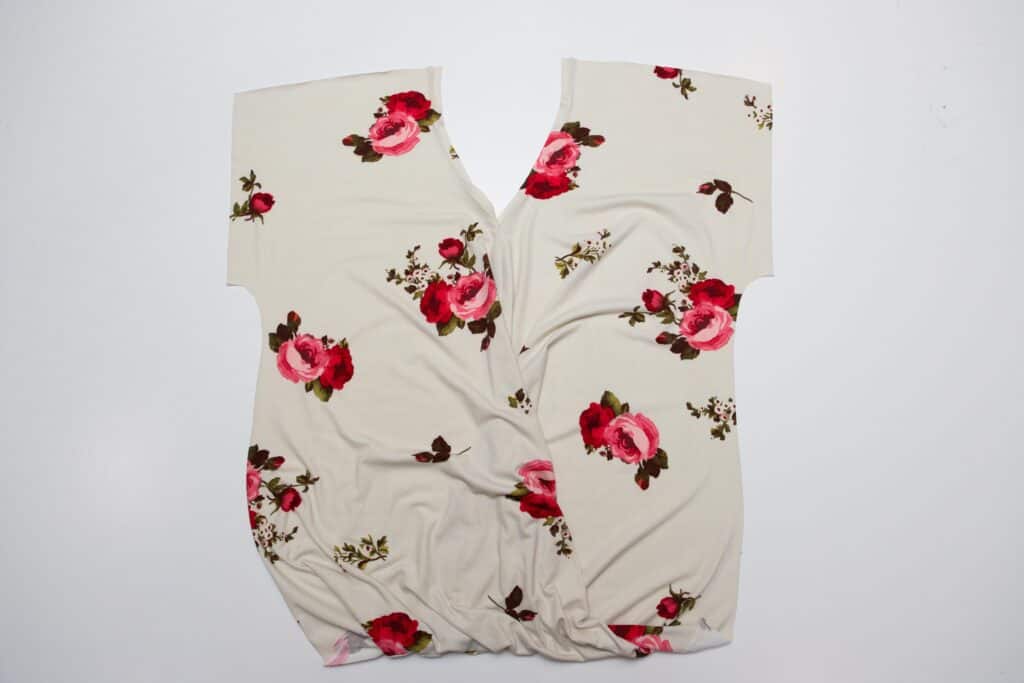
Now we have our front assembled.
Super pretty, right! Now let’s sew this baby up! We will take care of that tomorrow. Place the back on the front, right sides together. Line up the shoulder and side seams and sew the shoulders and side seams. That’s it! There is no hemming the bottom front. Just match the bottoms of the side seams together. When you are finished, if you serged, I recommend threading the serger thread back up through the seam and tacking the seam towards the back with a zig zag stitch for about an inch up the side seam. That will secure those serger tails.
Meet me back here tomorrow to finish these beautiful Lotus Blossoms up! I also have another hack for you. And it’s so flexible!! Athletic shirt, maternity shirt, knot shirt, it’s all those things!!
It’s more fun to sew with friends! Join us in our Facebook Support Group and share pictures of your progress, ask questions, and cheer on others as we all sew the Lotus Blossom together!
If you are just joining us, you can still catch up!
Day One: Printing, fabric, cutting
Day Two: Lace inset or applique
Day Three: Hemming and preparing the neckline
-
Ladies Lotus Blossom Blouse
$12.50 -
Girls Lotus Blossom Blouse
$10.50


Oh, my goodness, thank you! I have twisted the night away trying to figure this out and this video got it done in 3 minutes. Thank you, for a beautiful top and a helpful video.
You’re so welcome!
Still iffy on this…if I cut out one piece..wrong or right side..my fabric ends up being right and wrong side facing. Did I cut the fabric wrong???
This pattern either requires you to use a fabric that has no wrong side or you can piece your front using the instructions near the beginning. If you get stuck shoot us an email- help@lovenotions.com