Love that Look: Sybil, Luna, Margot Smash
Can you believe that Spring is almost here? This year is just FLYING by already and I just wasn’t prepared for it, however I am preparing my wardrobe for it! Today I am going to be showing you just how easy it is to mash multiple patterns together to create that perfect “Pin-spired” outfit.
I have been such a big fan of Girl With Curves for quite sometime now, and when I came across this dress last year I just knew that it was something that I had to figure out how to recreate.
After briefly inspecting it I decided that I could get a similar result using the (affil.) Luna Loungewear, Margot Peplum and Sybil Pleated Skirt together. Although it seems intimidating, the “mashing” process was really much more simple than I thought that it would be.
https://www.pinterest.com/pin/160159330479101917/
To get the design that I was going, for I first needed to mash the Luna and Margot.
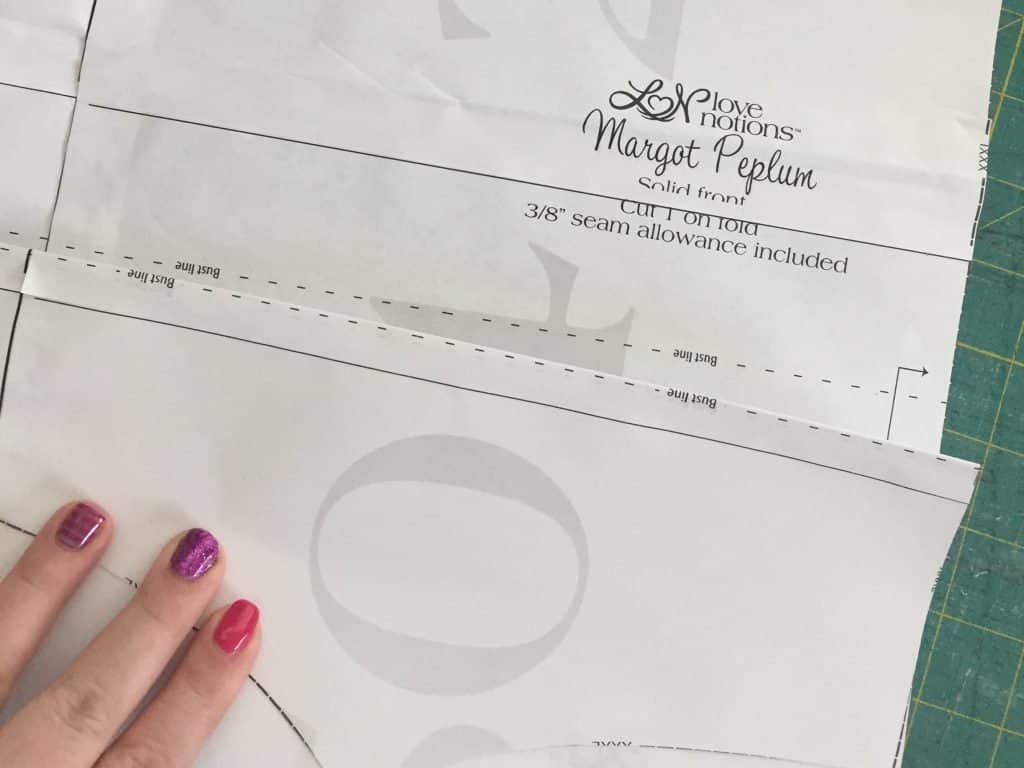
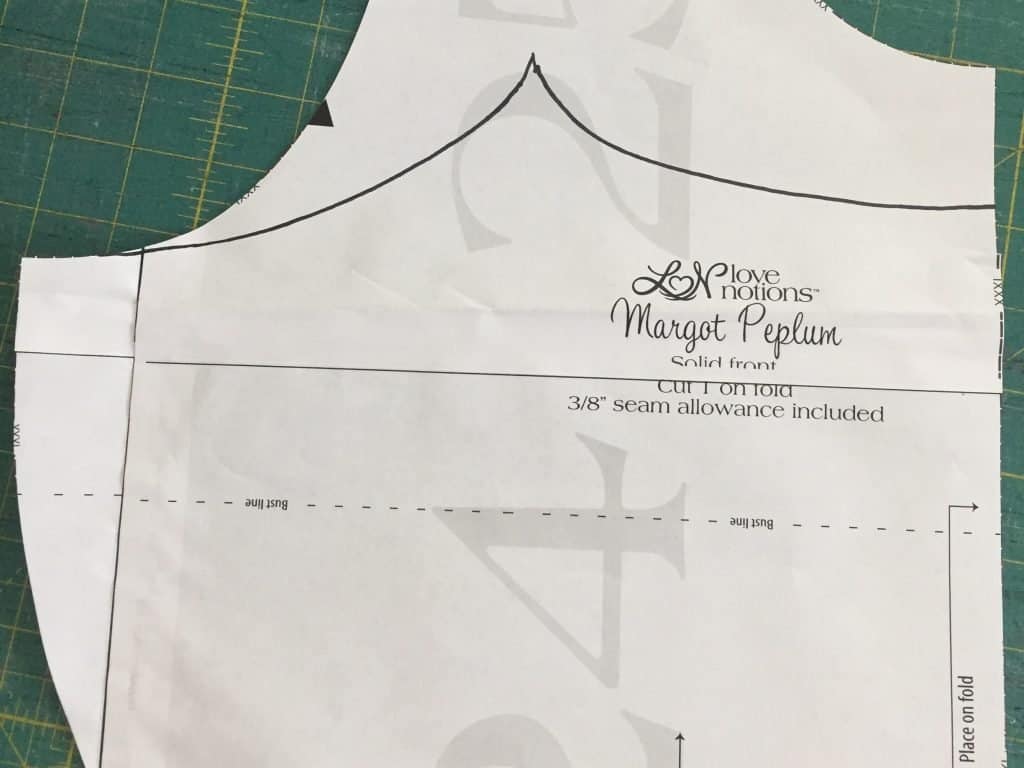
Whether you are using the solid bodice or princess seamed, I suggest you start with the solid. This will make the adjustments much easier on the princess seamed bodice. Because Tami adds bust lines to her patterns to allow for precise adjustments, it also makes it SUPER easy to mash bodices together. I simply lined up the bust lines of each pattern, making sure the center fold lines are also lined up, and from there I was able to trace the shape of the Luna Cami onto the Margot.
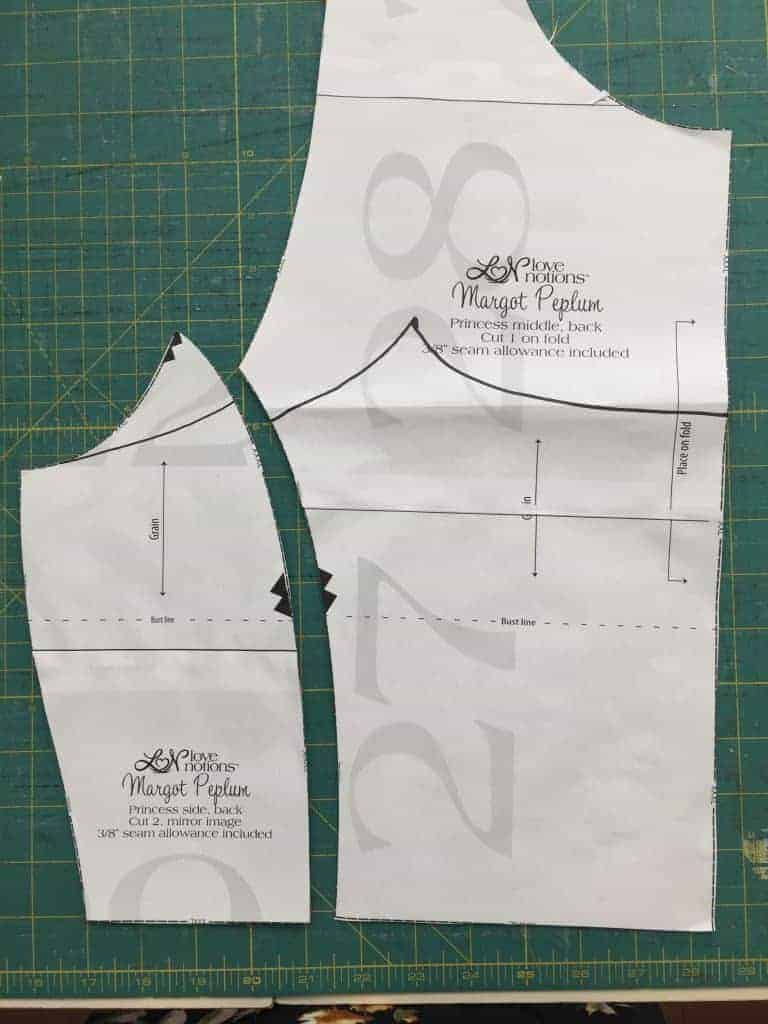
If you are using the princess seamed bodice as I did, you will need to use the solid bodice as a guide. Line up the ‘Princess side’ along the side of your newly drafted bodice and mark along the top. Then, place the ‘Princess middle’ along the fold line of your newly drafted bodice and mark along the top as well. At this point, you will follow the tutorial for the Princess seamed peplum. Refer to the Luna Loungewear Cami for the straps, to compete the bodice.
For the skirt portion, we have a few mathematical adjustments that need to be made, but still extremely simple.
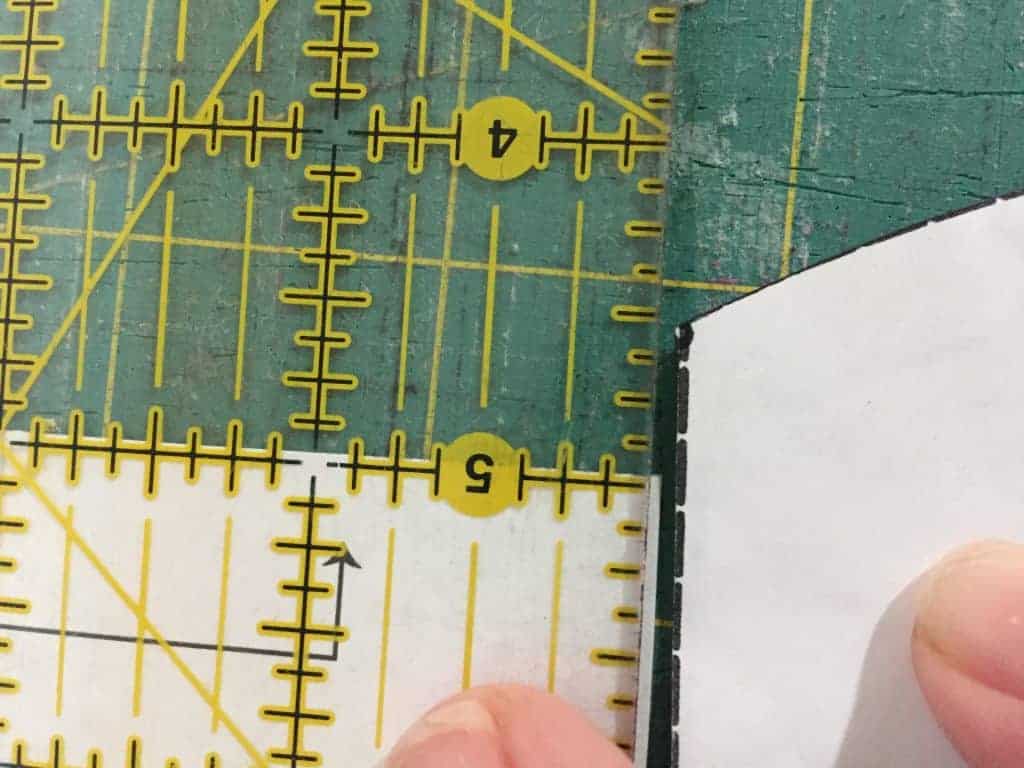
Because the Margot bodice doesn’t exactly fit the Sybil Pleated Skirt I needed to first figure out how much width to take out. I placed them against each other and had about 1/2″ overhang on the skirt portion (size XXXL), so what I adjusted the pleat width to accompany that extra 1/2″ and then assembled my skirt per the Sybil Skirt tutorial.
*Alternatively, you would probably be fine with taking a larger seam allowance. But, I was worried the pleat would also end up in the seam allowance… I did NOT test this theory, so please be aware if you go that route.* Attach the skirt to your bodice per the Margot Peplum instructions and you are DONE!!!
Now, wasn’t that much easier than you thought it would be?
As my kids would say “easy peasy lemon squeezy”! I am already dreaming up different skirt options for a more casual summer dress….the possibilities are endless!!!!
Who would have thought it was so easy to do a Margot, Luna, Sybil smash up? And what an amazing look when you do! If you grab all three patterns, tiered pricing takes place and you will receive an automatic 15% discount.
-
Ladies Margot Peplum Top
$12.50 -
Ladies Luna Loungewear
$12.50 -
Sybil Illusion Skirt Collection
$14.50


This turned out fab-u-lous! Can’t wait to try it.
What a sweet dress! You look adorable!!
This is very cute and has me looking forward to all things spring!