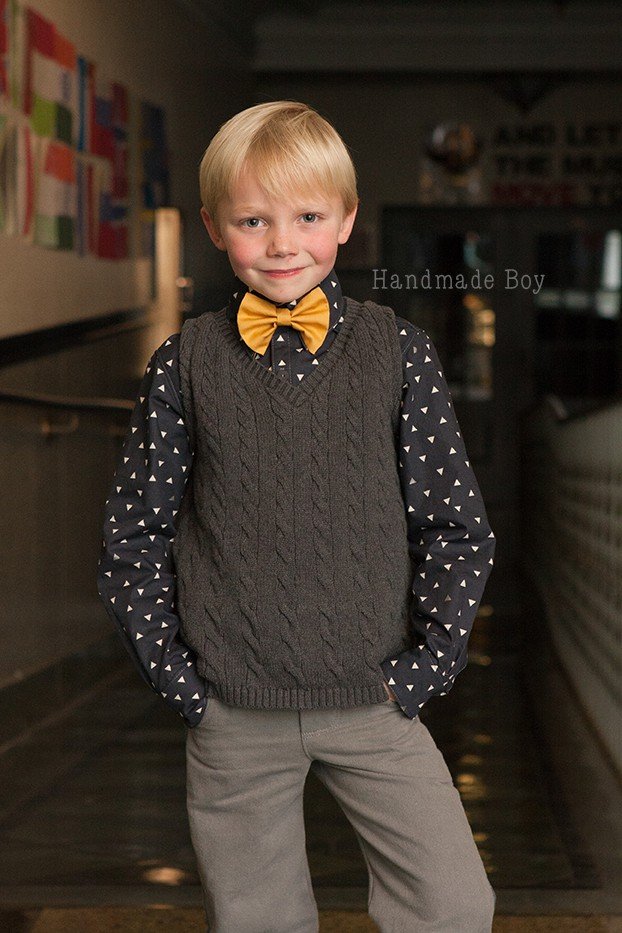
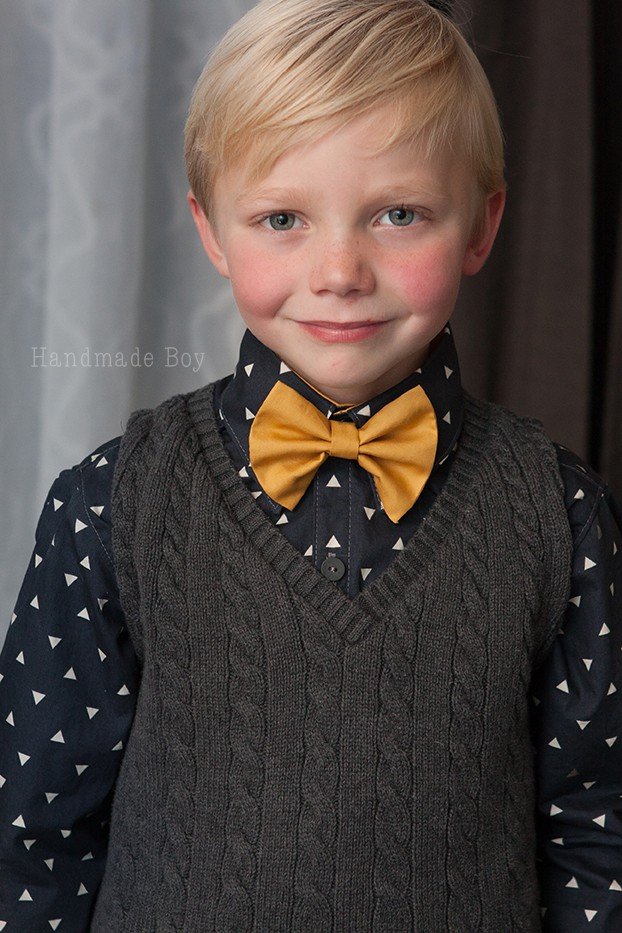
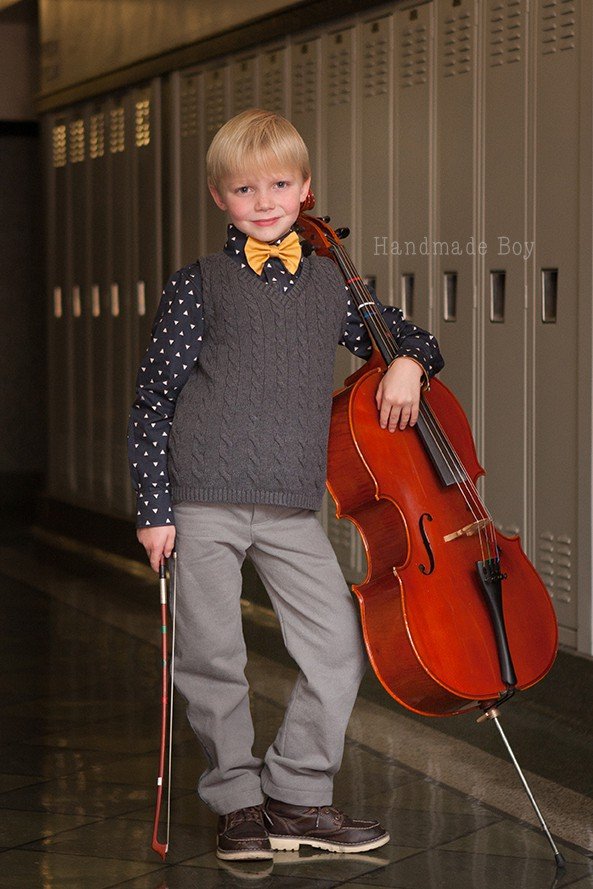
It’s November and the holidays are upon us! For us, it also means concert season. Each year, Thomas works with me to design his concert look. This year he requested a pull over vest. His exact words were something like “A shirt, with no sleeves, that’s cozy and you pull over your head and wear on top of the other shirt.” I took that as a sweater vest. And do you know what’s the perfect pattern to make a sweater vest? That’s right! The Dashing Vest!
If you are new to pattern hacking, this vest is the PERFECT place to start!
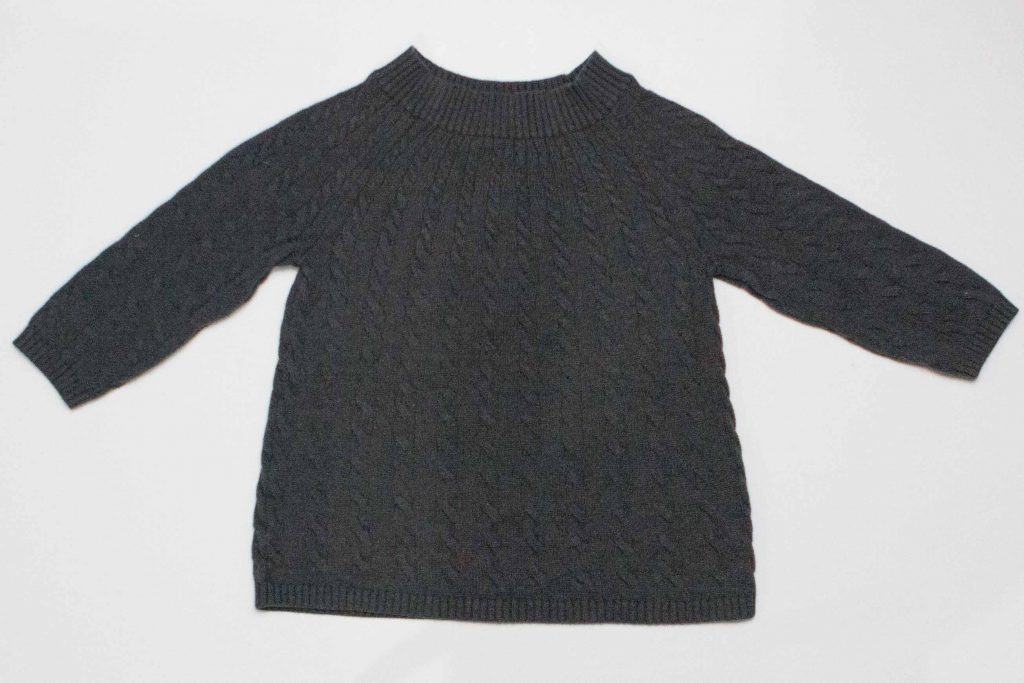
So, so simple! You are going to need the Dashing Vest pattern, a straight edge and a tape measure. That’s it. You’ll also need your normal sewing supplies, of course. I will be upcycling this sweater I found at a thrift store.
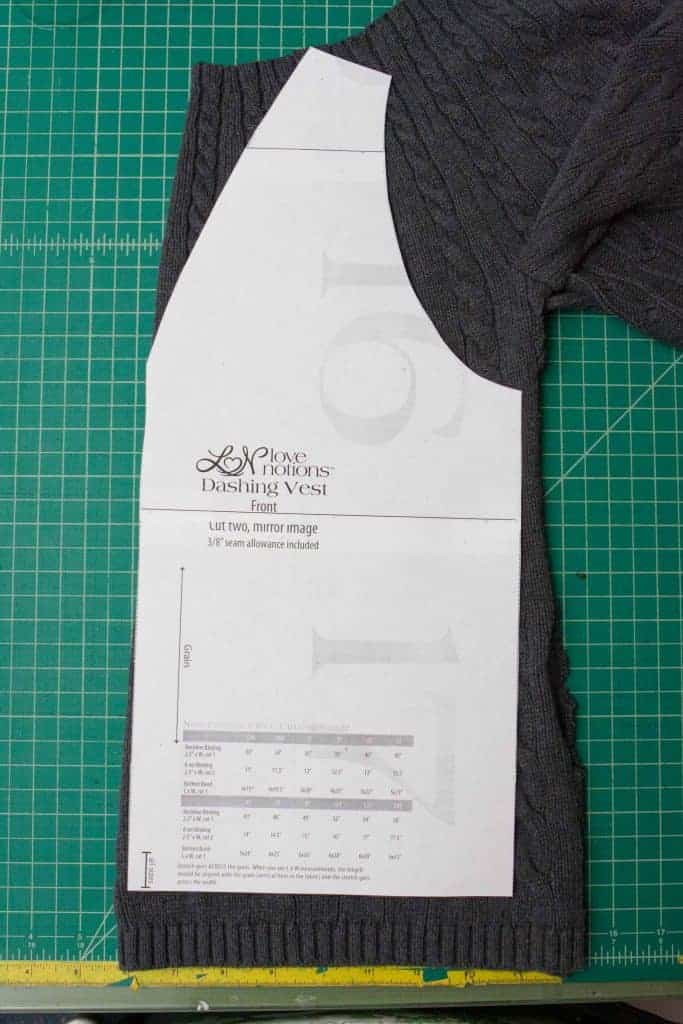
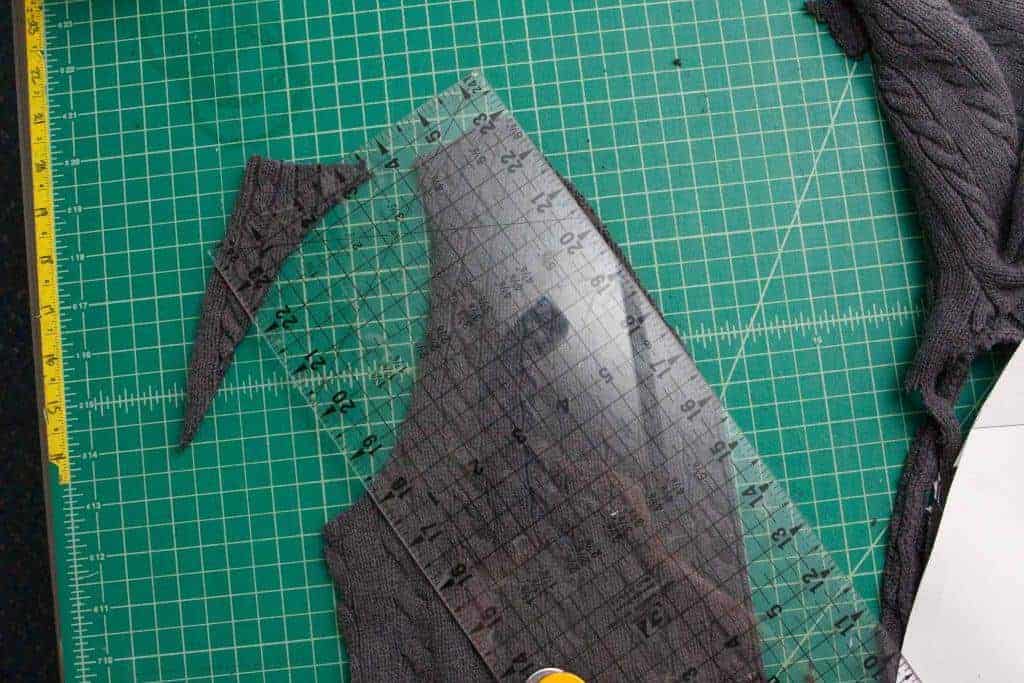
I love to upcycle whenever possible. Especially for my son, when it’s hard to find good “older boy” fabrics. It’s getting easier, but upcycling is still my fall back. I cut the ribbing off the neckline to use as the neckband and cut up the side seams. Then took the front of the sweater and folded it in half. Place the pattern right up along the fold. Instead of cutting two mirror pieces of the front of the vest, we are cutting one front on the fold.
You may notice that I didn’t line the bottom edge up with the bottom of my sweater. I opted to use the original hem of the sweater and not add the band from the pattern. To do this, I figured half the length of the band piece, minus seam allowances and positioned my pattern accordingly.
Because the original neckline has a bit of a curve to it, I also used my quilter’s ruler to remove that, leaving a classic v-neck line.
Now, fold the back in half and cut the back piece per the original instructions. Assemble the front and back, per the instructions in the pattern.
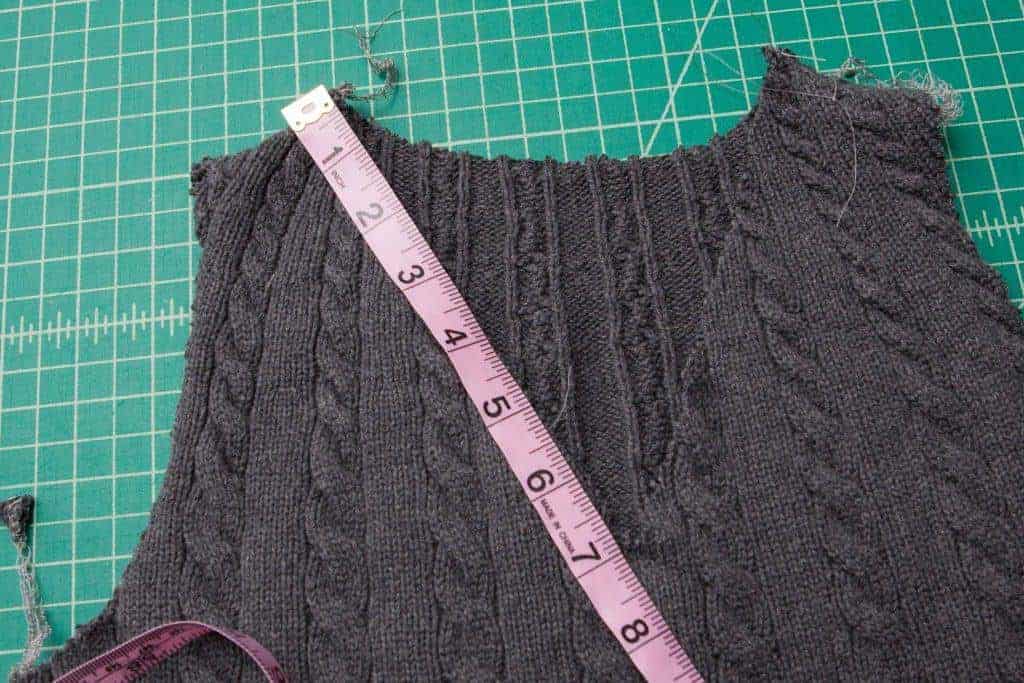
Time for some math. It’s easy, I promise. General rule of thumb is that the neckband needs to be approx 80% of the length of the neckline. Measure your neckline. My size 6 measured 21″. Now take that number and multiple it by 80%. If you plug it into a calculator it will look like this 21 x .8 = 16.8. I rounded up to 17″ for the length of my neckband. I also made my neckband more narrow since I was upcycling the ribbing and didn’t need to fold it over. My neckband measured 1.25″x17″.
Attach the neckband. You can use either of the methods I shared in this tutorial. I went with the second method I shared in that link.
To finish the arm holes, simply use the original pattern instructions. I didn’t have any more ribbing left from my upcycle, so I chose to bind them in the same way the arm holes are finished for the vest view of the Canyon Cardigan or the neckline of the Tessa or Tabitha.
That’s it! Such a quick simple sew! Perfect for your stylish guy this holiday season!
Just remember, you can dress them up, but you can’t make them act fancy all the time. 😉
-
Sale!
Dashing Vest
Original price was: $9.00.$0.00Current price is: $0.00.




Kelly, this is just so awesome! Such a little stud 😉