Today is our final official sewing day for the Pullover Sew Along. Don’t worry though! You have the weekend to finish up and get your pullovers entered into our give away. Join our Facebook Support Group for information on the giveaway! The week has been filled with hacks and tips that I hope you have found helpful. Yesterday we got the pockets constructed and the sleeves attached. Now it’s time to wrap things up!
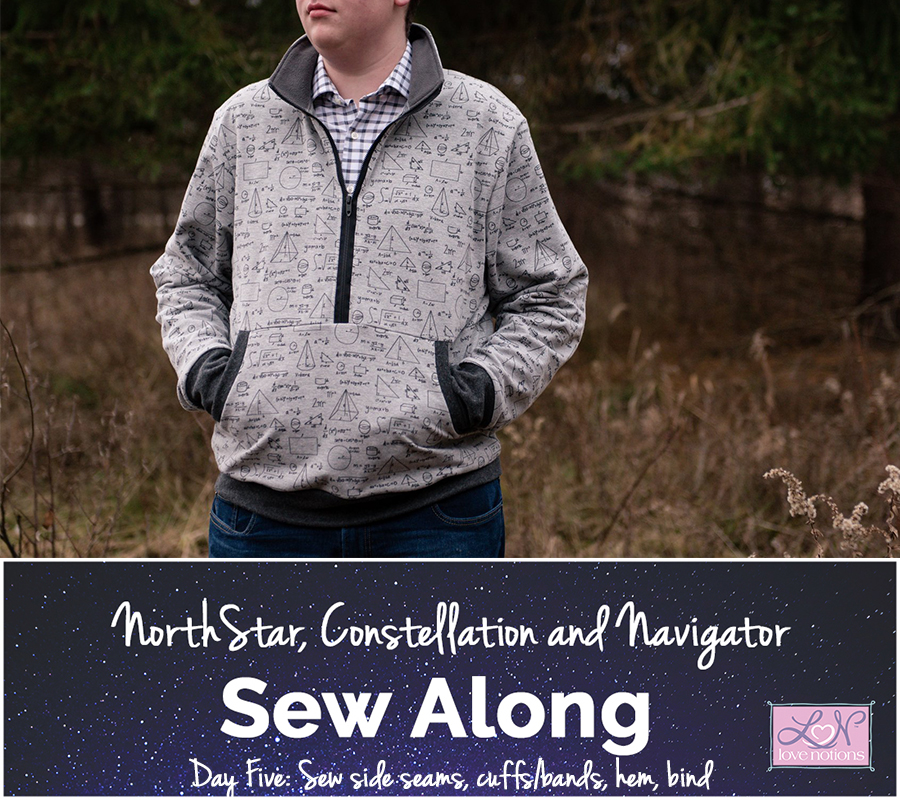
Sew the side seams
This is pretty simple and straight forward. Line up the seam that runs from the sleeve hem down to the bottom hem of the pullover. Make sure that the shoulder seam lines up. Pin in place as needed and sew or serge together. Do this for both sides. Once you have the side seams sewn up, attach your cuffs and band and you are complete! The constellation has a curved hem option and you could hem or bind that with double fold bias tape, the choice is yours! Visit day two if you need help with the bias tape.
Create a button/snap placket
If you don’t have a zipper on hand, or you just aren’t ready to tackle them yet, consider adding buttons or snaps to your pullover instead!
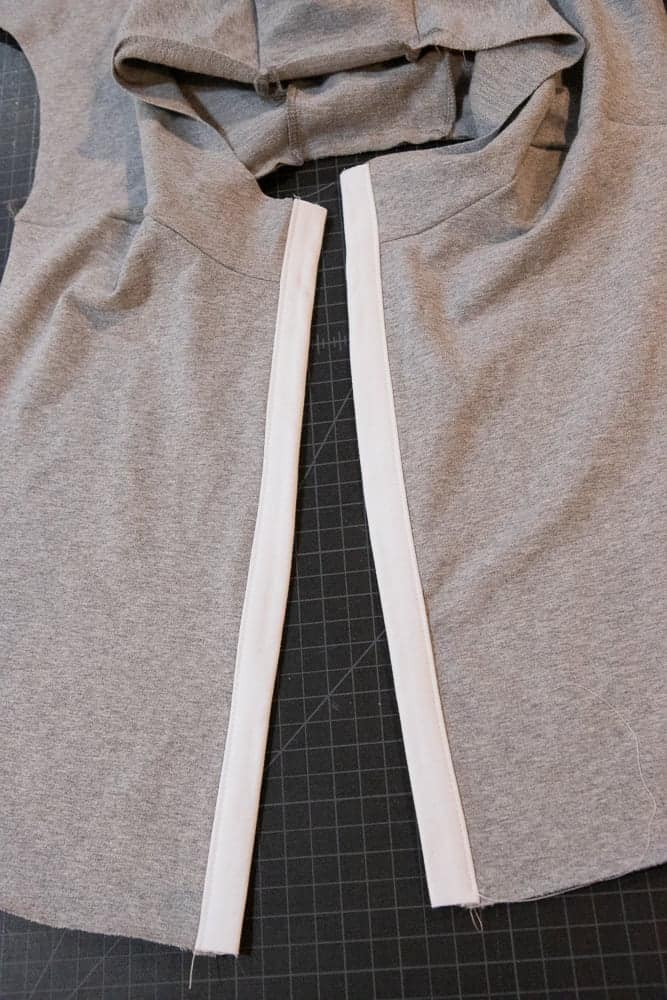
Line up the seam line of the collar/hood and the upper front and measure.
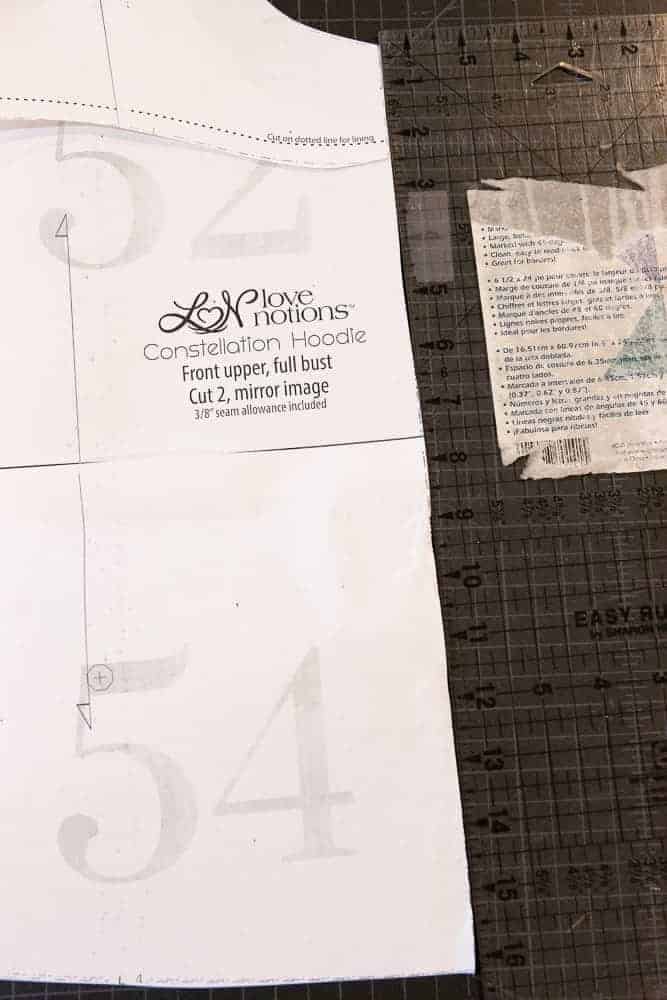
Cut 2 strips of either mid weight knit or a cotton woven the height you measured by 2 3/8″ wide. I am using cotton lycra.
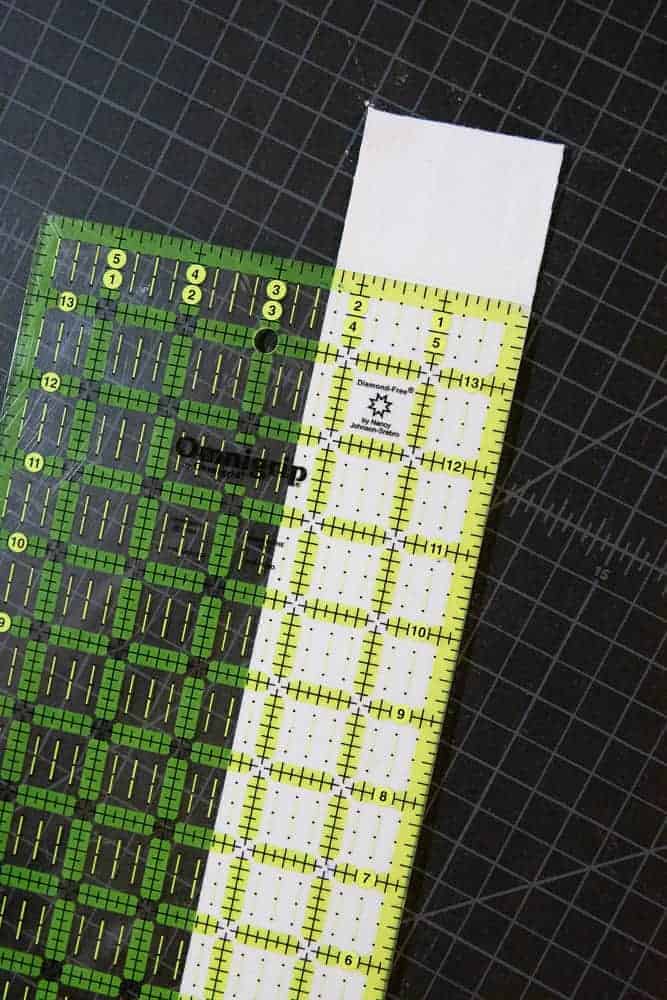
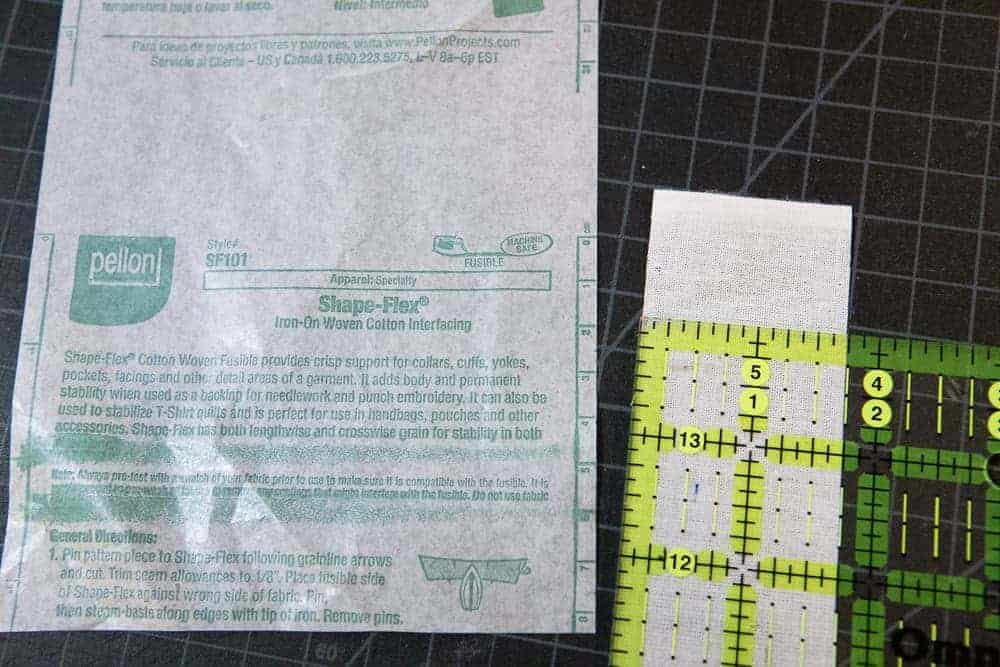
We will want to interface the placket. I prefer SF101. Cut a strip the same height by 1 3/4″ wide. We are cutting this a bit more narrow than the placket piece to help reduce bulk.
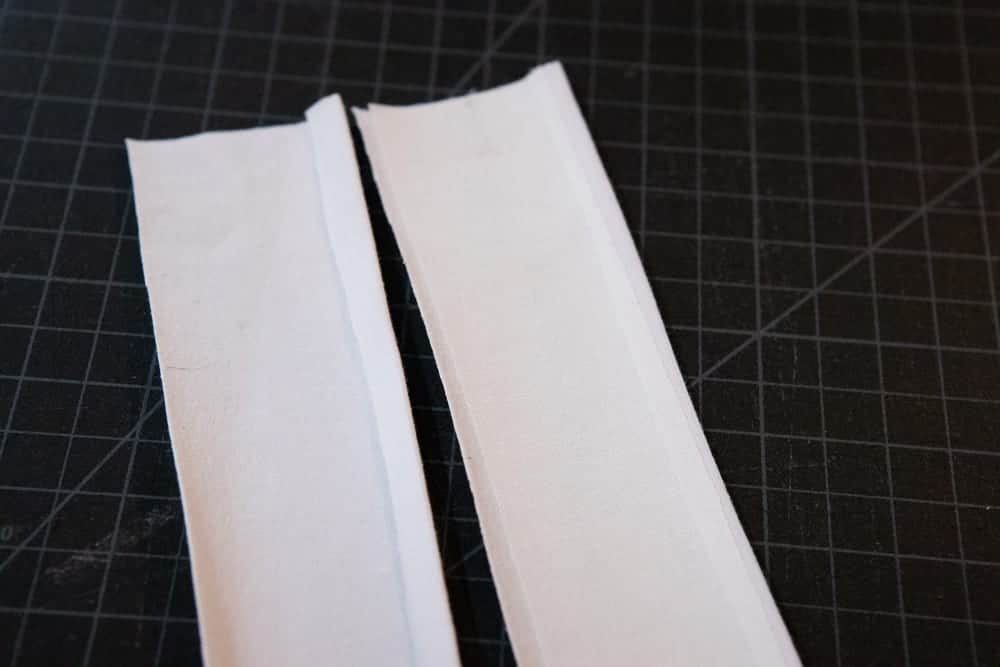
Press one side of each stripe 3/8″ towards the wrong side. If your fabric is directional, you want to press opposite sides on your two pieces. Apply the interfacing to the back of the strips, catch the folded edge into the interfacing. This keeps it in place for you!
With right sides together, sew the placket to the center front of the pullover with a 3/8″ seam allowance.
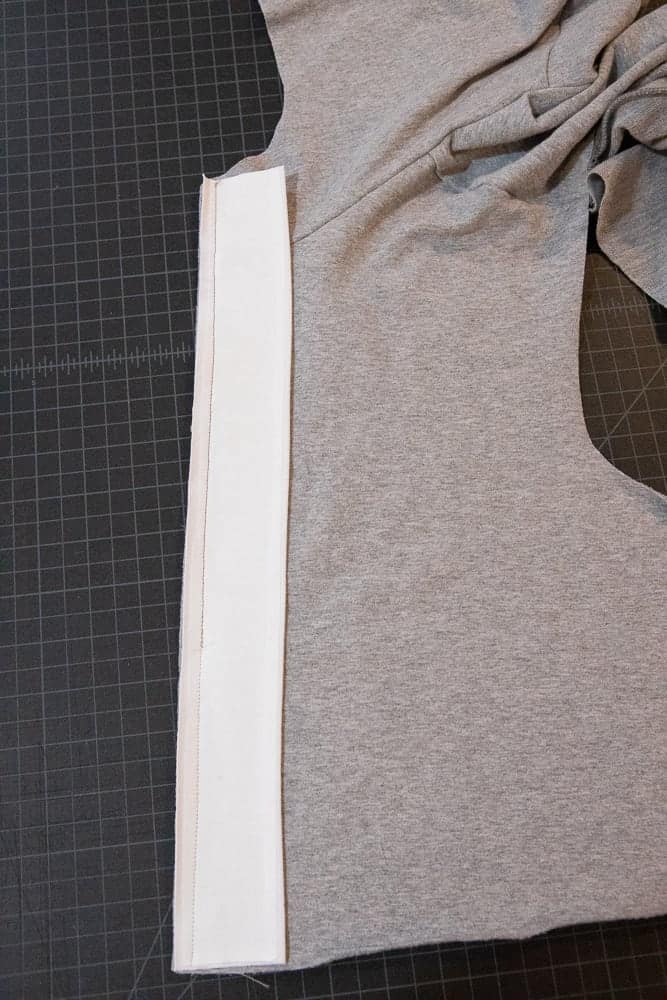
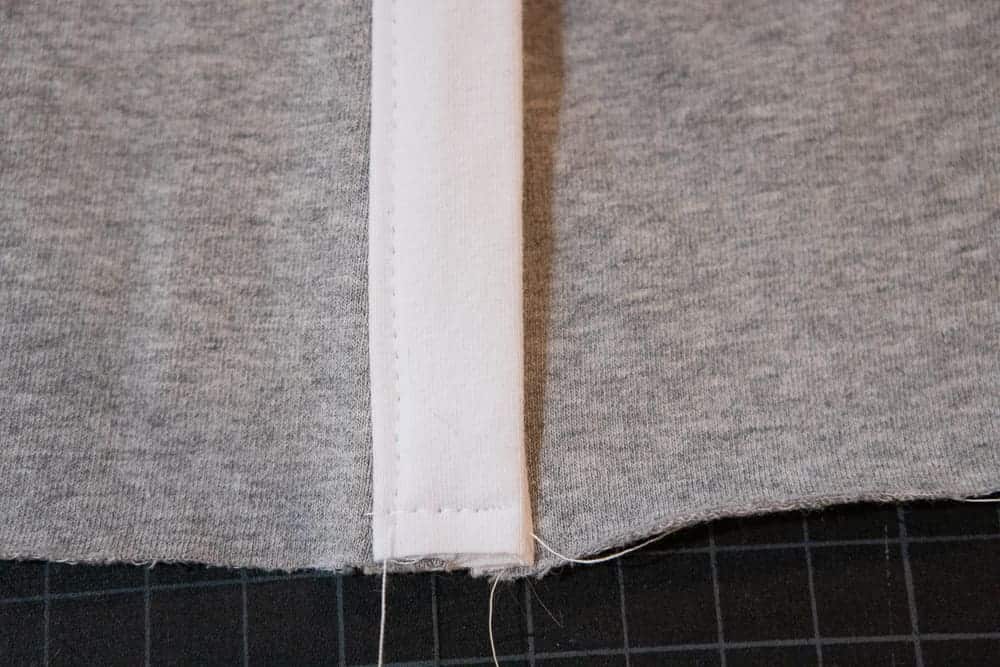
I seem to have missed a picture of this next step, but it’s simple enough. Press the placket away from the body of the pullover, the seam allowance should be towards the placket. Now, folding the placket in half, fold it towards the wrong sides of pullover so that the folded edge of the placket lines up with the seam sewn to attach it. All of the raw edges should be enclosed. Topstitch the placket in place.
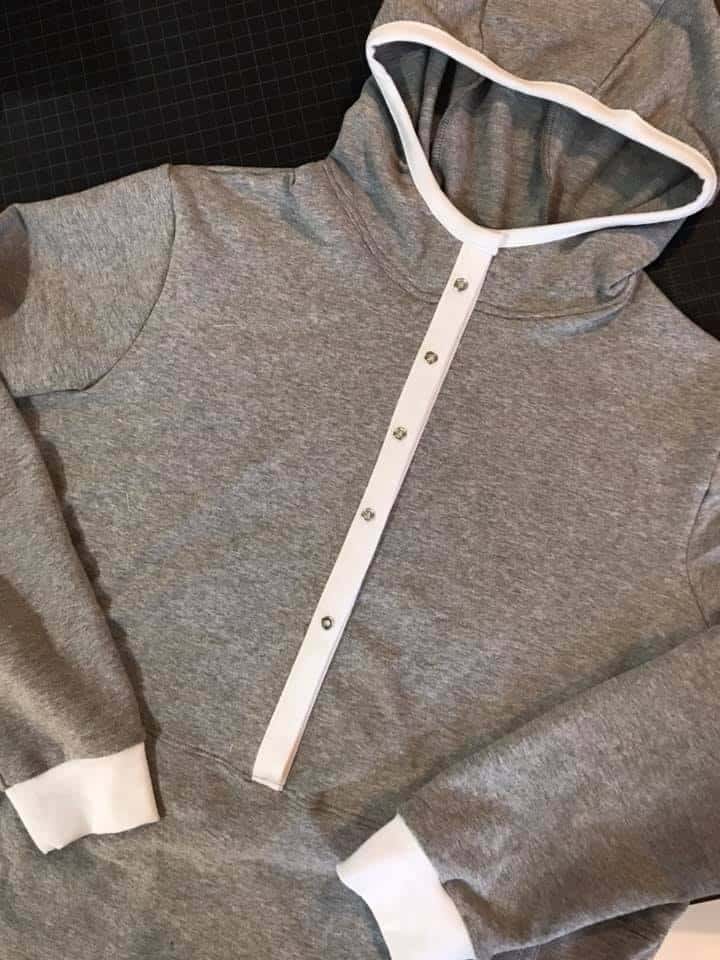
Repeat with the other side. Place one placket on top of the other and baste together. For girls and ladies, the left side (button side) is on the bottom, for boys and men, the right side (button side) is on the bottom.
Now you can either attach your collar or hood lining, or bind the raw edge of it as explained on day two.
Fold over elastic (FOE)
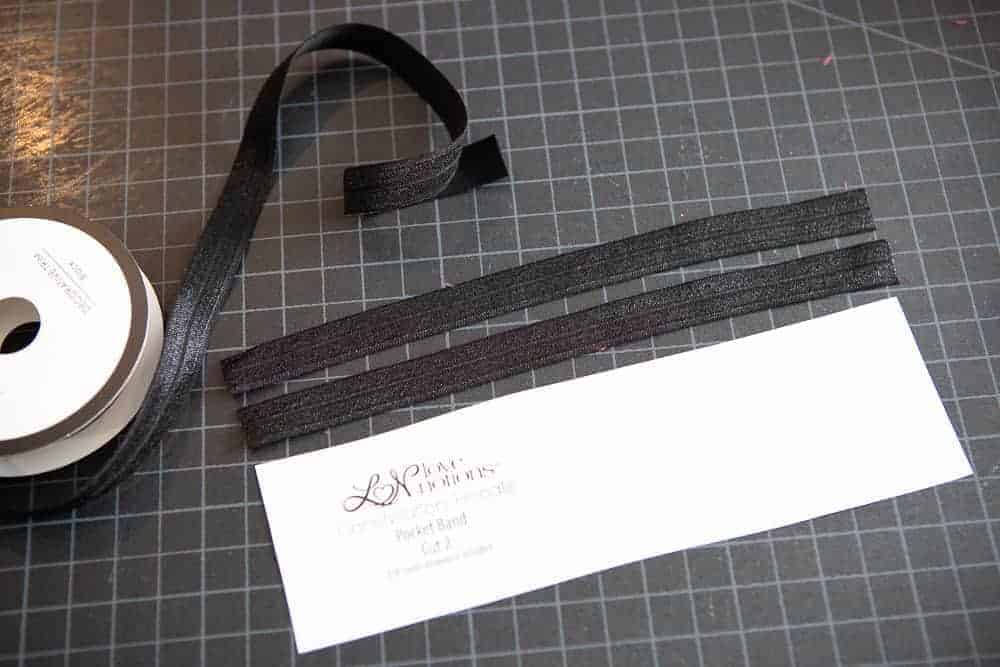
Another option for finishing off the pockets and hems is fold over elastic, or FOE. It’s a bit trickier to work with, but with some patience, you can do it! And the results are beautiful!
Use your pocket binding piece or cuff piece to determine how long to cut your FOE.
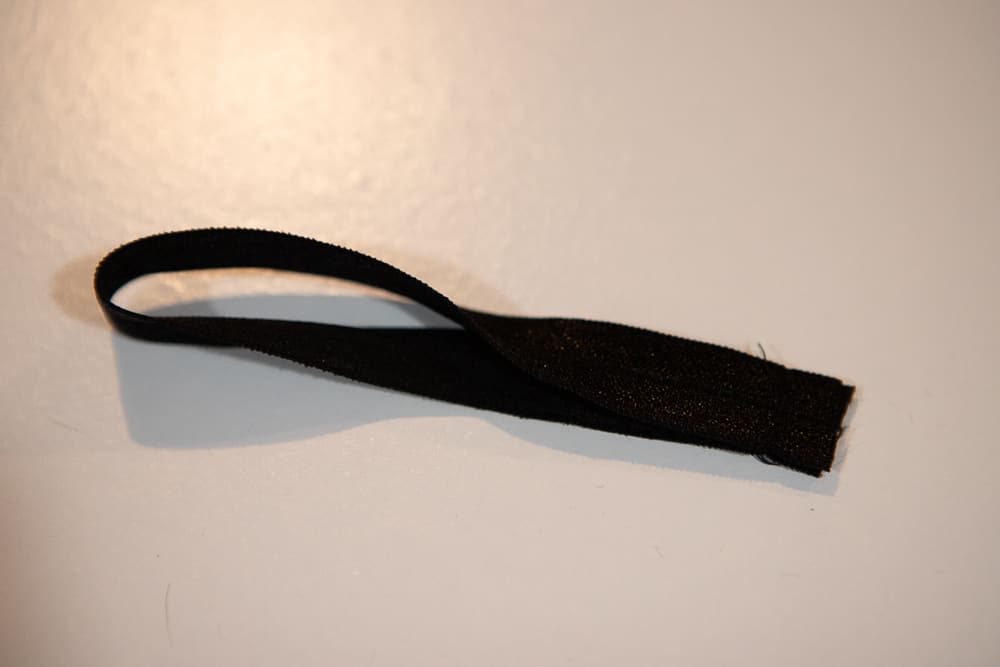
For the cuff, sew the ends of the FOE right sides together.
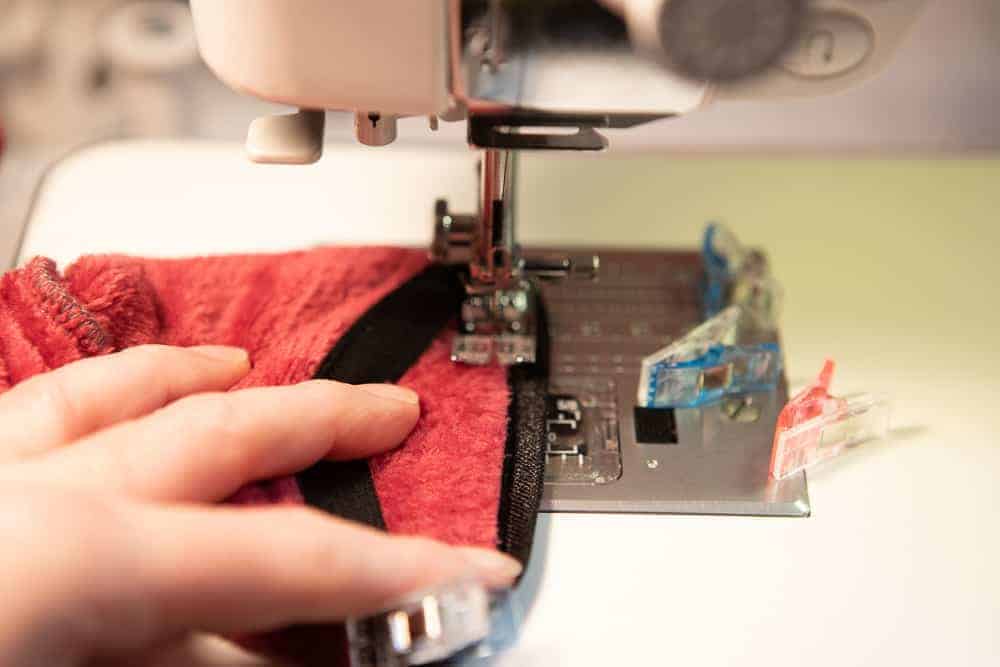
Now, place the WRONG side of the elastic on the WRONG side of your sleeve. Line up the edge of the fabric with the center of the FOE. You can see a line in the weave of the FOE in the center. Use that as your guide. Stitch in place. Now, you can use a zig zag stitch, but I prefer a straight stitch. Stretch the FOE as you go. Once you are done sewing, it will relax back into shape. But since you sewed it stretched out, the stitches have room to stretch as needed.
Wrap the FOE to the right side of the sleeve and stitch into place. Again, you can use a zig zag stitch, but I used a straight stitch. Just stretch the elastic out as you go.
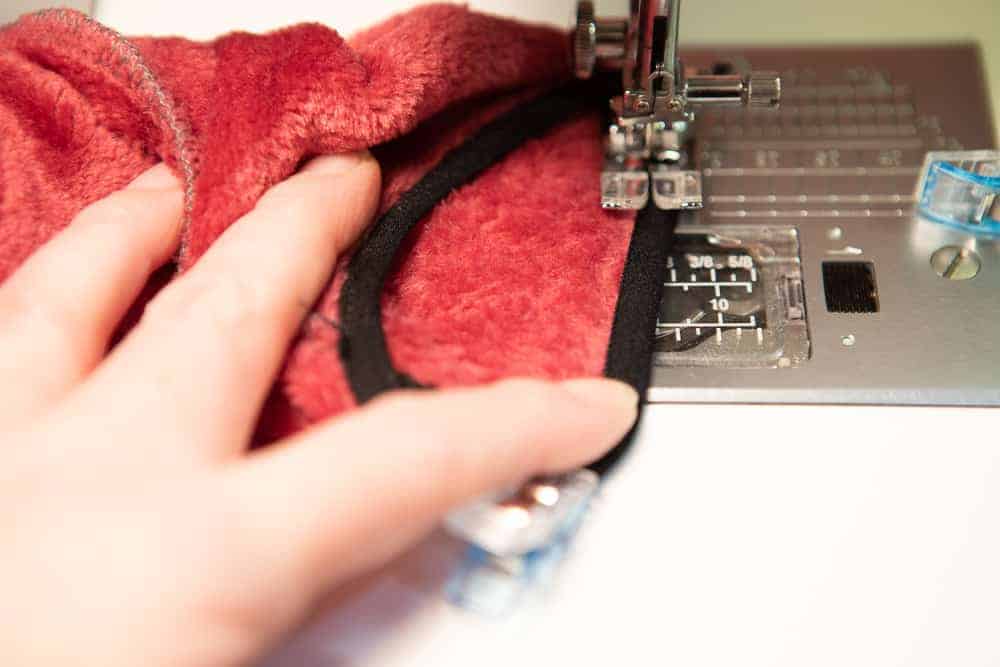
Use the same process for the sleeve bands. Attached to the wrong side, stitch in place and then wrap around to the front. Beautifully finished hems and pockets!

Love sewing with friends?
Grab your pattern of choice, Navigator, Constellation or North Star, or sew all three, and join us while we sew a little each day, and learn some hacks to make your patterns go even farther! If you love sewing along with a group, be sure to join our Facebook Support Group where I will have live videos and you can see what others are sewing up as we go through the week! We will also have some prize give aways! Simply by Ti is our sponsor and the Sew Along winner will win a $20 gift certificate to the Simply by Ti shop and a gift certificate for the Love Notions shop!!