It’s pocket construction day on the Pullover Sew Along. Today, we will be assembling the pockets and attaching our sleeves. Yesterday, we tackled our zipper and learned out to turn our pullovers into jackets with a full length zipper. You can see that post here. Today, we are going to learn how to shorten the zipper to sew a quarter zip pullover. I also have a fun pocket option for you! Let’s get started!

Assembling the pockets
The pocket bands do best with a fabric with a nice amount of stretch with great recovery. Cotton lycra and good quality ribbing are great for this. You can use other fabrics like double brushed poly or rayon spandex, but you may have to shorten the pocket band a bit. Just check the length by pinning the center and ends before sewing. You want to have to stretch the band a bit to get it to fit the curve of the pocket. This helps the pocket lay flat.
After your pockets bands are sewn, baste the pocket to the pocket lining and then attach the pocket to the upper portion of your pullover. I suggest you sew this step with your regular sewing machine first. Go slowly over the zipper! If you have used a zipper with metal teeth, you will need to use a pair of pliers and remove the teeth from the seam allowance before sewing the front together. Now, you can take your pullover to your serger if you like. Remember, still take your time going over the zipper! If you haven’t already done so, make sure you trim your zipper before running it through your serger.
Your final step for today is to sew on your sleeves. If you are new to sewing garments, this video is great for learning how to attach a sleeve.
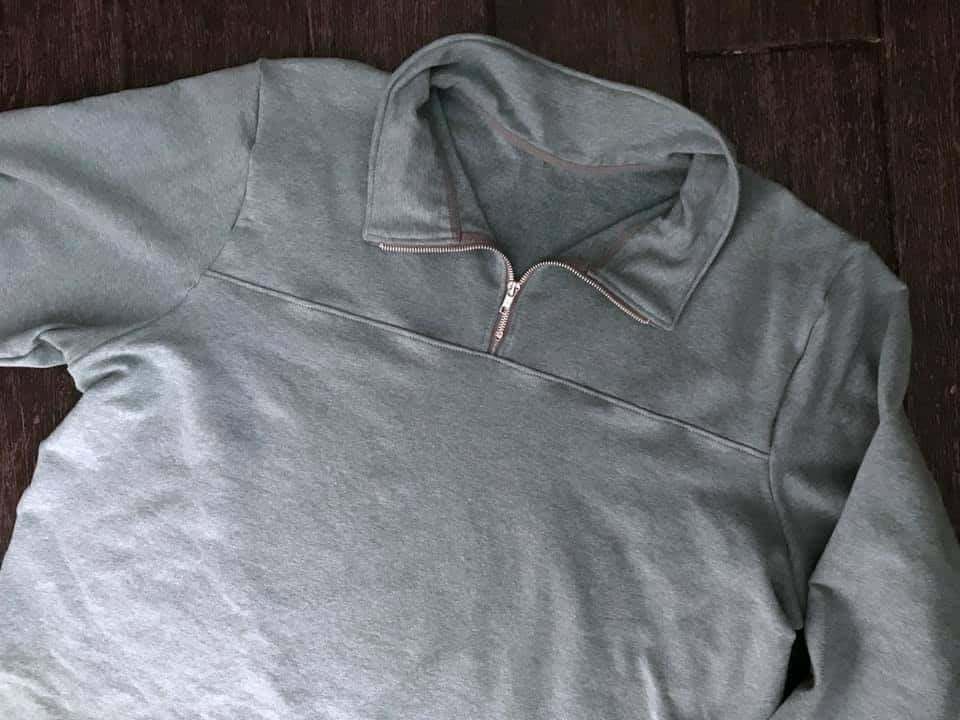
Quarter Zip Hack
Besides lengthening the zipper, the next most asked question has to be, “How can I shorten the zipper so it’s a quarter zip pullover?” Well, it’s easier than it sounds!
Let’s start with the top portion of the quarter zip pullover. Look at your pattern piece and determine how long of a zipper you would like to use. I really wanted to use this metal zipper, so I used it to determine my exact length. If you wish to figure out if a specific zipper is long enough, mark the seam line on the neckline and collar and overlap the pattern pieces aligning the seam line. Then, place the zipper next to the pattern pieces and mark where you want the seam of the bodice to be. My goal was for it to be about halfway down the armscye, and I was in luck! The zipper fit! Draw a line where you would like the seam to be. Now you need to add your seam allowance. Draw a line 3/8″ below it. This is where you will fold back your pattern piece to cut the upper (zipper) portion of the front. Now draw a line 3/8″ above the seam line. This will be where you cut your lower portion of the front.
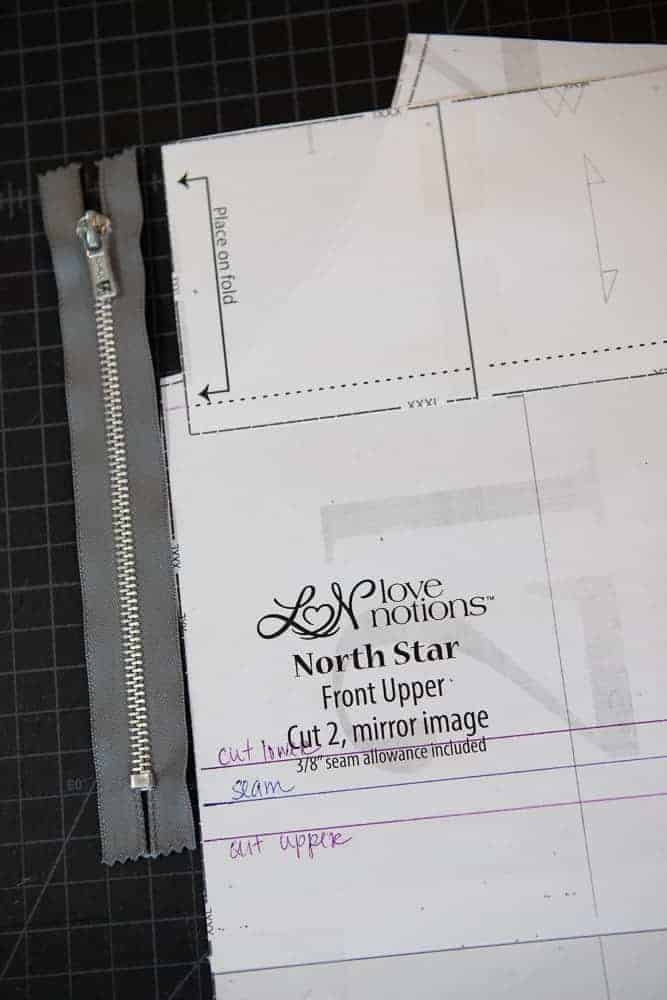
Cut 2 of the front upper, just like the pattern instructs. Only this time, you will be cutting on the line you created.
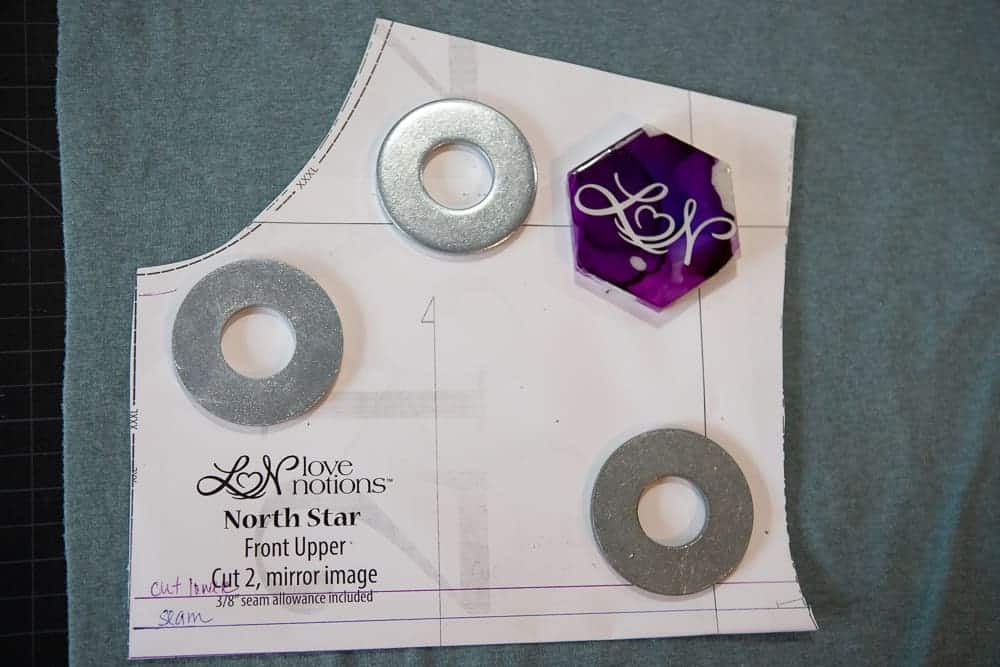
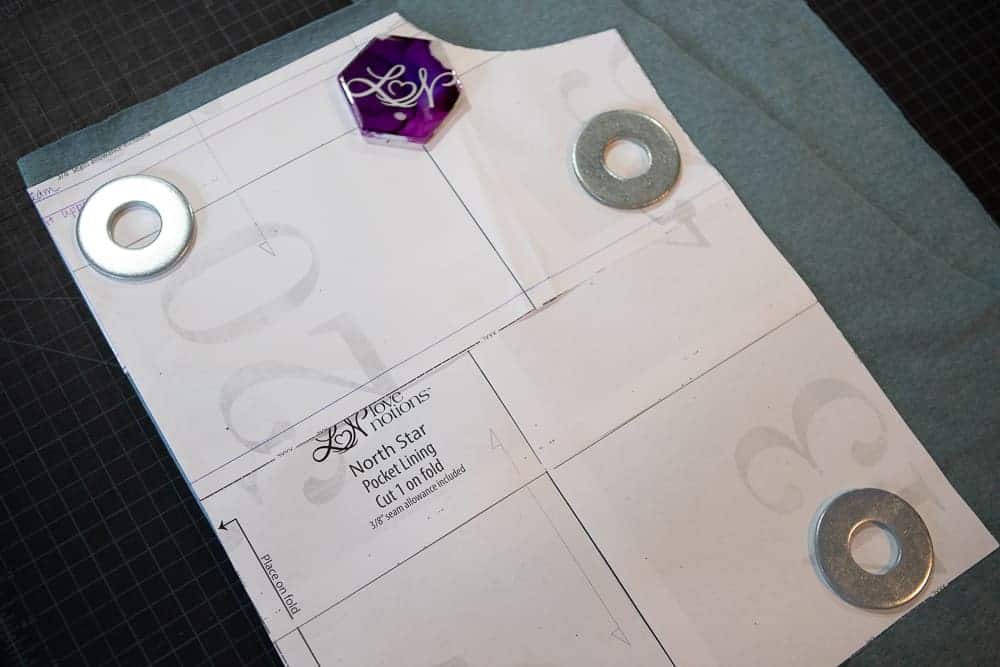
Now you need the pocket lining piece. Draw your seam line 3/8″ from the top of the pattern piece. You also want to draw the seam line on the bottom of the front upper piece. Also draw in the seam allowance on the center of the upper front. Tape together the pocket lining and the upper front, line up the side seam and overlap the pattern pieces so the seam line match up.
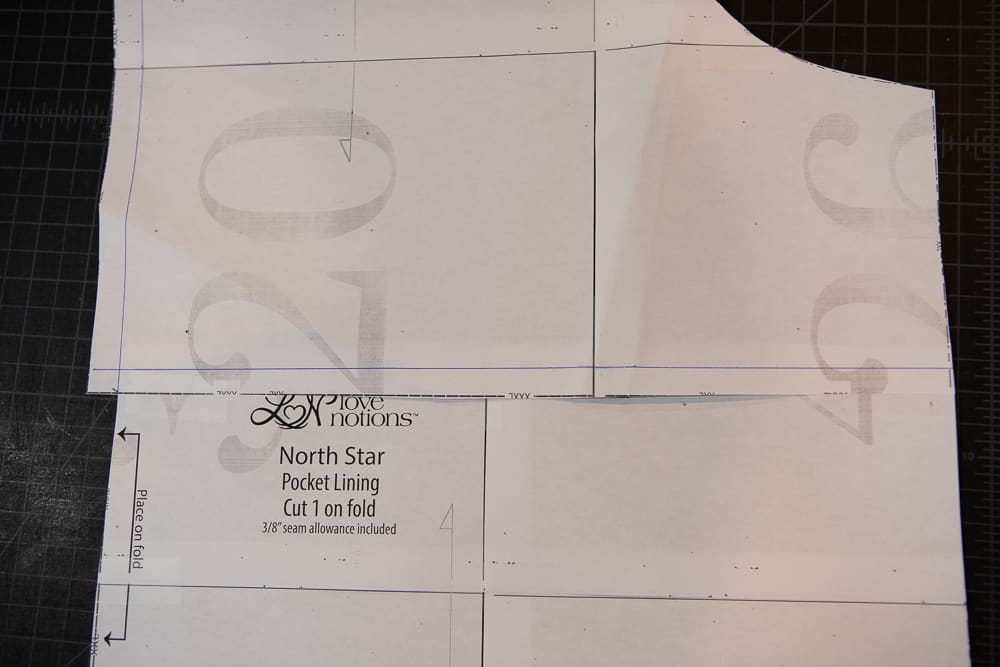
Fold back the seam allowance for the zipper section and fold back the upper front along the line we drew earlier. Cut the lower front piece on the fold.
That’s all there is to it! Follow the pattern directions for assembly just as before. You’ll notice that we omit the pocket doing this. Just skip the the pocket assembly section and attach the new lower front piece to the upper front when instructed. But what if you still want a pocket? Well, I have a new design for you!
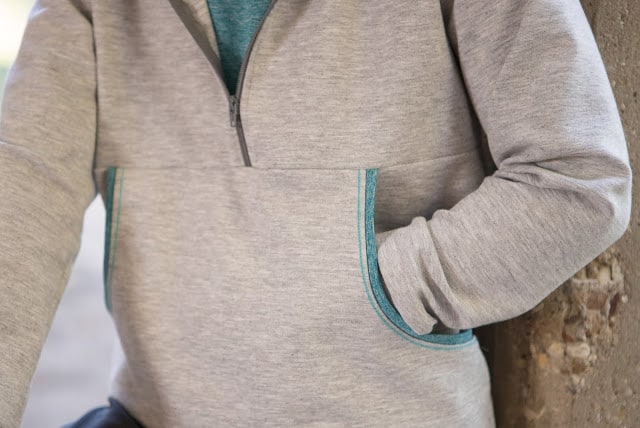
Faux inset pockets
I am in complete love with the design of these pockets! I definitely plan to use them on a future boy pattern! Grab your pocket panel piece and let’s do this. If you did the quarter zip hack above, you want the adjusted pocket panel.
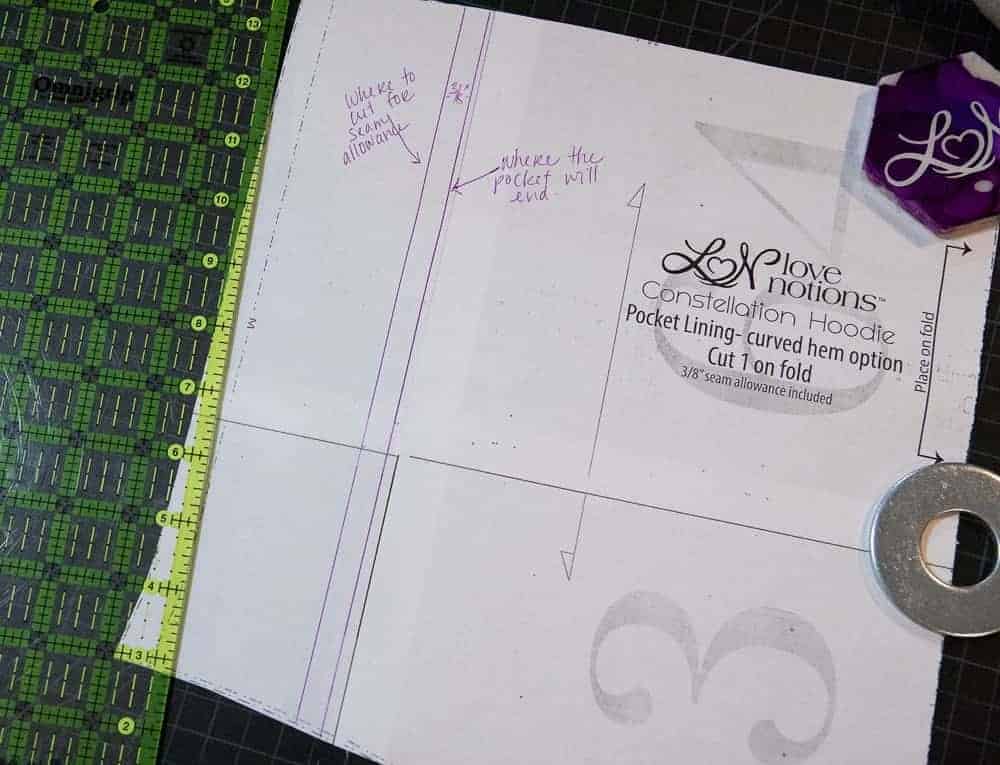
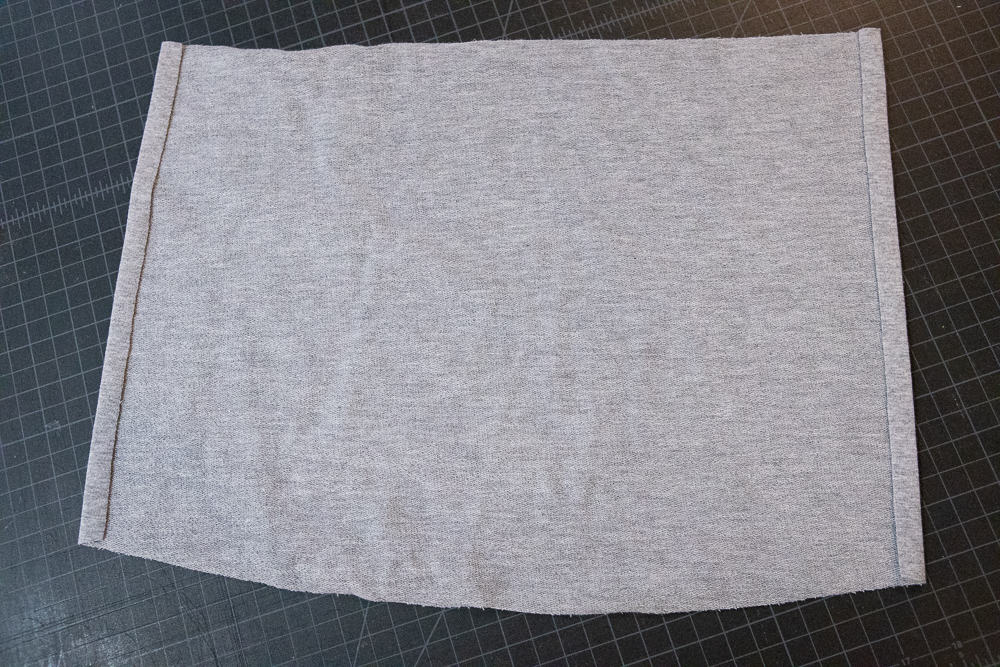
Mark on the pattern piece how far in from the side seams you would like your pockets. I wanted mine about 3ish inches from the side. (This is a lady’s large.) Mark a line. Now, add 3/8″ to the outside of the line for hemming allowance.
Cut out your pocket piece on the fold. Now press the outside edges under 3/8″ to the wrong side.
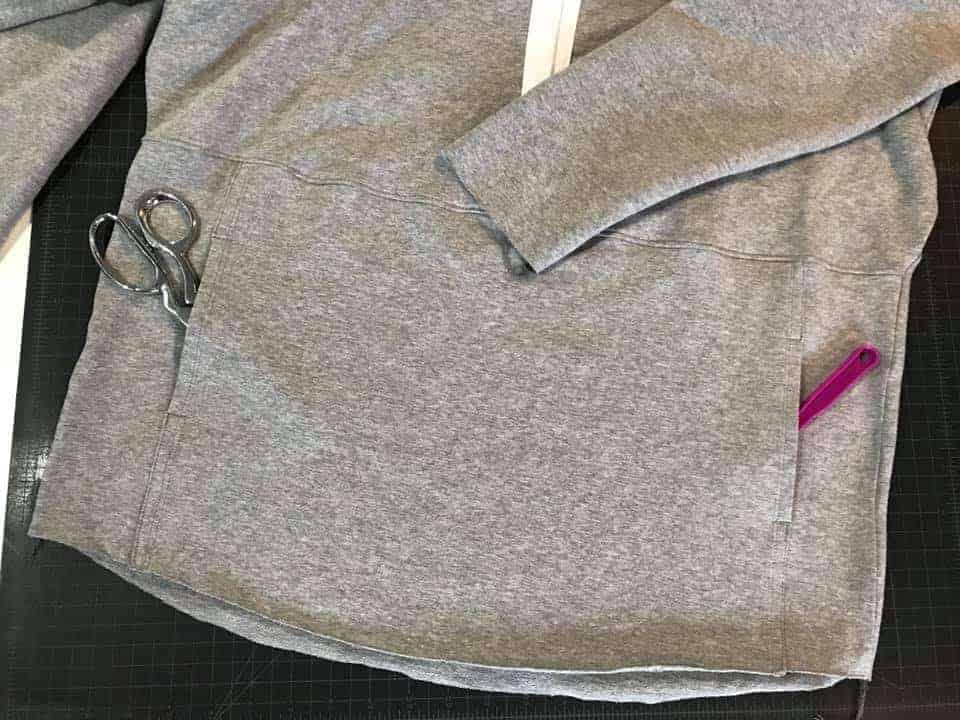
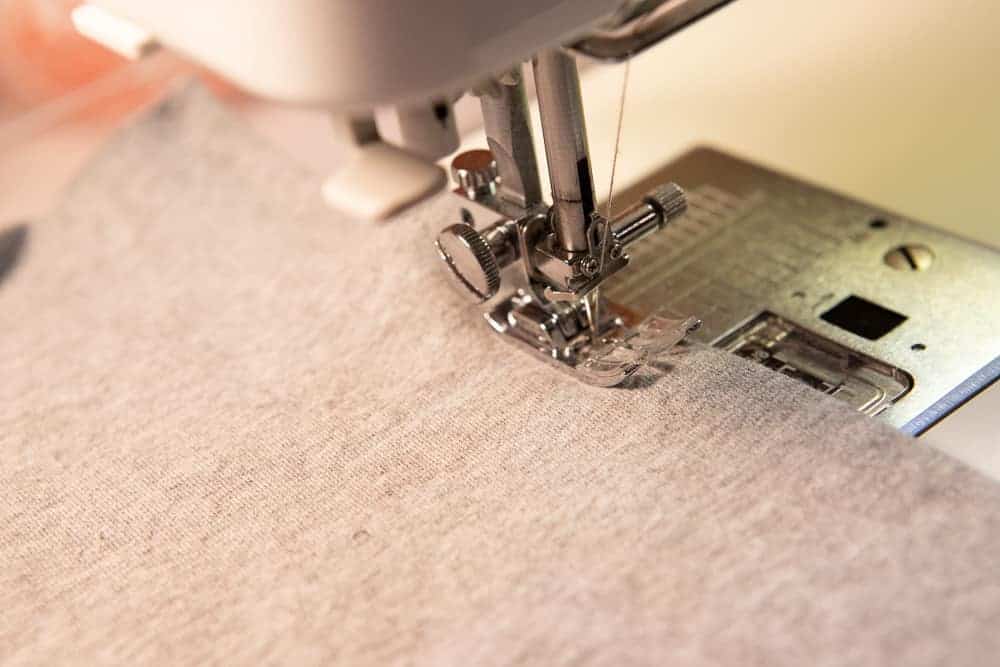
Topstitch in place. I did two rows of stitching. Not to be fancy, but because I had the raw edge slip out of alignment a bit at times and I was too lazy to seam rip and start again. In hindsight, some hemming tape would have held those edges in place nicely, but I do really like how the double rows of stitching looks.
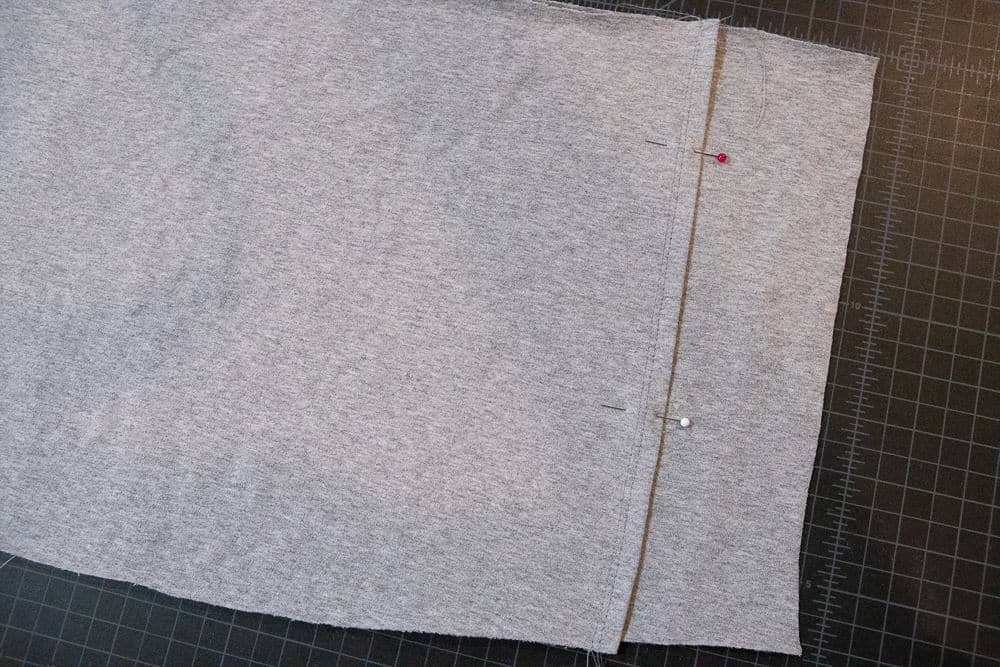
Place your pocket on top of the pocket lining piece. Determine how large you want the pocket openings and where you would like them to sit. Remember to take the hem into account if you are hemming. Mine are about 4″ from the bottom and 5″ tall. Use pins to mark where your pocket opening will be. If you will be pinning the entire pocket in place, use a set of double pins to distinguish the pocket.
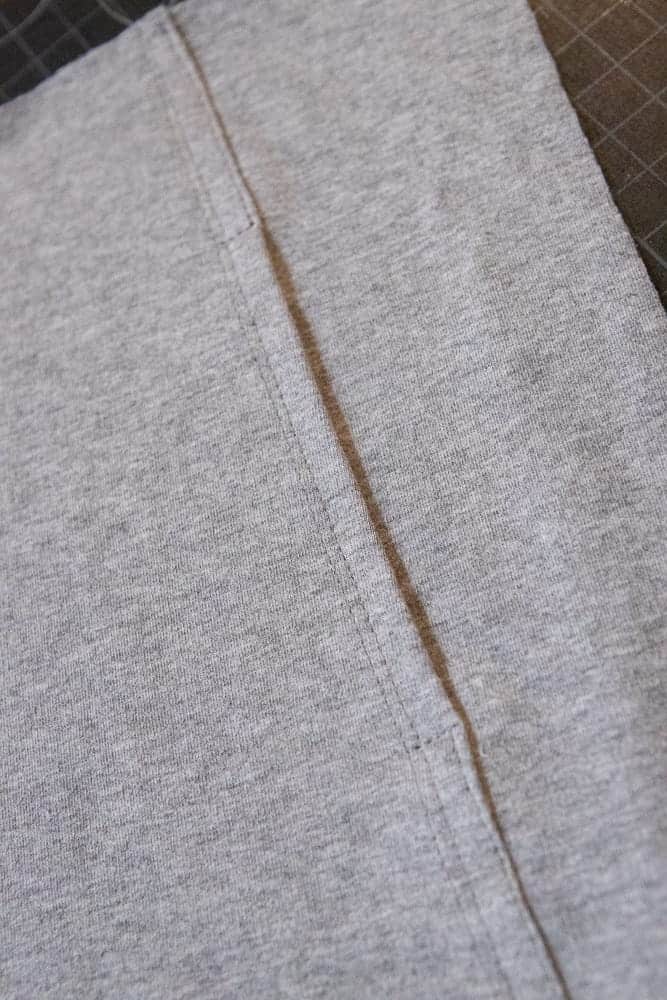
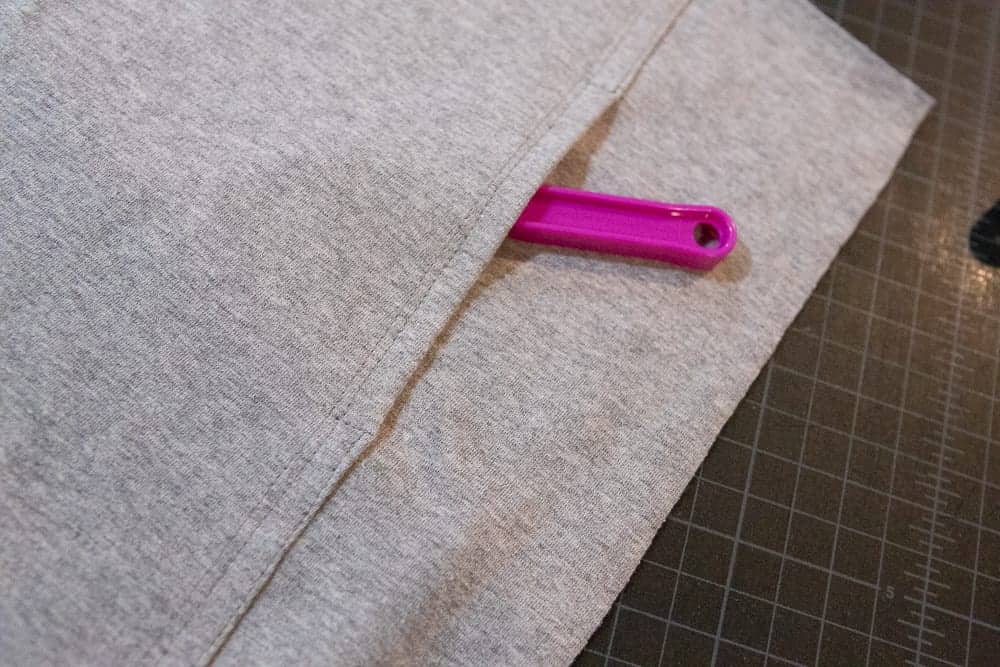
Edgestitch the pocket in place. When you get to your pocket opening, backstitch and then create a bar tack to prevent your pocket from pulling free. I actually just turned a 90º corner and stitch till the topstitching.
Baste the top and bottom of the pocket to the pocket lining and then continue with the rest of the pullover constructions per the pattern instructions.
Love sewing with friends?
Grab your pattern of choice, Navigator, Constellation or North Star, or sew all three, and join us while we sew a little each day, and learn some hacks to make your patterns go even farther! If you love sewing along with a group, be sure to join our Facebook Support Group where I will have live videos and you can see what others are sewing up as we go through the week! We will also have some prize give aways! Simply by Ti is our sponsor and the Sew Along winner will win a $20 gift certificate to the Simply by Ti shop and a gift certificate for the Love Notions shop!!