

Resolution Sew Along Day 3
We are moving right along with our Resolution Sew Along. Yesterday, we went over sewing the pockets. Today, on day 3, we will be constructing the body of our pants. We are also going to look at constructing the moto panel option.

The first step in constructing the main portion of the Resolution Bottoms is to sew the side seams. Place front and back right sides together and sew the side seam.
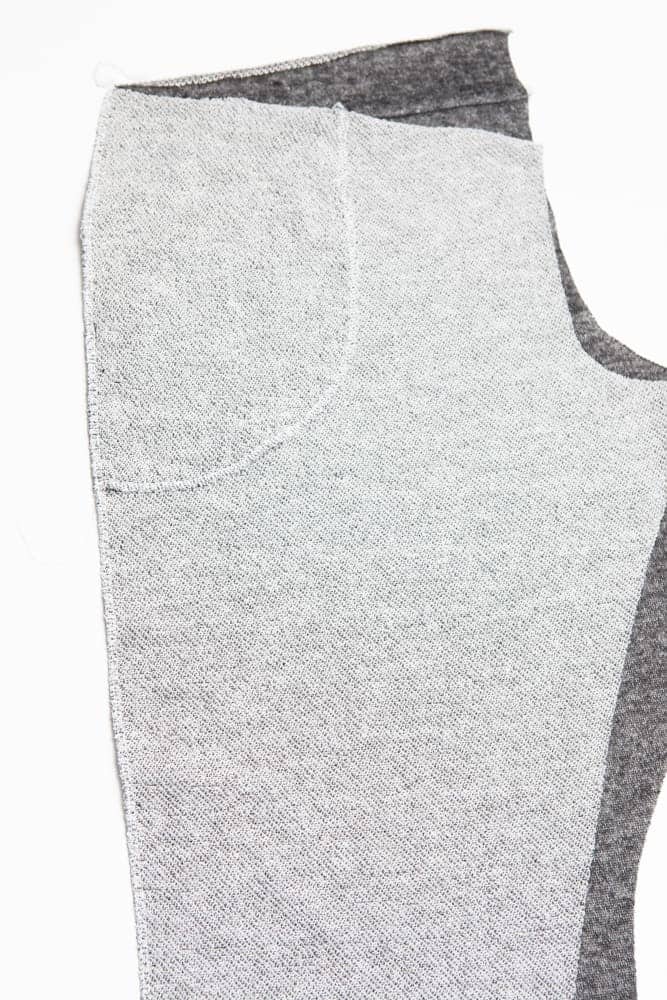
Once again, we will be pressing as we go. I like to make sure I press this seam well. That takes care of any waviness that sometimes happens when sewing knits. I first press my seam wrong side up, pressing the seam allowance towards the back. Then, I flip the pants right side up and press the seam again. If you haven’t noticed, I press a LOT when I sew. Not sew much for laundry, but while I sew, I press every step of the way.
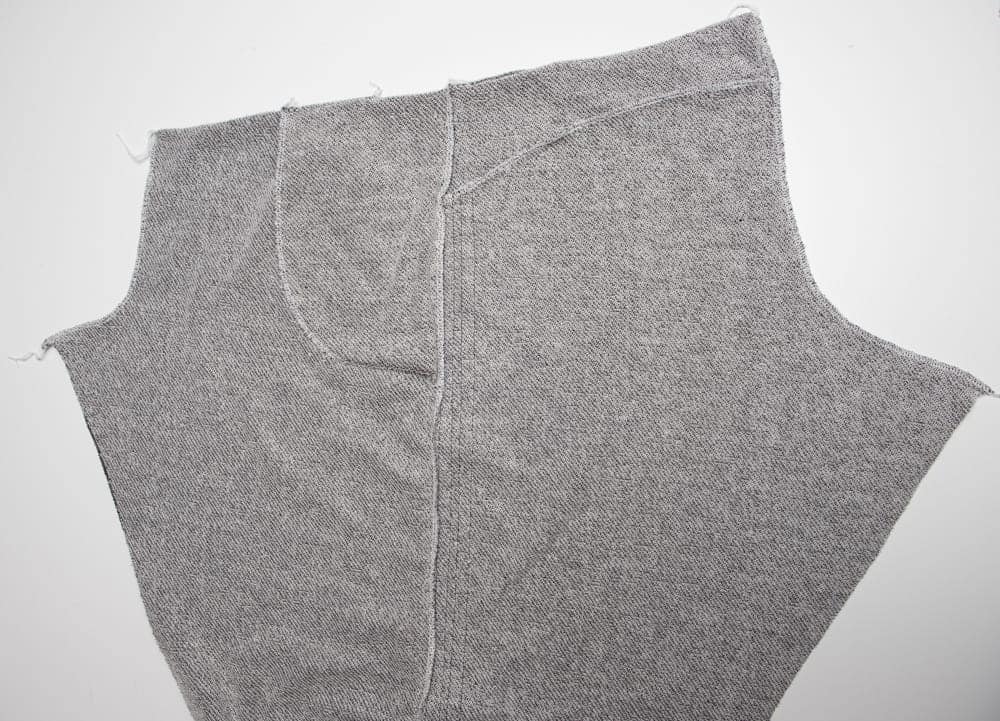
We have the great yoke detail, so let’s make sure the yokes line up well on the back seam. Carefully line up your seams and pin. Now baste just an inch or so on either side of the seam then check to make sure everything stayed in place. If things didn’t line up, at least you are only removing a couple inches of stitches. (The top is actually lined up, but the left side is curled under since that portion of the seam isn’t sewn yet.)

After you have the back rise basted and checked that the yoke seams line up, place the left and right legs right sides together and sew the front and back rise.
After the rise is sewn, rearrange the pants so that the front and back are right sides together and line up the inseam. Then sew the inseam. Now, I know it’s super tempting to try on your pants at this point. Don’t. Without the waistband on they won’t fit properly. So, just don’t. You risk stretching out the top seam and then getting frustrated because the pants are most likely too big. That’s because the waistband will be pulling everything together. However, we will work on that tomorrow.
Sewing a moto panel
The moto leggings are SUCH a fun option in the Resolution Bottoms pattern. If you are intimidated with sewing a moto panel, don’t be! It’s super easy!! First, we need to mark our fabric. If you need some tips for marking fabric, you should check out this post.
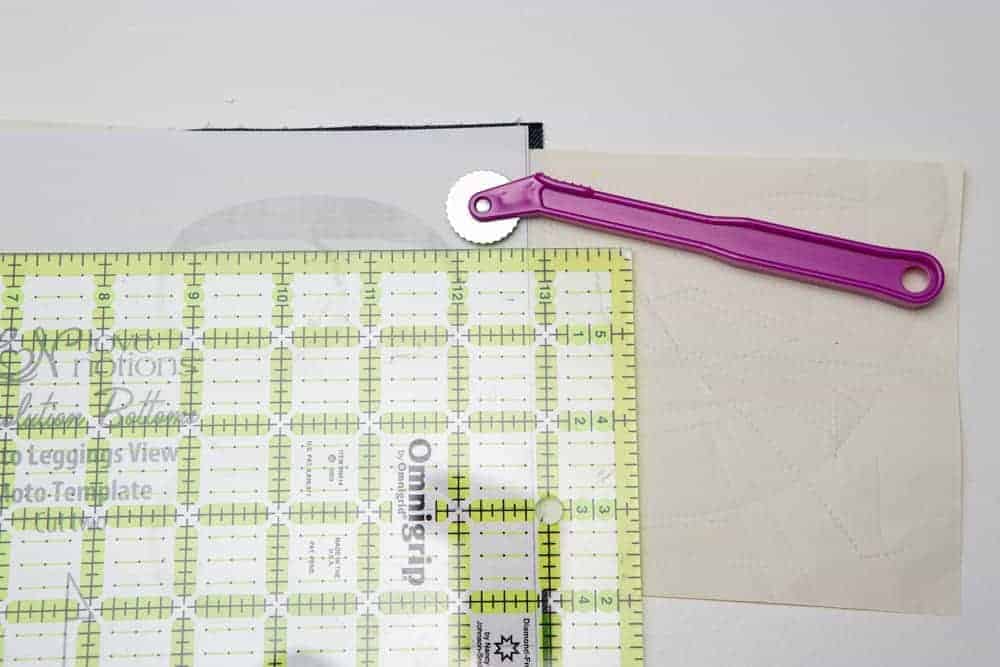
Now, I pulled out a few options to show you different techniques for transferring the template marks to your fabric. A tracing wheel and chalk paper, chalk pencil, tailor’s chalk, a fun mechanical chalk pencil, and a boning tool were the best options for the dark fabric I used for the demo.

The easiest way to mark the panels, in my opinion, is the tracing wheel and paper. Simply slide the chalk paper between the template and your fabric with the chalk side down, and using a ruler as a straight edge, run the tracing wheel along each fold marking. It’s quick and easy and the chalk paper’s come in a variety of colors.
If you don’t have a tracing wheel, any marking method that is easily removable is good. I used chalks because my fabric is dark. Slide the template over and make a mark at each line. Do this on both edges of the fabric. Then, place a quilter’s ruler between the marks and use your chalk to draw the line.

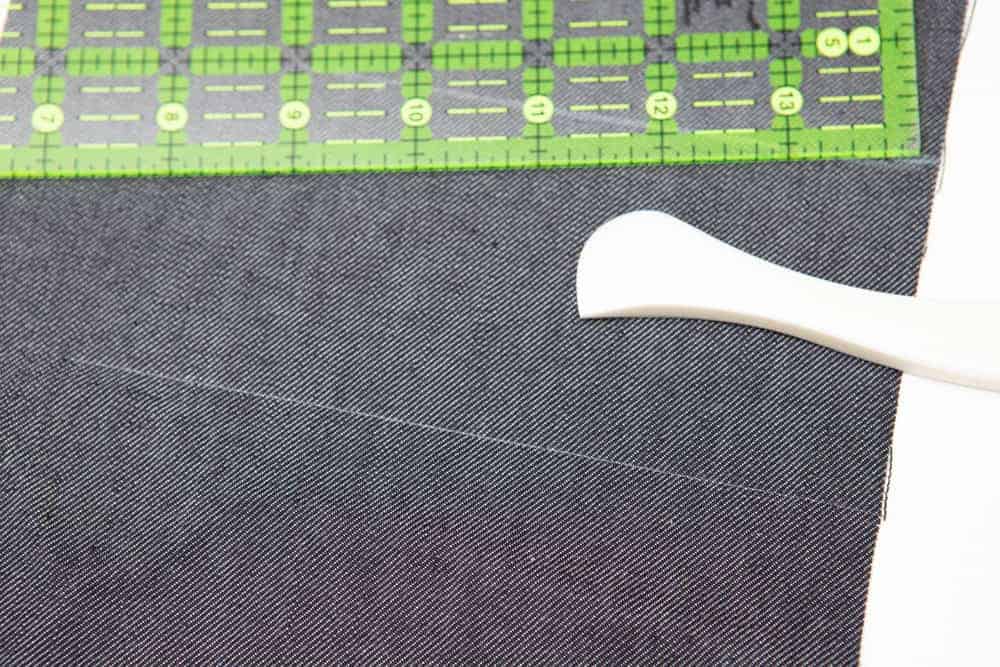
A boning tool is a neat item to have in your sewing box. You use it just like a pencil. Press hard and it leaves a mark on your fabric by creasing the fibers. Place the template piece on top of your fabric, and using a ruler as a guide, trace the marking line of your template.
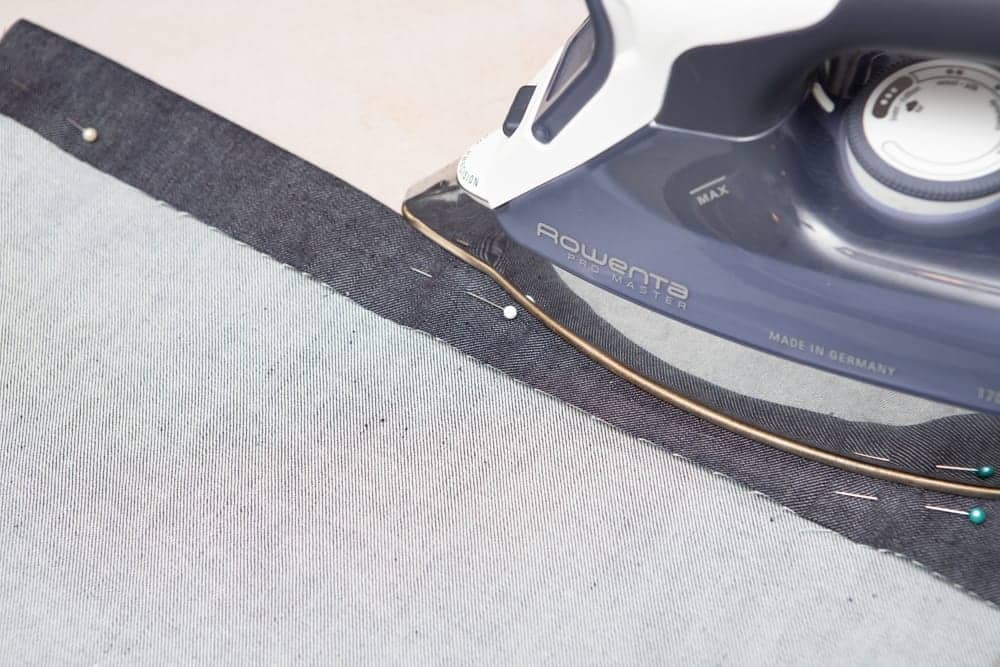
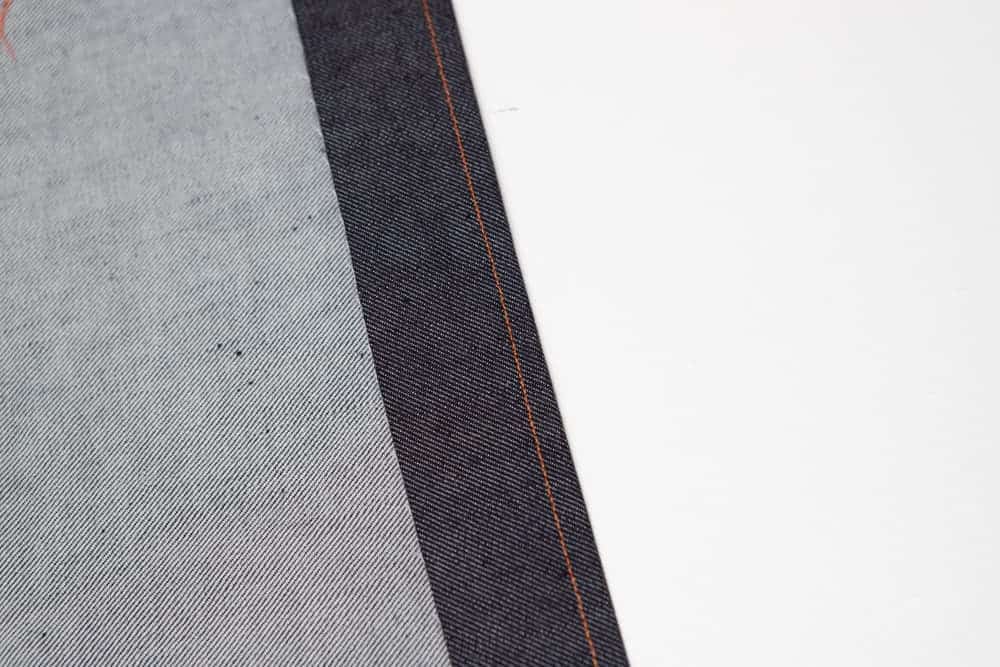
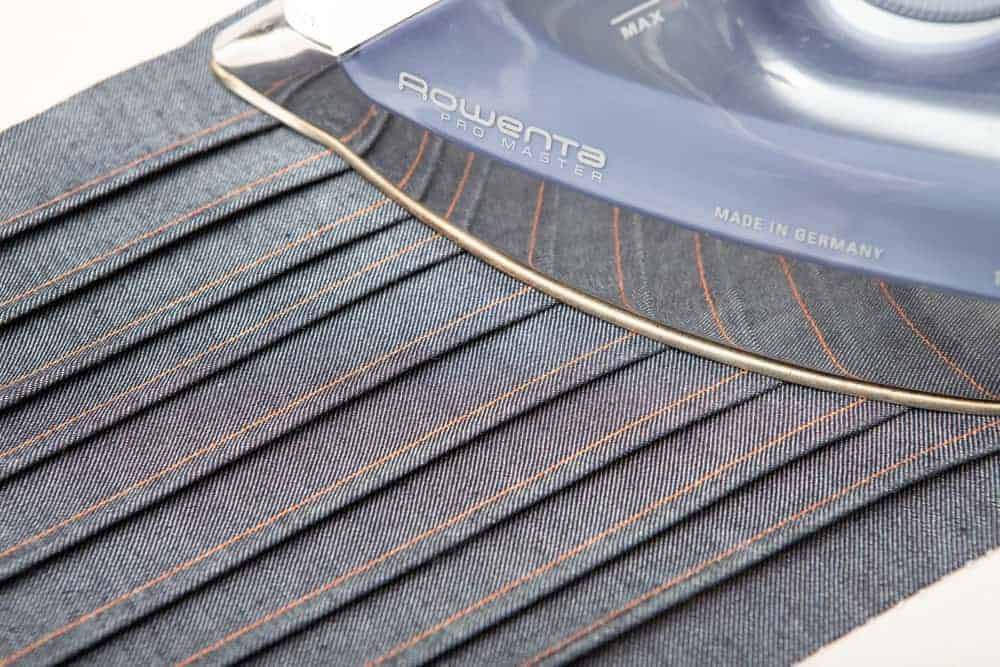
After all of the lines are transferred, it’s time to sew. Fold the fabric wrong sides together along the line and then topstitch in place with a 1/4″ seam. I prefer to press before I sew. It helps keep everything in place.
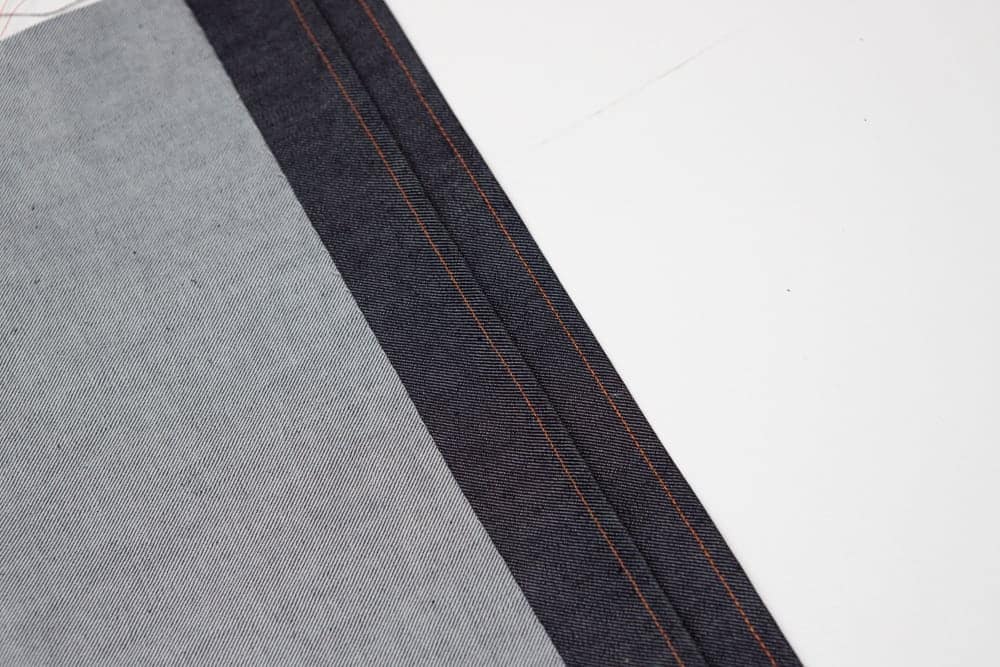
After you sew your seam, press the pintuck. It doesn’t matter which direction you press it, just remember to press all the pintucks in the same direction.
And then repeat. Fold, press, sew, press. Fold, press, sew, press. Over and over again.
Before you know it, you will have a beautiful moto panel.
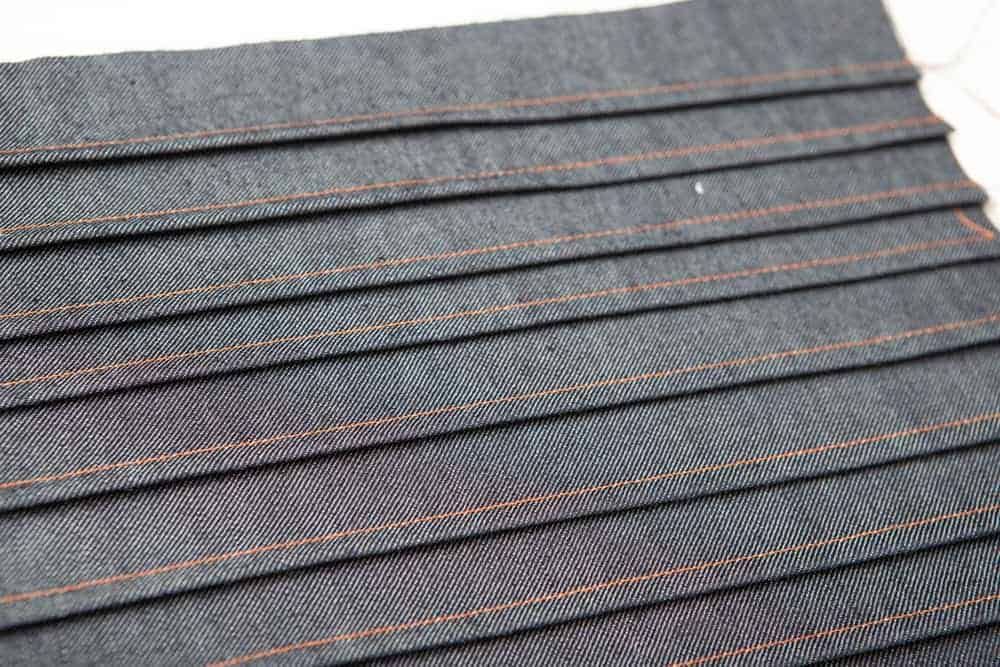
After all the pintucks are sewn, give your panel one last press before cutting out the moto panel piece from the Resolution pattern.
That’s all for today! Meet me back here tomorrow for day four! We will be talking about the differences between the contour waistband and the yoga waistband. I will also show you how to sew elastic into a seam for stability. It’s not as tricky as it sounds!
Just now joining us? You can find day 1 here and day 2 here.
If you haven’t picked up your copy of the Resolution Bottoms, use the code marchsal for 10% off.

