Whistler Sew Along: Day Two
Today we are going to start sewing our Whistlers! We will be assembling the shawl collar/ hood collar, depending on which view you are sewing up. I’m going to walk you through both. I also have a fun hack for you today! Keep reading to learn more!
Sewing the shawl collar
Sewing up the collar is just a matter of sewing a few seams. I’m going to share some tips with you as we go.
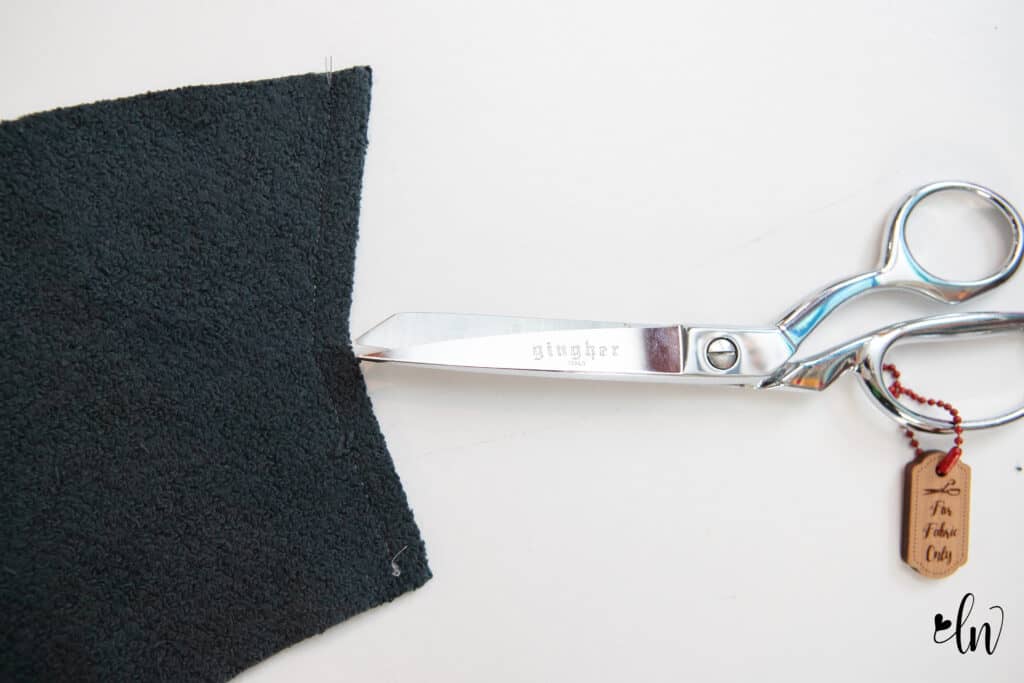
First, I do recommend that you assemble the shawl collar of the Whistler with your sewing machine. I know sergers are usually faster, but your sewing machine will provide less bulky seams. Sewing with your machine also allows you to clip into the seam allowance of the center seam. This will give the fabric the freedom it needs to take the shape that the center back seam creates. Clip at the angle, just to the seam, don’t clip through the seam you made. The scissors are pointing to where you want to clip.
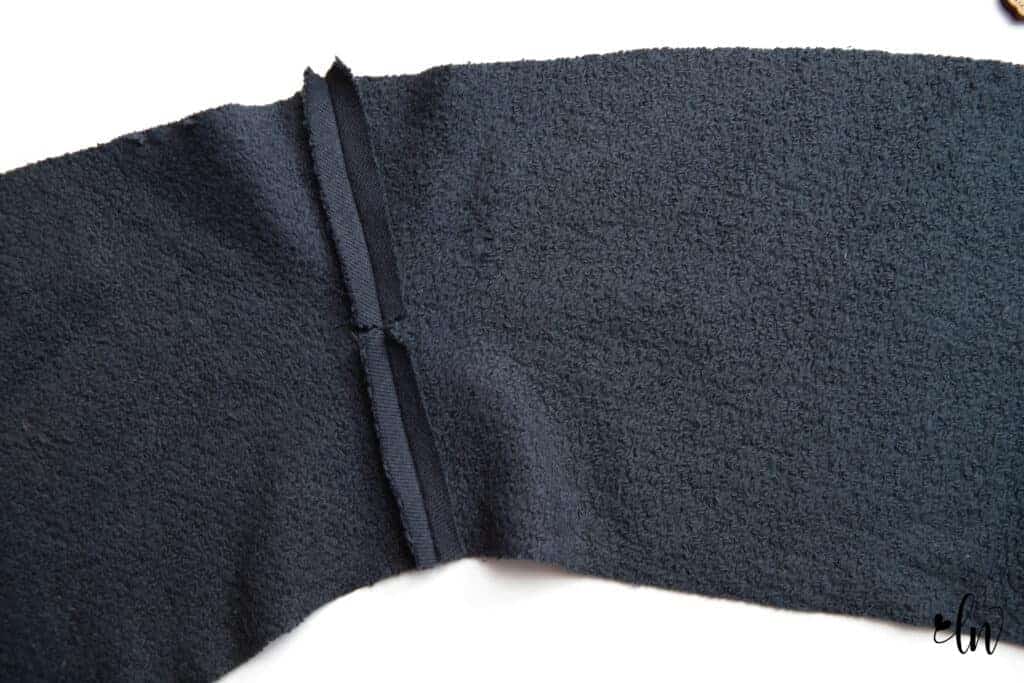
After you clip that seam allowance, press your seam open. This will reduce the bulk created by these seams overlapping.
The video below will walk you through constructing the shawl collar.
Sewing the hood
The Whistler Sweater has a non tradition hood construction that results in a beautiful overlapped front. The video below will walk you through how to assemble it.
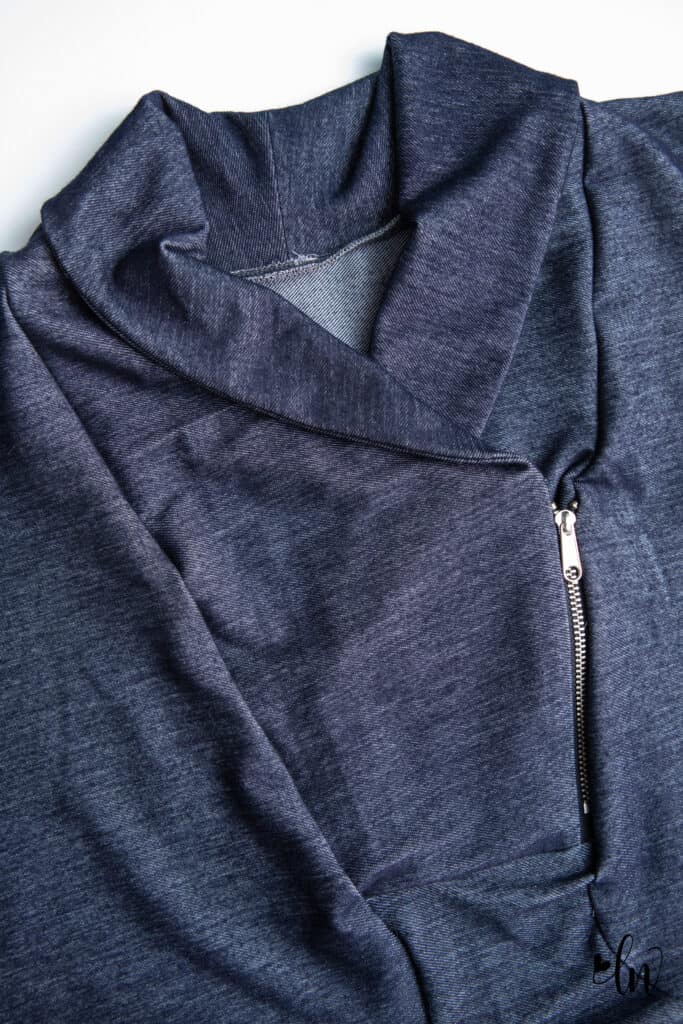
Zipper Hack

There is a super cute sweater on Amazon that I just had to recreate! The Whistler was the perfect starting point, all it needed was a zipper!
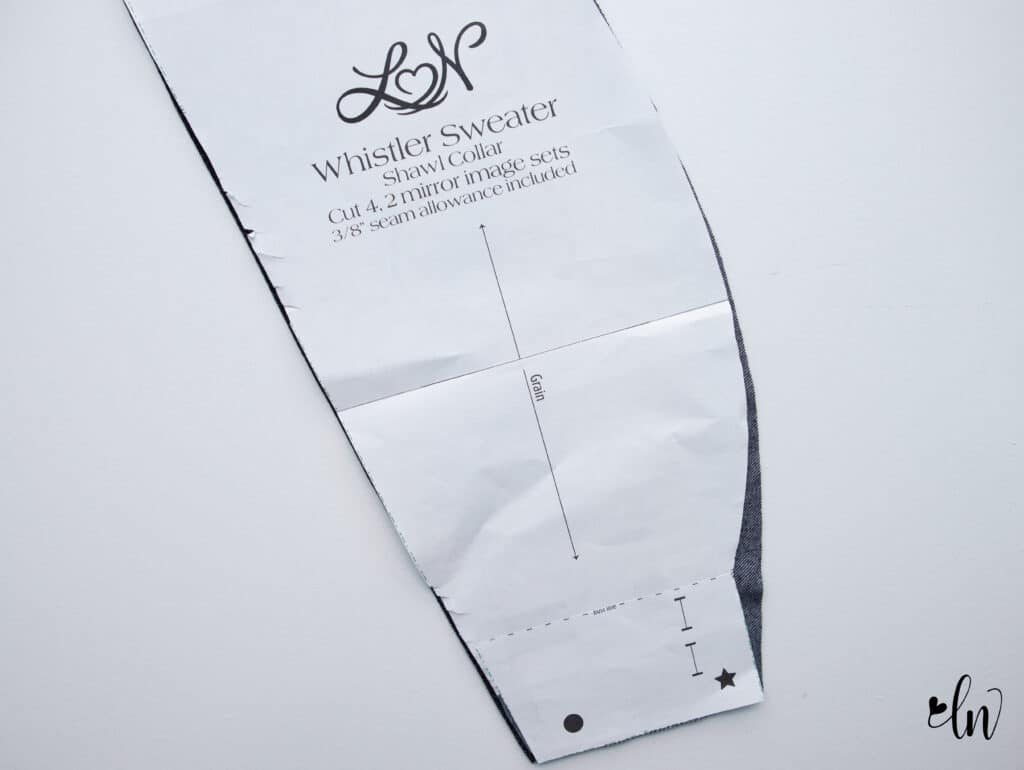
When you cut your collar, you will need to make a small adjustment at the bottom. Smooth out that little button area like the picture shows below. Just continue the curve down to the bottom of the collar piece.
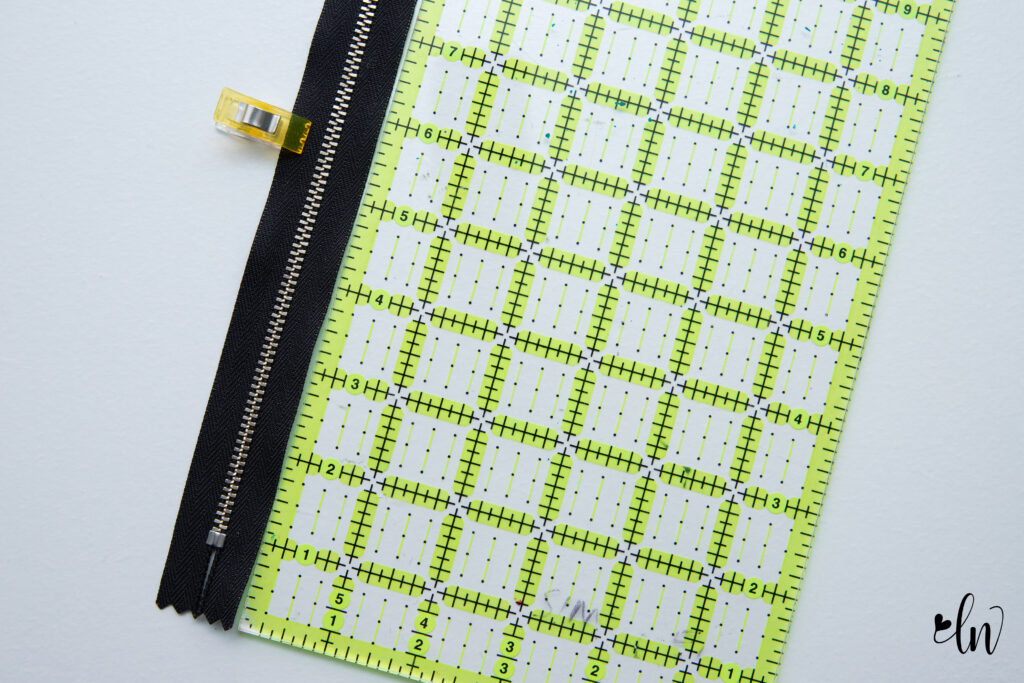
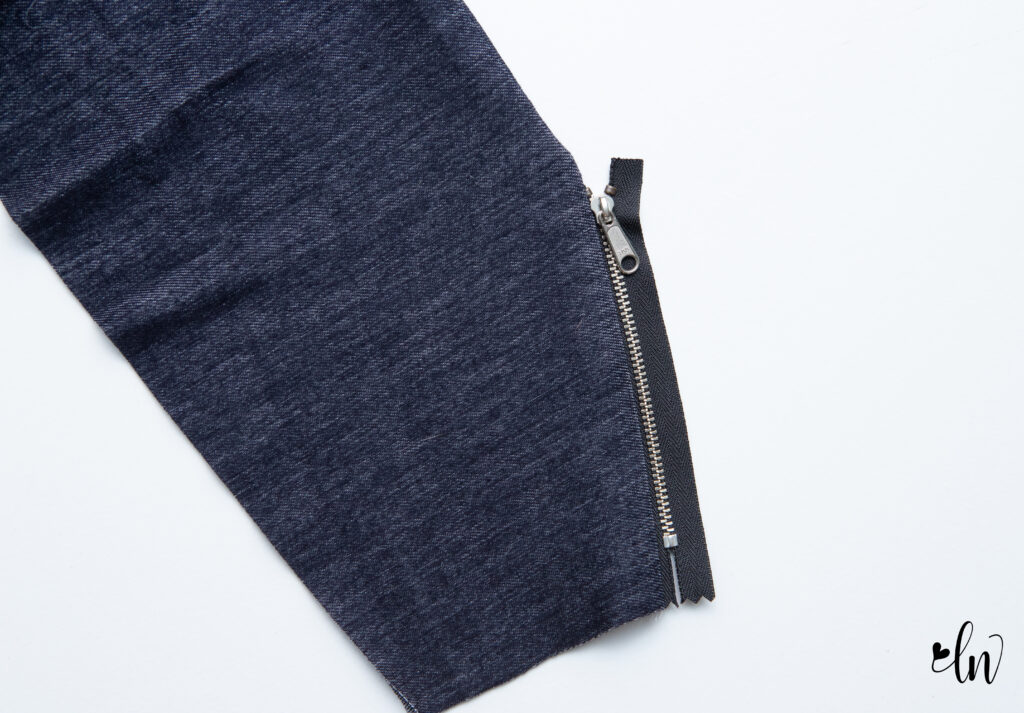
I used a zipper that is about 6″ long. If your zipper is longer, it’s pretty simple to shorten it. If you have a metal zipper, it will take a little bit of muscle, but it’s still doable!
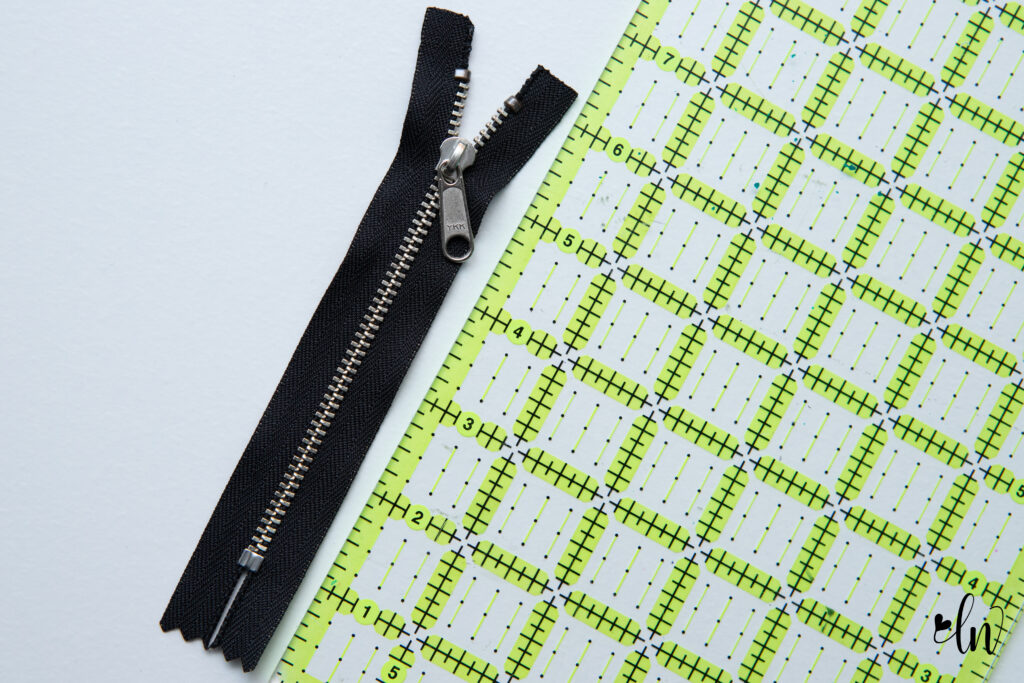
Measure how long you want your zipper to be. Pull the zipper pull BELOW this point.
Cut the zipper. If it’s metal, be sure to cut carefully between the zipper teeth. Use a lighter to seam the edges. (This only works with a polyester zipper!!!!) Just touch the flame LIGHTLY to the fabric.
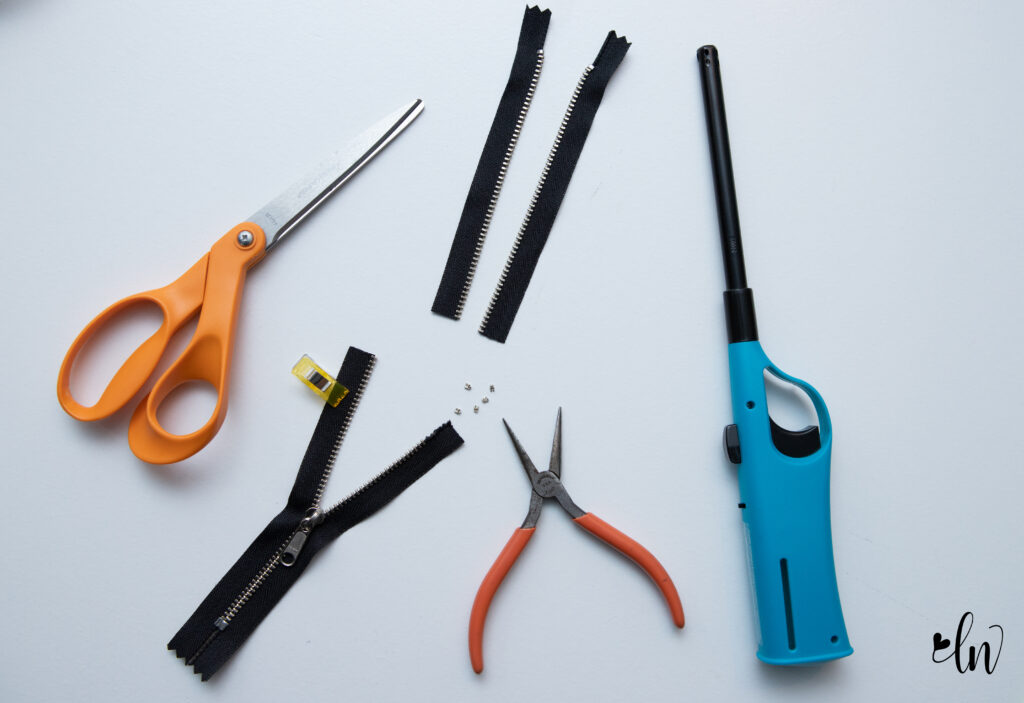
If you have a metal zipper, use some needle nose pliers to remove the teeth. (This is where the muscles come in.) Trim any stray fabric fibers that may have been pulled with some scissors. Then again, seal the edge with the lighter.
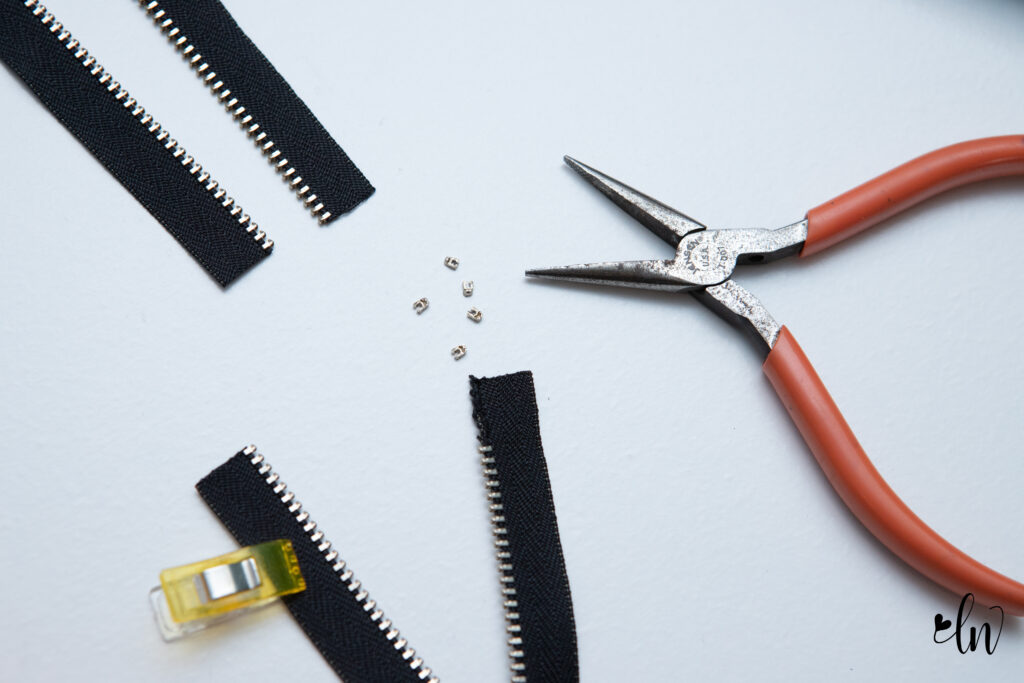
Add your zipper stops. If you don’t have zipper stops, you can whip stitch a few stitches above the zipper teeth on each side to act as a zipper stop. If you have a plastic zipper, you can just leave the extra teeth and add the zipper stop over the top of them.
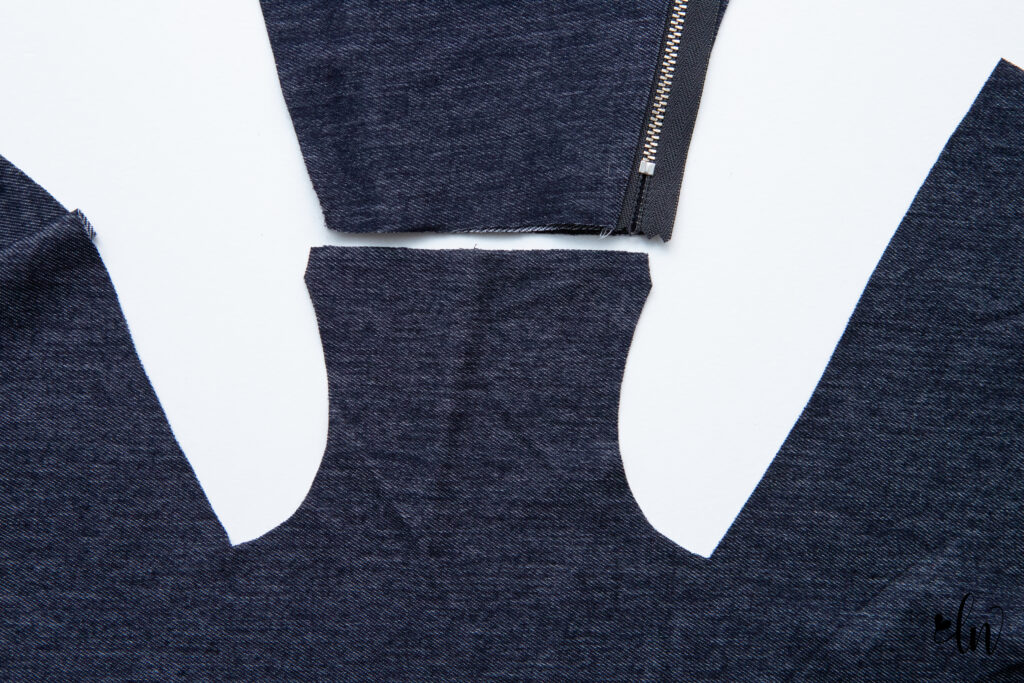
Assemble the collar and collar lining per step one of the instructions.
When the collar is placed right side up, curved edge on top, we are working on the right end of the collar as we see it.
Interface the edge of the collar where the zipper will be on both collar pieces. Place the zipper face down on the curved edge of the collar. Sew into place.
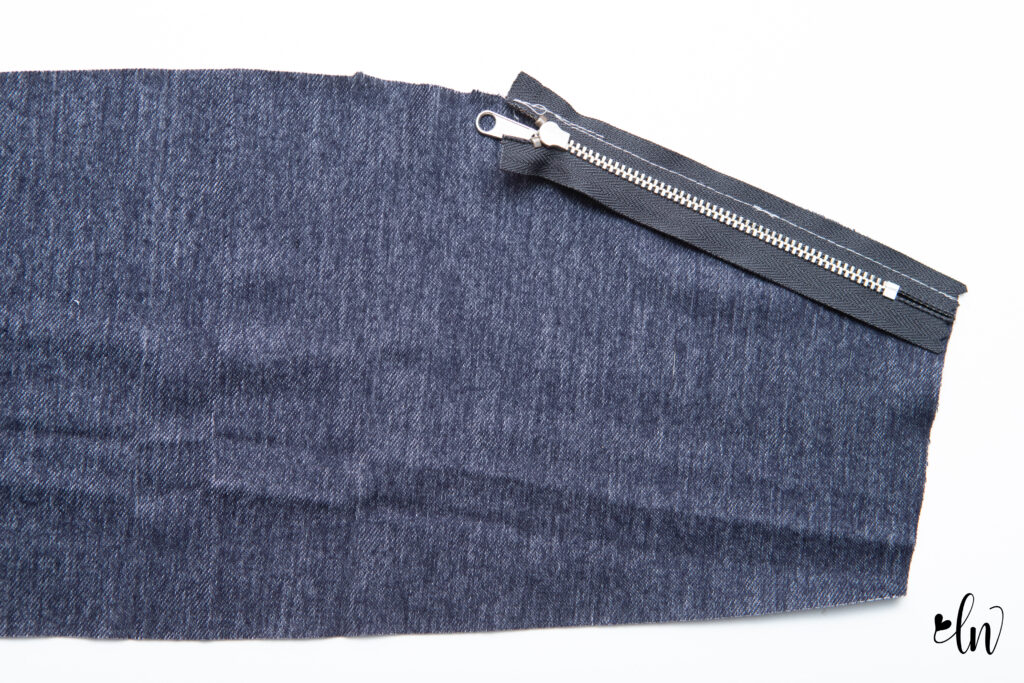
Place the second collar piece right sides together with the first, sandwiching the zipper between the collar pieces. Line up the raw edges and sew the curved edge in place, just as the instructions state in the pattern. Sew the collar and lining together. Be careful around the zipper so you don’t break your needle.

Turn the collar along the sewn side so that it is wrong sides together. Press.
Align the bottom of the collar like the pattern states. You may need to adjust the width a bit so that it matches the top of the front piece. You want the outside edge of the zipper to line up with the raw edge of the collar that is layered below it. (See the second photo below.) Sew the bottom of the collar in place.
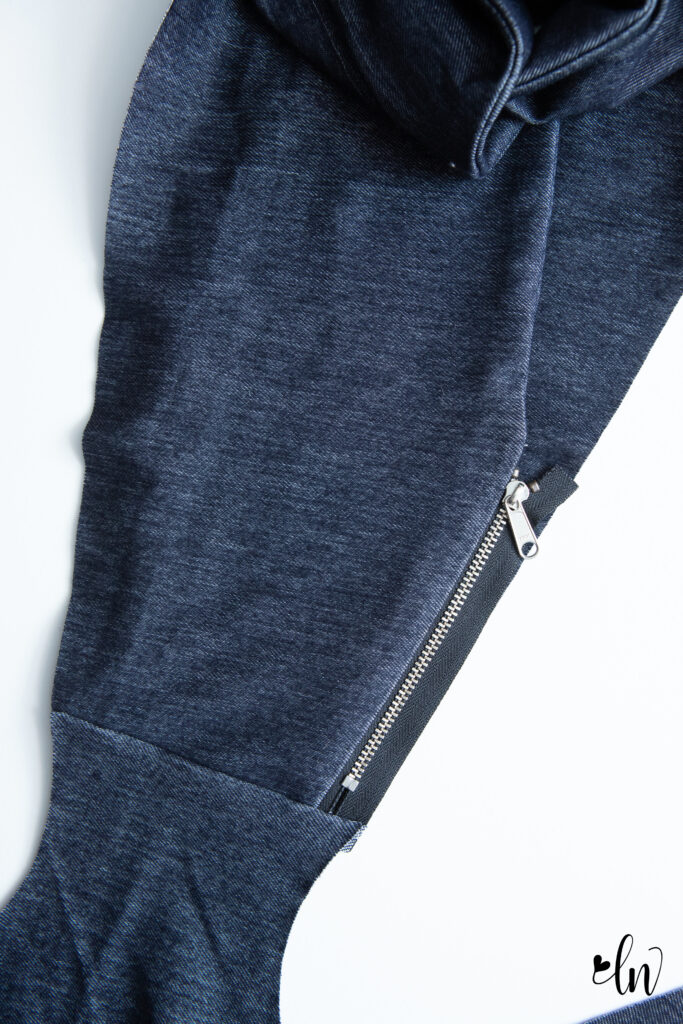
Continue on with the assembly of the Whistler. When attaching the collar to the neckline, you want to be sure that the zipper edge is lined up with the neckline of the collar and body of the sweater.
Sew Along Schedule
- Monday: Fabric choices, person fit adjustments, cutting fabric
- Tuesday: Shawl/hood construction. Hack: Adding a zipper
- Wednesday: Constructing the pockets and sweater front. Hack: Omitting the pockets & collar lining
- Thursday: Sewing the sleeves and side seams. Hack: Whistler Cardigan
- Friday: Cuffs, band, and facing