Whistler Sew Along: Day One
The hustle and bustle of the holidays are wrapped up and now is the perfect time to sew a cozy Whistler Sweater. This week we are going to have a Sew Along! I’ll take you through each step of sewing the Whistler sharing tips and tricks, and share some hacks along the way!

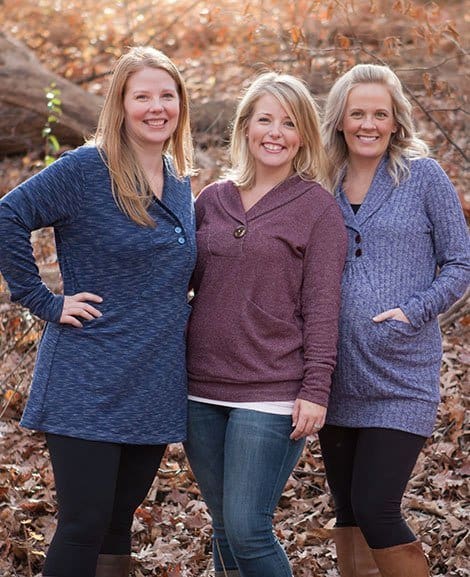
The Whistler is such a great piece! It’s perfect for so many different fabrics. Using a variety of fabric types, you can have an entire collection of Whistlers and yet, not feel like you are wearing a uniform!
Whistler Fabric Options
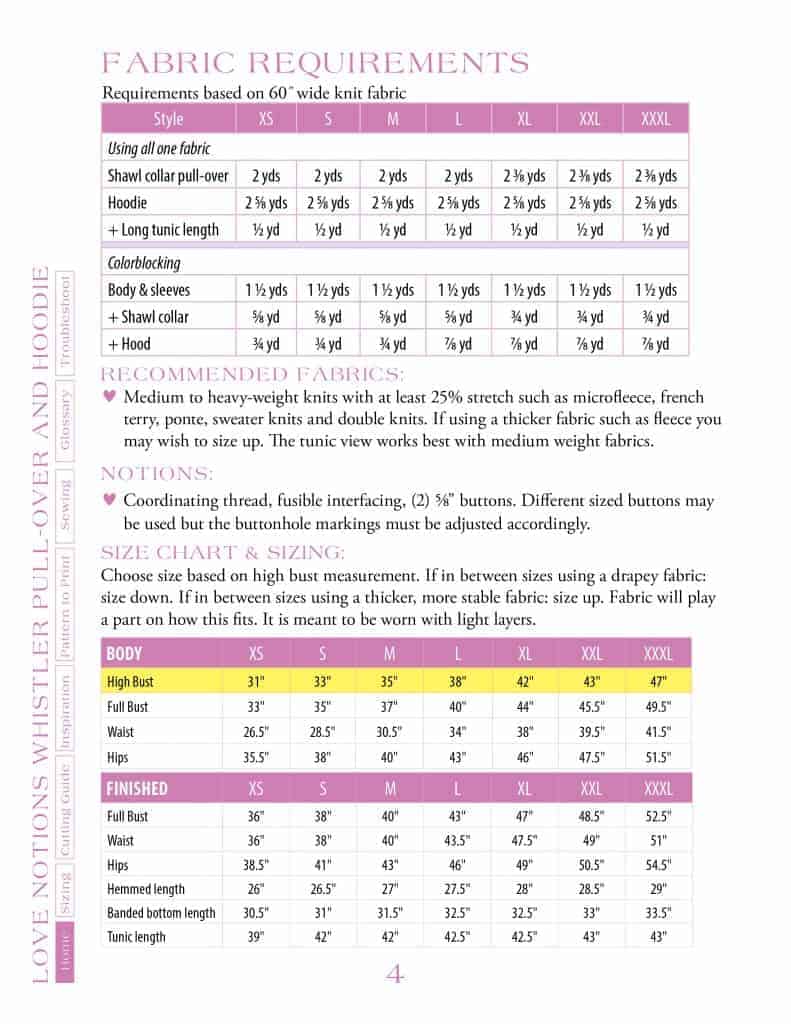
You can find the fabric recommendations for the Whistler on page 4 of the pattern.
Along with the suggestions in the pattern, I have made a cotton lycra Whistler, which may be my absolute favorite and shown below. You can use lighter weight sweater knits, but you might want to size down if they are super stretchy. Double brushed poly can also be an option, I wouldn’t adjust the sizing for it though.

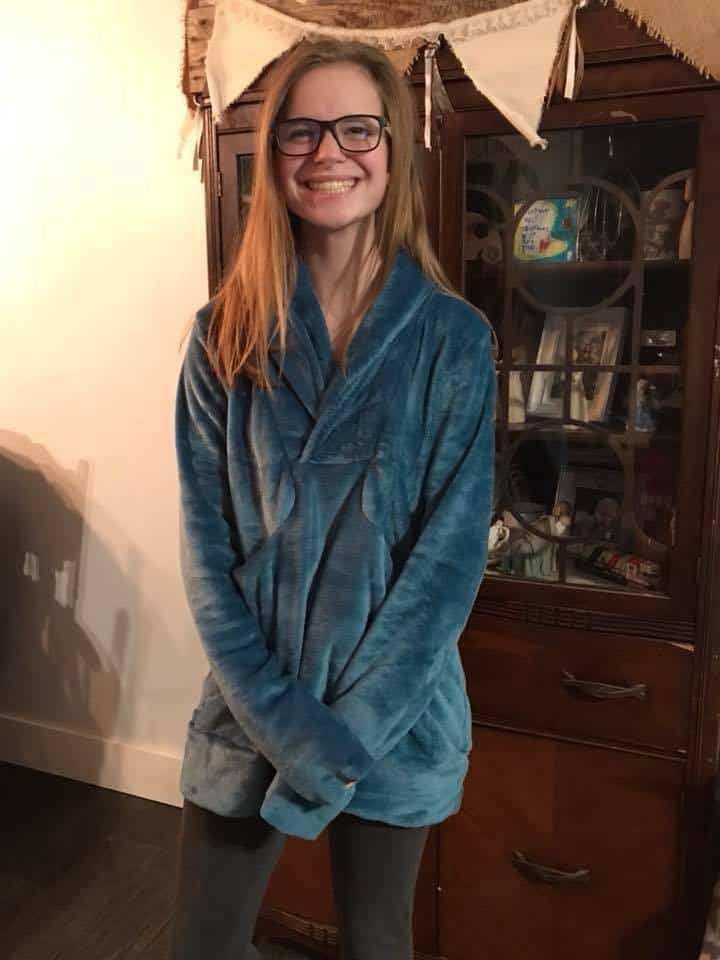
I have made a Whistler in a minky, plush type fleece. Annnnd my teen stole it. LOL It’s oversized on her, but she LOVES it! She says it’s like wearing a blanket. If you venture into a lush version like below, you need to watch the direction of the fabric’s nap. Make sure all the pattern pieces are cut with the nap going the same direction.
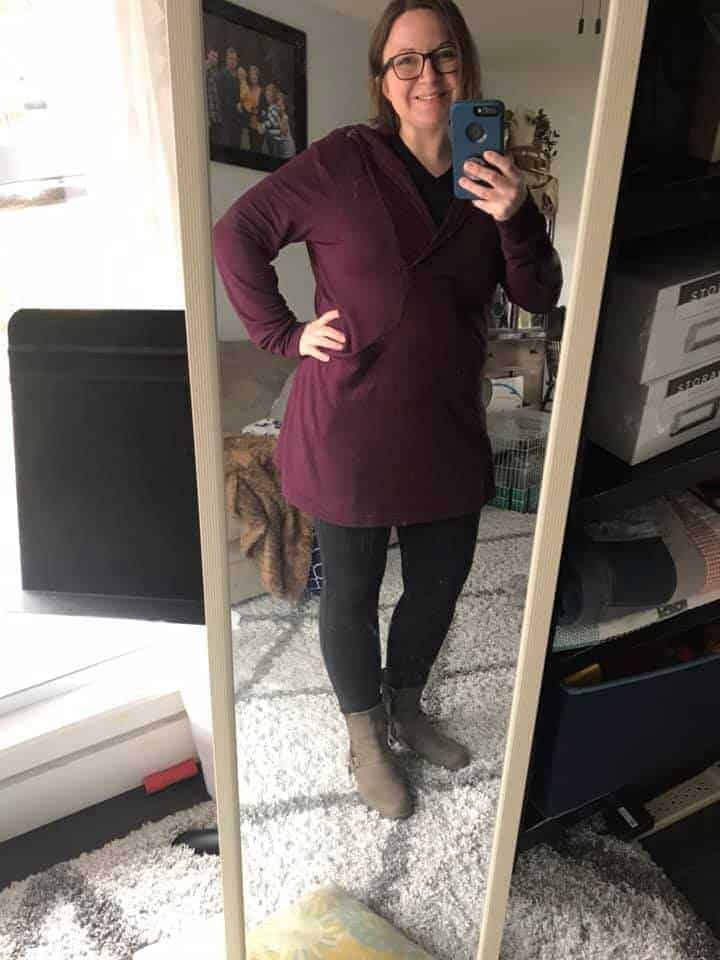
And then I also have a tunic length Whistler in a light weight brushed sweatshirt fabric. It’s ahhhmazing and so comfy to wear with leggings and boots!
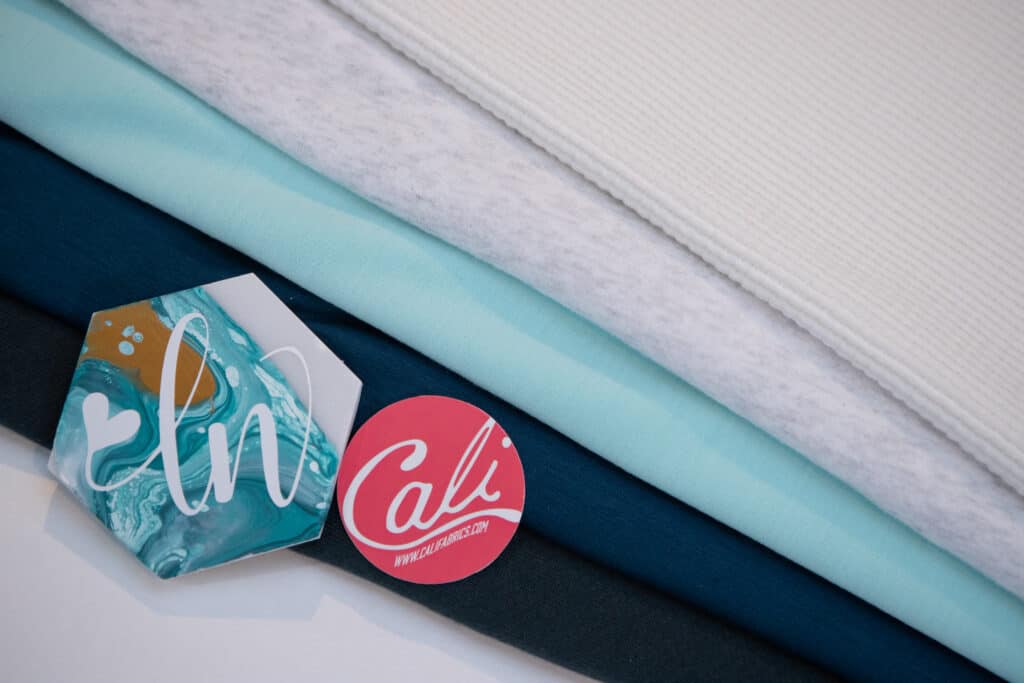
Cali Fabrics is our sponsor and I got some great fabrics from them for the Whistler! I love french terry! So I had to order a couple of different types, of course. 😉 The teal heavyweight cotton french terry (bottom fabric) that I ordered is no longer in stock, but you can find all of their in stock french terry fabrics here. I ordered a couple of different poly/rayon french terry, which I think is my FAVORITE french terry for a Whistler. The mint green (middle) can be found here. And the teal (second from bottom) is available here. A waffle knit Whistler was a must, so I grabbed up a heavy weight waffle knit (top fabric) in white that isn’t available any more. But there are still a LOT of waffle knits on Cali Fabric’s site that you can choose from. Sweatshirt fabric is always a winner! I used a light ash grey midweight sweatshirt fleece (second from top) to make a super cozy Whistler! This color isn’t available, but many other sweatshirt fabrics are! And of course ribbed sweater knits are all the rage right now! I used a heather grey brushed ribbed sweater knit (not shown) that is out of stock, but so many other sweater knits are available.
If you haven’t grabbed your fabrics for the sew along yet, you can take advantage of the discount Cali Fabrics is offering Love Notions fans! Use the code LNWhistler to save 20% off sweater knits, sweatshirt fleece and french terry though the month of January! *this offer can not be combined with other sales/offers*
Making fitting adjustments
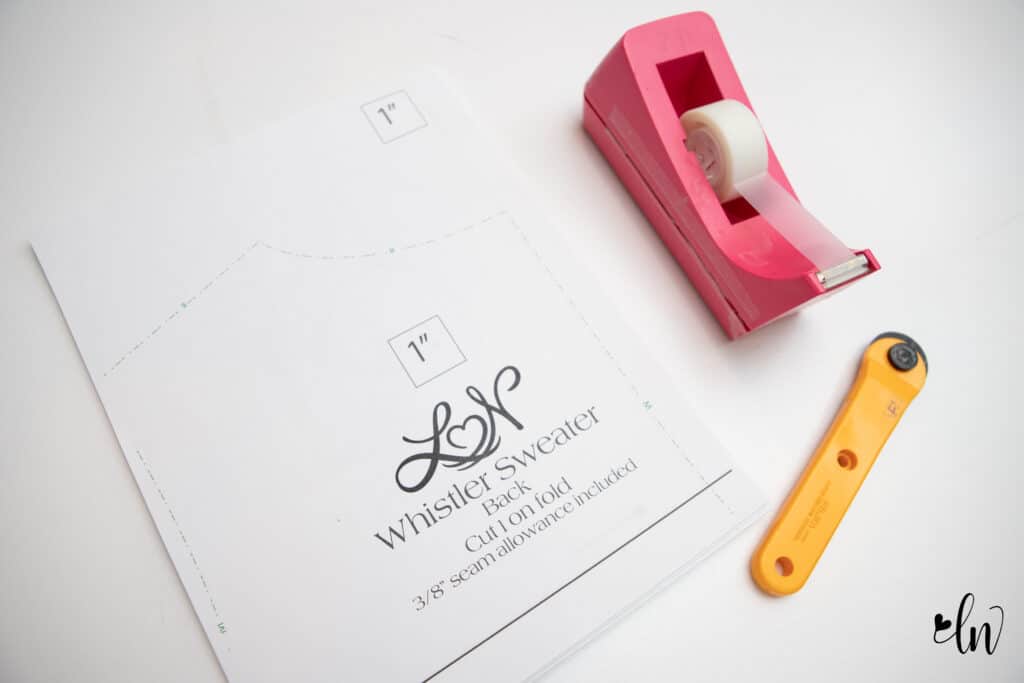
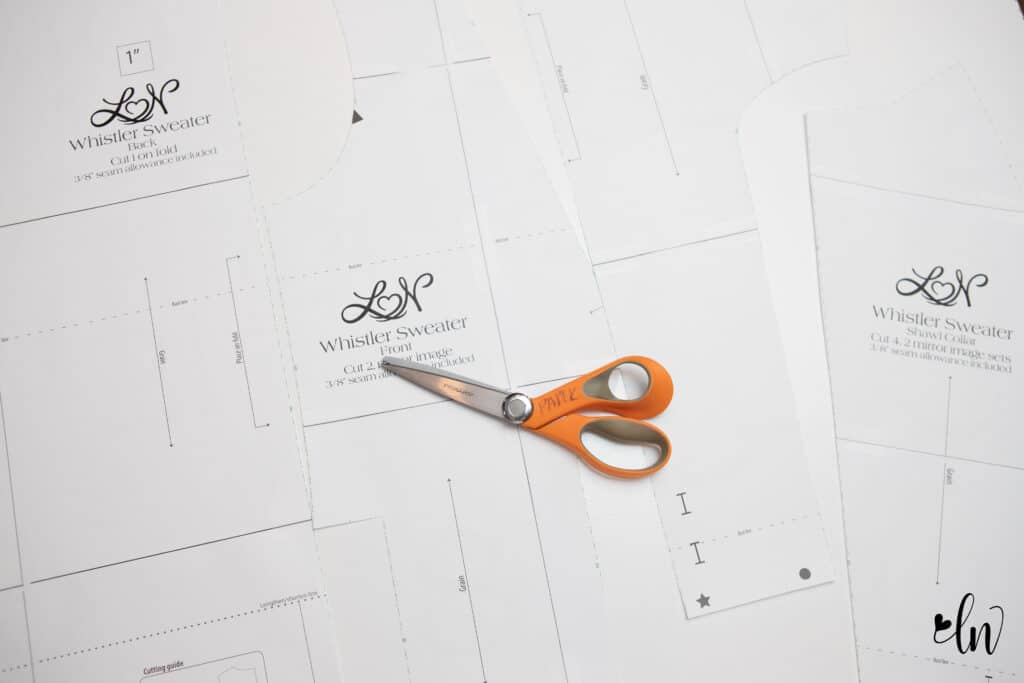
After you have your fabric picked out, it’s time to prepare the pattern. First, printing, take a peak at this blog post if you are new to printing Love Notions Patterns. It will walk you through how to print and assemble our new trim pages. If you don’t like to spend time assembling patterns, you can also print a large format version and skip the tape.
When I cut out my patterns, I find using an old rotary cutter makes it so much faster! I have a yellow one I use exclusively for paper. My white rotary cutter is for fabrics. A tape dispenser also speeds things up because I can grab tape one handed and I’m not constantly picking up and setting down the tape. It also is less likely to get lost on the mess of my cutting table because of it’s size. 😉
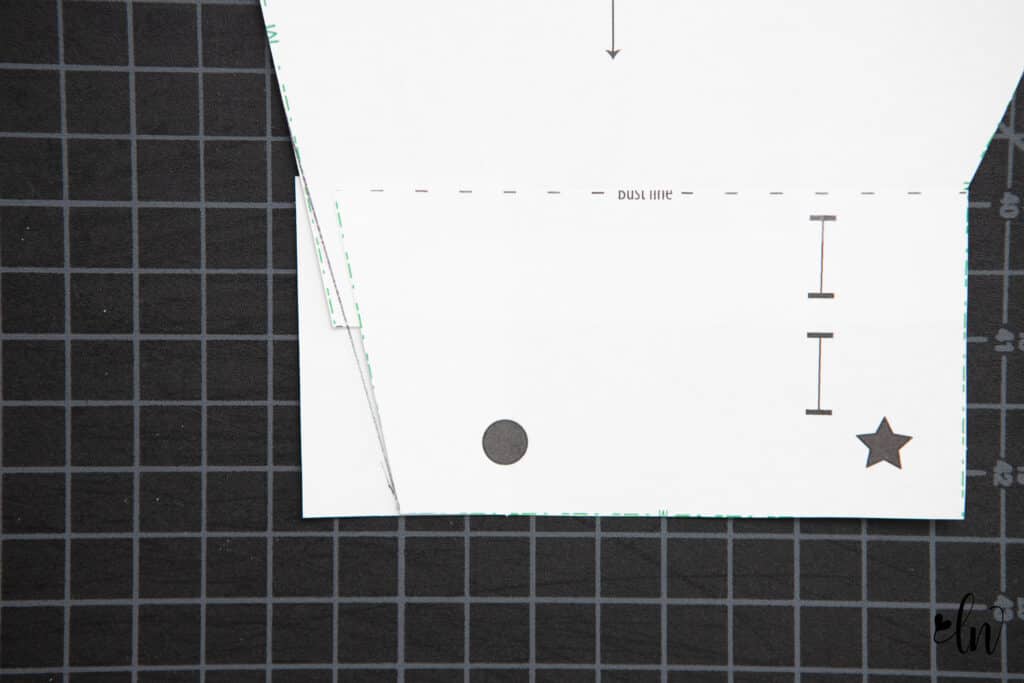
Once we have our pattern printed, we may need to make adjustments. I’m short and need to shorten my pattern. How short I am doesn’t really matter here. Or how tall for that matter because we all carry our weight differently. Start with holding the back pattern piece up to your chest. Fold back the shoulder seam allowance and place the shoulder seam where it should sit if you were wearing the sweater. Standing straight up, take a pencil and mark where your bust apex is on the pattern. Now, observe where that is in relation to the bust line marking on the pattern. You want them to be relatively close. If you are 1/2″ or more apart, I recommend adjusting to make them match.
You will need to adjust the front, back, and the shaw collar or hood depending on the view you are doing. I do suggest that if you ever think you might make both the collar and the hood down the road and printed both pieces, go ahead and adjust both pieces now. Then you don’t have to worry about remembering later.
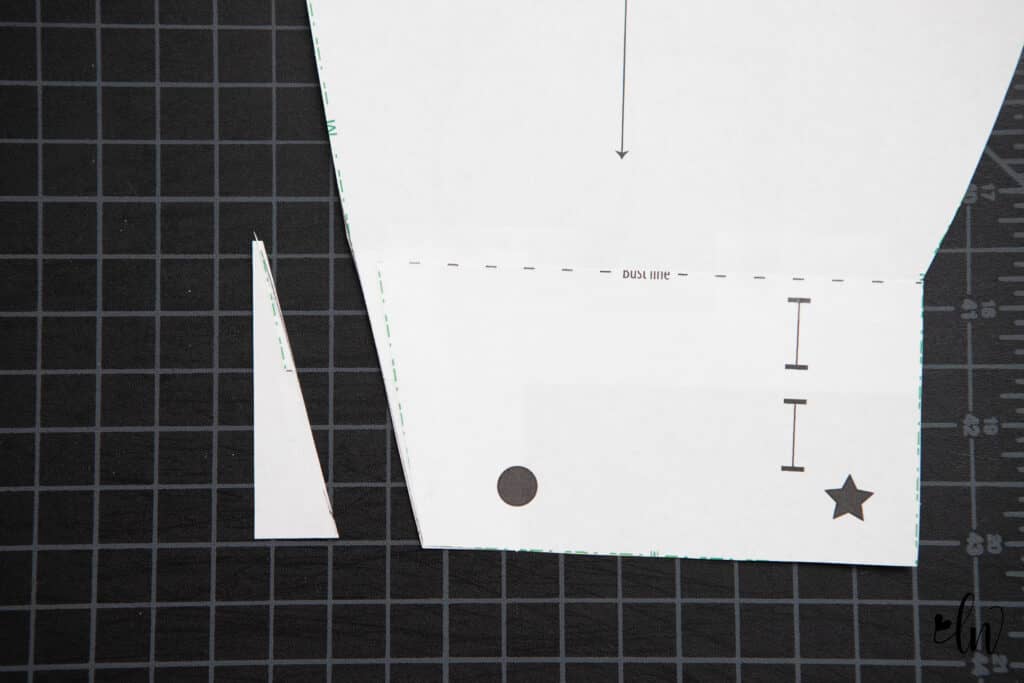
Cut the pattern piece on the bust line. Adjust so that it matches your body. I needed to raise the bust line an inch, so I overlapped my pattern pieces 1″. Overlap and tape into place. Blend any lines that need it. If you are lengthening the pieces, spread your pattern pieces apart, slip a piece of paper behind them and tape into place. Then connect the sides of the pattern by drawing in the lines.
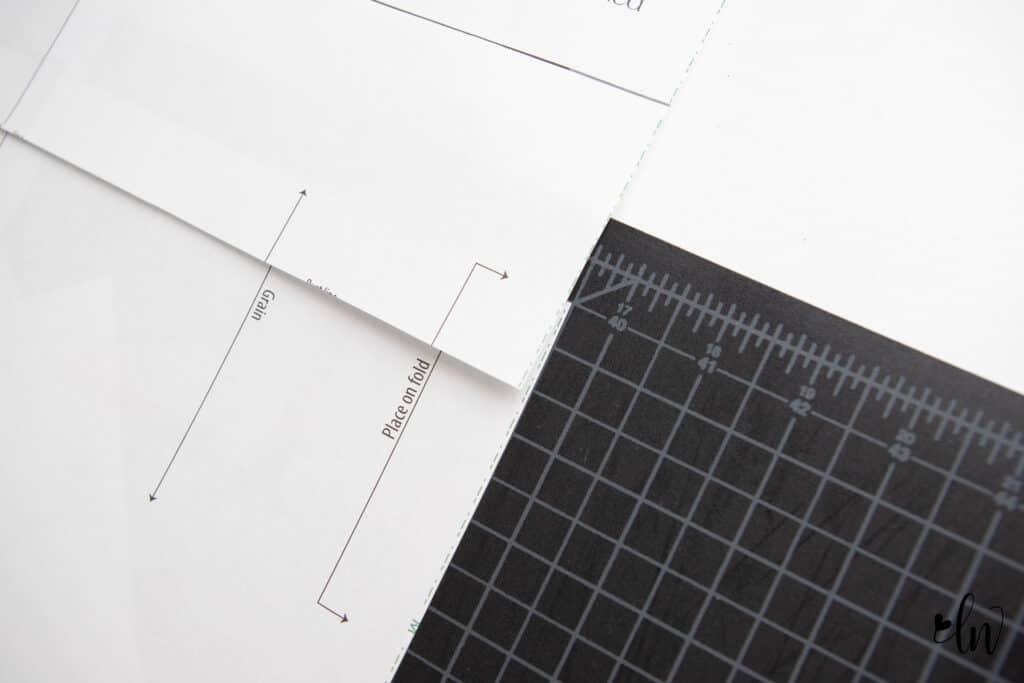
See that area on the left that doesn’t line up? Slide a piece of paper behind the pattern piece and draw a line to blend the seam smooth. Trim that excess off.
After all of your adjustments are made, cut out your fabric!
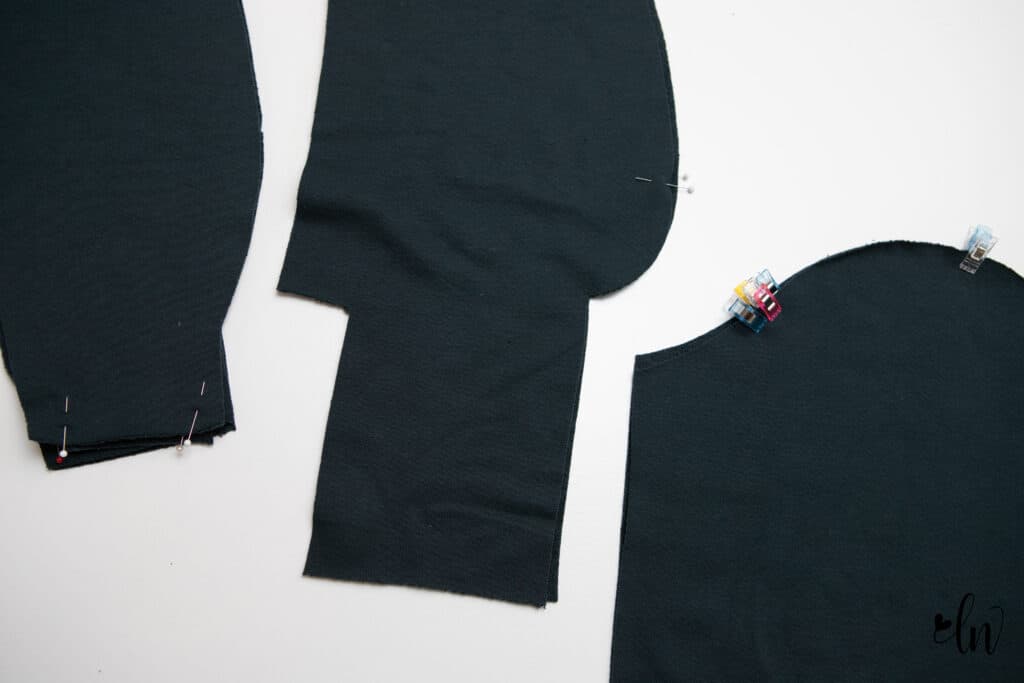
You want to be sure to transfer any pattern markings. This is very important! These marking will make assembling our pattern much easier when it’s time to sew things up. If you haven’t found your dream marking method, hop over to my post about marking tools. There are so many to choose from! For the Whistler, I’m using clips and pins to mark things, but you may prefer another way.
Sew Along Schedule
-
Monday: Fabric choices, person fit adjustments, cutting fabric
-
Tuesday: Shaw/hood construction. Hack: Adding a zipper
-
Wednesday: Constructing the pockets and sweater front. Hack: Omitting the pockets & unlined collar
-
Thursday: Sewing the sleeves and side seams. Hack: Whistler Cardigan
-
Friday: Cuffs, band, and facing