Whistler Sew Along: Day Three
How are you doing with your Whistler Sweater? Did you just love yesterday’s zipper hack!? I am so happy with how it turned out and now I want to add zippers to all of my Whistlers! Today has another hack in store for you though, and honestly, I do love it just as much as the zipper. It’s perfect for those thick cozy sweatshirt fabrics! Keep reading to learn more!
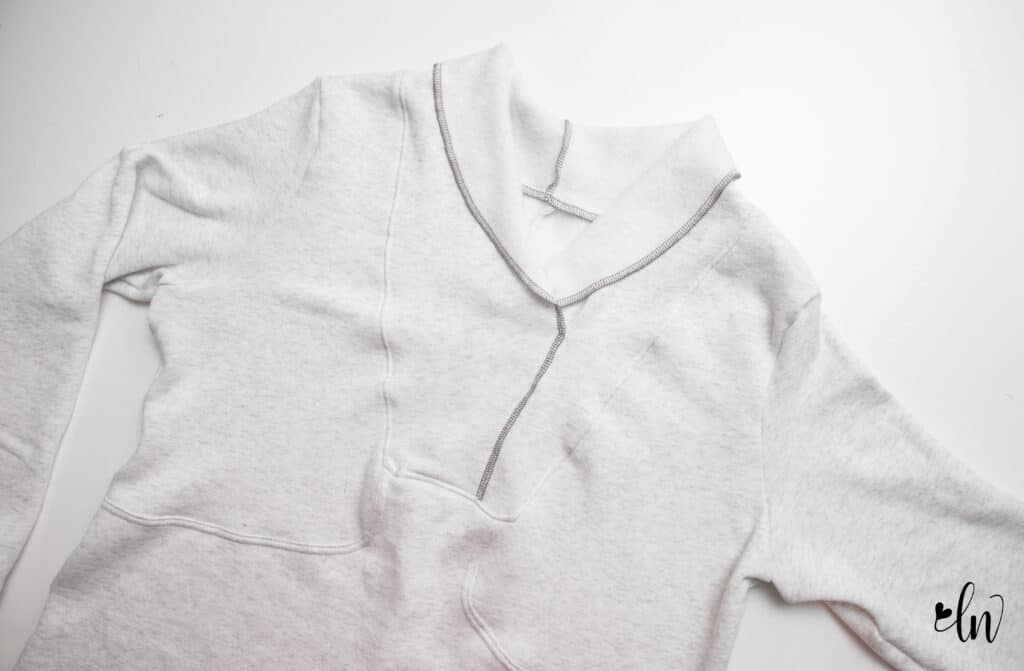
Today we will be assembling the front of our Whistler. Yesterday, we constructed our collar. Remember you have the option of a hood or a shawl collar. Don’t ask me which one I love more, because I can’t answer! They are both my favorite!! Yesterday I shared videos for assembling each. Click on back if you are just joining us. If you need help deciding on a fabric to use, or with fit adjustments, hop back to day one for lots of information!
I highly recommend that you assemble the front of your Whistler with your sewing machine.
There are several tight turns for this step and you will get much better results with your sewing machine than a serger. But don’t fret! If you love the clean finish a serger gives, I’ll show you how to do it. But first, construct the front following the pattern instructions. If you need help, Tami made a great video explaining the process. There is a link to the video in the pattern as well.
After you have the front all sewn up, make sure you clip the seam allowance at the corners. This will allow the fabric to fall into place as designed. If you skip this step, you may end up with weird puckers at the corners. Just make sure you don’t cut the seam! If you want to serge the fabric edges, you want to clip both the inside corners (mentioned in the pattern) and the outside corners of the pocket. This will allow you to move the fabric around to serge the edges.
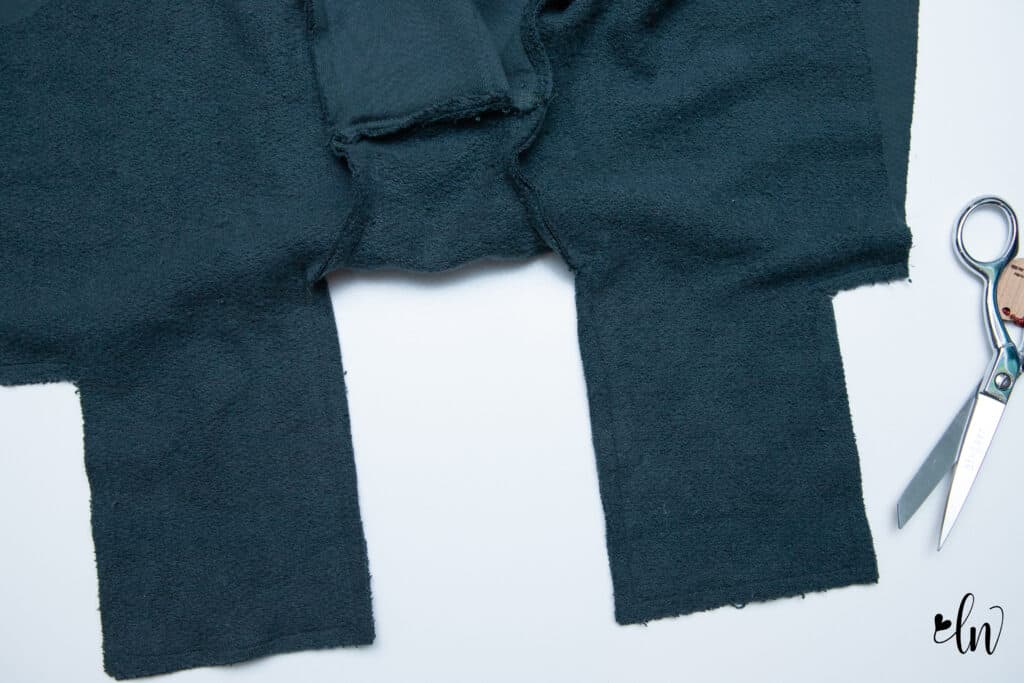
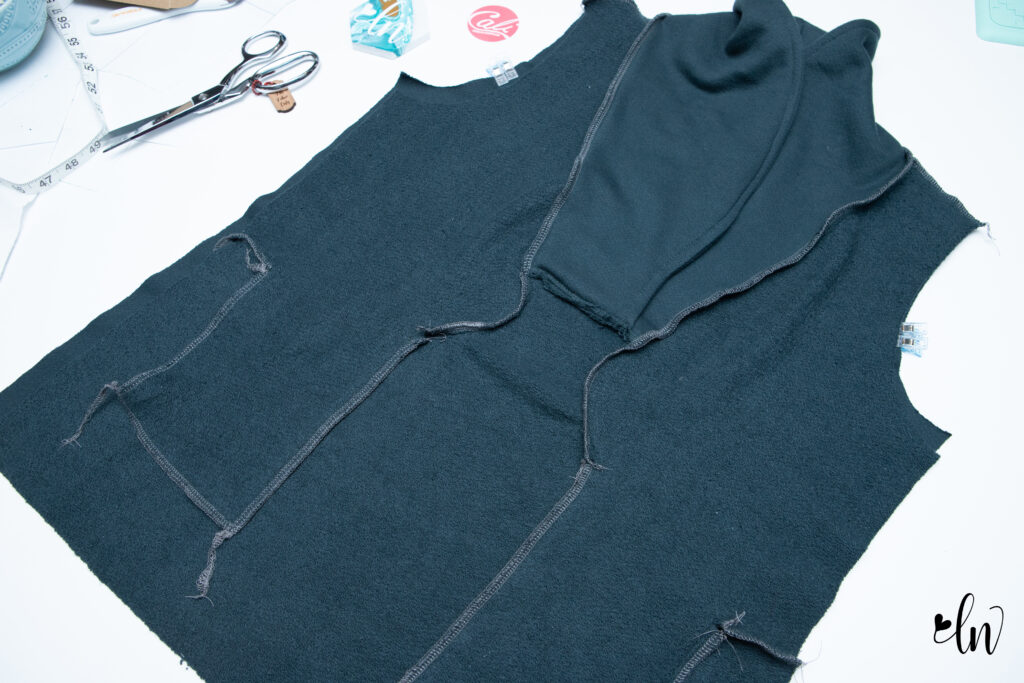
Working in sections, serge the front. You can see in the photo below the sections I worked in. I serged each side of the pockets independently, the little seam along the outer edge of the pocket, and then around the neckline. Tuck your tails into the seam with a needle to secure them.
That’s all we have for today! Get those fronts assembled and then share your progress with us! Post your Whistler in progress on Instagram with the hashtag #WhistlerSAL or share in our Facebook Support Group!
Skip the pockets
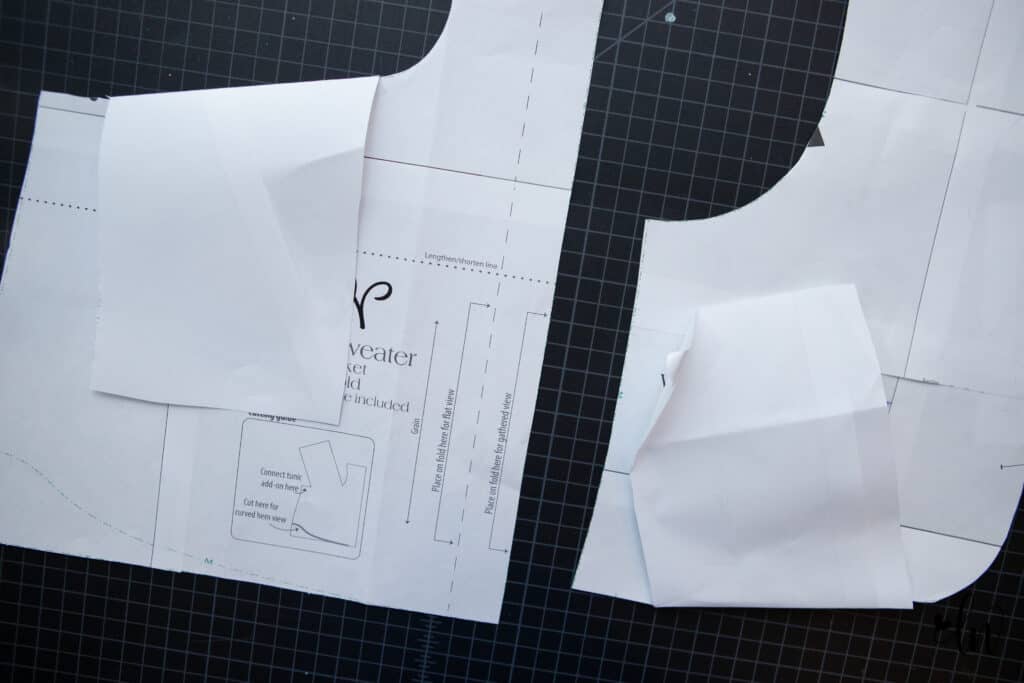
Sometimes, we need to make some changes to make a pattern work. It can be various reasons. For me, I didn’t have enough fabric and I was bound and determined to make a Whistler from it! So, some little changes made it possible! I’m going to share them with you because I loved the results so much!

To save on fabric, my first step was to omit the pocket pieces. To do this, I simply folded the pocket sections of the front pieces back. I did try to mimic the curve a bit to keep the original design in tack.
After you cut your front, your pieces will look like this. You still want to transfer the fabric markings!
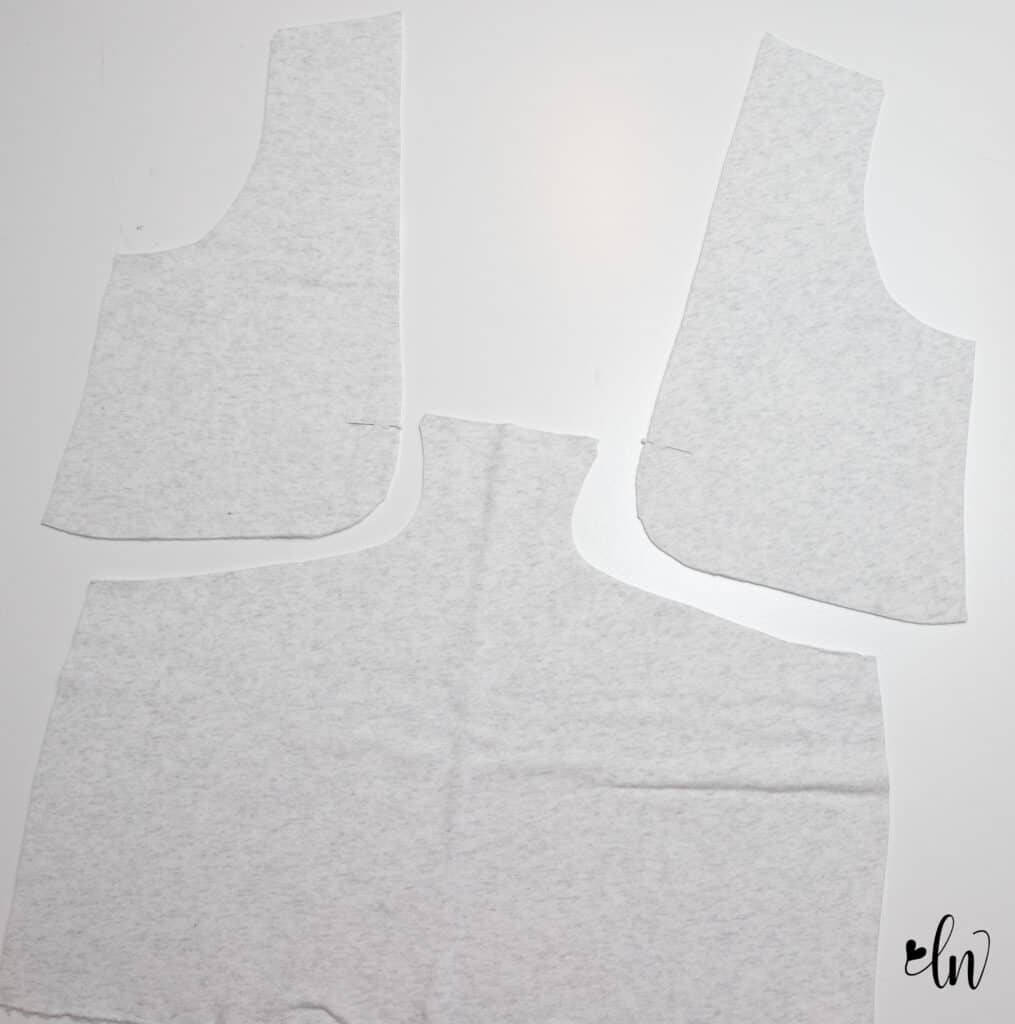
That’s it! Assemble per the instructions from here. Instead of going around the pockets, you will be matching up the new curves we created. Make sure you use the pattern markings still!
The shawl was another place I saved on fabric. I just only one set of collar pieces. So, I cut 2 collar pieces instead of four. Then, I surged around the outside edge trimming off the seam allowance (3/8″), the curved edge where you are suppose to sew the collars together. That’s it! Assemble per usual. I arranged my collar so that the wrong side (the cozy brushed side) of the sweatshirt fleece was featured when the collar was turned under. On the next one, I am going to make sure that center seam is on the underside though. I should have sewed the collar pieces wrong sides together for this. Then the seam would be hidden. Oh well, sew and learn, right!
Sew Along Schedule
- Monday: Fabric choices, person fit adjustments, cutting fabric
- Tuesday: Shawl/hood construction. Hack: Adding a zipper
- Wednesday: Constructing the pockets and sweater front. Hack: Omitting the pockets & collar lining
- Thursday: Sewing the sleeves and side seams. Hack: Whistler Cardigan
- Friday: Cuffs, band, and facing