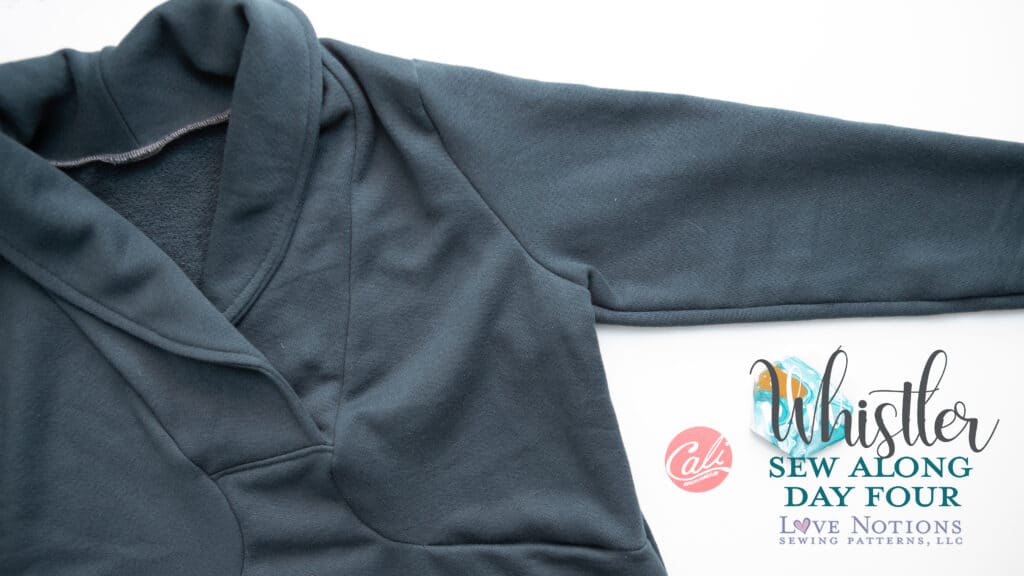
Whistler Sew Along: Day Four
Sew along weeks always seem to fly by for me. I can’t believe we are on day four already! Today we will be sewing in our sleeves and sewing the side seams. I also have a cardigan hack for you today that I’m so excited to share with you! Let’s sew!
Sewing the sleeve
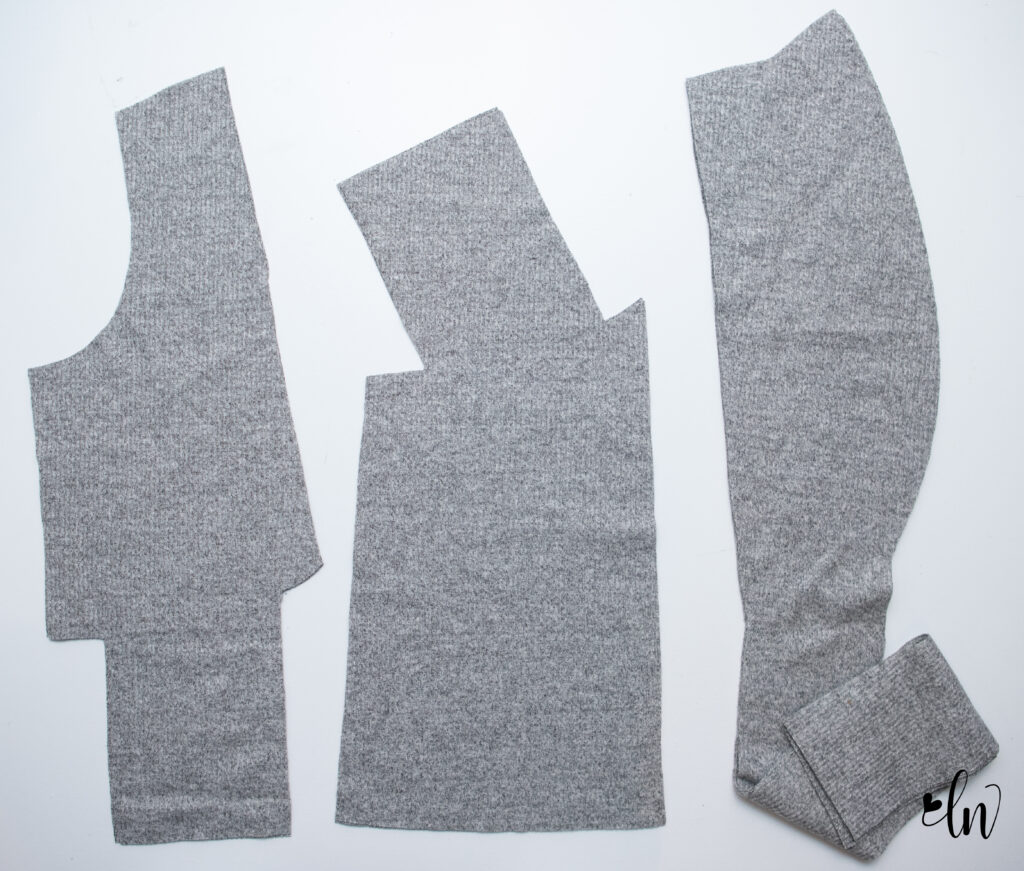
Attaching the sleeves of the Whistler is just like sewing any set in sleeve. I hope you remembered your pattern markings! Those are going to come in handy. The Whistler sleeve is cut flat, meaning it’s not cut on the fold. It also has some shaping to it to fit the shoulder/armpit area well. If you take a look at your pattern piece, you will notice that there are three marks on the shoulder cap, the front is one triangle, the back is a double triangle and the center marking (shoulder seam) is a T shape. I used clips to mark my fabric.
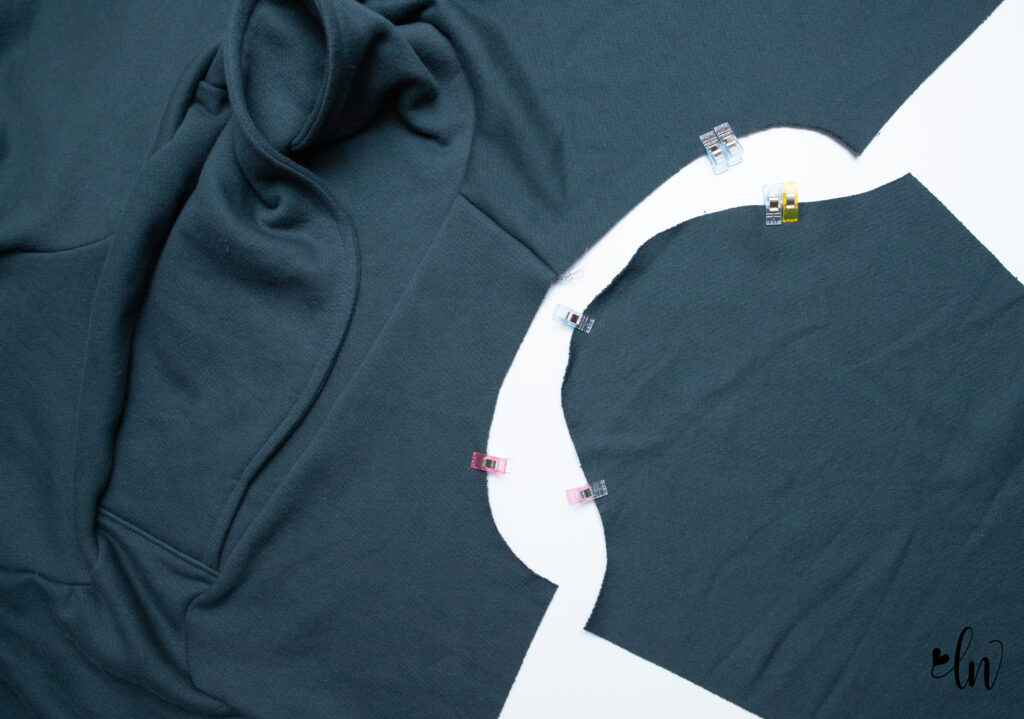
Match up the markings and then sew your sleeve in right sides together. If you are new to sewing sleeves, I have a blog post with a video showing how to get those curves to line up.
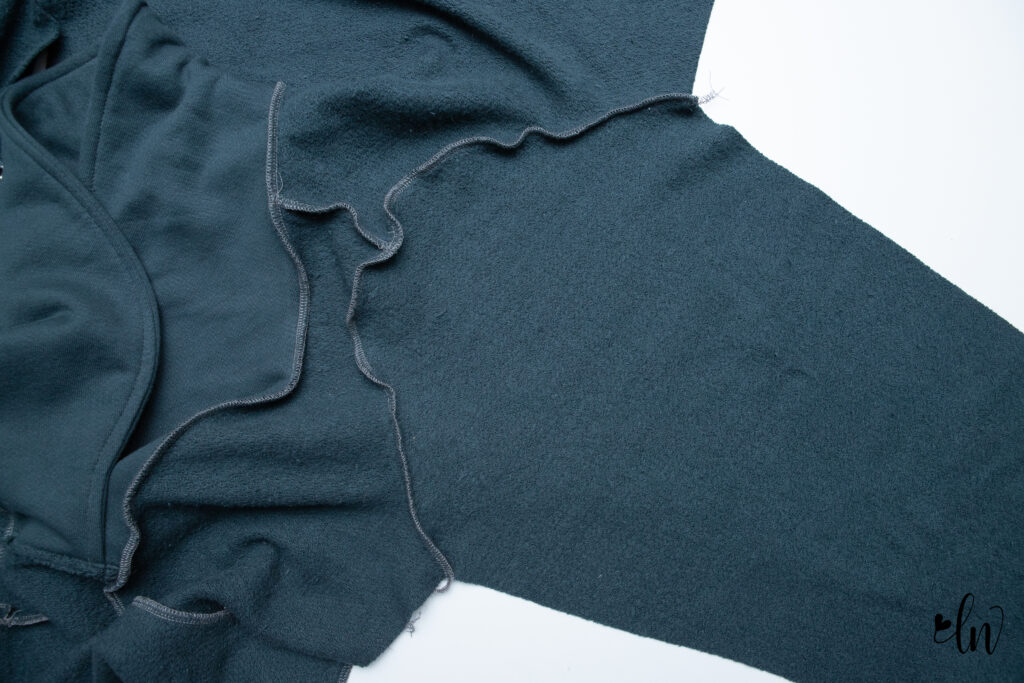
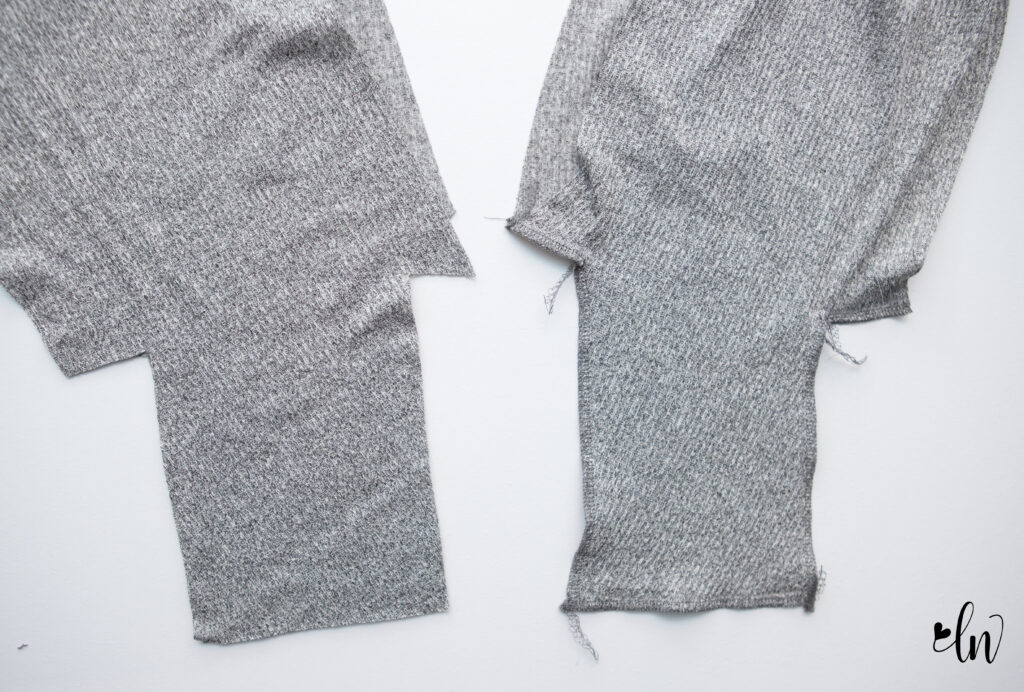
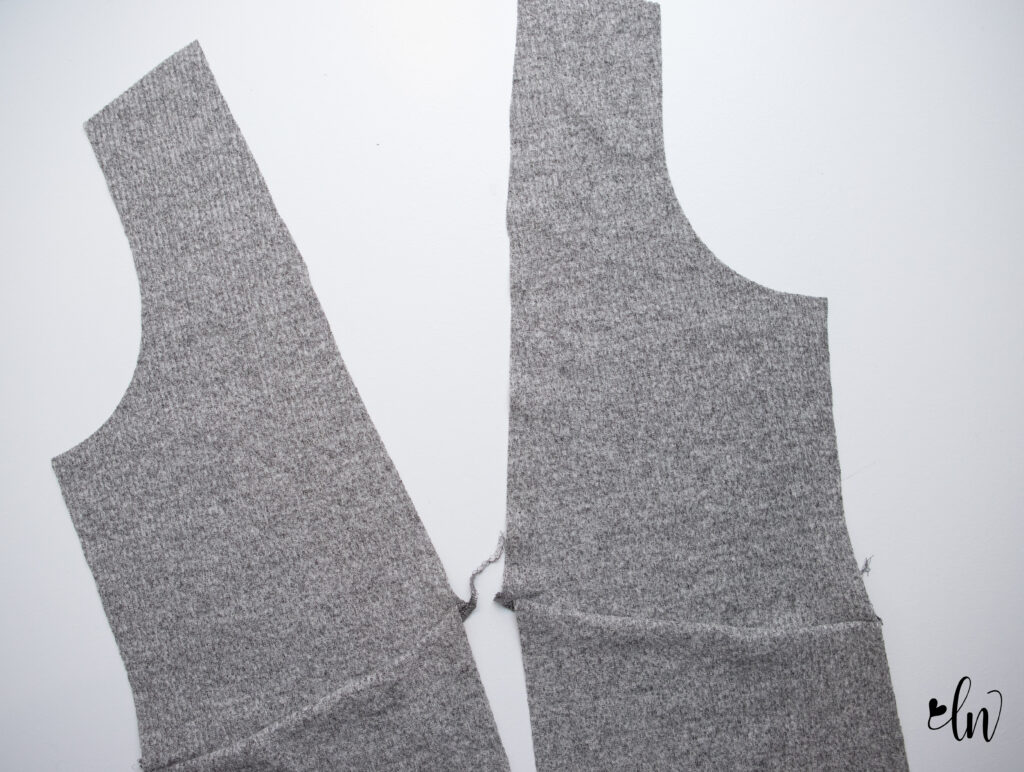
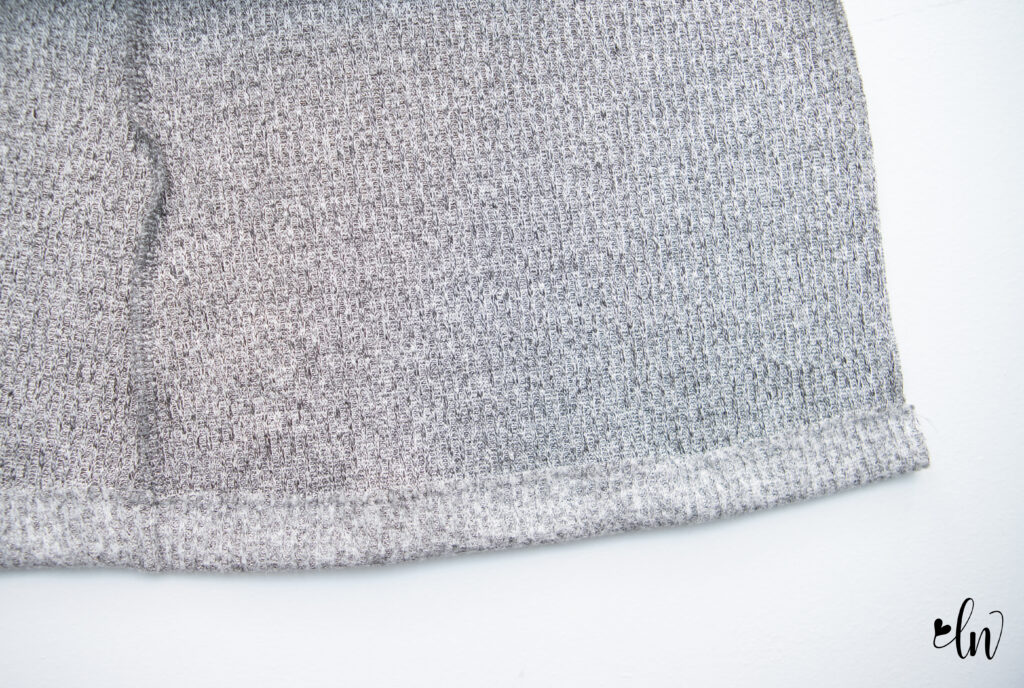
After the sleeves are in, sew up the side seams and you are done for today! Join me tomorrow for cuffs, the bottom band, the facing, or hemming depending on which you are sewing up!
Cardigan Hack
Let’s create a Whistler Cardigan! I feel like if we mashed the Boyfriend Cardigan with the Canyon Cardigan, a Whistler Cardigan would be the result. What do you think?

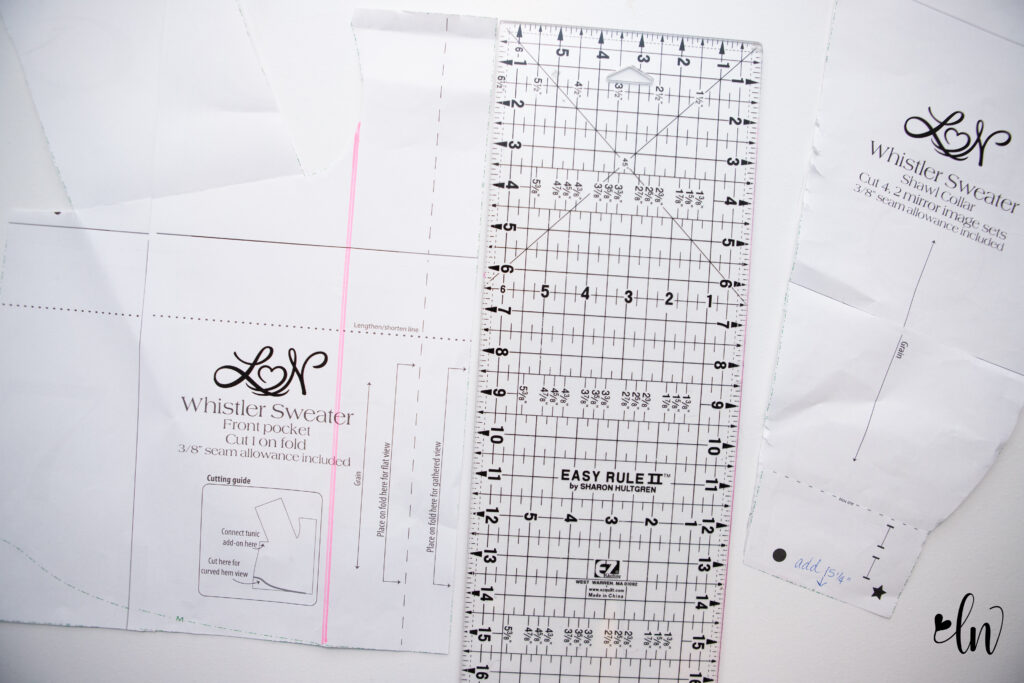
For the pattern pieces, we need to make some changes and do a little math. We will be omitting the center of the cardigan front. I just folded this part back, right on that pink line. Cut two fronts. Now, we are going to reduce the curve on the upper front piece a bit. Again, I just folded the pattern back on that pink line. 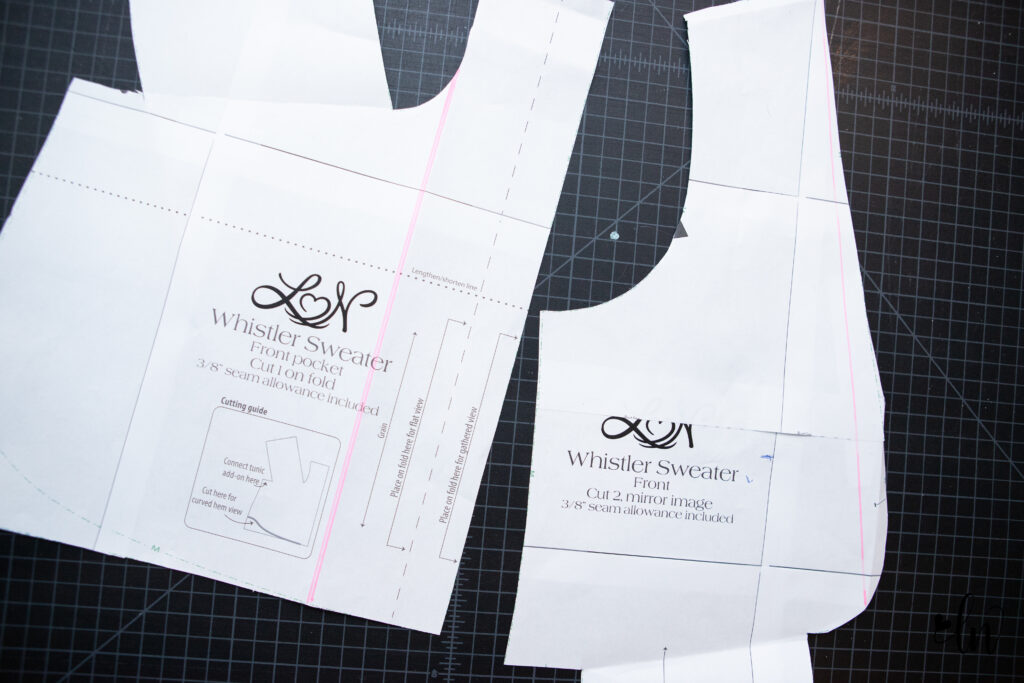
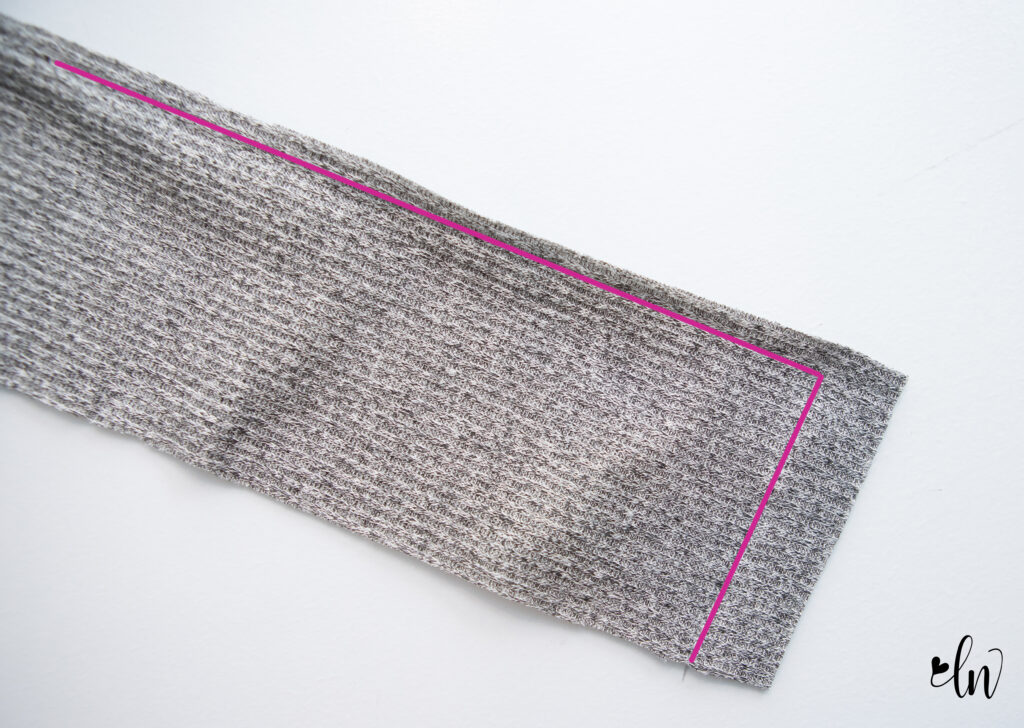
Now we need to lengthen the bottom of the collar. Measure the lower front piece, subtract the seam allowance at the top. So, 15 1/2″ – 3/8″ means we need to lengthen the bottom of the collar 15 1/8″. You can round to 15″ though in this case. Just extend the bottom of the collar, straight down.
These are what your new front pattern pieces will look like. You will have two of each.
Sew the upper and lower front pieces RS (right sides) together.
Awesome! We have our cardigan front assembled. If you have some jaggedness where the seam is, just trim the front to smooth that out.
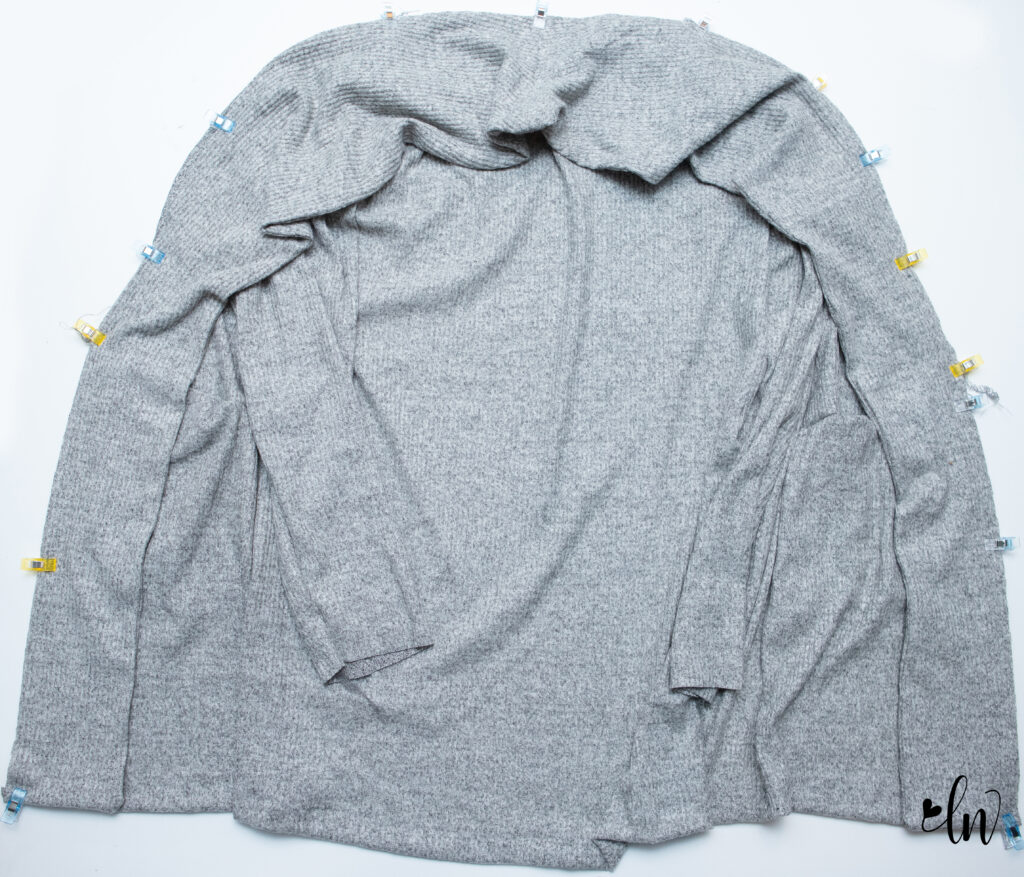
Sew the cardigan front and back RS together at the shoulder seams and then attach the sleeves and sew the side seams. Attach the cuffs. Hem the bottom of the cardigan with a 1″ hem.
Now assemble the collar just like how the Whistler collar is assembled in the pattern. Hem the bottoms of the collar by sewing a seam along the bottom with a 1″ seam allowance. Trim the seam allowance and turn the collar right sides out. (pink lines represent the seam)
With right sides together and the center seam of the collar lined up with the center back of the neckline, pin the collar to the body of the cardigan. I started at the bottom, lined up the hems and then worked my way up. Don’t stretch the collar, just match the raw edges. When you get to about three inches from the shoulder seam, ease the collar and neckline together. You may have to stretch the collar slightly around the neck, that’s ok.
That’s all there is the creating a cardigan from the Whistler Sweater! This hack will work with the hood also. Just use the same process to extend the bottom of the hood pieces. You can use the tunic length also, just be sure to add the extra length to the collar piece!!
Sew Along Schedule
- Monday: Fabric choices, person fit adjustments, cutting fabric
- Tuesday: Shawl/hood construction. Hack: Adding a zipper
- Wednesday: Constructing the pockets and sweater front. Hack: Omitting the pockets & collar lining
- Thursday: Sewing the sleeves and side seams. Hack: Whistler Cardigan
- Friday: Cuffs, band, and facing