


Day four of the Allegro Sew Along is the day that we tackle the waistband. I love the style of the Allegro waistband. Topstitching and a drawstring add nice little details that really create a finished look.
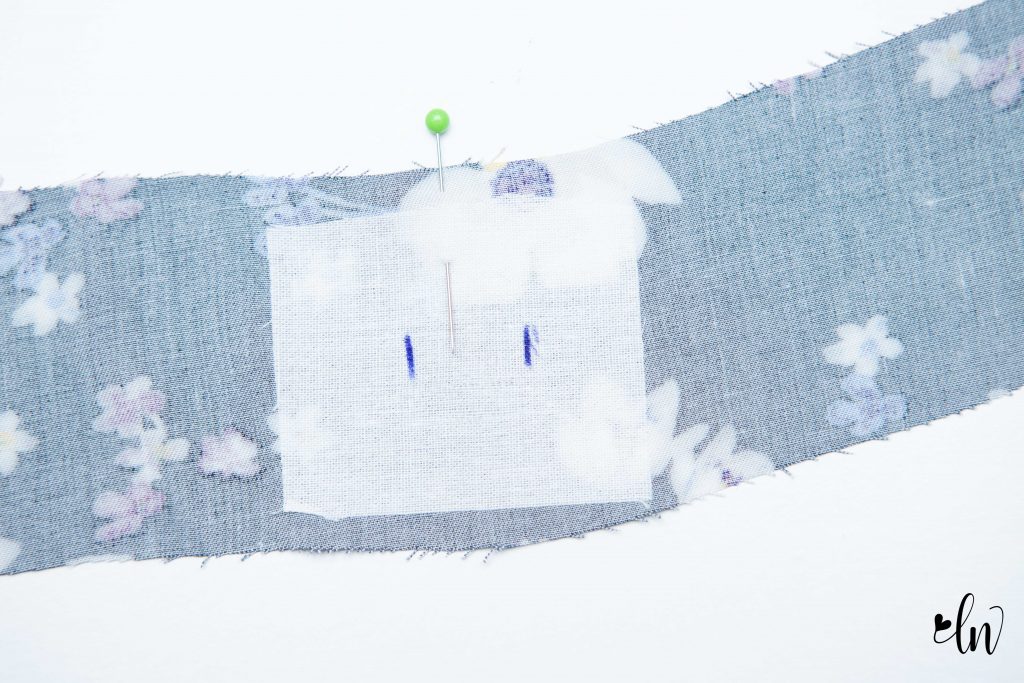
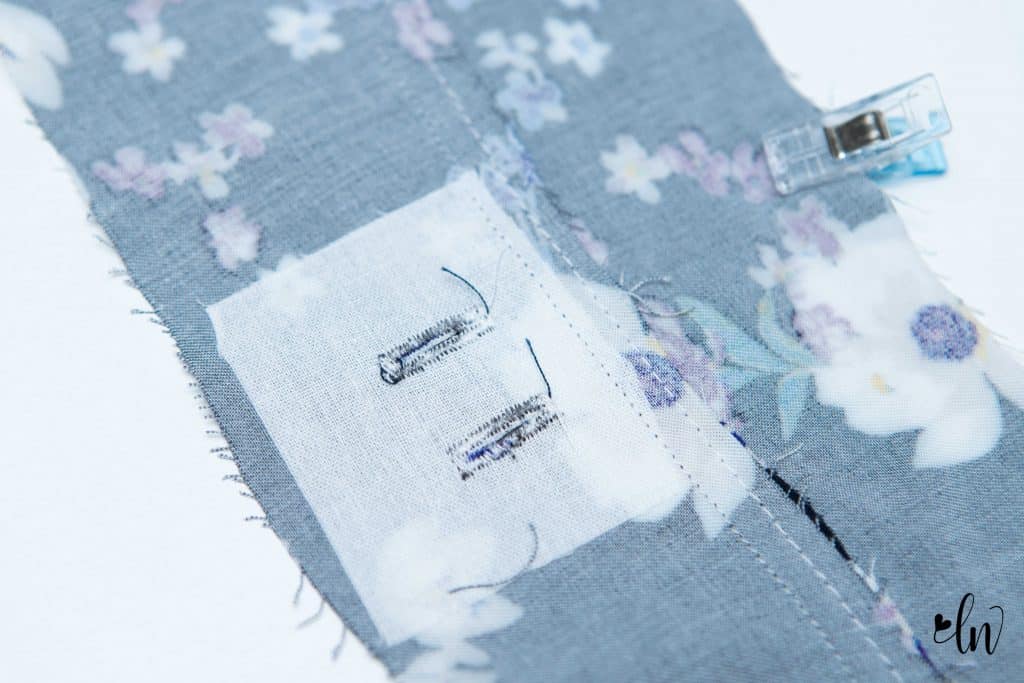
The waistband is constructed with a front piece and a back piece. You will cut 2 of each, one set for the main waistband and one set for the lining. Make sure you transfer your pattern markings! It definitely makes assembly easier. If you are looking for new pattern marking tools, this blog post features many different options. Before assembling your waistband, if you are going to have a drawstring, you need to iron a small piece of interfacing onto the main front waistband. I like SF101. Transfer your button hole marks onto your pattern piece, I like to mark onto the back so they are easier to see. The pin below shows the center of my waistband.
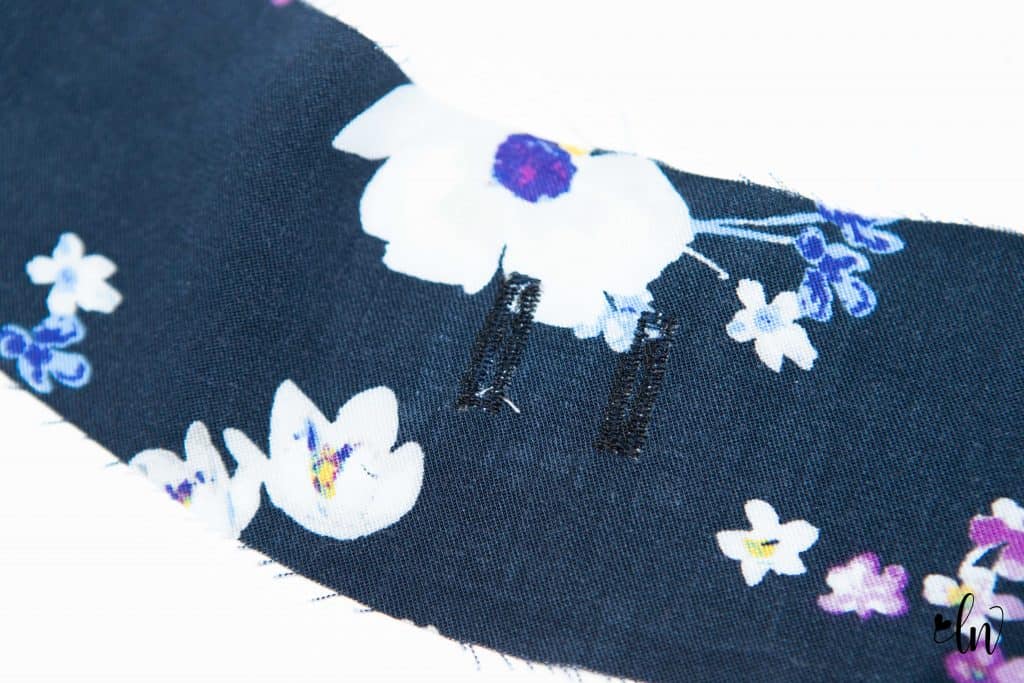
Sew your two button holes. If you are new to button holes, grab a scrap of fabric and interfacing it and practice a few times before sewing on your waistband. Most machines sew button holes pretty much on their own now. The key to a good result is typically the interfacing. Don’t skip it!! Here is a video on how to sew button holes.
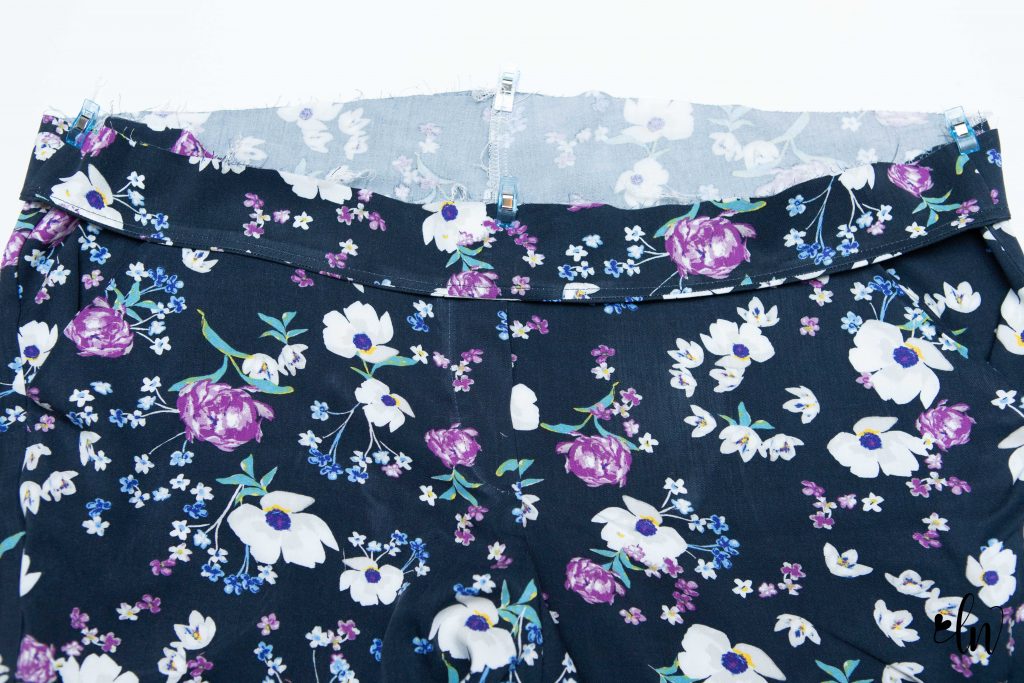
After your button holes are sewn, sew the sides of the waistband front and back together. Do this with both the main and lining waistbands. Align the tops of the waistbands. For the side seams, I like to nest them to reduce the bulk. Press one towards the front and the other towards the back.
Sew the top of the waistband together and press the seam allowance towards the lining waistband. Understitch the seam allowance to the lining.
Fold the waistband so that the wrong sides are together and press well. Pin the waistband to the body of the Allegro lining up the side seams. Be sure to place the main waistband (the side with the button holes) against the right side of the body of the Allegro. Sew the waistband in place. Finish the raw edge and press downward.
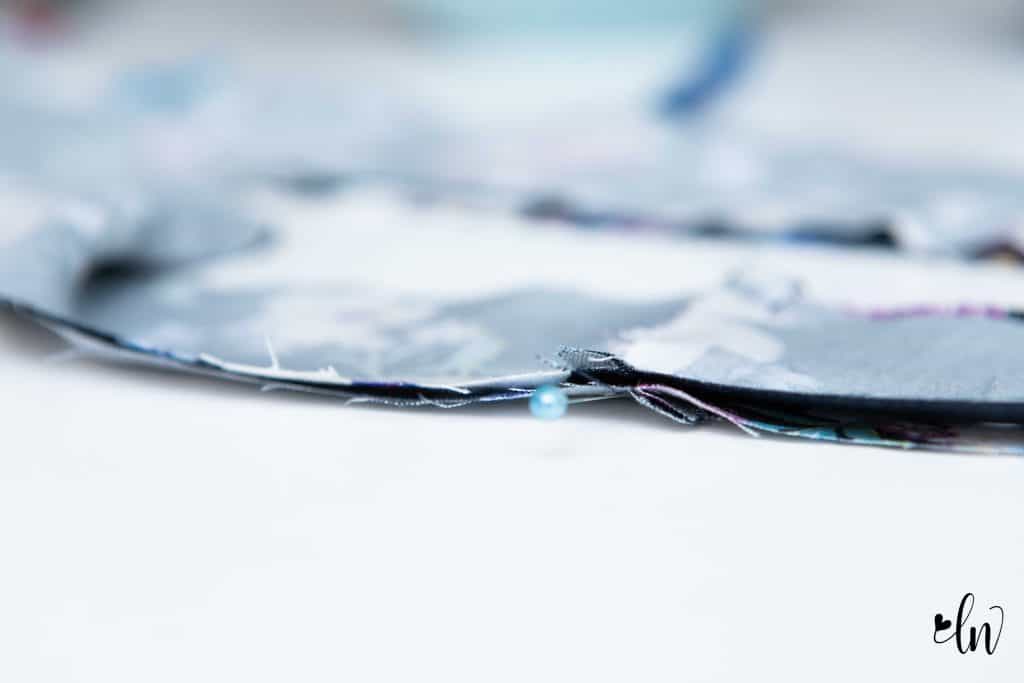
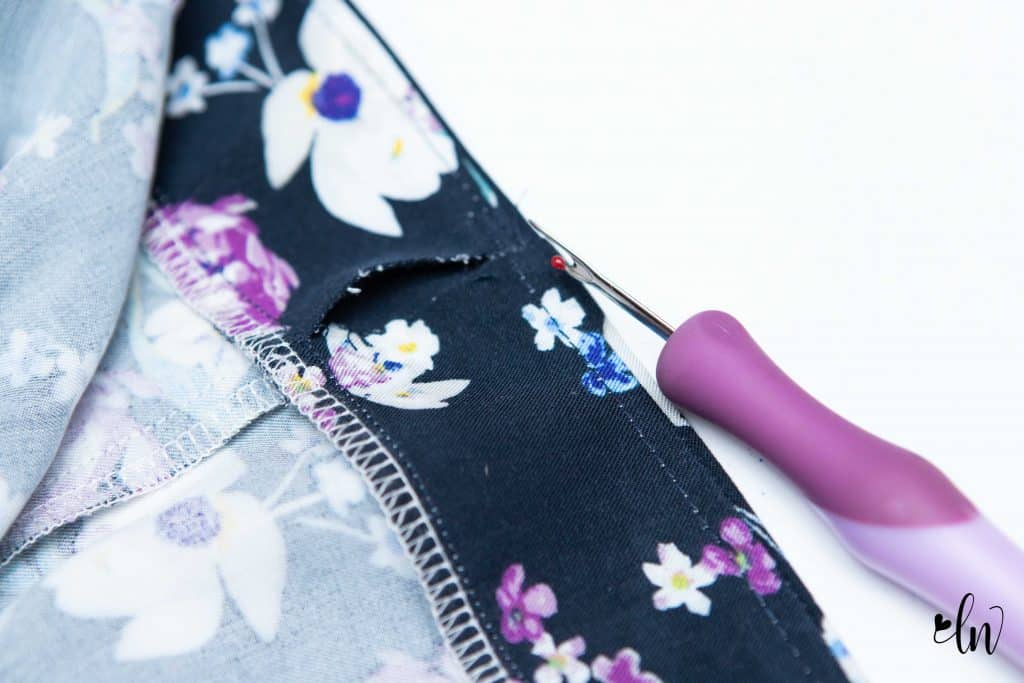
When sewing the side seams, the instructions state to leave a small gap into one to thread the elastic through. I ALWAYS forget to do this. Don’t fret if you do also. Just take a seam ripper and open the seam up.
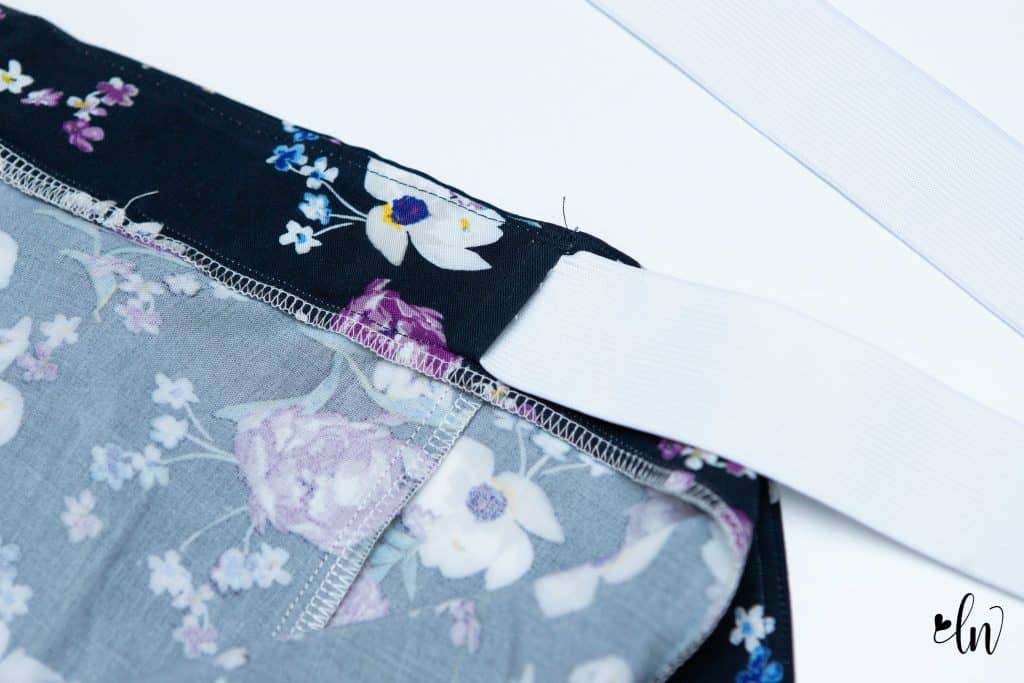
Thread the elastic through the side seam. And a little secret here, I don’t sew it shut. It gets secured enough for my comfort when the casing it topstitched. If you prefer, close the hole with a ladder stitch. Or, you can sew a wide zig zag stitch over the seam to close it up.
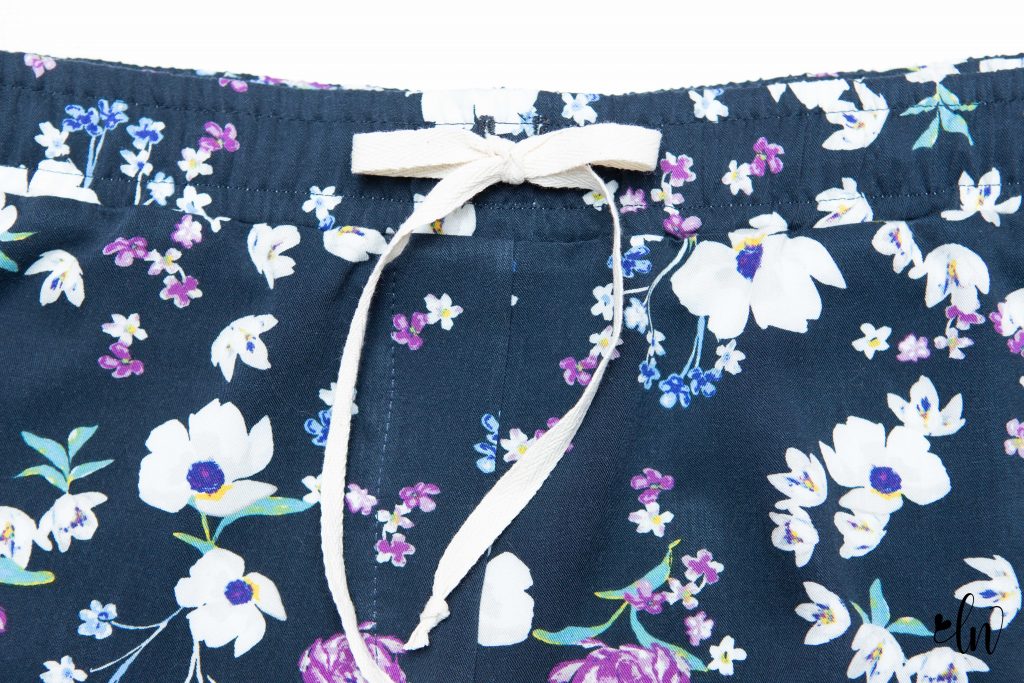
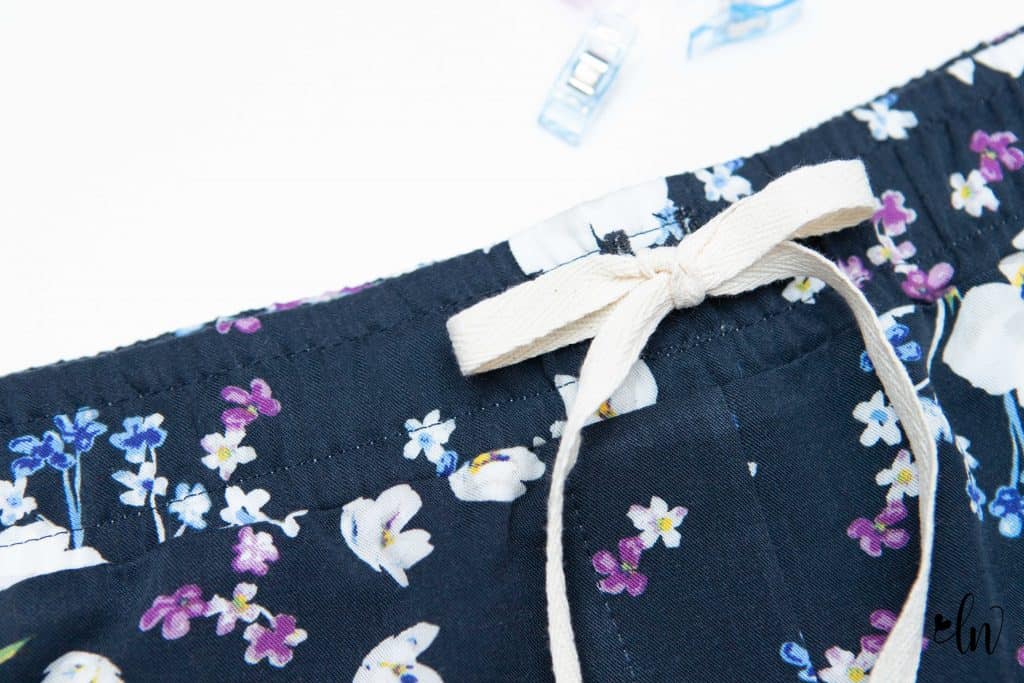
After the waistband is topstitched, thread the drawstring through. I like to use a bodkin. I fold the drawstring over to get a more secure grip. I’m using twill tape from Style Maker Fabrics for my drawstring.
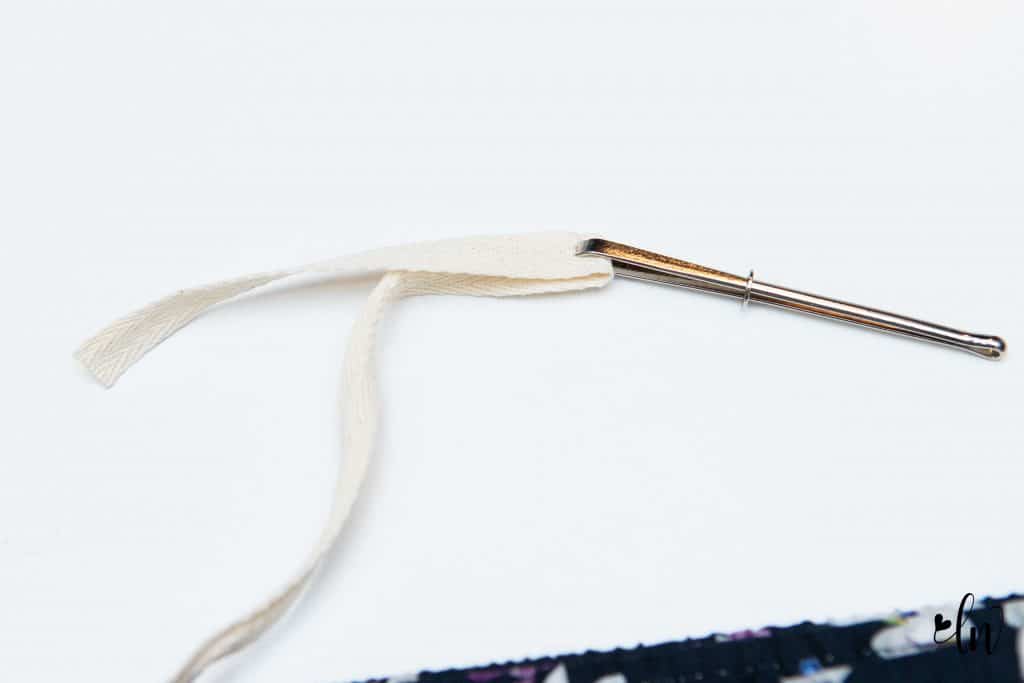
I secure the ends to keep them from fraying with a quick knot at each end.
Create a yoga waistband
The elastic waistband of the Allegro bottoms is comfy, but sometimes, we just need a yoga waistband. If you are out of elastic, or want a super quick sew, a yoga waistband is a great trick to have in your back pocket. You will need knit fabric with great recovery for this hack. I am using a poly spandex in tangerine from The Fabric Fairy. Cotton Lycra is another great option. You may have to adjust your numbers depending on your fabric properties. This are general and will work with most knit fabrics.
Measure your waist where you will wear your Allegro. Multiply that number by 0.80. My math as an example. My low waist measured 39″. 39 x 0.80 = 31.2 That is how wide my waistband needs to be. I cut my waistband 9.5″ tall because I prefer a wide waistband. To determine how tall you need to cut your waistband, take the finished measurement you are after, multiply by 2, add 0.75 for the seam allowance. If you want your waistband 3″ tall, take 3 x 2 + 0.75= 6.75 for your waistband height.
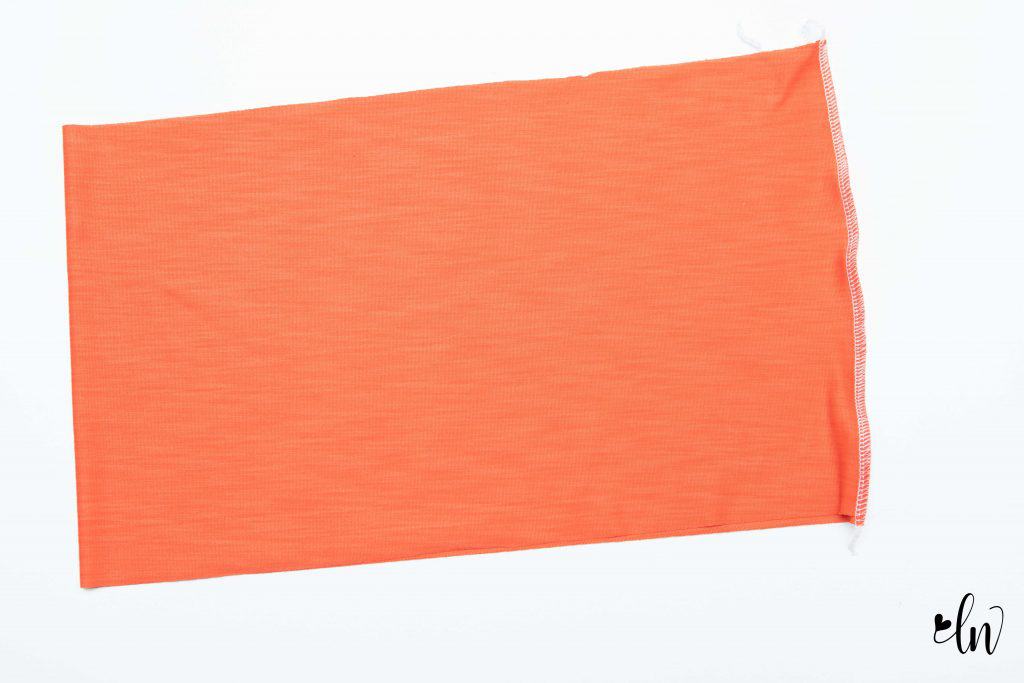
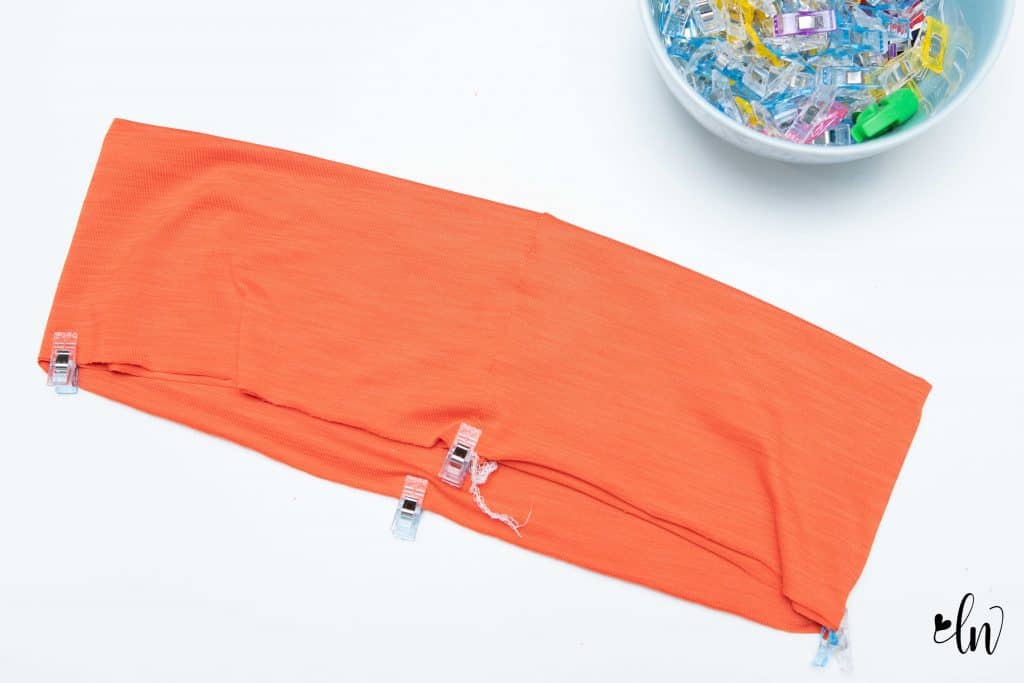
After your waistband is cut, fold it in half lengthwise, right sides together and sew the short ends together creating a loop.
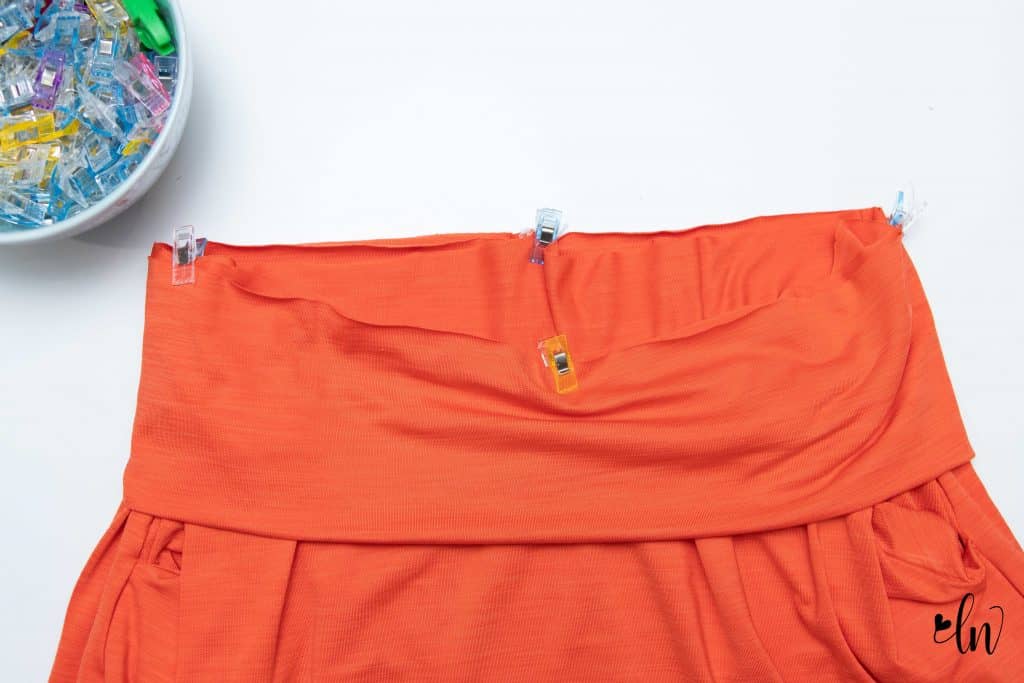
Now fold the waistband in half with the wrong sides together. (This is a great time to slip the waistband on to make sure it fits as you would like it to.) Mark the quarter points of the waistband.
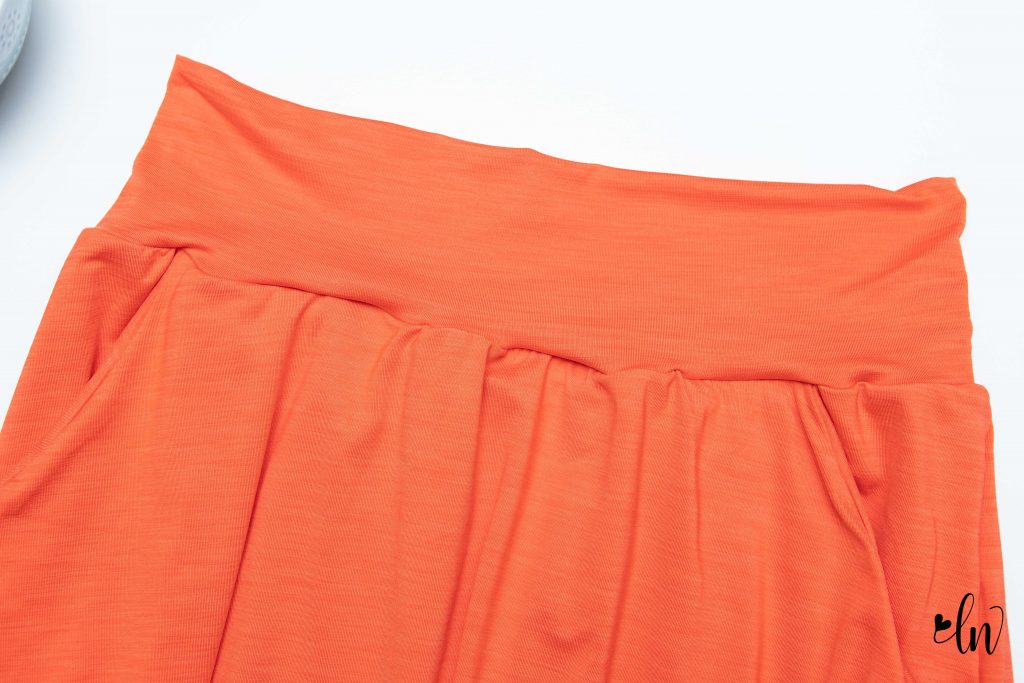
Place the waistband on the right side of the skirt, raw edges together and the quarter points lined up. Sew the waistband in place with a stretch stitch or serger.
A big big thank you for our sponsors for the Allegro Sew Along!
Style Maker Fabrics and The Fabric Fairy both provided the fabrics you see in this series. I will be using this gorgeous fabrics all week to create Allegro shorts, skirts and pants! Members of our Facebook Support Group will have a chance to win a gift certificate to each The Fabric Fairy and Style Maker Fabrics and Love Notions Patterns for sewing along with me!
[carousel_slide id=’397631′]
Sew Along Schedule
Monday: Fabric, measuring and adjustments
Tuesday: Sewing Pockets
Wednesday: Side seam construction, cargo pocket hack
Thursday: Waistband assembly, yoga waist hack
Friday: Hem, cuffs, skirt hem construction
BONUS! Pattern Hacks for Allegro & Fabric for Allegro
Pin this for later!
Shop Now
[carousel_slide id=’397631′]

