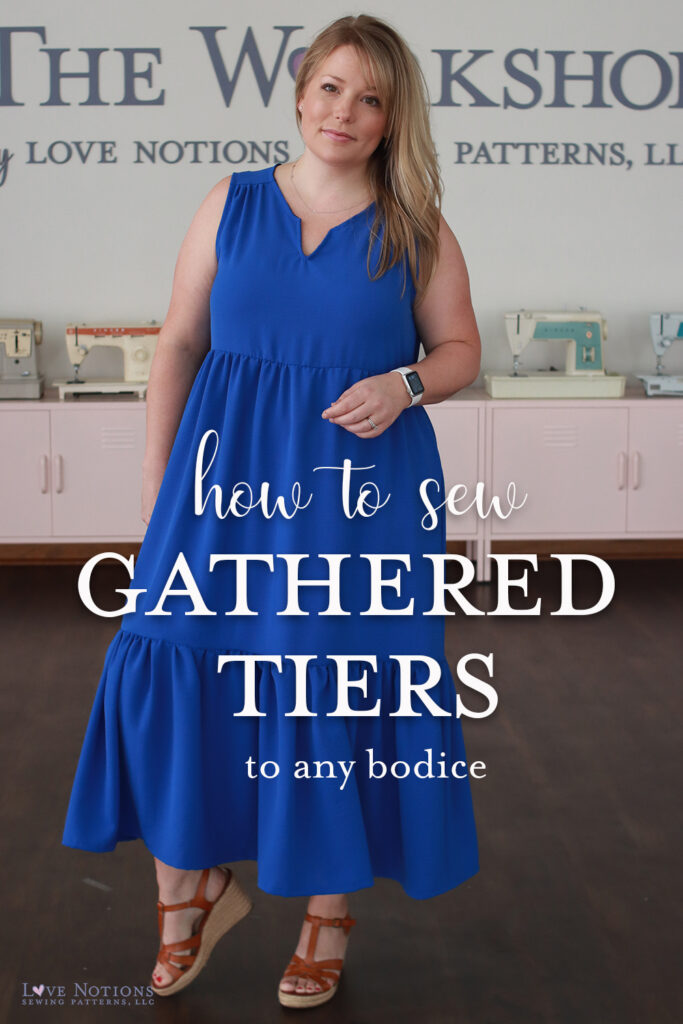
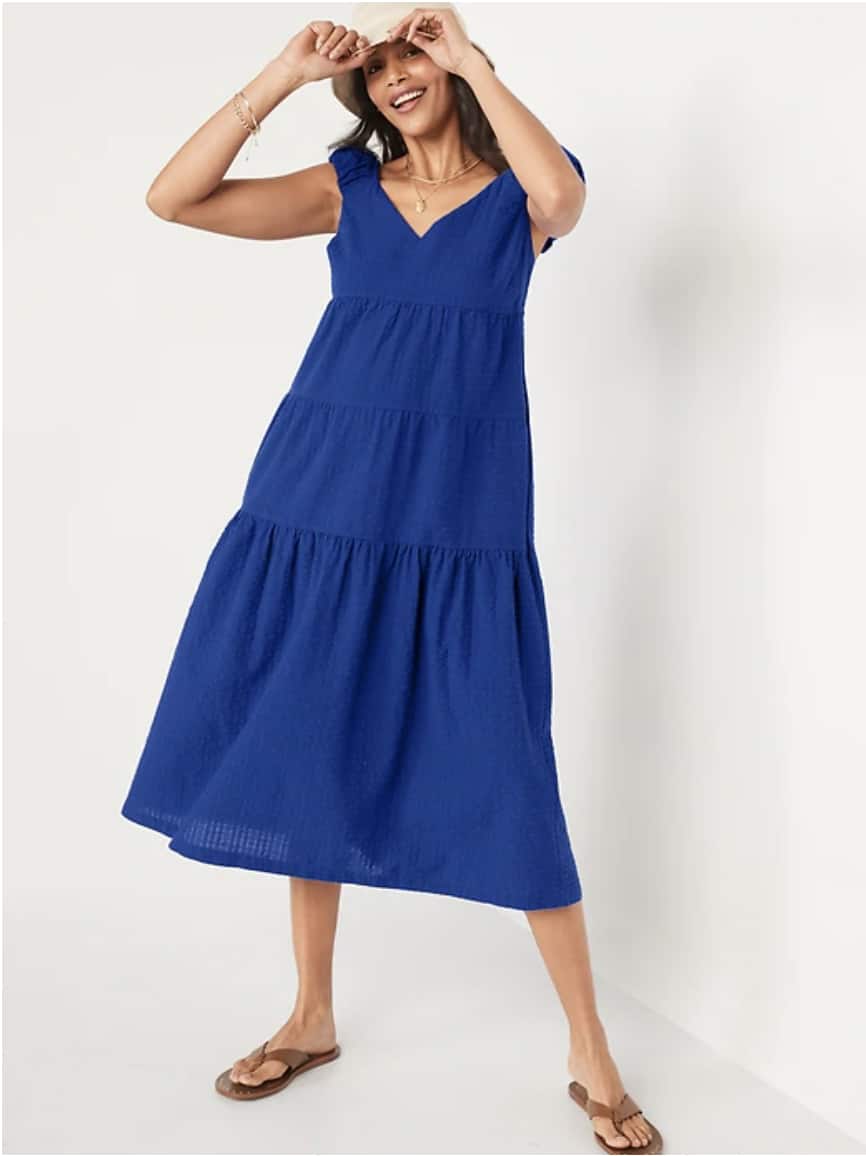
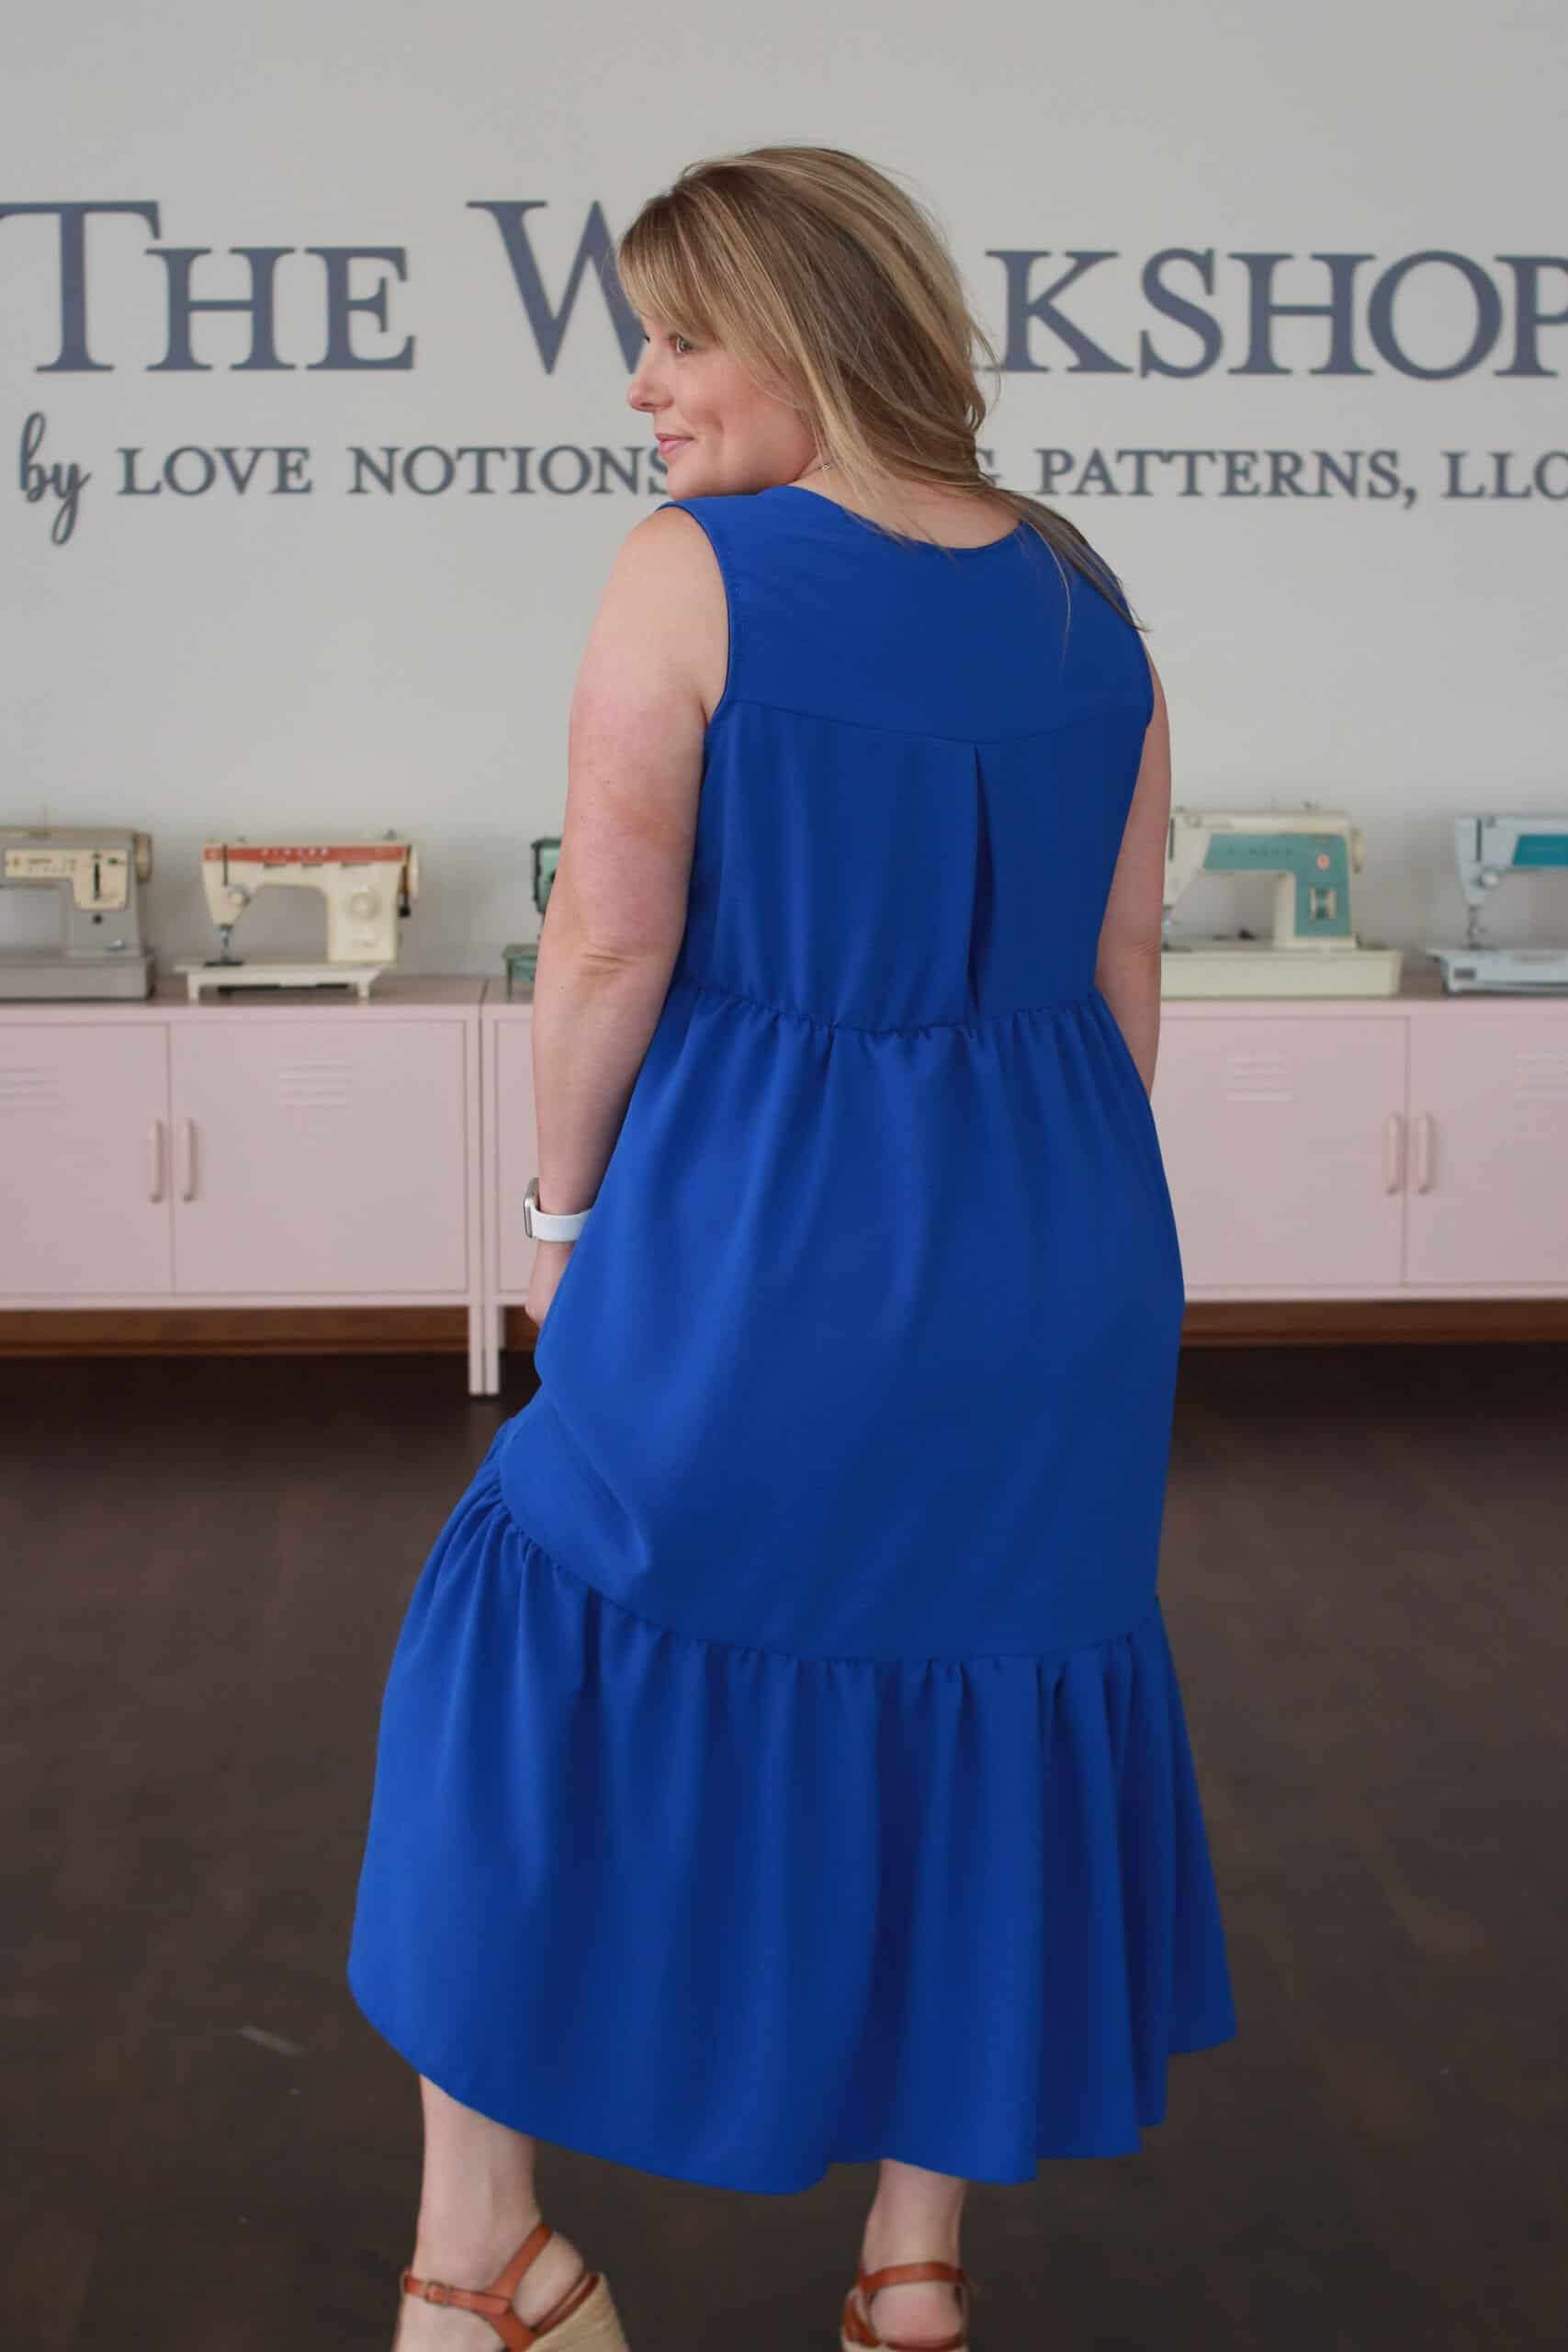
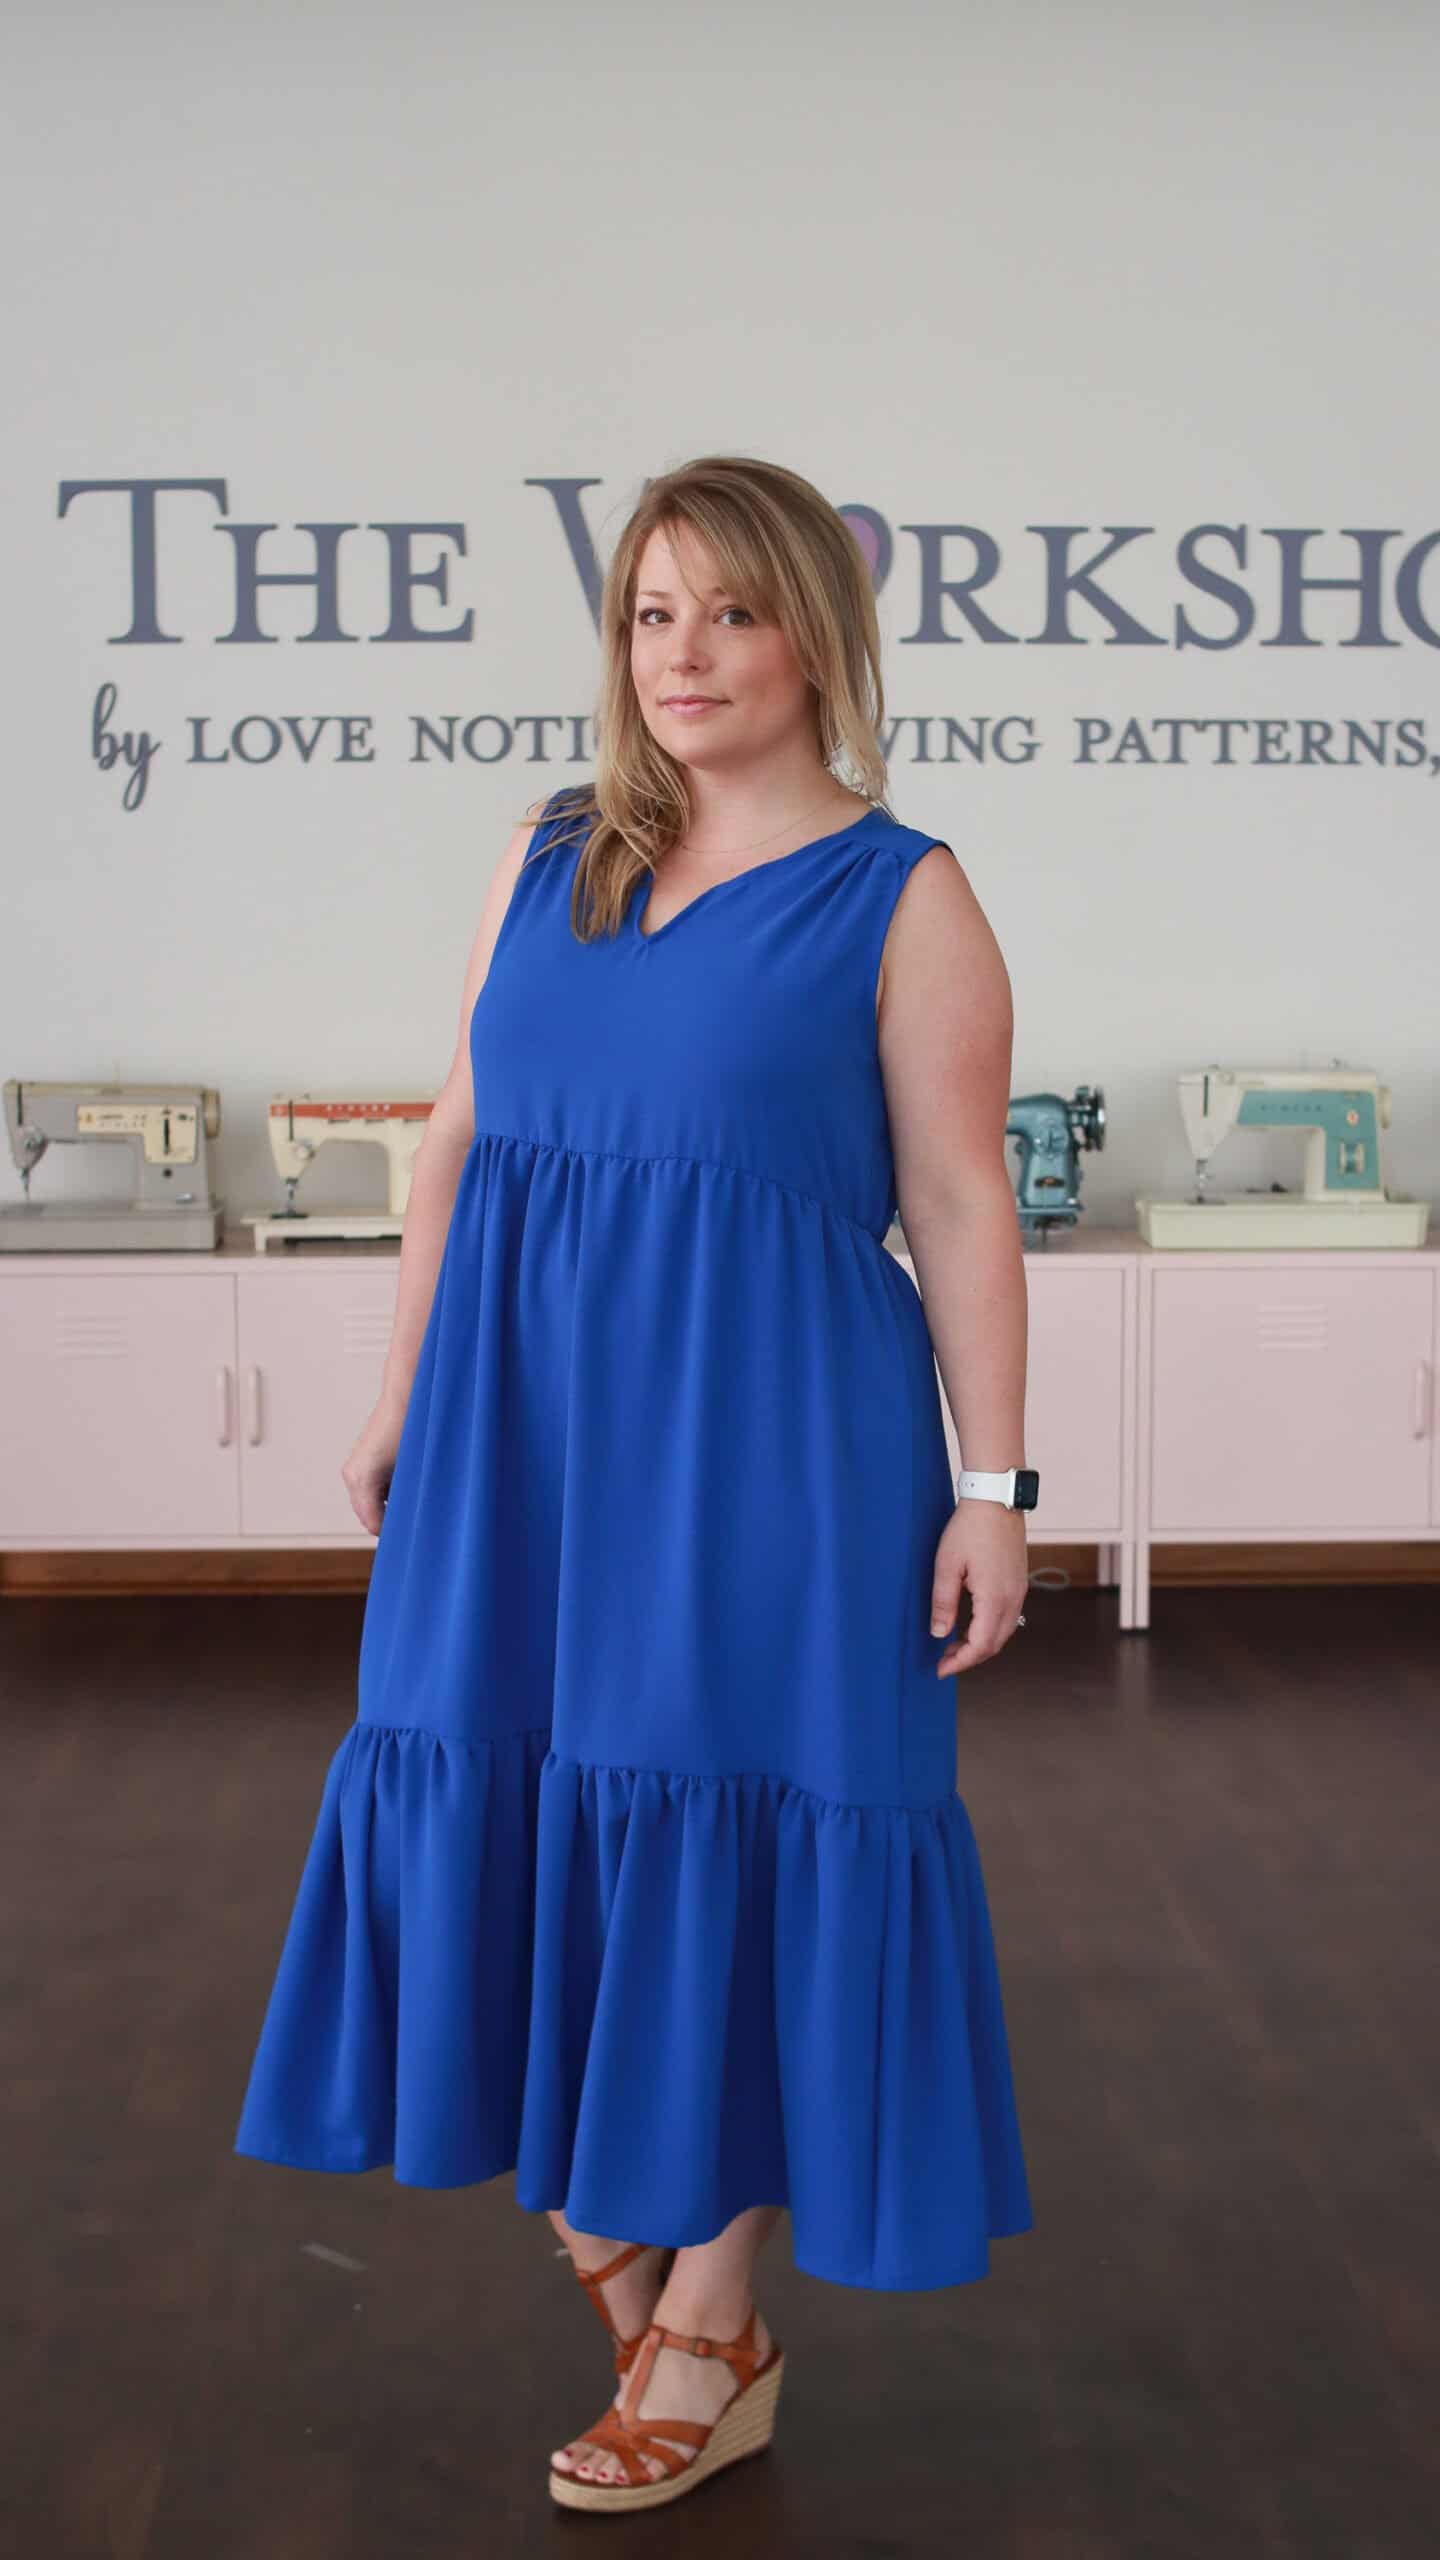
I recently posted this gathered and tiered skirt twist on my new favorite Rhapsody Blouse and Dress make on the Love Notions Pattern Support Group. My version has just a few tweaks from the original pattern — the gathered and tiered look is everywhere right now and I had just the fabric and pattern to create my own version. After I posted many requested a quick written tutorial on how I did it. So here ya go!

If you ever need any other sewing tutorials or topics covered, leave a comment or message for us! We have a huge collection of sewing resources – and a big list of requested topics that the ambassadors and LN team work through for our Sewing School and Focus on Fit blog series. You can also get tons more sewing resources on this table of contents page!
Ok, let’s talk about my #LoveNotionsPinspiration with the Rhapsody Dress.

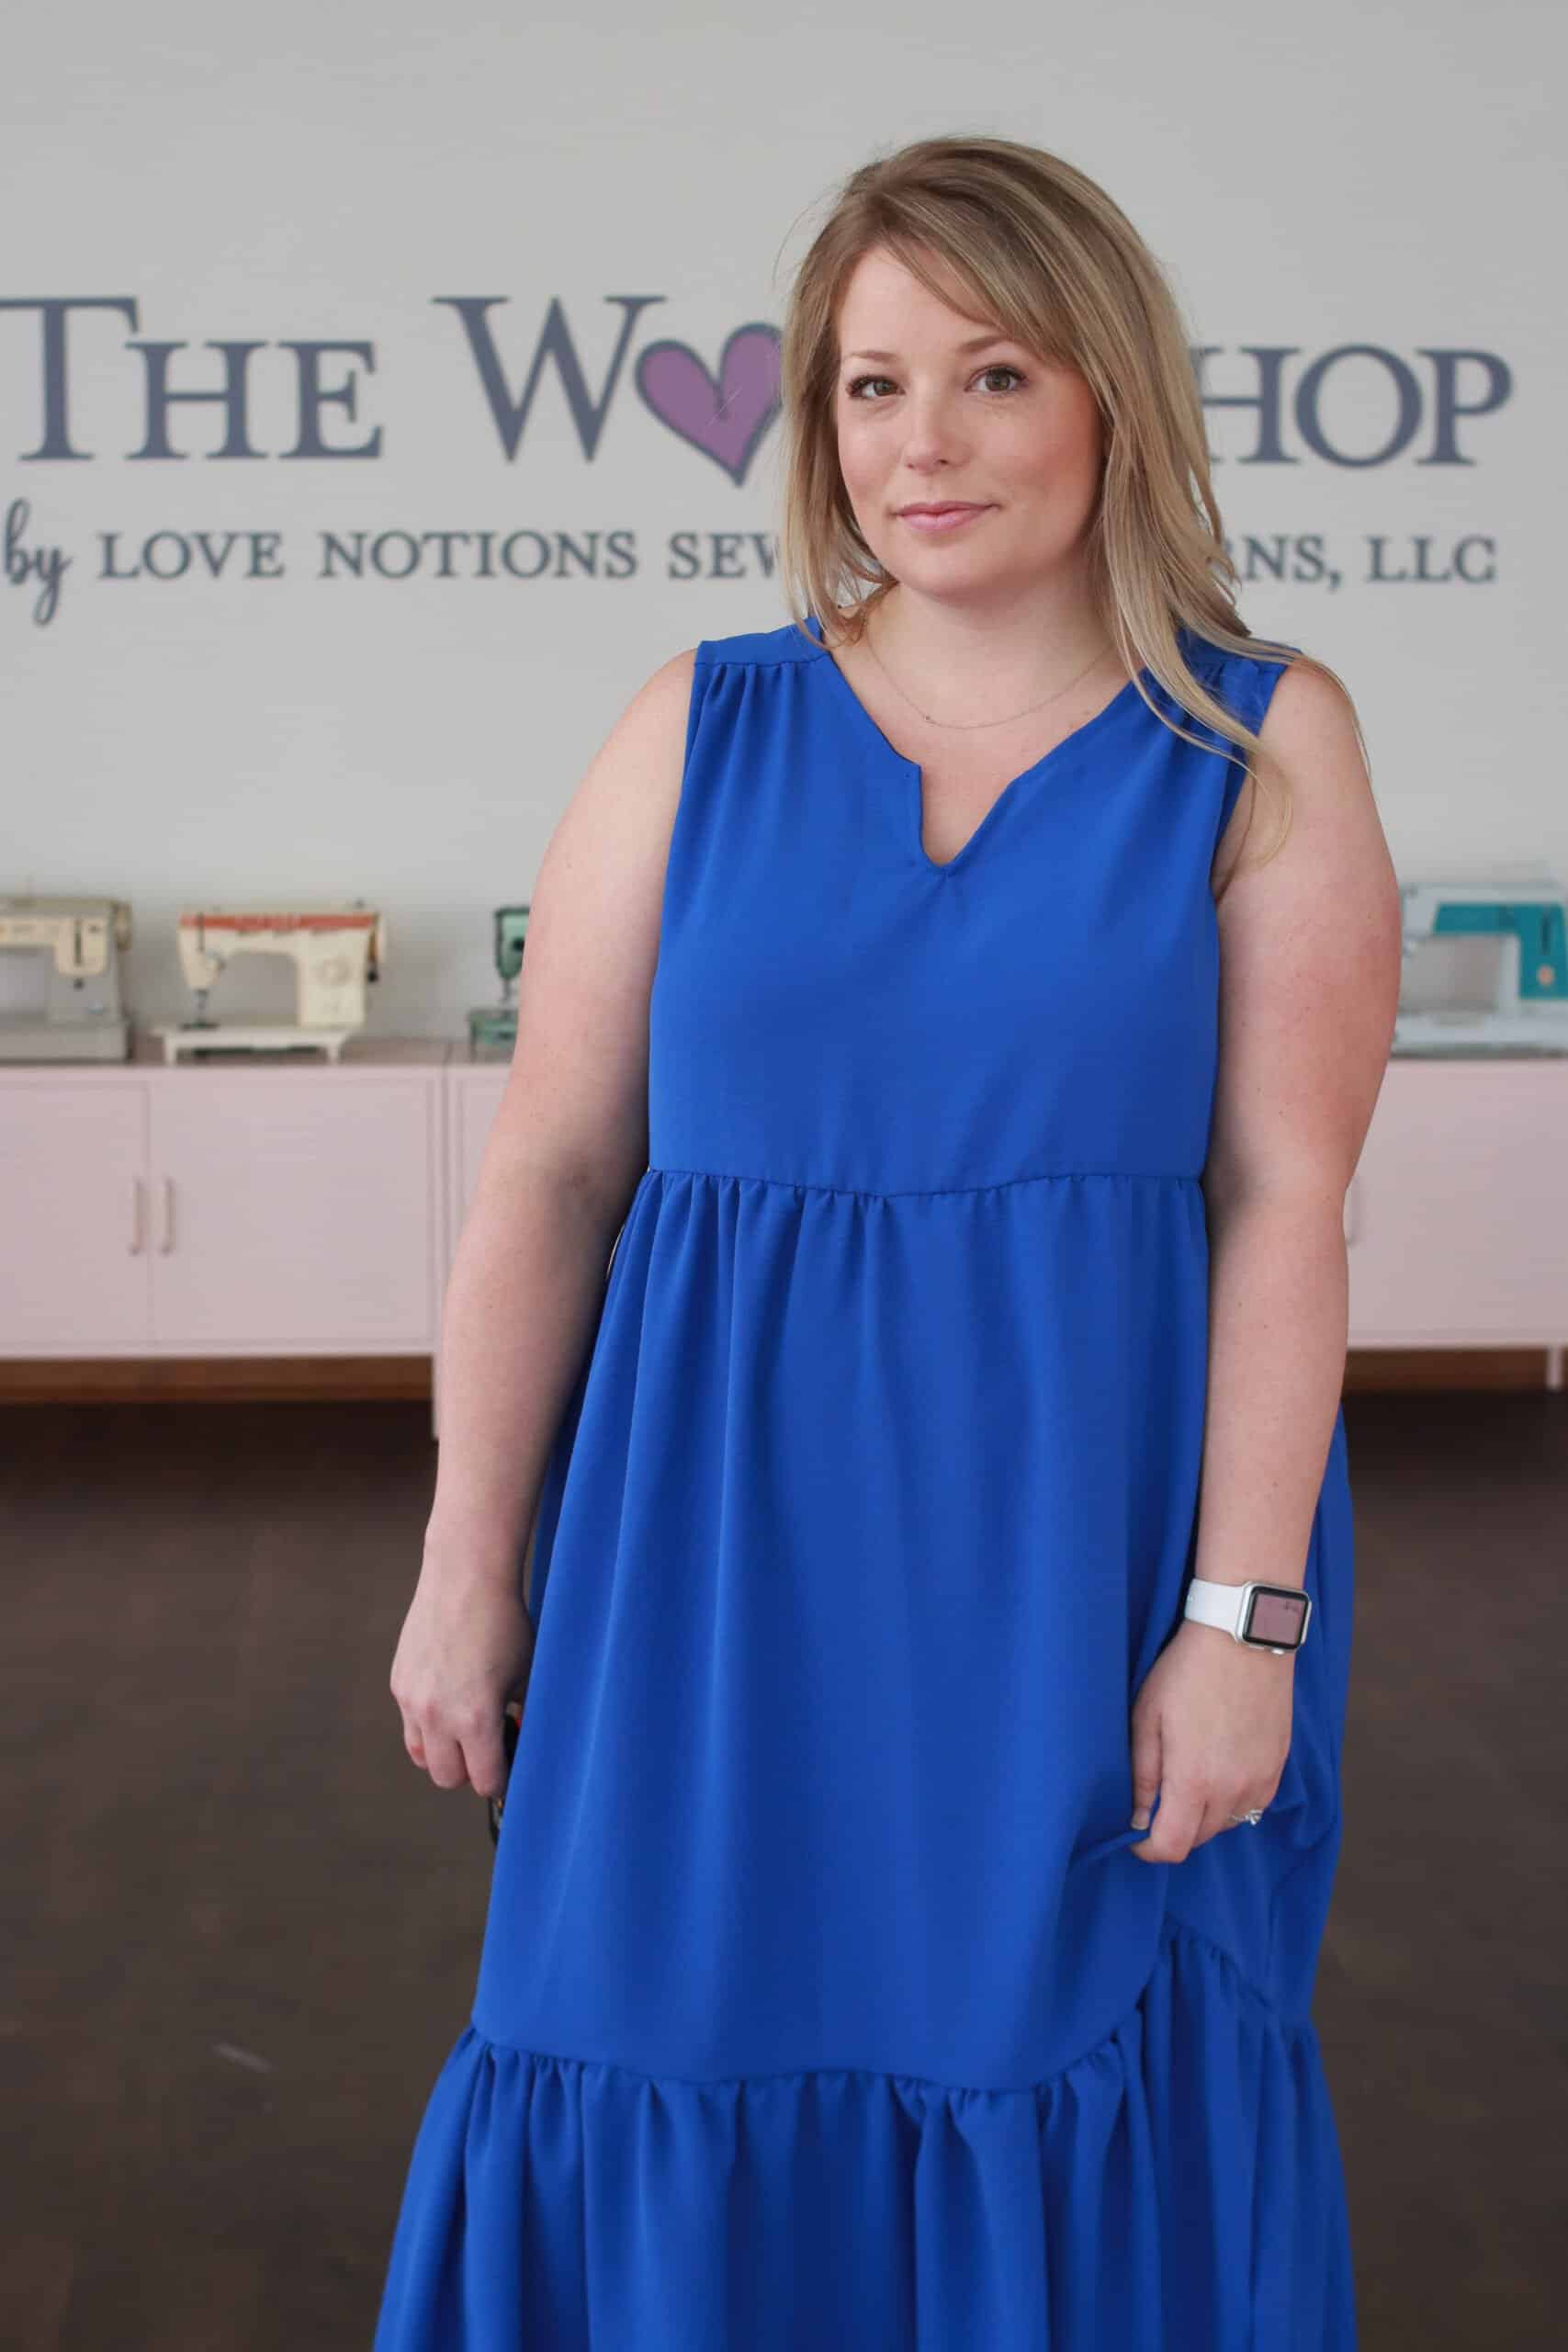
Tweaked version
So what did I do to get this gathered and tiered skirt look on my Rhapsody?
Here are the simple steps I took:
- Cut only the Rhapsody bodice pattern pieces and shortened the dress-length bodice about 2 inches per my preference. I wanted the bodice to end just an inch or two below my bustline as I held the pieces up to my body.
- With my remaining fabric folded over, selvedge to selvage, I cut a straight rectangle that was about the length from my under-bust to my knee. No formal measuring. This became the top tier of my skirt.
- While the remaining fabric was still folded, selvedge to selvedge, I cut it straight across into two equal rectangles that were about the height of my knee to mid calf. This became the bottom tier of the skirt. (PS — this was basically a zero waste make! Almost every scrap of my 2 yard cut was used — aside for the bits and pieces around the bodice cuts.)
- Then I sewed the top skirt side seam, RST, and marked the quarter points on the top and bottom.
- Next, I sewed the two shorter rectangle pieces that created the bottom tier of the skirt, RST, along both side seams. Then I marked the quarter points along the top. I also finished the hem of the bottom tier at this point by serging it and folding it up into a narrow hem and then topstitching.
- Next, I used clear elastic to create neat and even gathers for my tiers. I think this is the easiest and fasted way to create gathers. I did this by measuring the circumference of the bodice with the clear elastic (careful not to stretch). The circumference of the bodice is affected by pleat in the back, so I just basted the pleat on the bottom similar to how it was done on the top where it attaches to the yoke. Then I sewed the ends of the cut elastic together and marked the quarter points.
- Then I sewed the elastic onto the top of the first skirt tier onto the wrong side of the fabric – matching quarter points and stretching the elastic — but not the skirt fabric. I used a triple zig zag stitch.
- Next I finished that seam with a serger. My serger goes over clear elastic just fine but test yours out to make sure it will go over safely.
- Then I repeated the same process with the bottom tier of the skirt.


on my 2 yard cut. Bottom was all the leftovers cut into a shorter rectangle.
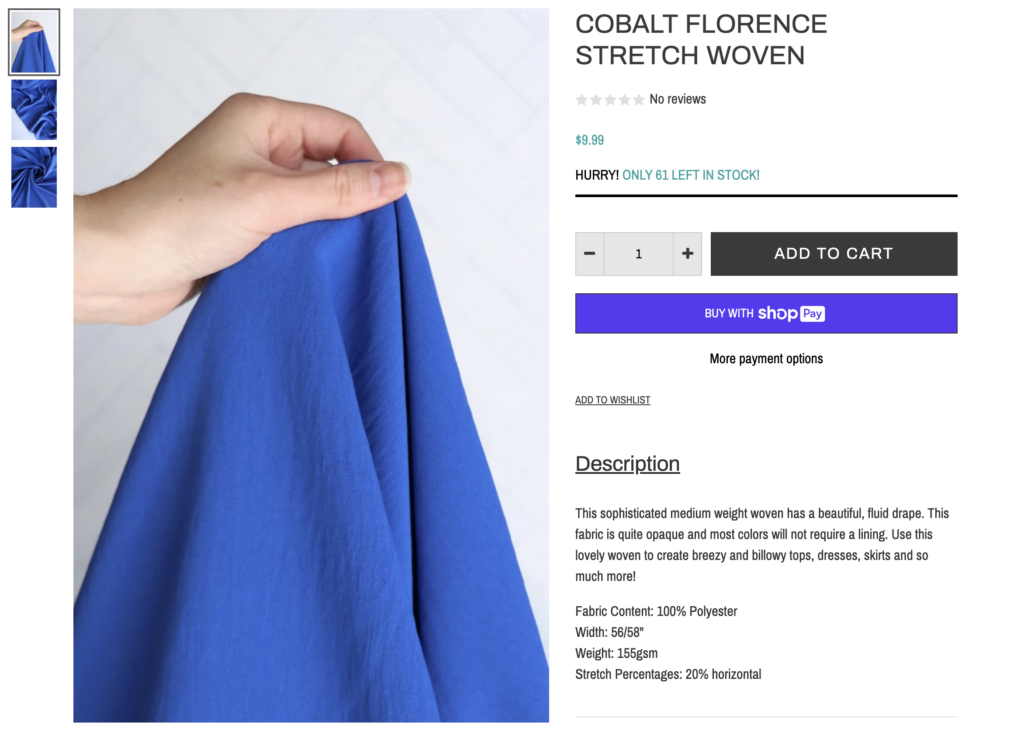
Fabric Details for my gathered and tiered skirt hack
You can find my fabric at Surge – it is a lovely stretch woven in cobalt blue. It was just the right weight for a light summer dress – but it still provided an opaque look for my flowy dress. Sometimes you can see right through a lightweight woven — but not this one. Also this fabric has the coolest texture to it – it’s not super slippery and shiny but instead it has an almost crepe feel. It’s very cool to the touch and I know its going to keep me feeling breezy and light during the humid and hot weather we have coming our way.
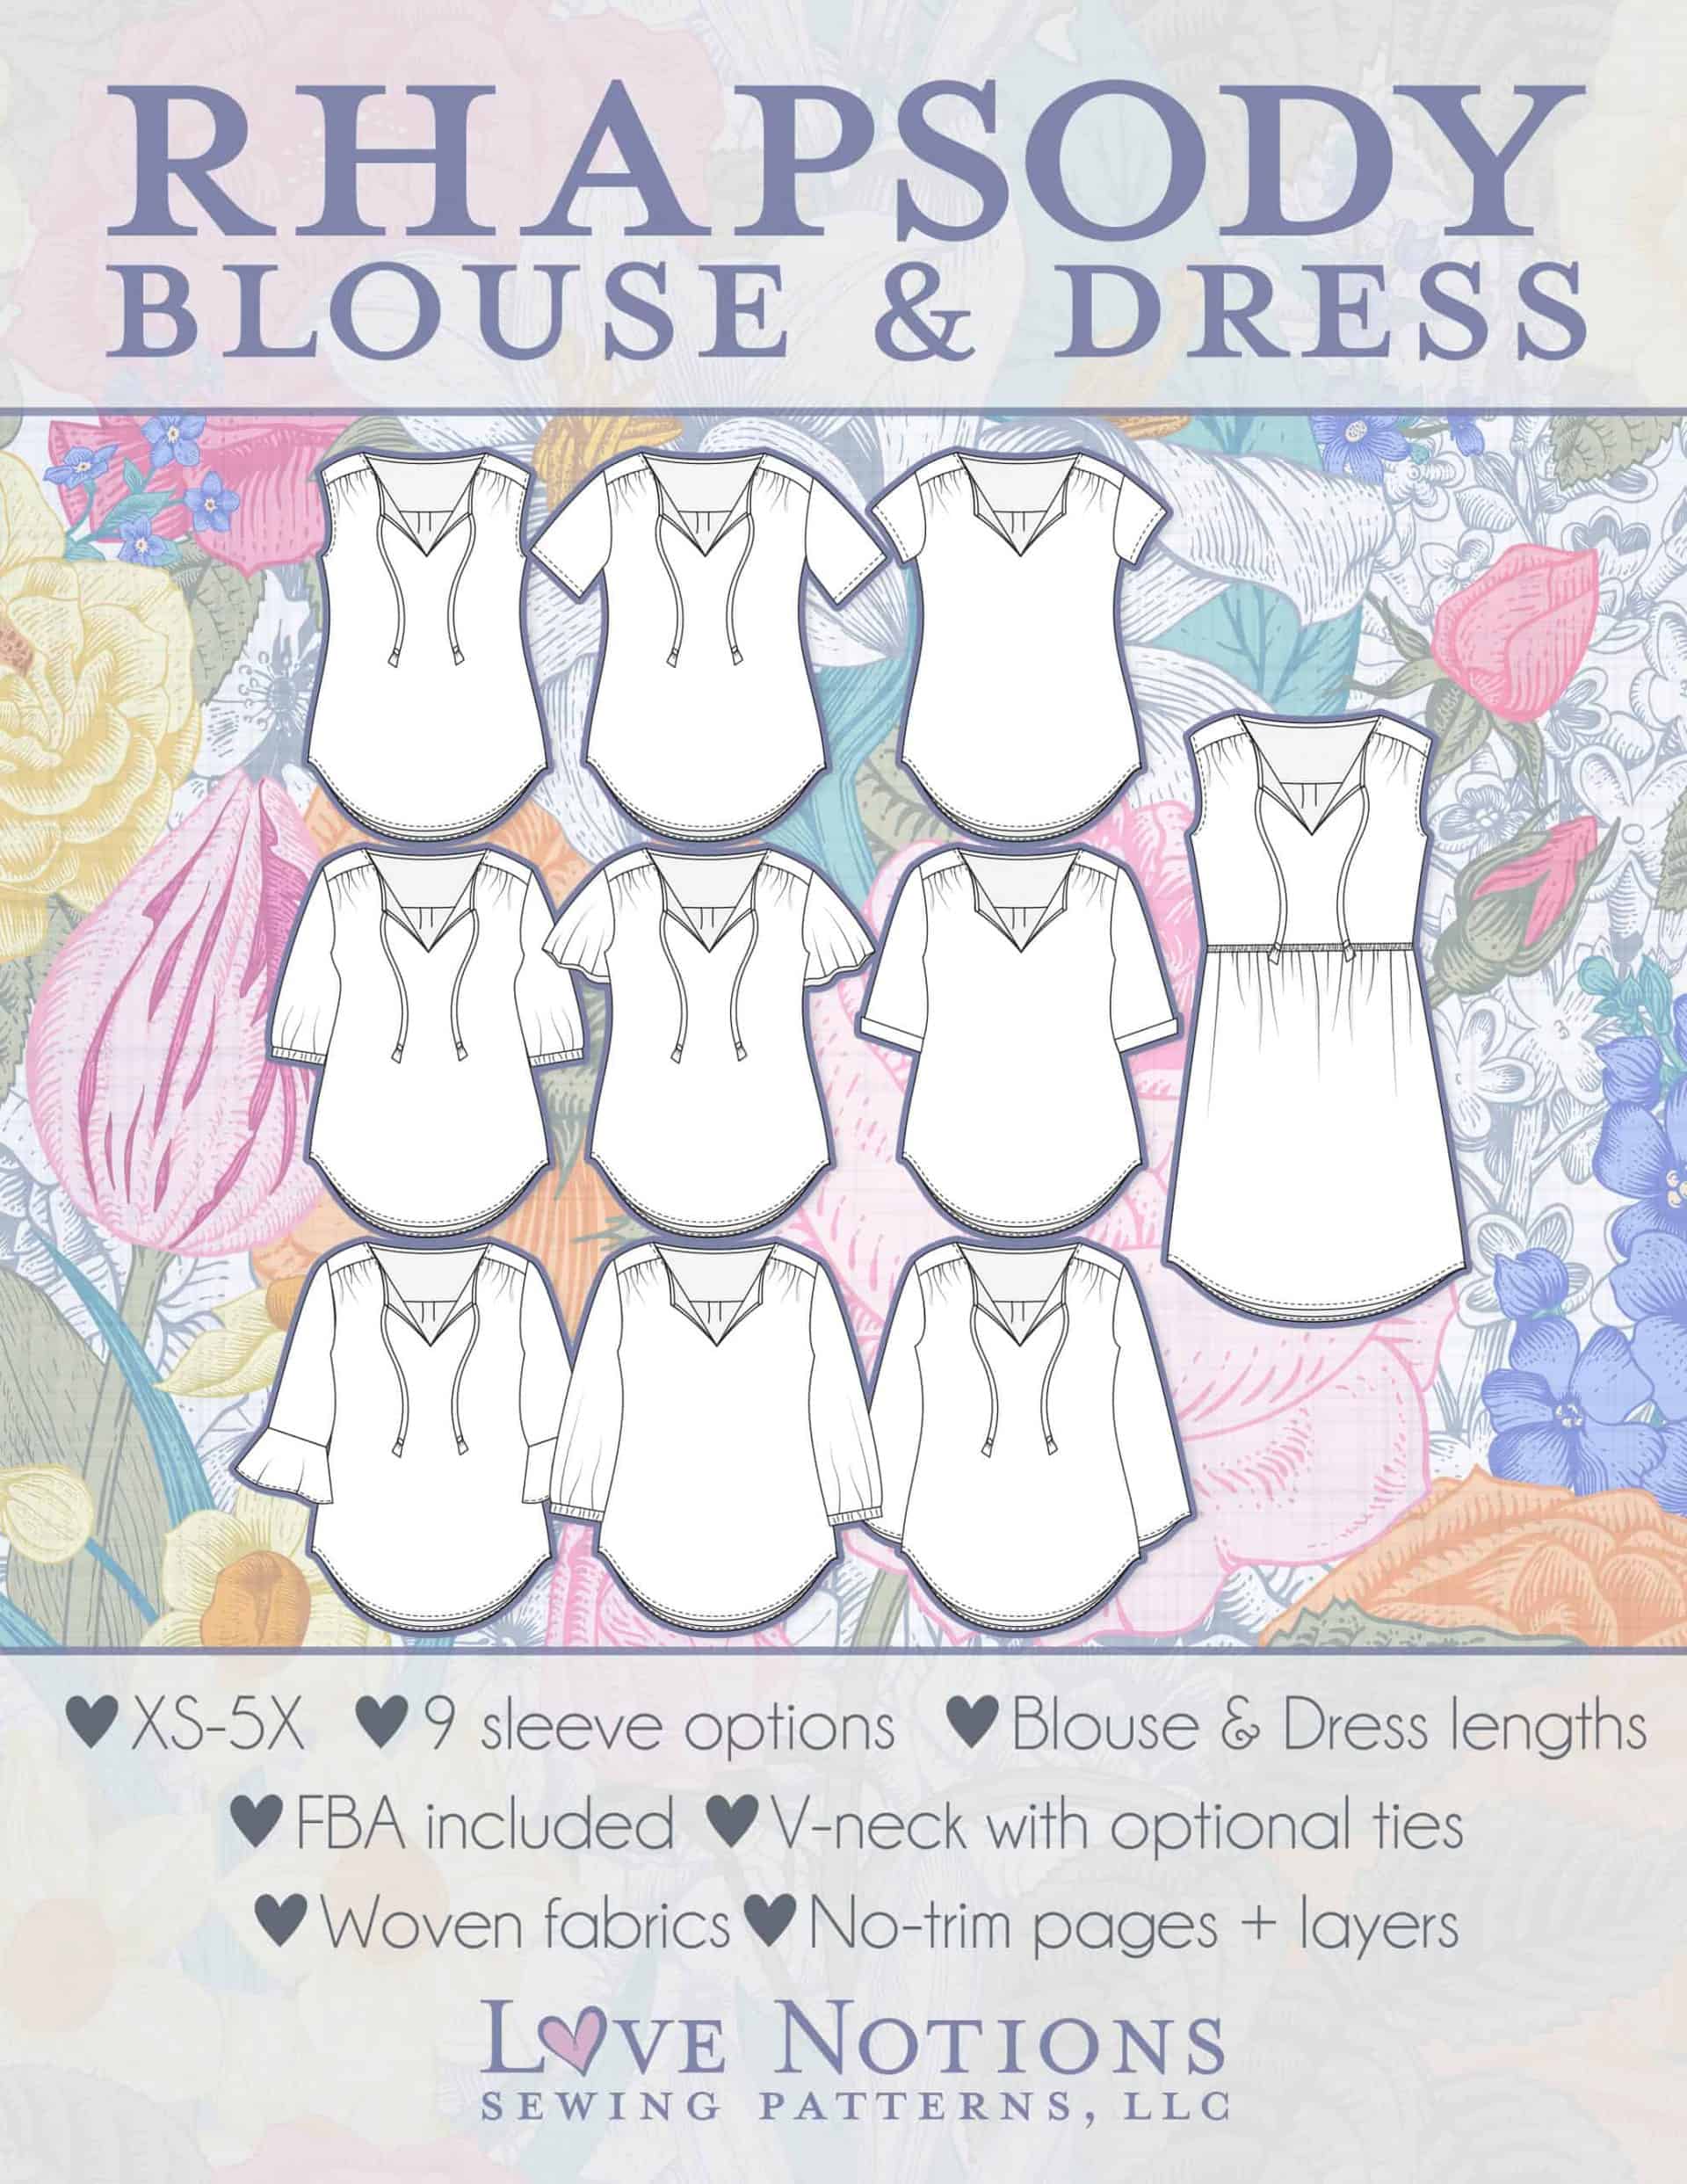
Use the gathered and tiered skirt technique on these patterns:


Save this gathered and tiered skirt post to your sewing Pinterest Board: