Whether you are a new sewist, experienced sewist, or somewhere in between, there’s one thing everyone needs to know: how to take accurate measurements. When it comes to sewing, it starts with measuring!
My name is Katie and I’m a long time crafter, sewist, and creative. I sew for myself, my family and friends which you can find more about on my Instagram. Each and every time I make a new item for someone, I always measure them. There’s nothing worse than taking the time to make a lovely item and it not fitting! Before we jump into Taking Measurements though, there’s a Feature Friday we should talk about!
This week there’s not one, or two but THREE Feature Friday raglan patterns! The awesome collection of raglans including the Rockford Raglan for adults plus the Wrigley and Samson raglans for kids. I love raglans and how the same pattern can give so many different seasonal vibes depending on the options you choose. What I love most about raglans though is that they are speedy sews.
All about Rockford Raglan Sizing
The Rockford is a great base raglan pattern in sizes XS-5X. It’s loose fitting with four different views, three sleeve choices, full bust pattern pieces included and even a cowl add-on. As with all Love Notions patterns, there’s a projector file included too. If you are a projector sewist like me, you’ll appreciate that! For this camo Rockford, I used the Shirt Length straight length with banded hem. I love a more classic sweatshirt look with coordinating rib knit for a pop of color. This pattern recommends selecting a size based on your high bust measurement then grading if needed. My high bust is exactly 35” which is a size medium. All my other measurements put me in this size as well.

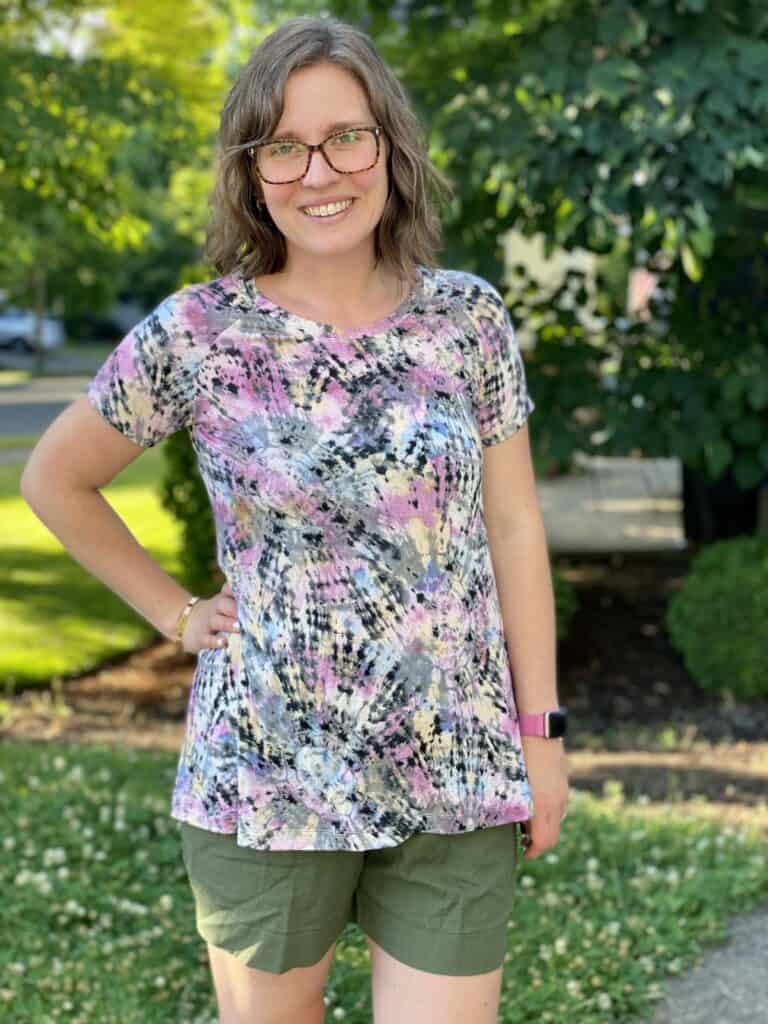
Raglan’s aren’t just for winter though and since it’s still hot around here, I knew a short sleeve Rockford could be worn for a while longer. This one I went with the tunic length with swing and short sleeve in rayon spandex. Here’s where measurements and fabric selection make a difference in fit. Even though my high bust is 35” and correlates to a size medium, I chose to size down to a size small based on the drapier fabric and finished measurements provided. If you are sizing down, make sure you understand what the finished measurements mean so your item doesn’t end up too small.

All about Sampson Raglan Sizing
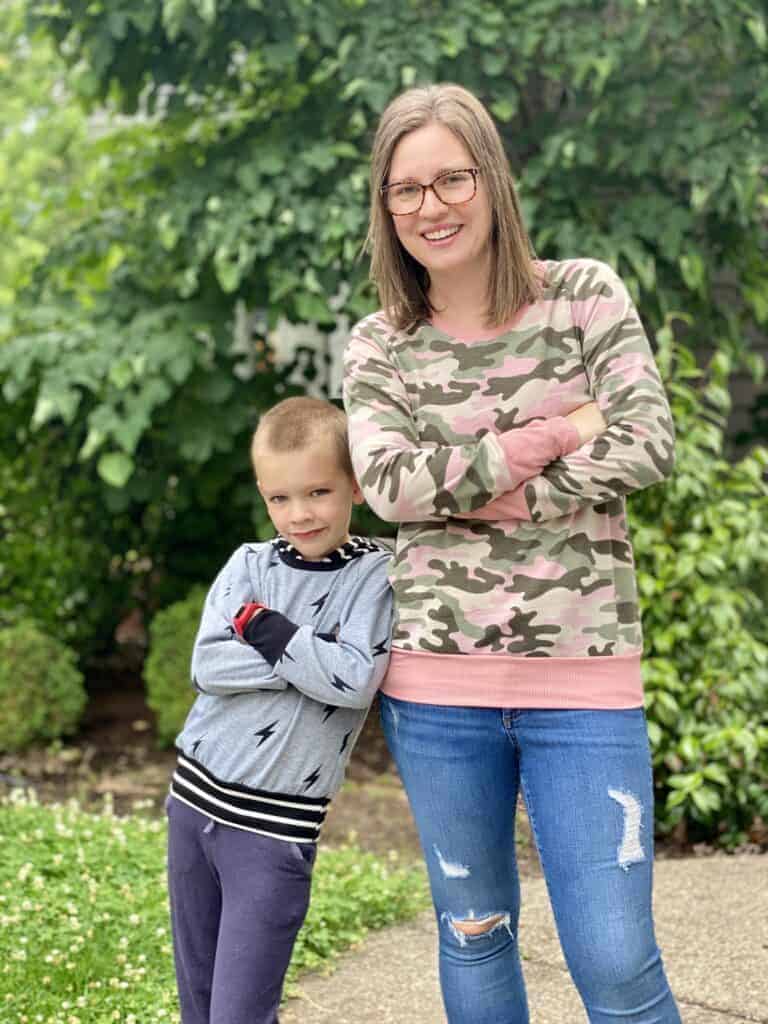
Let’s take a minute to talk about sizing for kids real quick too. Kids grow quickly and frequently, meaning you should constantly be measuring them. When sewing this Samson for my oldest, I took a few things into account:
- First, the pattern is meant as an overlayer and has built in ease for that.
- Second, while it recommends sizing down if using regular knits, that doesn’t mean sizing down in length.
- Third, when sewing for kids if they are close to the top of a size for height, always make it longer. I never regret adding length to sleeves or hems.
I loved making this Samson as it has such a unique neckline with a neckband and hood.


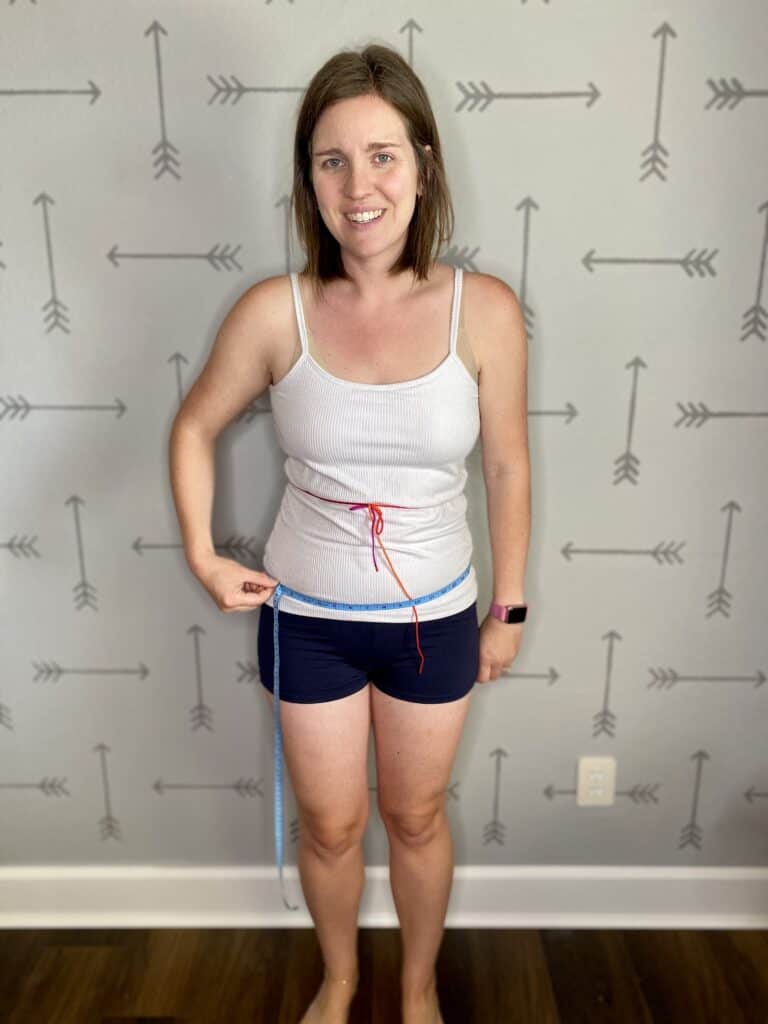
Measuring the body that you intend to sew for is essential in achieving the best fit of a garment.
Before you get started measuring yourself or the garment recipient, make sure they have on the proper undergarments. You want to be measuring as close to their body shape as you can. What this means is, have the person remove any bulky or extra layers. Keep in mind, a measurement over garments such as jeans or a padded bra will result in a larger shape and can result in a final garment that’s too large.
How often should you re-take measurements?
Daily or as often as needed. For kids, I’d recommend monthly as they grow quickly.
Is it best to measure yourself or have a helper?
It’s always best if you can have a second person help record measurements. Measuring yourself adds some challenges but it’s not impossible to do. I’ll give tips on that as we go.
How do you keep track of measurements?
Recording measurements is very valuable when sewing repeat items for a person. Love Notions also has created a Measurements Chart which is a printable PDF for you to record and track measurements.
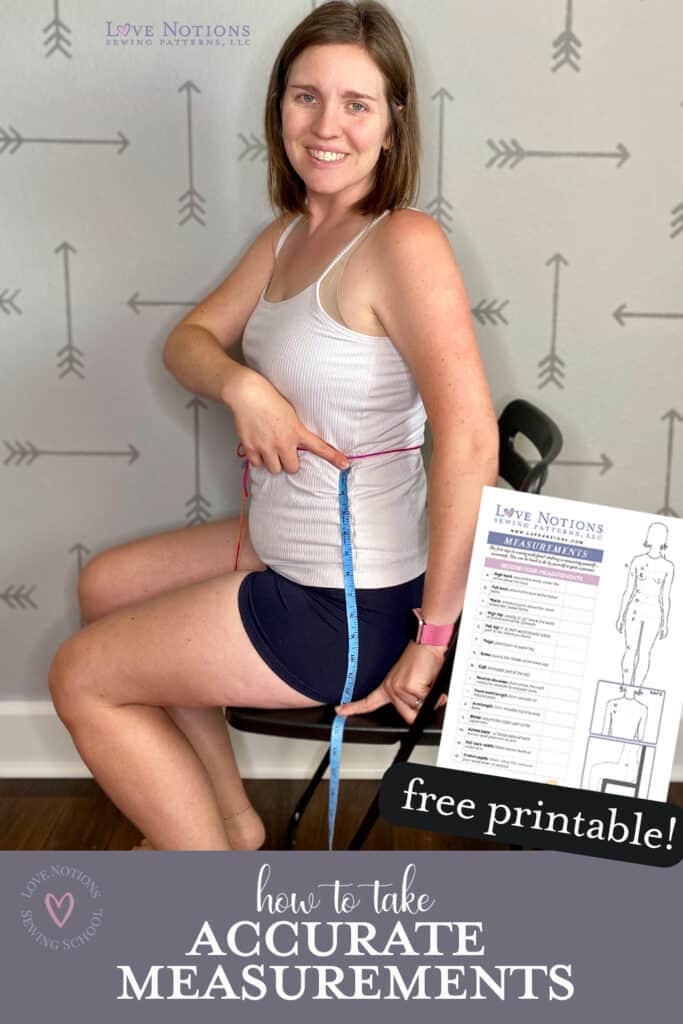
I find this very helpful as it also gives tips on where each measurement should be. *Tip- Printing this and laminating or putting it in a picture frame allows for you to always have easy access and visibility of your measurements on hand. You can use an expo marker to update any changes too.
I personally use a Google Sheets document where I can add columns for updated measurements for each person. I find this works best for me since I can access and update measurements from my phone too.
Tools you will need:
Measuring tape
String
Pencil
Let’s get measuring!
I start my measurements from the top of the body and work down. When you get used to this process, it becomes a habit. When measuring, the tape should be taught but not tight.
Upper Bust
Wrap the measuring tape around the body above the bust, in the armpits. Make sure the tape is straight across the back and isn’t up into the armpit. I prefer to take a deep breath and shrug my shoulders before recording this measurement to ensure I’m relaxed.
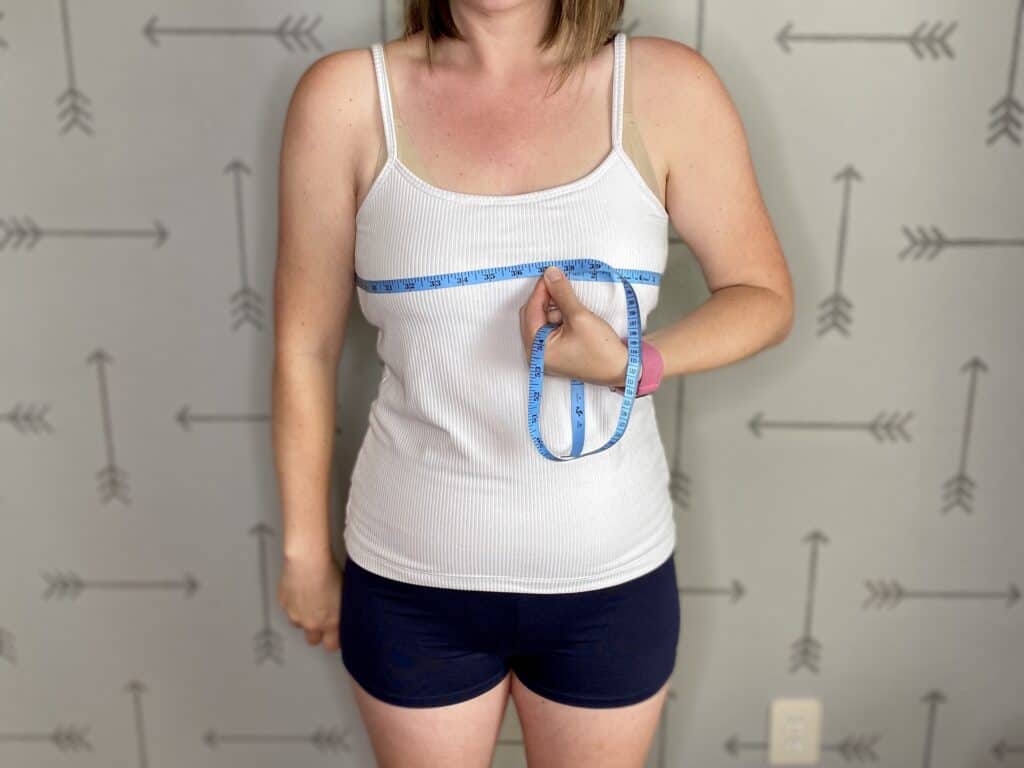
Full Bust
Wrap the measuring tape across the bust, ensuring it is straight across the back. This should line up across the nipples. Remember, measure with undergarments you intend to wear.
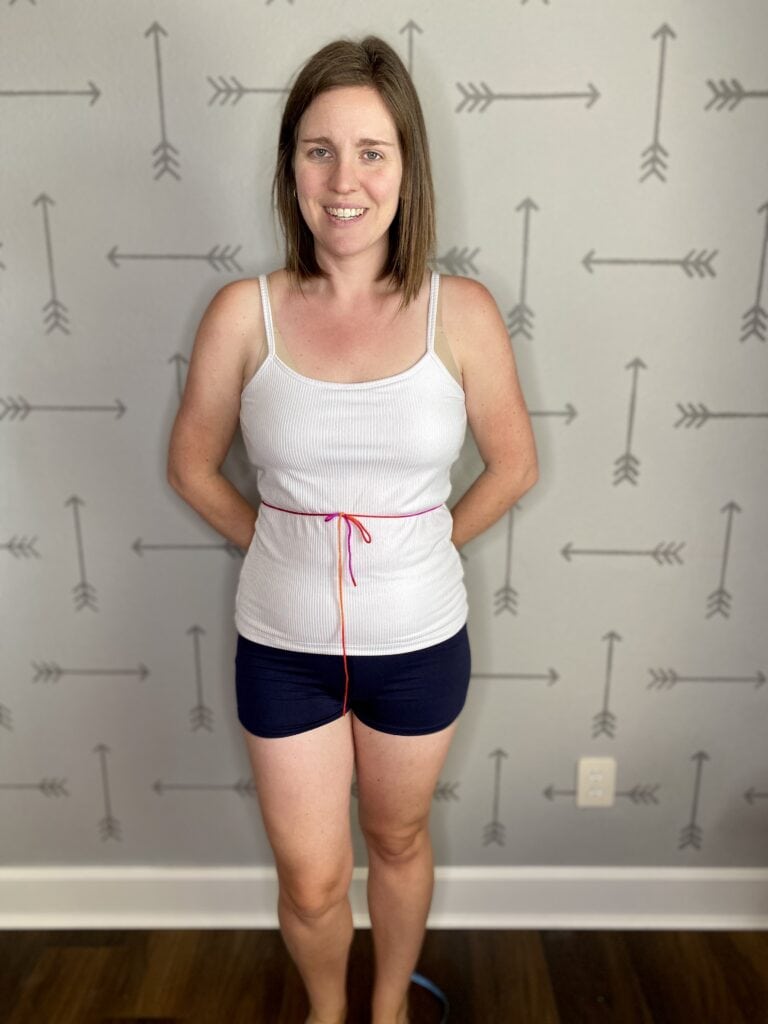
(Natural) Waist
Measure around the narrowest part of the body, usually several inches above the belly button. This is not at the belly button. *Tip- Tie a piece of string around the body then jump several times. Where the string lands is the waist.
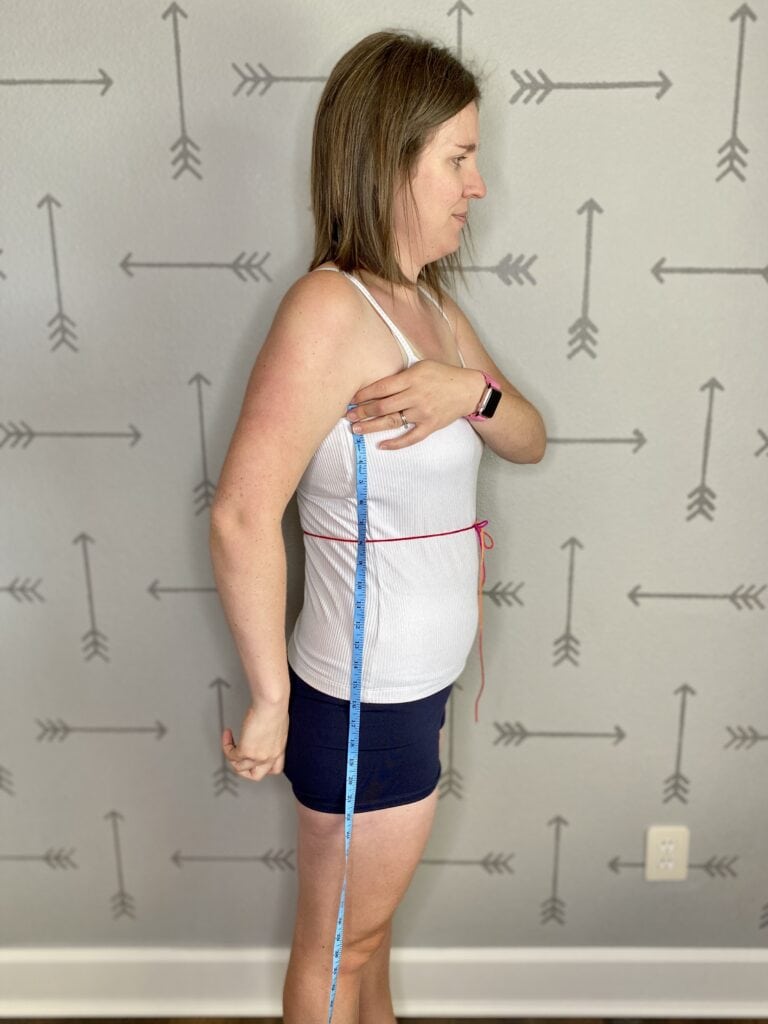
Side Waist
With arms relaxed, measure from armpit to waist measurement. This is where the string helps as it’s an easy guide. This measurement helps identify if you need to add or remove length from a bodice
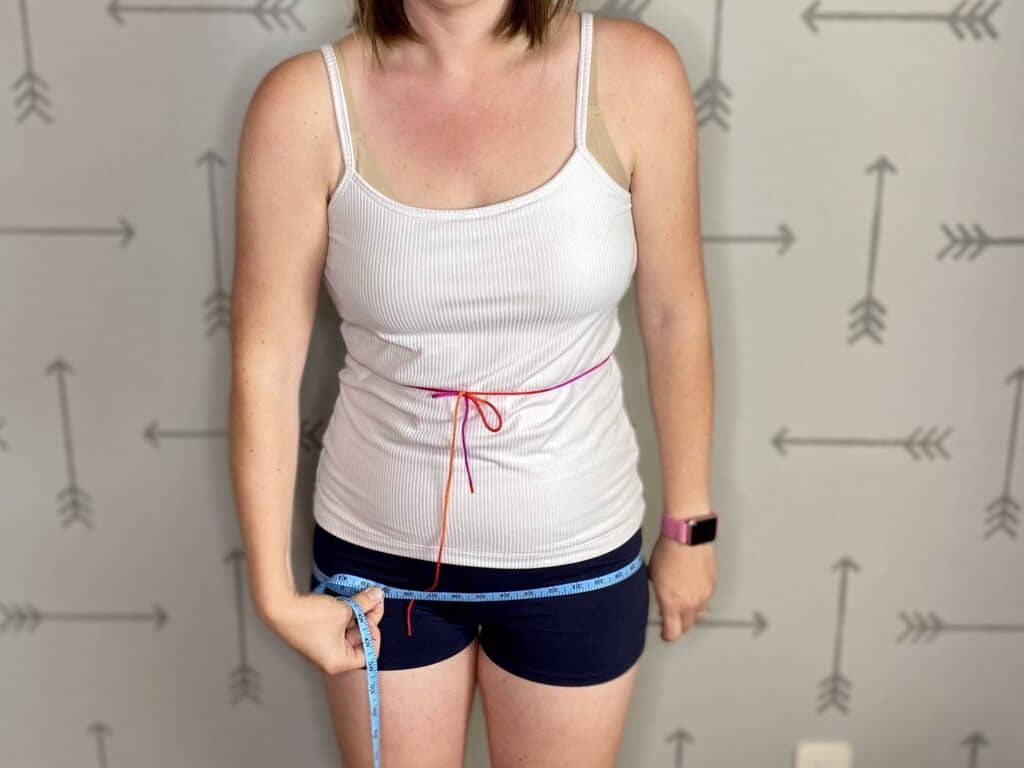
High Hip
Measure around the fullest part of the hip, across the hip bones and fullest part of the stomach.
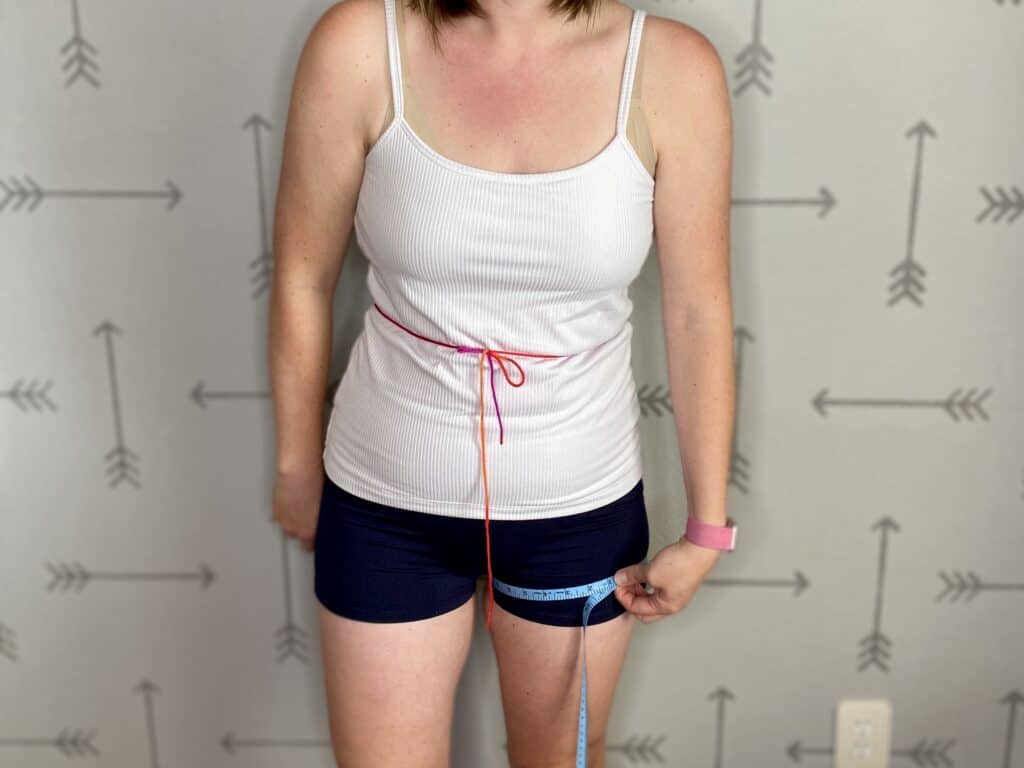
Full Hip
Around the fullest part of the hip and booty. If you bend, the tape should go across the bend. *This measurement can be difficult to get straight across the body. I’d recommend a mirror to double check the measuring tape is in the correct place.

Thigh
Measure around the fullest part of the upper leg, just below the crotch.
Knee
Measure around the knee cap.
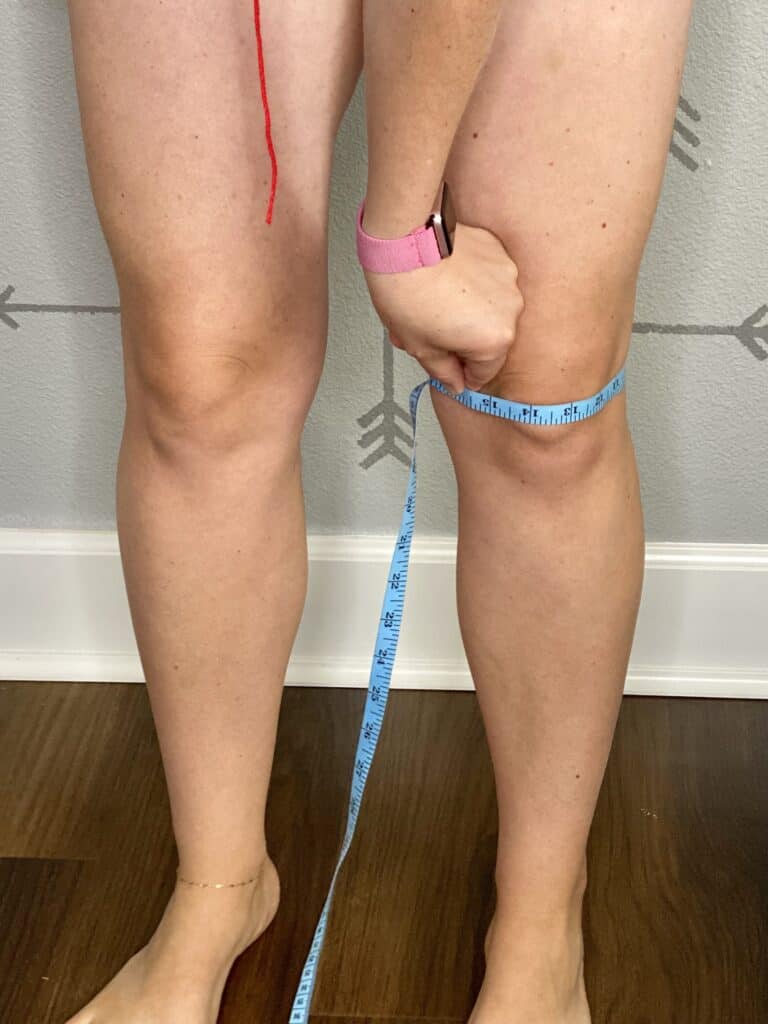
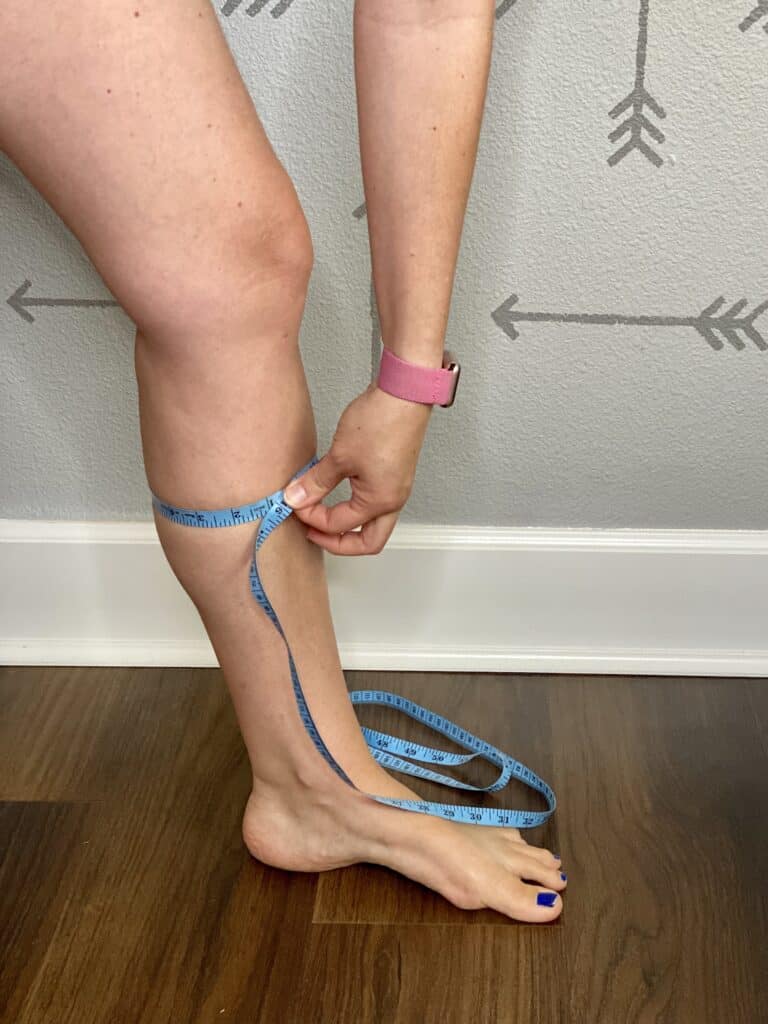
Calf
Measure around the fullest part of the calf.
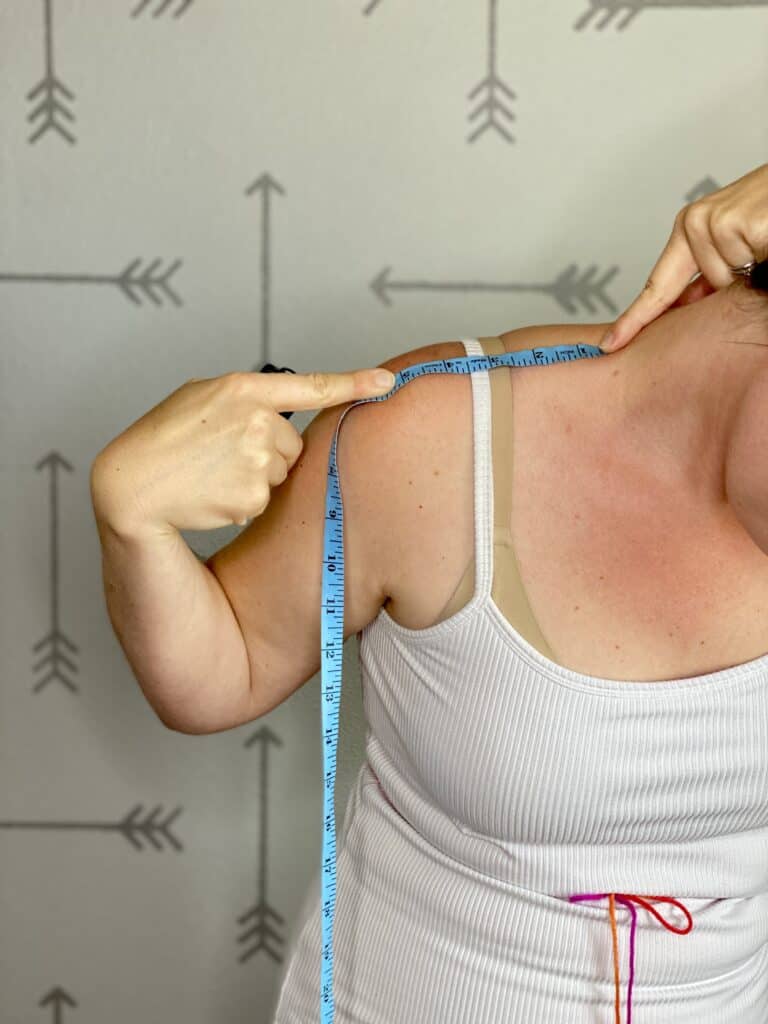
Neck to Shoulder
Measure from the neck to the shoulder bone. This measurement can be difficult, especially when measuring yourself. I’d recommend adding a piece of tape to the end of your measuring tape, taping that to your neck angled toward your arm, then looking in a mirror to see the shoulder bone measurement.
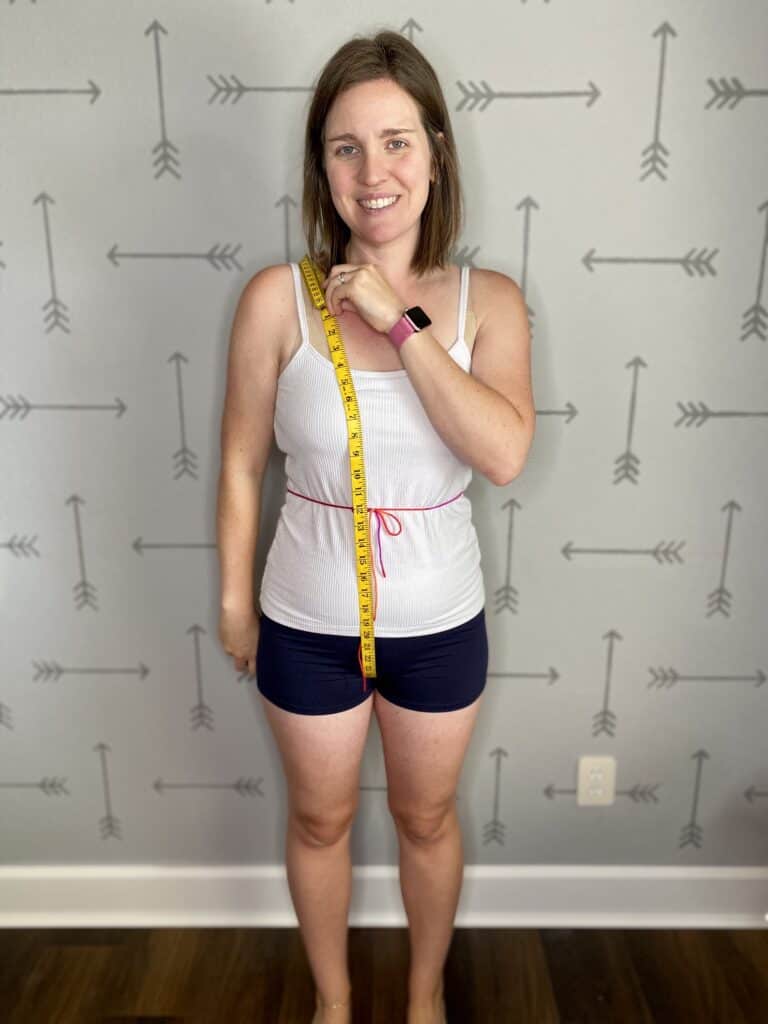
Front Shoulder to Natural Waist
Tape the measuring tape at the neck, facing forwards the front of the body. Measure this to the waist where your string is.
Arm Length
Tape the measuring tape to the shoulder bone, pointed towards the arm. Hold it taut in the fingers and measure to the wrist bone.

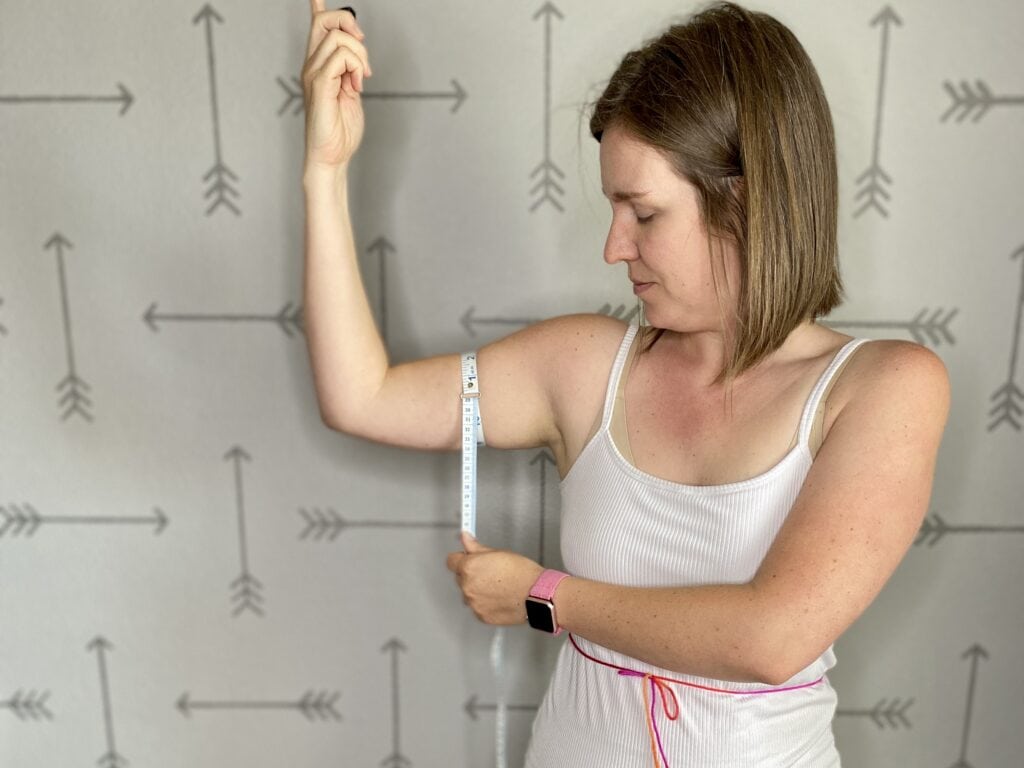
Bicep
Measure around the fullest part of the upper arm. This can change depending on how you are holding your arm so I’d recommend checking this measurement in several positions.
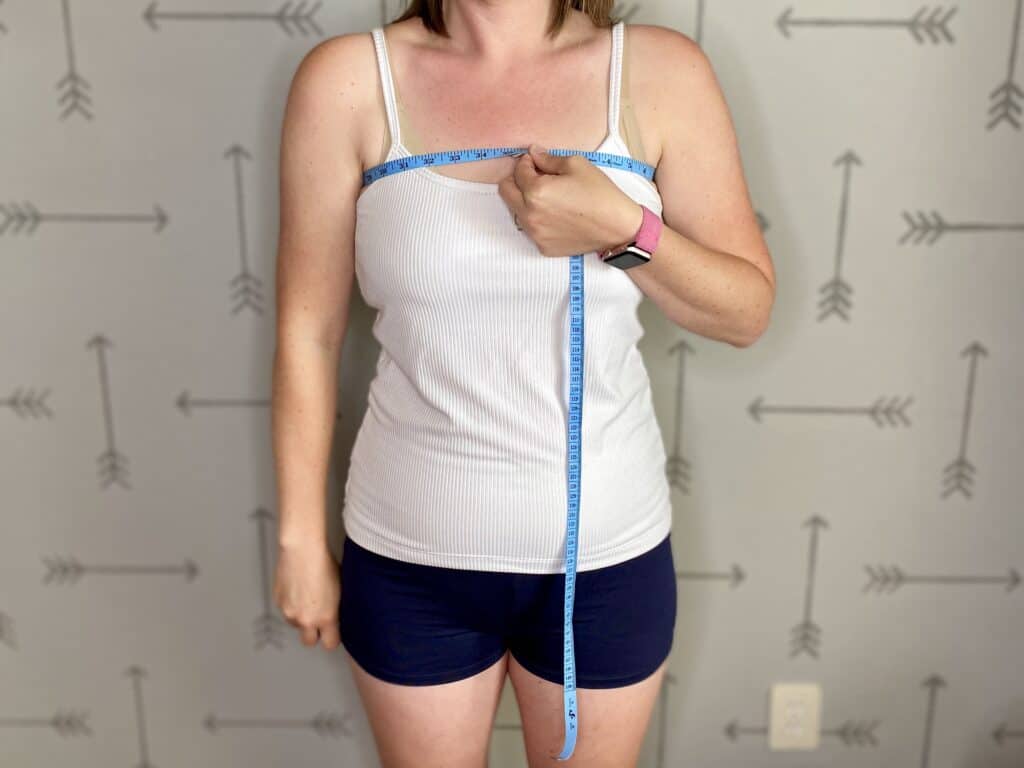
Trunk Length
Starting at the neck, wrap the measuring tape behind the body, through the crotch and back up to the neck over the full bust, creating a loop. The tape should be taut. This measurement can take more than a 60” measuring tape and if you don’t have that, use a string instead then measure its length.
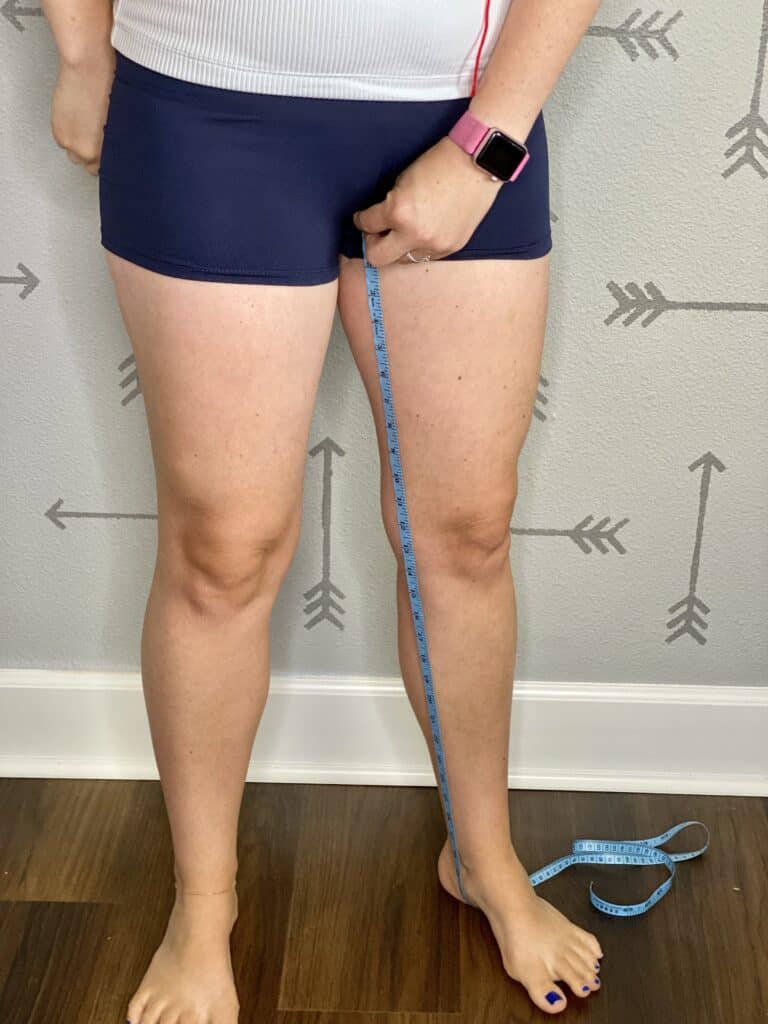
Inseam
Place measuring tape under your foot then grab the end and slowly pull it up to the crotch keeping tension at the foot. When the tape is at the crotch, keep your foot on the floor then lean over and record that measurement. If you want to measure to the ankle, place a piece of tape over the measuring tape at the ankle so you can keep the tape in place when you bend over to check it.
Across Back
Measure horizontally from arm to arm along the back, 4” down from the neck. *This measurement requires a second person to help.
Full Back Width
At the back, measure horizontally from underarm to underarm. *This measurement requires a second person to help.
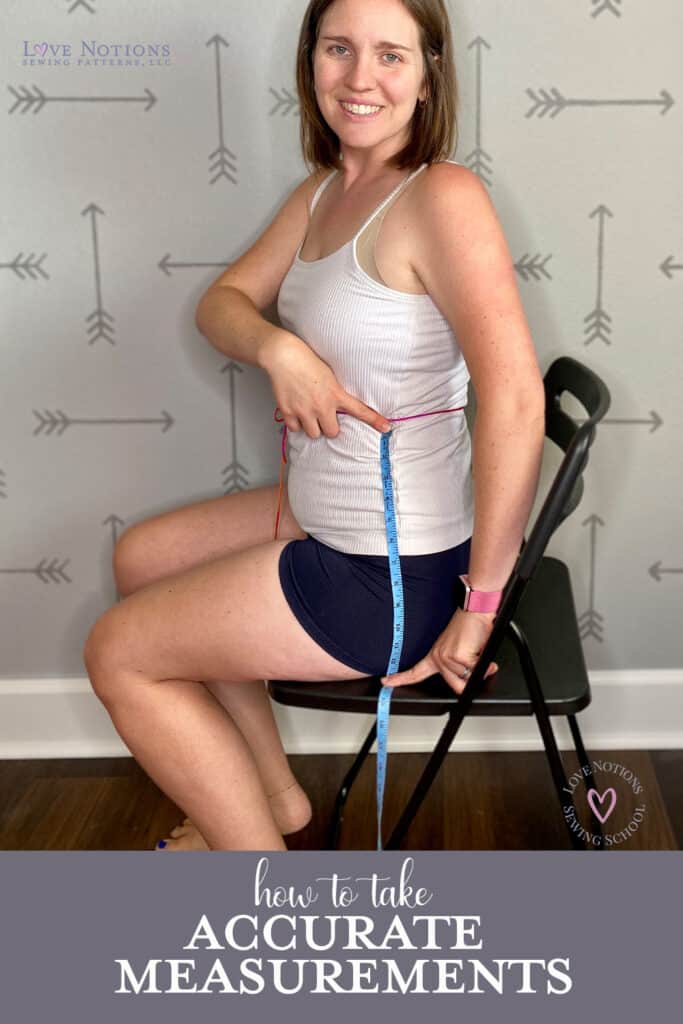
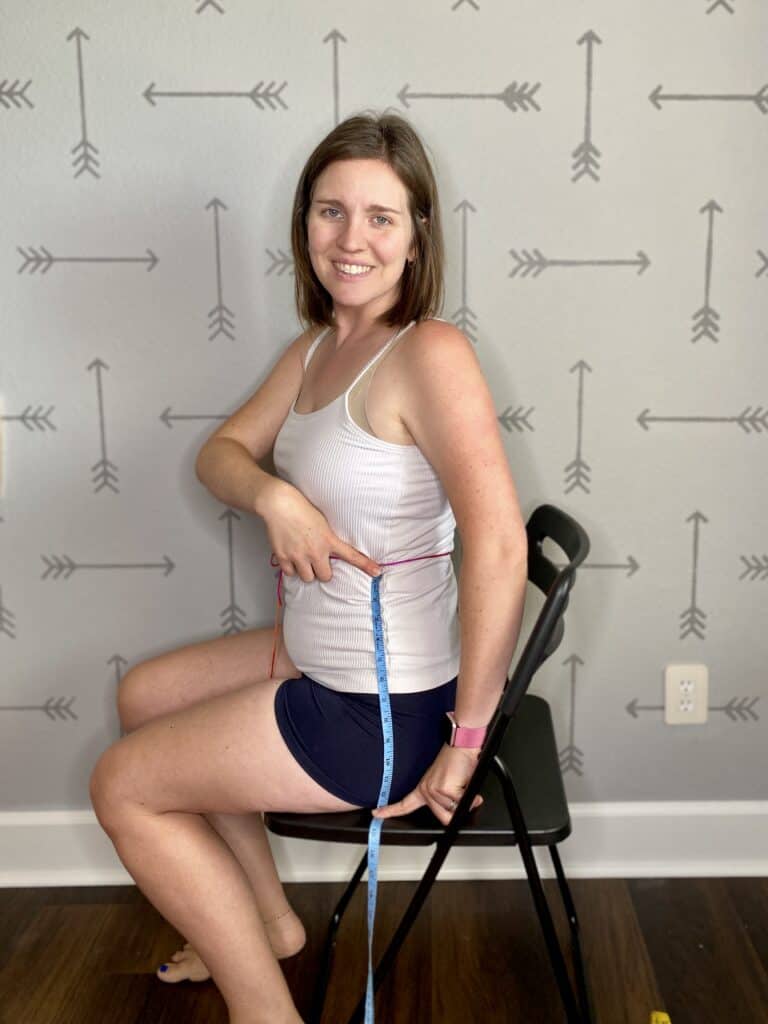
Crotch Depth
Sitting in a chair, measure from waist to the top of the seat.
While this is a great start at measurements to keep on hand, you may find even more that are useful for your sewing. I hope this helps you feel comfortable and confident in taking your own measurements or measurements of someone else. I know the more accurate the measurements you have, the better fitting your apparel sews will be! -Katie
I know the more accurate the measurements you have, the better fitting your apparel sews will be!
Save this post to your sewing Pinterest board: