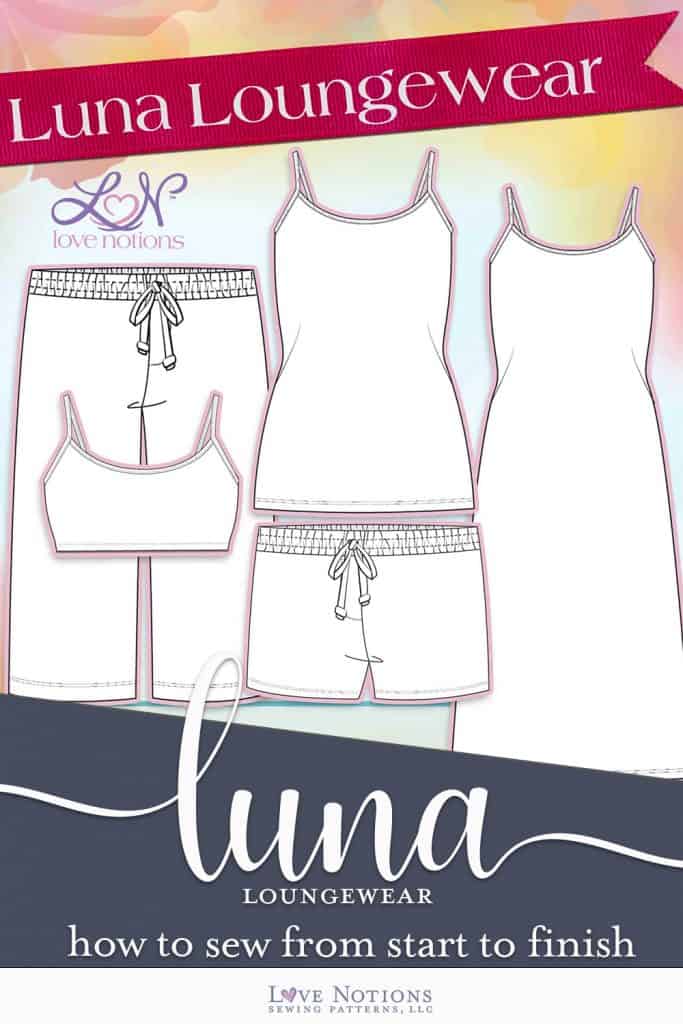
Welcome to our Luna Loungewear Sew Along! I love this loungewear set so much! I think I wear it most nights for bed. It’s so comfy! And cute!! It’s easy breezy wear for warm summer nights and even works as day wear! I’m guilty of layering the cami under a Boyfriend Cardigan for a fun layered look. The Luna Loungewear has several options, cami, shorts, capris, or a nightie. We have a lot to do this week! So let’s get started!
The Luna Loungewear is both a knit and woven pattern. Now, the cami and nightie can only be made from knits, but the shorts and capris will work with a woven or a knit! Love that! It really opens the door to so many possibilities! Our sponsor for the Luna Sew Along is Surge Fabrics. And let me tell you, Surge has so many possibilities for fabric options for the Luna Loungewear !!
Fabric Requirements
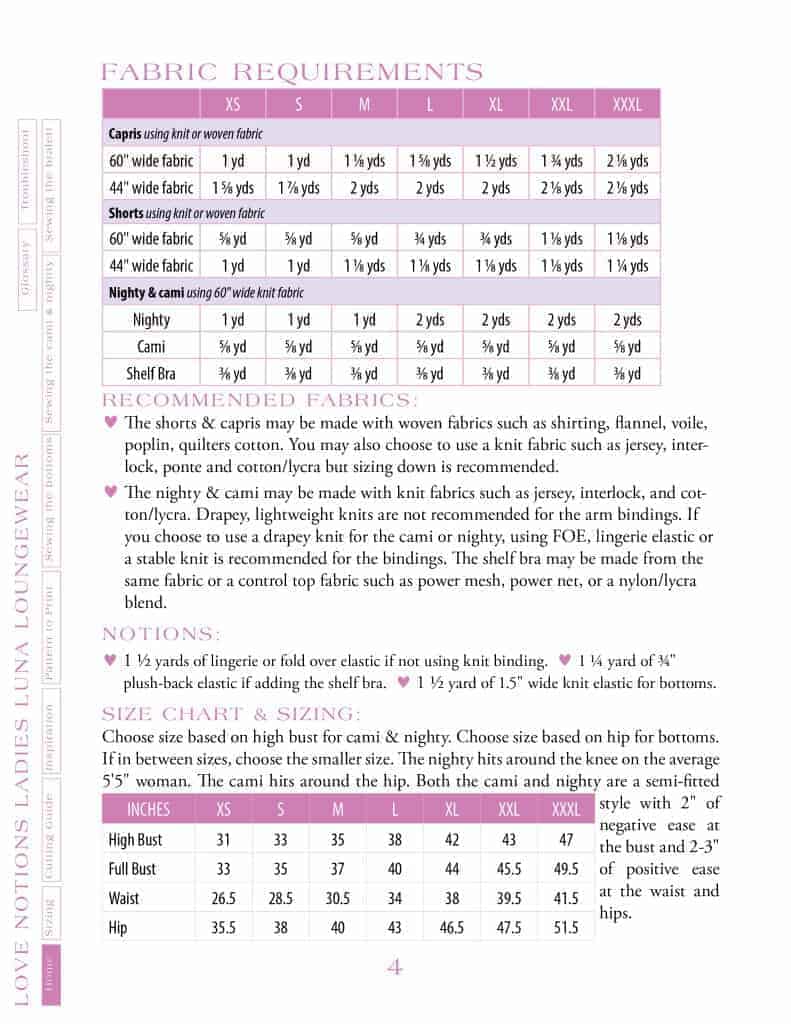
Let’s talk our knit options first. The cami and nightie must be made with a knit fabric. You have loads of options for this! Cotton lycra, double brushed poly, poly spandex, modal, cupro, rayon spandex, jersey, interlock. Really, if it’s a knit and has 40% stretch, you are good to go! Now, for the bindings, slinky drapey fabric isn’t recommended. But you can always use fold over elastic, lingerie elastic, or a more stable cotton lycra to create bindings.
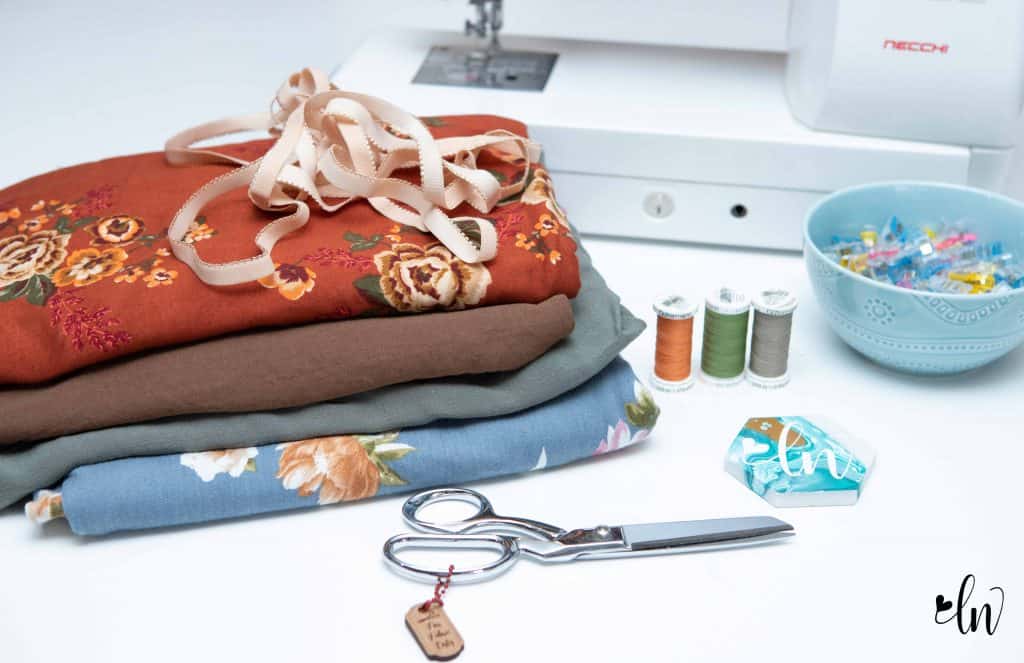
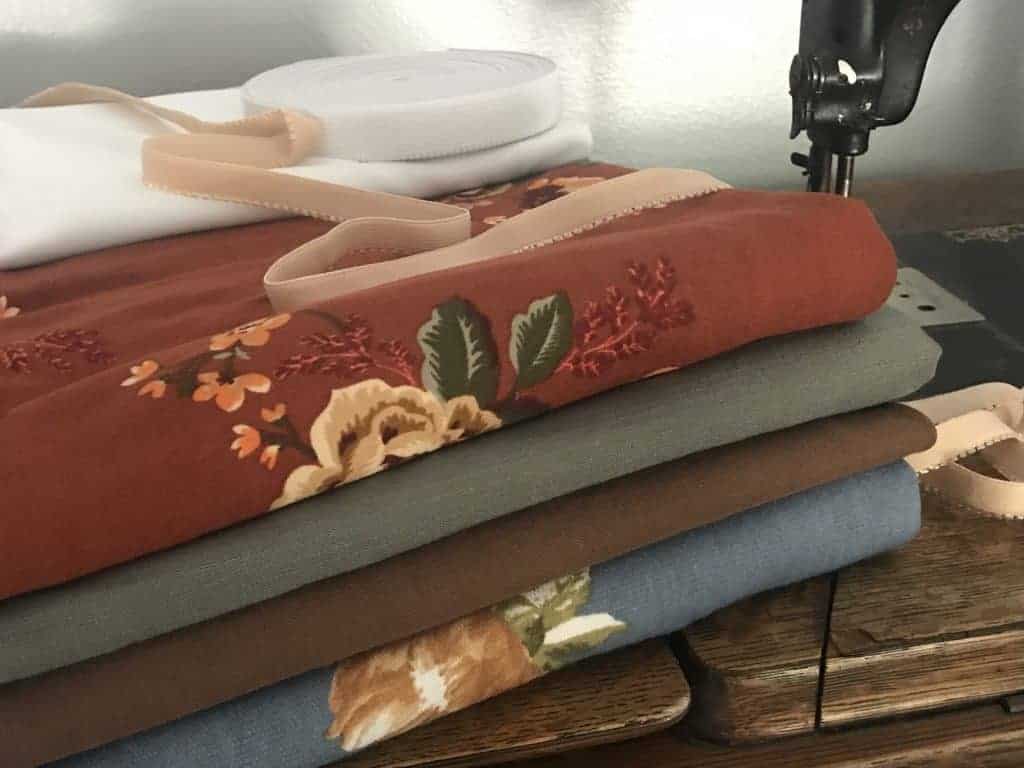
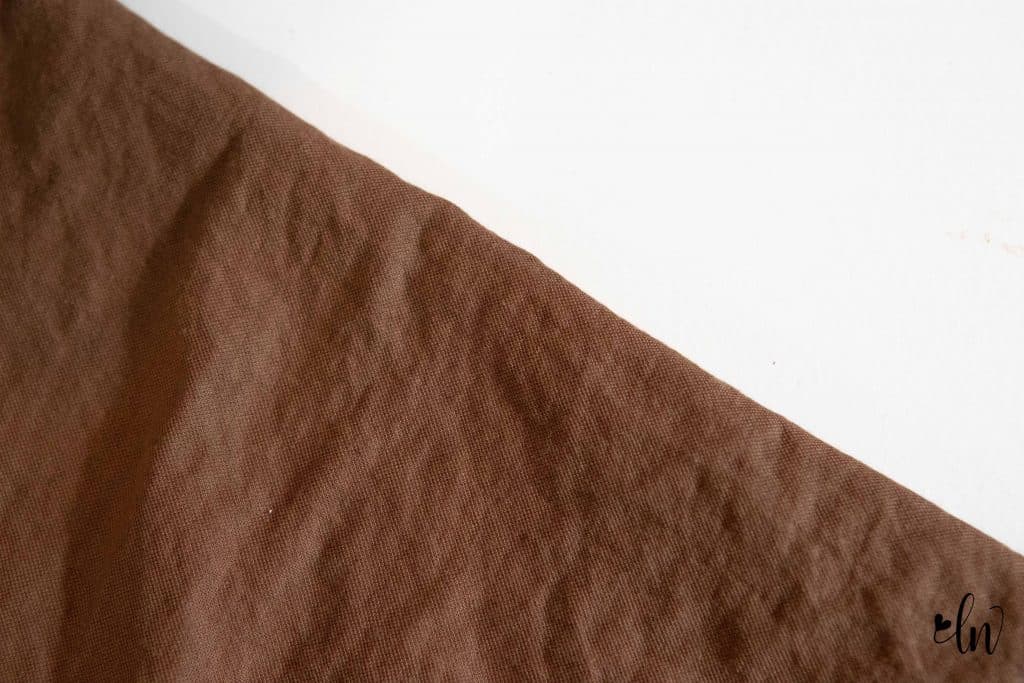
I wanted to try a new fabric, so I have Pylos LiKnit in coffee. This is pretty unique fabric! It looks like a linen. And it kinda feels like a linen. But, it’s a knit! It has a great amount of stretch, 50% on the horizontal, and a smooth silky feel that you typically find with rayon. I love the warm rich shade! I think this is going to be my nightie. And I’ll be using this fabric to demonstrate making the knit binding.
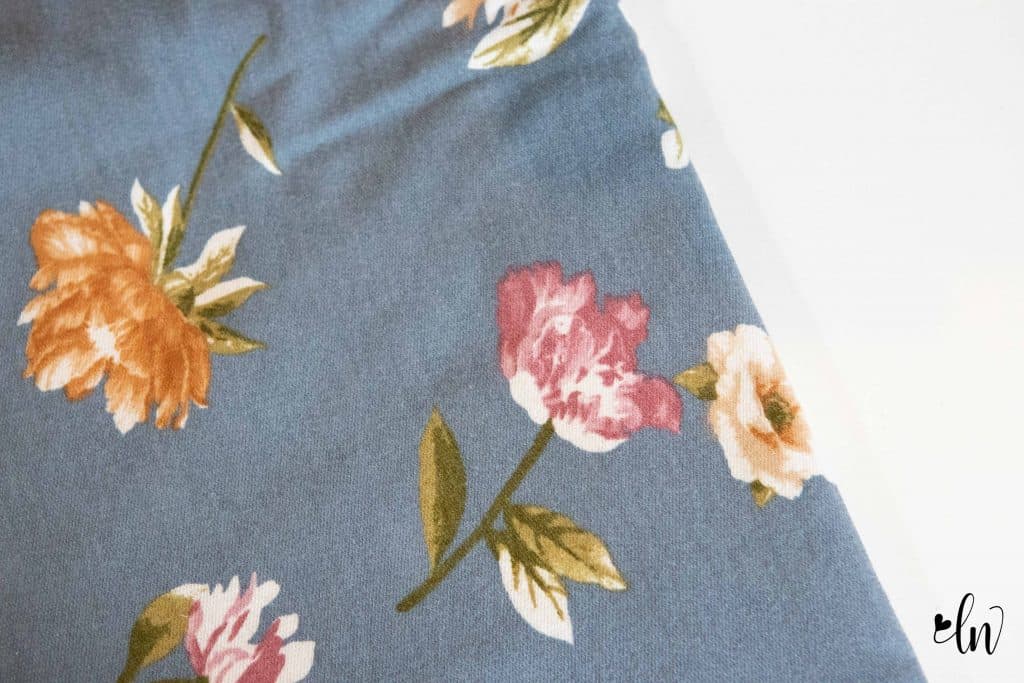
Next up, is a reverse French terry. This is called Daisy on Denim. I have a Luna set already in french terry and it is so comfortable! I fell in love with the floral and the dusty blue. And just as the name implies, the French terry is printed on what is typically known as the back, with the loops showing on the main side of the print. So fun! I will be using this fabric for my live videos in our Facebook Group. Each day, I will sew a step of the Luna Loungwear LIVE in our group! I share tips and tricks along the way and you get to ask questions as I go along! It’s so much fun! If you aren’t a member of our group, make sure you request to join us! I’ll be going live at 1pm CST. Check your time zone and set an alarm and join me!
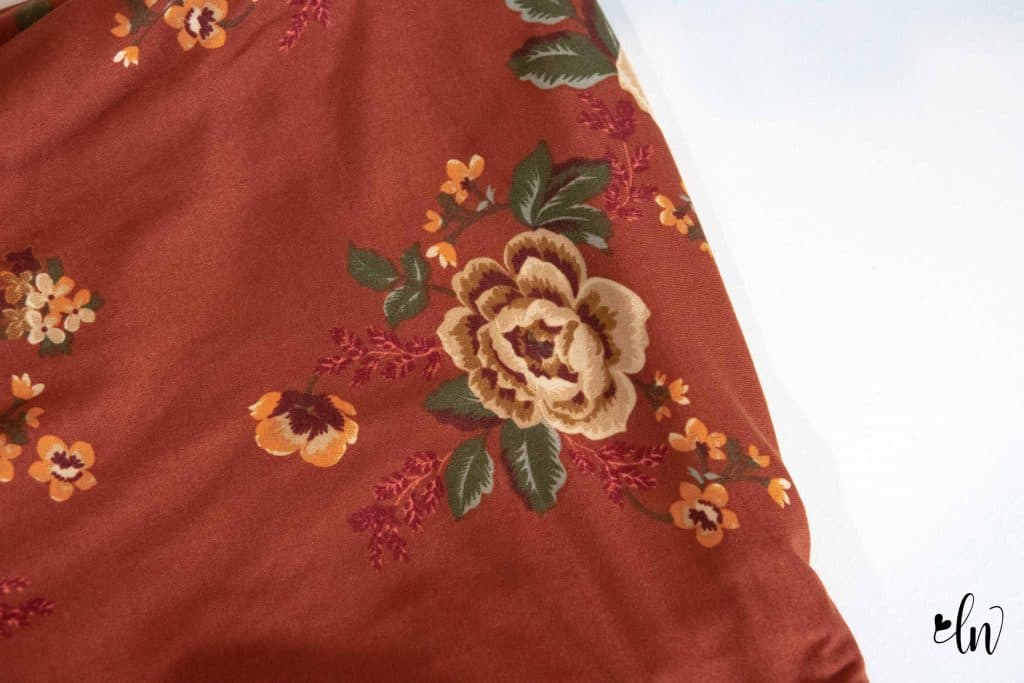
For the blog posts, I will be using a gorgeous terra cotta floral called Cynthia on Terracotta on double brushed poly. Double brushed poly is so comfortable and easy to wear. I know this set is going to be loved!
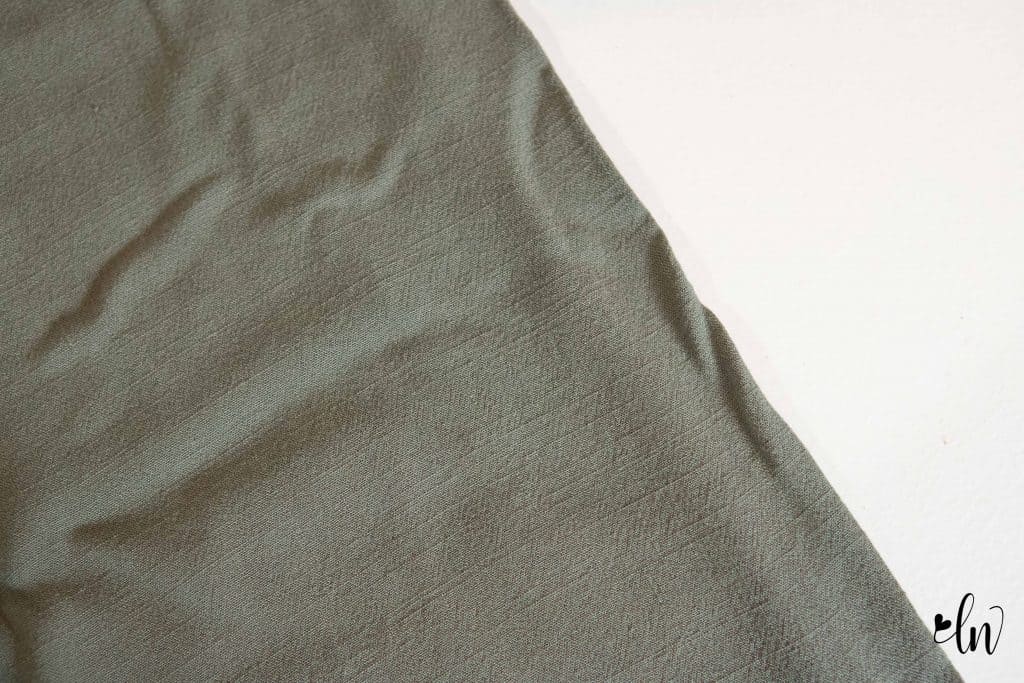
I had to incorporate a woven into this sew along! Again, faced with the opportunity to try a new fabric, I have Dusty Olive Montego Slub Stretch Woven. I see a pair of capris I can wear around the house, or even out and about from this fabric! You won’t tell people I’m wearing loungewear to get groceries, will you? This fabric has a gentle amount of stretch that I just know is going to turn these into my go to sit around the house, run to the store, go for a walk, wear every single day pants.
My final fabric is some power mesh. (not shown) Surprisingly, I haven’t worked with this before! I’m excited to create a shelf bra with this power mesh. It may just turn my coffee colored nightie into something I’ll wear out on the town. We will see!
We have so many notion options for the straps of the Luna Loungwear
First up is knit binding. This needs to be cut from a more stable knit fabric with good recovery. Cotton Lycra is great for this! I did try out double brushed poly and it works, but you may need to shorten your straps because it doesn’t have great recovery.
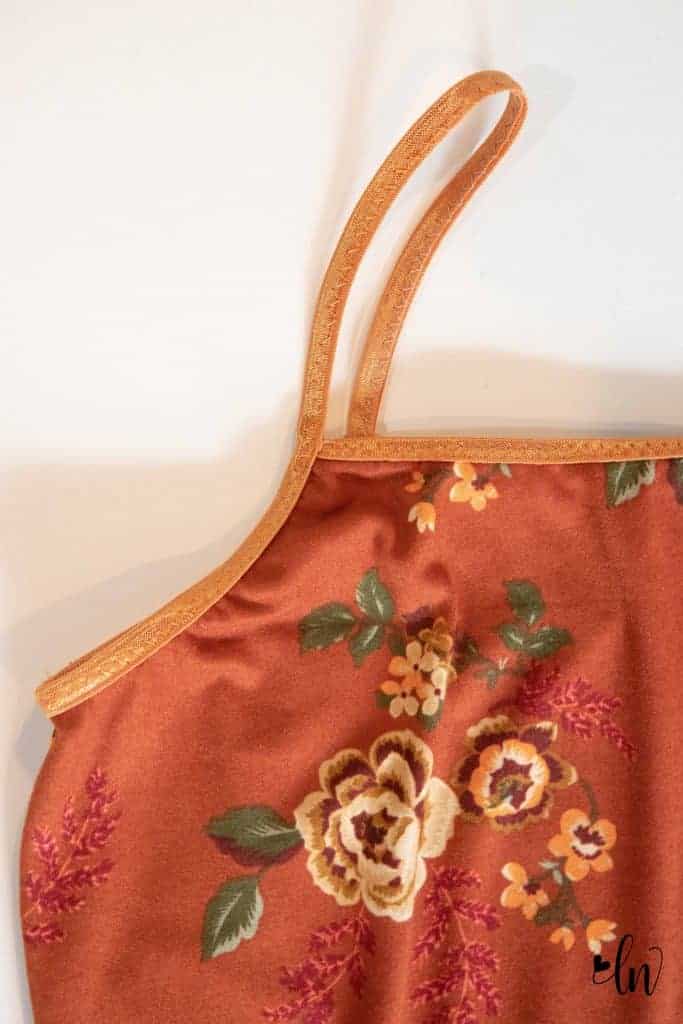
Another option is fold over elastic, also known as FOE.
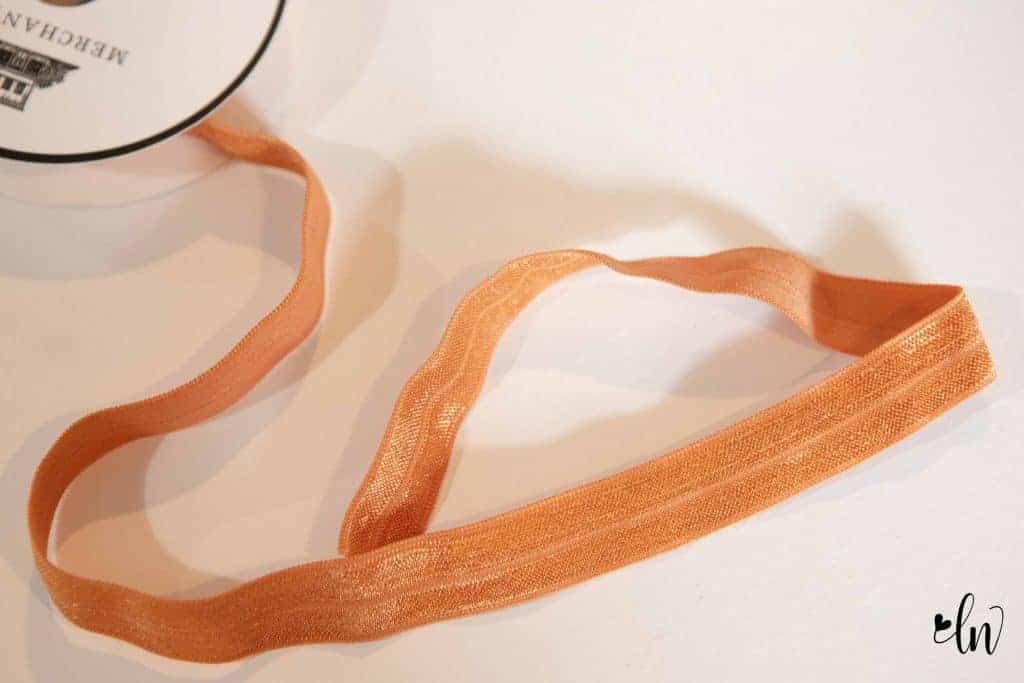
This is an elastic that is softer and thinner than what you would typically use in a waistband. It also has a pattern in the center that makes it very workable for folding in half length-wise, hence the name, fold over elastic.
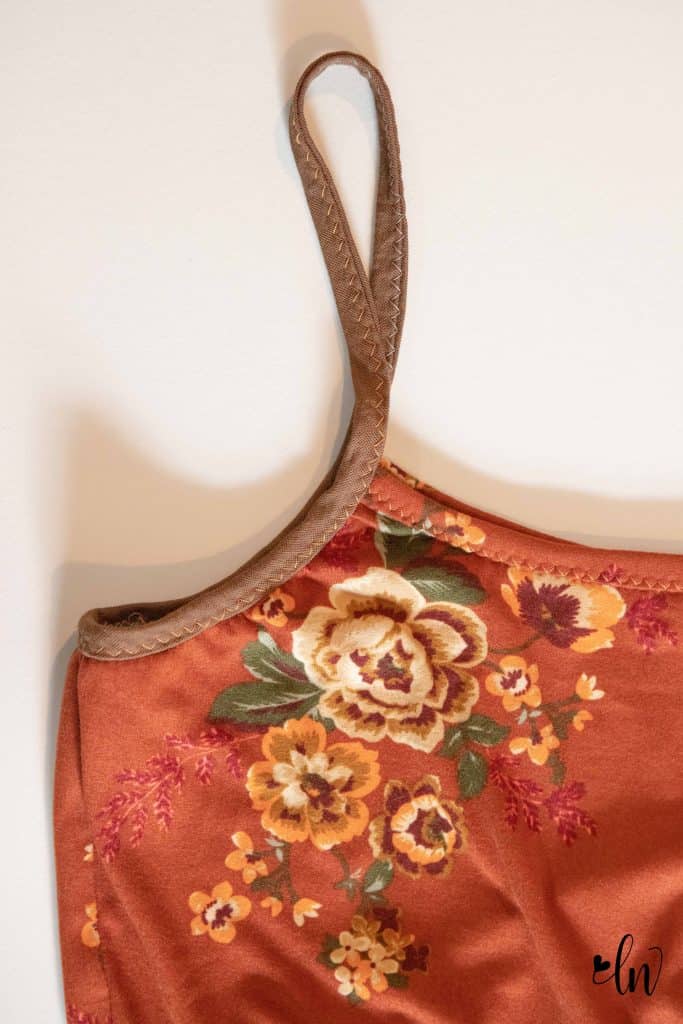
Lingerie elastic is a great look as well!
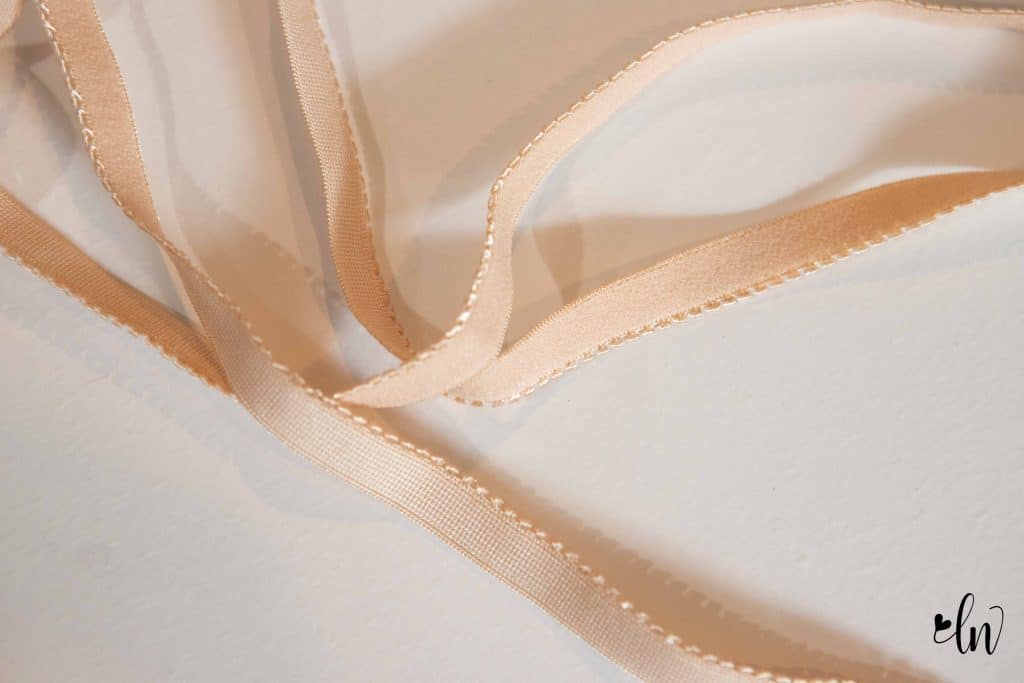
You can get two types, straight edge, or a picot edge. It is also available in various widths. Lingerie elastic will definitely give you more of a loungewear feel. Knit binding and fold over elastic will tend to give you more of a daywear look.

If you are sewing the shelf bra or the bralette, you will need some 3/4″ elastic. The plush back elastic is much more comfortable, but you can certainly use knit elastic as well.
For the shorts and capris, you will need 1.5″ wide knit elastic for the waistband.
Making adjustments
I’ve said it before, I am a firm believer of sewing a pattern as it is drafted before doing any fit adjustments beyond blending sizes and adjusting for length. Each pattern shape and fit differs and you never know how it will truly fit you until you try it out.
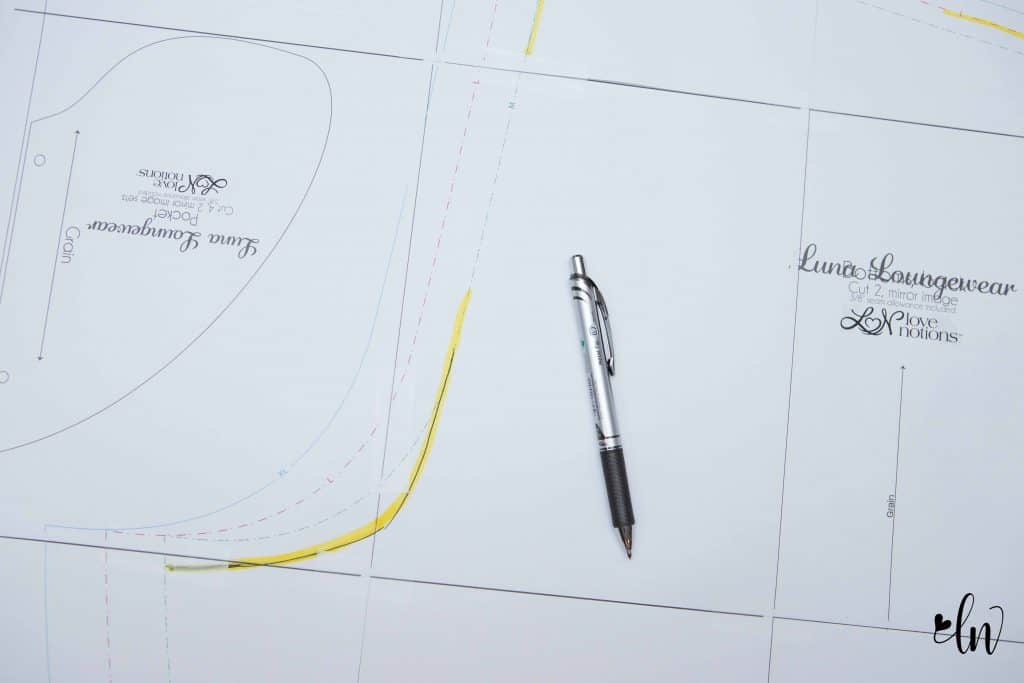
If you need to blend sizes, print all of the sizes that you need and then use a ruler to draw a long line connecting the sizes. You want a gradual change between sizes, not a sharp change. I don’t recommend blending beyond three sizes.If your waist is a size or two different than your hips, choose your size based on your hips and just adjust the elastic to fit your waist. You probably don’t need to blend sizes, especially if using a knit.
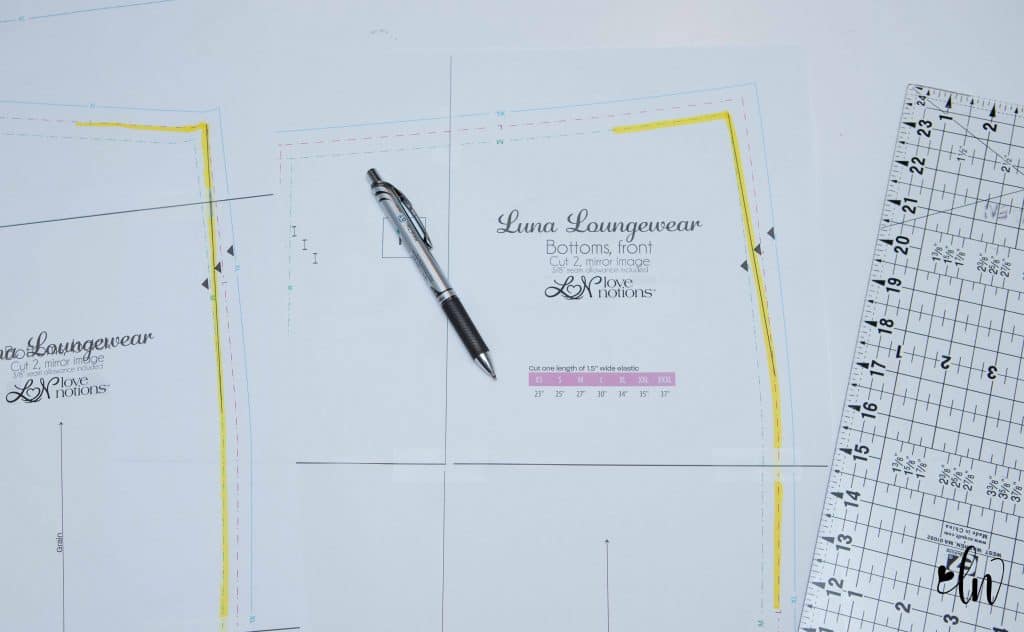
If you feel like you have a “wedgie” while wearing your Luna bottoms, you may need to scoop out the bottom curve. You would do so like the image below.
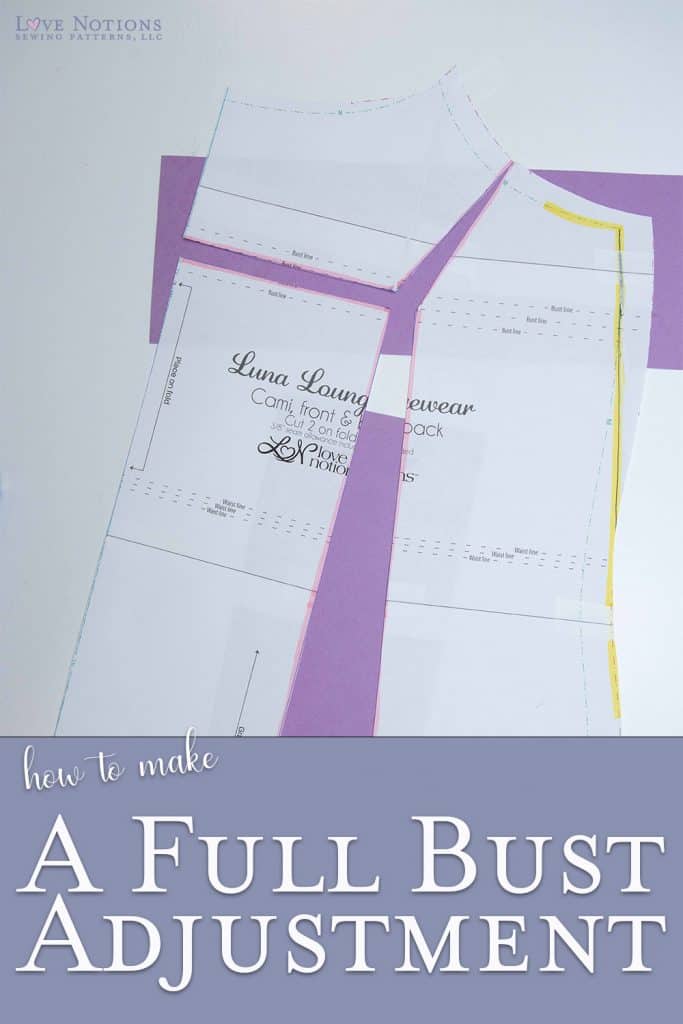
If you need to do a full bust adjustment, you can do this is two ways
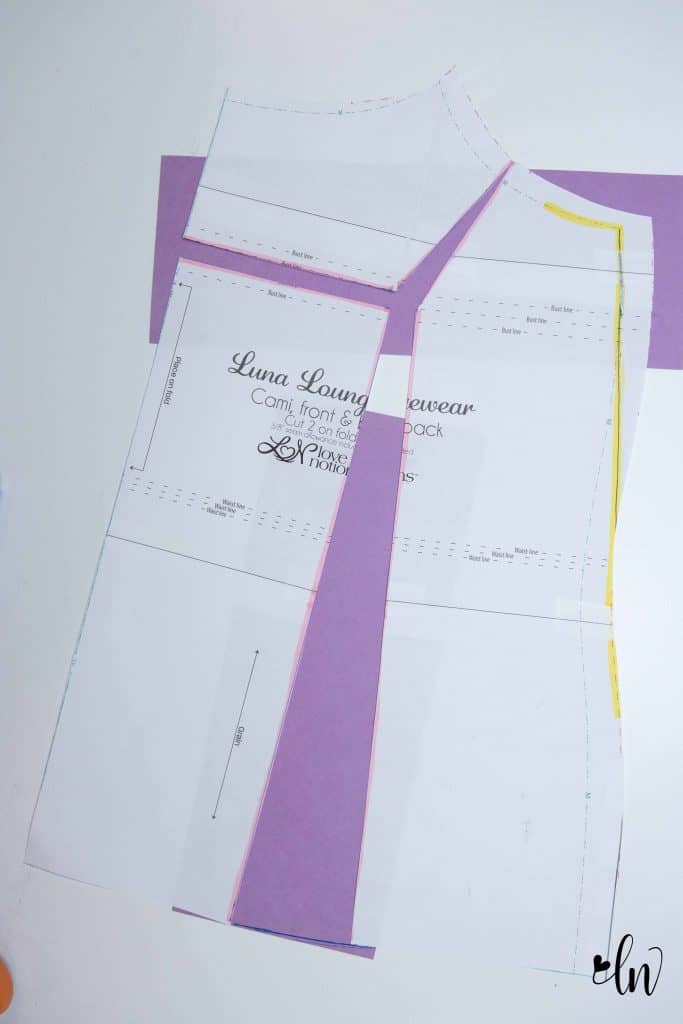
You can either blend out to a larger full bust size at the side seam, or you can do a full bust adjustment. Hold the pattern piece to your body and mark where your bust apex is. If it doesn’t line up with the bust line, you want to do a length adjustment to make the bust line match yours before doing this. Now, draw the three lines in pink that you see below. One will go from the apex to about where your shoulder seam would be if we projected that line all the way to the shoulder. The next is perpendicular to the fold. And the last goes straight down to the hem.
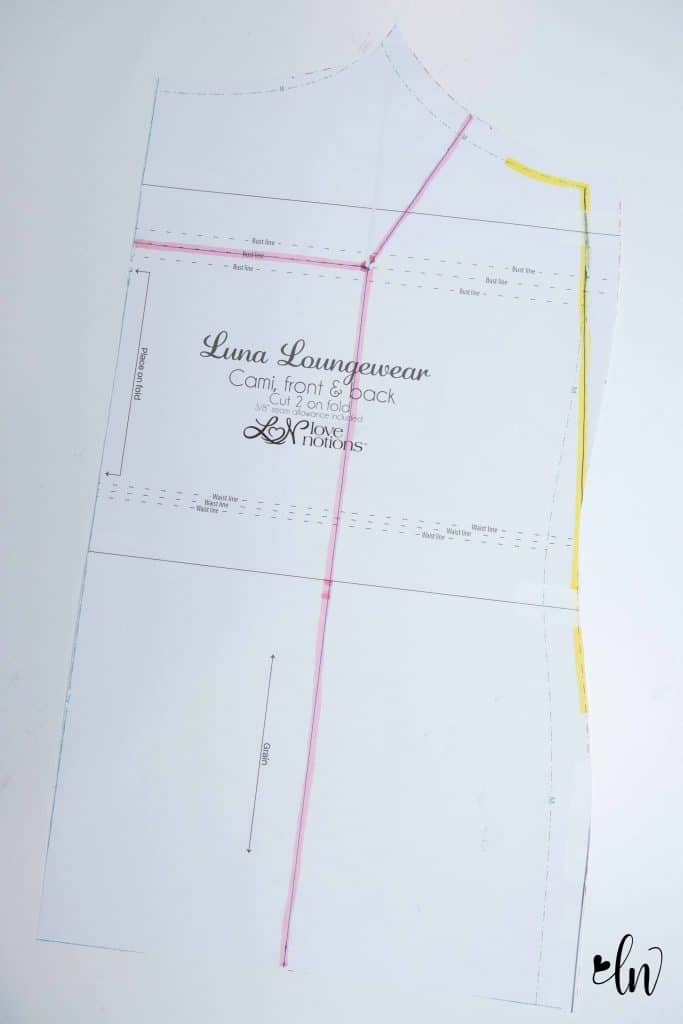
Cut the lines line below. Leave a hinge at the top of the “shoulder” line. Anchor the neckline in place and pivot out the side seam for the amount needed. If your full bust measurements is 2″ above the full bust measurement in the size chart, you want to add 1″ (half of the difference because we are cutting on the fold). Slide the piece that is on the fold down so that the hem line matches us. This gives you some extra length at the center fold.

Slide a piece of paper under and tape into place. Connect the hem and center fold lines. You now have your full bust piece for the Luna cami. You can do the same process with the nightie.
Cutting out your fabric
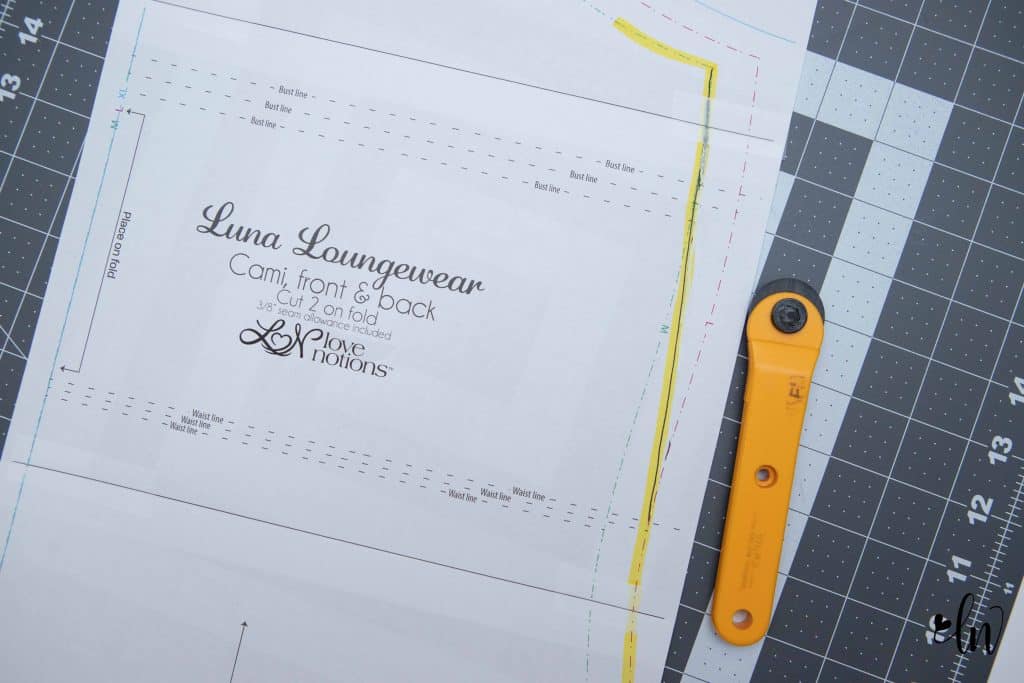
I’m a big fan of using a rotary cutter to cut out my patterns, fabric and paper! I have two, one that I use to cut fabric and one that I use to cut paper. It’s so much faster than scissors. If you want to skip the step of cutting out paper pattern pieces, look into the new projector technology! We are excited to now be offering projector files with our patterns. It makes getting to sewing even faster!
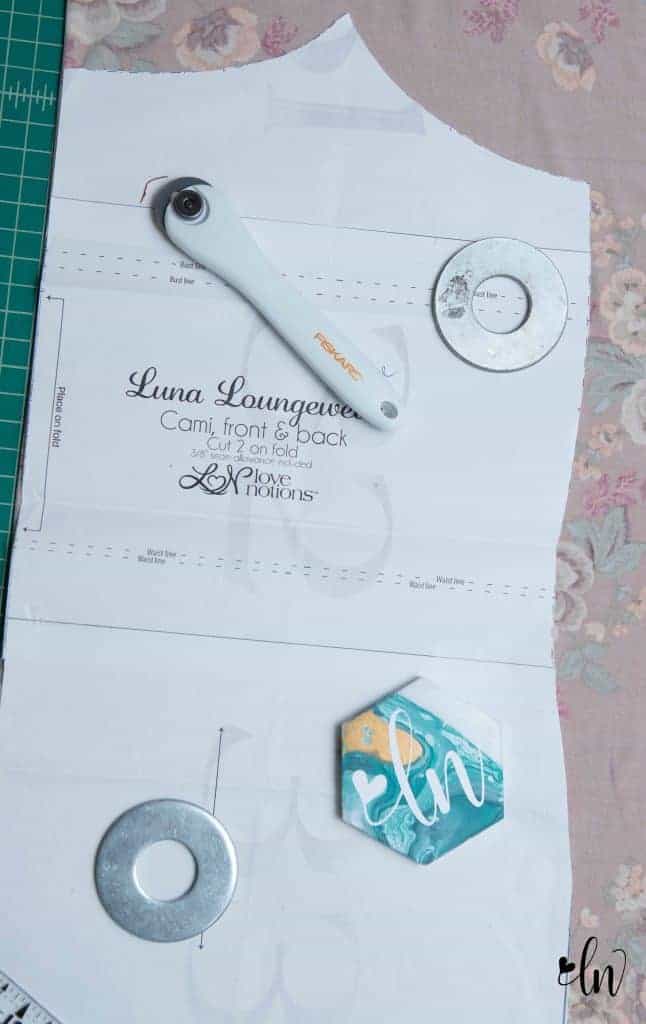
To keep my fabric in place, I like using big washers from the hardware store. They are very cost permissive and do a great job of keeping my fabric from shifting around.
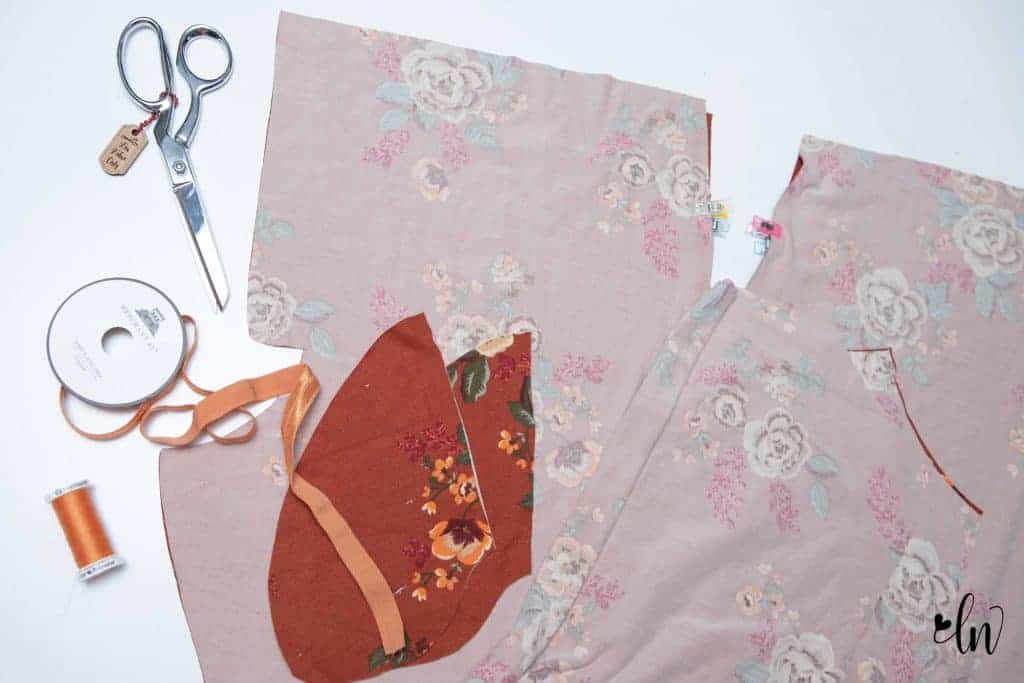
You want to make sure you transfer your pattern markings. They are on the pants’ side seam, front and back, the pocket pieces, and the straps. I used clips to mark mine, but if you are looking for other ways to mark your fabric, we have a blog post full of info.
After your fabric is cut, you are all set for today! Join me tomorrow for assembling the cami with lingerie elastic.
Need more sew along fun? Join me in our Facebook Support Group for daily live videos showing how to sew each step of the day! I’ll share my tips and answer your questions while I sew. We also have an event created that you can follow to ensure you don’t miss a single thing! We will also be having a give away at the end of our sew along! Each Luna Loungwear piece you create is your entry into our give away! One random winner will receive a $50 gift certificate from Love Notions (valid on pdf patterns only) and a $50 gift certificate from our sponsor, Surge Fabric Shop.
If you missed our live video on Facebook, you can catch it on our YouTube Channel!
Luna Loungewear Sew Along Schedule
Monday: Fabric selection and blending sizes
Tuesday: Sewing the cami/nightie with lingerie elastic or knit binding straps and comfort band bralette hack
Wednesday: Sewing a cami/nightie with shelf bra and fold over elastic straps and gathered neckline hack
Thursday: Sewing the shorts/capris and ruche hem hack
Friday: Hemming the cami, nightie, and shorts and swim suit hack.
Pin this for later!