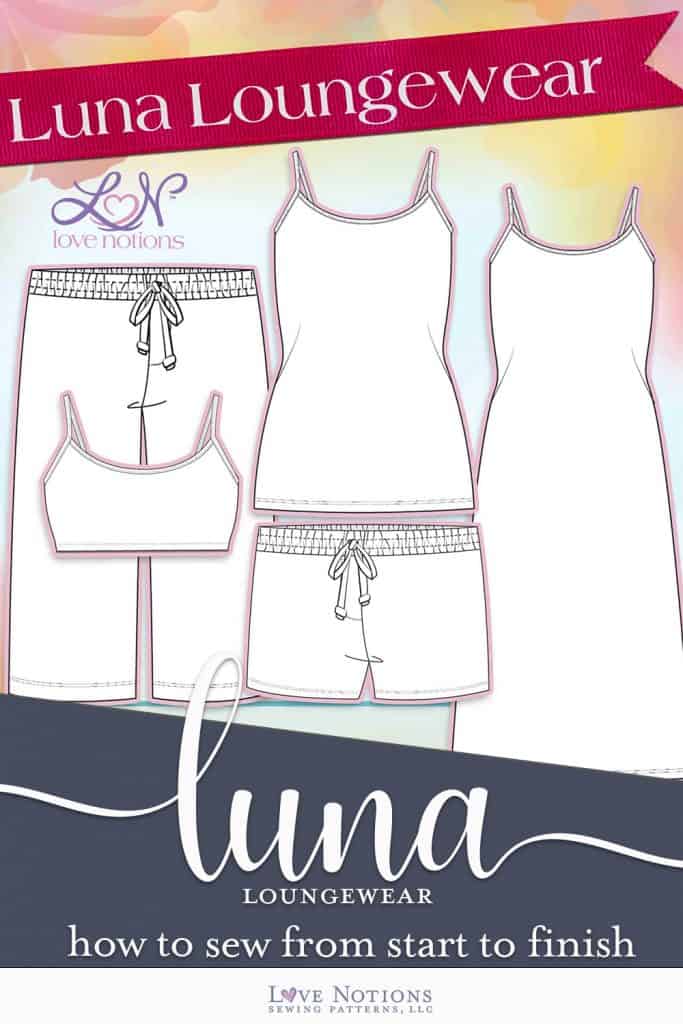
We have reached the final day of the Luna Loungewear Sew Along. Today we will take care of all of our hemming. Hemming is notoriously a dreaded task, but with a little prepping, we can make it less of a chore and more of a satisfying end to complete our project.
Hemming
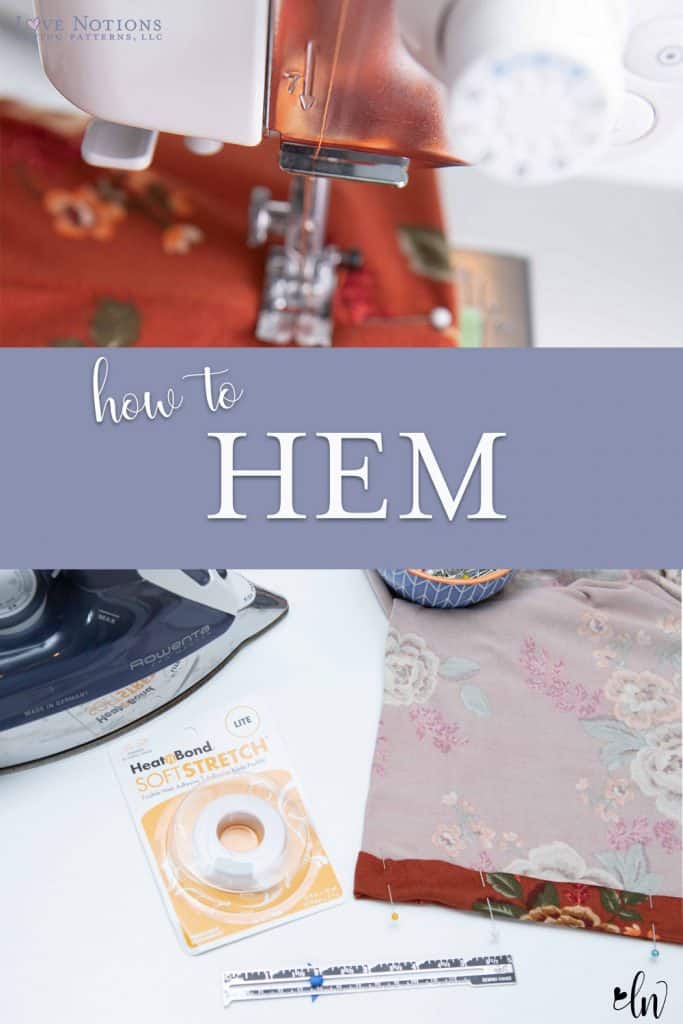
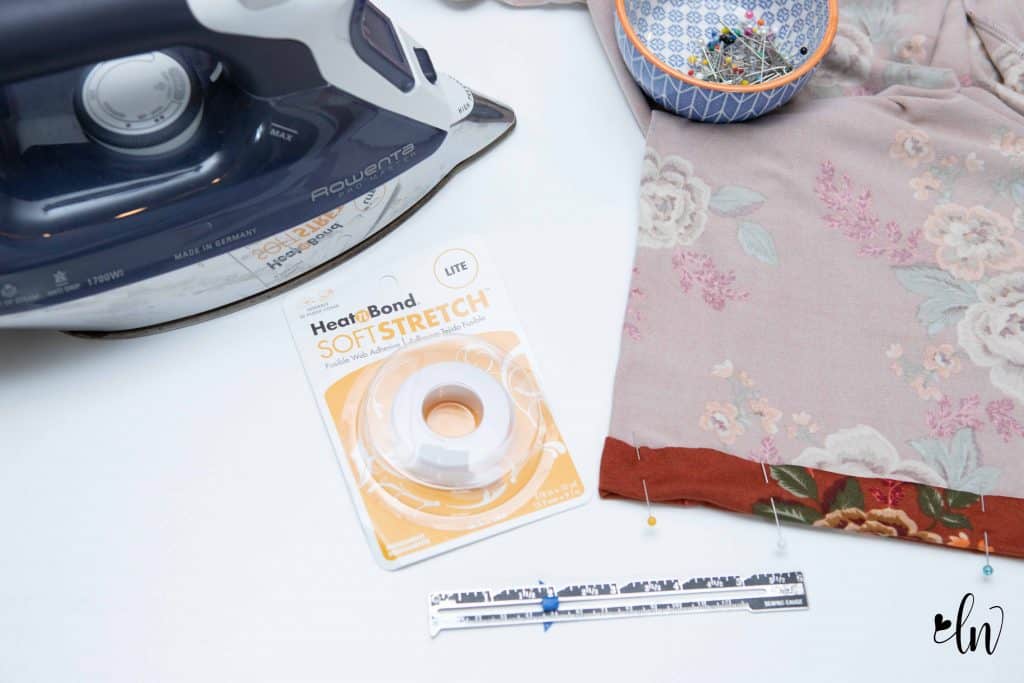
Ironing is by far the easiest way to make hemming go more smoothly. The time we take ironing our hems on our Luna sets before going to the machine can actually save us time from fussing and fighting with our fabric!
At this stage in my sewing, I very rarely use a hem gauge to measure my hem. Formal wear is my strong exception to this. But most casual wear, I just eye ball my hem. With that said, I have a rather accurate eye for small measurements. Now, don’t ask me to guess yardage! You will never hear the words “Walk 30 yards and then turn left” come out of my mouth. But I can estimate 5/8″ like a pro!!
So step one in a good hem, press the hem up in place before sewing.
My second tip. Pins. Yes, pins, not clips. Especially if you have a really slinky knit you are working with, pins can be a life saver! When buying pins, spend a little extra and get the ones with the glass balls. If you do this, you don’t have to worry about melting the pin heads with an iron. Yes, I’ve done it. Pin your fabric in place with the pins going perpendicular to the hem with the head off of the fabric. Now, you can iron your hem in place without worrying about it shifting around! Take your garment to the machine and sew the hem in place. Be sure to NOT sew over the pins. This can be very dangerous! Hitting a pin with the needle can cause the pin or needle to break and go flying. I have missed a pin before and broke my needle sending a piece flying up to hit my glasses.
My next tip is hem tape. Hem tape is great for really light weight fabrics that slip and slide no matter how much you pin and iron. It’s also great for thin fabrics that tend to cause a double needle to tunnel because it adds some stability to the fabric which results in cleaner stitching.
The best stitch for a hem
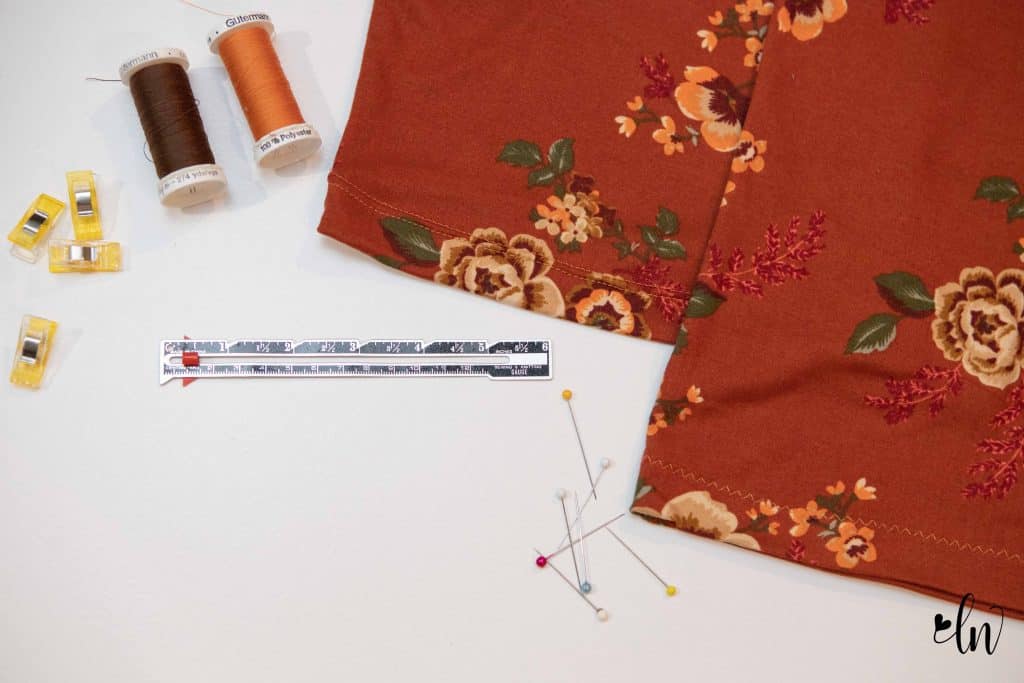
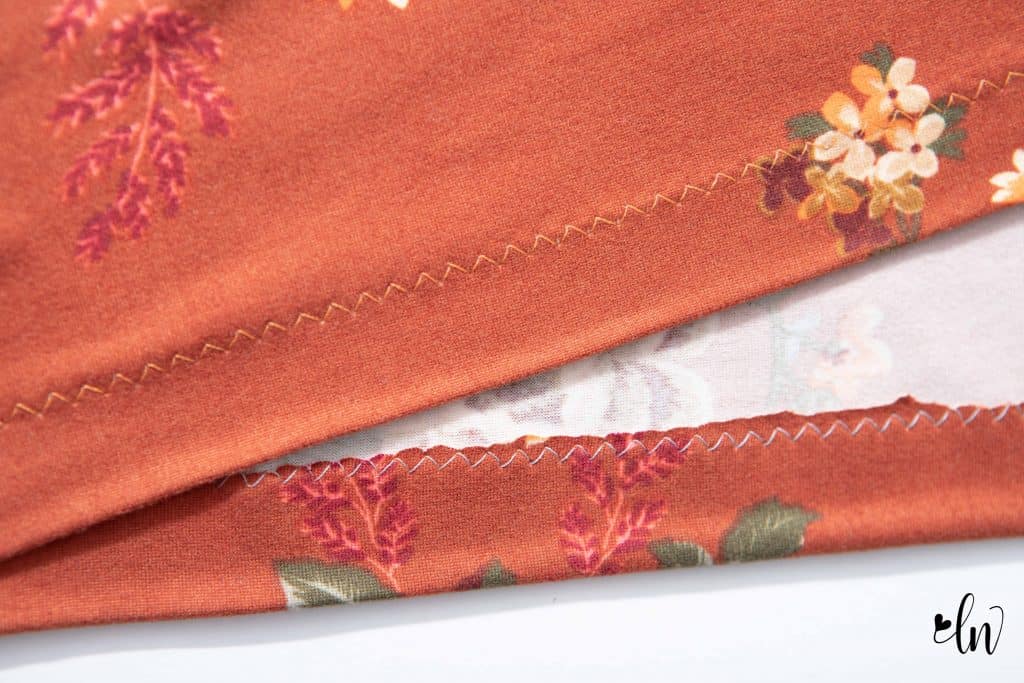
The hem of your Luna cami is going to need to have stretch. A straight stitch with your sewing machine is not recommended here. However, a stretch stitch will work great. Lots of people prefer the lightening bolt stitch for this. I don’t care for it. It uses lots of thread and is a beast to remove if something goes wrong. I like a simple zig zag stitch. I usually go with about 3.5 for the width and 4 for the length.
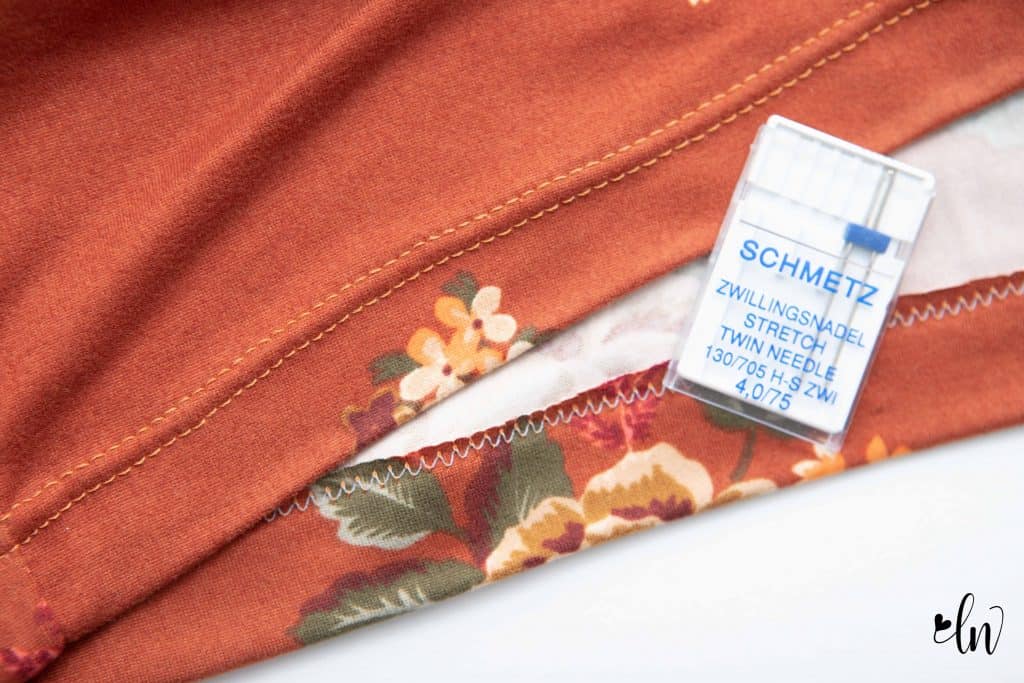
A twin needle is a great option! It has a look very similar to ready to wear clothing with the double row of straight stitches. Yet the zig zag of the bobbin stitch still allows the seam to stretch. You want to lengthen your stitch length for this stitch. I like to use a 4.
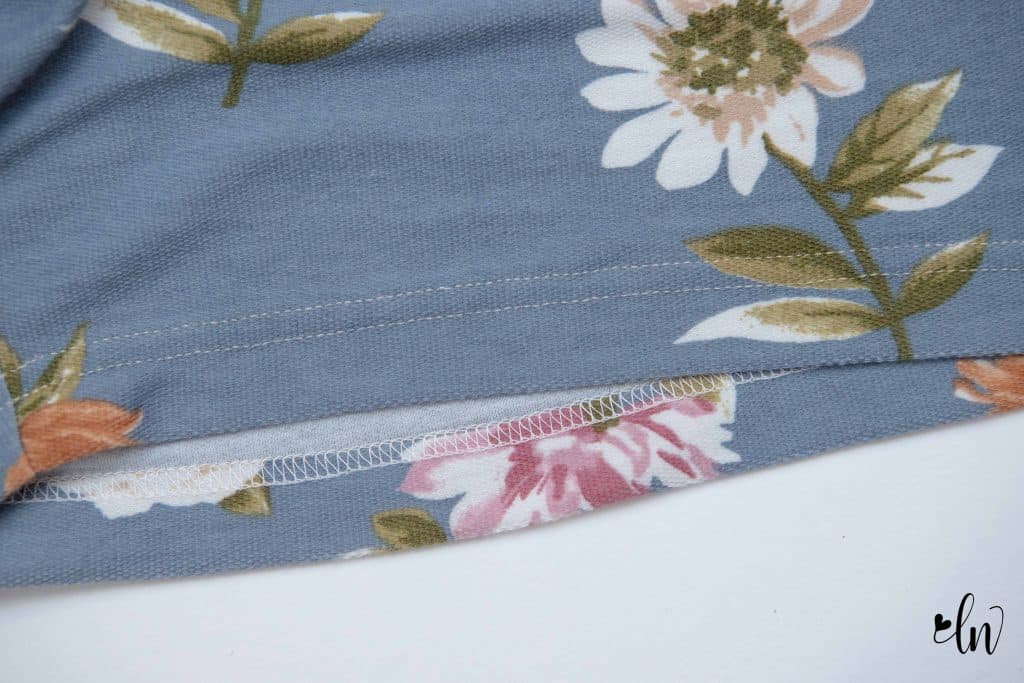
A coverstitch hem is the most professional option. This requires a special machine called a coverstitch. The results are beautiful and resemble those of ready to wear.
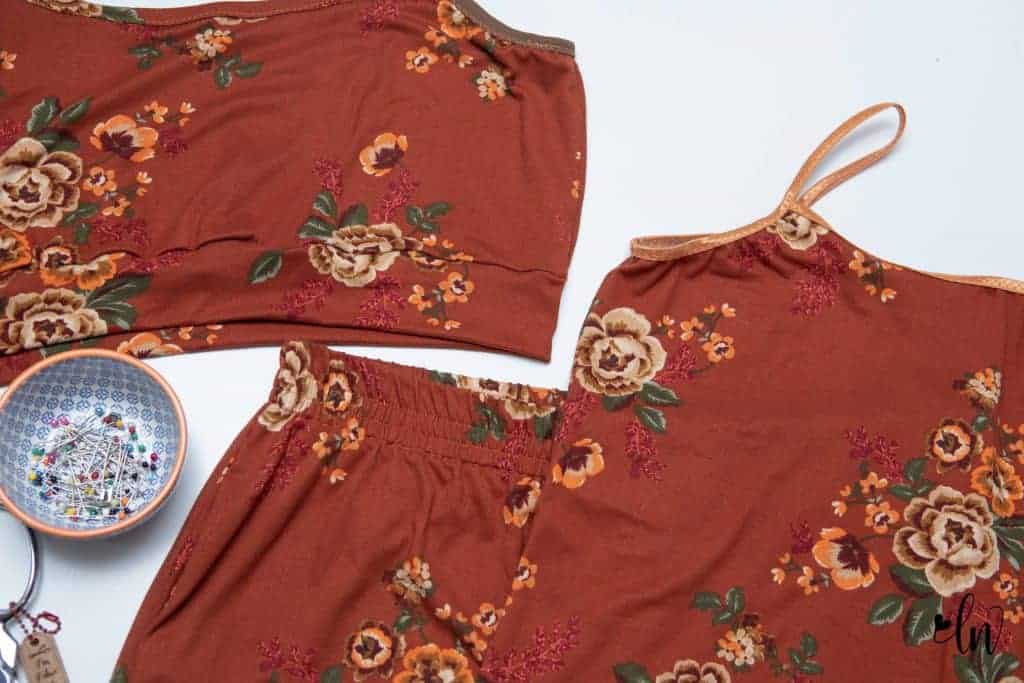
Finishing the bralette
We can’t forget to finish off the bralette! Follow along with the video below to learn how!
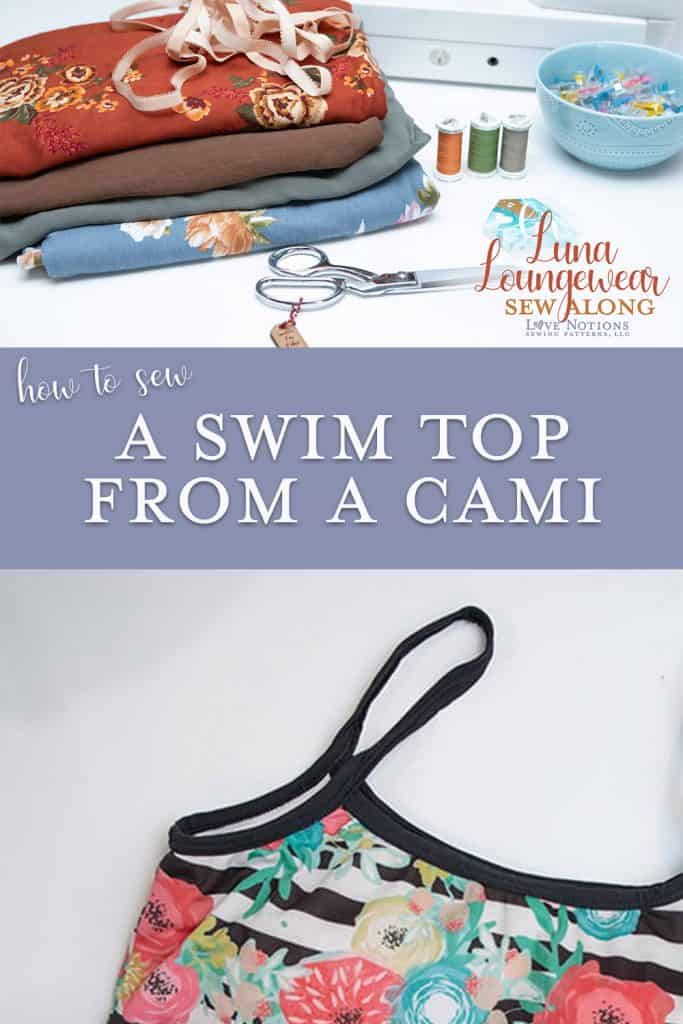
Luna Swim Top
Several years ago I made a swim top from my Luna cami. That suit is still going strong! I smile when I pull it out each season. The cami is a bit of a relaxed fit which I love for a swim suit. I don’t like things clinging to my midsection, so the relaxed fit of the Luna cami is perfect for me.
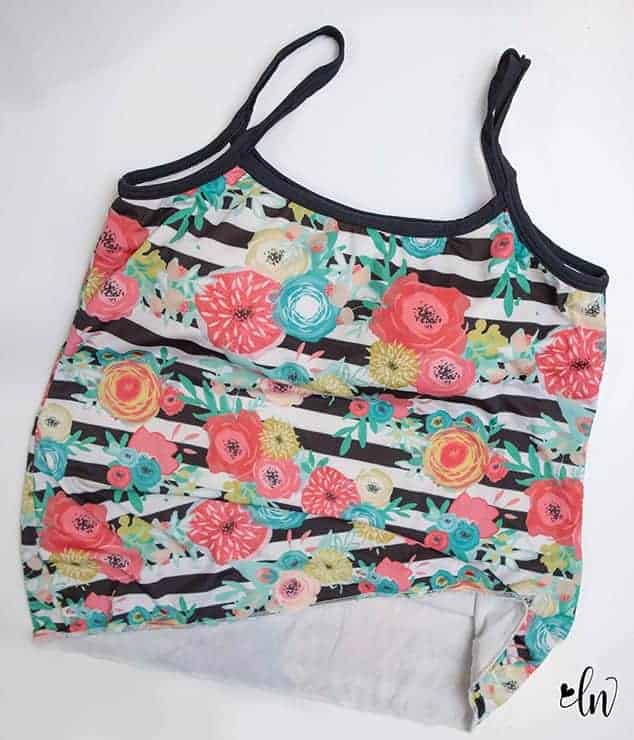
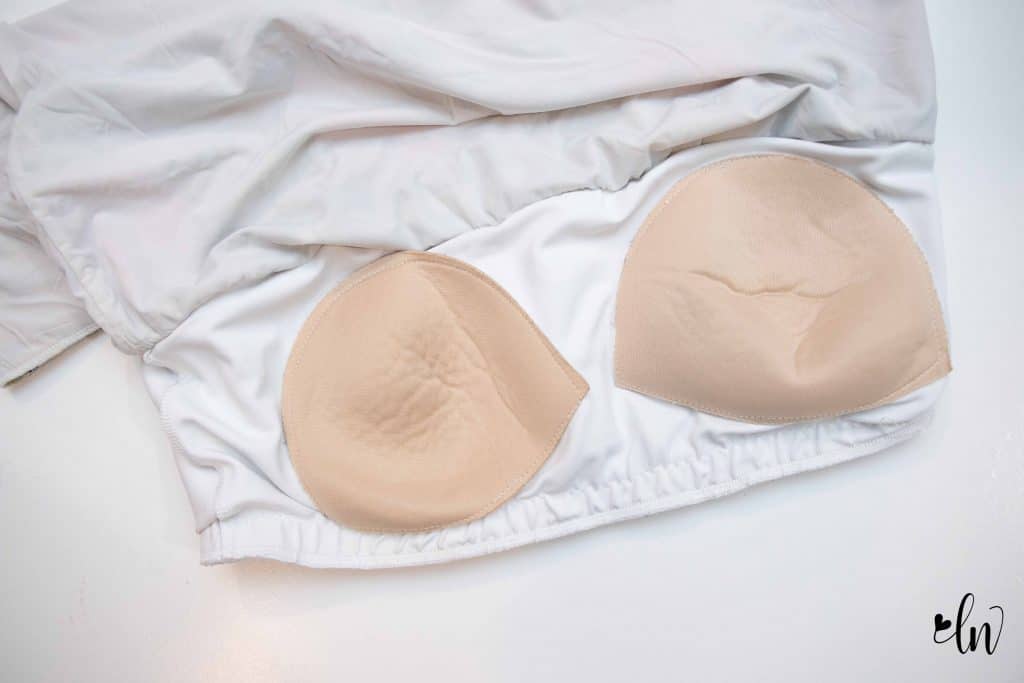
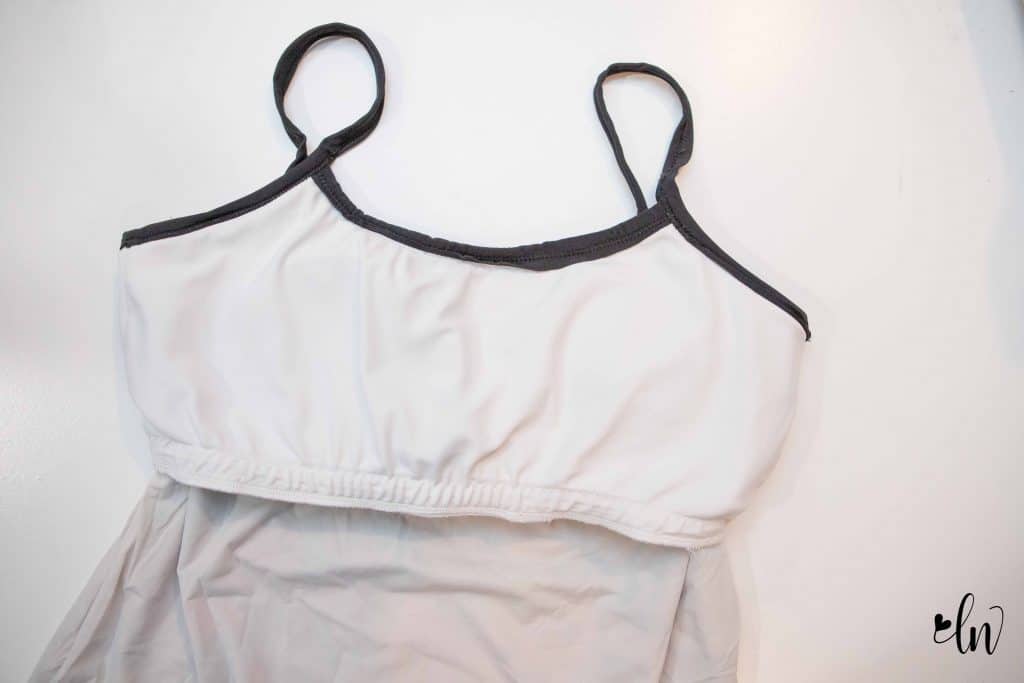
I used swim fabric for the entire suit, even the shelf bra. I took advantage of the shelf bra for some much needed support in my suit. I actually took out an inch from each side seam to really hold the girls in place. I also sewed in soft cups. Michele has a great tutorial for that in this blog post.
The body of my suit is lined with swim lining. I cut a main and a lining of both the front and back. Then I sewed the main front and back and the lining front and back. Next, I slide the lining cami into the main cami with wrong sides together. Then basted together the neckline, armholes and hem. From then on out, I treated the main and lining as one and followed the directions of the pattern to assemble the cami with the shelf bra.
If you are in need of swim bottoms, check out the Allegro pattern! I made a pair of shorts with boardshorts fabric and they are perfect for the beach or the pool.
That’s a wrap for this sew along
I feel like we did a LOT of sewing this week! How about you? Have you been following along with the Facebook live videos? If you aren’t a Facebook user, you can still watch our videos on our YouTube channel! You won’t be able to interact with me live, but you can still watch me sew each day’s step of the sew along. I post the videos into the blog post after they are recorded and processed. So be sure to check back for those!
Luna Loungewear Sew “Along Schedule
Monday: Fabric selection and blending sizes
Tuesday: Sewing the cami/nightie with lingerie elastic or knit binding straps and comfort band bralette hack
Wednesday: Sewing a cami/nightie with shelf bra and fold over elastic straps and gathered neckline hack
Thursday: Sewing the shorts/capris and rogue hem hack
Friday: Hemming the cami, nightie, shorts, and swim suit hack.
Pin these for later!