Hello! Katie from Made By Kates here with another sewing school lesson. I love teaching about the basics of sewing because little things can go a long way in making a big difference between a garment that looks homemade and a garment that doesn’t! When I was growing up, my grandma used to say that the inside of your garment needs to look as good as the outside. One of the easiest ways to achieve this is by finishing your seams. Not only does this make the inside look nice and neat, it also helps your garment last longer since the seams won’t fray.
…my grandma used to say that the inside of your garment needs to look as good as the outside.

If you are just here for sewing seam finishes, you can scroll down a bit.
Otherwise, let’s first talk about today’s $5 Feature Friday pattern- the Women’s and Girls Luna Loungewear Set. You can check it out HERE. This is such a great pattern to have because it is super versatile, especially since the bottoms can be made from both wovens or knits. The pattern has been updated to include sizes XS-5X and it matches the current Love Notions pattern block. The pattern includes a cami, nighty, and capri or shorts length bottom.
While the pattern is for loungewear – it can be used so many ways! Here is a little inspiration for you:
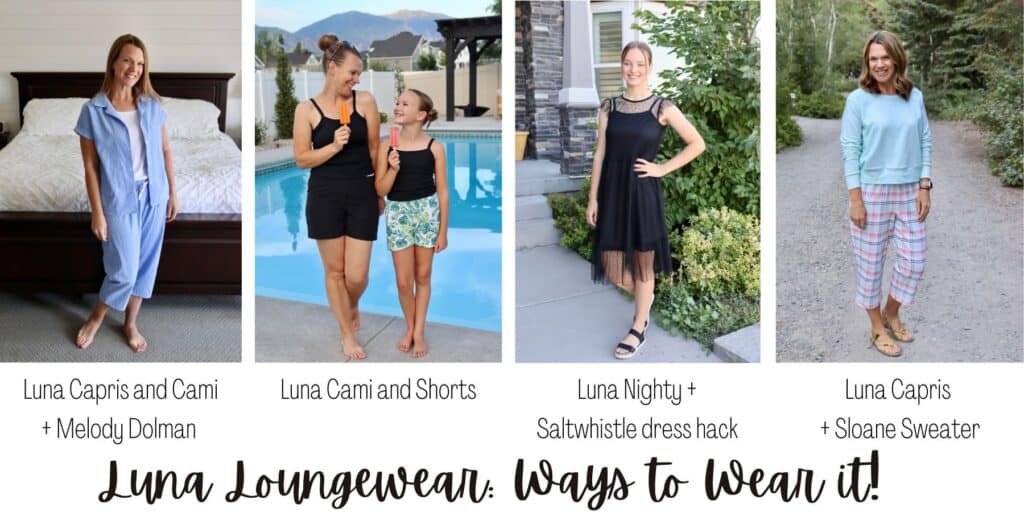
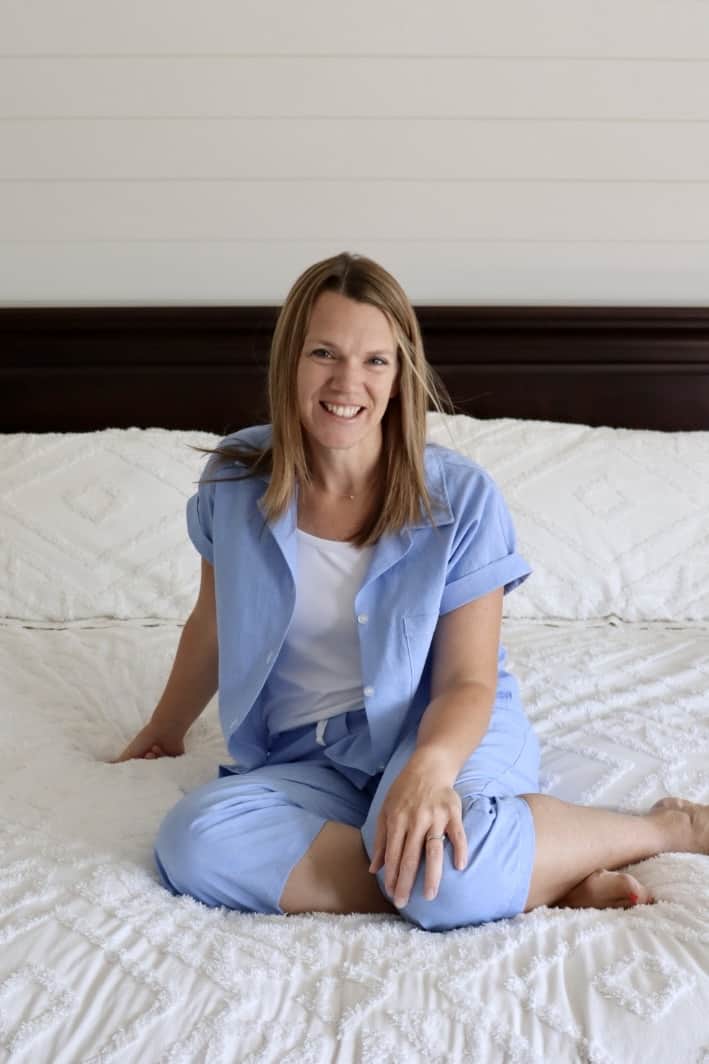
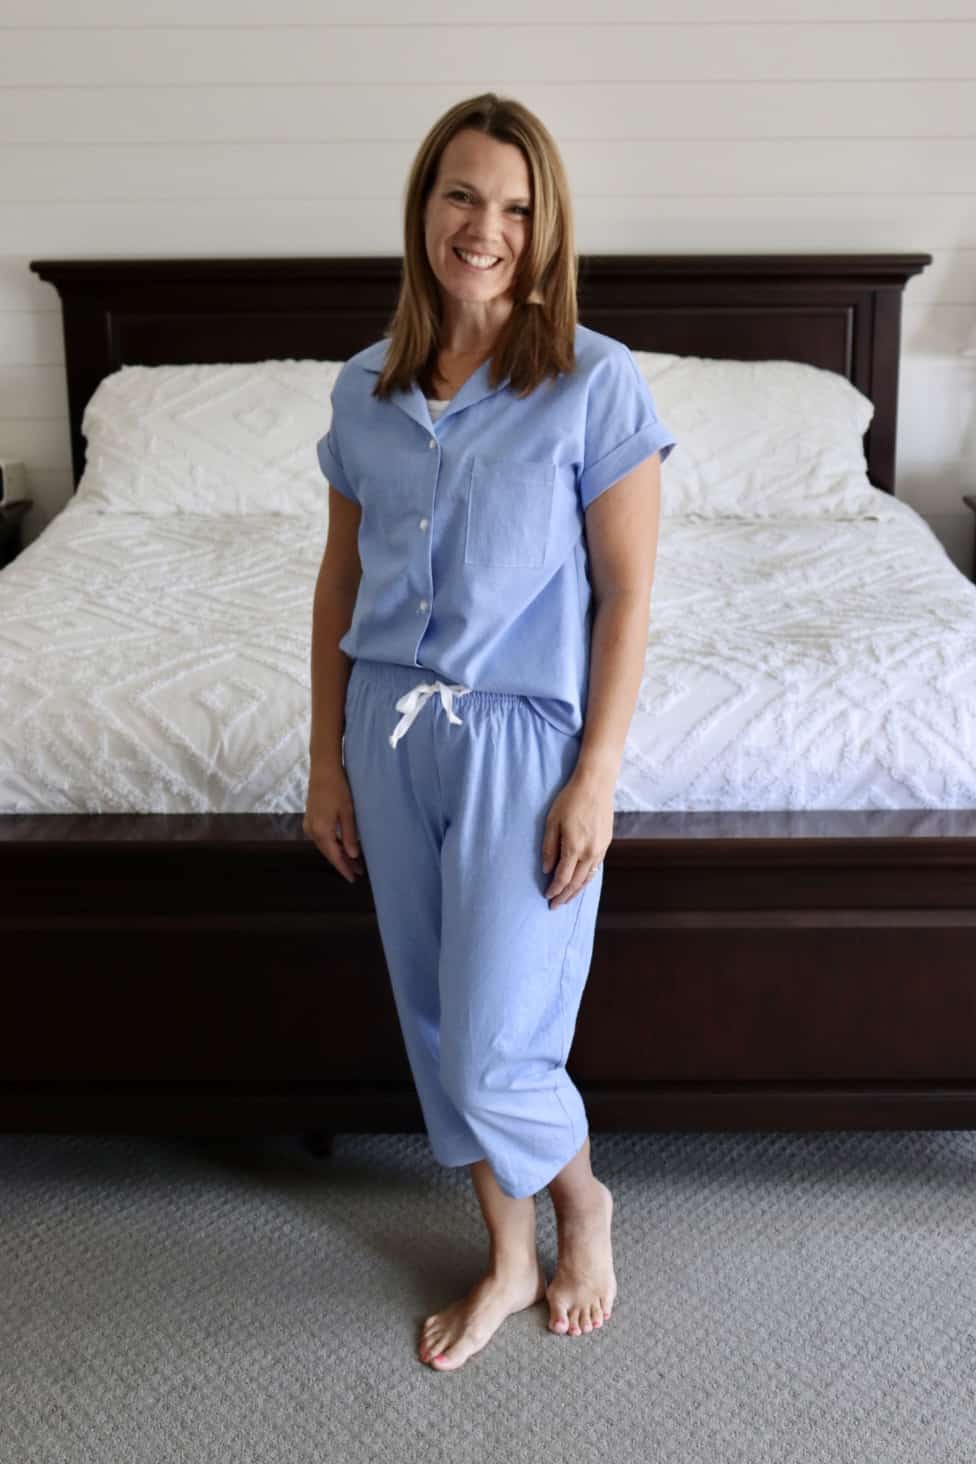
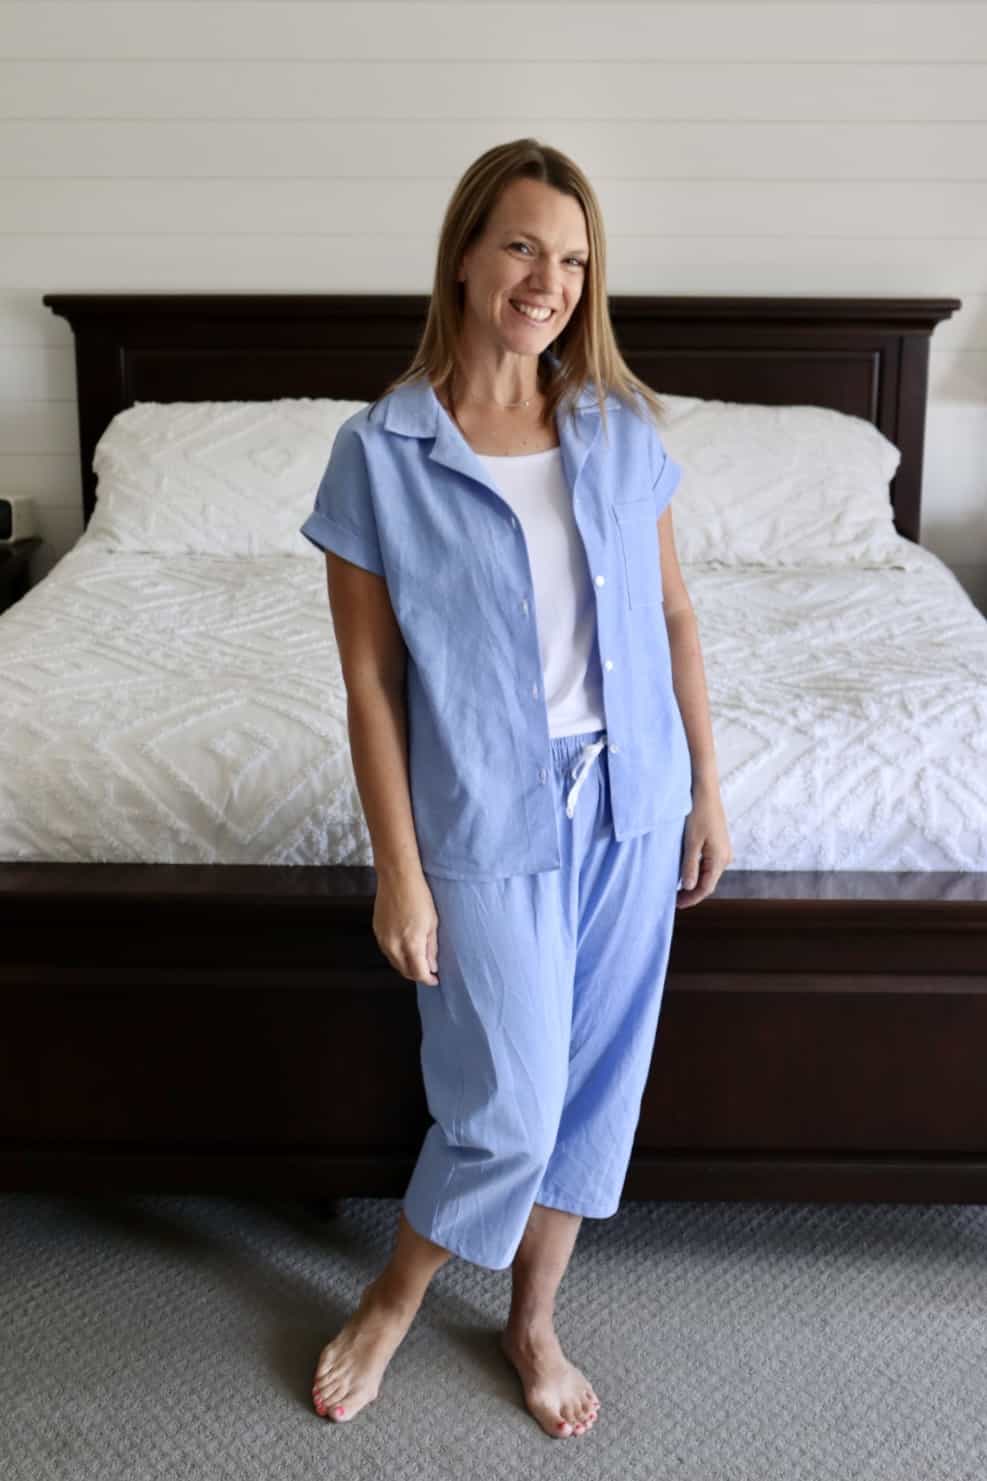
First up – this set using the Luna cami and capris then paired with a Melody Dolman for classic pajama set! I used a chambray from Raspberry Creek Fabrics and a white double brushed poly for the cami and it turned out just as I envisioned. I usually end up sleeping in a pair of joggers and an old t-shirt, so this makes me feel so glamorous! It’s a super comfy set and looks classy too.
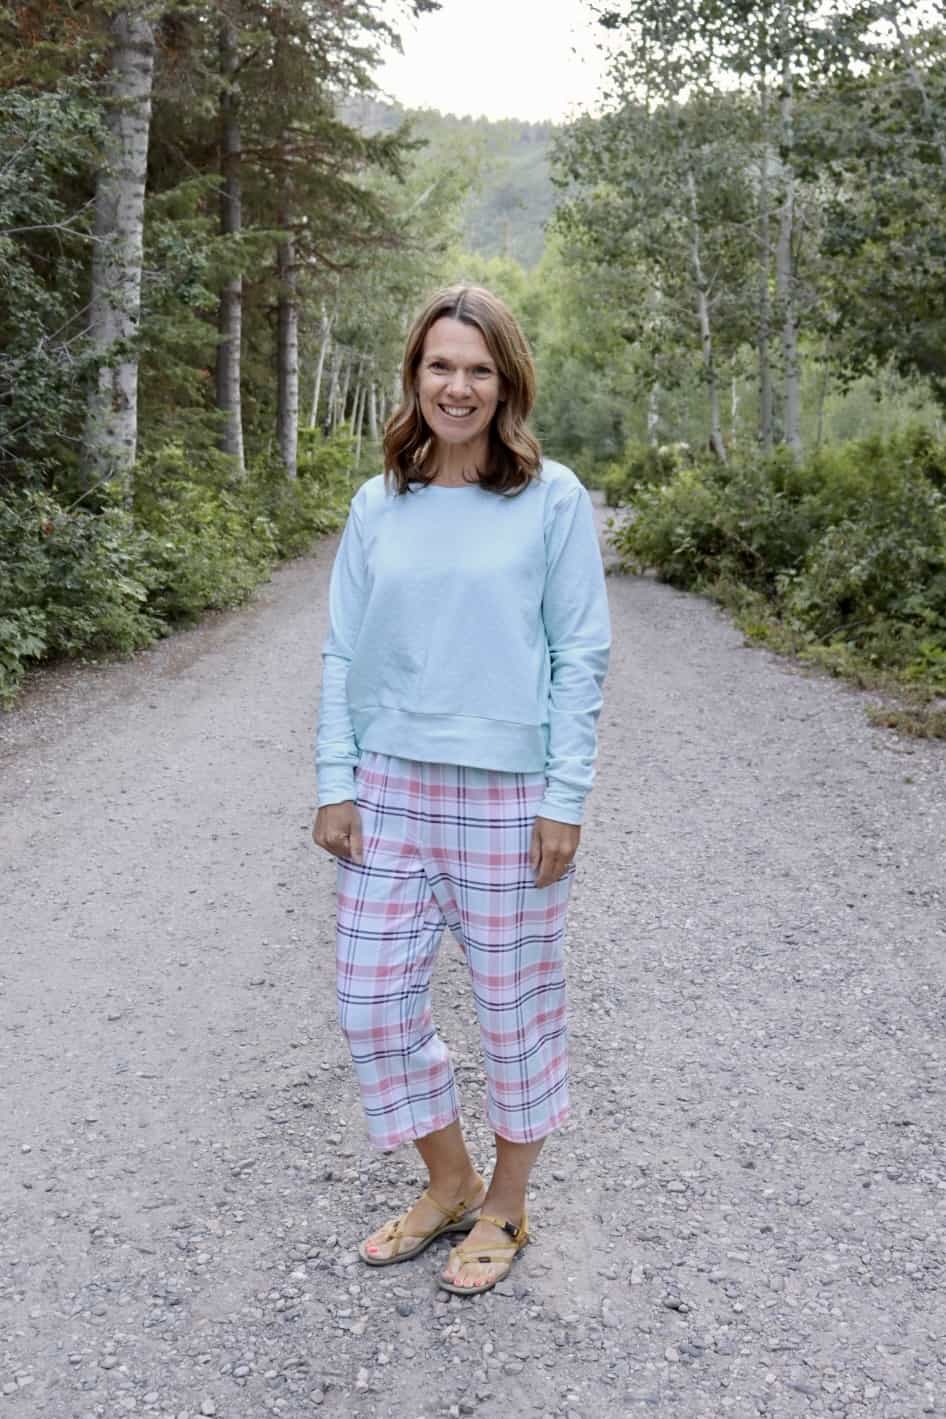
I made another lounge set but used French Terry from Raspberry Creek Fabrics for this one. I paired the capri bottoms with a slightly cropped Sloane Sweater. It’s extra cozy and I tried it out on our recent camping trip. Highly recommend! And if capris aren’t your thing, it’s super simple to add a little extra length to the bottoms for pants length. I’ve done this plenty of times!

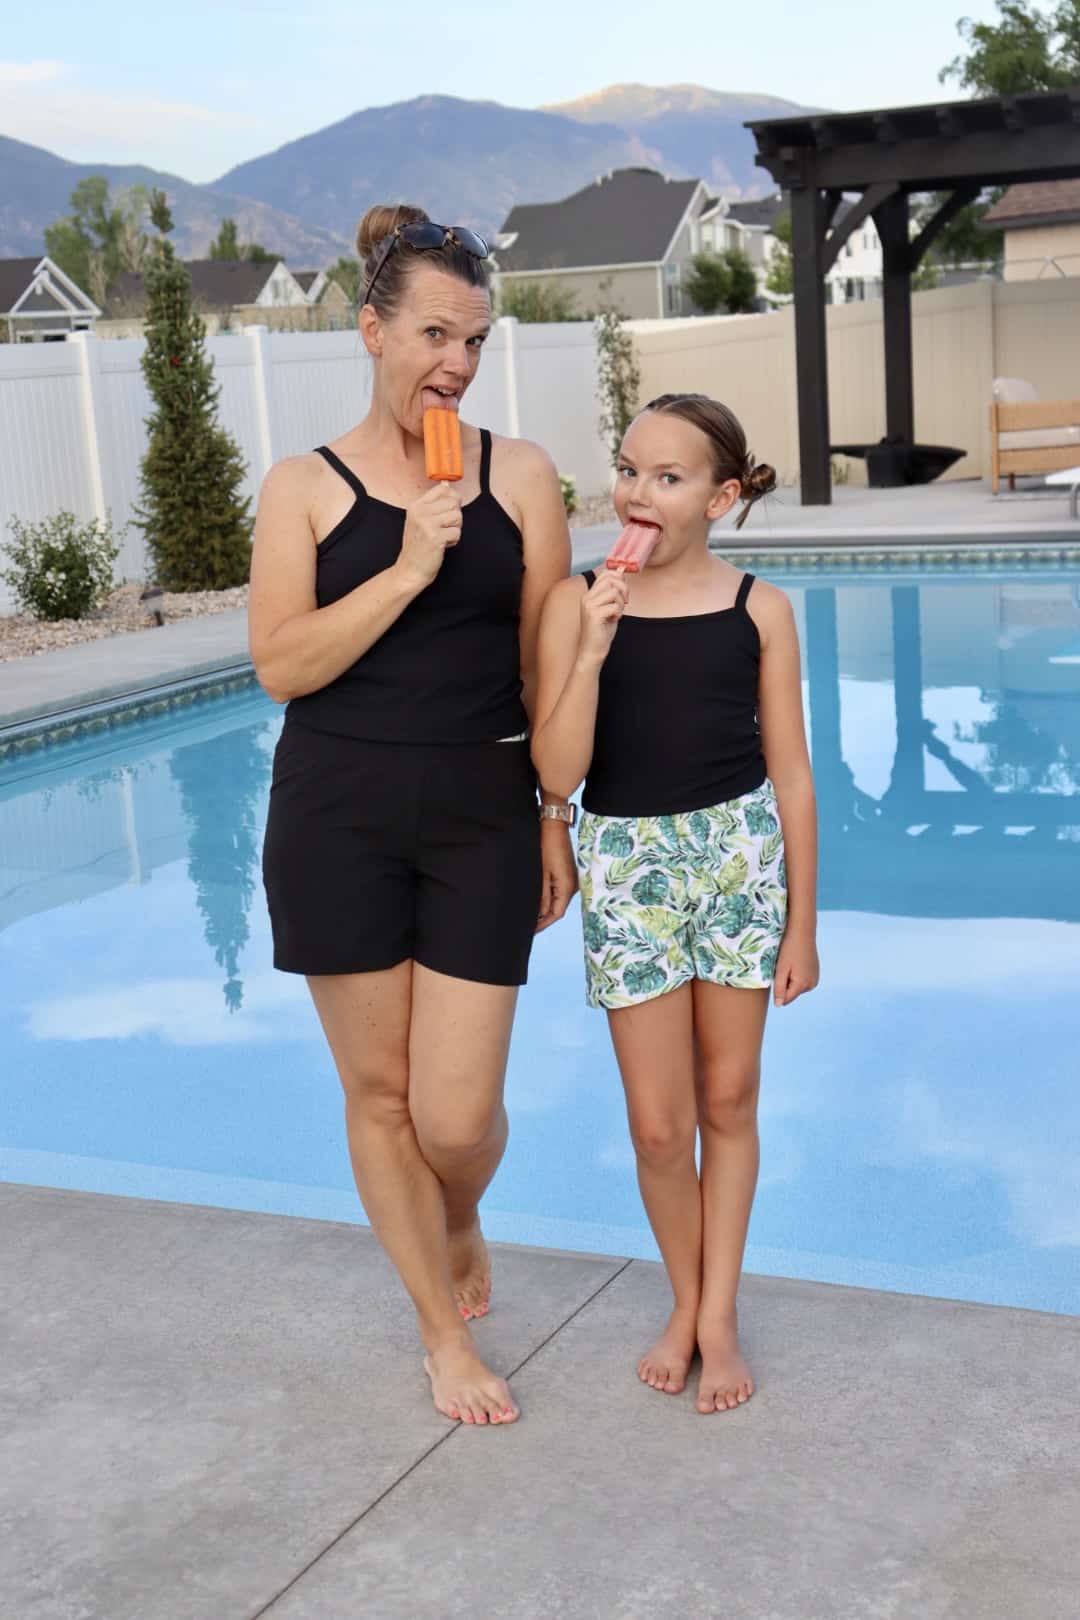
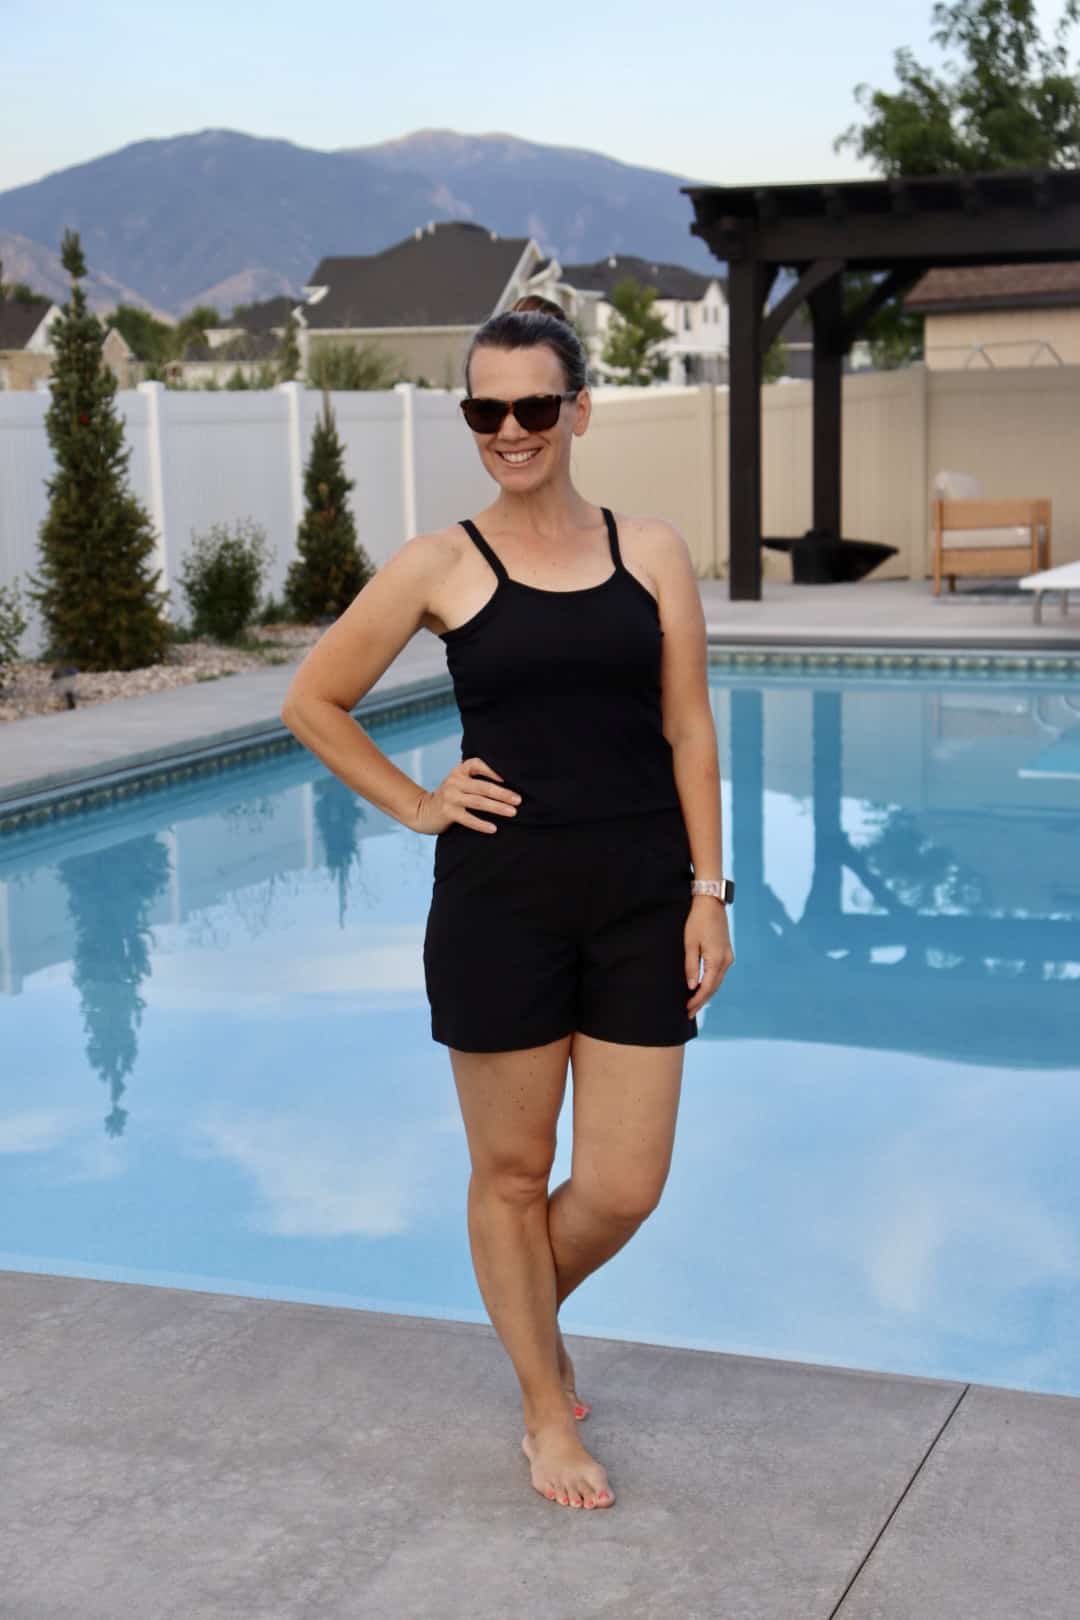
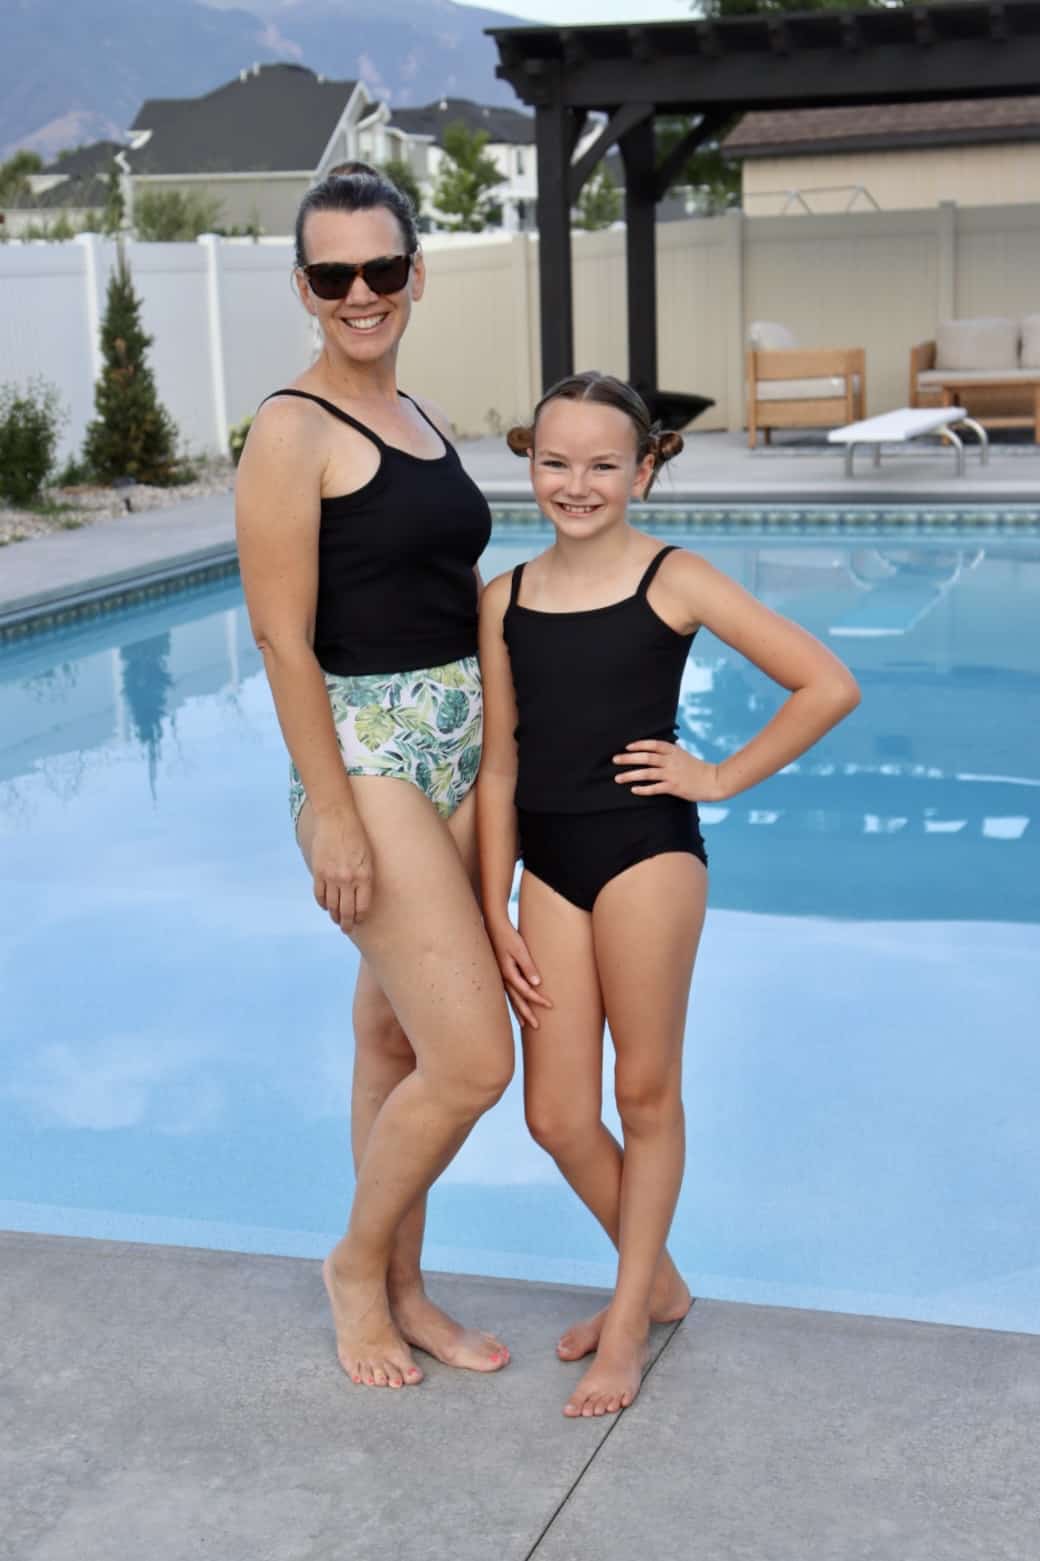
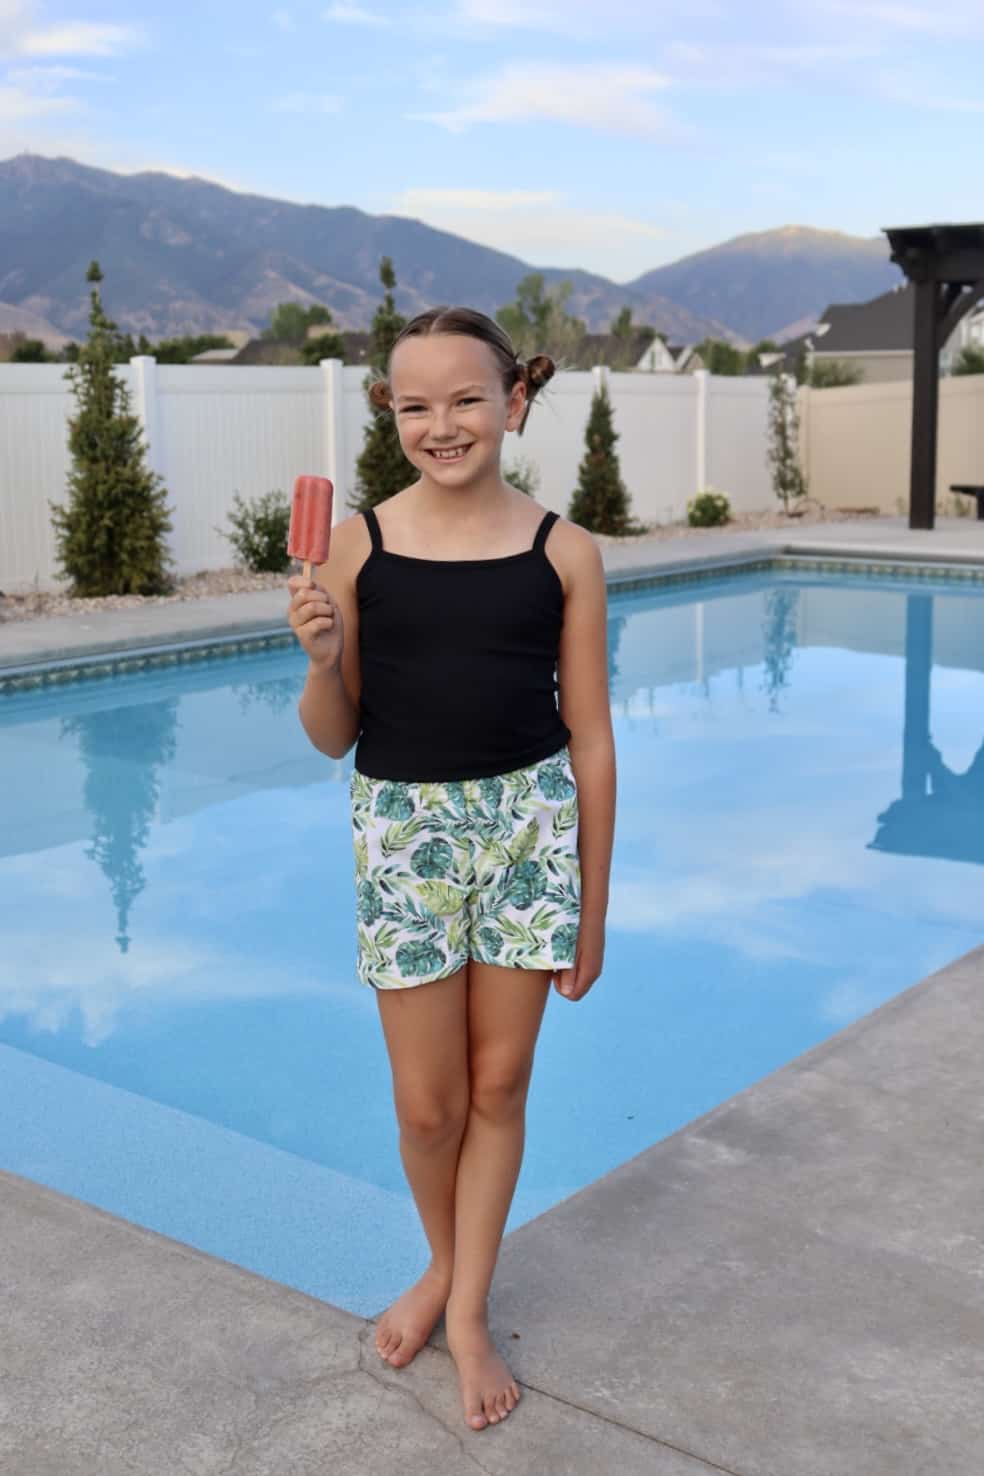
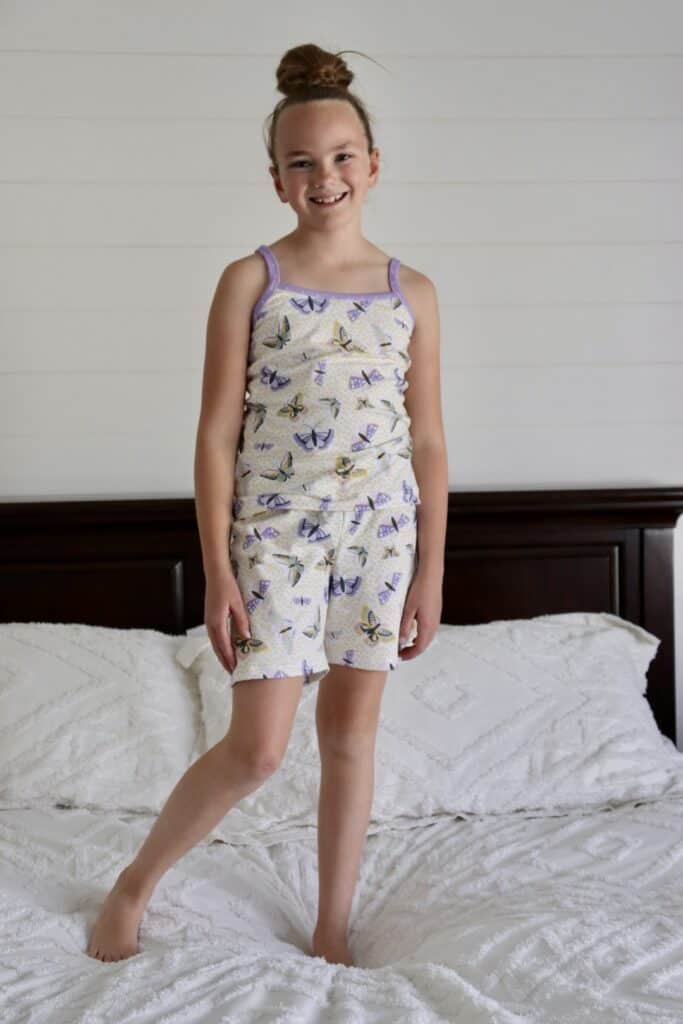
We’ve spent a good portion of our summer swimming and I realized with the built in shelf bra option, the Luna cami would make a great swim tank – especially since I spend more time sitting by the pool watching kids than actually swimming! Then I started thinking that the Luna shorts would make some great boardshorts to go with it. To make it more of a swim tank for both my daughter and I, I went with the smaller size and slimmed down the sides and shortened it. I added lining to the front side of my daughter’s top and added the shelf bra and cups to mine. I also added swim elastic to the seam of the straps for extra stability. It worked great and my daughter and I both have enjoyed swimming in them. For the boardshorts, I used boardshort fabric from Raspberry Creek Fabrics and made them according to the pattern. They worked great! We just paired it with our favorite coordinating swim bottoms for a complete set.
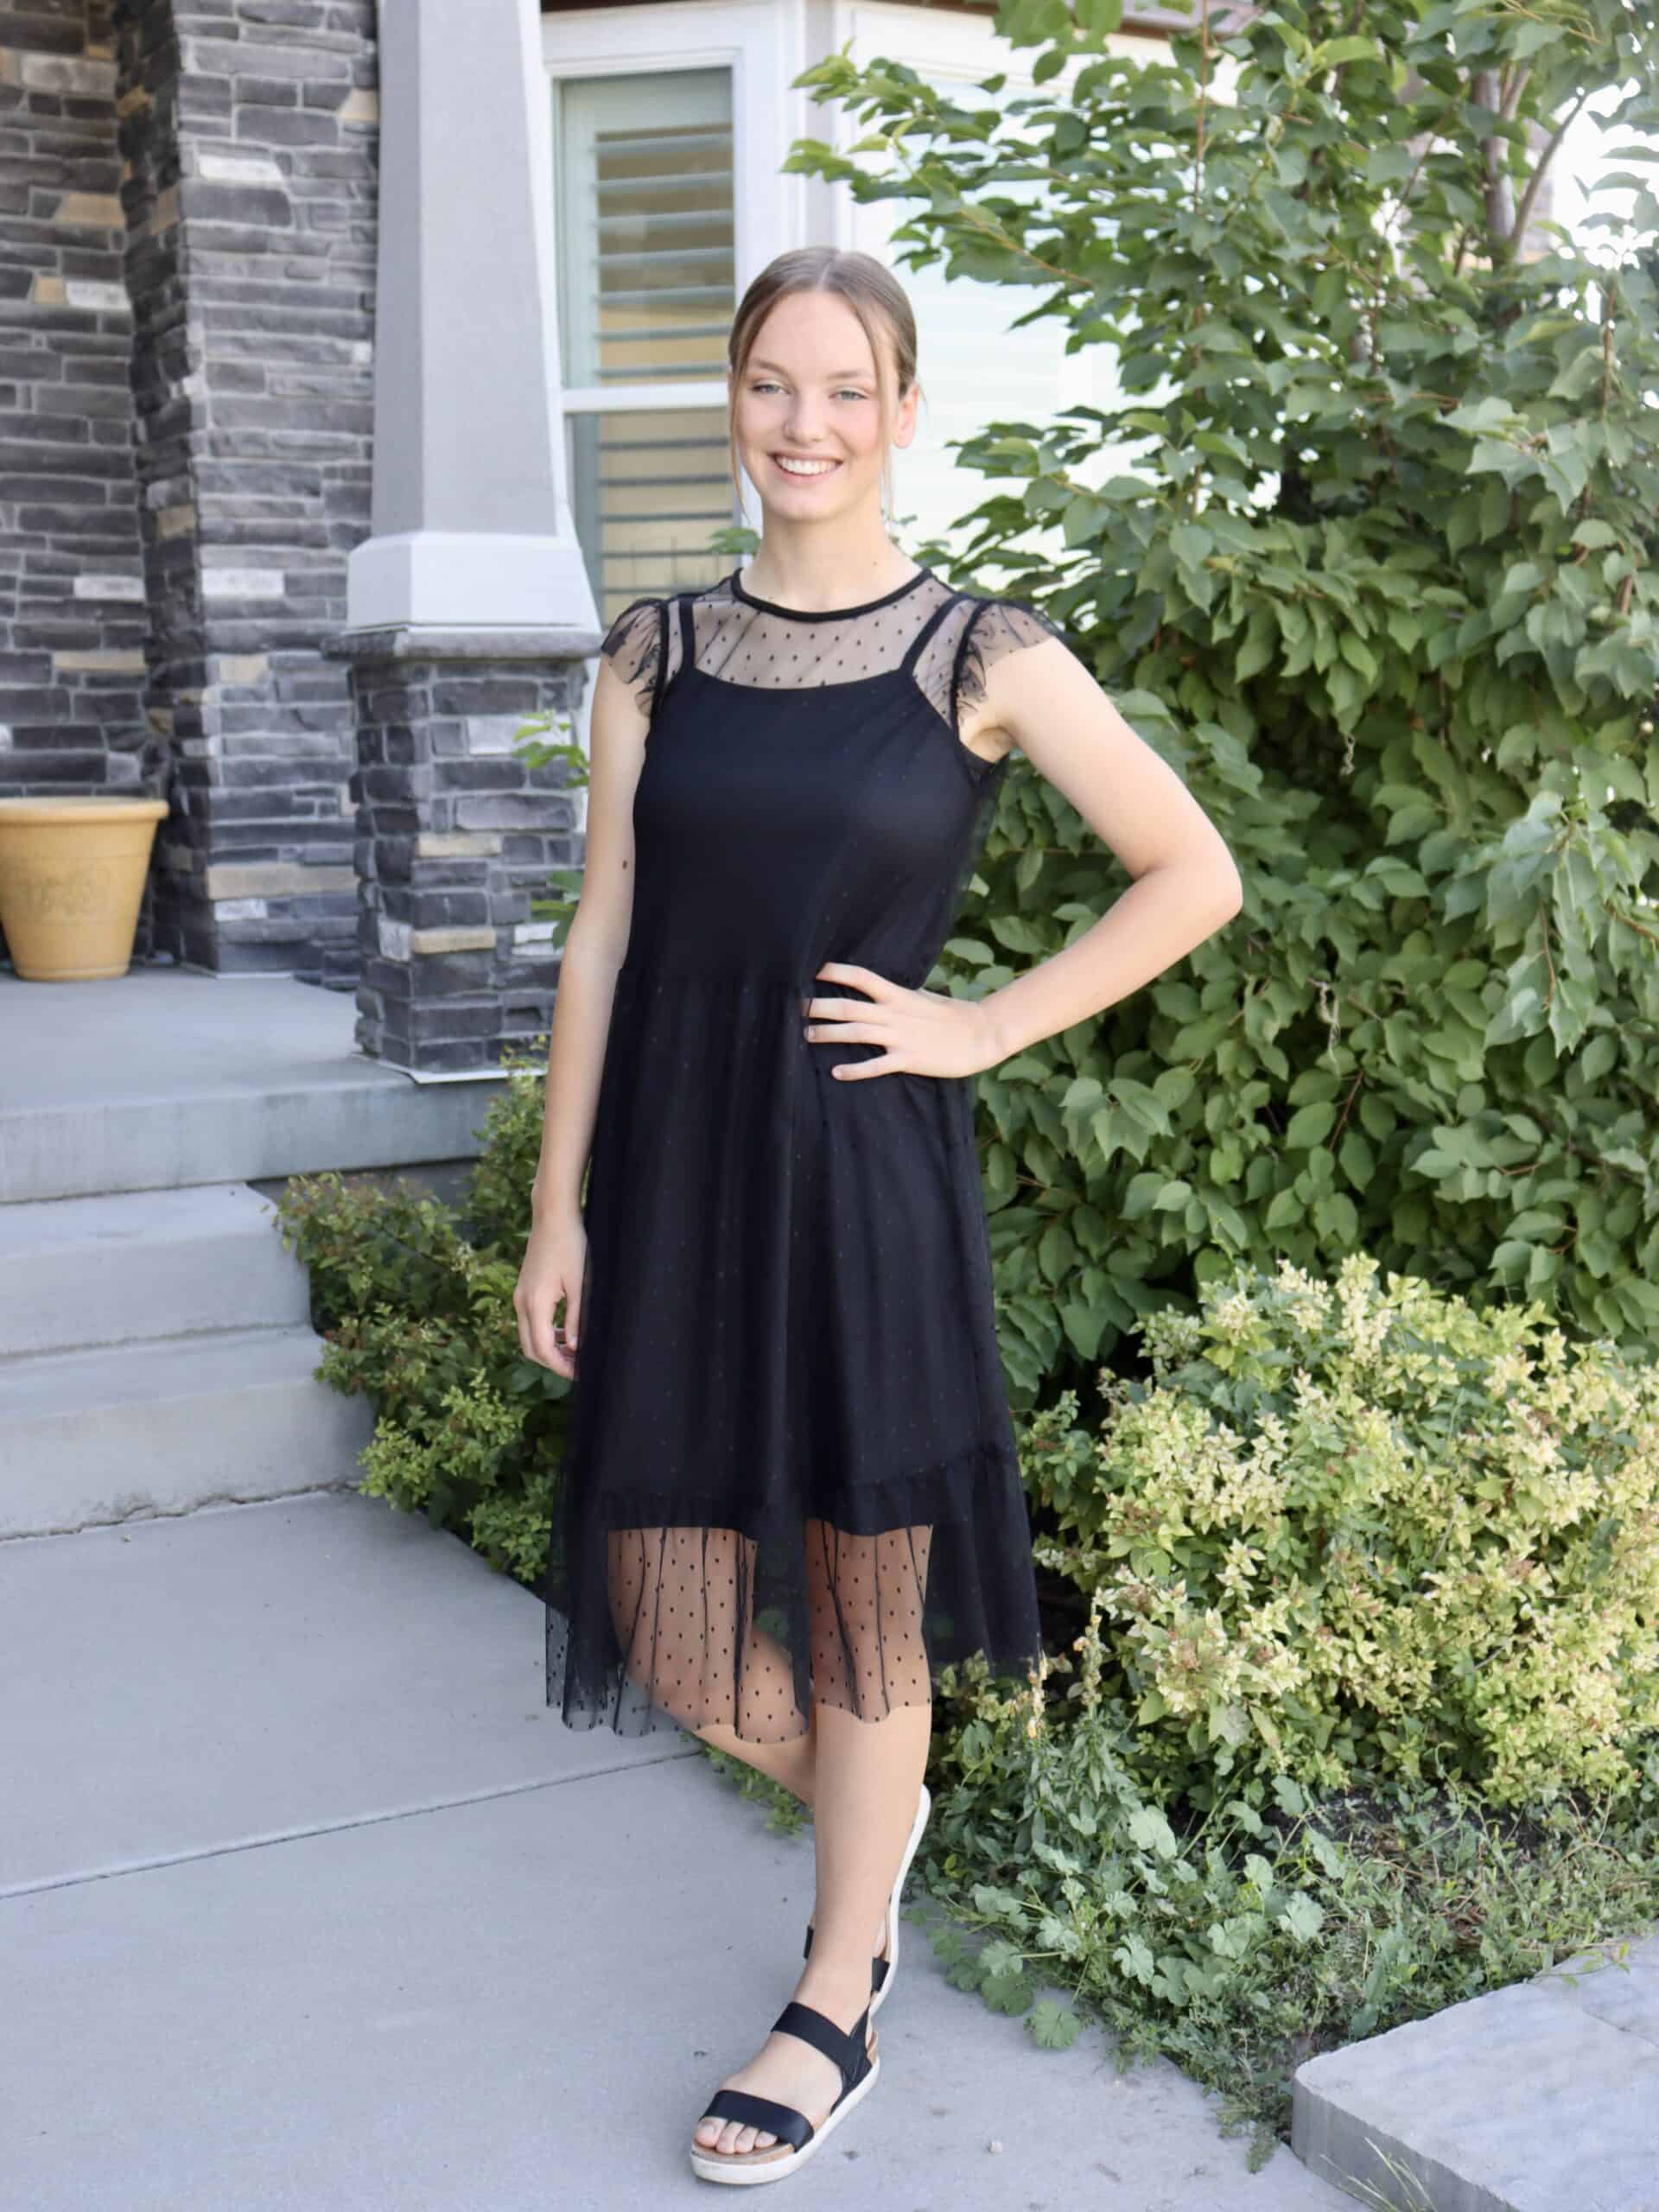
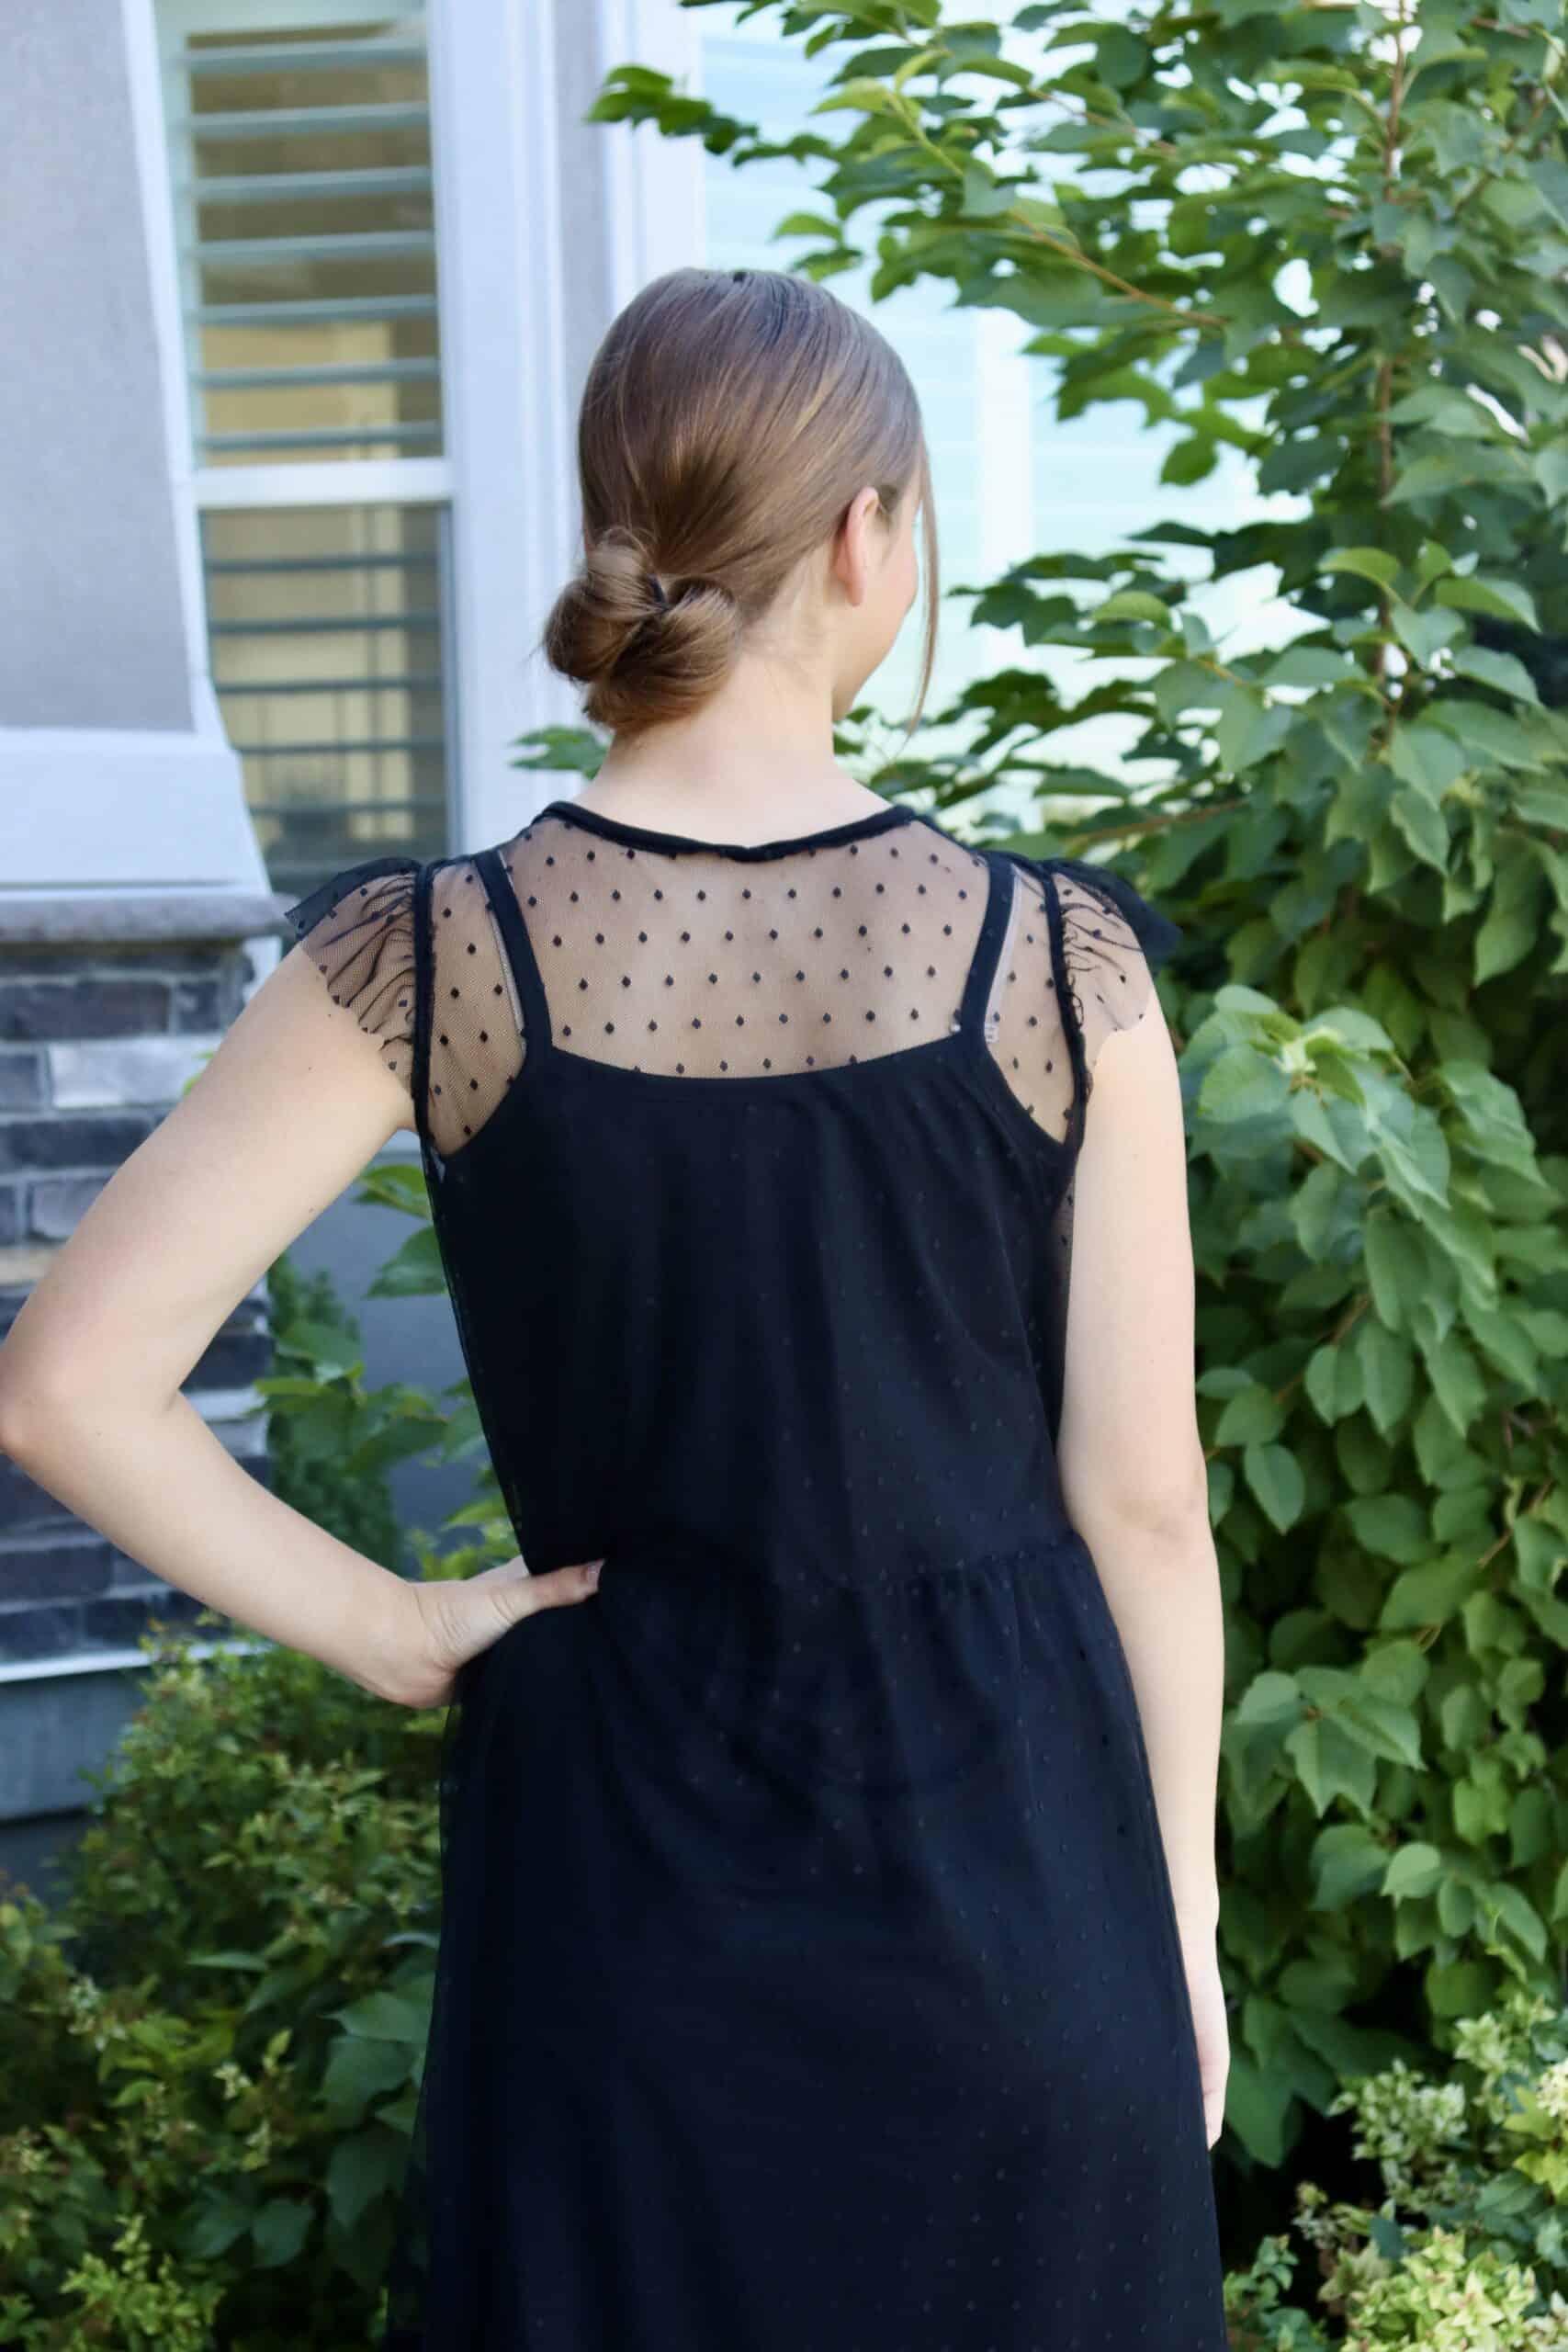
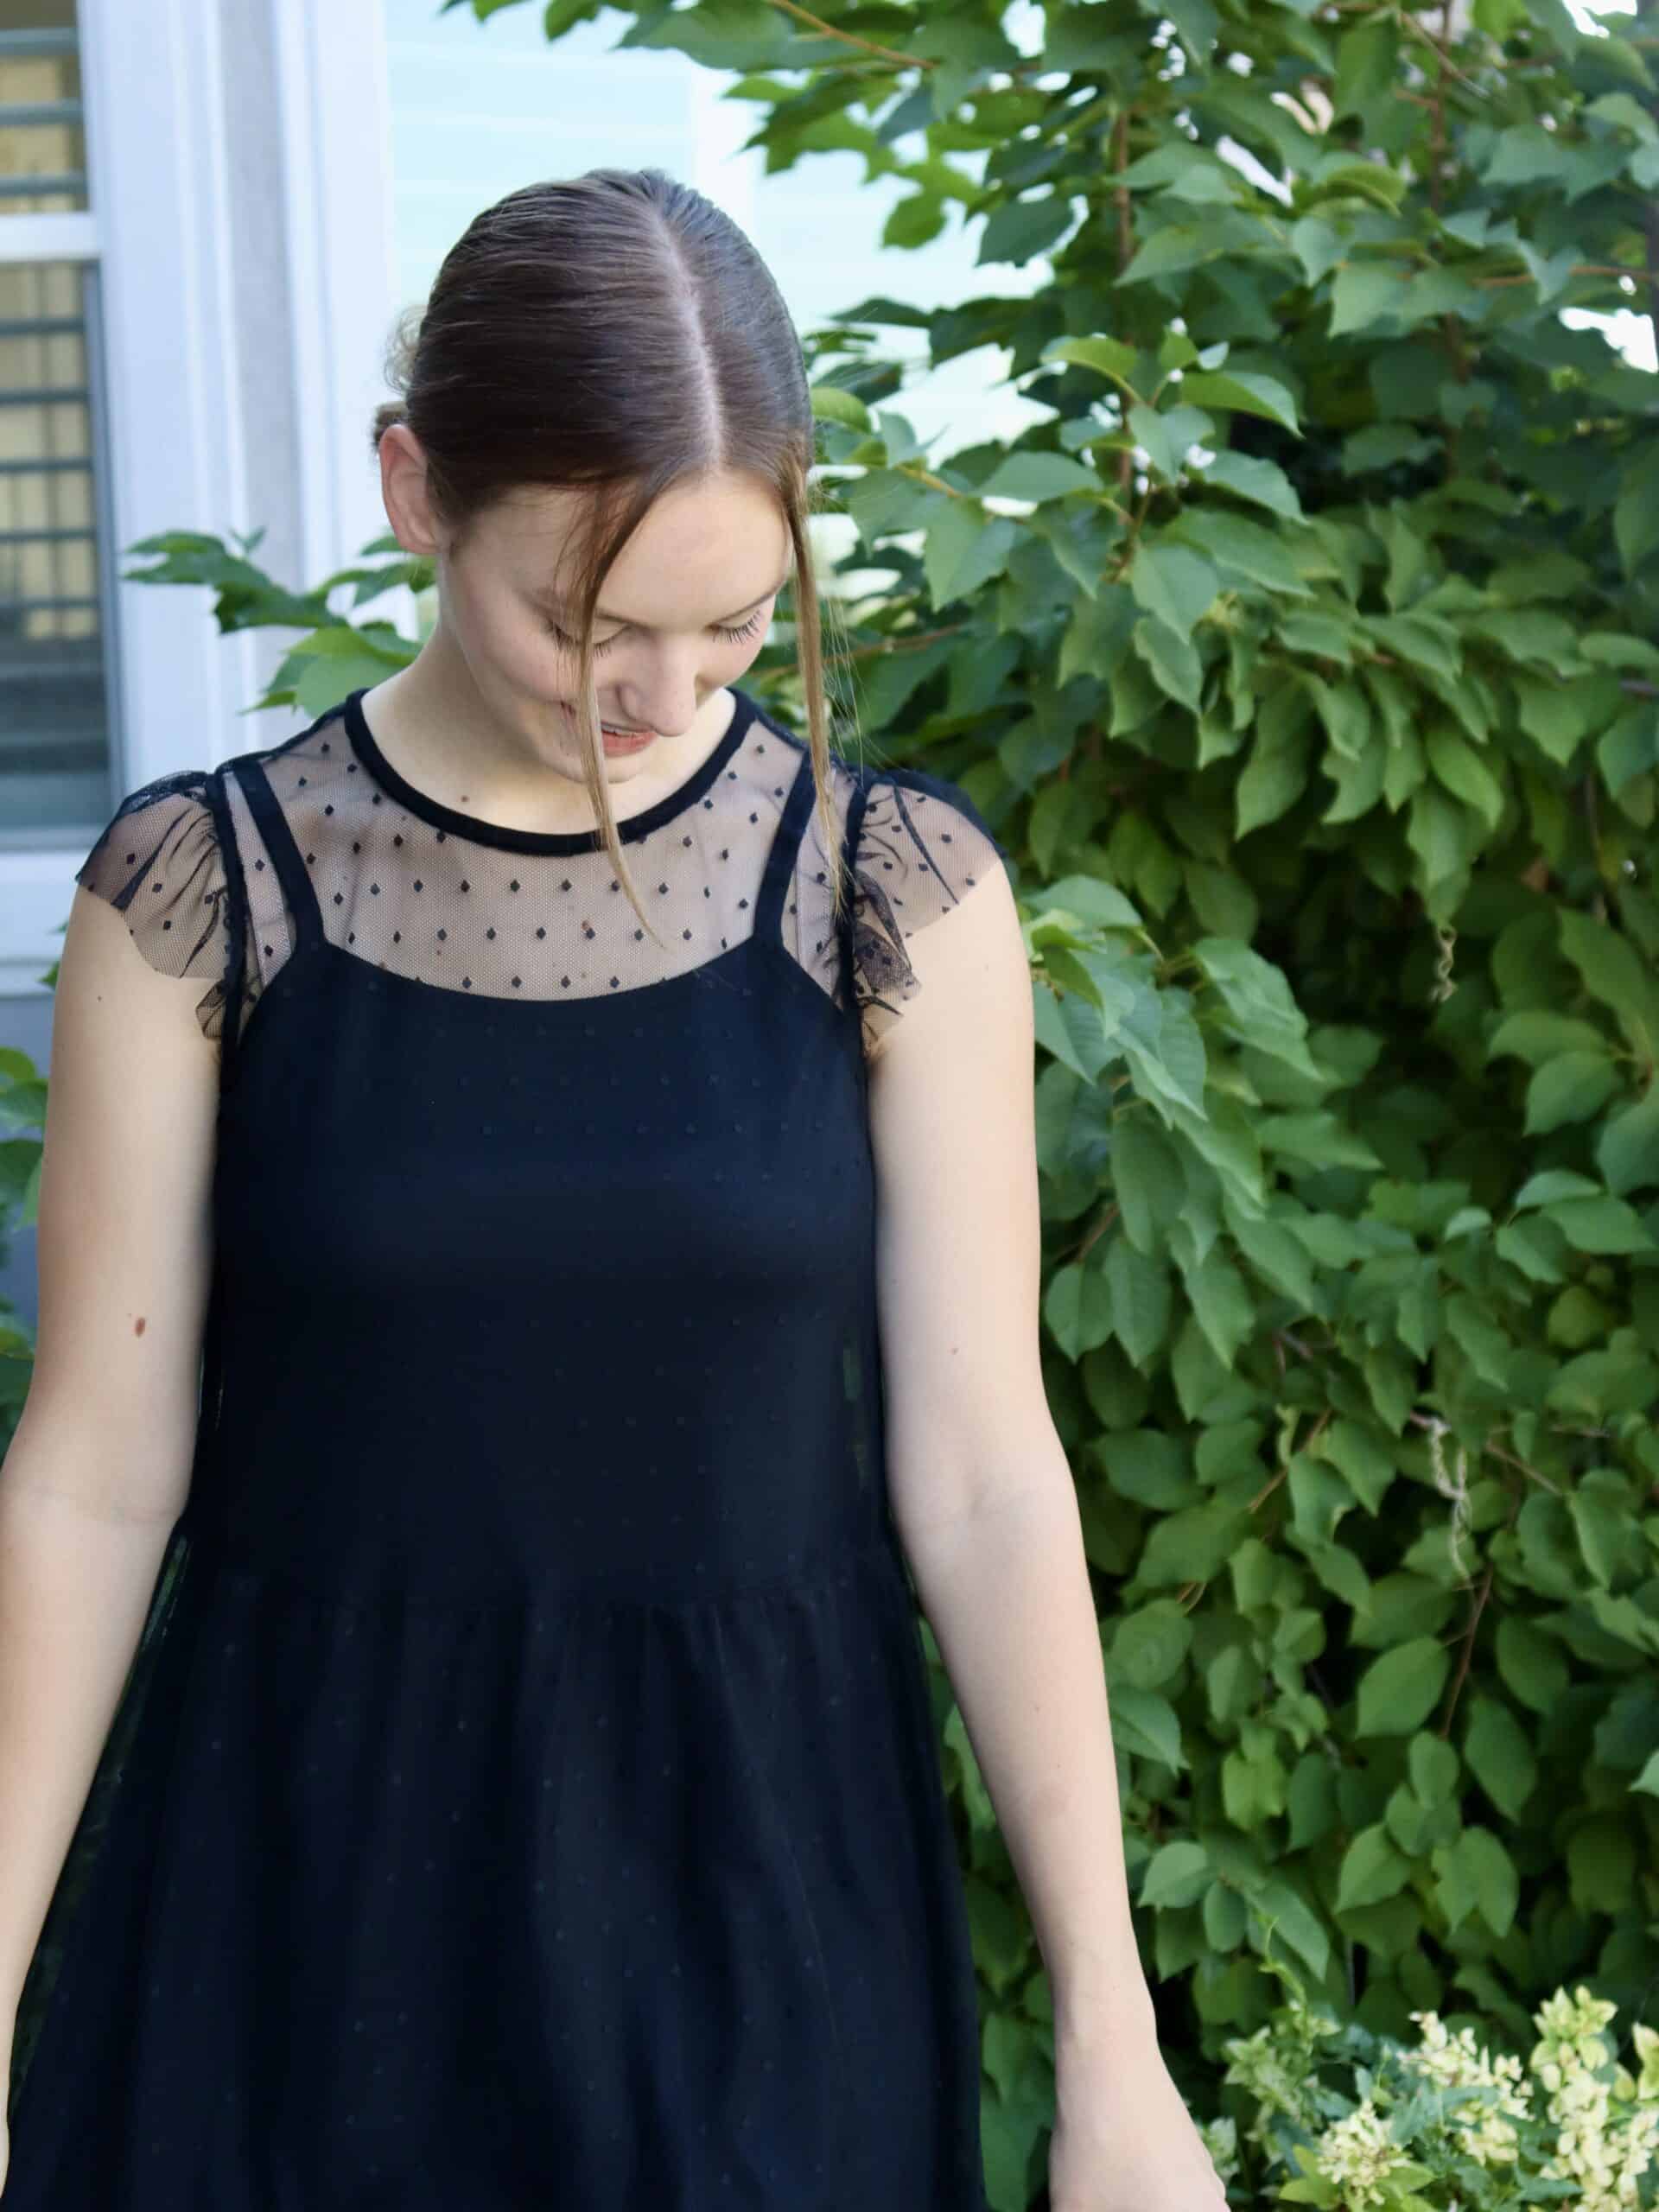
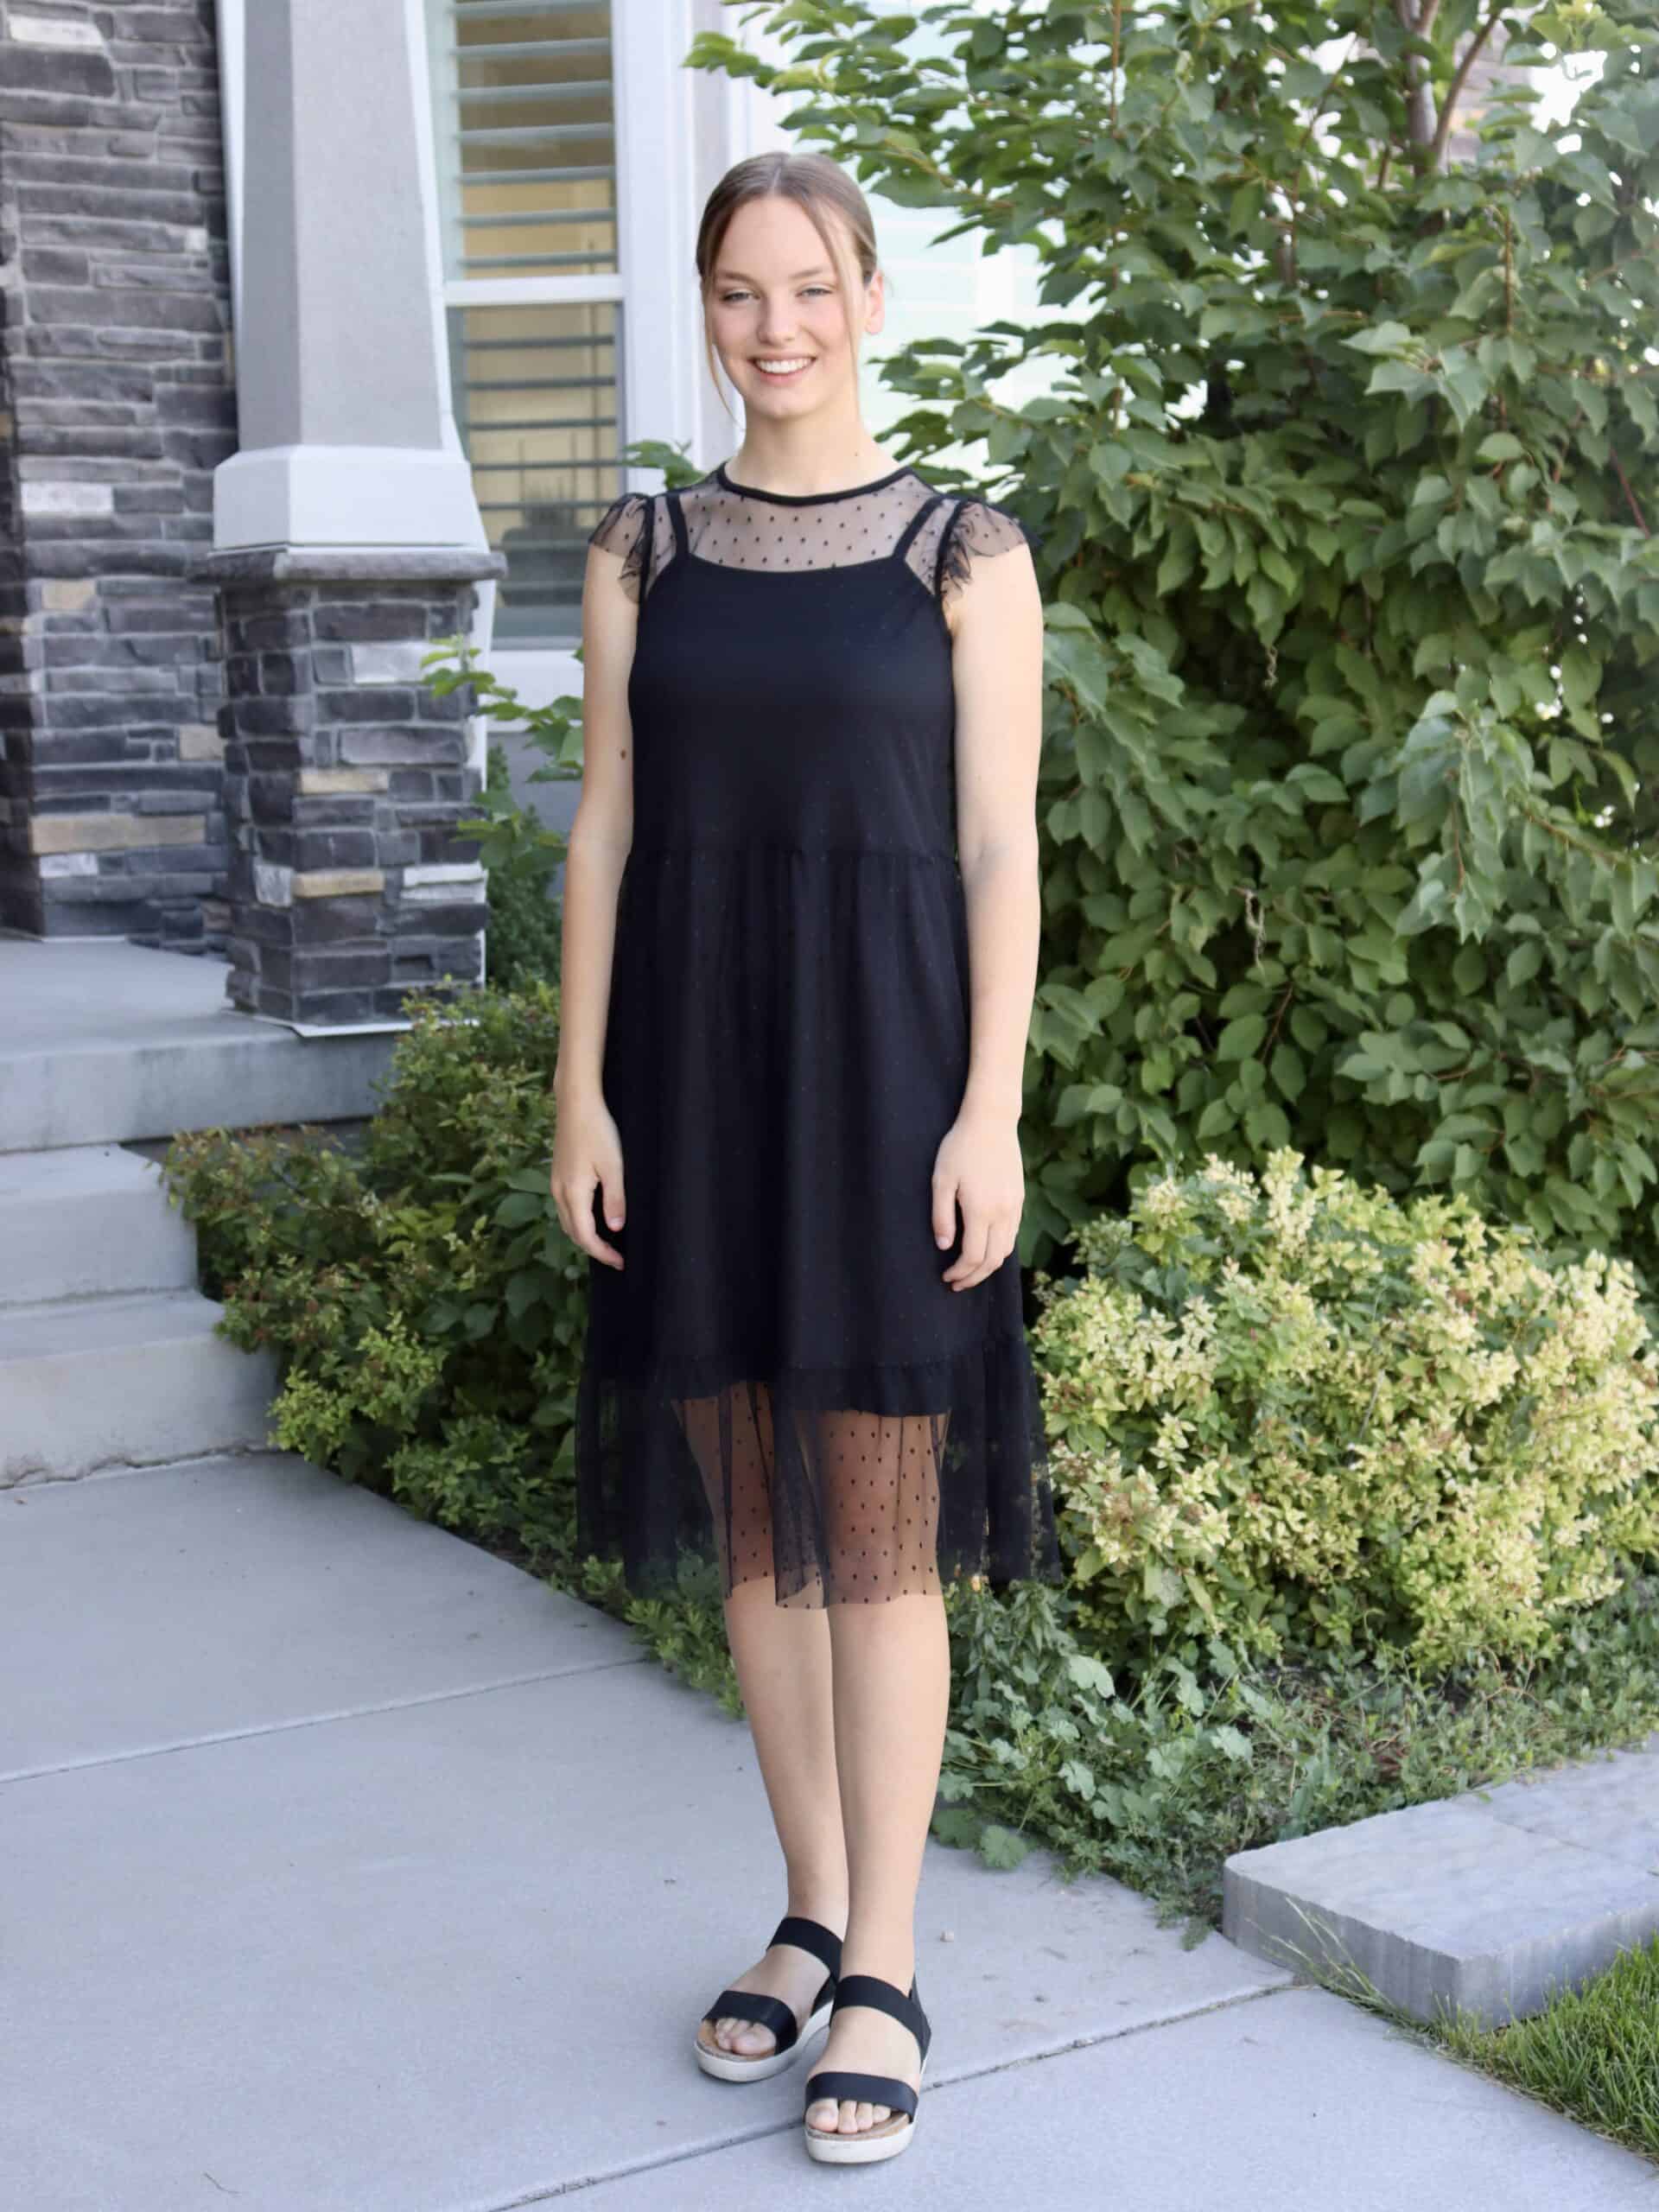
Lastly, I used the nighty pattern to make a slip dress to go under a stretch mesh hacked Saltwhistle Dress. A few years ago I made my younger daughter a slip using the girls pattern and have been picturing making something like this since. I used the Saltwhistle Dress as a base and just changed the neckline, shortened the bodice slightly, omitted the elastic and added two tiers. I used the ruffle sleeve and used a scrap of black modal to bind the neckline. We both love how it turned out.
Sewing Seam Finishes
So now that I’ve convinced you that you need this pattern, let’s talk about how to take it next level when working with woven fabrics. When making the Luna capris or shorts with a woven, you are going to want to make sure you use an edge finish on your seams.
Because of the way wovens are made, with the warp and weft fibers intertwining, they are prone to unravel unless something is done to stop it. This is easily illustrated when you pre-wash your fabric. When you pull it out of the washer, it typically will have strings hanging and sometimes tangled up along the cut edge. The selvage ends of the fabric will still be intact, but anywhere the fabric has a raw edge it will have started to unravel. For this reason, a lot of people choose to serge the end before washing. The reason this happens is because during the process of washing the fibers become loose and start to come undone. It can happen in varying degrees, but it will happen. If you don’t apply an edge finish to your seams, this will continue to happen to your seams every time you wash the garment. And since most seam allowances are between ⅜”-⅝”, it won’t take long for that seam to be a frayed mess!
The good news is there are lots of ways to prevent this, even if you don’t own a serger! In this post, I’m going to share a variety of ways you can finish your edges and keep the seams of your garments strong.
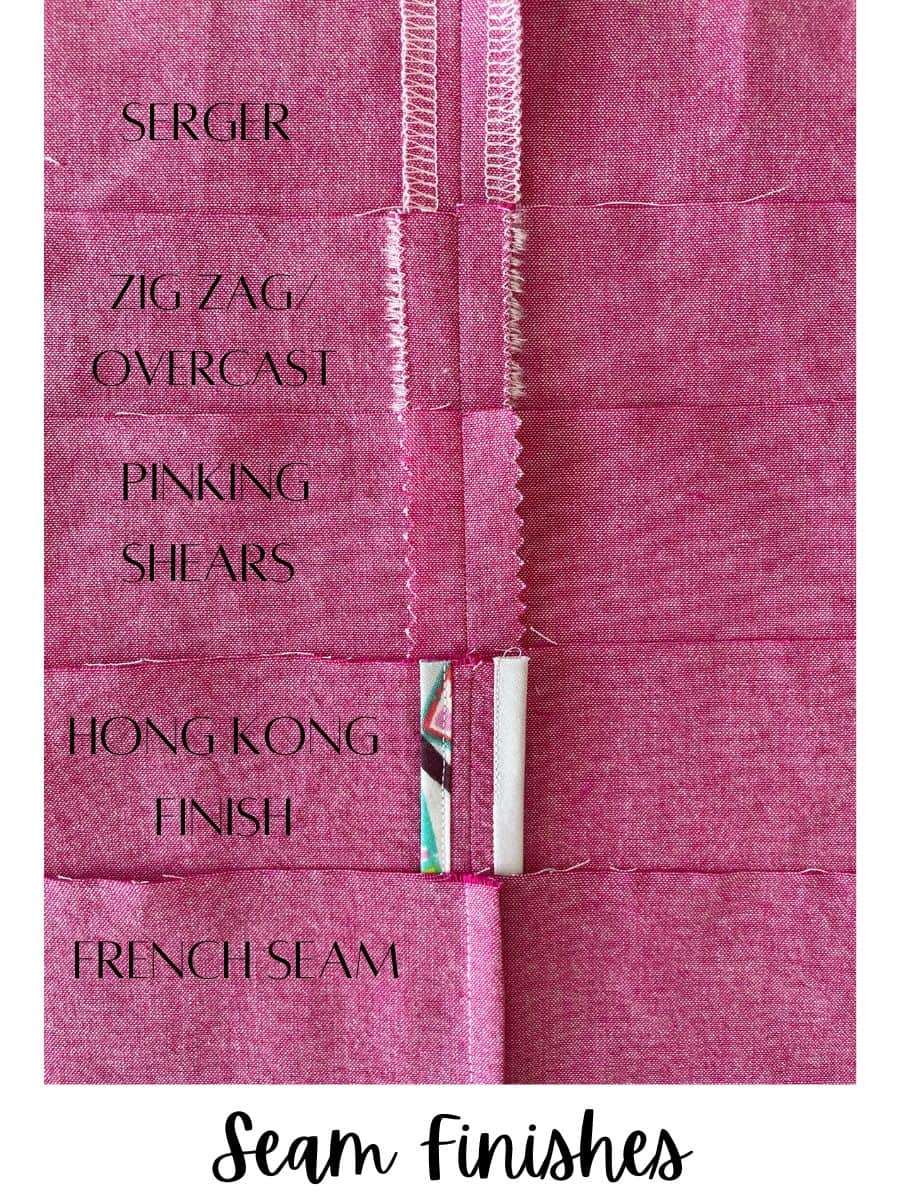
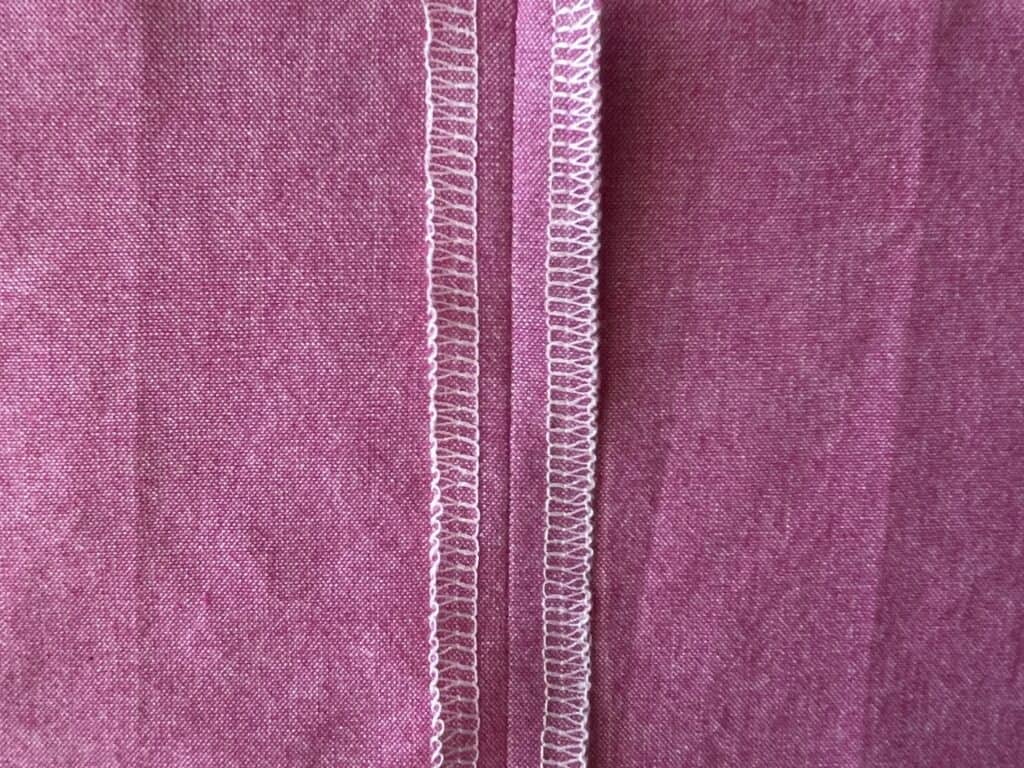
1. Serged Edge:
If you have a serger, this edge finish is the most common. It is quick, easy and leaves a nice clean edge. The serger trims the excess fabric as it sews, so you do need to make sure you don’t trim off more than you mean to! You can serge the seam together as one, or serge both sides of the seam and press them open.
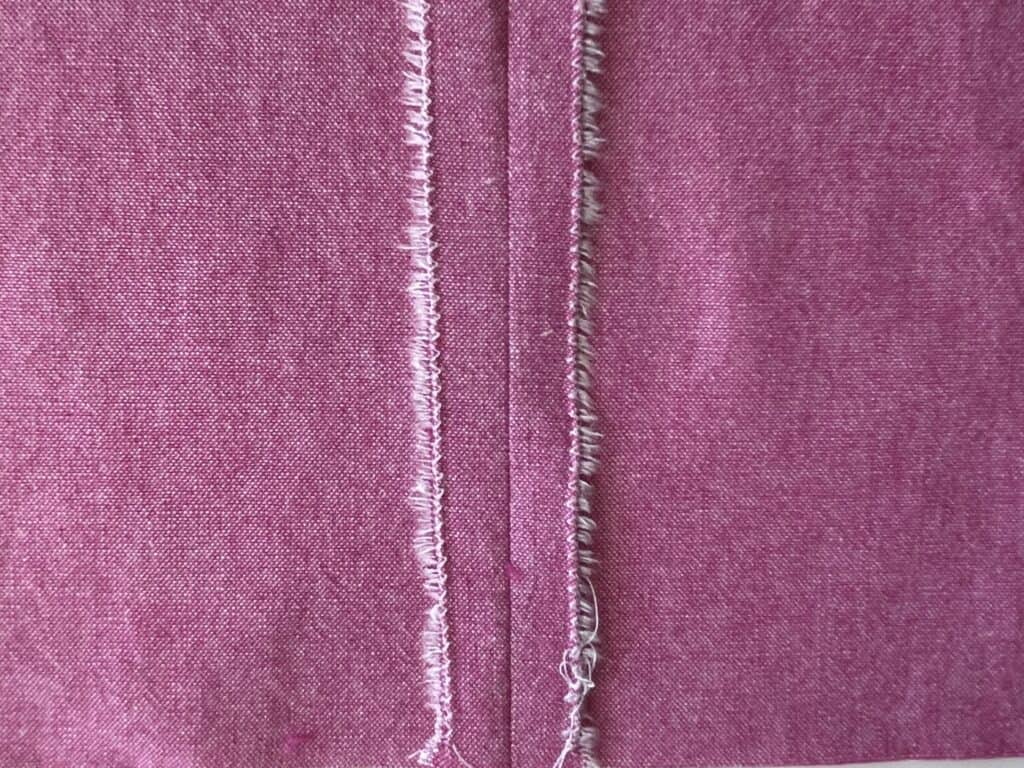
2. Zig Zag or Overlocker Stitch:
The zig zag stitch is another great way to prevent your seams from fraying, especially if you don’t have a serger. You can either stitch your seam and then zig zag the seams together, or zig zag both sides of the seam and press it open. Many machines also have an overlocker stitch which accomplishes the same thing.
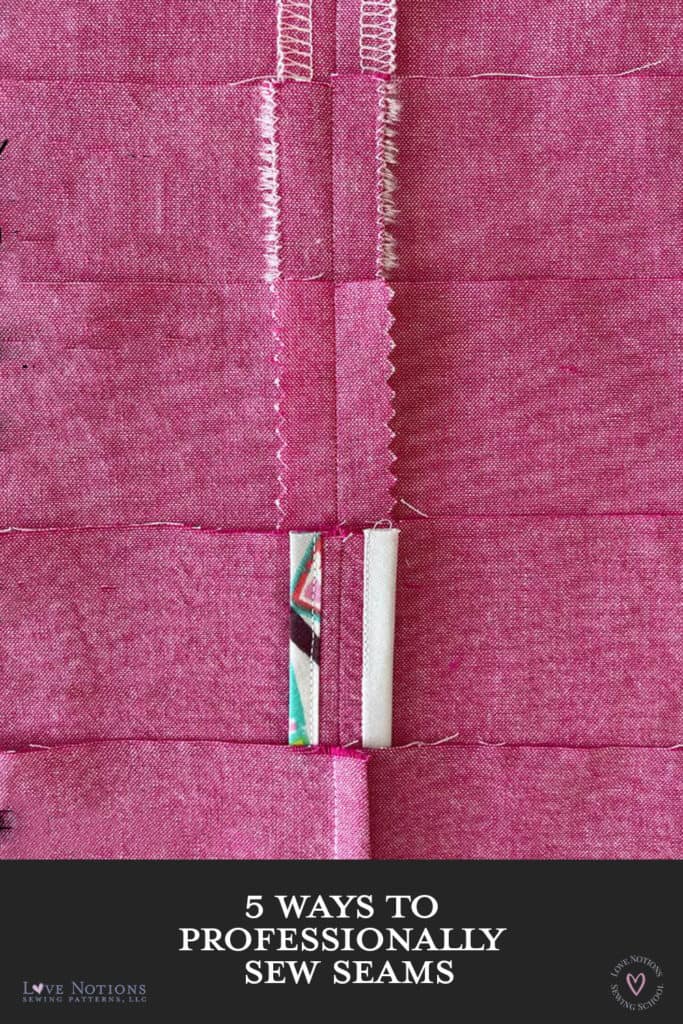
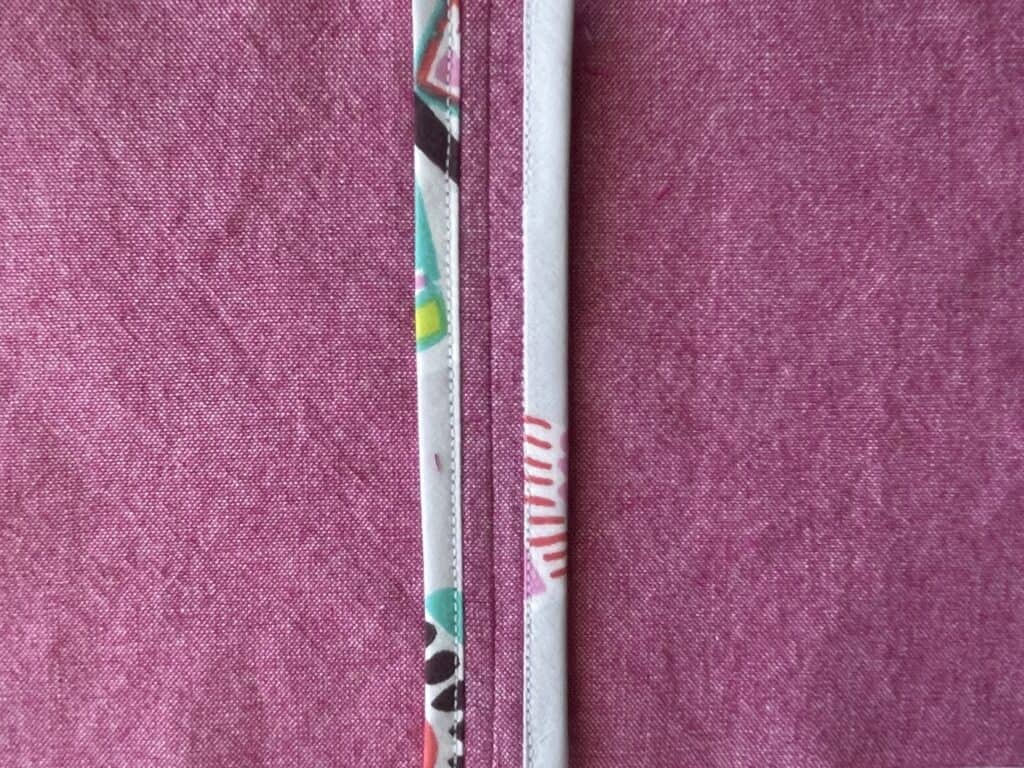
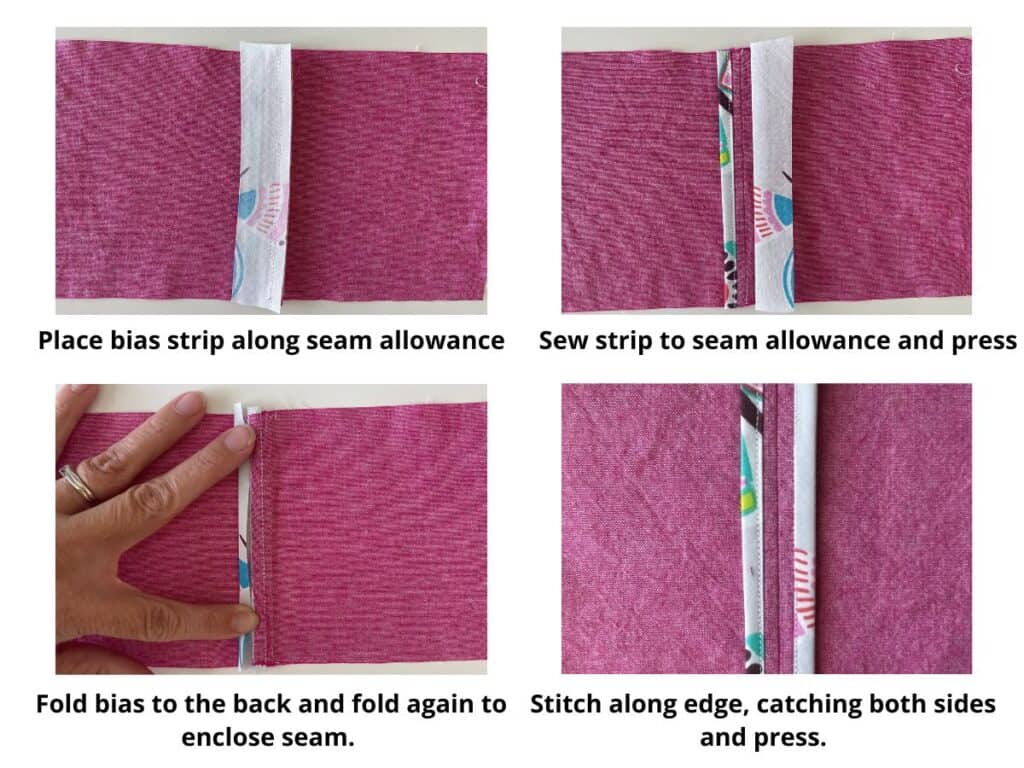
3. Hong Kong Finish
The Hong Kong finish is also sometimes referred to as a bound seam. While it is time consuming, it creates a beautiful finish! The edges of the seam allowance are bound in a bias binding.
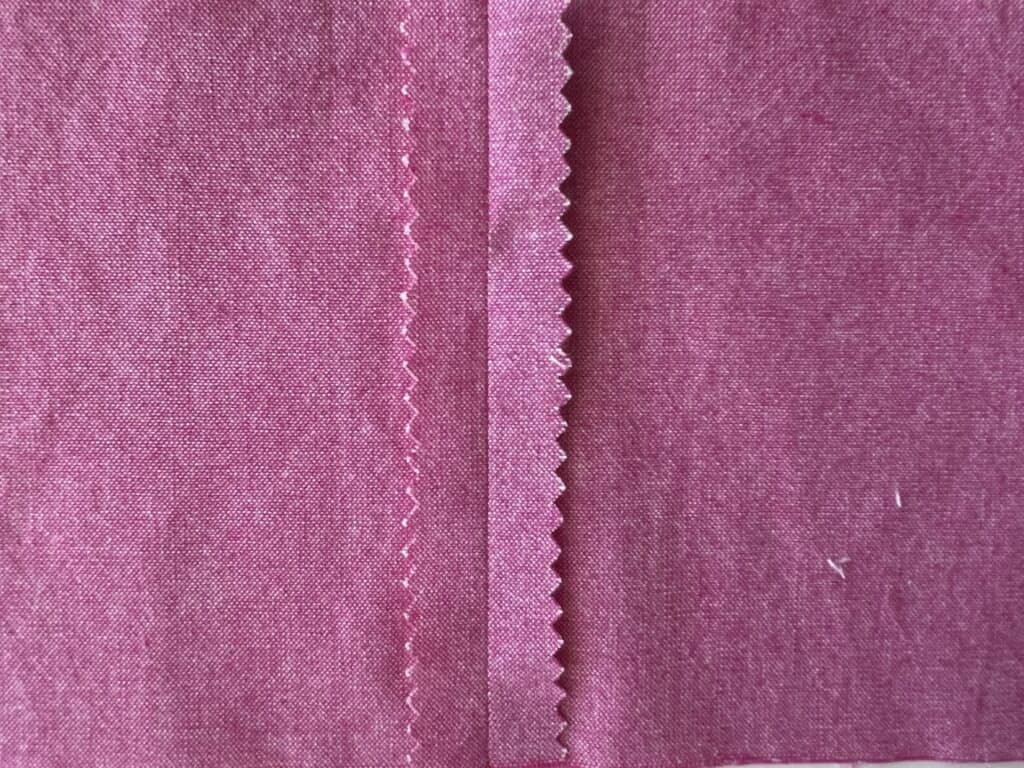
4. Pinked Edge:
A pair of pinking shears is all you need to do this edge finish! When you cut with pinking shears, you are cutting the fibers two different directions and it prevents fraying. You can also apply something like Fray Check to the seam to ensure it doesn’t unravel.
5. French Seams
This is a seam finish that is good for lightweight or sheer fabrics. There is a wonderful blog post HERE that goes in depth on this finish,
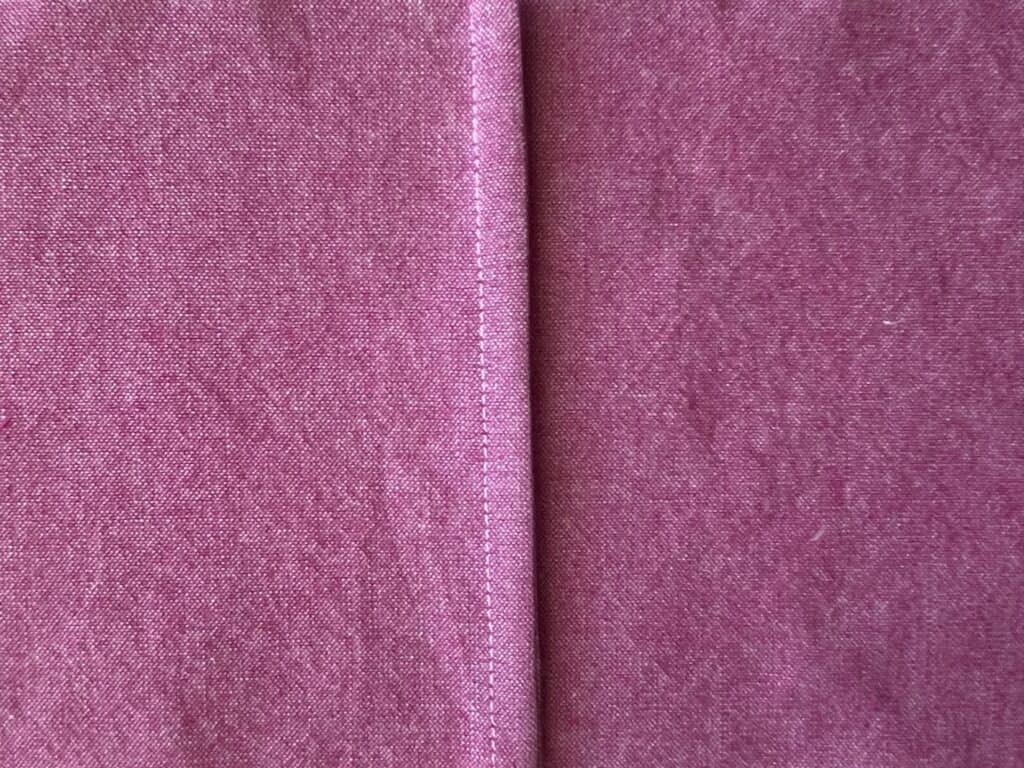
Clean Finish
The clean finish isn’t for seam allowances, but is good for places that have a raw edge, such as a hem or casing. To make a clean finish, you fold over the edges scant ¼” and sew along the edge. Often you can get away with not sewing the edge as it will be sewn when you hem or sew that part of the garment down. Once the seam is enclosed, you don’t run the risk of compromising the seam.
I hope this post has been helpful in helping with seam finishes for your woven fabrics. And be sure to grab your copy of the Luna Loungewear in both womens and girls! It’s a pattern I turn to again and again for both my girls and I. And head over to my Instagram for lots more pictures and details and inspiration for Love Notions! You can find me @madebykates. Happy Sewing!
Save this to your Pinterest Sewing board