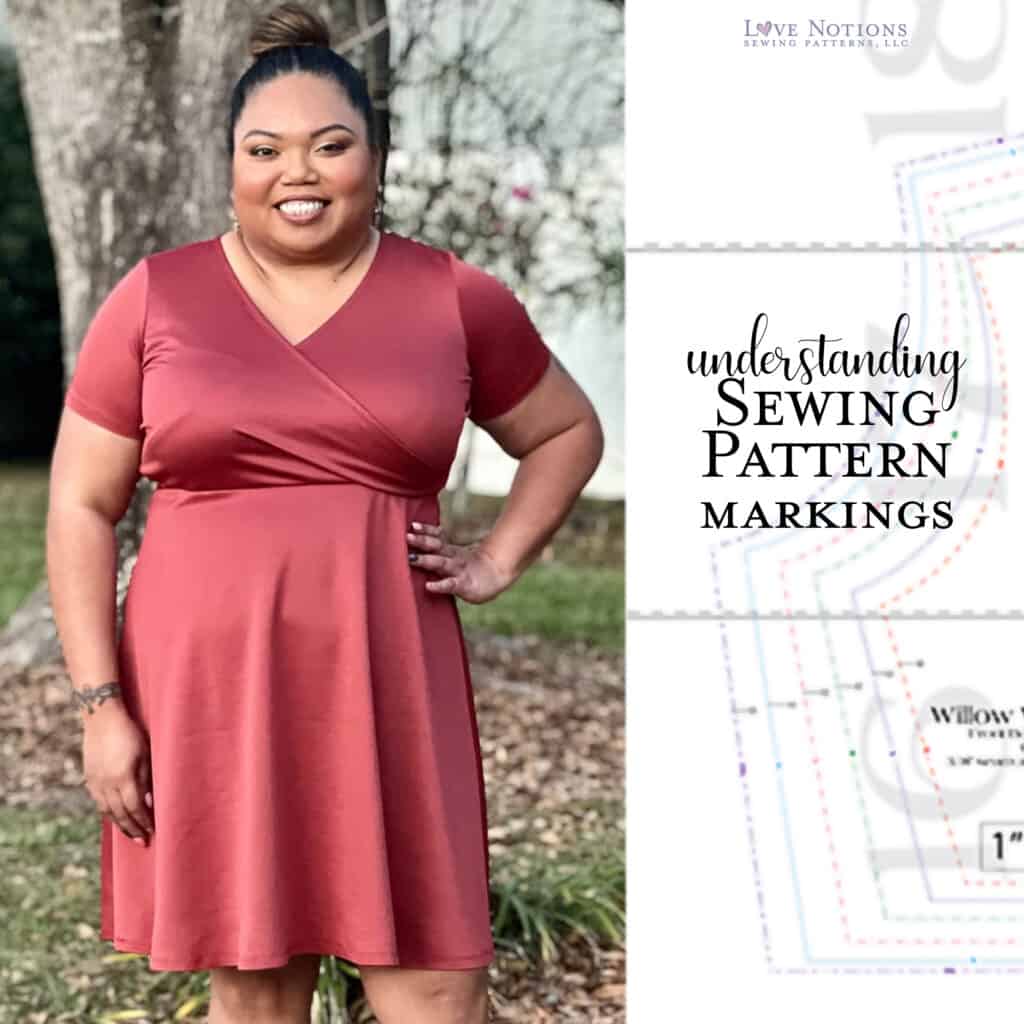
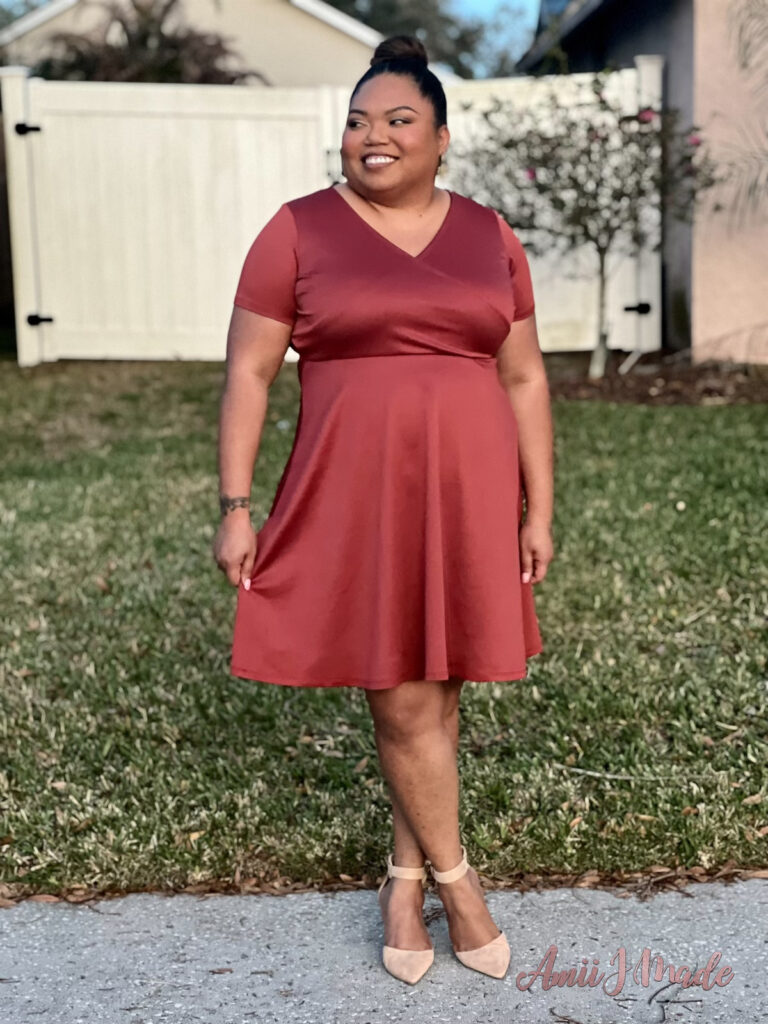
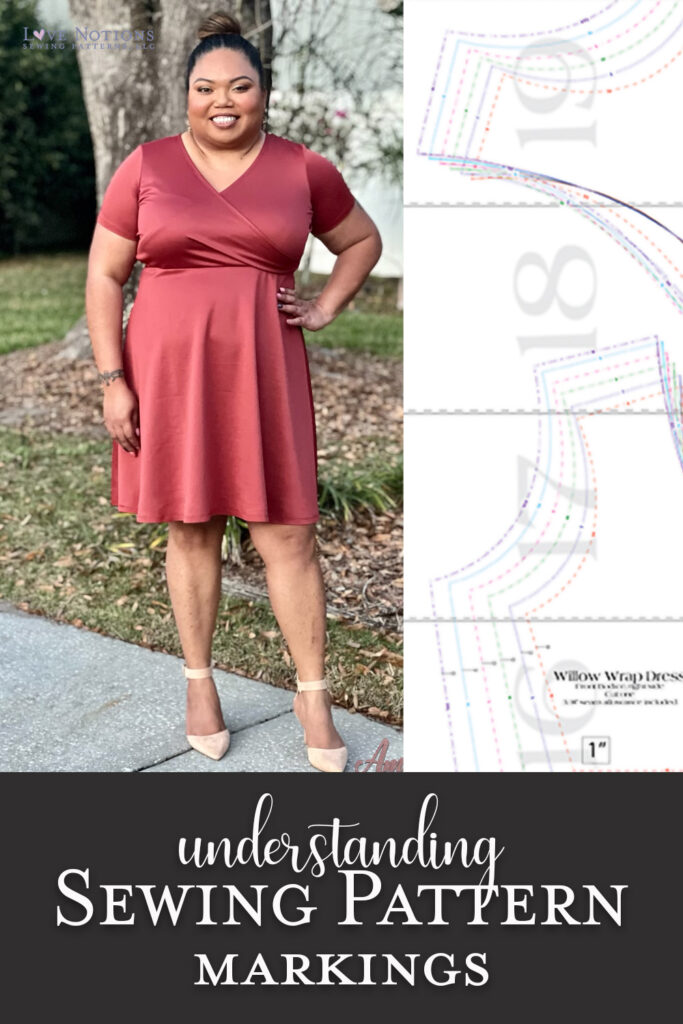
Hi everyone! I’m Amii and I am excited to share some information on how to interpret pattern markings and today’s Feature Friday: the Willow Wrap Dress!
Willow is a lovely wrapped style bodice pattern. With dress and peplum lengths, 5 sleeve options, 2 neckline depths, and maternity option, it’s packed with options and, of course, it’s a perfect pattern to explore pattern markings.
What are Pattern Markings?
Pattern markings help you to construct your sewing project.
Usually, the pattern markings indicate
- fit adjustments
- cutting guides
- construction details
It is extremely important to review the pattern markings on your pattern before starting a project. Pattern markings may differ from one pattern company to another.
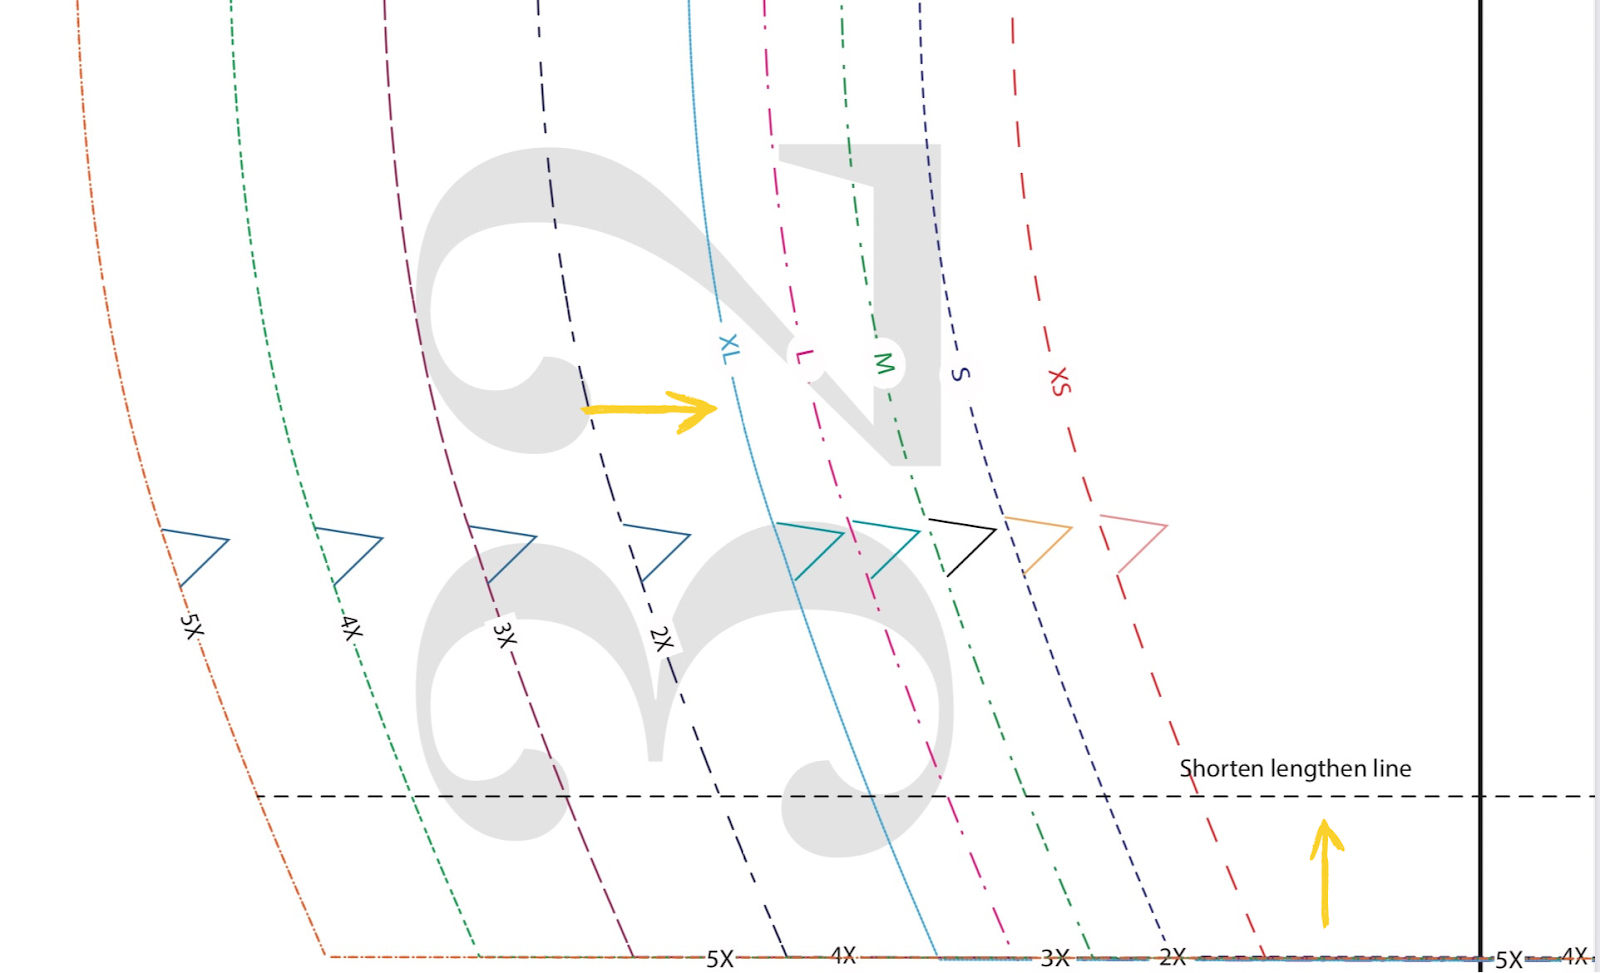
Fit Lines
The most common markings are the pattern fit or size lines. Before you start any adjusting, you need to figure out what size you want to make. And that’s where size selection lines come in! These lines come in varying dashed lines to make size selection easier.
Fit Adjustments
After choosing your size from the size chart, you can determine if you need to add or subtract length to the pattern. If you need to add or subtract length, use the “shorten lengthen line”.
Cutting Guides
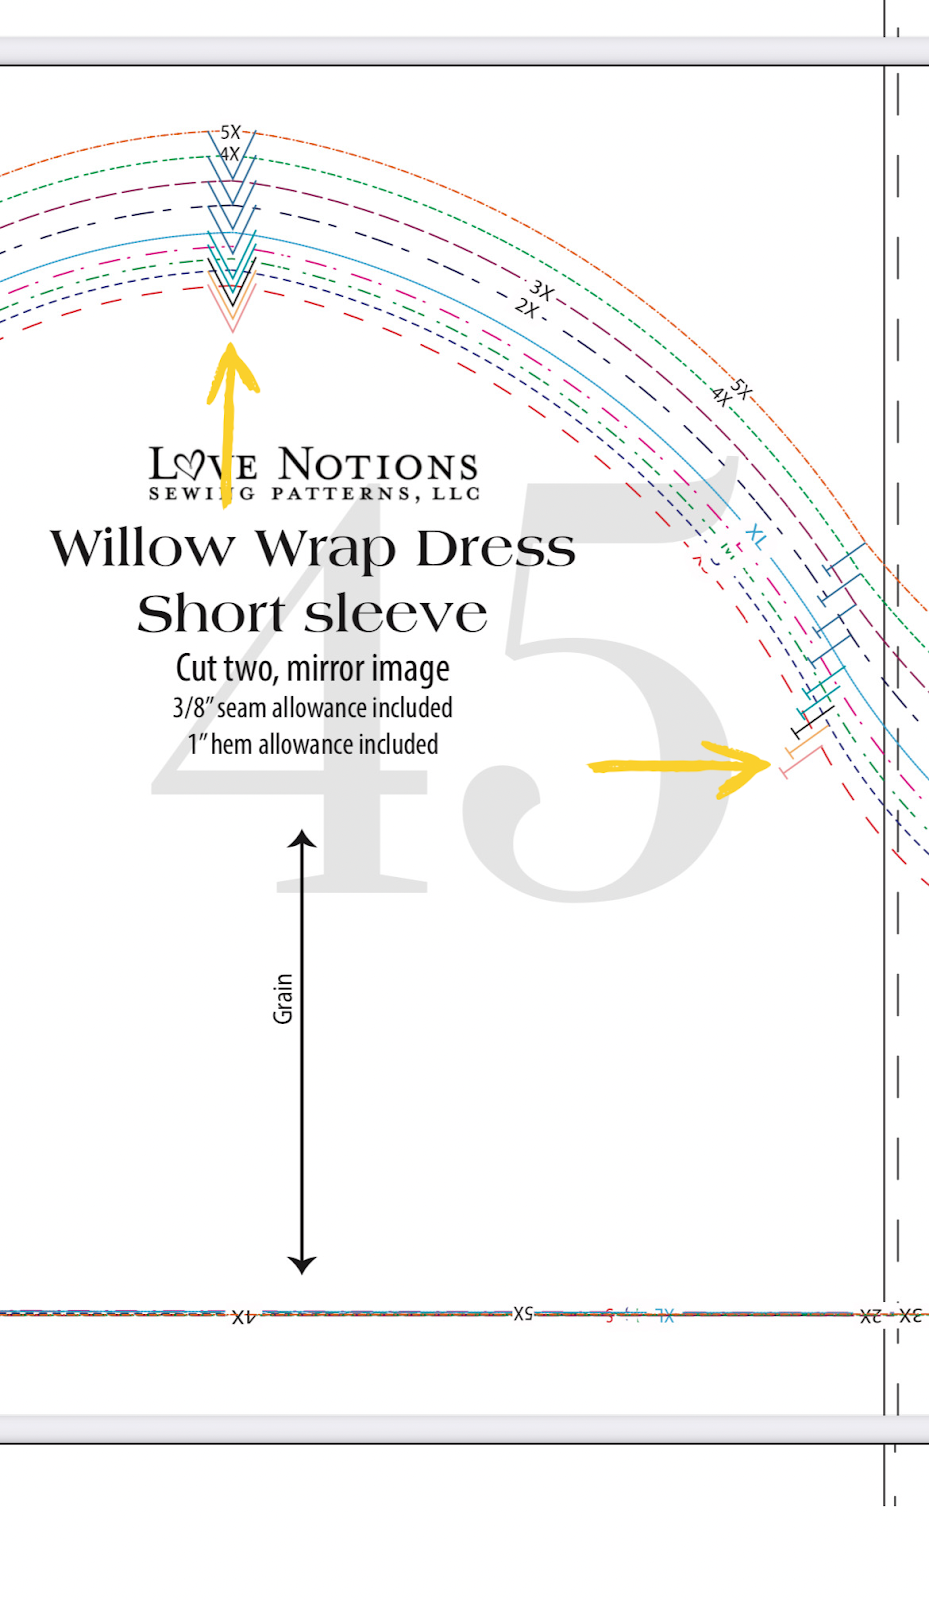
Another type of pattern markings is cutting guides. “Place on fold” or “Cut on fold” is a very common marking. Cutting on the fold indicates that the pattern piece is symmetrical on both sides. Placing and cutting the pattern on the folded edge ensures symmetry.
Cutting Directions
Additionally, the pattern markings usually have directions on how many pieces to cut. It’s important to carefully account for the amount of pieces you need to cut as you lay out pattern pieces out on your fabric – it’s so easy to run out of fabric when you don’t carefully look at the required cut amounts!
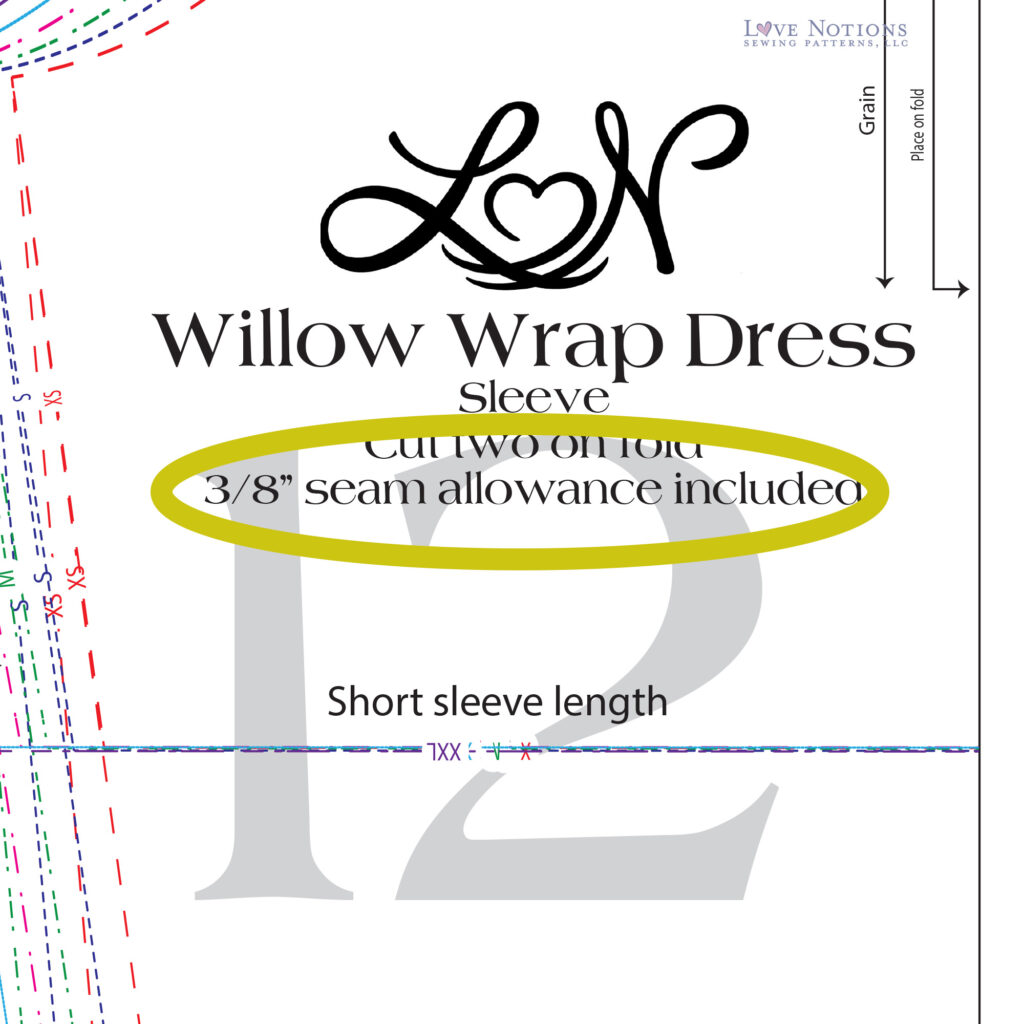
Grainline
Grainline is an important cutting guide. Grainline on the pattern refers to the direction on which you should place and cut the pattern piece. If you cut against the grainline of the pattern piece, the garment may not lay correctly when sewn and greatly affects fit. Read more about grainline on this blog.


Construction Markings
The last type of pattern markings are construction markings. These types of markings indicate how to sew the garment together.
“T” markings
For example, the armhole of the Willow pattern has 2 distinct markings. One line (or “T”) indicates the front bodice and two lines indicate the back bodice. These lines correspond to the markings on the sleeve. This makes it so you can mark each pattern piece and match up the corresponding “T” markings or notches. For example, the single “T” mark on the front bodice matches up with the single “T” mark on the sleeve. Conversely, the double “T” marking on the back bodice corresponds to the the double “T” mark on the back part of the sleeve.
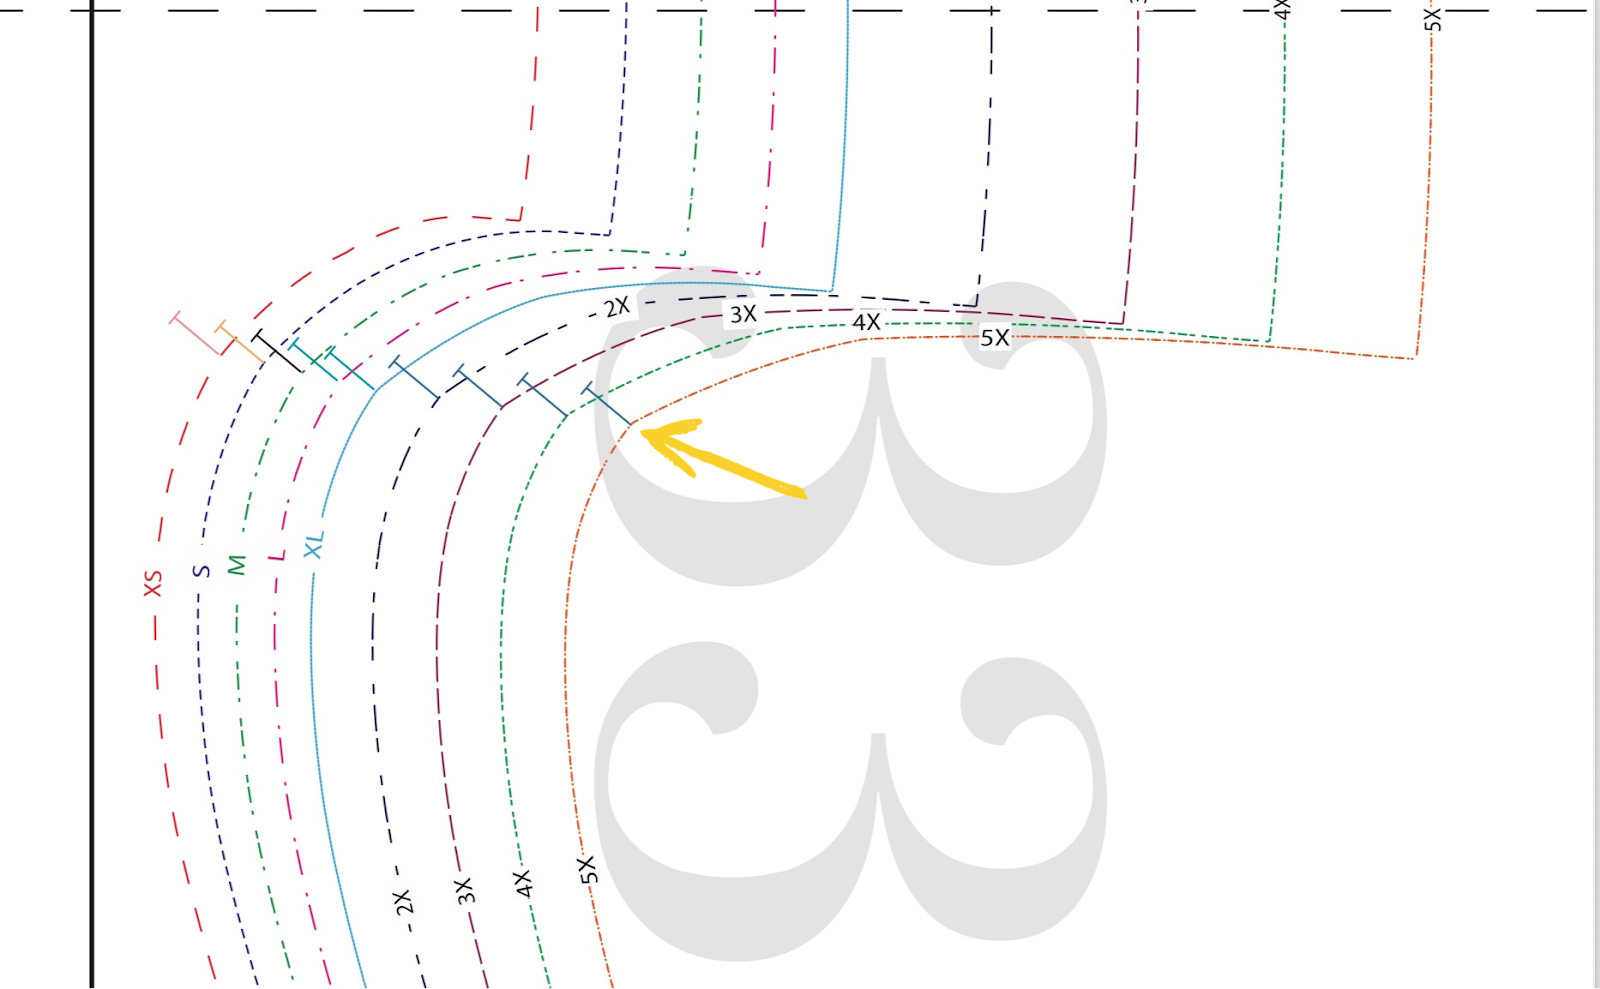
NOTCHES
Additionally, notches (or triangles) indicate where to match the pattern pieces together while sewing. This is very helpful in the Willow pattern, specifically on the cross over bodice. Matching the notches guarantees that the bodice is constructed correctly.
There are a ton of other types of markings – markings for buttonholes, welt pockets, pleats, and more! The important lesson here is to slow down and give your pattern pieces a careful examination before you cut and sew. You might save yourself a LOT of headaches by noticing those fit, cutting, or construction details!
SO… now that you have interpreted the pattern markings, what do you do next? Transfer the pattern markings onto your fabric!
How to TRANSFER markings
There a number of ways to do this:
- Making a small snip at the marking. Just be sure to make it smaller than the seam allowance.
- Using a pin. This is my least favorite because of the possible shifting.
- Using a marking tool. I.E. pencil, chalk, or fabric pen. Check out this blog post for more info on marking tools.
- Cutting out a small triangle where the marking is. This is my personal favorite when using paper patterns.

Seam Allowances
One more note about pattern markings. Many sewing pattern companies do not include seam allowances on their sewing patterns – this is so that makers can add in their preferred amounts. However, Love Notions patterns all include seam allowances within the pattern pieces. If you ever wonder what the seam allowance is — just look right on the pattern piece! It’s clearly labeled on every piece (and it’s usually 3/8 inch for knits).
Now the fun part
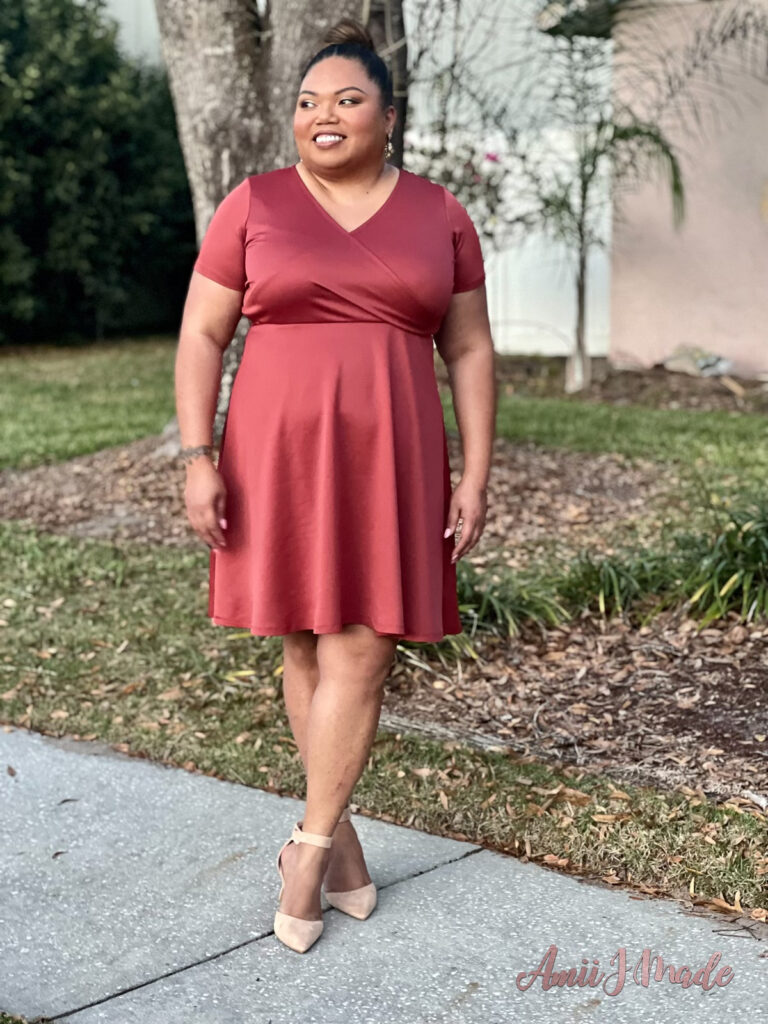
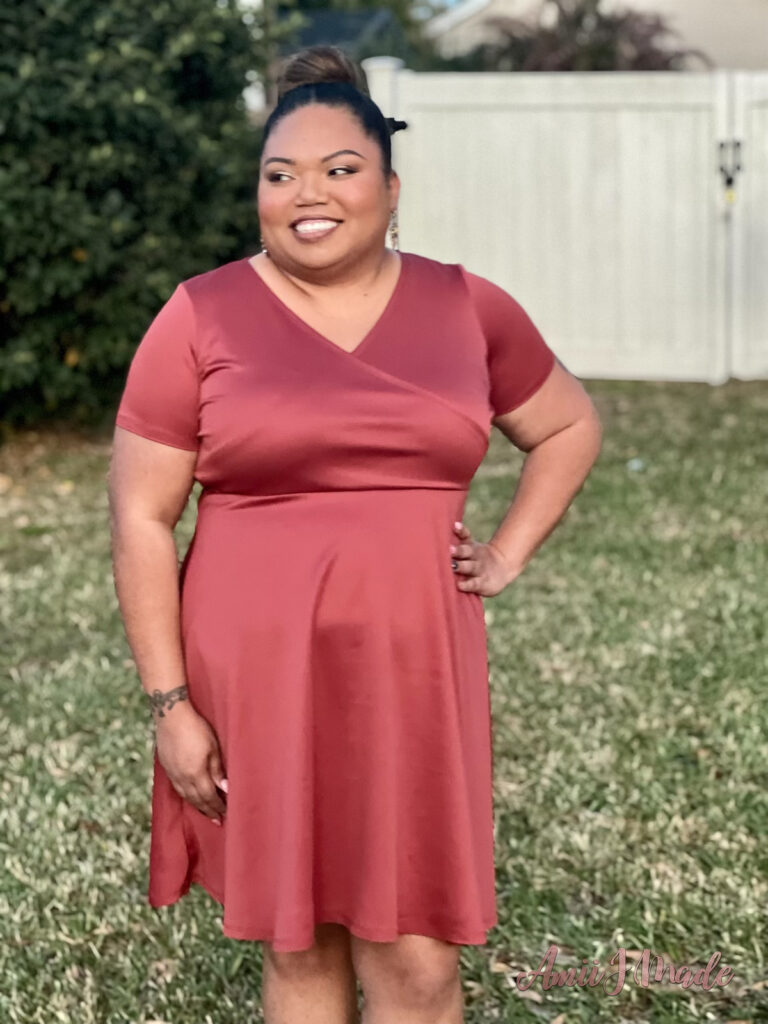
With all those markings perfectly in place, and transferred onto the fabric, construction is a breeze. And to prove it, here’s my Willow!
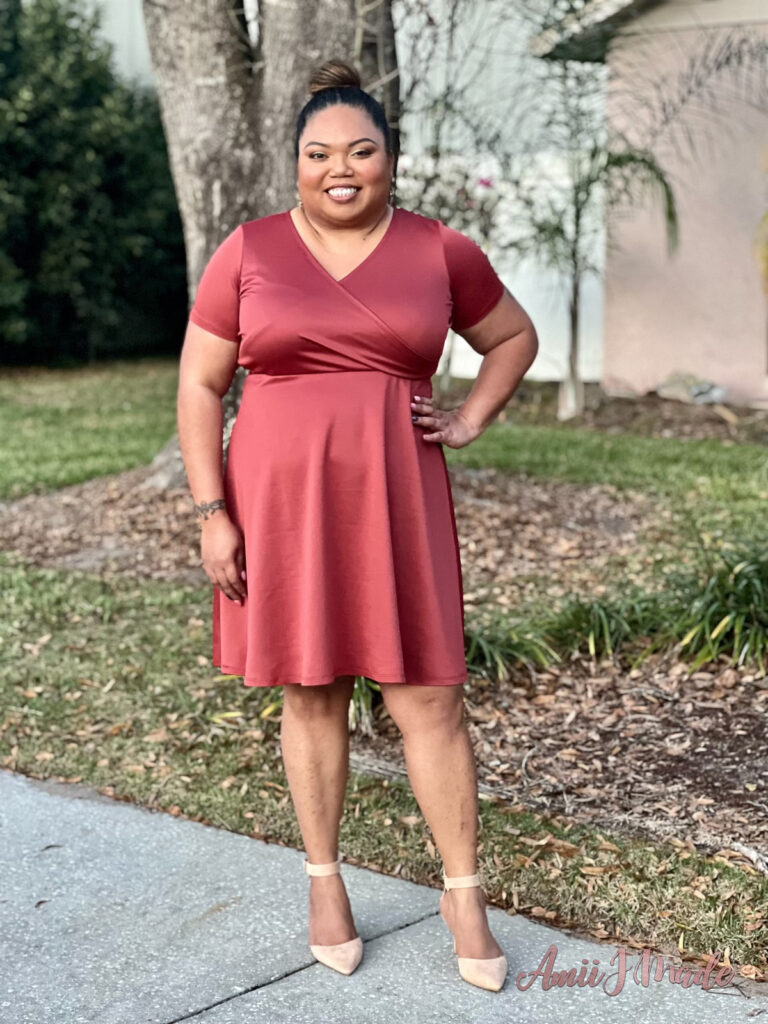
I am absolutely in love with this dress. Familiarizing myself with the markings definitely made this an easy sew! If my post inspired you to sew your own Willow, you can grab your copy using the button below (aff).
Thank you so much for reading the blog! I hope this was helpful to you. I would love to be tagged in the Love Notions Support group or Instagram. Follow me @amii.j.sews on Instagram.
Happy Sewing!
Amii
Pin this to your Sewing Pinterest Board
Interested in the Pattern? Here are Willow Wrap Dress Reviews
Shop More Dress Sewing Patterns
-
 Palmer Dress$12.50
 -
 Bluegrass Buttondown Shirt and Dress$12.50
 -
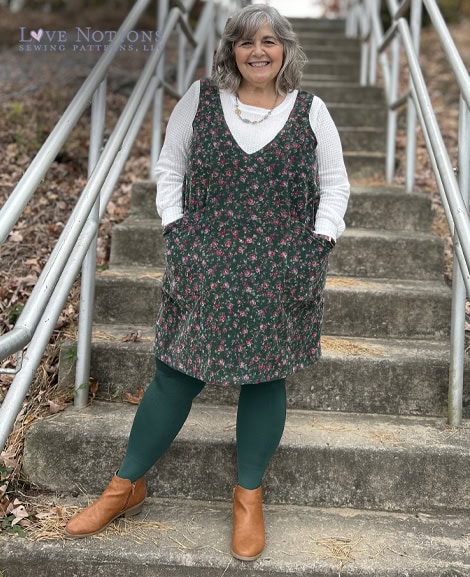 Pianoforte Jumper$12.50
 -
 Timbre Peasant Top & Dress$12.50
 -
Product on sale
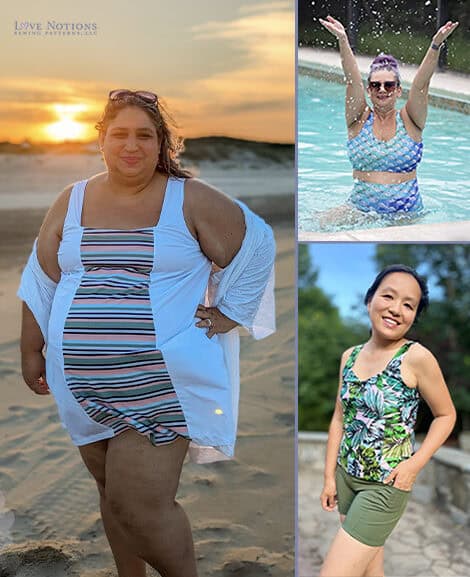 Clearwater Summer EssentialsPrice range: $5.00 through $18.00
 -
 Chorus Top and Dress$12.50