A Fabric Shortage Conundrum
We’ve all been there. You pick out the perfect fabric from your stash, you grab your favorite pattern, and then when you start laying everything out — it hits you. You don’t have enough fabric. What to do?! Keep reading for 6 tips to work creatively with the fabric you have to get a finished make that brings you joy!
Happy Friday, Love Notions family! Rachel here again, and for this week’s Feature Friday, we’re celebrating all things Tessa – the dress, that is. (We celebrate the real, live Tessa all the time, and appreciate how much she does to help bring this content your way!)


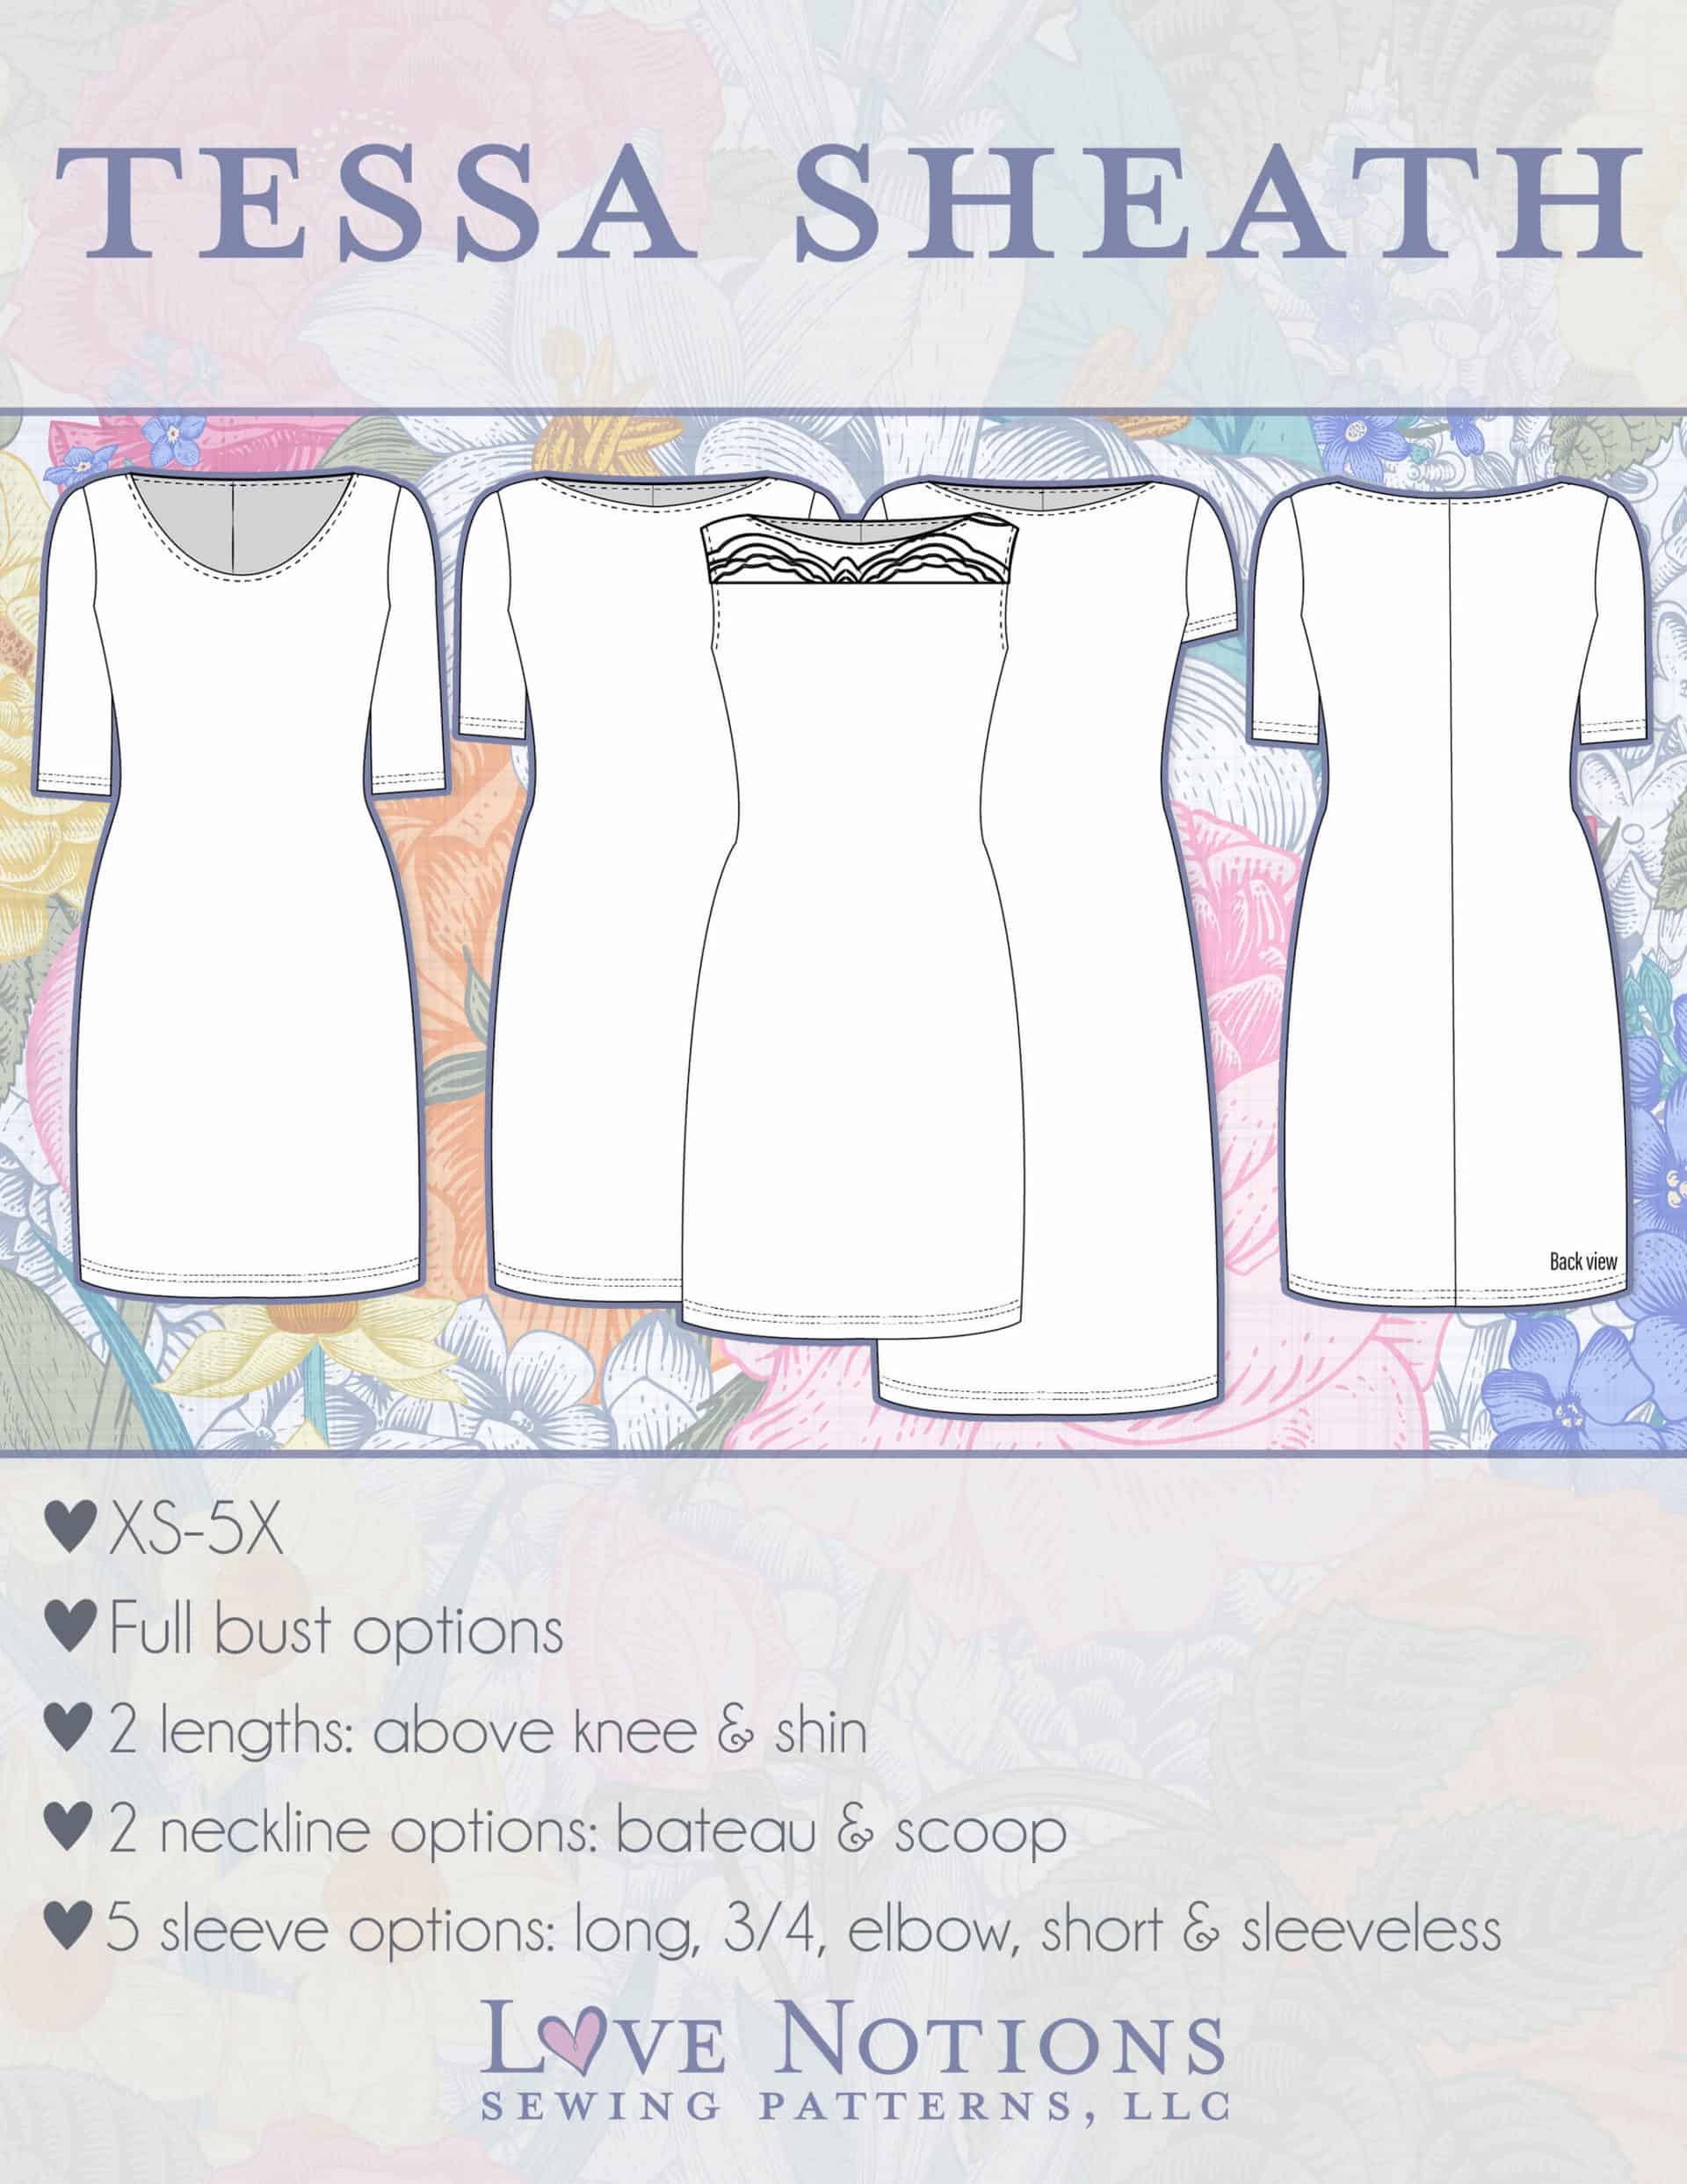
I tend to be a Willow gal when it comes to my go-to dress, but Tessa is a classic sheath dress drafted for stable knits – think ponte, velvet, or even cotton lycra – that has no closures or darts and is a super quick, flattering sew.
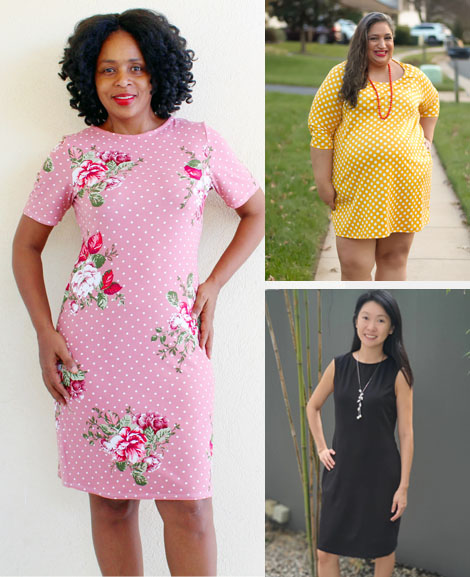
Because of its shape, the Tessa pattern doesn’t require a lot of fabric, and I find myself tempted to use up some short cuts that I have on hand. Sometimes when I’m using remnants, or just trying to squeeze a dress out of a shirt-sized piece of fabric, I need to get a little creative.
Sometimes when I’m using remnants, or just trying to squeeze a dress out of a shirt-sized piece of fabric, I need to get a little creative.
Here are some of the ways I have found that help make it work.
6 Ways to Work Creatively with a Fabric Shortage
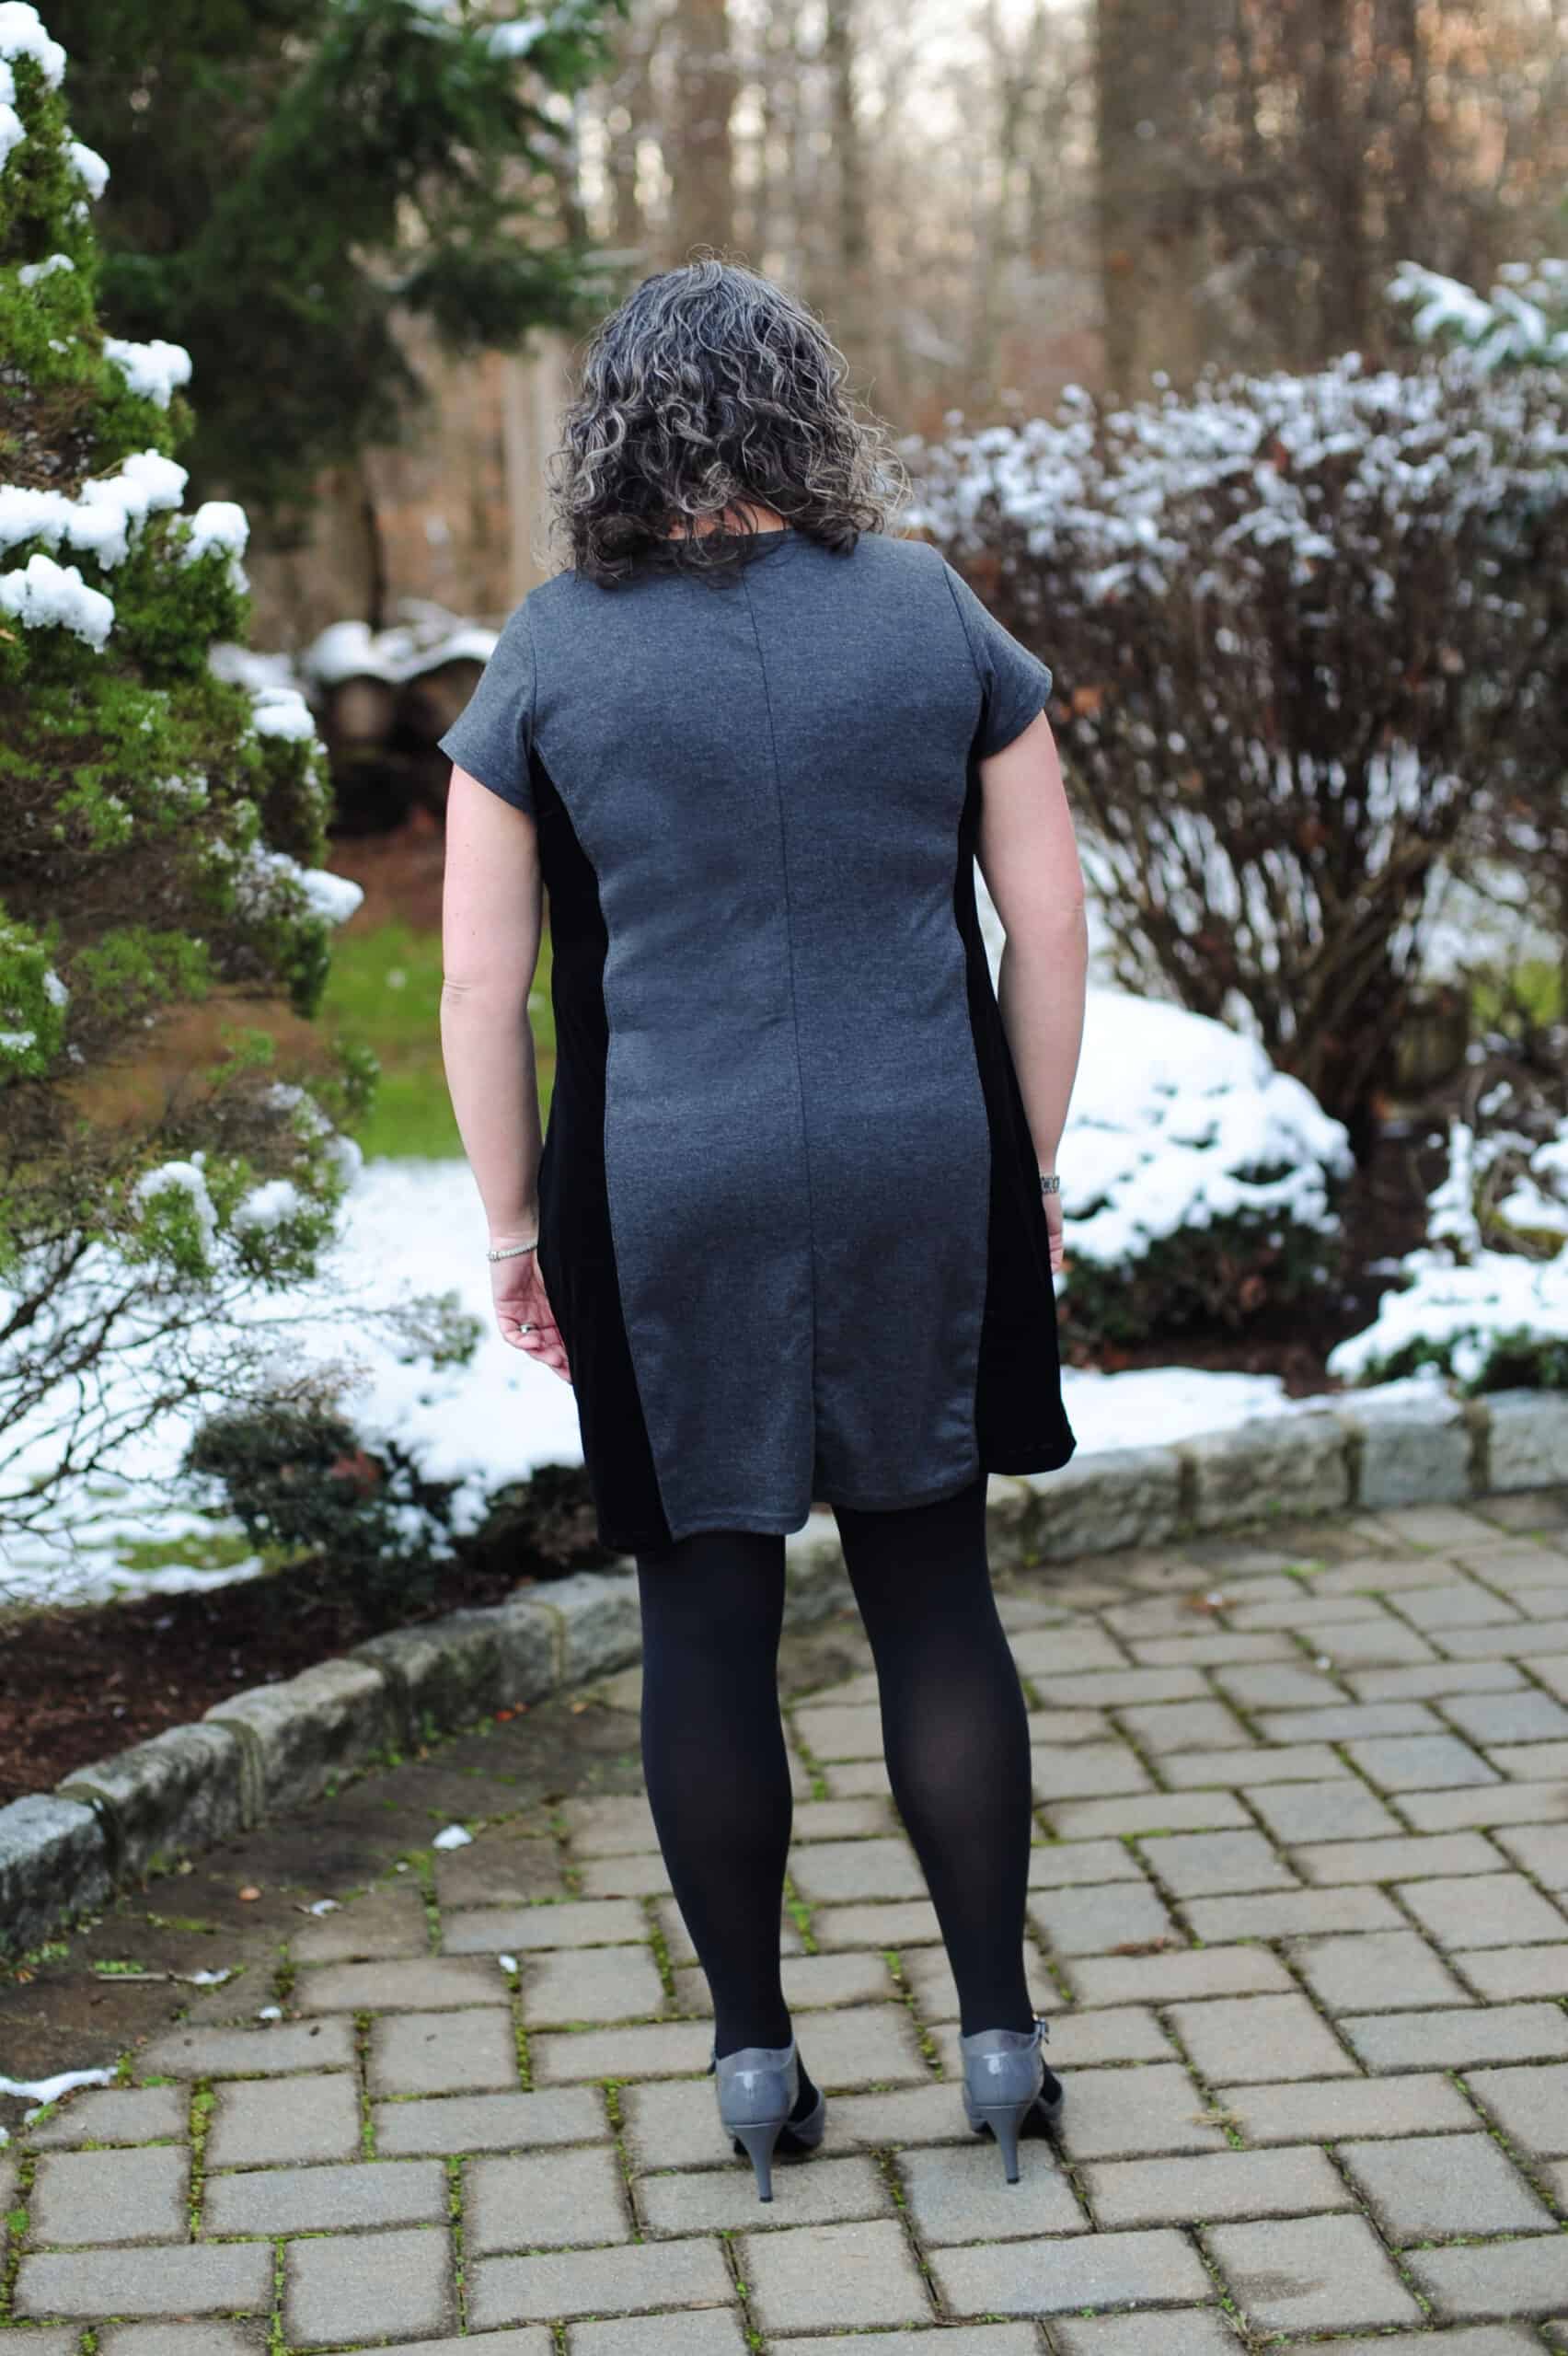
1. Shorten – or skip – the sleeves!
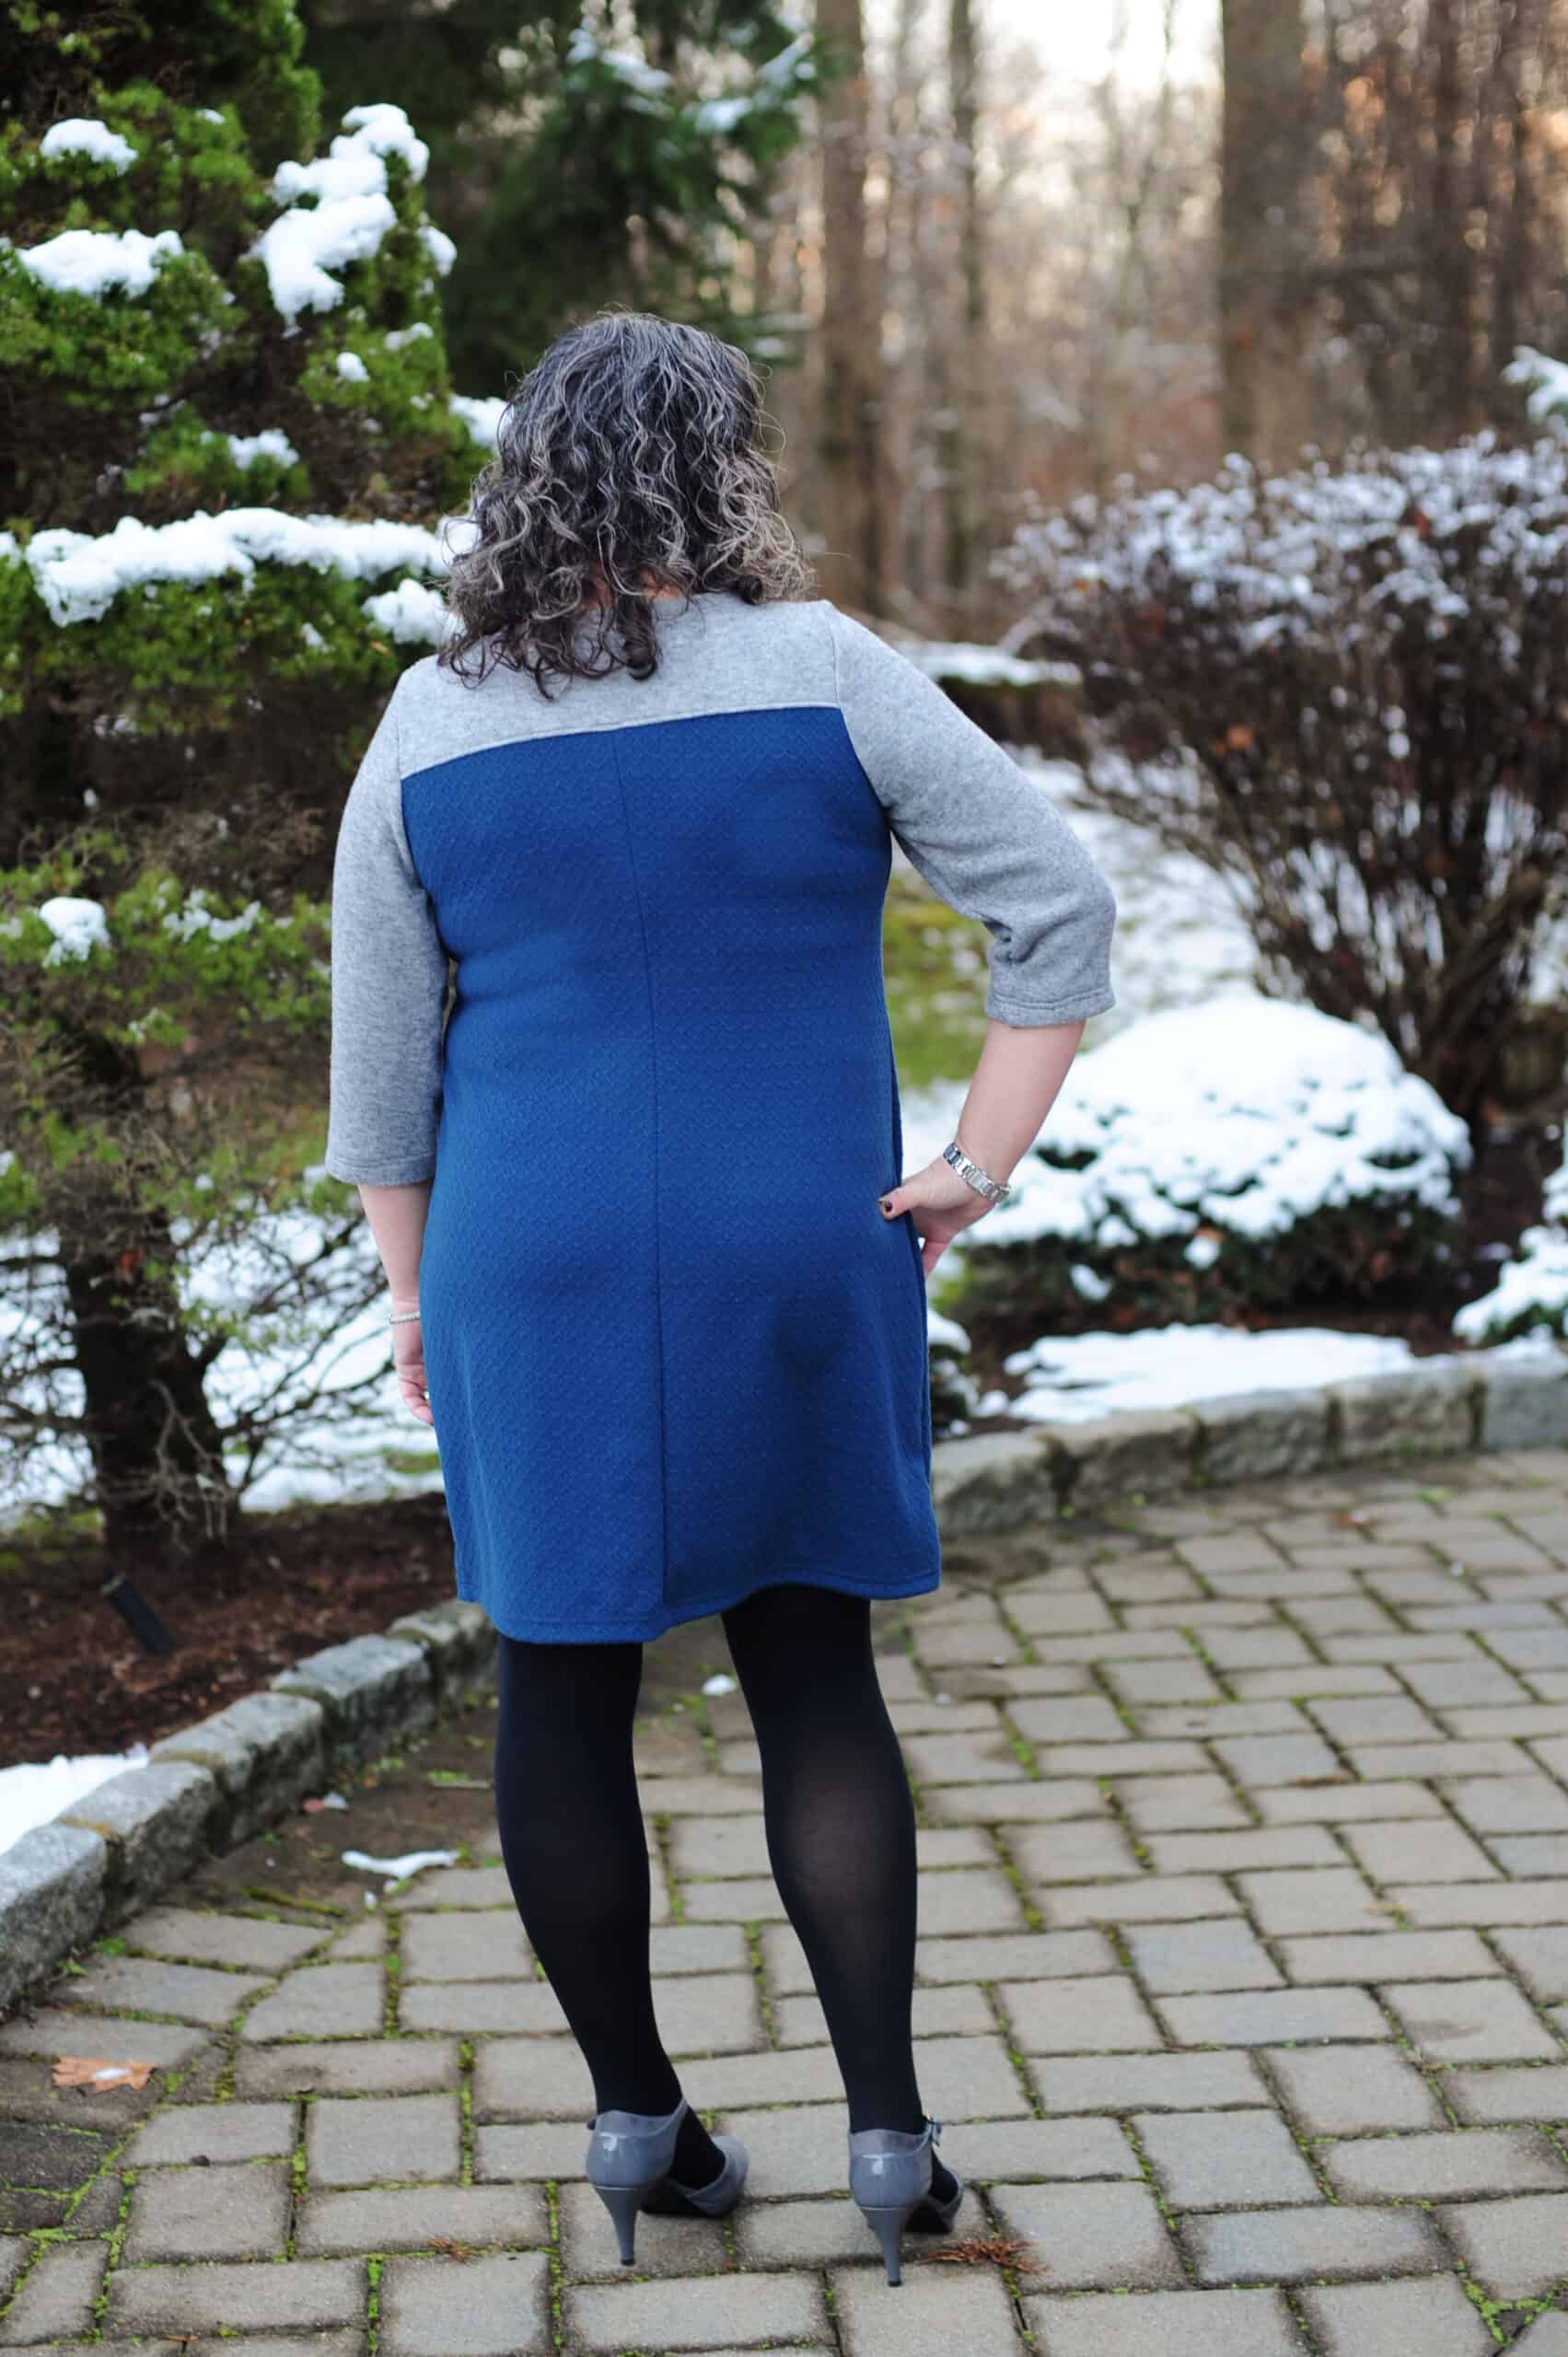
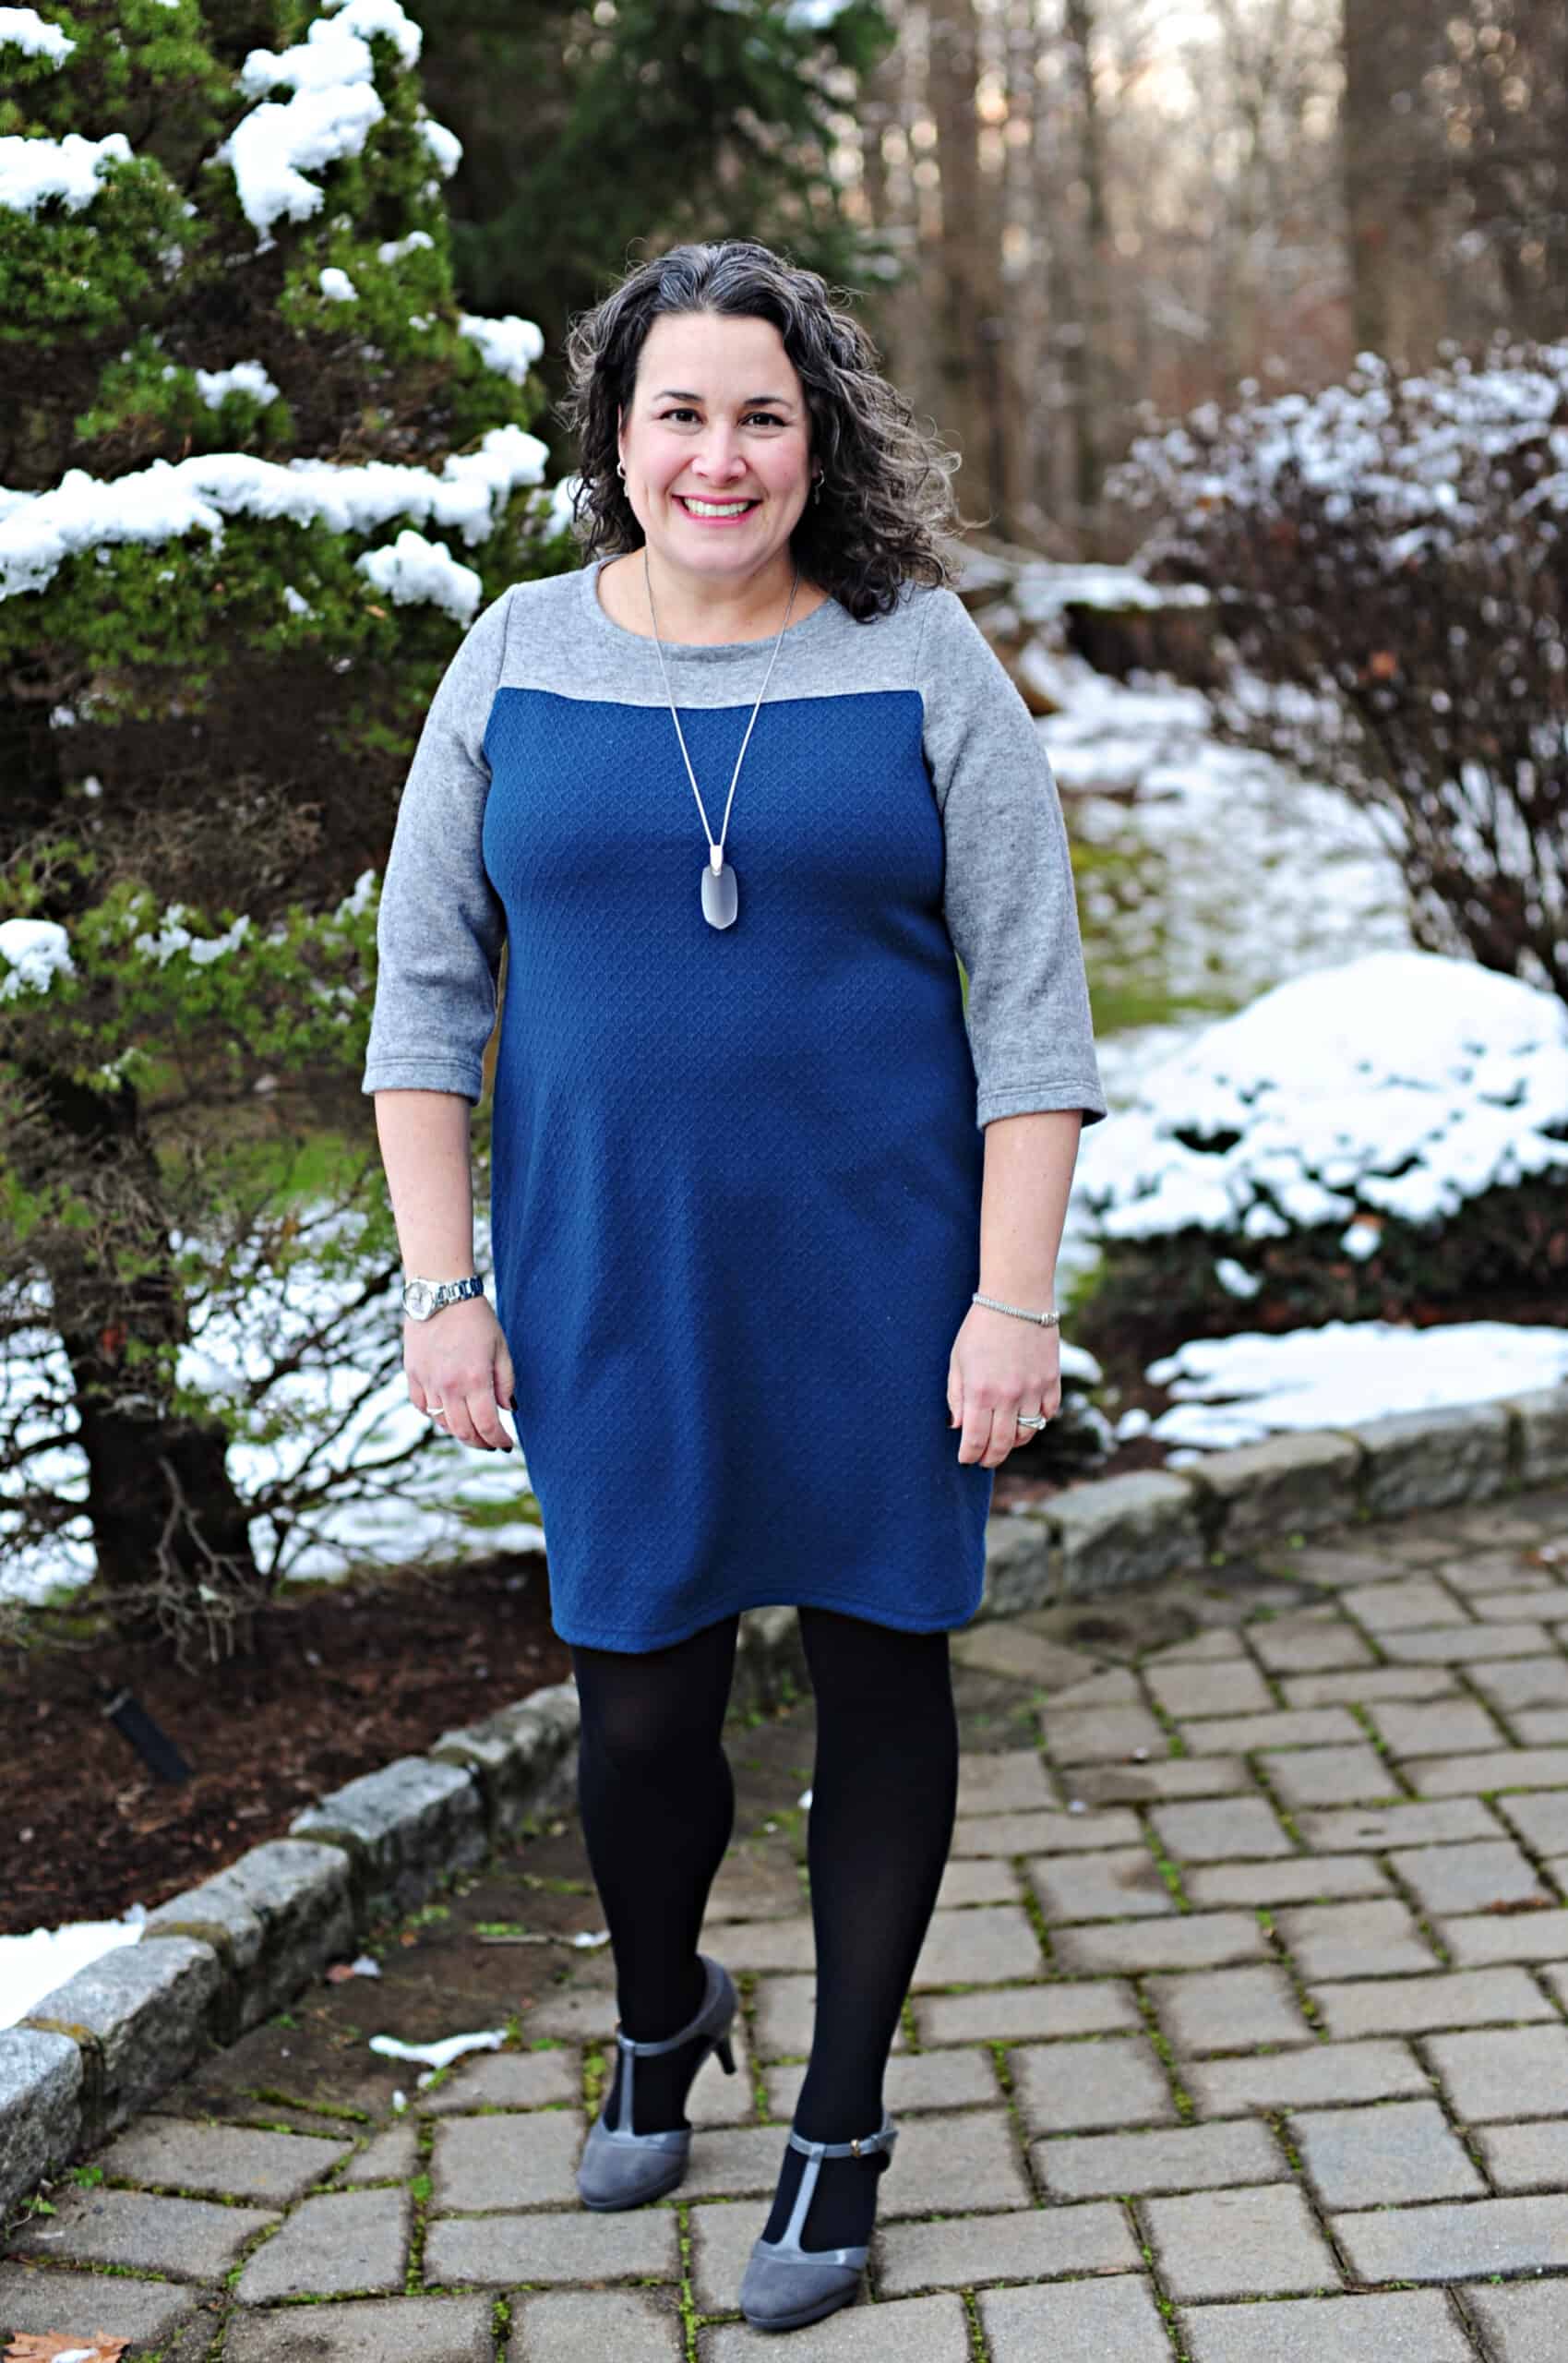
I’m a size large or xl in most patterns, and I can often fit the body of a pattern like Tessa across the width of a yard of knit fabric, but sleeves require quite a bit more. This pattern includes multiple sleeve lengths, but you can skip the sleeves altogether (a pattern piece for armscye binding is included in the pattern) or even shorten the short sleeve to a cap sleeve like I did for my grey and black dress. (Don’t love a sleeveless dress? The Metra blazer is a great topper for the simple shape of a sheath dress.)
2. Shorten the bodice
You could even make it a mini or a tunic if you need to! I’m on the shorter side so I measure the pattern pieces to compare to a dress from my closet that’s a good length for me. You can also take a smaller hem to save a little bit there as well.
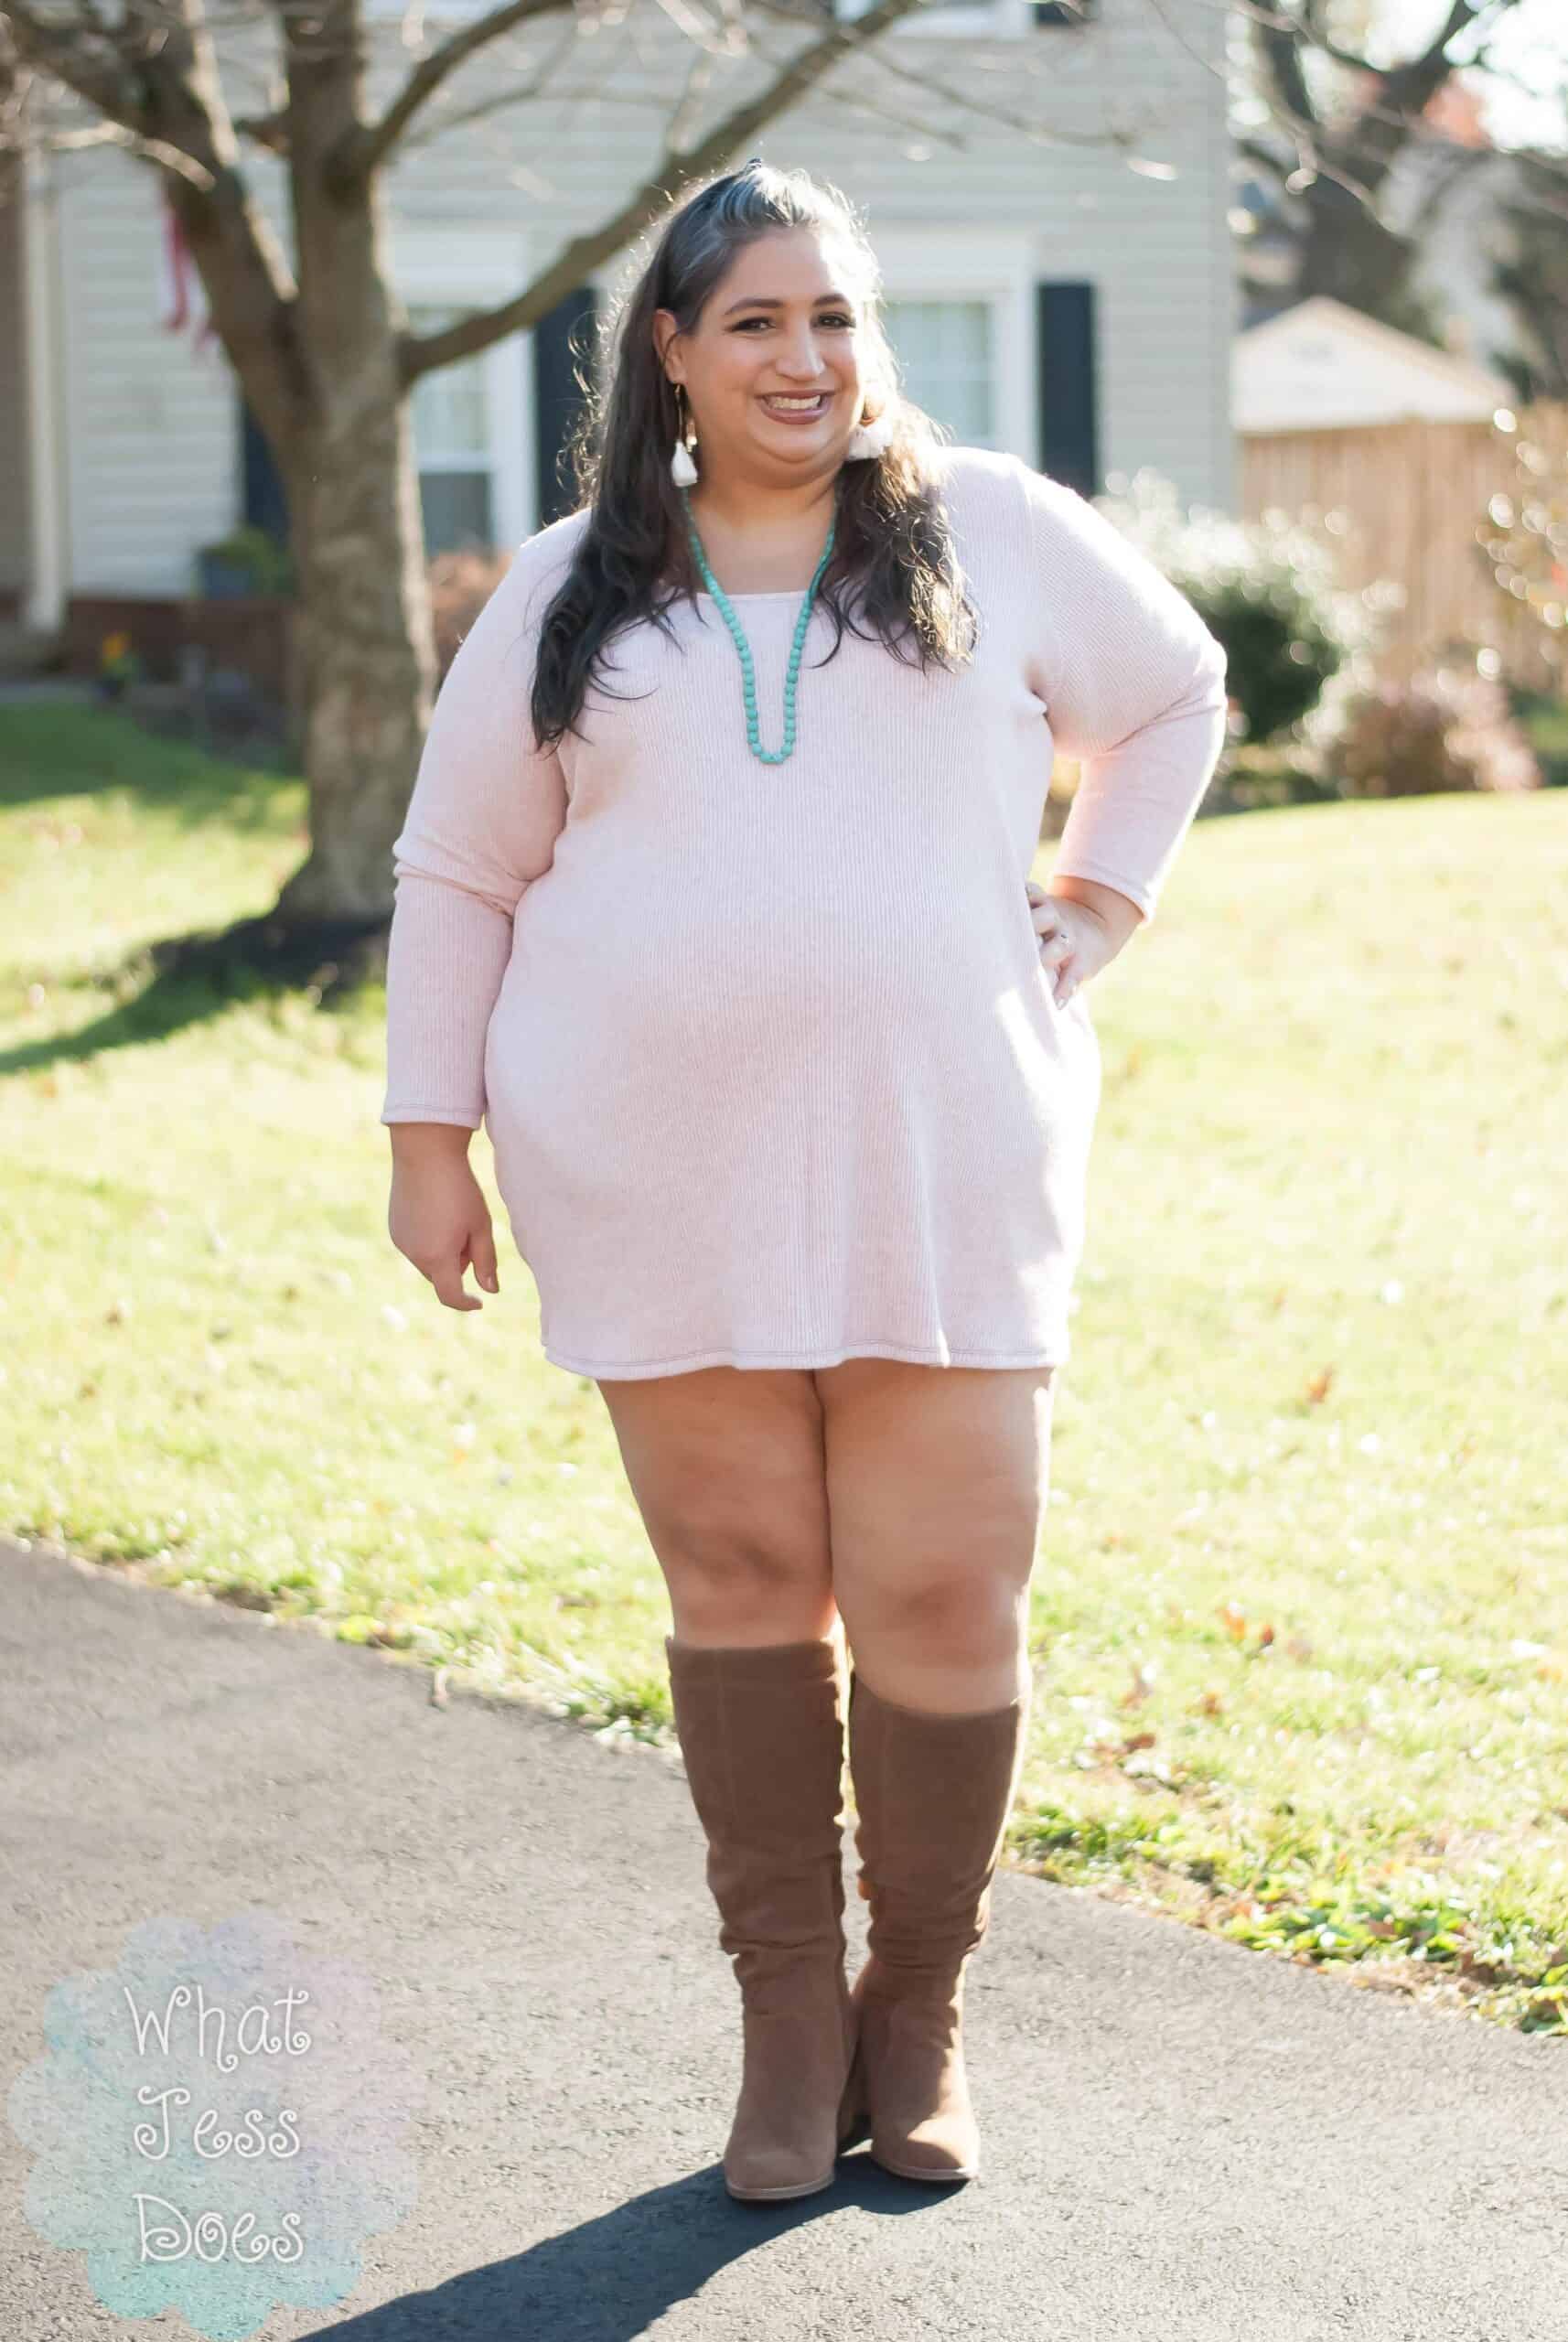

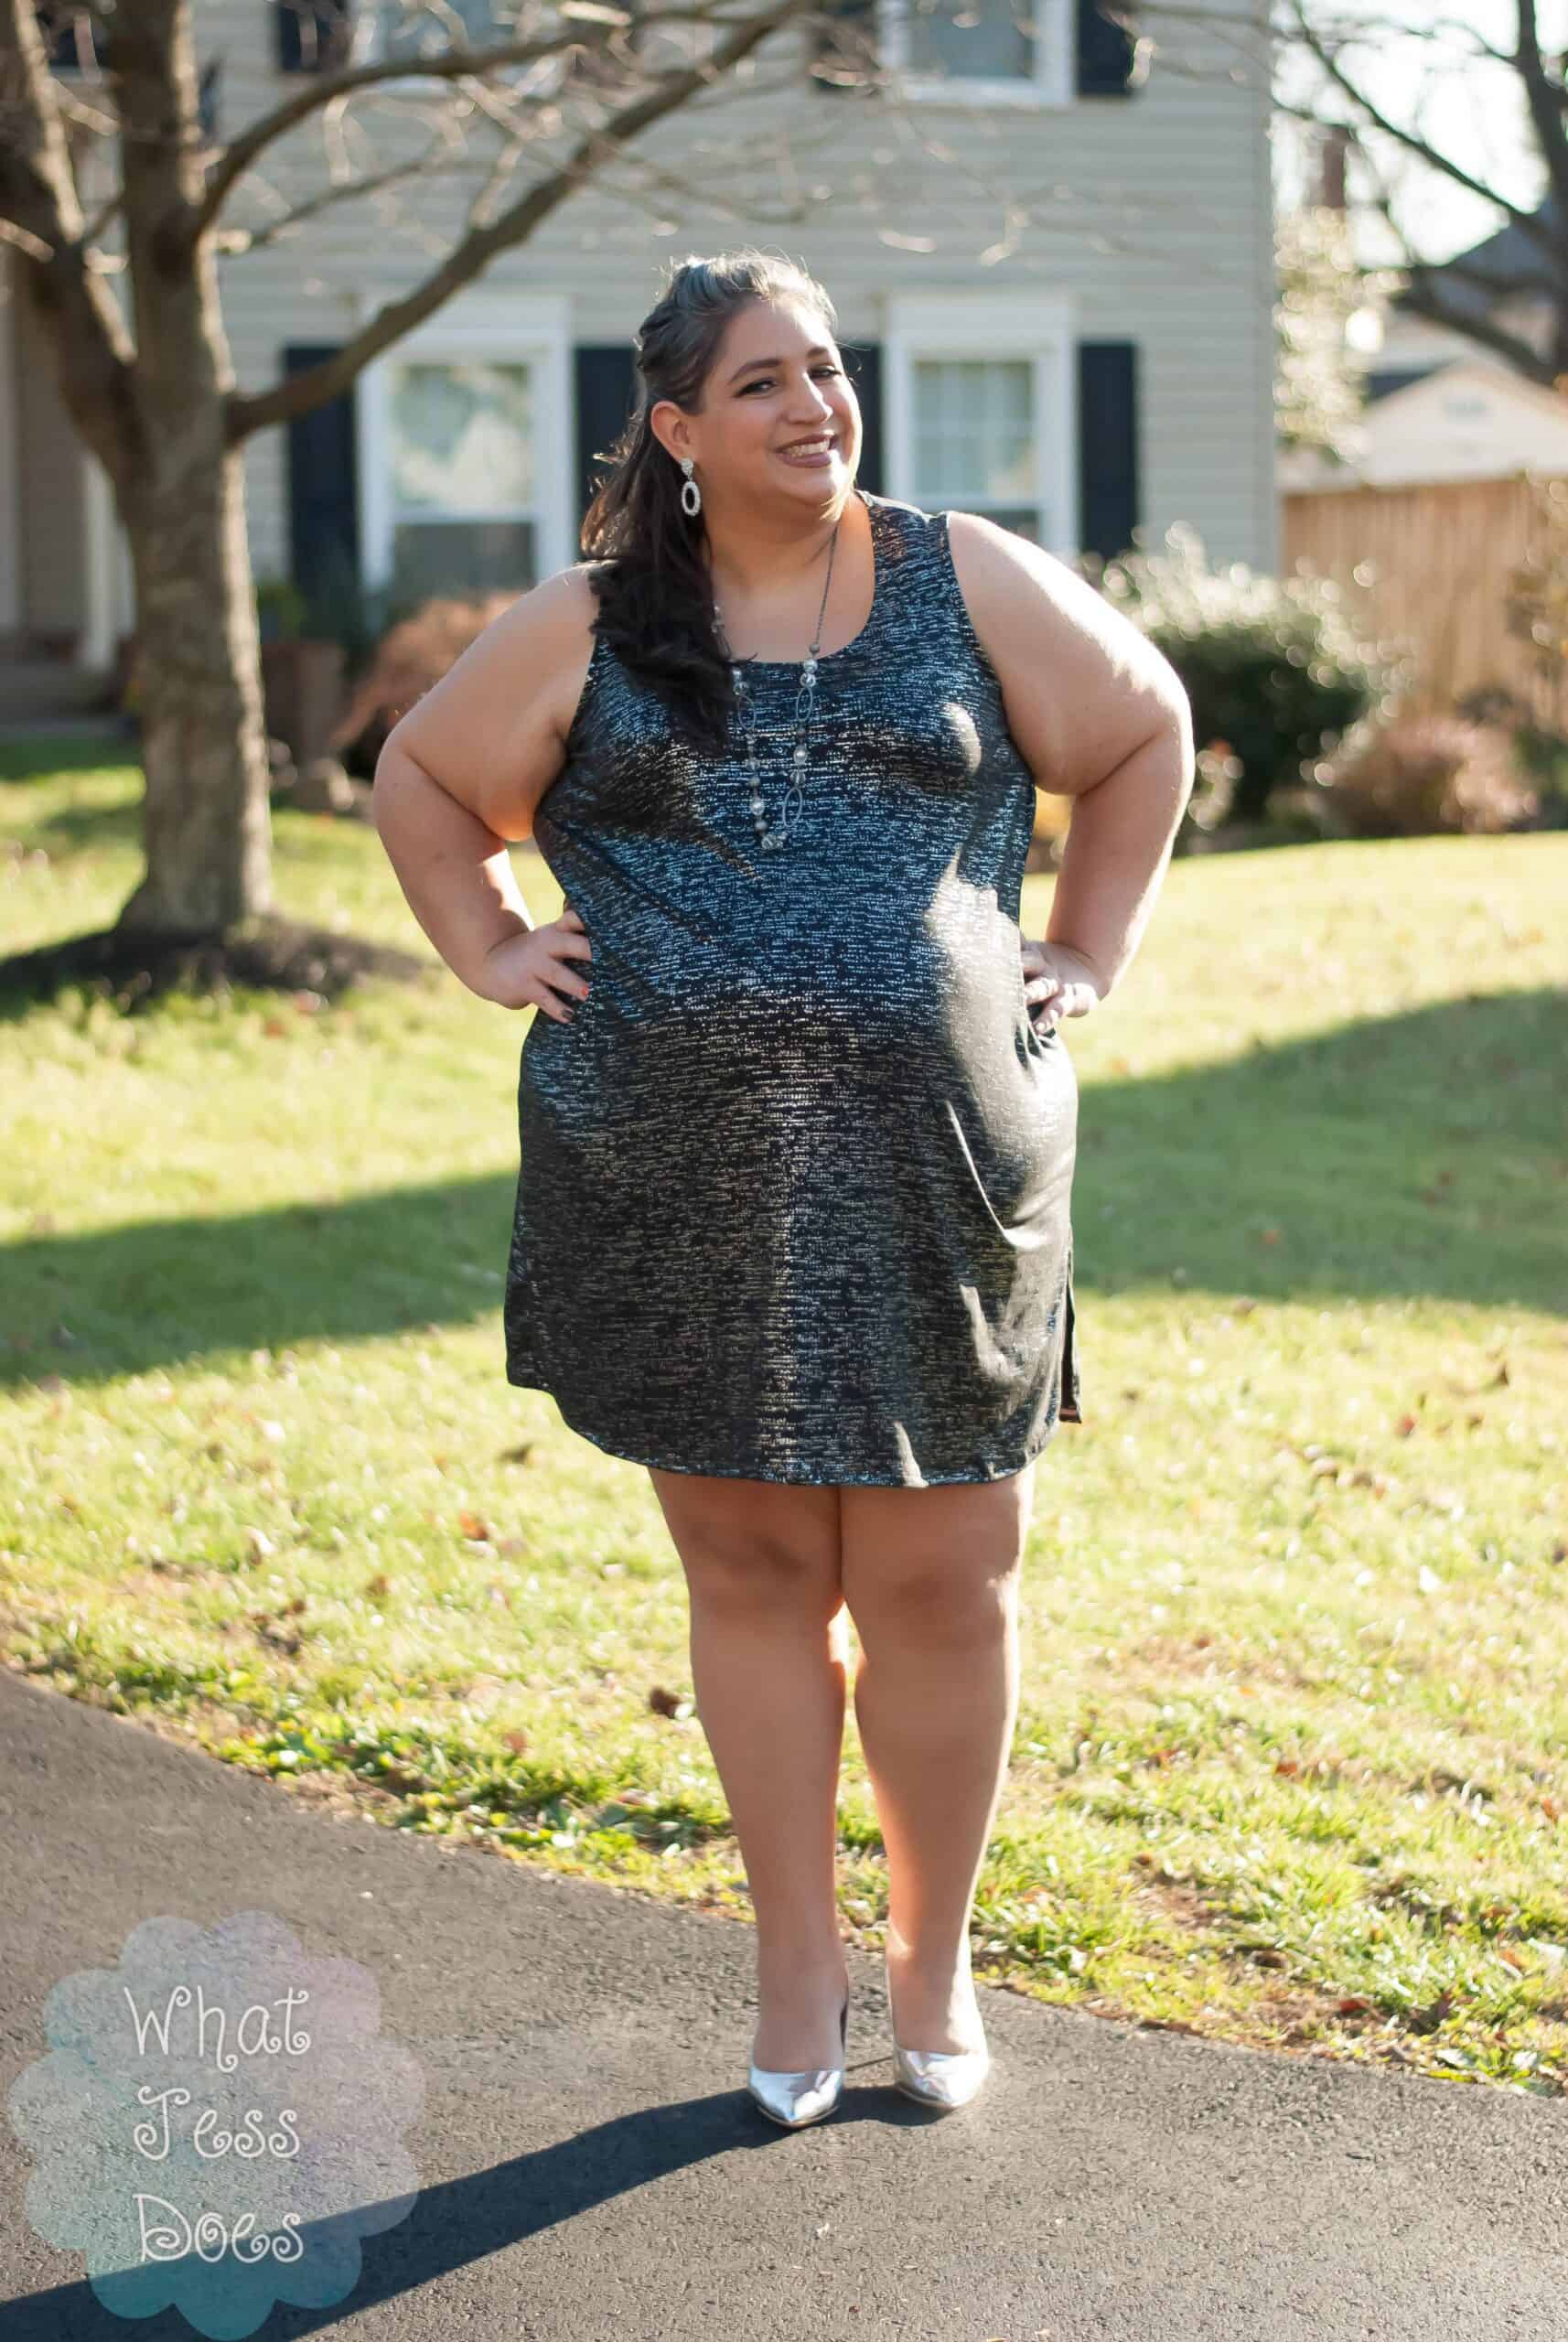
Jess shows how cute the mini or tunic version is! Check out her creations here.
3. Include the yoke – and lengthen it if needed.
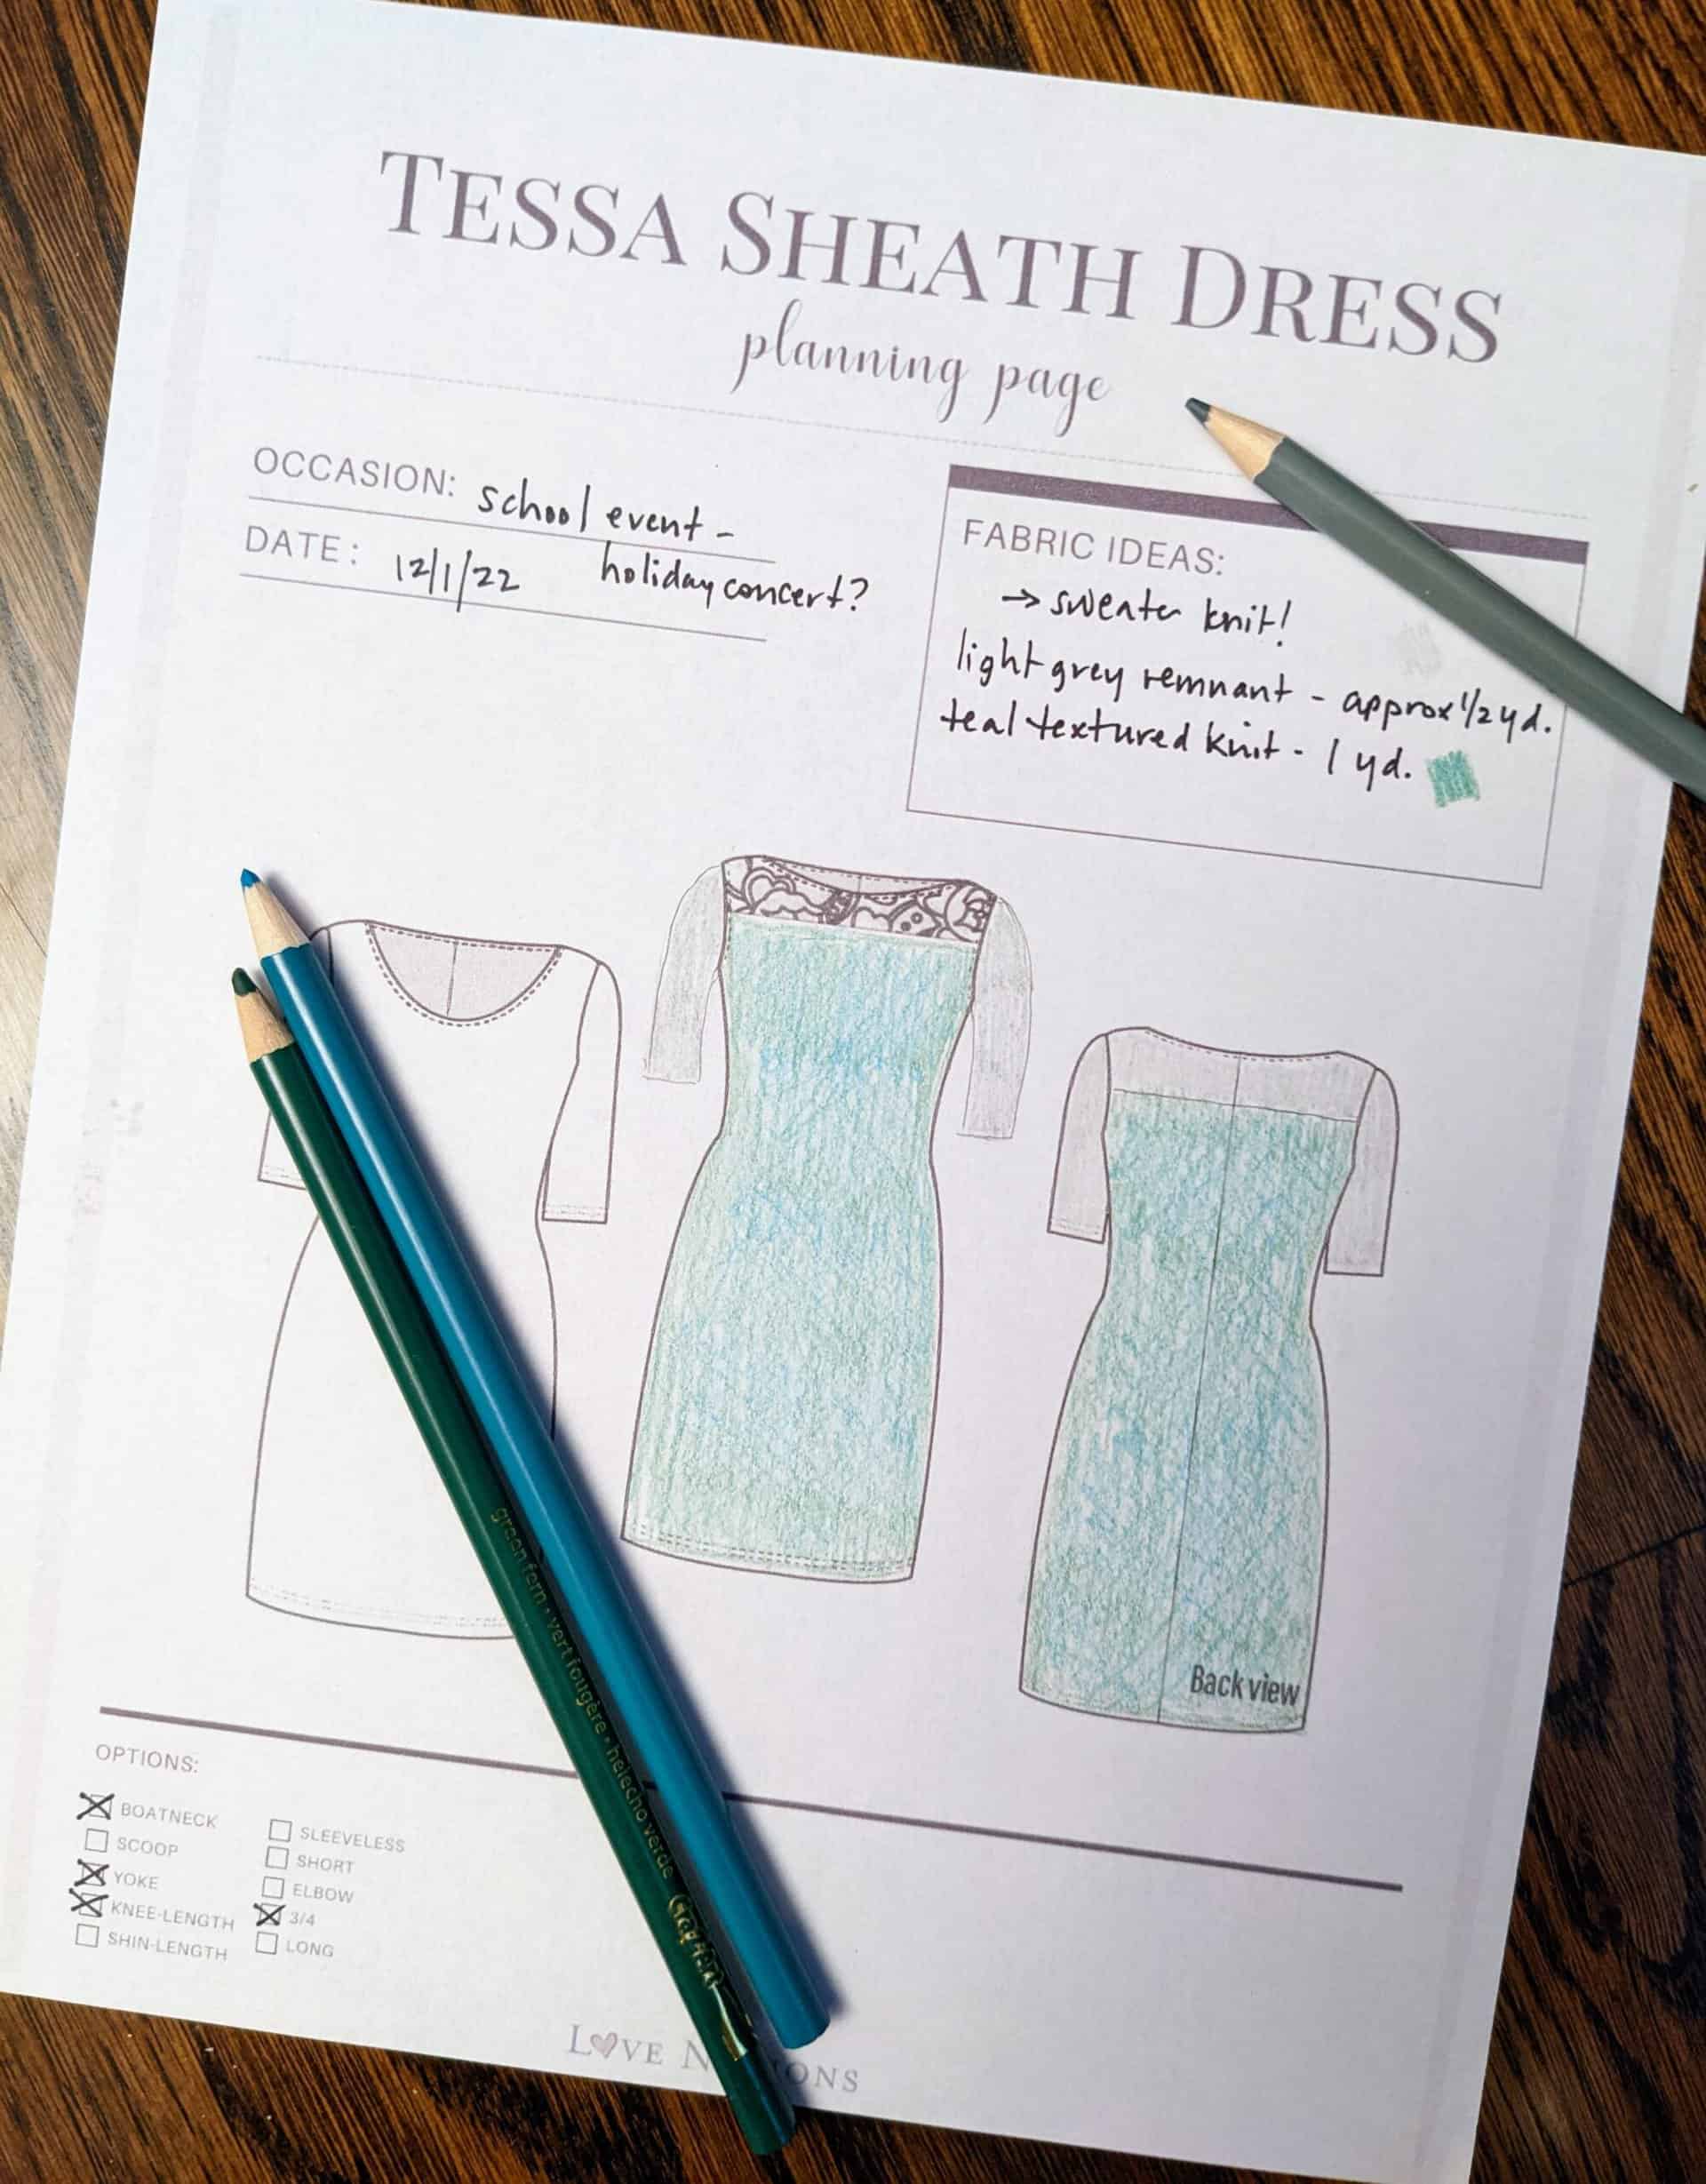
The Tessa pattern includes an optional yoke, and I find that I can cut the lower bodice pieces for the front and back from one yard. If my yard comes up a little short, I can extend the yoke by another inch or two. Just make sure to remember to lengthen both front and back yoke pieces! I only had a yard of this teal sweater knit, and it was plenty to cut the front and back of this dress, since I used the grey for the yoke and sleeves.

4. Mix and match!
Did you know that Tessa can be cut at the waistline and will match up with any of the views of the Sybil skirt pattern?? If you don’t have enough fabric to cut a full length Tessa, consider cutting the pattern at the waistline (which is clearly marked on the front and back pattern pieces) and using a coordinating print or solid for a Sybil skirt – I love the swing or a-line skirts, but any of the views would look fantastic with Tessa for the bodice.
Related posts:

5. Arrange your pattern pieces to make the most efficient use of the fabric you have.
I’m not great at this, I admit, but using printed or traced pattern pieces and actually laying them onto the fabric before cutting is a great way to make sure you’ll have as little waste as possible. Depending on the stretch of your fabric, you might be able to rotate pattern pieces to be cut on the bias or even perpendicular to the grainline. For my ponte and velvet dress, the velvet pieces on the back of the dress are actually cut with the nap going in the wrong direction since I was working with a remnant from another project.
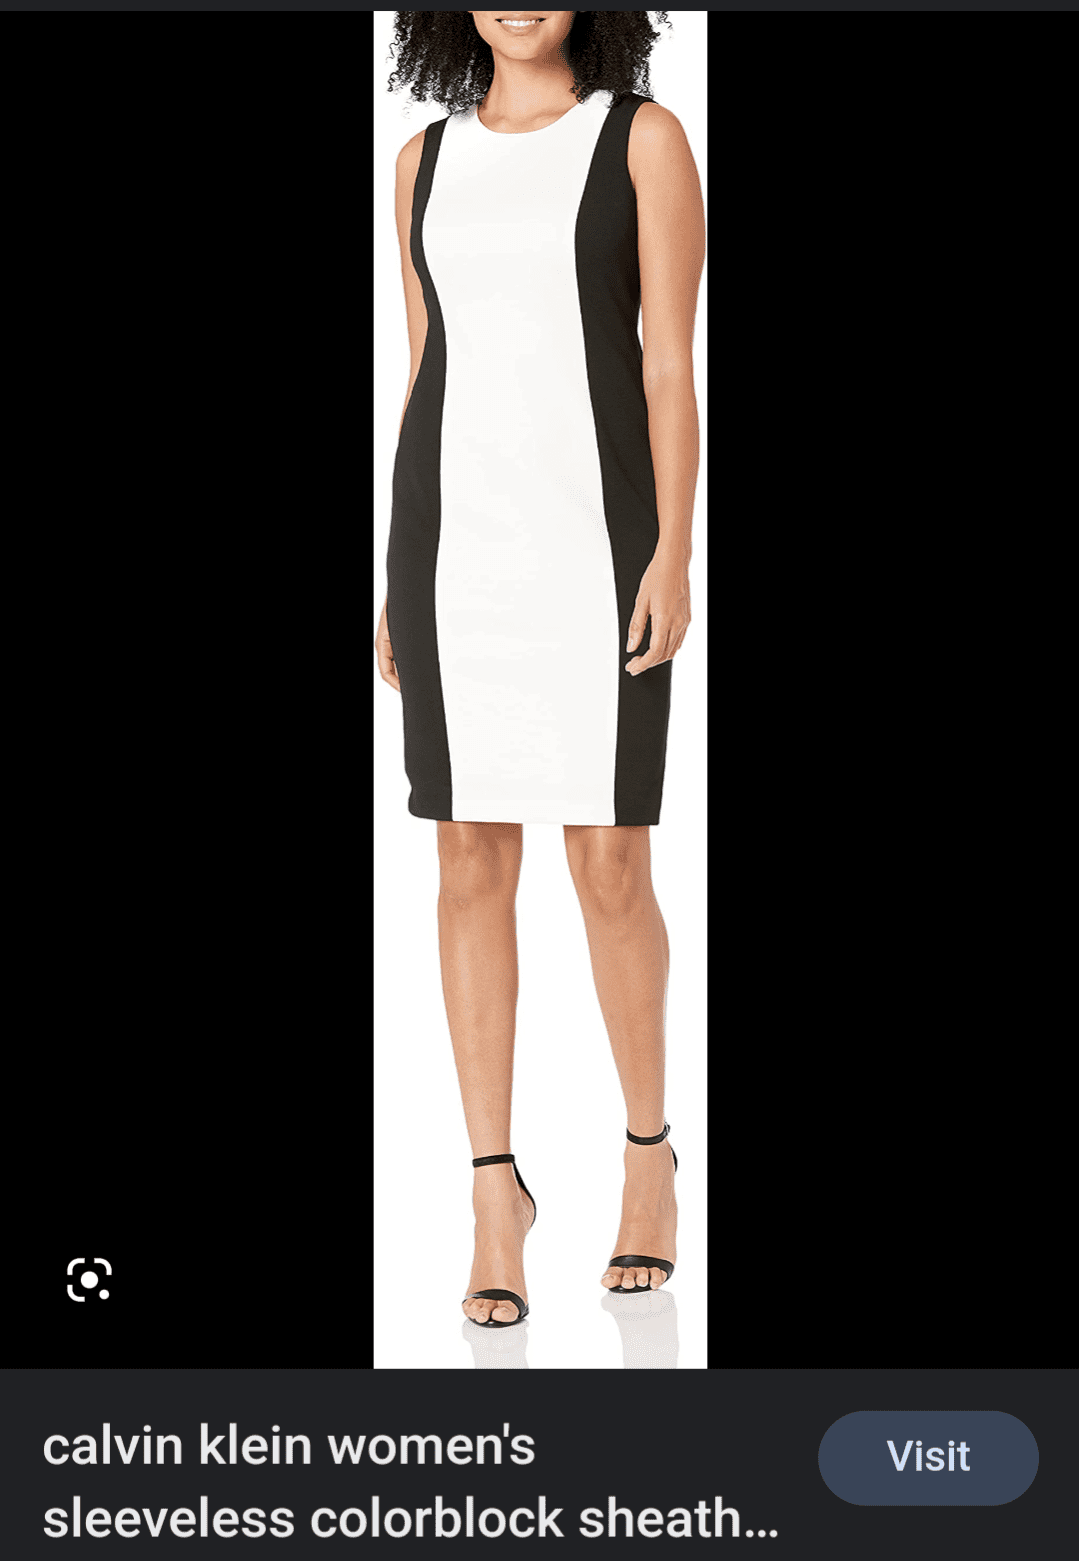
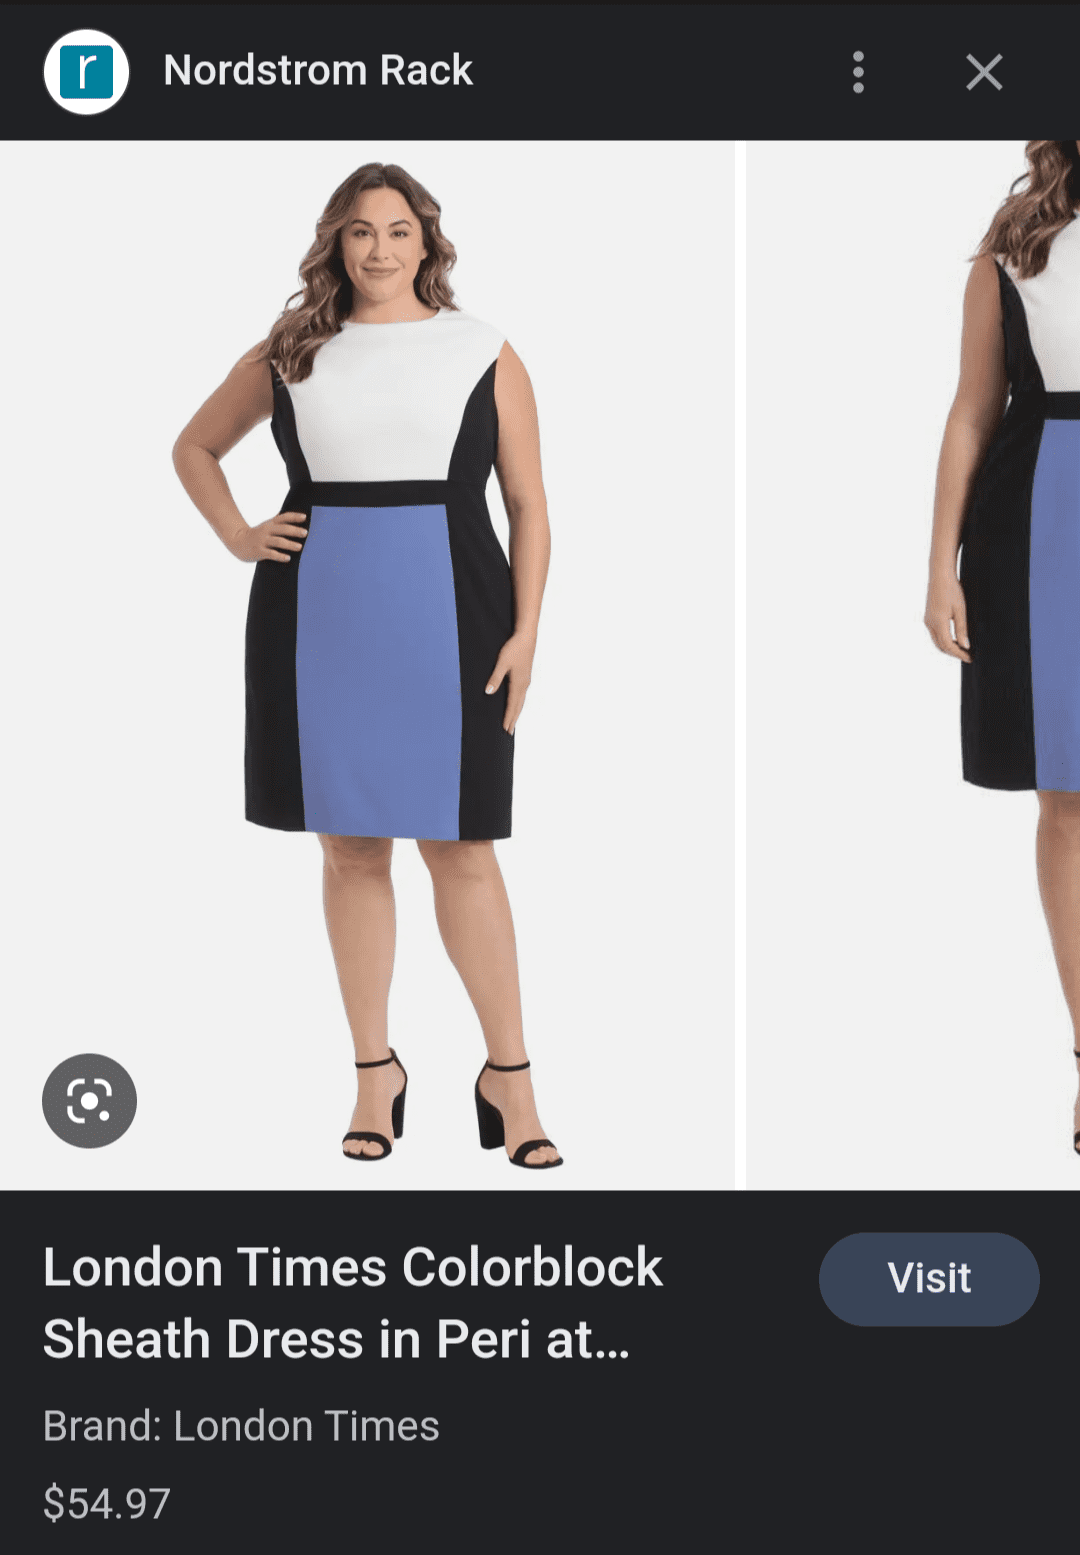
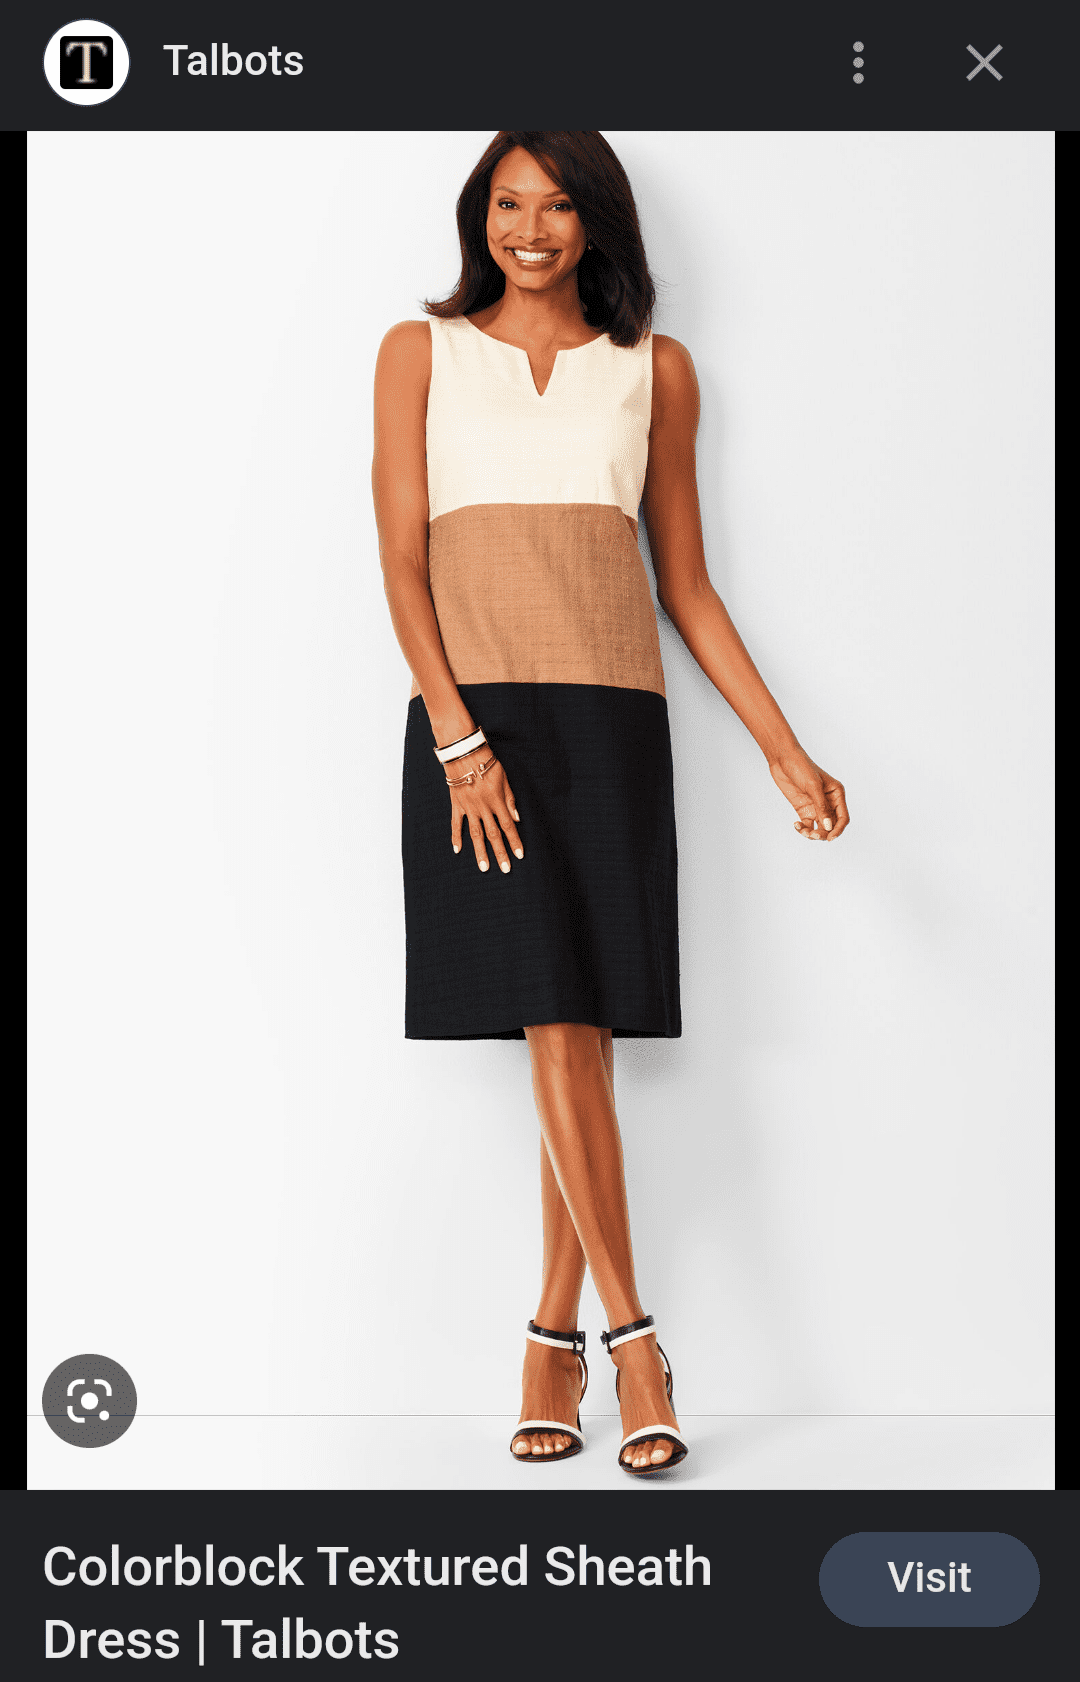
6. Colorblock
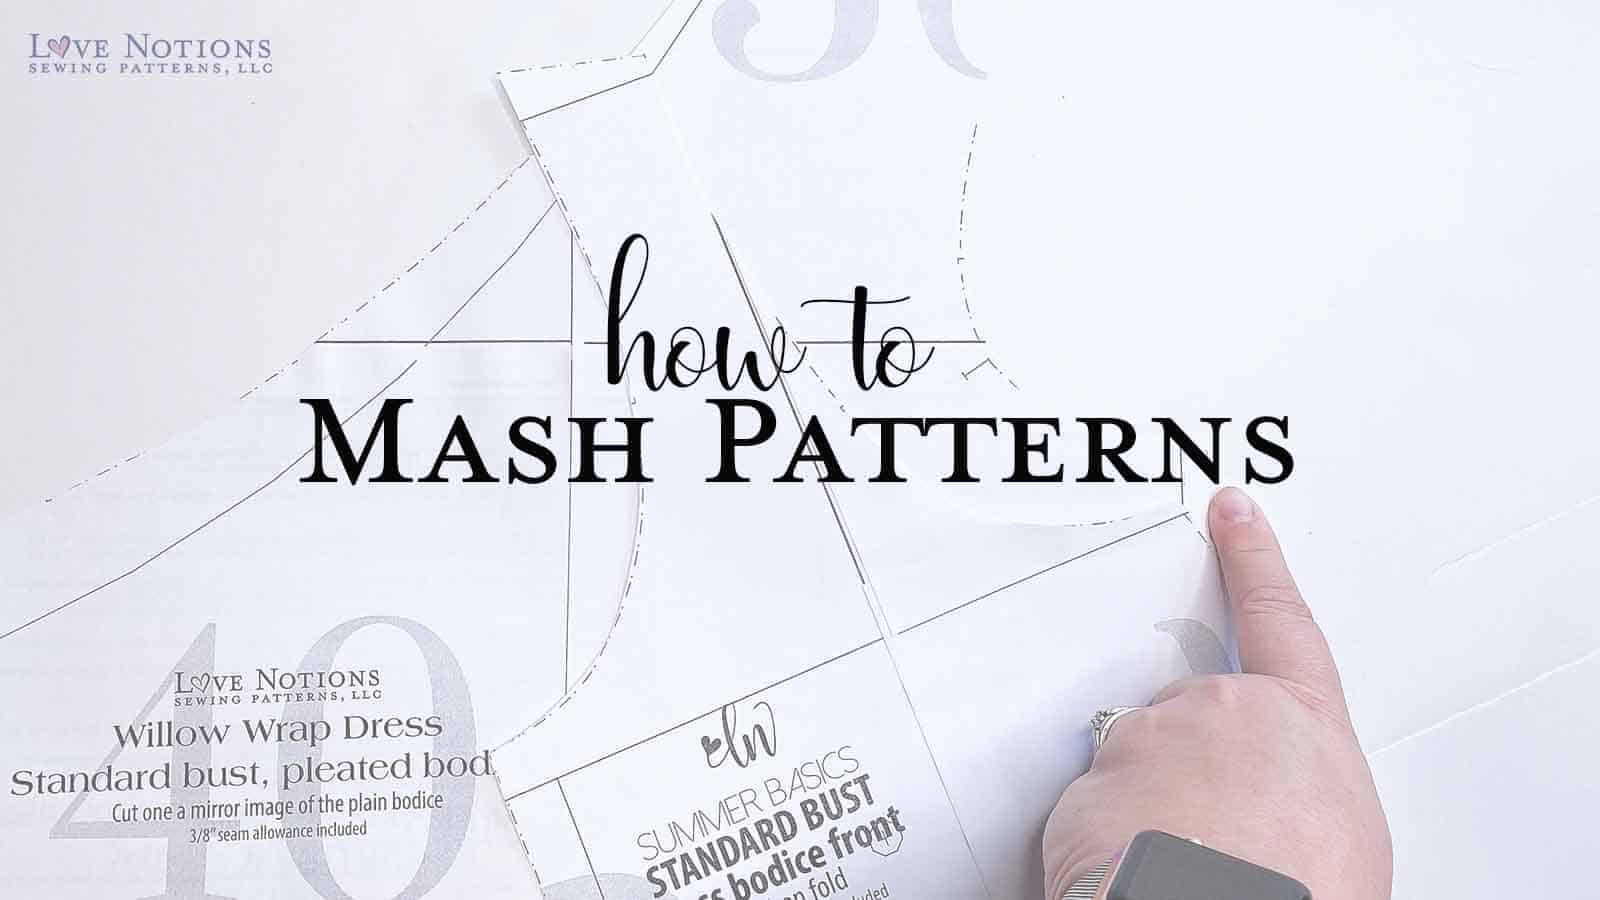
Last but not least, add some visual flair and use what you have by color-blocking the pattern. A simple shape like Tessa is a great base for breaking into smaller blocks and then piecing it back together. As I mentioned with the sleeves, just make sure to add seam allowance to every new seam you make, or your finished garment will be smaller than intended. I tend to take screenshots of inspiration I find online, and refer back to those pics when I am deciding how I’m going to colorblock a pattern. We’ve got a few other blog posts that address this topic.


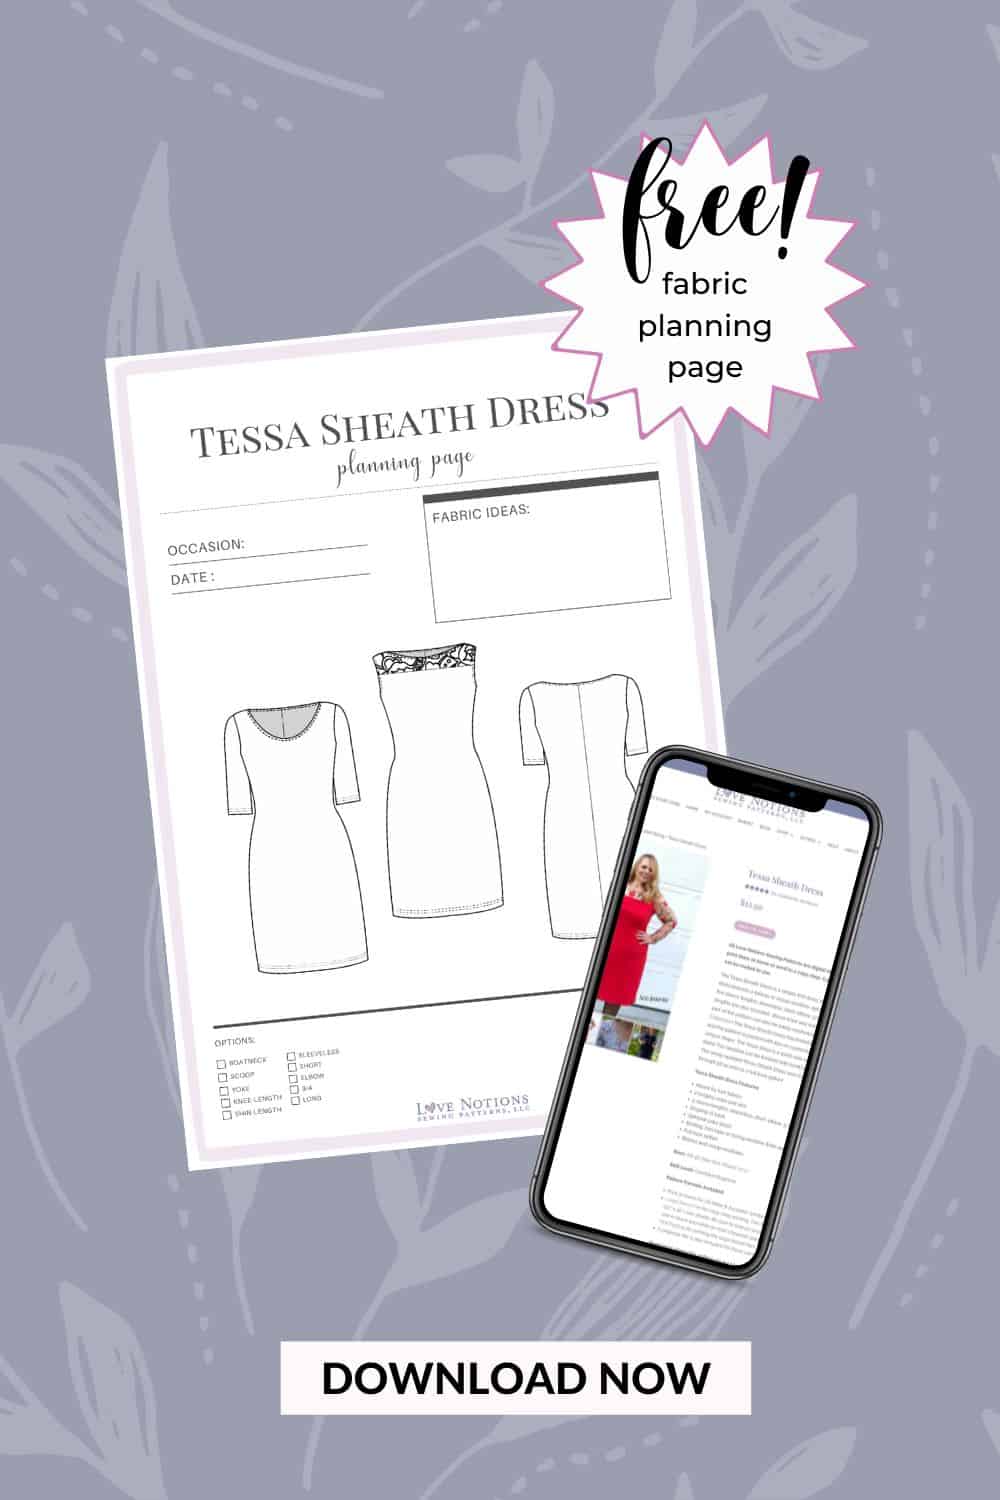
A fabric shortage FREEBIE for you
We’ve also got a little treat for you and Tessa has created a printable worksheet that you can download, too!
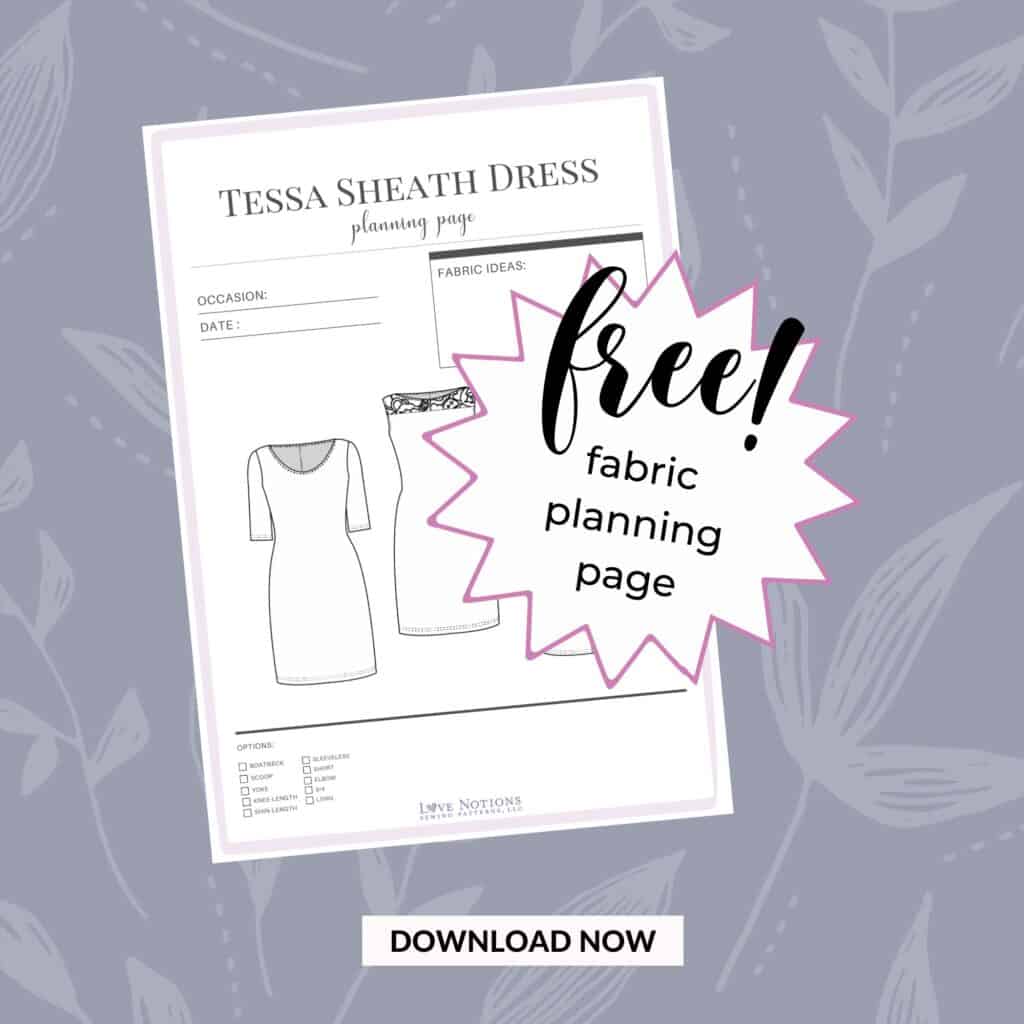
I love to sketch out what I’m planning to see how it might look before I cut, and it also helps me visualize how different colors or textures might work together.
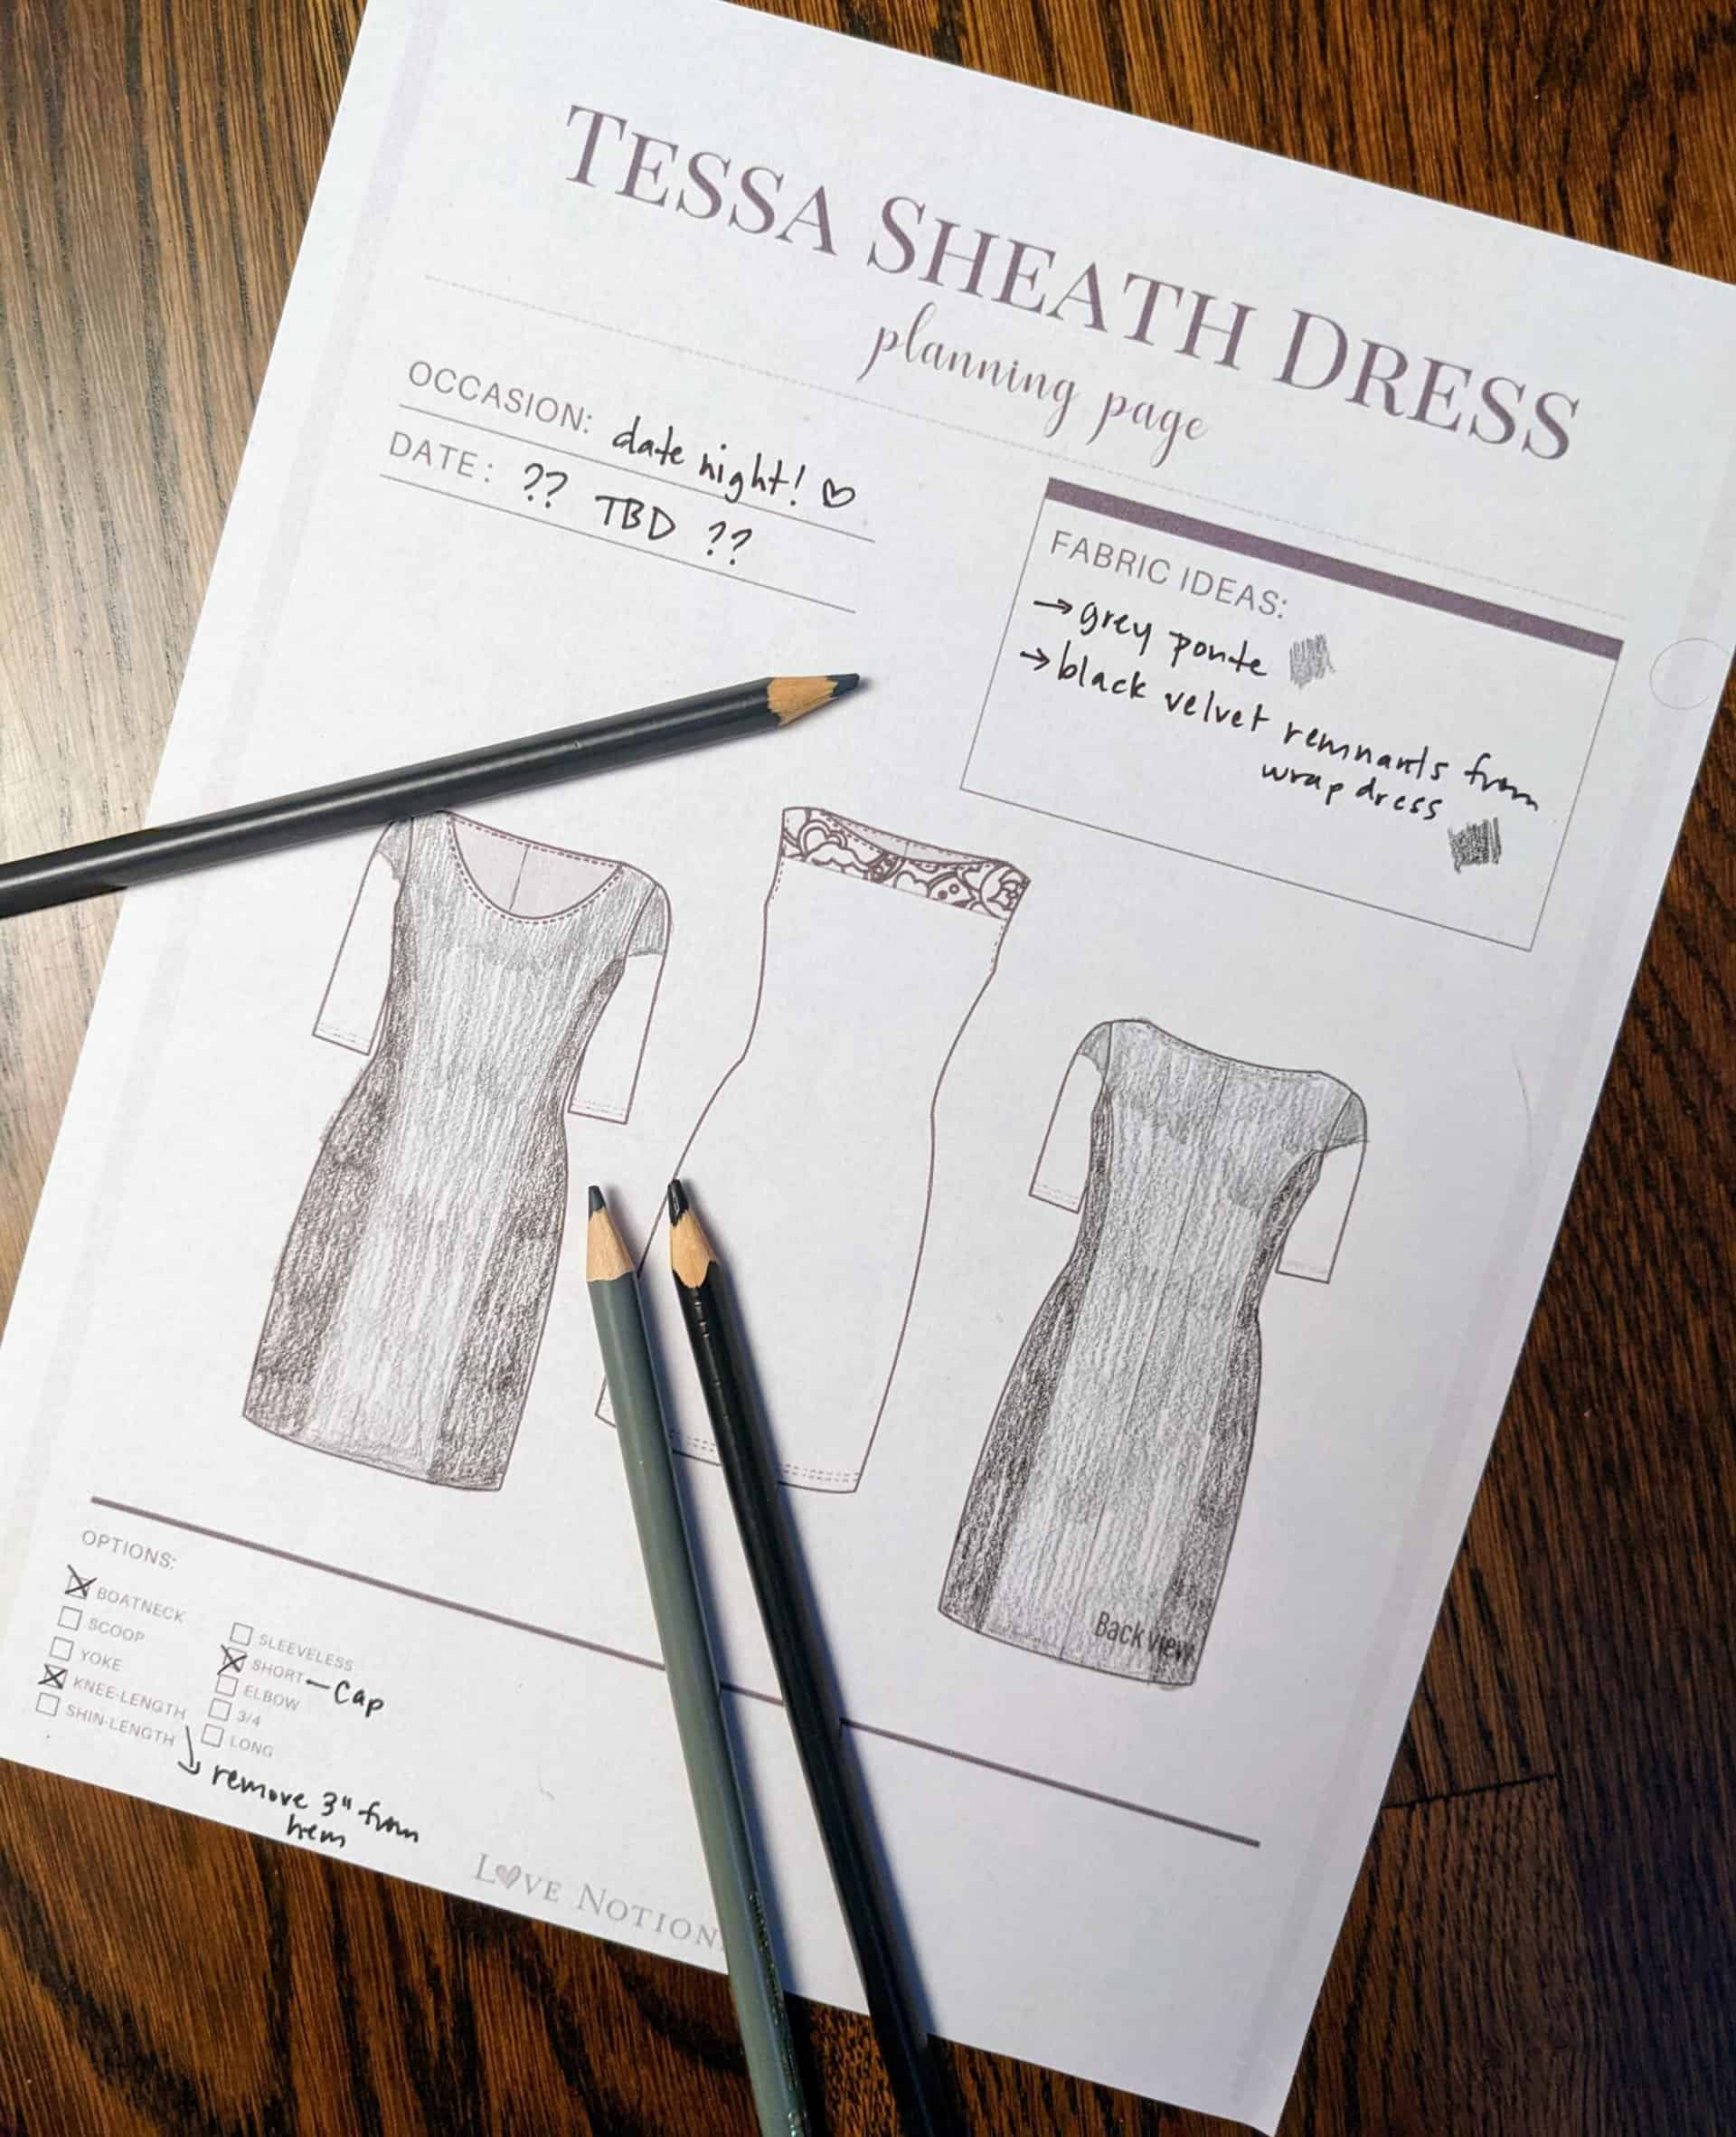
I definitely recommend using fabrics that are a similar weight and drape. For my grey ponte and black velvet dress, I was working with a remnant of the velvet so I couldn’t make proper princess seams (which generally pass through the apex of the bustline, either from the shoulder or the armscye), but I still got some of the visual interest I was looking for.
I use a projector for my patterns now, so I just trace the pattern pieces onto Swedish tracing paper and then use a ruler and a french curve (and just freehand too, if I’m being honest) to place my lines for where I’ll be cutting my new pattern pieces for colorblocking. I also mark my pieces to remind myself where to add seam allowance when I go to cut my fabric. And once you’ve cut, if you end up with pieces that look similar in shape, clip or pin them along the edges where they’ll be sewn so you don’t seam the wrong edges together accidentally.
Upload pics of your worksheets and your finished Tessa dress and make sure to share in our Facebook group – we love to see what you’re working on!
Save this article to your sewing pinterest board: