

Resolution Sew Along Day 4
Day four of the Resolution Bottoms Sew Along is going to focus on waistbands. There are two waistband options in the Resolution Bottoms pattern, contour waistband and yoga waistband. Read on to learn the difference and to get some tips for using elastic to reenforce a seam. We will also talk about sewing the hidden pocket that is an option for the leggings.
Let’s start with the yoga waistband.
A yoga waistband is when your waistband is entirely made of fabric, no elastic. You basically are sewing a large cuff and attaching it to the waist. The negative ease of the waistband is what keeps the pants up. Negative ease is when the finished measurements of the item is less than the body measurements it is intended to fit. Yoga waistbands are typically a faster way to finish a waist than using elastic.
The contoured waistband.
The contoured waistband is a shaped waistband that curves to the shape of your body. It is made of two pieces, a main and lining and is good for when you are using a bulkier fabric because you can line with a lighter weight fabric and still have the main fabric matching the body of your pants. This waistband has thin elastic sewn into the top seam for stability.
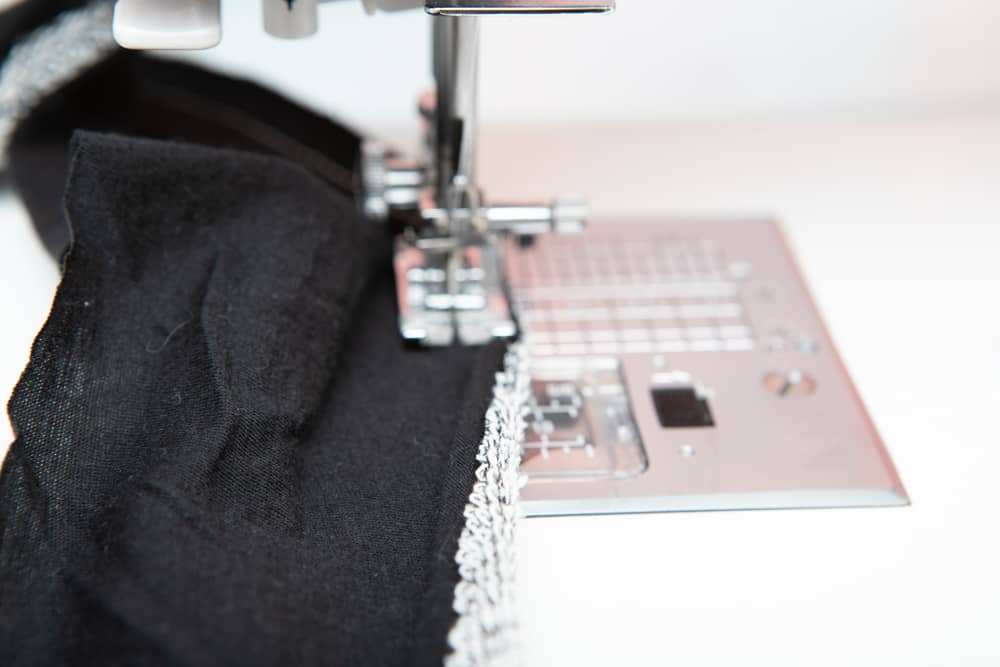
Sewing the contour waistband is just a few more steps than the yoga waistband. Sew your lining waistband to the main waistband. If you are using a fabric that likes to curl, flatten it out with your fingers before it reaches your presser foot. You do want to have an accurate seam allowance and sometimes sizing and starch still doesn’t keep your fabric from curling.
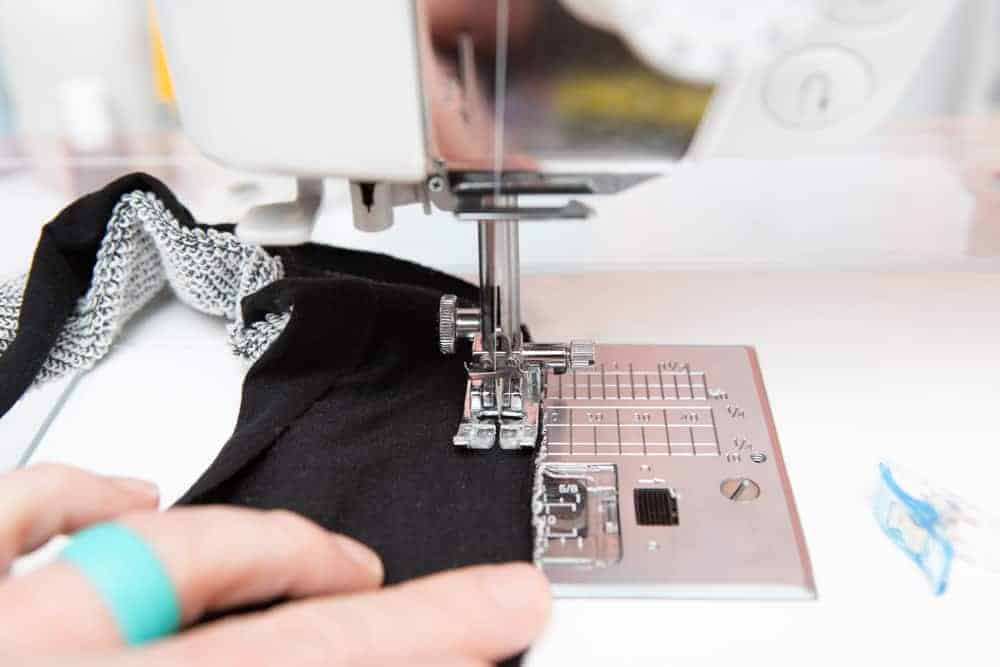
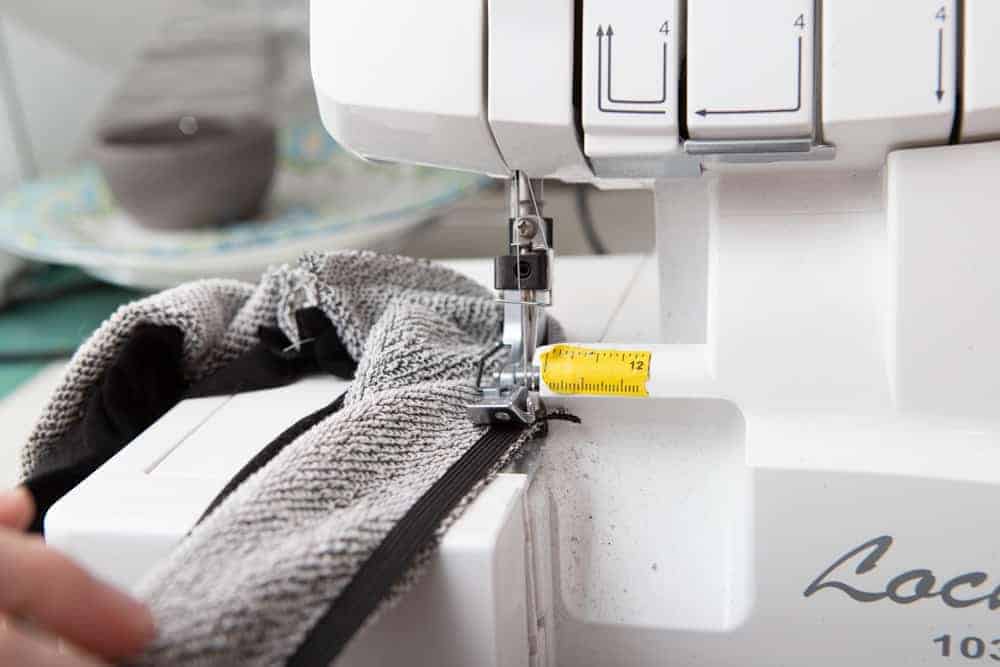
After you sew the lining waistband to the main, you will be attaching elastic into the seam allowance. I like to sew narrow elastic with the stitch going down the length of the elastic. I find it’s easier to sew and holds the ends more securely.
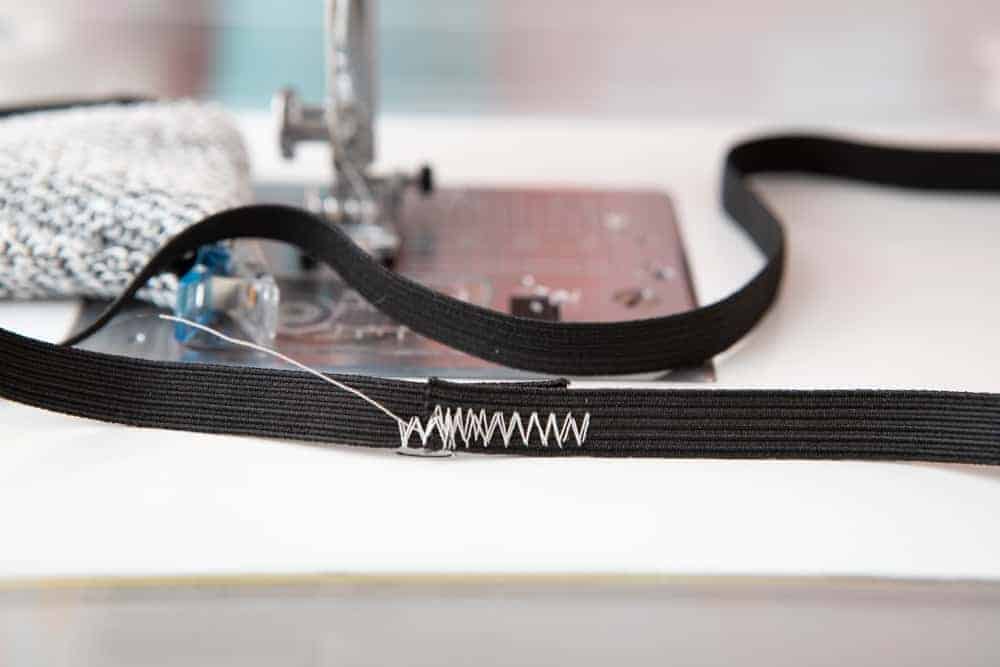
Take your time sewing the elastic into the waistband. Stay inside the seam allowance and go slow. Once you have the elastic tacked into place with the first few stitches, stretch the elastic so that it matches the length of the waistband. If you are using a serger, try not to trim the elastic or fabric as you go. If you don’t have a serger, sew the elastic in place with a stretch stitch like a zig zag stitch.
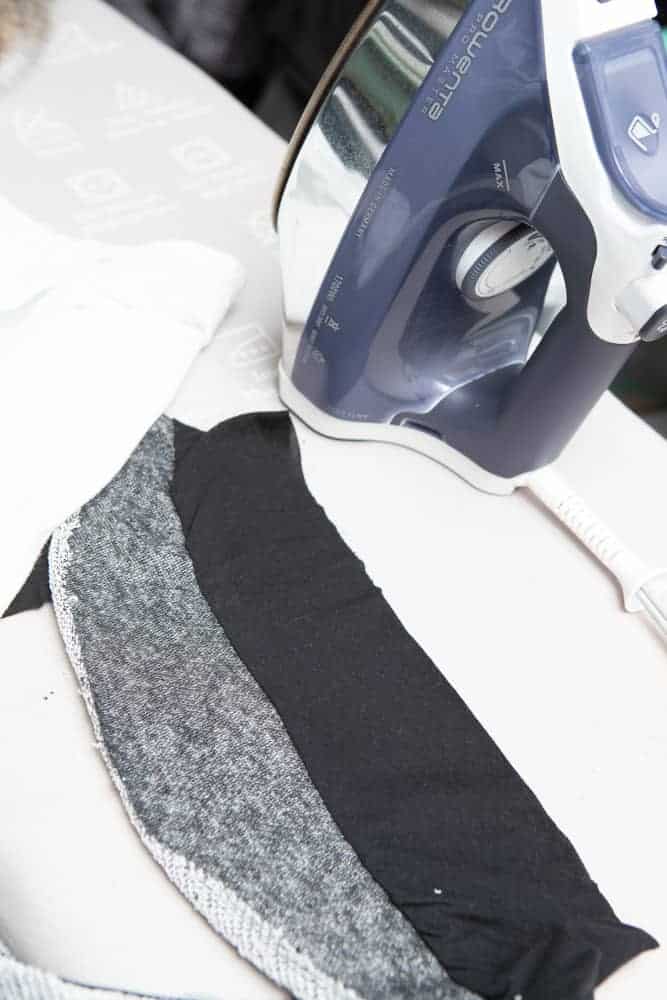
Once your waistband is assembled, press it with the seam allowance going towards the lining. Then fold your waistband wrong sides together and press again. Now your waistband is ready to attach to the body of your pants! Continue following the instructions in the Resolution Bottoms to do so.
Surprise! It’s a waistband pocket!
I love that the leggings have this unique option for a pocket, a hidden waistband pocket. It’s much more secure than just slipping your phone into your waistband and just as convenient! I did a live video in our Facebook Support Group on Tuesday and sewed the waistband pocket. You can find the full video here. You must be a member of our group to view it. For those not on Facebook, I’ve edited down the video to just the waistband pocket that you can view below.
Just now joining us? You can find day 1 here, day 2 here, and day 3 here.
If you haven’t picked up your copy of the Resolution Bottoms, use the code marchsal for 10% off.

