Resolution Sew Along Day 5
Today is the final day of the Resolution Bottoms Sew Along. You can find links the the last four days of posts below. Our focus on day five is hemming and cuffs, the final step in completing our Resolution Bottom.
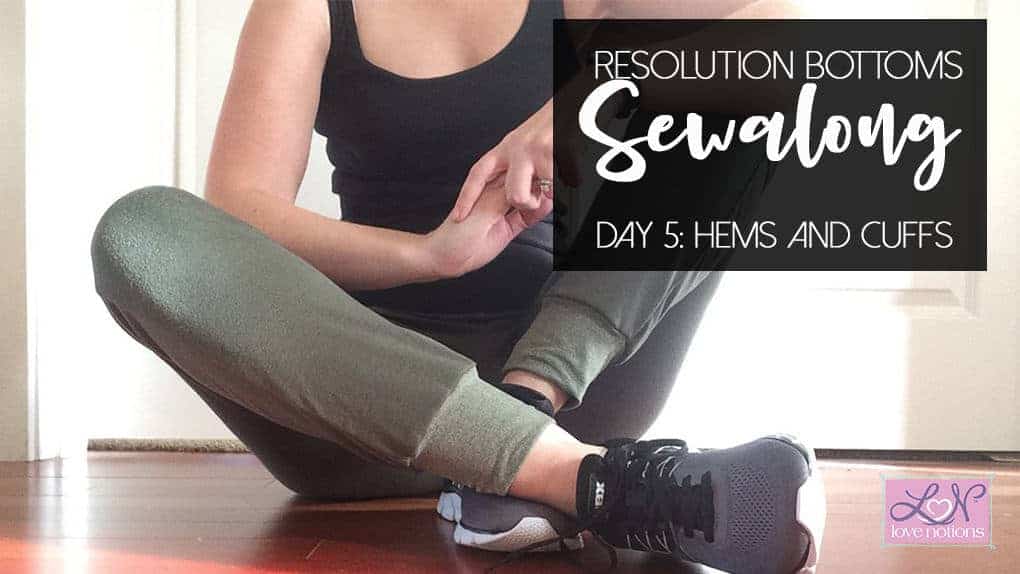
Depending on the view of the Resolution Bottoms you are sewing, your final step is either to hem or to attach your cuffs and then you are finished!
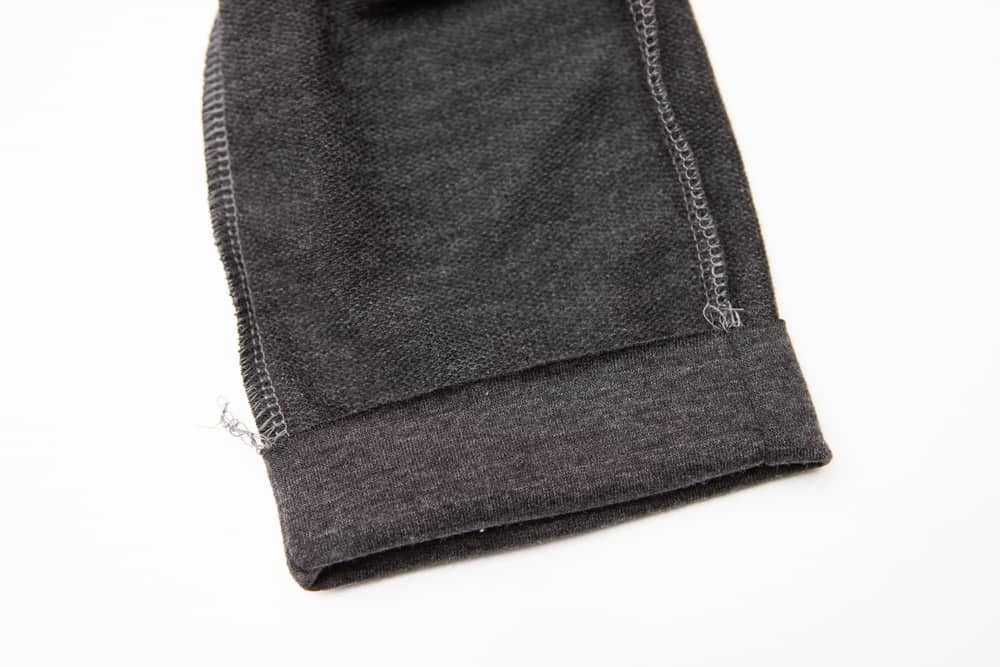
Whenever I sew cuffs, I prefer to use my sewing machine instead of my serger. This allows me to press the seam of the cuff open, which reduces the bulk at the seam.
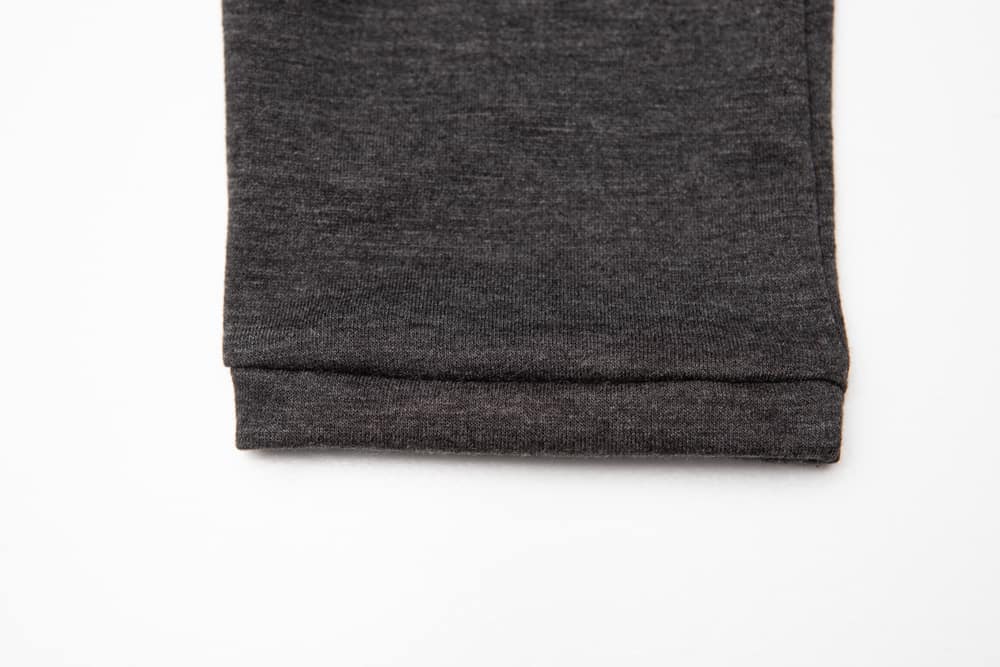
Hemming the yoga pants/leggings can either be done on a sewing machine or a coverstitch. If you are using a sewing machine, you want to make sure to use a stretch stitch! The hem needs to be able to stretch when you put your foot through. If that can’t happen, you will pop out the stitches of your hem. We don’t want that! You can also use a twin needle to hem your Resolution Bottoms. That also allows for some stretch to remain in the hem.
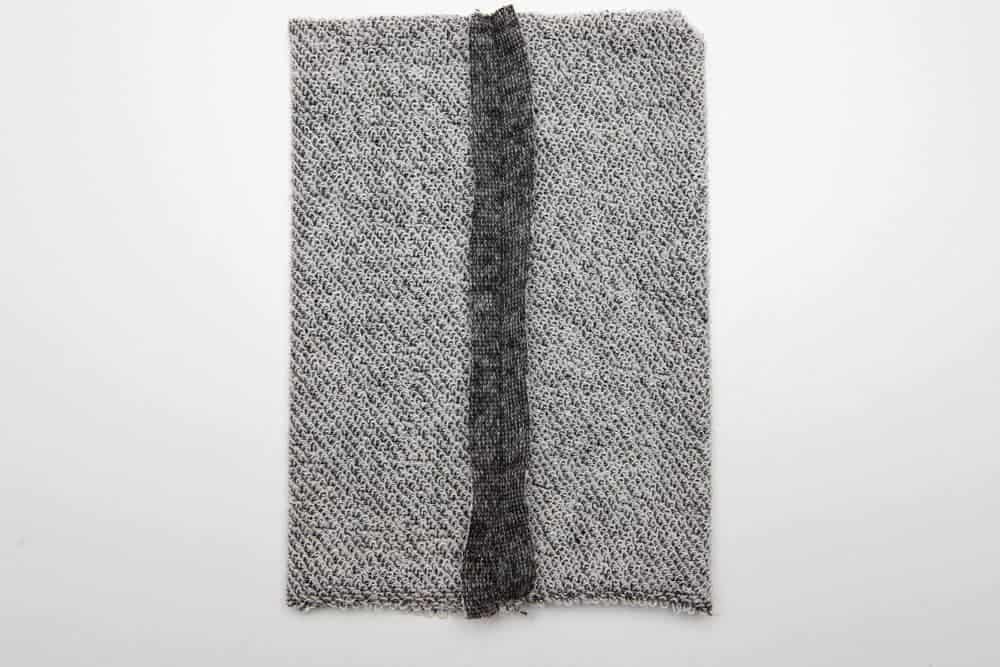
Now, there is a way to hem using a serger.
WHAT?! Yes!! It ends up looking a bit like a small cuff, but it is fast and allows your hem to still stretch. First fold your hem to the wrong side.
Then, fold your hem back to the right side. The raw edges will remain at the edge, but you are tucking the folded part back inside the pants.
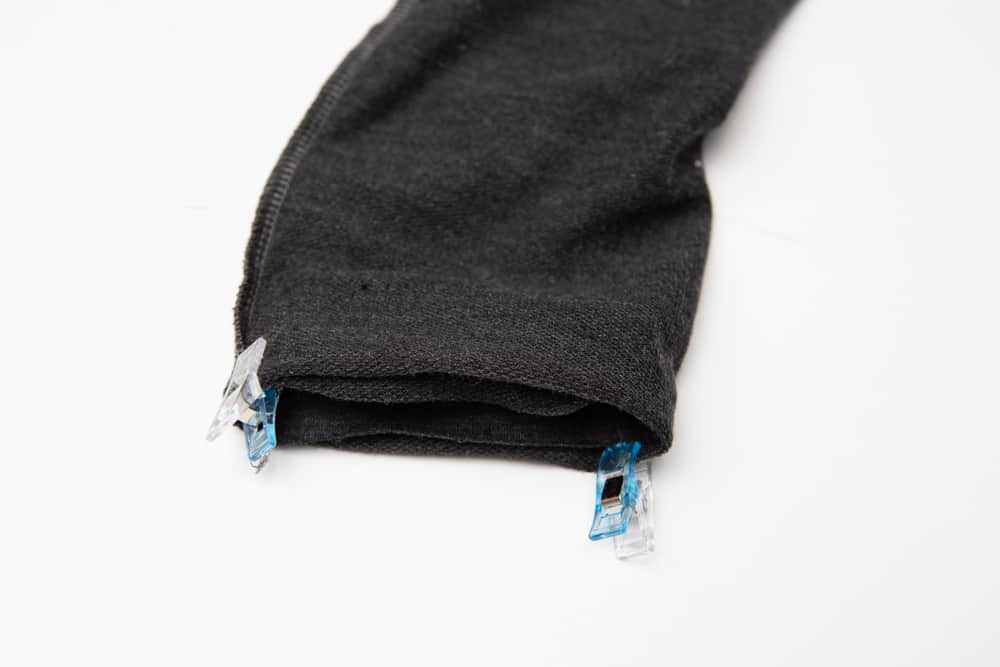
Now, serge the raw edges and fold together.

That’s it! See how it looks like a small cuff. It’s all hemmed, and it still has the stretch needed to get your foot through!
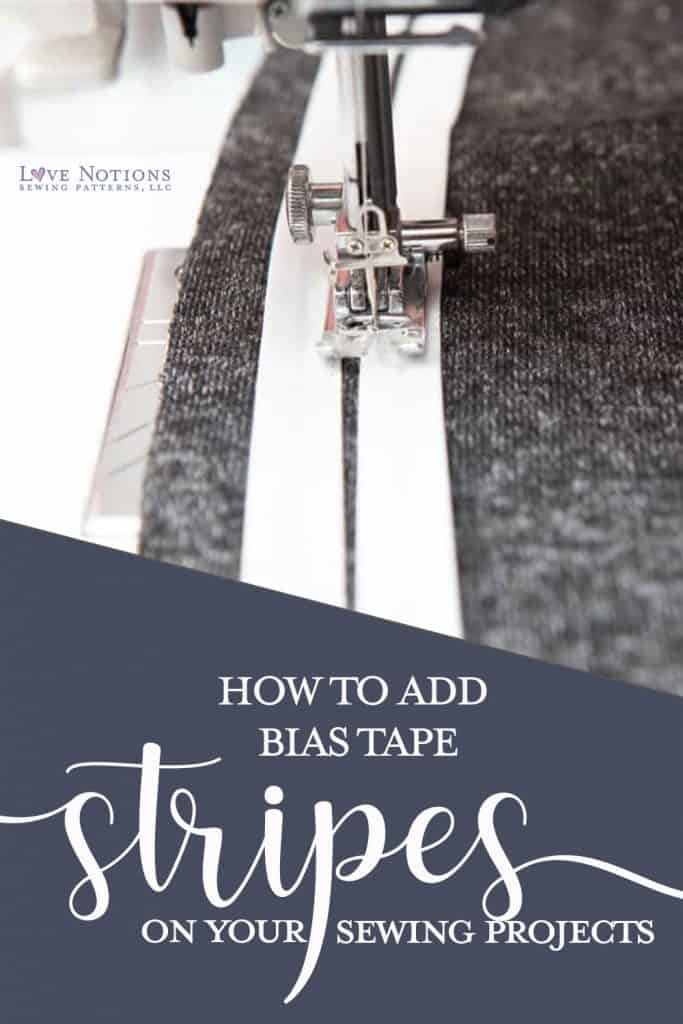
Adding bias tape side seam stripes.
This fun detail adds a sporty look to our joggers! You can do this to the yoga pants also to create a fun detail.
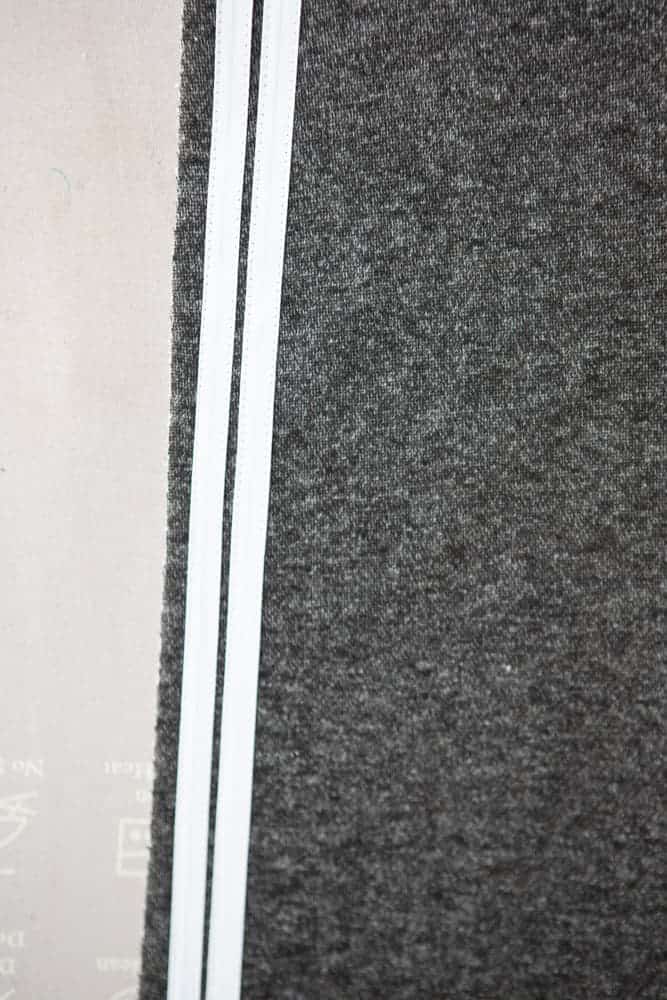
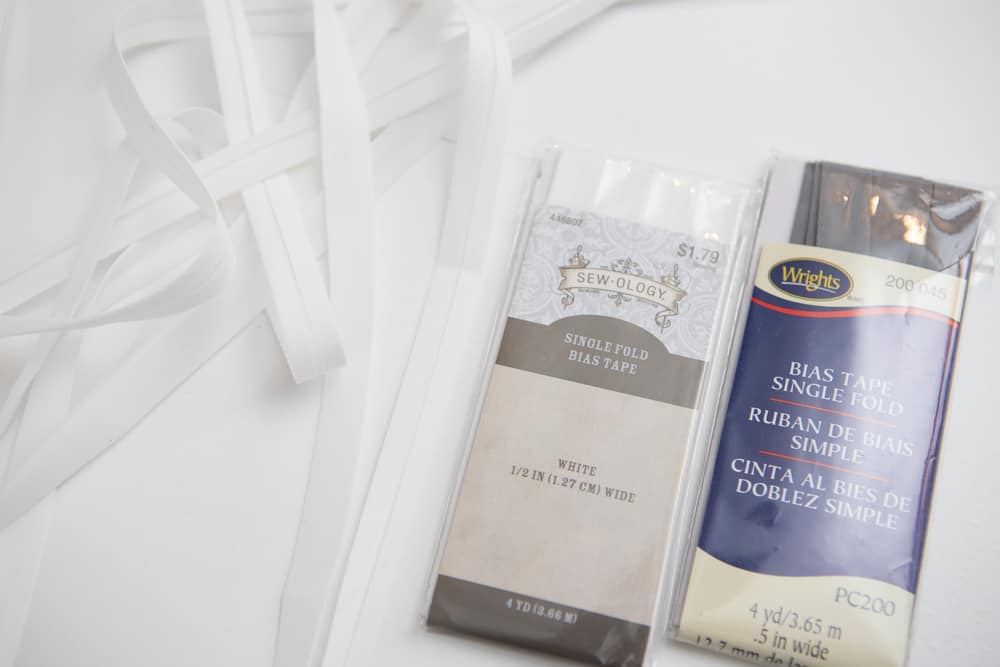
The pinstripes get added to the BACK leg BEFORE we attach the yoke. You will need a package of single fold bias tape for this. You can also make your own bias tape. I used one package to place two stripes on the legs. If you want more stripes, you will need two packages of bias tape.
Determine how far from the side seam you will want your stripes. I wanted it close to the seam, so I placed it 1/2″ from the side seam of the back leg. Remember to keep the bias tape out of the 3/8″ seam allowance! Pin your bias tape into place.
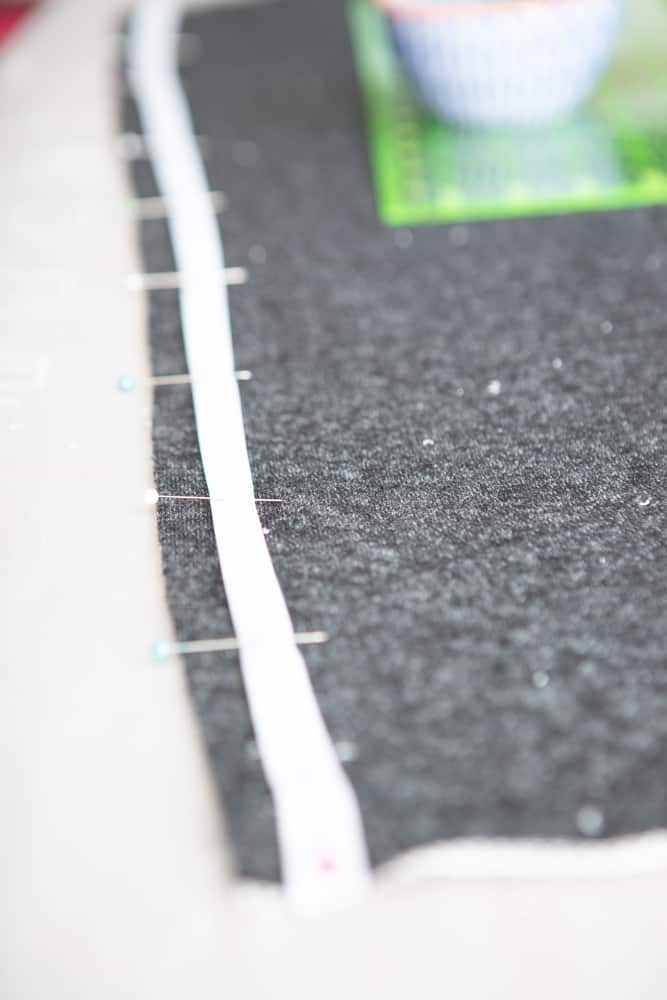
You can also use some hem tape or stitch witchery to keep your bias tape in place.
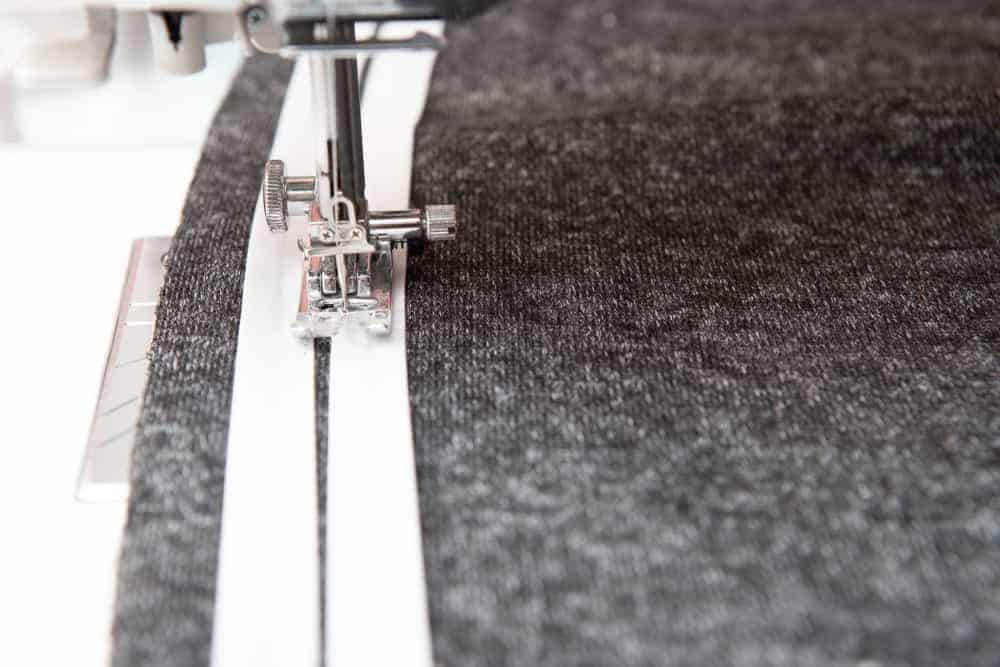
After the bias tape is in place, topstitch it to your pant leg. You will want to stitch close to the edge of the bias tape. Go slow and take your time for a clean finish! After you have one pinstripe added, you can then arrange a second if you like. I like to stitch the side closer to the first pinstripe first. This ensures that the pinstripes have a consistent distance between them.
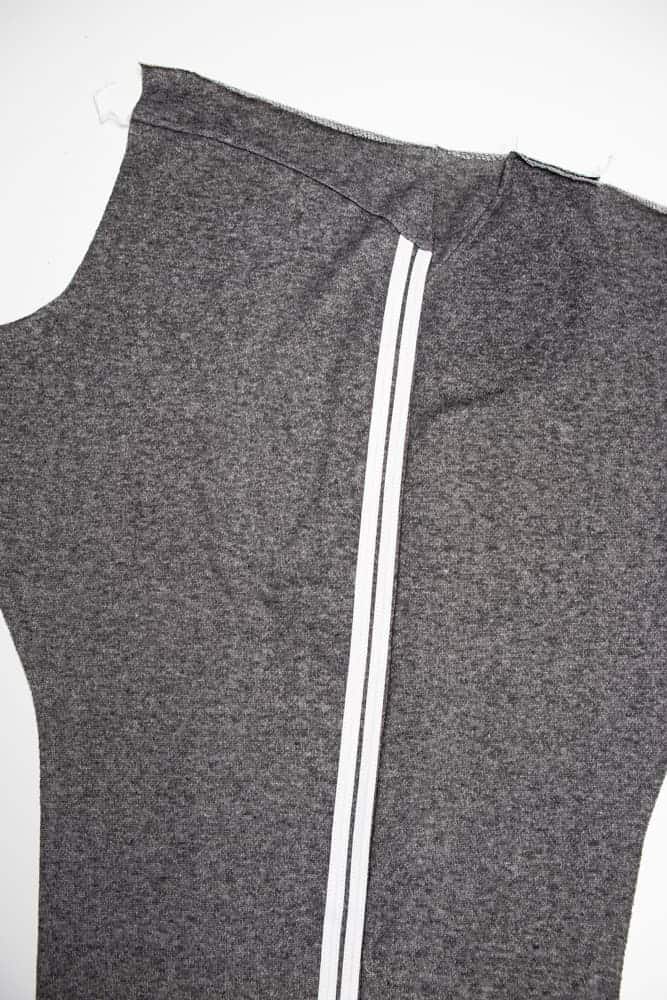
Then repeat with the second leg! You can add as many pinstripes as you like. Below is what your pinstripes will look like after you have sewn the yoke and side seam. Isn’t that fun! I love how it turned out!
And that wraps up our Resolution Bottoms Sew Along!
Thank you very much for joining me on the Resolution Sew Along!! It’s been so much fun! If you would like to enter the giveaway for the sew along, please join our Facebook Support Group to enter. One winner will receive a $50 Love Notions gift certificate and a $50 gift certificate to Raspberry Creek Fabrics!!!
Just now joining us? You can find the rest of the sew along below
- day 1: measurements and making personal adjustments
- day 2: sewing the pockets and yoke
- day 3: sewing the body of the pants
- day 4: waistband construction
If you haven’t picked up your copy of the Resolution Bottoms, get them now!
Save this pin for later!