How to Hack a Sewing Pattern
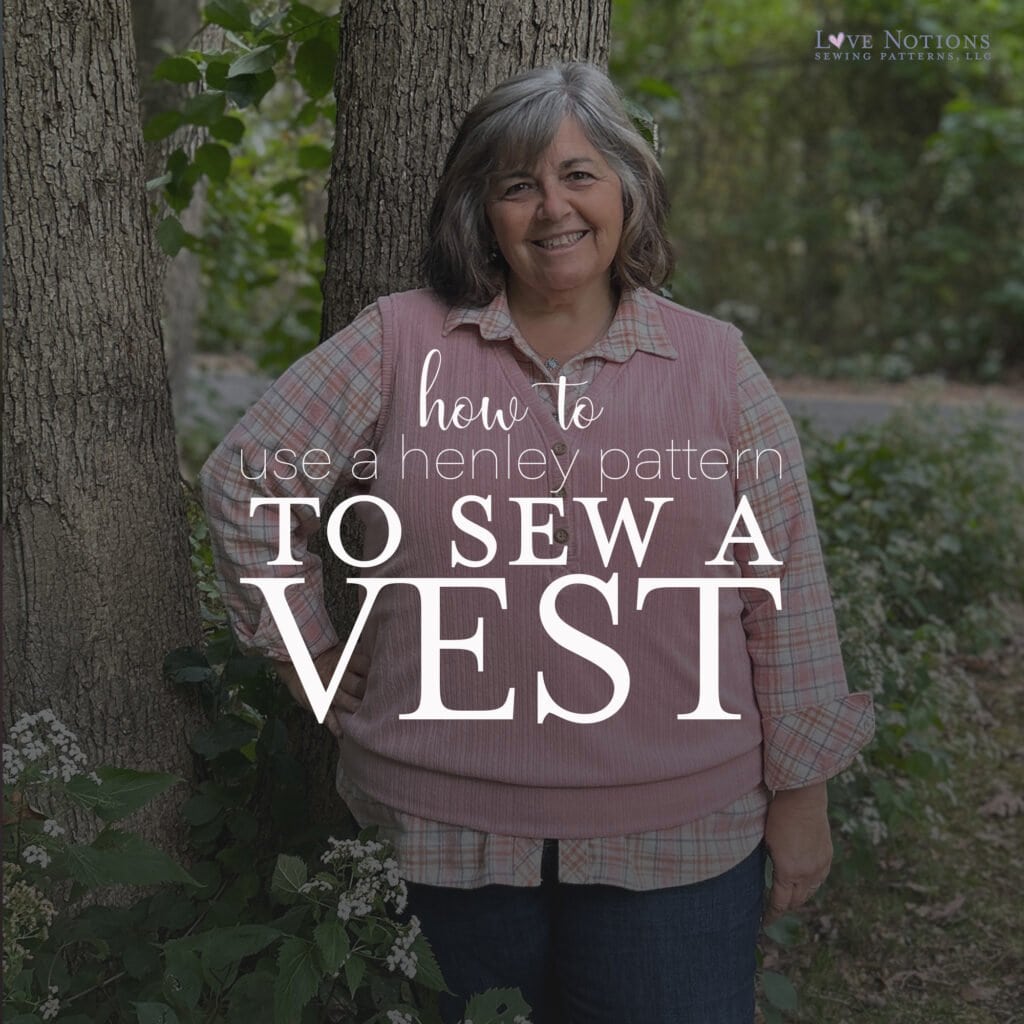
Creating a Vest from the Breckenridge Henley
Hi sewing friends! I’m Mary, from the SewMaryMac blog and I’m always happy to be a guest here on the Love Notions Blog.
I love to window shop, but when I do, I rarely buy anything anymore. I usually always think “I can make that!” I’ve been seeing a lot of vests this fall, and while I LOVE my Oakley vests I wanted something that would work with my stash of drapey knits.
The Pattern + the Unexpected Process
So, I figured why not just hack this week’s $5 pattern, the Breckenridge Henley into a vest! Simple right? I’ll just leave off the sleeves and finish the armscye. How hard can this be? So this blog post will explain how to create a Breckenridge Vest, but it’s also going to let you see the entire process (good and bad). Even for experienced sewists (and LN Ambassadors) a pattern hack doesn’t always go as planned! It is not always a simple and easy process.
It may have taken several tries to get it just right, but I’m very happy with my final result.


How to hack a pattern
Step One: Sew up the pattern as-is
I have never made a Breckenridge Henley before, so my first step was to sew one up. I sewed up a “wearable muslin” from some stash fabric. I always use a fabric that I’m not too attached to, something that I won’t be disappointed in if it doesn’t look as I planned. (Yes, it happens to all of us!) I made my typical Love Notions size (XL FBA graded to a 2X for my hips). Visit my Sew Mary Mac Blog. for all the details and sewing tips on my Breckenridge Henleys. You will also find a bonus code in that blog post!
Step Two: Decide on Sizing
For my first version, I decided to size up 2 sizes for an oversized vest that I could wear layers underneath. This meant I would make a 3X. The only other alterations I made to this version was to take out the waistline shaping for a boxier look and to lower the armscye ⅝” to allow for layering. This was my starting point.
I was NOT happy with this result at all. It was too big overall~ big and baggy without any shape. I thought it looked like a “sack”. I also realized that I wasn’t thrilled with the curve of the henley for a vest. I will be totally honest here, I thought this was going to be a simple pattern hack. It’s not always the best idea to keep working on something when you’re aggravated, so I set it aside. (Okay, maybe I threw it aside.) I sewed up a quick and easy project, then I returned to my hack.
General Pattern Prep Advice
I am totally team trace! I never cut into my large format printed or taped patterns when sewing up a pattern hack. I prefer to keep them intact for future use and hacks. I use Pellon #830 Easy Pattern tracing cloth. I typically buy it by the bolt whenever it goes on sale. I trace my pattern onto this cloth and then make all pattern adjustments onto that.
If you are a projector user, I suggest projecting onto a tracing cloth and then making your pattern adjustments. There are many of you that are very experienced with using projectors and you may prefer to make your changes directly onto your fabric.
Step Three: Evaluate and Sew Again
So after setting the vest aside for a few days, I was ready to get back to work on the next version. This time I used this pink sweater knit fabric. I evaluated the first try and decided on a few major changes.
-
-
- Sized down to a 2X-3X ( just one size larger overall than my Breckenridge shirt)
-
- Redrew the neckline curve(this did not require any change to the neckband)
-
- Added the waistline shaping back in (the original pattern has shaping)
- Did not lower the armscye (since Version 1 was so baggy)
-
Result: This was MUCH better size wise, but it still wasn’t what I wanted. I thought it looked just like a sleeveless henley. So, I took some photos. Sometimes it’s easier to figure out the issues when looking at photos. I even sent some photos to my daughter to help me solve the issue. We both knew something needed to change.
Step Four: Add Stylistic Changes
We decided that for this to look more like a vest, it needed a bottom waistband. So, I made Version 2.2. With this one, I trimmed off the hem and created a waistband. It’s not perfect, but it’s getting there. I decided it needed to be just a bit shorter. So, I took off the waistband(this is why I always baste my waistband on first) trimmed off another inch and reattached the waistband.
I then evaluated this version and decided on what changes I would make for my final Breckenridge Vest.
Step Five: Sew your Final Version
Success!! For version 3 I used a Houndstooth Sweater Knit. I am thrilled with my final version and I know that I will be wearing it a lot!! Final revision are as follows:
-
-
- Removed shaping at the waist for a boxier look
-
- Lower armscye by 1”(I realized I liked this vest best over my Aria Buttondowns and they required a bit more room under the arm)
-
- Straightened bottom hem by cutting off the bottom curve.
- Shortened the entire body an additional 2”. (I am only 5 feet tall, so I do NOT recommend taking off any additional length until you have tried the vest on first)
-
So now you see that this Breckenridge Vest hack wasn’t just a quick and simple project. It may have taken a few times to get it right~ but I’m so happy with how it turned out. The same can be true for your hacking process – it might take a few tries, but you always learn something. I hope you give pattern hacking a try using the basic steps above. Now that I’ve got the Henley Vest hack down pat, here’s my exact process.
How to make a Breckenridge Vest
1. Choose your size
I suggest up one size from your normal Breckenridge Henley size
2. Trace your pattern pieces and make adjustments
- Redraw the neckline curve (see photo)
- Lower the armscye 1” (see photo)
- Remove waistline shaping for boxier look (see photo)
- Redraw the hemline, taking out the curve. (I suggest shortening it to your desired length later. It would be best to leave it longer and try it on once it is constructed before cutting any additional length)
- No adjustments are needed on the neckband pattern piece.
3. Cut and sew according to the Breckenridge Henley directions
- Follow steps 1-11
- Sew side seams as stated in step 13.
4. Measure and cut armbands as follows:
- Measure circumference of armscye.
- Take measurement and times it by .85
- Add ¾” for the seam allowances (⅜” seams)
- Cut 2 pieces 2” wide by the length you determined above.
- Eg. My armscye was 23”. 23 X .85 = 19.55
- 19.55” + .75(for seam allowances) = 20.3 inched
- I cut my armbands to be 20 ⅜” X 2 inches wide.
5. Measure and cut waistband as follows:
- Measure your hip
- Take hip measurement X .85
- Add ¾” for seam allowances
- Cut fabric 6” wide by the length you determined above.
- Eg: My hip is 49”. 49 X .85 = 41.65
- 41.65 + .750 = 42.4
- I cut my waistband to be 42 ⅜” X 6” wide
6. Attaching armbands
- Sew each band right sides together in a ⅜” seam.
- Fold each in half, wrong sides together and press
- Mark ¼ points on each armscye and armband.
- Pin, matching up ¼ points (placing seam of armband at underarm seam)
- Stitch in ⅜” seam, serge
- Press seam allowance towards vest and then topstitch
7. Attaching waistband
- Sew waistband right sides together wit a ⅜” seam.
- Fold in half, wrong sides together and press.
- Mark ¼ points. Remember that when you mark the center front and center back, the ¼ points is not necessarily the side seams.
- Place seam of waistband at center back of vest, then pin in place matching the ¼ points.
- BASTE the waistband in place (⅜” seam). No matter what pattern I am making, I ALWAYS machine baste my waistbands in place first. Fabrics all have different % of stretch and different recovery rates. It’s always easier to sew over a basting stitch than it is to rip out a regular/serged seam.
- Stitch/Serge waistband to vest and press seam allowance towards vest.


Tips to Remember when Pattern Hacking
- TAKE NOTES!! Write down every little change you make. You might think you’ll remember but unfortunately it doesn’t always work out that way!
- Pattern hacking can be such fun!! Sometimes it’s a simple hack and others it’s a real process.
- Remember to walk away if you need to, but don’t just crumble it up into a ball and throw it in your UFO project pile (yes, we all have one!). Sew a “cleansing” project if you need to.
- Seek advice from others. The Love Notions Facebook group is filled with helpful sewists!
If you’d like to purchase the Breckenridge Henley pattern, consider using my affiliate link HERE. This costs you nothing, but it does help to replenish my fabric stash so I can continue to test and hack patterns!
If you use Instagram, consider following me @sewmarymac to see all my latest makes.
Happy Sewing!
Mary Anne 🙂