

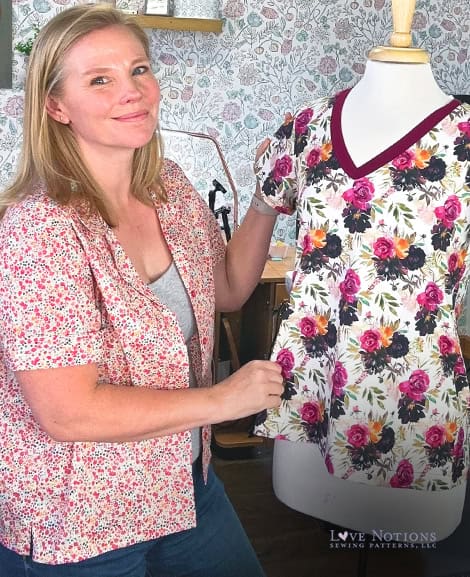
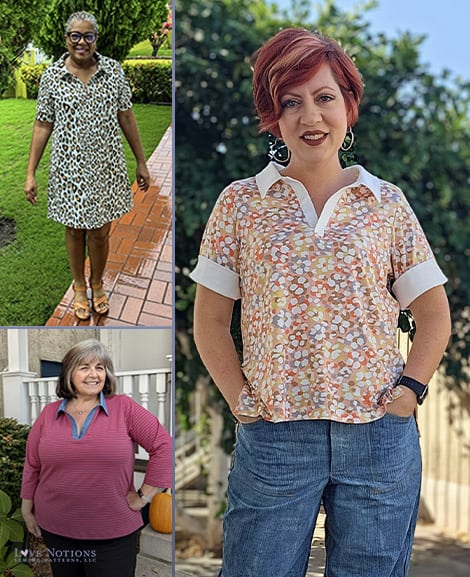
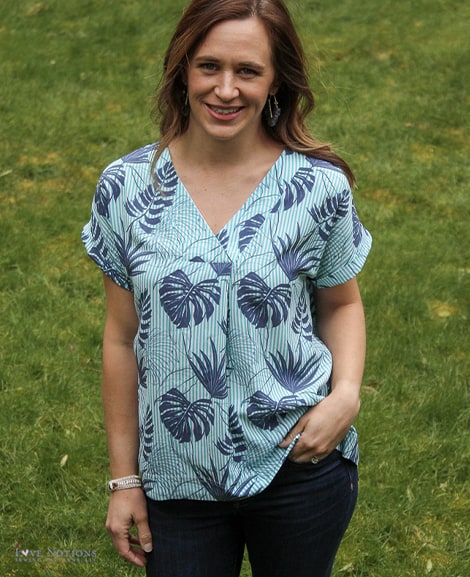
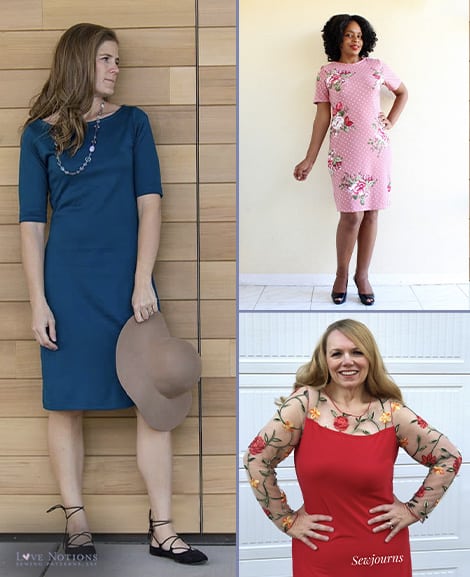
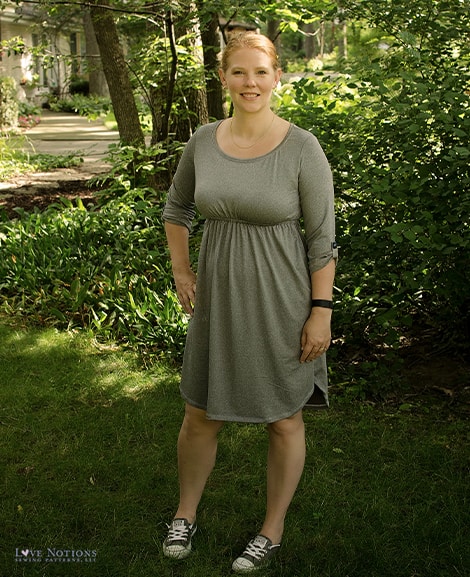
Love that Look Sabrina Maxx and Strappy LDT
It may come as a bit of a surprise to those who have only known me in my adulthood, but I was kind of punk rock in my youth. Not to say that I wasn’t also a mostly upstanding model of my Christian faith , but I liked loud music, loud people, and even louder clothes. I felt like I was the only person on campus at Brigham Young University who was wholly committed to a wardrobe of thrifted vintage plaid pants. I dove headfirst into every mosh pit, my eardrums are probably irreparably damaged, and I spent fifty hard-earned dollars on some sh**-kickers (my MOM called them that!) from the Delia’s catalogue. Oh, yes, I was punk rock.

1998, Suitland High School parking lot. You need to know those corduroy pants had a HUGE pieced-velvet side seam insert because they weren’t obnoxious enough when I found them at the thrift store. Sunburn courtesy of the HFStival. Google that, do.
But here I am as a responsible mid-30s single mother, employed full time in a staid business casual environment. Sometimes I just want to reclaim that rock magic that brought me so much joy not *all* that long ago. Thankfully, rock &roll style has evolved past the JNCO jeans and baby tees of the mid-90s while managing to hold on to the killer boots and jewelry (I’m looking at you, chokers trend resurgence).

It’s way too hot for vinyl/ leather pants here, but if I could find stretch waxed denim, I would rock this look next.
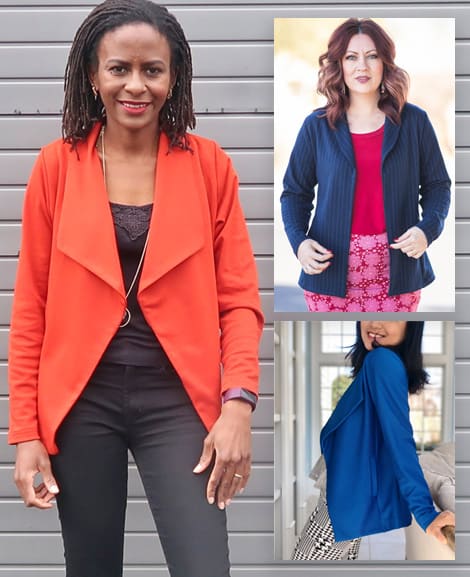
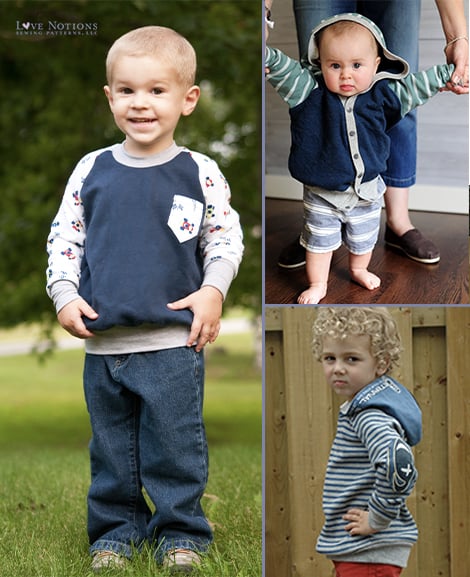
One particular style that always gets a save on my Pinterest boards is Moto.
I love the seam details, the complex mix of materials, and the asymmetrical lines. The overall look can be hard or soft, casual or a little dressy, and functional for kid-chasing or date-nighting. Here’s my inspiration:

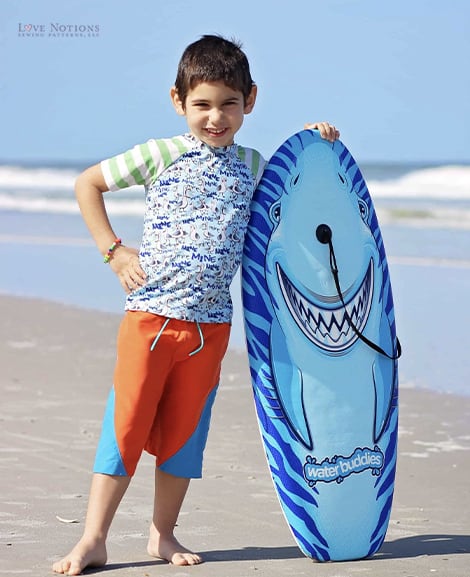
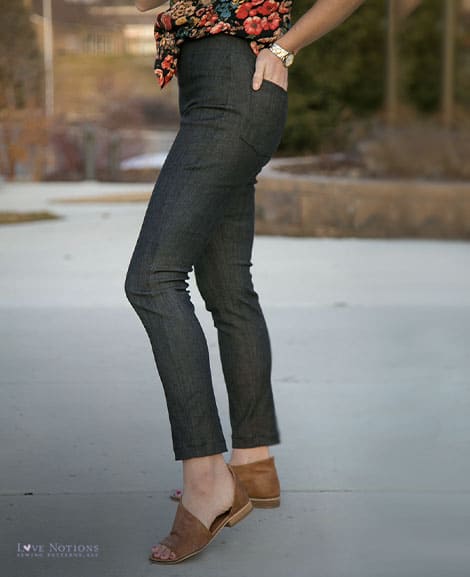
I’ve made the Moto Maxx set a few times now for my son, and it has some great details similar to the inspiration. Tragically, I don’t fit into little boys patterns (looking at you hips-for-days), so I’m going to do some pin-spired hacking. Starting with the Sabrina Slims and a Luna–LDT mash-up (affiliate links).
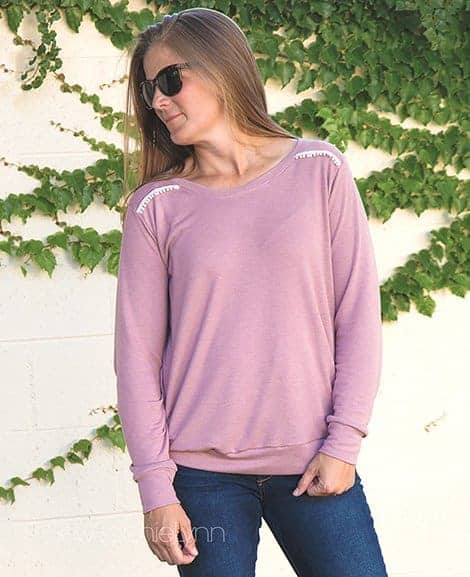
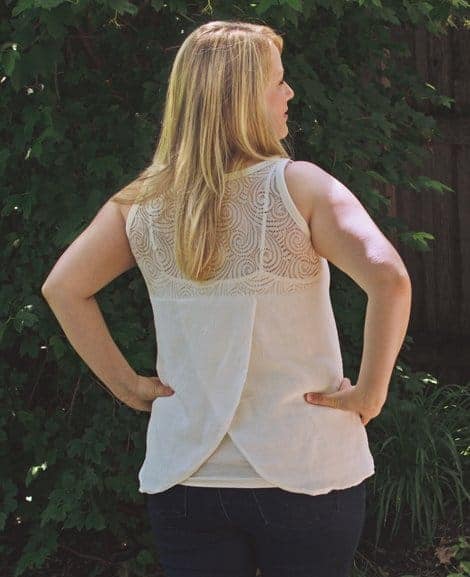
My top is a mash between the Luna Tank and the Laundry Day Tee.
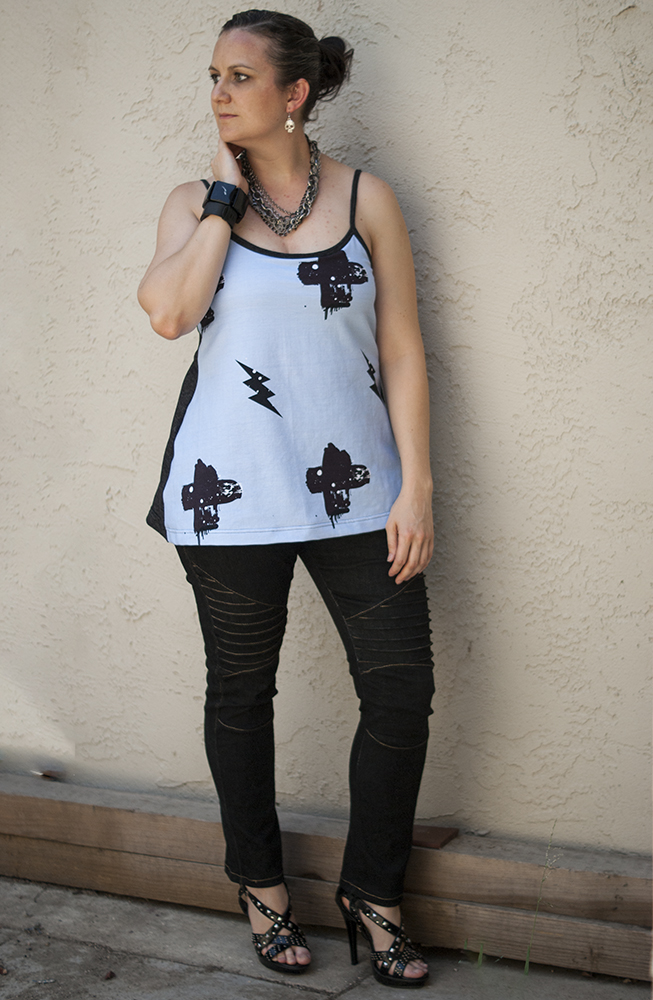
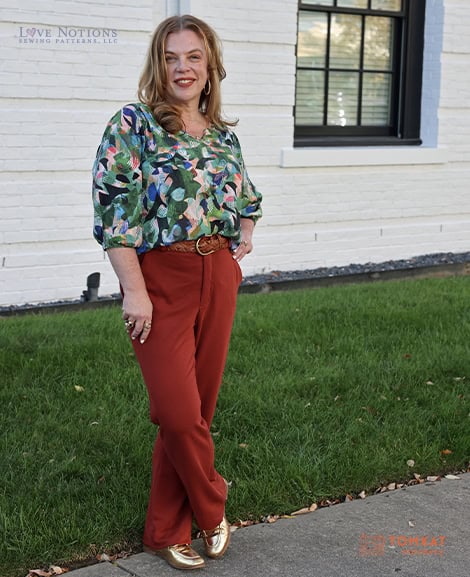
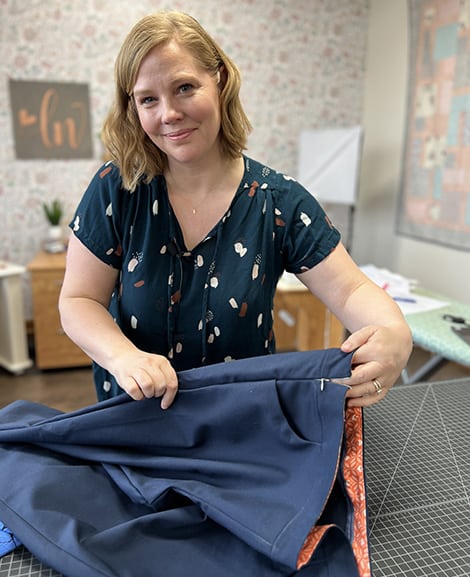
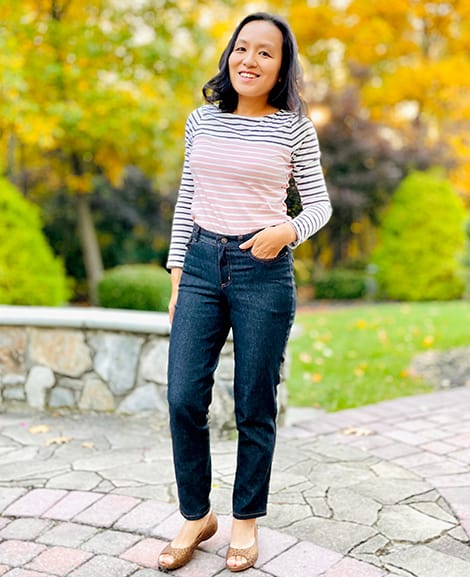
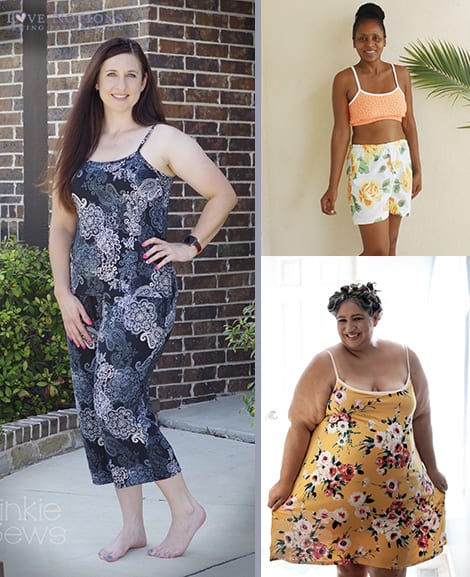
I’ve had an idea in my mind for weeks now about a strappy LDT and I was making it way too complicated. Once I realized my mistake, went simple, and I’m in love with how it came out. Since both patterns use the same piece for front and back, and I used 2 different fabrics, now I have a reversible tank that’s fitted through the bust and flowy through the hips. The front is 95/5 cotton lycra from Piccadilly, and the back is a rayon blend from a mystery box from LDG Textiles. (I used the same fabric for a La Bella Donna a year ago and it just keeps getting softer and more wonderful with every wash). I used a size small for both patterns, and graded from the Luna to the LDT from the underbust through the waist. It’s a dramatic curve, but I think it worked OK. I used a French curve to help keep it smooth. In case you’re curious, I’m 30DDD and I’m only wearing Luna’s built-in shelf bra here.

^^ Also, I totally killed it with these shoes ^^
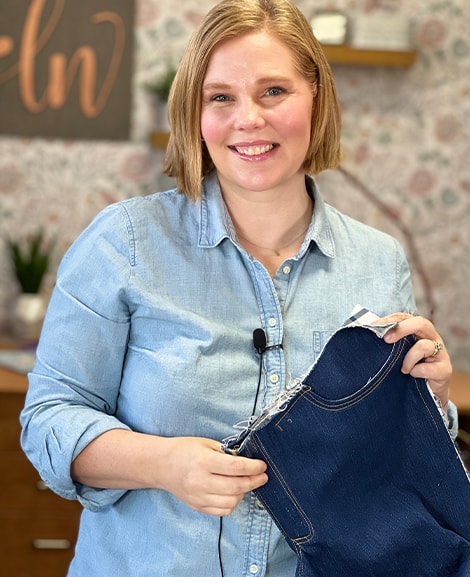
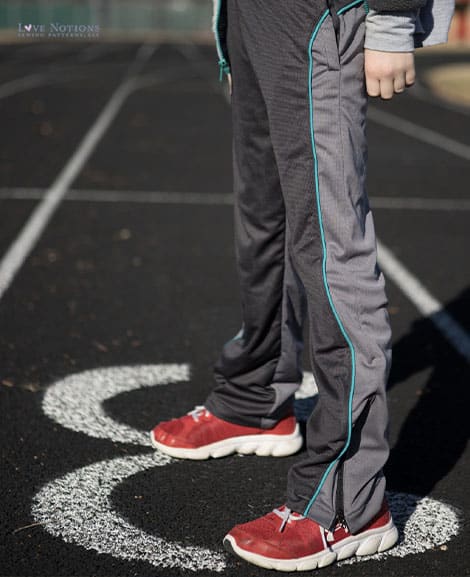
The Sabrina Slims needed a bit more adjustment to make my Moto dreams come true.
With the pattern already muslined out, I was reasonably confident in the adjustments I need to make the base pattern fit my unique body (shorten the rise by 1/2″, size down from mid-thigh to knee, remove a smidge of length from the thigh) with the recommended 40% stretch fabric. Since I’m using stretch denim that just barely had the right amount of stretch, I normally would have sized up, but I wanted these to be really, really slim. I now need to add the top-stitched insets, and faux knee pockets; I thought about narrowing the ankle and adding a zipper but decided I’ll get more wear out of them as-is. I also normally would have removed some length between my knee and calves, but I wanted some bunching around the knee to give the impression of an articulated shape)

- Knees: I measured my inseam length to top, mid and low knee, and transferred those marks to the pattern. I don’t have to worry about stretch messing up the measurements because my fabric only has 1-way stretch, and that’s what the pattern is drafted for. I took 3/4″ length from the thigh to make sure the pattern lined up with my actual measurements, then eyeballed the kneecap cutout. I’m not doing anything fancy with this piece, just cutting it out so it can be pieced back in (so be sure to add seam allowances!).
- Thigh insets: I opted for pin-tucks rather than quilting because I wasn’t sure how obvious I could make the quilting without adding so many layers of backing that they became hot and restrictive. There’s a hard way and an easy way to do the pin-tucks. Start by blocking out the inset from the thigh piece – I just eyeballed it based on my inspiration. The hard (and probably correct) way would be to split the pattern piece horizontally every 1″ to add in 1/4″ for the pintucks (top-stitched at 1/8″ makes for 1/4″ space), making sure to true your seam allowances at each line. The easy way (my way) was to take a piece of fabric large enough to cut both thigh insets and run top-stitching all the way down, and cut the thigh insets from the pre-stitched fabric. If you go this route, be sure to start with an extra long piece of fabric – you lose 1″ for every 4 rows of stitching and that adds up.

- Back pockets: I stole a pocket piece from another pattern to give myself traditional patch pockets. I placed them using the marks for the welt pockets. I serged all edges, then turned under before stitching them on. And then I forgot to get pictures of my rear- sorry! Rest assured, it’s as fabulous as ever.
- Construction: I’m working with stretch denim, so I wanted a reasonably clean finish on the interior without fully resorting to flat-felled seams that are typical of ready-to-wear jeans. So, I’m straight-stitching, then serging, then top-stitching with a contrasting thread along all color-blocking lines. The side seams are also top-stitched while the inseams are only serged. I’m using a triple stitch for my top-stitching, which allows me to use my normal thread to get a bold seamline, without resorting to heavier-weight thread. I especially like to use it for slim pants because the triple stitch has a good amount of stretch, won’t pop my seams and it’s easy to negotiate curves. It does use 3 times more thread (each stitch goes forwards-backwards-forwards again), which meant I refilled my bobbin a lot.

I really love these, and I love that I was able to modify a pattern I already know and love to get this look!
-
Somerset Top & Bottoms
$12.50 -
Interlude Jacket
$12.50 -

Muse Blouse
Price range: $12.50 through $23.00 -
Palmer Dress
$12.50 -

Opus Vest
$12.50 -
Bridget Trousers
$12.50 -

Meadowlark Pants
$12.50 -

Girls’ Clearwater Summer Essentials
$10.50 -
Clearwater Summer Essentials Course
$25.00 -

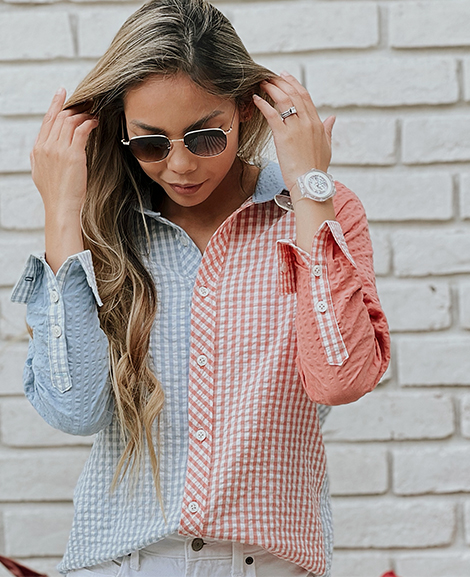
Bluegrass Buttondown Shirt and Dress
$12.50 -

Geneva Pullover & Jacket
$12.50 -
Geneva Pullover & Jacket Course
$25.00 -

Evanston Vest
$12.50 -
Pianoforte Jumper
$12.50 -
Sale!

Barrington Boxy Tee
Price range: $5.00 through $23.00 -
Sale!
Sew a Knit Tee Course
Original price was: $25.00.$0.00Current price is: $0.00. -

Men’s Band Camp Shirt
$12.50 -

Band Camp Shirt
$12.50 -
Sale!

Timbre Peasant Top & Dress
Original price was: $12.50.$5.00Current price is: $5.00. -

Clearwater Summer Essentials
Price range: $12.50 through $23.00 -

Chorus Top and Dress
$12.50 -
Caprice Skirt
Price range: $12.50 through $23.00 -
Crescendo Jeans
$12.50 -
Treble Clef Coat
$10.50 -
Bass Clef Coat
$12.50 -
Aurora Tunic and Dress
$12.50 -
Clef Coat
$12.50 -
Encore Skirt
$12.50 -
Frankie Polo
$12.50 -
Sideline Sweatshirt and Hoodie
$10.50 -
Tailgate Sweatshirt and Hoodie
$12.50 -
Largo Cargos
Price range: $12.50 through $23.00 -
Octave Coat Course
$25.00 -
Tinley Shorts, Skirt, and Skort
$12.50 -
Juliet Top
$12.50 -
Lenox Top and Dress
Price range: $12.50 through $23.00 -
Sale!
Duet Trousers Course
Original price was: $25.00.$15.00Current price is: $15.00. -
Coda Quilted Coat
Price range: $12.50 through $23.00 -
Metra Blazer Course
$25.00 -
Sale!
Sewing ToolKit Fall 2025
Original price was: $10.00.$5.00Current price is: $5.00. -
Legato Jeans
$12.50 -
Legato Jeans Course
$25.00 -
Saltwhistle Top and Dress
$12.50 -
Sale!
Kids’ Tempo Sundress
Original price was: $10.50.$5.00Current price is: $5.00. -
Aria Button Down Shirt, Tunic & Dress
$12.50 -
Aria Button Down Course
$25.00 -

Men’s Thomas Track Pants
$12.50 -

Lincoln Top
$12.50 -

Fraser Cardigan
$12.50 -
Arlington Sweater
$12.50 -
Sale!
Tempo Sundress
Original price was: $12.50.$5.00Current price is: $5.00. -

Ballad Blouse
$12.50 -
Metra Blazer
Price range: $12.50 through $23.00 -

Kids’ Compose Robe
$10.50 -

Compose Robe
$12.50 -

Breckenridge Henley
$12.50 -
Glissando
$12.50 -
Girls’ Sunday Romper
$10.50 -
Ladies’ Sunday Romper
$12.50 -
Vivace Dolman
Price range: $12.50 through $23.00 -
Octave Coat
$12.50 -

Men’s Game Day Jersey
$12.50 -

Ladies’ Game Day Jersey
$12.50 -

Kids’ Game Day Jersey
$10.50 -

Sprint Muscle Shirt
$10.50 -

Melody Dolman
Price range: $12.50 through $23.00 -
Summer Basics Tank & Dress
Price range: $12.50 through $23.00 -
Sale!

Teaching license
Price range: $46.50 through $875.00 -

Gift Card
-

Dolce Dress
$10.50 -

Lyric Dress & Peplum
$12.50 -

Dockside Men’s Henley & Polo
$12.50 -
Resolution Bottoms
$12.50 -
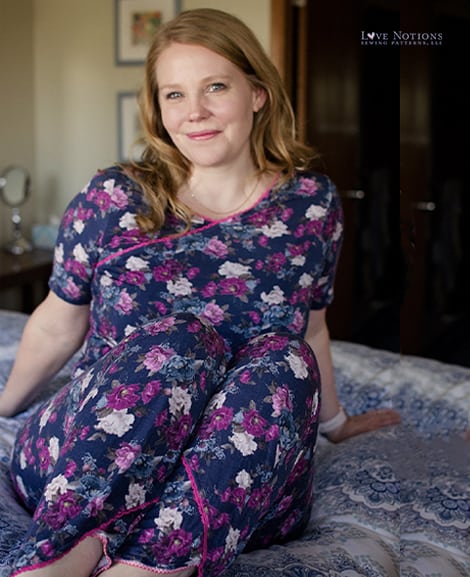
Ladies’ Tranquil Nightwear Collection
$12.50 -
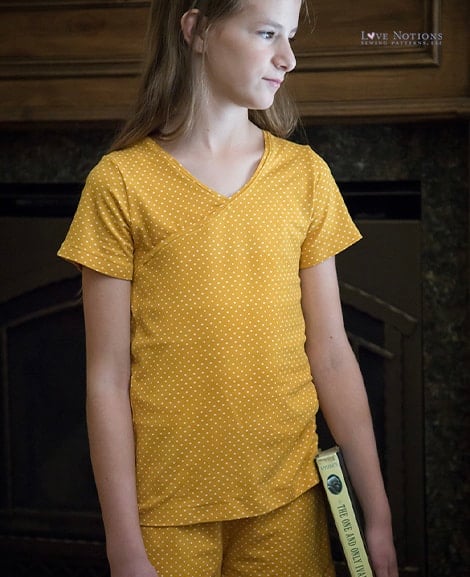
Girls’ Tranquil Nightwear Collection
$10.50 -

North Star Hoodie & Pullover for Men
$12.50 -

Constellation Hoodie & Pullover
$12.50 -

Navigator Pullover
$10.50 -

Serenity Sweater
$12.50 -
Sale!
Girls’ Classic Tee
Original price was: $10.00.$5.00Current price is: $5.00. -
Sale!
Duet Trousers
Original price was: $12.50.$5.00Current price is: $5.00. -
Ravinia Skirt
$12.50 -
Driftwood Henley & Polo Shirt
$10.50 -
Sale!

Classic Tee Shirt
Original price was: $10.00.$5.00Current price is: $5.00. -
Sale!

Girls & Doll Pattern Collection
Original price was: $18.00.$10.80Current price is: $10.80. -

Doll Swing Dress
$0.00 -

Doll Peanut Vest
$0.00 -
Doll Everyday Playdress
$0.00 -
Sonata Dress
$12.50 -
Kayak Boardshorts
$10.50 -
Harmony Blouse
$12.50 -
Presto Tunic
$12.50 -
Thomas Track Pants
$10.50 -
Rockford Raglan
$12.50 -

Acorn Vest with doll pattern
$10.50 -

Oakley Vest
Price range: $12.50 through $23.00 -
Sloane Sweater for Girls
$10.50 -

Forte Top & Dress
$12.50 -
Cadence Dress & Top
$12.50 -
Sale!
Allegro Bottoms
Original price was: $12.50.$5.00Current price is: $5.00. -
Sale!
Rhapsody Blouse & Dress
Price range: $5.00 through $18.00 -

Olympia Dress
$12.50 -
Prisma Dress
$10.50 -
Terra Tunic
$12.50 -
Whistler Pull-over and hoodie
$12.50 -

Ladies’ Margot Peplum Top
$12.50 -
Girls’ Maggie Peplum Top
$10.50 -
Sale!
Skater Skirt
Original price was: $9.00.$0.00Current price is: $0.00. -
Girls’ Summer Caye pants, capris & shorts
$10.50 -

Canyon Cardigan
$12.50 -
Girls’ Luna Loungewear
$10.50 -
Ladies’ Luna Loungewear
$12.50 -
Girls’ Tidal Top & Tank
$10.50 -
Ladies’ Tidal Top & Dress
$12.50 -
Ladies’ Summer Caye Pants, Capris & Shorts
$12.50 -
Sale!

Tabitha Top
Original price was: $12.50.$5.00Current price is: $5.00. -
Tessa Sheath Dress
$12.50 -

Vanguard Kit
$10.50 -
Sabrina Slims Pants
$12.50 -
Girls’ Li’l LDT
$10.50 -
Sybil Illusion Skirt Collection
$14.50 -
Sale!
Laundry Day Tee
Original price was: $12.50.$5.00Current price is: $5.00. -

Girls’ Boyfriend Cardigan
$10.50 -
Ladies’ Boyfriend Cardigan
$12.50 -
Ladies’ La Bella Donna Top & Tunic
Price range: $12.50 through $23.00 -
Girls’ La Bella Donna Top & Tunic
$10.50 -
Sale!
Pemberley Tunic & Dress
Original price was: $12.50.$5.00Current price is: $5.00. -
Sale!
Posh Popover Collection
Original price was: $10.50.$4.50Current price is: $4.50. -

Wrigley Raglan
$10.50 -
Sale!
Bluezette for Ladies XS-XXXL
Original price was: $10.00.$5.00Current price is: $5.00. -

Ladies’ Lotus Blossom Blouse
$12.50 -

Girls’ Lotus Blossom Blouse
$10.50 -
Miss Mary Mack Tunic
$10.50 -

Maxx-ine Pants & Skirt
$10.50 -
Sale!
Bluezette Dress 2T-16
Original price was: $9.00.$4.50Current price is: $4.50. -

Jam Jam Sleepwear Collection
$10.50 -

Willow Wrap Top
$12.50 -

Willow Wrap Dress
$12.50 -
Blissful Blazer
$10.50 -
Sale!
Origami Tunic & Cardigan for Ladies
Original price was: $10.00.$5.00Current price is: $5.00. -
Sale!

Dashing Vest
Original price was: $9.00.$0.00Current price is: $0.00. -
Sale!

Leggin’s
Original price was: $9.00.$0.00Current price is: $0.00. -

Moto Maxx Set
$10.50 -
Sloane Sweater
$12.50 -
Sale!
Ladies’ Hip-Hop Tank & Top
Original price was: $10.00.$5.00Current price is: $5.00. -
Sale!

Origami Tunic for Girls
Original price was: $9.00.$4.50Current price is: $4.50. -
The Cartwheel Collection
$10.50 -
Sale!
Hip-Hop Tank Top 4T- 14
Original price was: $9.00.$4.50Current price is: $4.50. -
Trendy Tunic for Girls
$10.50 -
Sale!
Tuxedo Dress
Original price was: $9.00.$4.50Current price is: $4.50. -
Everyday Playdress
$10.50 -
Mallory Dress
$10.50 -
Sale!
Ladies’ Trendy Tunic
Original price was: $12.50.$5.00Current price is: $5.00. -
Samson Sweater
$10.50 -
Hazelwood Hoodie
$10.50

